“`html
Table of Contents
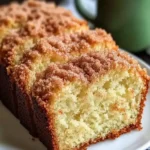
Easy Pineapple Cake Recipe: Tropical Dessert Delight!
Introduction
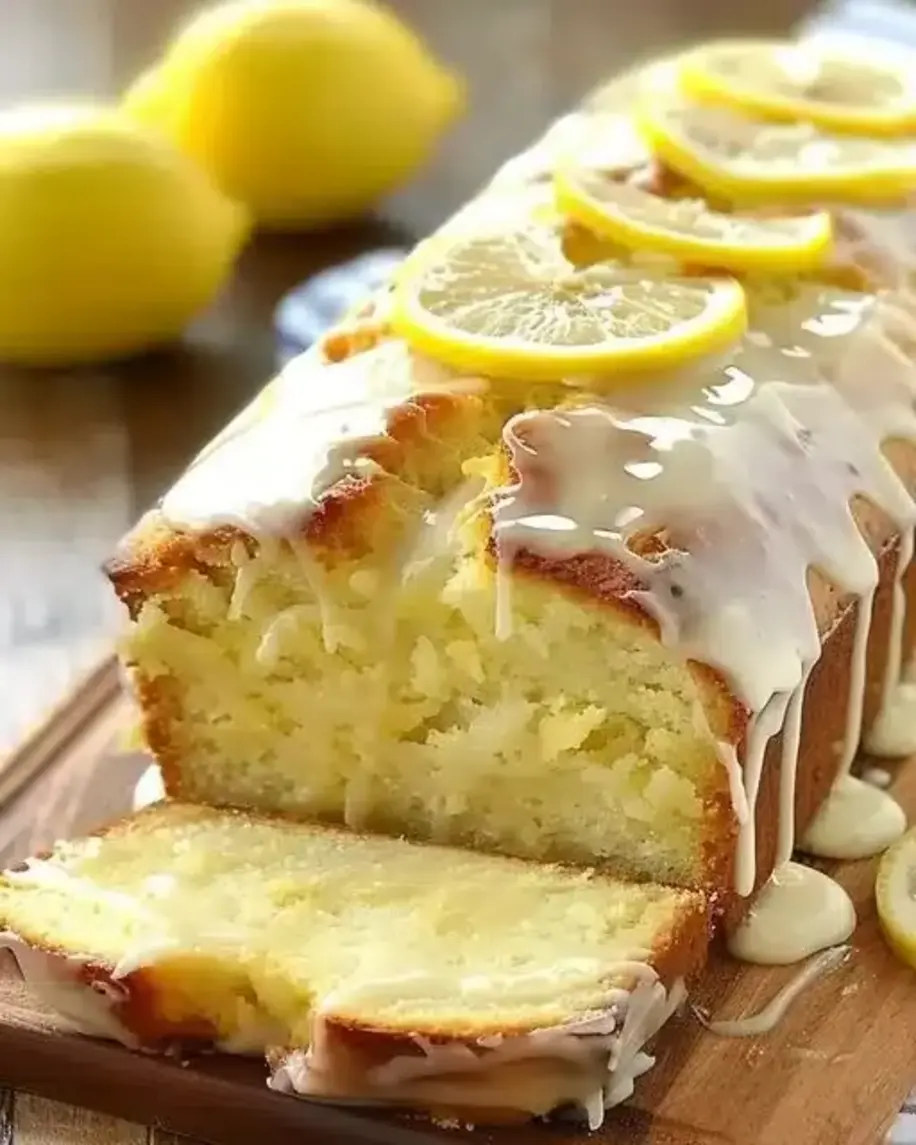
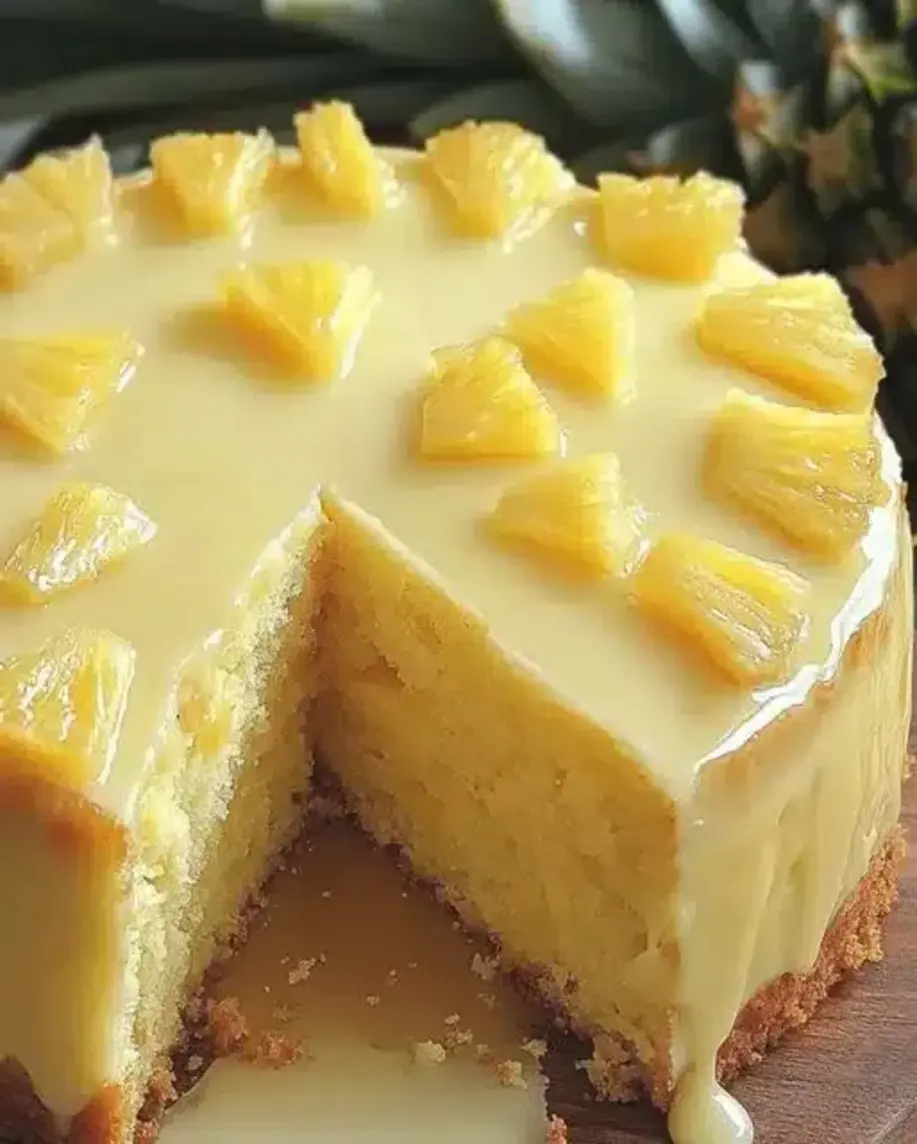
Hello, fellow bakers and dessert lovers! Do you find yourself craving a taste of the tropics, something sweet, tangy, and utterly delightful? If you’re nodding along, you’re in the right place! Today, I’m excited to share with you an Easy Pineapple Cake Recipe that’s guaranteed to bring a burst of sunshine and tropical flavor right into your kitchen. This Juicy Pineapple Cake is a dream for anyone who loves the distinct, mouthwatering taste of pineapple. Whether you’re seeking a simple, yet elegant dessert for your afternoon tea, a show-stopping centerpiece for your next gathering, or just a way to brighten up any ordinary day, this cake has it all. It’s incredibly moist, bursting with fruity goodness, and surprisingly easy to whip up. So, let’s dive into the sweet, juicy goodness of this tropical delight and bake up some happiness!
Ingredients List
The magic of this pineapple cake lies in its simple yet effective combination of ingredients that create a tender crumb and a burst of tropical flavor. We’re aiming for a moist cake with a subtle tanginess from the pineapple, balanced by the sweetness of sugar and richness of butter.
- Flour: 2 cups all-purpose flour. This forms the base of our cake, providing structure. Sifted flour ensures a lighter texture.
- Sugar: 1 ½ cups granulated sugar. Sweetness is key, but we don’t want it overpowering the pineapple.
- Butter: 1 cup (2 sticks) unsalted butter, softened. For richness, tenderness, and that irresistible buttery flavor. Ensure it’s at room temperature for easy creaming.
- Eggs: 3 large eggs. These bind the ingredients together and contribute to the cake’s structure and richness.
- Pineapple: 1 (20-ounce) can crushed pineapple, undrained. This is our star ingredient! The juice adds moisture and flavor, while the crushed fruit provides texture. You can also use fresh, finely chopped pineapple.
- Baking Powder: 2 teaspoons. Our leavening agent, ensuring a fluffy cake.
- Salt: ½ teaspoon. Balances the sweetness and enhances flavors.
- Vanilla Extract: 1 teaspoon. Adds a warm, aromatic depth that complements the pineapple beautifully.
- Milk or Buttermilk: ½ cup. Adds extra moisture and tenderness. Buttermilk provides a slight tanginess that pairs wonderfully with pineapple.
Substitutions and Notes:
- For a stronger pineapple flavor: Use pineapple extract or add a tablespoon of finely grated pineapple zest.
- Gluten-free option: Use your favorite 1:1 gluten-free baking flour blend.
- Dairy-free: Substitute the butter with vegan butter sticks and use a plant-based milk like almond or oat milk.
Timing
This recipe is designed for ease and speed, making it perfect for a weeknight treat or a last-minute dessert. The total time is well within the average for a standard cake recipe, allowing you to enjoy a delicious homemade dessert without a huge time commitment.
Step-by-Step Instructions
Follow these simple steps to create your own delicious tropical pineapple cake. Each step is designed to be clear and actionable, ensuring a perfect bake every time.
Step 1: Preheat and Prep
Begin by preheating your oven to 350°F (175°C). Grease and flour a 9×13 inch baking pan, or two 8-inch round cake pans. You can also line the bottoms with parchment paper for extra insurance against sticking. This ensures your beautiful cake won’t adhere to the pan.
Step 2: Cream Butter and Sugar
In a large mixing bowl, cream together the softened unsalted butter and granulated sugar using an electric mixer on medium speed until the mixture is light, fluffy, and pale yellow. This process incorporates air, which is crucial for a tender cake crumb. Scrape down the sides of the bowl as needed.
Step 3: Add Eggs and Vanilla
Add the eggs one at a time, beating well after each addition until fully incorporated. Stir in the vanilla extract. Ensure each egg is thoroughly mixed in before adding the next to maintain a smooth batter.
Step 4: Combine Dry Ingredients
In a separate medium bowl, whisk together the all-purpose flour, baking powder, and salt. Whisking ensures that the leavening agent and salt are evenly distributed throughout the flour, preventing pockets of saltiness or uneven rising.
Step 5: Alternate Adding Dry and Wet
Now, we’ll add the dry ingredients and the milk (or buttermilk) to the butter mixture in alternating additions, beginning and ending with the dry ingredients. Add about one-third of the dry ingredients and mix on low speed until just combined. Then, add half of the milk and mix until just combined. Repeat with another third of the dry ingredients, the remaining milk, and finish with the last of the dry ingredients. Be careful not to overmix; mix only until the flour streaks disappear. Overmixing can develop the gluten too much, resulting in a tough cake.
Step 6: Fold in Pineapple
Gently fold in the undrained crushed pineapple using a spatula. This is done last to ensure the pineapple is evenly distributed without overworking the batter. The moisture from the pineapple will also contribute to the cake’s incredible richness.
Step 7: Bake the Cake
Pour the batter evenly into your prepared baking pan(s). Bake for 35-45 minutes for a 9×13 inch pan, or 30-35 minutes for 8-inch rounds, or until a wooden skewer or toothpick inserted into the center comes out clean. The baking time may vary slightly depending on your oven.
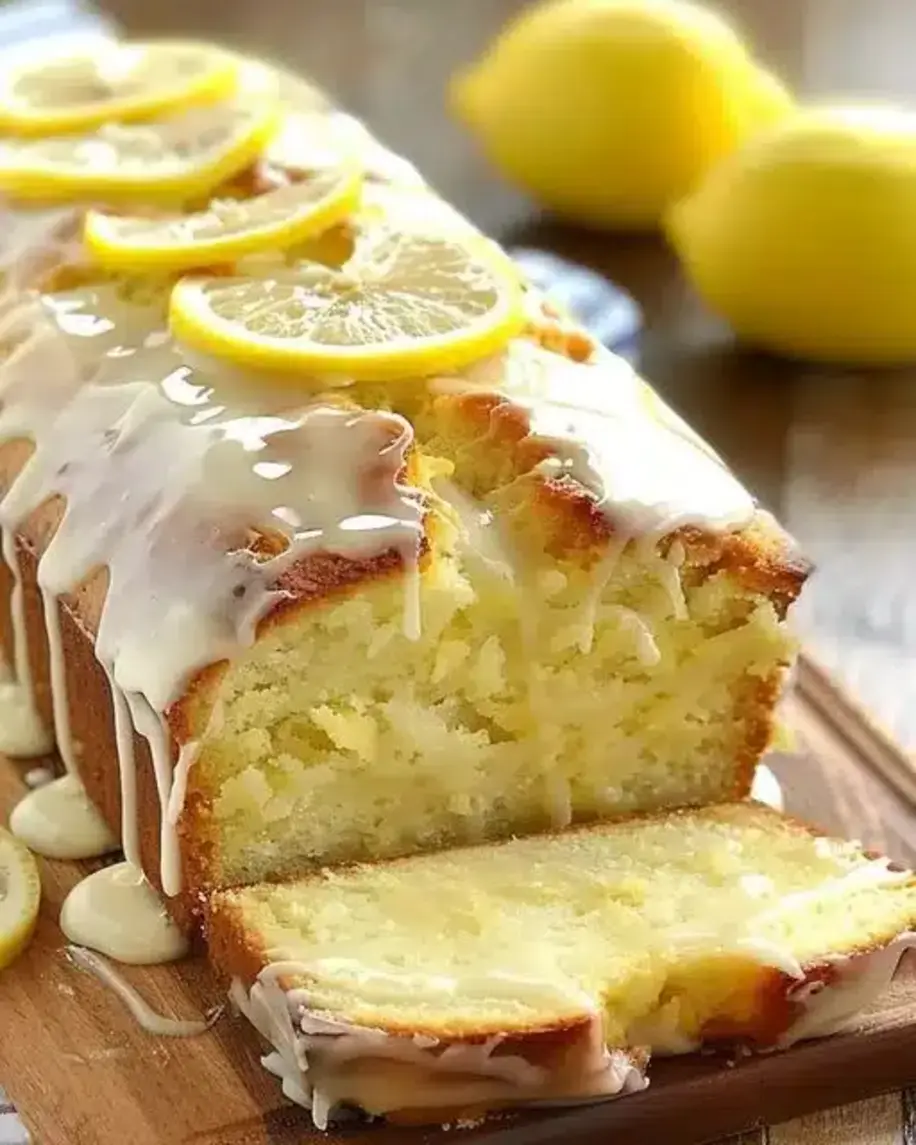
Step 8: Cool and Decorate
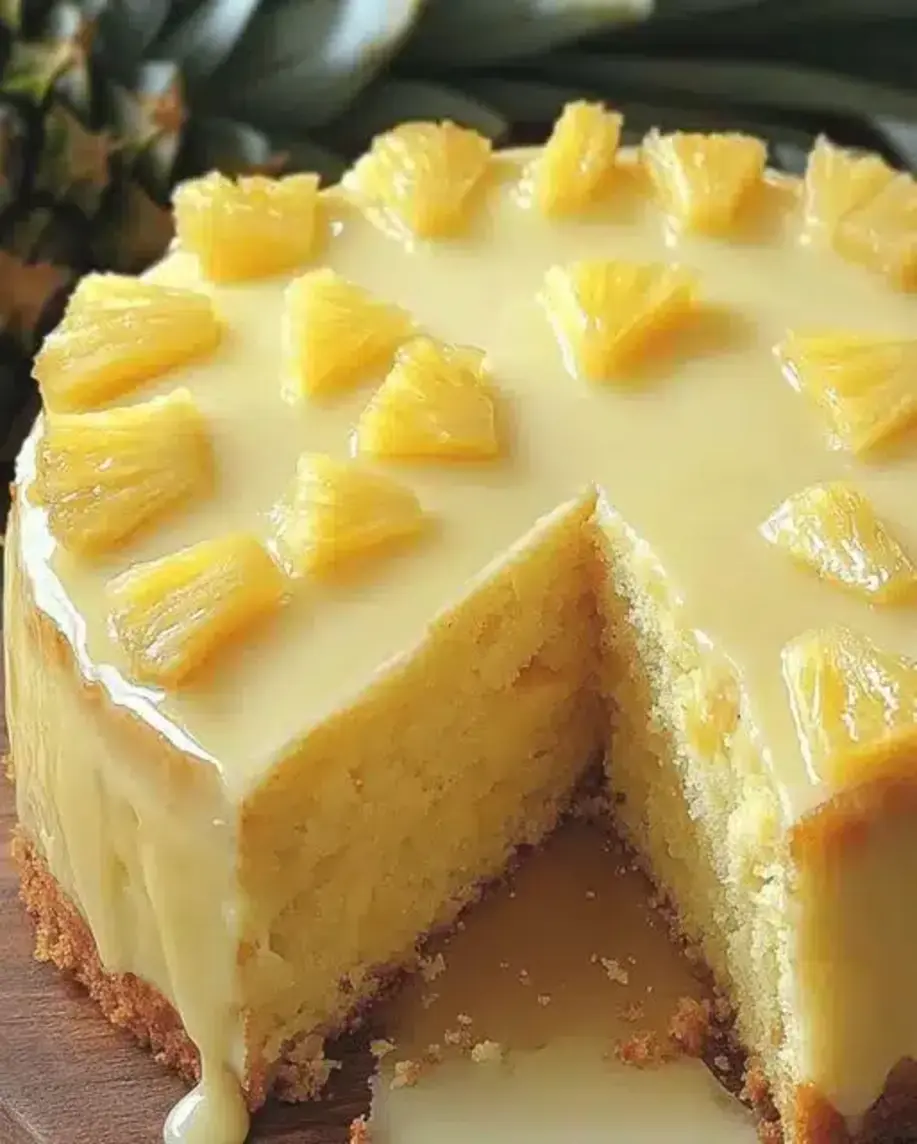
Let the cake cool in the pan on a wire rack for about 10-15 minutes before inverting it onto the rack to cool completely. Once cooled, you can dust it with powdered sugar, or frost it with a cream cheese frosting or a simple pineapple glaze. Garnish with maraschino cherries or pineapple chunks for an extra tropical flair!
Nutritional Information
Please note that this is an estimated nutritional breakdown per serving and can vary based on specific ingredients and portion sizes. This recipe yields approximately 12-16 servings.
- Calories: Approx. 300-350 kcal
- Carbohydrates: Approx. 40-50g
- Fat: Approx. 15-20g
- Protein: Approx. 3-5g
- Sugar: Approx. 25-35g
Healthier Alternatives
Looking for ways to make this delicious pineapple cake a bit lighter without sacrificing flavor? Here are a few swaps:
- Sugar Reduction: Decrease the granulated sugar by ¼ cup. The pineapple’s natural sweetness will help compensate. You could also try using a natural sweetener like coconut sugar, though this may alter the color and flavor slightly.
- Whole Wheat Flour: Substitute half of the all-purpose flour with whole wheat flour for added fiber. Be aware this might result in a slightly denser cake.
- Reduced Fat: Use low-fat butter or a portion of unsweetened applesauce or mashed banana to replace some of the butter. This will change the texture and richness, so experiment with ratios.
- Greek Yogurt: Replace some of the milk or butter with plain Greek yogurt for a protein boost and added moisture with less fat.
Serving Suggestions
This pineapple cake is wonderfully versatile! Serve it warm or at room temperature. It’s fantastic on its own, dusted with a little powdered sugar, or with a dollop of whipped cream. For an extra touch of decadence, consider pairing it with:
- A scoop of vanilla bean ice cream.
- A drizzle of cream cheese frosting or a simple glaze made from powdered sugar and pineapple juice.
- Fresh tropical fruits like mango or papaya.
- A light sprinkling of toasted coconut flakes.
Common Mistakes to Avoid
Even the simplest recipes can have pitfalls. Here are some common mistakes to steer clear of:
- Overmixing the batter: This develops gluten and results in a tough or rubbery cake. Mix wet and dry ingredients until just combined.
- Not using softened butter: Cold butter won’t cream properly, leading to a dense cake. Ensure your butter is at room temperature.
- Opening the oven door too early: This can cause the cake to sink. Wait until the cake is mostly set before checking for doneness.
- Using a cake that’s too hot for frosting: Always let your cake cool completely before applying frosting, or it will melt.
Storing Tips
To keep your pineapple cake fresh and delicious:
- Room Temperature: Store the unfrosted or lightly dusted cake in an airtight container at room temperature for up to 3 days.
- Refrigerated: If frosted with cream cheese frosting or if you live in a warm climate, store in an airtight container in the refrigerator for up to 5 days. Let it come to room temperature before serving for the best flavor and texture.
- Freezing: This cake freezes well. Wrap it tightly in plastic wrap followed by aluminum foil. Freeze unfrosted cake for up to 2 months. Thaw overnight in the refrigerator and bring to room temperature before serving.
Frequently Asked Questions
***Can I use fresh pineapple instead of canned?***
Absolutely! If using fresh pineapple, make sure it’s ripe and sweet. You’ll need about 1.5 to 2 cups of finely chopped fresh pineapple. Drain it slightly if it’s very juicy to avoid adding too much extra moisture to the batter.
***Why is my cake dry?***
Dryness can be caused by overbaking, using too much flour, or not enough moisture. Ensure you measure your flour correctly (spoon and level, don’t scoop!), bake only until a toothpick comes out clean, and don’t skip the undrained pineapple!
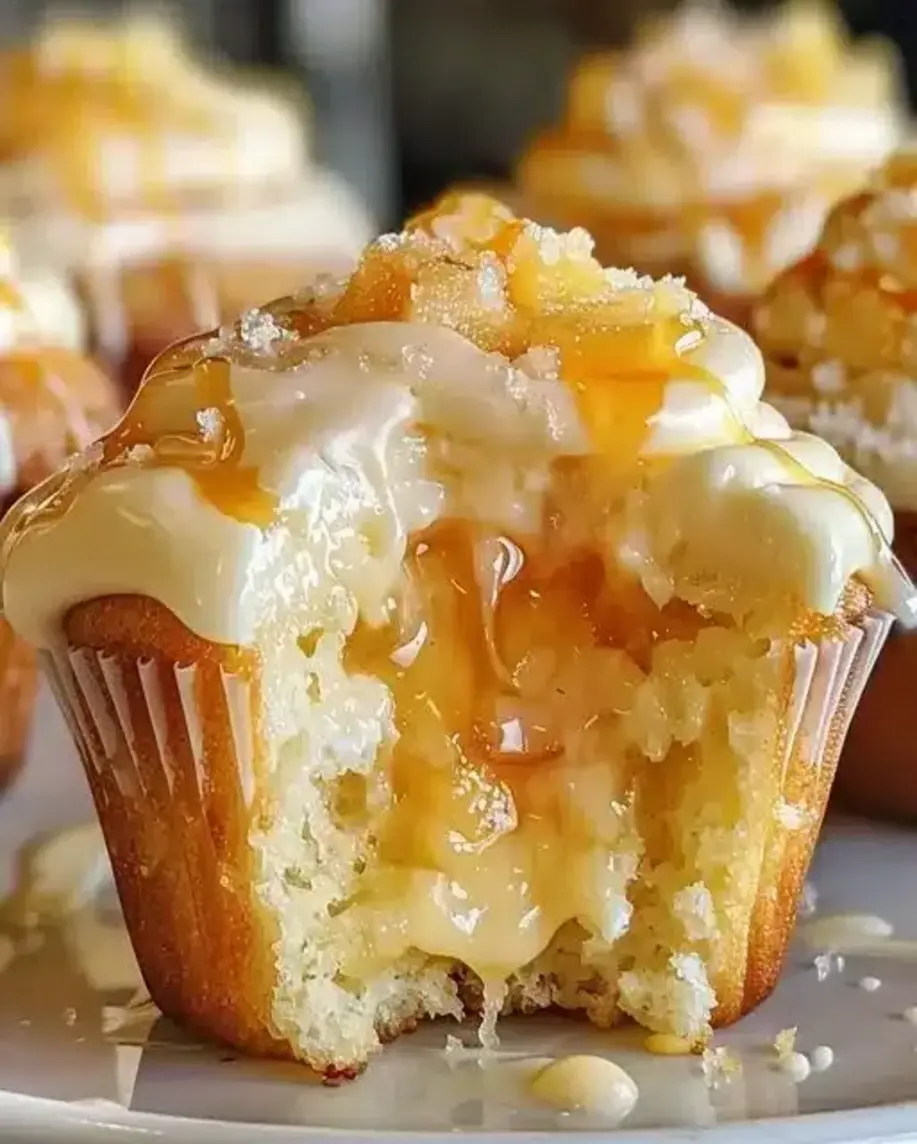
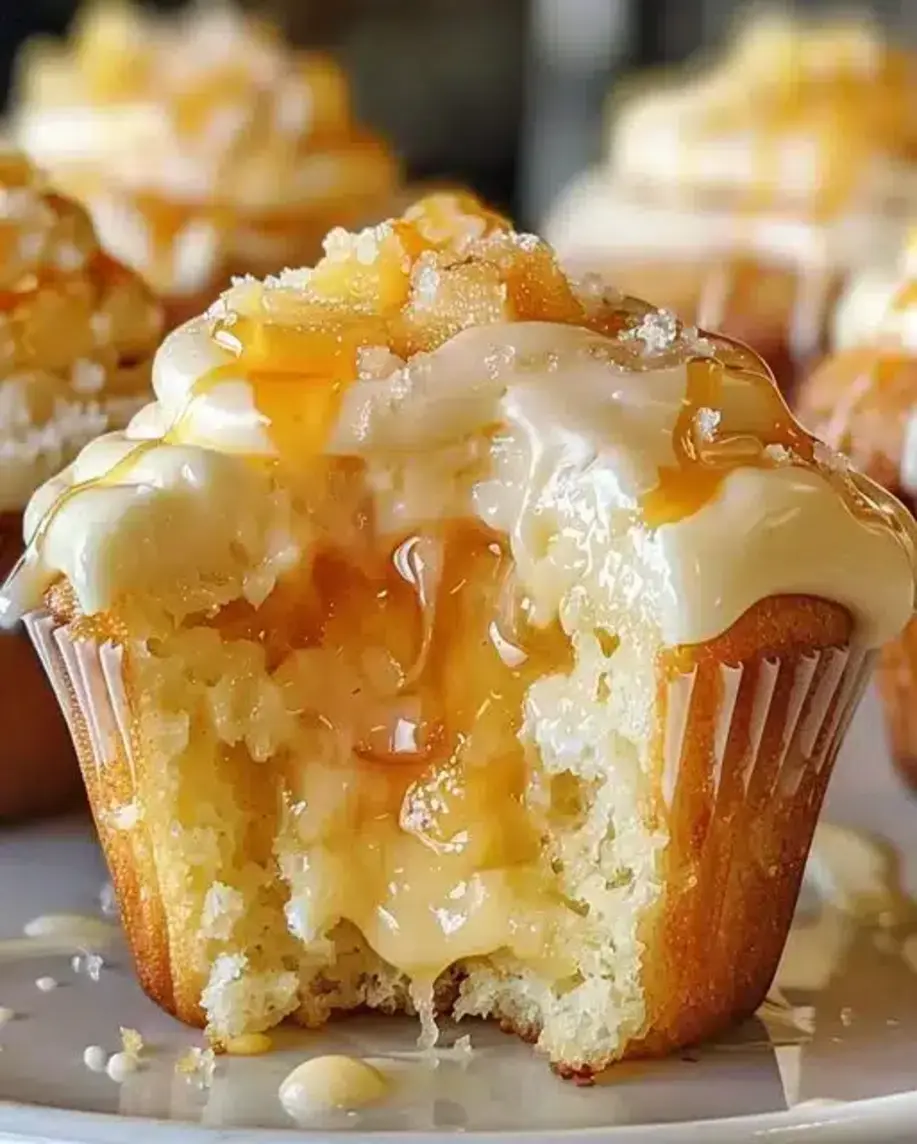
***Can I make cupcakes from this recipe?***
Yes, you can! Fill cupcake liners about two-thirds full and bake for 20-25 minutes, or until a toothpick inserted into the center comes out clean. Adjust baking time as needed.
***What kind of frosting goes best with pineapple cake?***
Cream cheese frosting is a classic pairing that complements the tanginess of the pineapple beautifully. A simple vanilla buttercream or a coconut frosting would also be delicious.
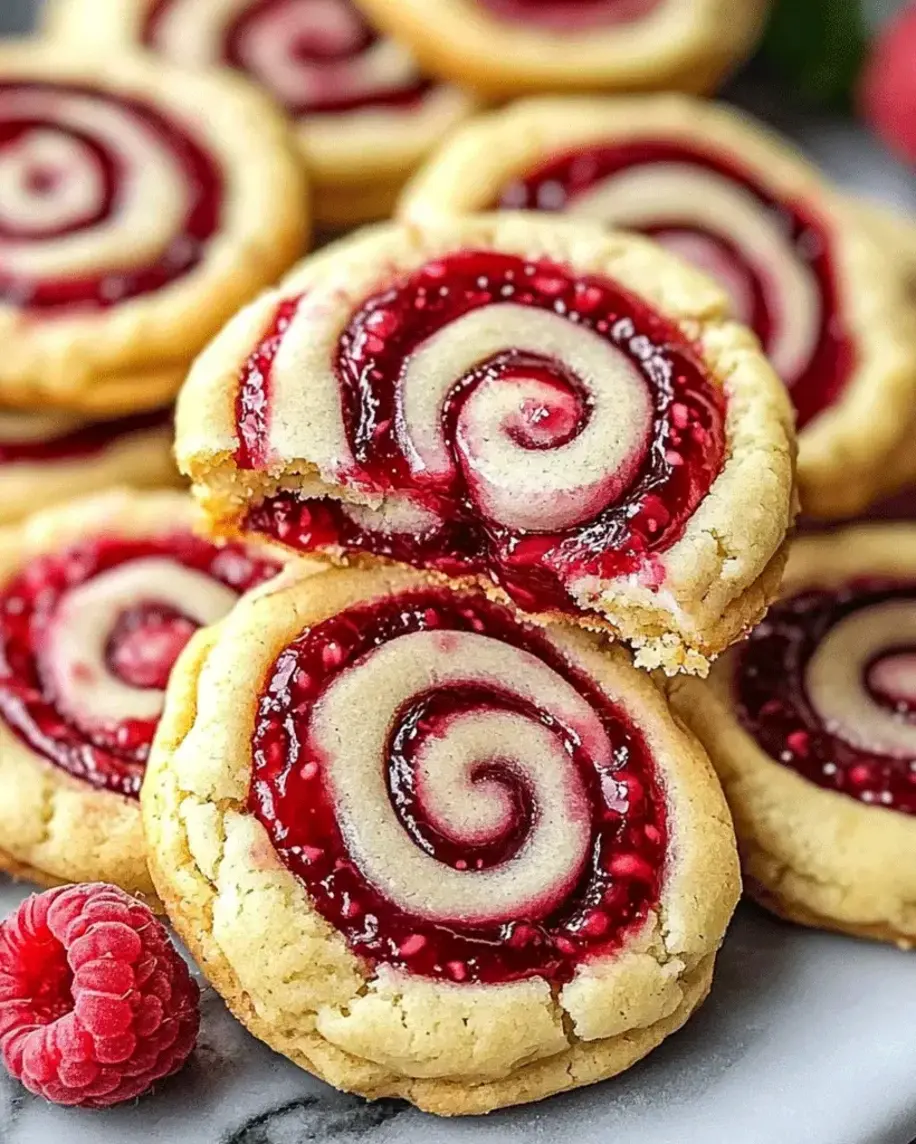
***Can I add other fruits to this cake?***
You can certainly try adding other moist fruits like finely chopped peaches or mango. However, be mindful of the extra moisture they might add. For a strong pineapple flavor base, it’s best to focus on pineapple as the primary fruit.
Ready to bake up some tropical sunshine? This Easy Pineapple Cake is sure to become a favorite. Let me know in the comments below how yours turns out, or if you have any variations you love to add!
Juicy Pineapple Cake Recipe | Tropical Dessert Delight
Description
Hello, fellow bakers and dessert lovers! Today, I’m excited to share with you a recipe that’s guaranteed to bring a burst of tropical flavor to your kitchen. If you love the sweet and tangy taste of pineapple, you’re going to adore thisJuicy Pineapple Cake. Whether you’re looking for a delightful treat to enjoy with your afternoon tea or a show-stopping dessert for your next gathering, this cake has it all. So, let’s dive into the sweet, juicy goodness of this tropical delight!
Ingredients
- Optional Substitutions:
Instructions
- Preheat Your Oven:Start by preheating your oven to 350°F (175°C). Grease and flour an 8-inch round cake pan to prevent the cake from sticking.
- Cream the Butter and Sugar:In a large mixing bowl, cream the butter and sugar together until light and fluffy. This step is crucial for ensuring that your cake has a light, airy texture.
- Add the Eggs:Add the eggs one at a time, beating well after each addition. This helps to fully incorporate the eggs and creates a smooth batter.
- Incorporate the Vanilla:Mix in the vanilla extract for that perfect hint of flavor.
- Mix Dry Ingredients:In a separate bowl, whisk together the flour, baking powder, and salt. This ensures that the leavening agent is evenly distributed throughout the batter.
- Combine Wet and Dry Ingredients:Gradually add the dry ingredients to the wet mixture, alternating with the milk. Begin and end with the flour mixture. This method helps to keep the batter smooth and prevents lumps.
- Fold in Pineapple:Gently fold in the crushed pineapple and pineapple juice until just combined. Be careful not to overmix, as this could result in a dense cake.
- Bake the Cake:Pour the batter into the prepared cake pan and smooth the top. Bake for 30-35 minutes, or until a toothpick inserted into the center comes out clean.
- Prepare the Glaze:While the cake is baking, prepare the glaze by mixing the sweetened condensed milk with a little pineapple juice until smooth. This glaze adds extra moisture and sweetness to the cake.
- Glaze the Cake:Once the cake is done baking, remove it from the oven and allow it to cool in the pan for 10 minutes. Poke holes in the cake with a skewer or fork, then pour the glaze over the top, allowing it to soak in.
- Top with Pineapple Chunks:Once the cake has cooled completely, top with pineapple chunks for a burst of freshness in every bite.
Notes
Preventing a Soggy Cake:Ensure that the crushed pineapple is well-drained before adding it to the batter. Excess moisture can make the cake soggy.
Perfect Glaze Application:Pour the glaze while the cake is still warm to help it soak in better. If you prefer a thicker glaze, allow the cake to cool slightly longer before applying.
“`