“`html
Table of Contents
- Introduction: The Joy of No-Bake Treats
- Ingredients: The Secrets to Perfect Balls
- Timing is Everything: No-Bake Ready in Minutes
- Step-by-Step Instructions: Crafting Your Peanut Butter Krispies
- Nutritional Information: Fueling Your Fun
- Healthier Alternatives: Guilt-Free Indulgence
- Serving Suggestions: Elevating Your Treats
- Common Mistakes to Avoid
- Storing Tips: Keeping the Deliciousness Alive
- Frequently Asked Questions: Your Curiosities Answered
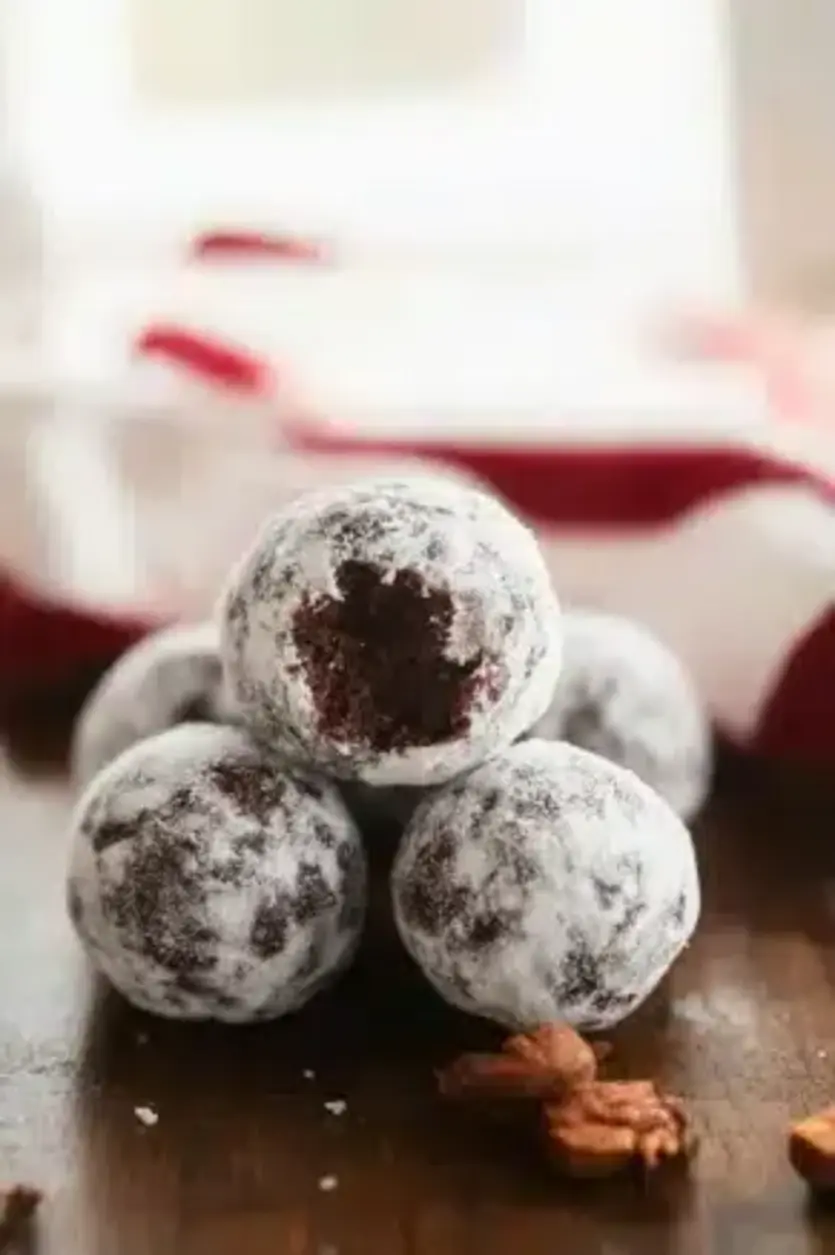
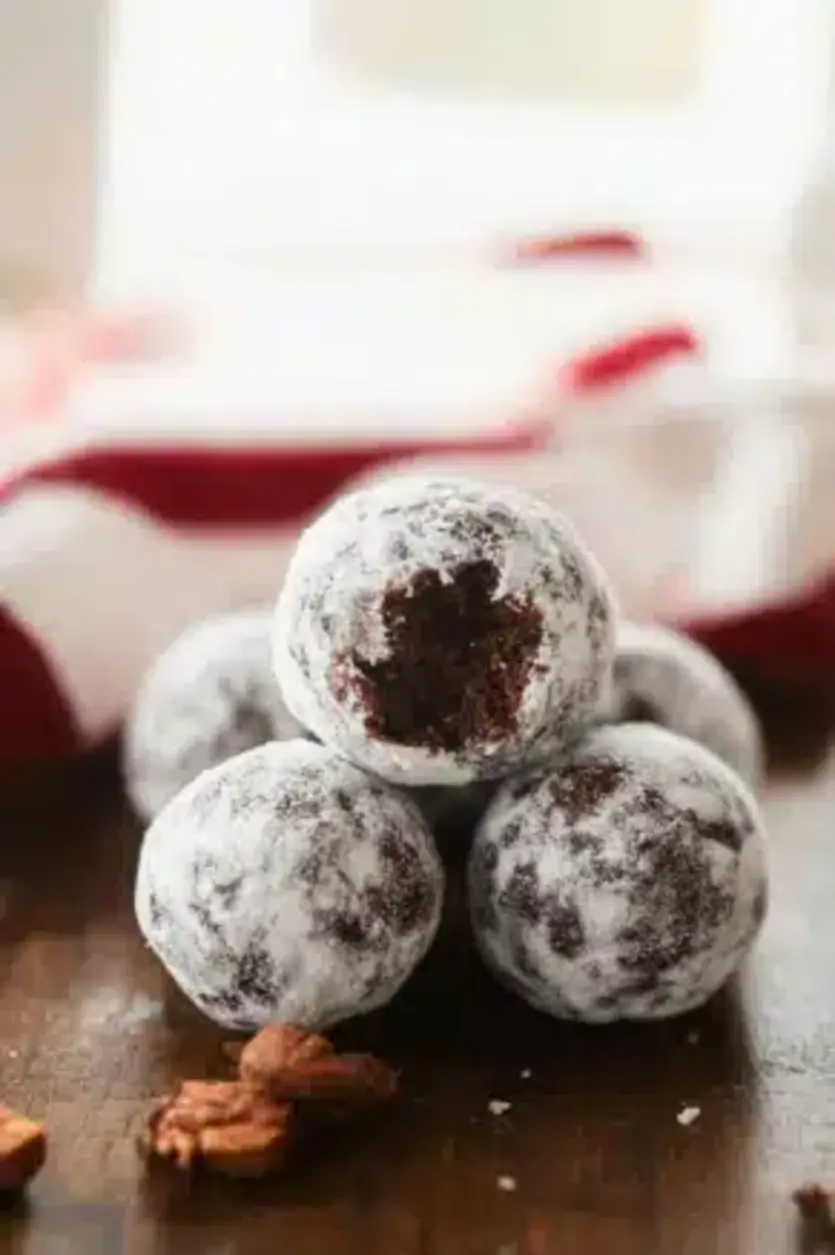
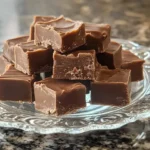
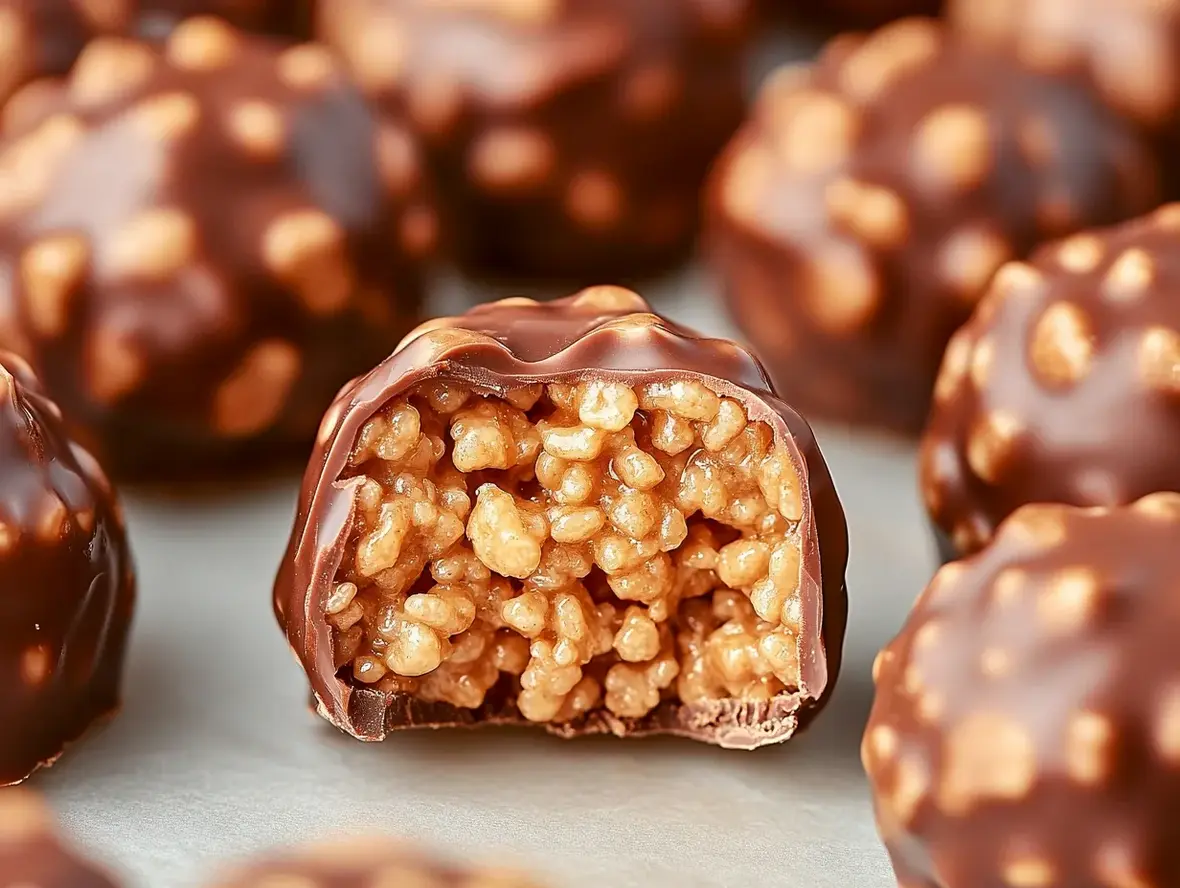
Easy Rice Krispie Peanut Butter Balls Recipe
Discover the ultimate recipe for Rice Krispie Peanut Butter Balls. Perfect for parties, snacks, or holiday treats, this easy recipe combines peanut butter, Rice Krispies, and chocolate for a crowd-pleasing dessert. Try it today and wow your guests.
Introduction: The Joy of No-Bake Treats
Are you looking for a dessert that’s incredibly easy to make, requires absolutely no baking, and is guaranteed to be a hit with everyone from toddlers to grandparents? If you’re nodding along, then you’ve stumbled upon the perfect recipe! No-bake treats hold a special place in our hearts, especially when they deliver such a satisfying combination of textures and flavors. Today, we’re diving into the delightful world of Easy Rice Krispie Peanut Butter Balls. Imagine the classic crunch of Rice Krispies, the creamy, dreamy embrace of peanut butter, all brought together in bite-sized perfection and often coated in a decadent chocolate shell. This recipe isn’t just about making a treat; it’s about creating moments of joy, simplifying your dessert preparations, and proving that the most delicious things often come with the least fuss. Get ready to discover your new go-to recipe for parties, potlucks, school events, or just a sweet craving that needs satisfying!
Ingredients: The Secrets to Perfect Balls
The magic of these Rice Krispie Peanut Butter Balls lies in their simplicity and the harmonious blend of familiar, comforting ingredients. When crafting these delightful spheres, the quality and type of each component play a crucial role in achieving that perfect chewy, crispy, and deeply flavorful result that leaves you reaching for just one more.
Essential Ingredients for Texture and Flavor
- Butter: About 1/2 cup (1 stick) of unsalted butter. This provides a rich, mellow base and helps bind the ingredients together, offering a smooth mouthfeel that contrasts beautifully with the crisp cereal.
- Marshmallows: A standard 10-ounce bag of mini marshmallows, or about 4 cups. These are the glue that holds everything together and add a characteristic sweetness and chewiness. Using mini marshmallows melts more quickly and evenly.
- Peanut Butter: 1 cup of creamy peanut butter. Opt for a standard commercial peanut butter (like Jif or Skippy) for the best binding and sweet, salty flavor. Natural peanut butters can sometimes separate or be too oily, affecting consistency. The creamy texture ensures a smooth, integrated flavor profile.
- Rice Krispies Cereal: 6 cups of Kellogg’s Rice Krispies cereal. The crispy rice cereal is the star for texture, providing that signature snap, crackle, and pop. Its light, airy crunch is essential for the ball’s structure and appeal.
- Vanilla Extract: 1 teaspoon. A touch of vanilla extract enhances the sweetness and adds a subtle layer of warmth and depth to the overall flavor profile, making the peanut butter and chocolate notes sing even brighter.
Optional Add-ins for Extra Magic
- Chocolate Chips: About 1 cup of semi-sweet or milk chocolate chips for drizzling or coating. These add an extra layer of decadent flavor and visual appeal.
- Sprinkles: For a festive touch, especially for holidays or parties.
- Sea Salt: A pinch sprinkled on top before the chocolate sets, to enhance the sweet and salty balance.
Substitutions for Every Need
- Butter: Margarine can be used, but it may slightly alter the flavor and binding qualities. For a dairy-free option, use a vegan butter substitute.
- Marshmallows: If you can’t find mini marshmallows, use about 4 cups of large marshmallows. For a sugar-free option, use sugar-free marshmallows, but be aware that this may affect texture and sweetness.
- Peanut Butter: Almond butter or sunflower seed butter can be used as alternatives for those with nut allergies or preferences. However, the flavor will change considerably.
- Rice Krispies: Other puffed rice cereals can work, but may have a different texture or sweetness. Chex cereal can also be used for a slightly different crunch.
Timing is Everything: No-Bake Ready in Minutes
One of the most appealing aspects of this Easy Rice Krispie Peanut Butter Balls recipe is its speed. Unlike traditional baked goods that require preheating ovens and extended cooling periods, this no-bake wonder comes together in a fraction of the time.
Compared to a typical cake or cookie recipe, which often requires 30-45 minutes of prep and at least 10-15 minutes of baking, followed by cooling, these peanut butter balls are significantly faster. The active preparation is minimal, focusing on melting and mixing. The bulk of the “waiting” is for them to set, after which they are ready to be devoured. This makes them an ideal last-minute dessert solution or a fun activity to do with kids on a rainy afternoon.
Step-by-Step Instructions: Crafting Your Peanut Butter Krispies
Ready to create some magic? Follow these simple steps to assemble your delicious Rice Krispie Peanut Butter Balls. It’s a straightforward process that guarantees delightful results.
Step 1: Melt and Mix the Gooey Base
In a large saucepan, melt the butter over low heat. Once the butter is completely melted, add the mini marshmallows. Stir constantly until the marshmallows are smooth and completely melted. This mixture will become incredibly gooey and sticky. Be patient and maintain low heat to prevent scorching.
Step 2: Incorporate the Crispy Goodness
Remove the saucepan from the heat. Immediately stir in the vanilla extract. Then, gradually add the 6 cups of Rice Krispies cereal to the marshmallow mixture. Gently fold and stir until the cereal is evenly coated. It’s important to work relatively quickly here, as the marshmallow mixture can start to set.
Step 3: The Peanut Butter Magic
Now, for the star ingredient! Add the creamy peanut butter to the cereal mixture. Continue to fold and mix until the peanut butter is well incorporated throughout. You’ll notice the texture becoming richer and slightly more cohesive. Ensure there are no large pockets of plain marshmallow or cereal; a good mix is key.
Step 4: Forming the Balls of Delight
Lightly grease your hands with butter or cooking spray. This is crucial to prevent the sticky mixture from adhering to your hands. Take about 1 to 1.5-inch portions of the mixture and roll them gently between your palms to form compact balls. Place the formed balls onto parchment paper or wax paper-lined baking sheets.
Step 5: The Chocolate Embrace (Optional)
If you’re adding a chocolate coating: Melt the chocolate chips in a microwave-safe bowl in 30-second intervals, stirring between each, until smooth. Alternatively, use a double boiler. You can either drizzle the melted chocolate over the balls using a spoon or fork, or dip each ball into the melted chocolate for a full coating. If dipping, place back onto the parchment-lined sheet.
Step 6: Setting to Perfection
Once all the balls are formed (and chocolate-coated, if desired), place the baking sheets in the refrigerator for at least 30-60 minutes. This allows the balls to firm up completely, making them easier to handle and ensuring they hold their shape. If you’ve drizzled chocolate, this time is essential for it to set.
Nutritional Information: Fueling Your Fun
While these Rice Krispie Peanut Butter Balls are a delightful treat, it’s good to have an idea of what you’re enjoying. Please note that these are approximate values and can vary based on specific ingredients used and the exact size of the balls.
- Calories: Approximately 150-200 per ball (without chocolate coating)
- Fats: Around 7-10g, primarily from peanut butter and butter.
- Carbohydrates: Roughly 20-25g, largely from marshmallows and cereal.
- Sugars: Around 15-20g, from marshmallows, cereal, and peanut butter.
- Protein: Approximately 3-5g, mainly from peanut butter.
For a more precise analysis, consider using an online nutritional calculator with your exact ingredient measurements.
Healthier Alternatives: Guilt-Free Indulgence
Looking to make these treats a little lighter without sacrificing too much flavor? Here are some swaps:
- Use Whole Grain Cereal: Substitute a portion of Rice Krispies with a whole-grain puffed cereal for added fiber.
- Reduced Sugar Peanut Butter: Opt for a natural peanut butter with no added sugar, though this might affect binding.
- Dark Chocolate: If coating, use dark chocolate (70% cocoa or higher) which contains less sugar and more antioxidants.
- Mini Marshmallows: Using mini marshmallows can help with portion control as they melt more uniformly and you might end up using slightly less to achieve the same binding consistency.
- Smaller Balls: Simply make smaller portions! It’s a classic trick that works wonders.
Serving Suggestions: Elevating Your Treats
These Rice Krispie Peanut Butter Balls are fantastic on their own, but here are some ways to make them even more special:
- Party Favors: Package them in small cellophane bags tied with ribbon for delightful party favors.
- Dessert Platter: Arrange them on a platter with other cookies and brownies for a diverse dessert spread.
- Holiday Themes: Add festive sprinkles for holidays like Christmas, Halloween, or Valentine’s Day.
- Ice Cream Topping: Serve them alongside or on top of your favorite ice cream for a textural adventure.
Common Mistakes to Avoid
Even with simple recipes, a few pitfalls can occur. Here’s how to avoid them:
- Overheating Marshmallows: Melting marshmallows too quickly or at too high a heat can lead to a tough, chewy texture instead of a soft, pliable one. Ensure low heat and constant stirring.
- Not Greasing Hands: The mixture is exceptionally sticky. Forgetting to grease your hands will result in a frustrating, messy experience. Don’t skip this step!
- Pressing Too Hard: When forming the balls, don’t pack them too tightly. A gentle roll is sufficient to hold their shape. Over-packing can make them dense and hard.
- Using Natural Peanut Butter That Separates: If your peanut butter is oily, drain off excess oil or stir it in thoroughly before measuring. Too much oil can make the mixture greasy and less cohesive.
Storing Tips: Keeping the Deliciousness Alive
Proper storage is key to maintaining the delightful texture and flavor of your Rice Krispie Peanut Butter Balls.
- Airtight Container: Store the balls in an airtight container at room temperature. They should remain fresh for about 3-4 days.
- Refrigerator: For longer storage (up to a week), you can keep them in the refrigerator. However, they might become a bit firmer. Let them sit at room temperature for a few minutes before serving if they’ve been refrigerated.
- Freezing: These balls freeze surprisingly well! Wrap them individually in plastic wrap, then place them in a freezer-safe bag or container. They can be stored in the freezer for up to 2-3 months. Thaw them at room temperature.
Frequently Asked Questions: Your Curiosities Answered
***Can I use crunchy peanut butter instead of creamy?***
Absolutely! Using crunchy peanut butter will add an extra layer of texture to the balls. Just be sure to stir it well beforehand if it has separated.
***Why are my Rice Krispie treats so hard?***
This usually happens if the marshmallow mixture is overheated and cooked for too long, or if you press the mixture too firmly into the pan or when forming balls. Gentle handling and low heat are key.
***Can I add chocolate chips directly into the mixture?***
Yes, you can! Stir in about 1/2 cup of chocolate chips along with the peanut butter in Step 3 for an extra burst of chocolatey goodness within the balls themselves.
***Do I have to use butter? Can I use oil?***
Butter is recommended for its flavor and binding properties. While some oil might be present in peanut butter, a direct substitute for butter with liquid oil might alter the consistency significantly and prevent the balls from setting properly.
***How do I get a smooth chocolate coating?***
When melting chocolate chips, ensure they are completely smooth before dipping. Using a microwave-safe bowl and melting in short intervals, stirring between each, is the best method. If it seems too thick, you can add a teaspoon of coconut oil or shortening to help thin it out.
Conclusion: Bake Less, Treat More!
There you have it – the supremely simple and incredibly satisfying recipe for Easy Rice Krispie Peanut Butter Balls! These no-bake delights are a testament to how a few common ingredients can come together to create something truly special. Perfect for any occasion, they offer a delightful chew, a satisfying crunch, and that irresistible combination of peanut butter and sweet marshmallow goodness. Whether you’re looking for a quick dessert fix, a fun kitchen project with the kids, or a crowd-pleasing treat for your next gathering, these balls have you covered. So go ahead, gather your ingredients, and whip up a batch. You might find yourself asking, “Why didn’t I make these sooner?” Enjoy every delicious, no-bake bite!

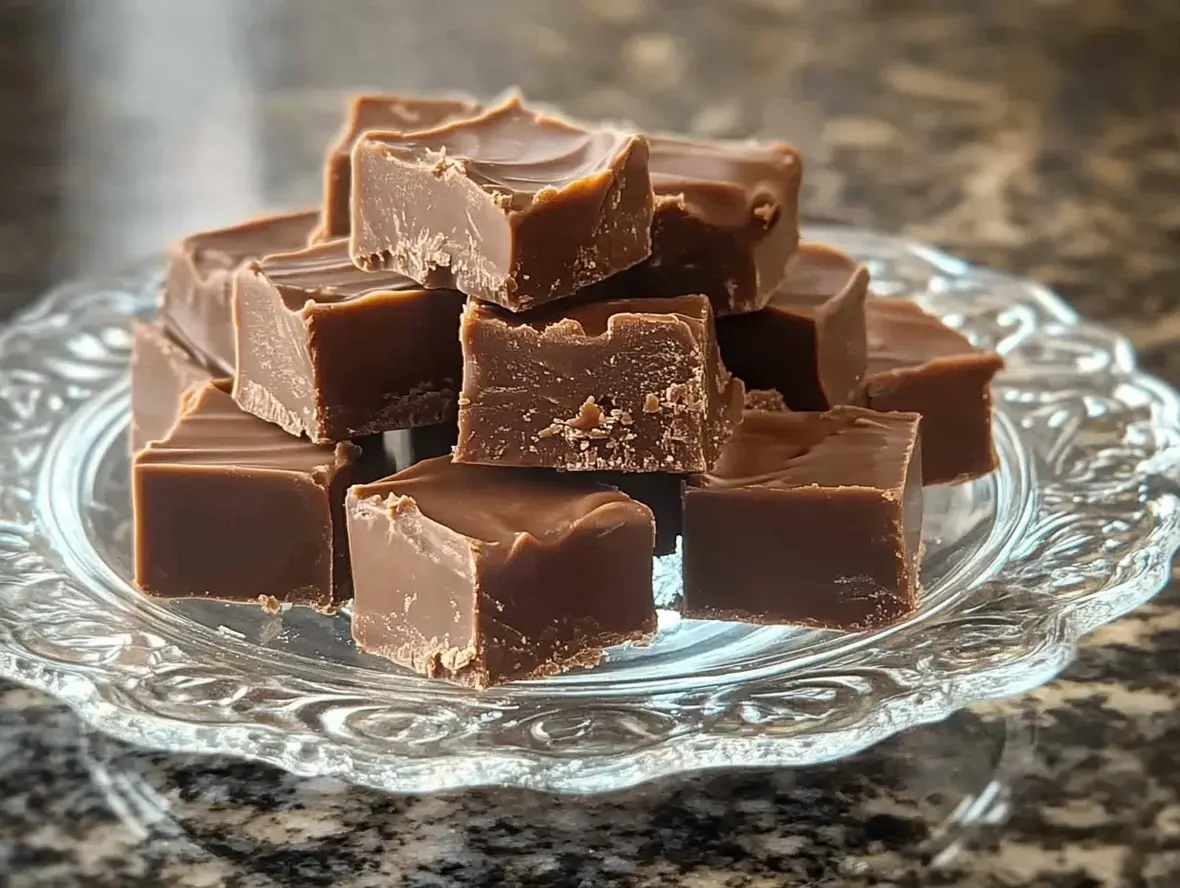
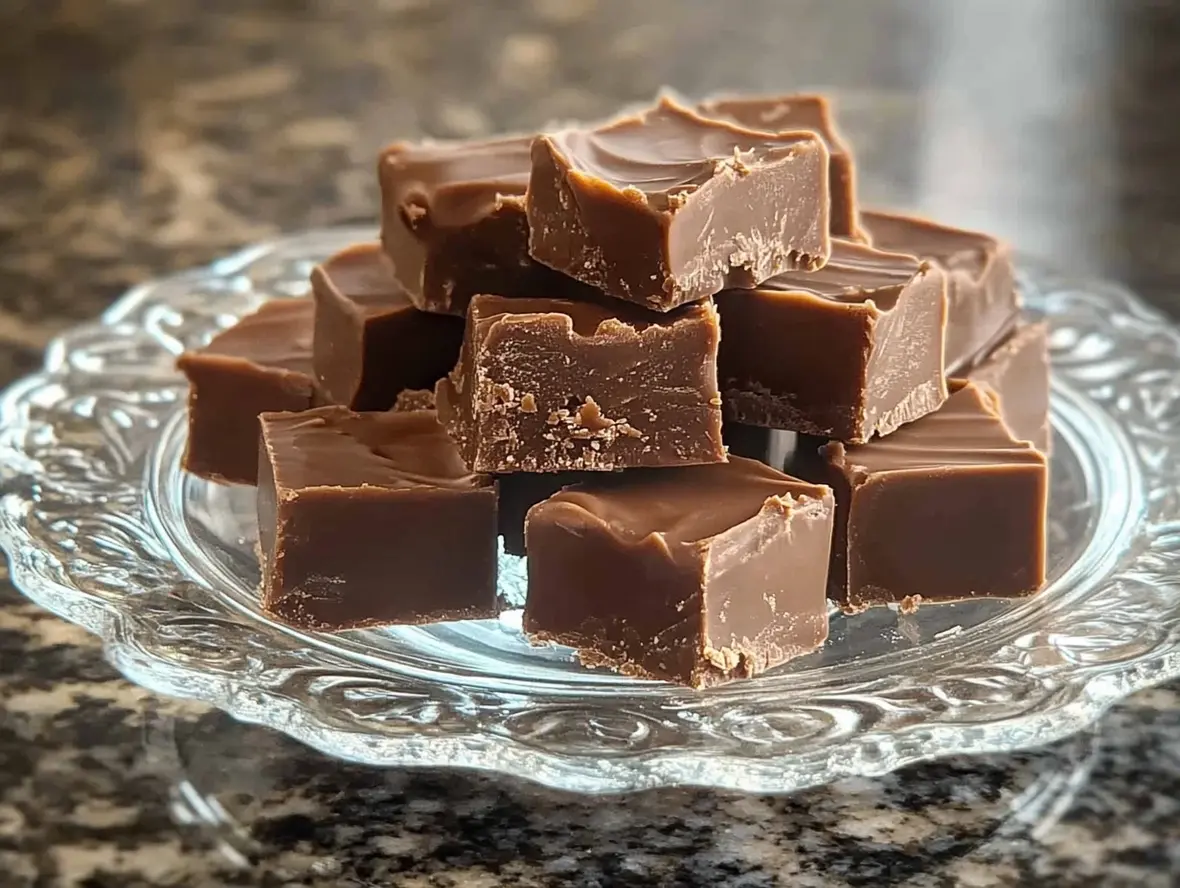
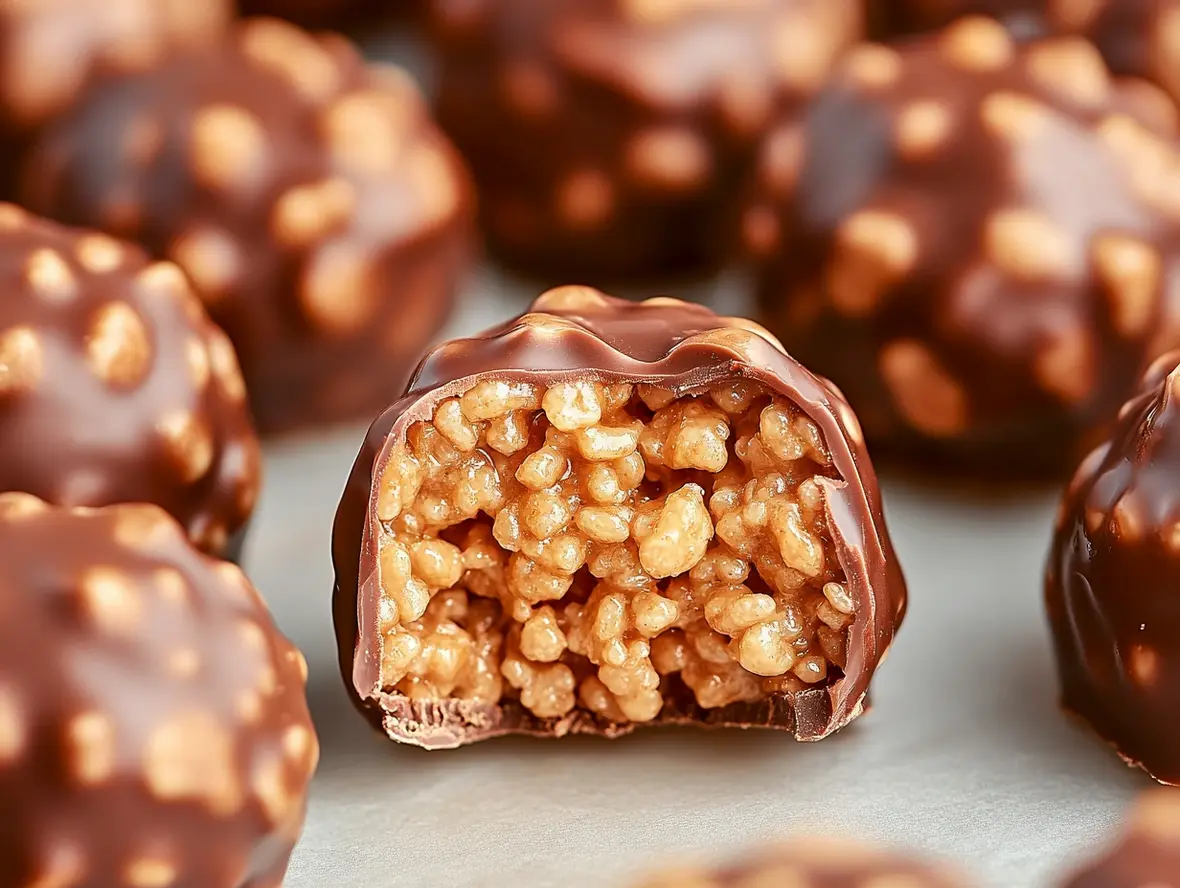
Peanut Butter Balls with Rice Krispies
Description
These delightful no-bake treats combine creamy peanut butter, crunchy Rice Krispies, and rich chocolate for a bite-sized dessert that’s perfect for any occasion. Easy to make and even easier to enjoy!
Ingredients
- 1 cuppeanut butter (creamy or crunchy)1/4 cupbutter, softened1 cuppowdered sugar2 cupsRice Krispies cereal, slightly crushed2 cupssemi-sweet chocolate chips2 tablespoonsvegetable shortening
- 1/4 cupbutter, softened1 cuppowdered sugar2 cupsRice Krispies cereal, slightly crushed2 cupssemi-sweet chocolate chips2 tablespoonsvegetable shortening
- 1 cuppowdered sugar2 cupsRice Krispies cereal, slightly crushed2 cupssemi-sweet chocolate chips2 tablespoonsvegetable shortening
- 2 cupsRice Krispies cereal, slightly crushed2 cupssemi-sweet chocolate chips2 tablespoonsvegetable shortening
- 2 cupssemi-sweet chocolate chips2 tablespoonsvegetable shortening
- 2 tablespoonsvegetable shortening
Instructions
- 1️⃣Prepare a baking sheet: Line a cookie sheet with parchment paper or wax paper to prevent sticking.
- 2️⃣Mix the base ingredients: In a large mixing bowl, cream together the peanut butter, softened butter, and powdered sugar until smooth. Fold in the slightly crushed Rice Krispies cereal and mix until evenly combined.3️⃣Shape the balls: Scoop out small portions of the mixture and roll them into bite-sized balls (about 1 inch in diameter). Place them on the prepared cookie sheet. Chill in the refrigerator for at least 30 minutes to firm up.4️⃣Melt the chocolate: In a large microwave-safe bowl, combine the chocolate chips and vegetable shortening. Heat for 1 minute, then stir. Continue heating in 20–30-second intervals, stirring after each, until the chocolate is mostly melted. Stir until smooth and glossy.5️⃣Dip the peanut butter balls: Using a fork or a dipping tool, coat each peanut butter ball in the melted chocolate. Tap off any excess chocolate and place the dipped balls back onto the lined cookie sheet.6️⃣Set the chocolate: Allow the chocolate coating to firm up at room temperature. For faster results, place the tray in the refrigerator for about 15–20 minutes.7️⃣Store: Transfer the finished peanut butter balls to an airtight container. Store them in the refrigerator for up to 1 week or freeze for longer storage (up to 3 months).
- 3️⃣Shape the balls: Scoop out small portions of the mixture and roll them into bite-sized balls (about 1 inch in diameter). Place them on the prepared cookie sheet. Chill in the refrigerator for at least 30 minutes to firm up.4️⃣Melt the chocolate: In a large microwave-safe bowl, combine the chocolate chips and vegetable shortening. Heat for 1 minute, then stir. Continue heating in 20–30-second intervals, stirring after each, until the chocolate is mostly melted. Stir until smooth and glossy.5️⃣Dip the peanut butter balls: Using a fork or a dipping tool, coat each peanut butter ball in the melted chocolate. Tap off any excess chocolate and place the dipped balls back onto the lined cookie sheet.6️⃣Set the chocolate: Allow the chocolate coating to firm up at room temperature. For faster results, place the tray in the refrigerator for about 15–20 minutes.7️⃣Store: Transfer the finished peanut butter balls to an airtight container. Store them in the refrigerator for up to 1 week or freeze for longer storage (up to 3 months).
- 4️⃣Melt the chocolate: In a large microwave-safe bowl, combine the chocolate chips and vegetable shortening. Heat for 1 minute, then stir. Continue heating in 20–30-second intervals, stirring after each, until the chocolate is mostly melted. Stir until smooth and glossy.
- 5️⃣Dip the peanut butter balls: Using a fork or a dipping tool, coat each peanut butter ball in the melted chocolate. Tap off any excess chocolate and place the dipped balls back onto the lined cookie sheet.6️⃣Set the chocolate: Allow the chocolate coating to firm up at room temperature. For faster results, place the tray in the refrigerator for about 15–20 minutes.7️⃣Store: Transfer the finished peanut butter balls to an airtight container. Store them in the refrigerator for up to 1 week or freeze for longer storage (up to 3 months).
- 6️⃣Set the chocolate: Allow the chocolate coating to firm up at room temperature. For faster results, place the tray in the refrigerator for about 15–20 minutes.7️⃣Store: Transfer the finished peanut butter balls to an airtight container. Store them in the refrigerator for up to 1 week or freeze for longer storage (up to 3 months).
- 7️⃣Store: Transfer the finished peanut butter balls to an airtight container. Store them in the refrigerator for up to 1 week or freeze for longer storage (up to 3 months).
Notes
Crush with care: Lightly crush the Rice Krispies to maintain some crunch without turning them into powder.Chocolate tips: Vegetable shortening helps the chocolate stay smooth and glossy, but you can substitute coconut oil if desired.Decorate: Add a drizzle of white chocolate or sprinkle crushed nuts on top before the chocolate sets for an extra touch.
Chocolate tips: Vegetable shortening helps the chocolate stay smooth and glossy, but you can substitute coconut oil if desired.Decorate: Add a drizzle of white chocolate or sprinkle crushed nuts on top before the chocolate sets for an extra touch.
Decorate: Add a drizzle of white chocolate or sprinkle crushed nuts on top before the chocolate sets for an extra touch.
“`