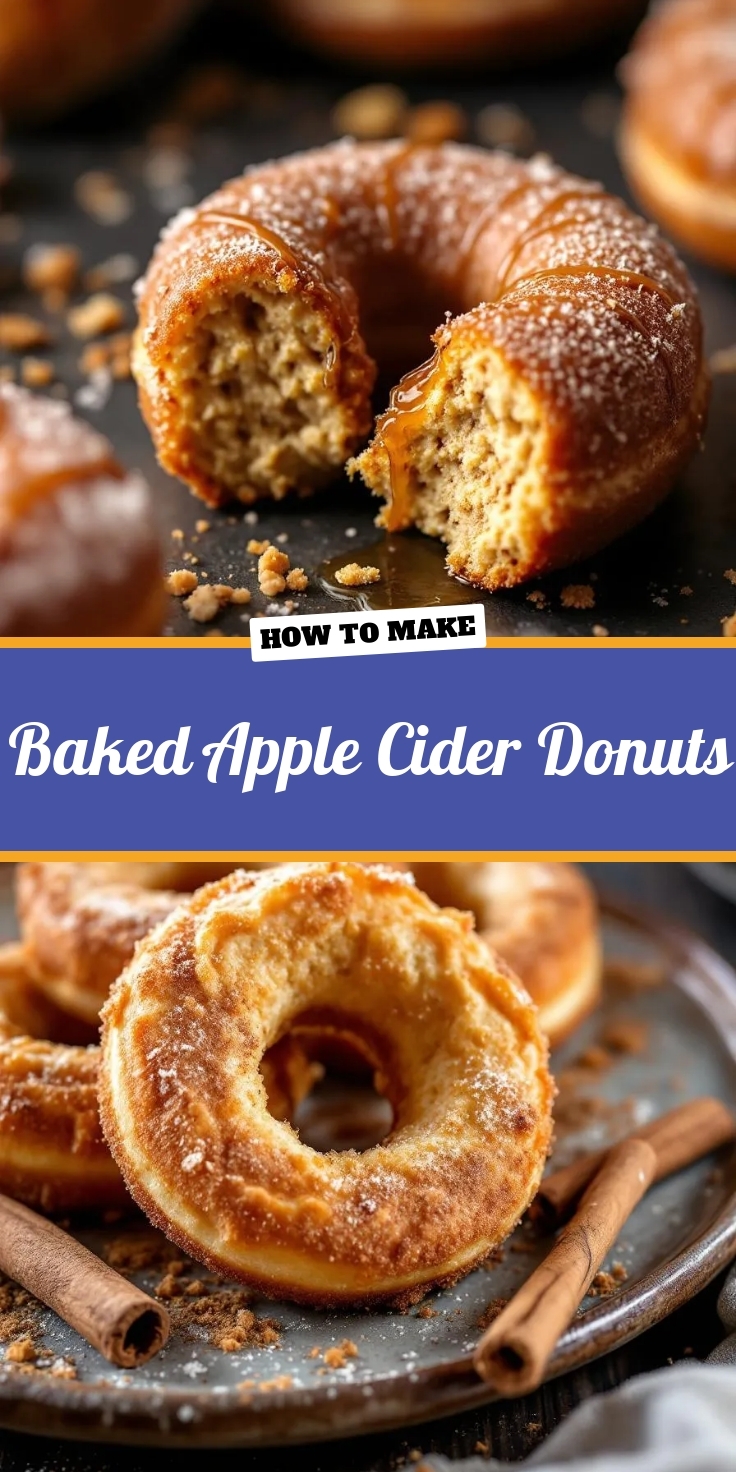
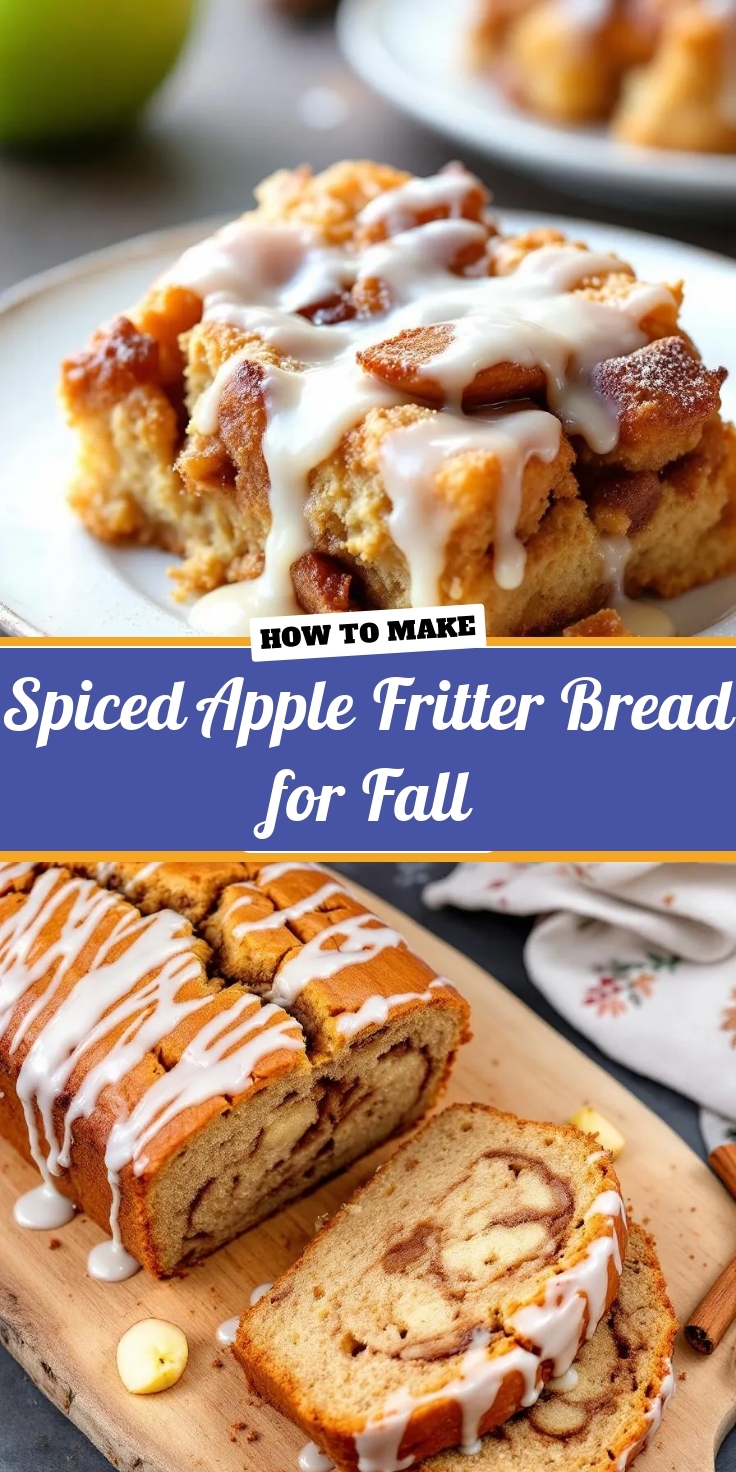
Is there anything more comforting than the smell of warm spices and baked apples wafting through your kitchen on a crisp autumn day? That first cool breeze just makes you crave something cozy, something that tastes like a hug from the inside. This Spiced Apple Fritter Bread for Fall captures that exact feeling. It transforms the classic, irresistible flavors of a fried apple fritter into a simple, no-fuss loaf that fills your home with an incredible aroma. Each slice offers a moist, tender crumb, sweet cinnamon-swirled apples, and a dreamy glaze that makes it impossible to resist a second piece.
About This Recipe
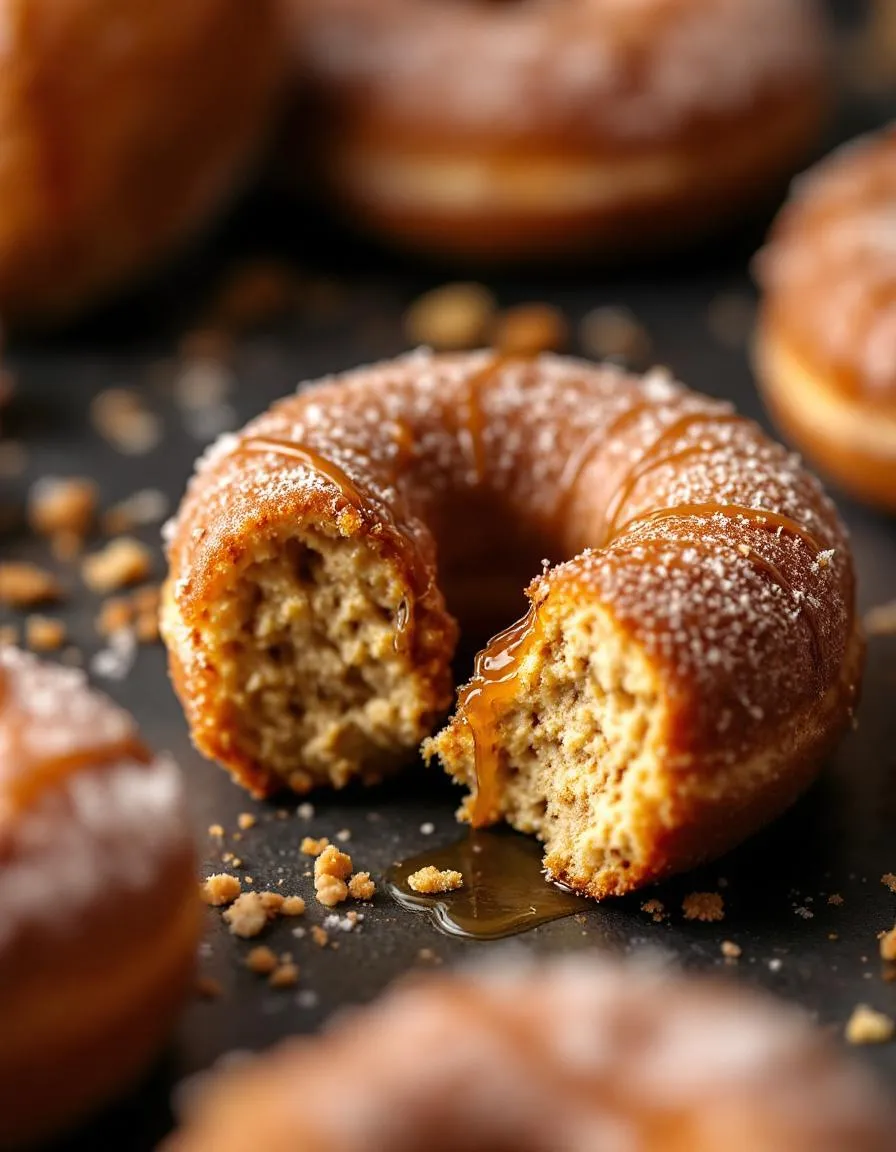
This Spiced Apple Fritter Bread for Fall is essentially the best parts of your favorite doughnut shop treat, reimagined as an easy-to-make quick bread. Fundamentally, it features a rich, spiced batter generously layered with a brown sugar and cinnamon-coated apple filling. Moreover, a simple vanilla glaze drizzled over the top adds the perfect final touch of sweetness. This recipe matters because it delivers all the nostalgic flavor and cozy warmth of autumn in one delightful loaf. Furthermore, it fits our blog’s tone perfectly by offering a from-scratch baking project that feels special yet remains completely approachable for bakers of any skill level.
We believe that the best baking celebrates the seasons, and this Spiced Apple Fritter Bread for Fall does exactly that. It utilizes fresh, in-season apples, which provide the perfect balance of sweetness and tartness. Consequently, the process of making it is just as enjoyable as eating it. The scent of cinnamon and nutmeg mingling with the apples is a quintessential fall experience. If you find yourself with a bounty of apples, this recipe is a fantastic way to use them. Additionally, for another seasonal favorite that uses a similar warm spice profile, you must try our classic Pumpkin Bread. Alternatively, if you adore apple desserts, our Apple Crisp is another reader favorite that never fails to impress.
Why I Love This Recipe
I love this Spiced Apple Fritter Bread for Fall because it instantly transports me back to my grandmother’s kitchen. She always had a knack for turning simple ingredients into the most magical treats, and this bread embodies that same spirit of humble generosity. The process of folding the spiced apples into the batter and watching the swirls form never fails to bring me joy. Ultimately, sharing a warm slice with a cup of coffee feels like sharing a piece of my family’s story, and that is a feeling I always want to pass on to you.
Health and Nutrition
Why it’s good for your body
Spiced Apple Fritter Bread for Fall offers a delightful way to nourish your body with seasonal ingredients. Firstly, apples provide a powerful dose of soluble fiber, which actively supports healthy digestion and helps you feel full and satisfied. Moreover, the warming spices like cinnamon and nutmeg do more than just add flavor; they also bring their own anti-inflammatory properties to every slice.
Additionally, this bread incorporates energy-sustaining complex carbohydrates from its whole grain foundation. Consequently, these carbs break down slowly, providing you with a steady release of fuel throughout your morning or afternoon. Furthermore, enjoying a homemade treat like this allows you to control the quality of ingredients, significantly reducing processed sugars and unhealthy fats often found in store-bought versions.
Ultimately, Spiced Apple Fritter Bread for Fall turns a simple indulgence into a smarter choice. The combination of fruit, fiber, and functional spices makes each serving a genuinely beneficial part of your autumn routine.
How it fits in a healthy lifestyle
This Spiced Apple Fritter Bread for Fall fits beautifully into a balanced eating plan. Think of it as a satisfying component of a varied diet rather than a forbidden treat. You can easily enjoy a slice for a weekend breakfast alongside a source of protein like Greek yogurt or a handful of nuts to create a complete and sustaining meal.
For those mindful of their baking habits, you can explore our guide on healthy baking substitutions to tailor this recipe to your needs, perhaps by reducing sugar or using whole wheat flour. Embracing this kind of mindful indulgence is key to a sustainable healthy lifestyle. It satisfies seasonal cravings perfectly, which helps you avoid feeling deprived. If you’re looking for more ways to enjoy wholesome ingredients, check out our collection of nutritious fall desserts that celebrate the best flavors of the season without compromise.
PrintSpiced Apple Fritter Bread for Fall
Description
A moist, spiced quick bread swirled with cinnamon-sugar apples and topped with a sweet glaze, perfect for autumn mornings.
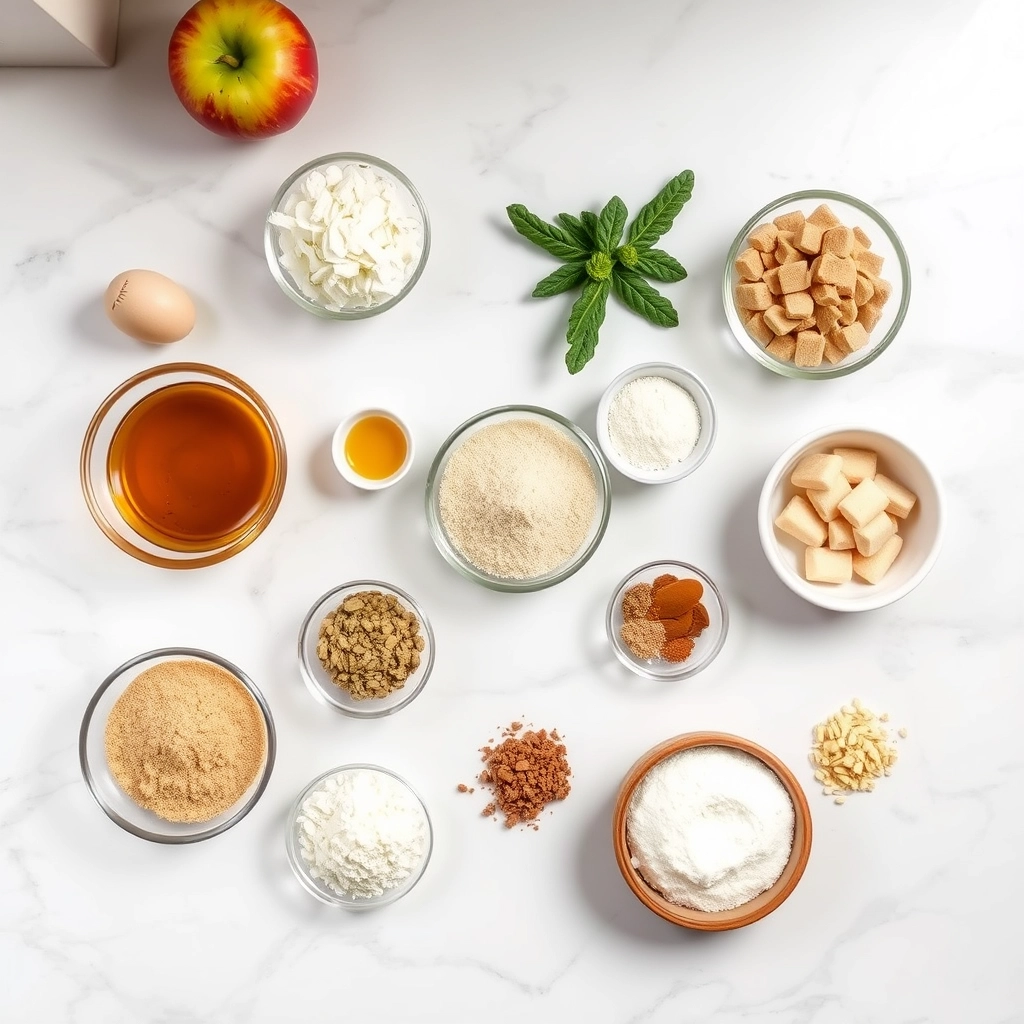
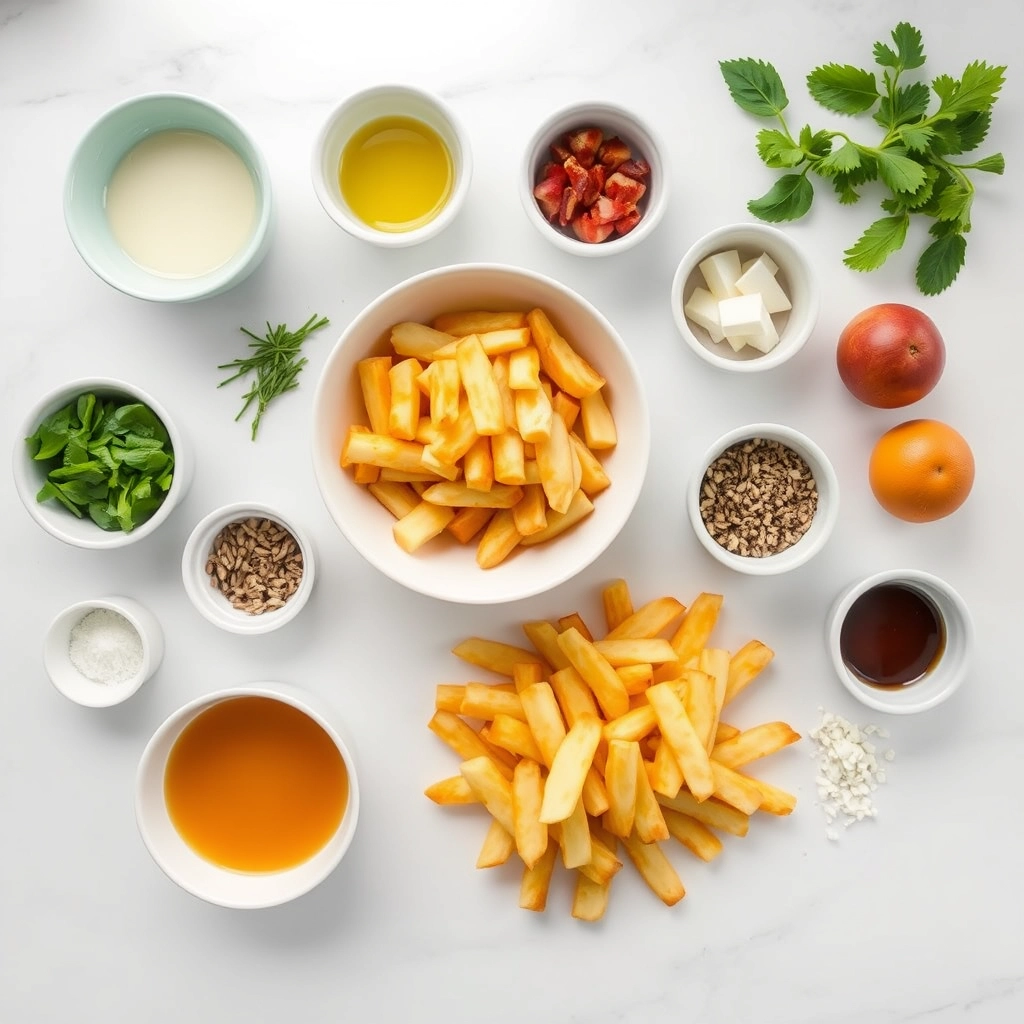
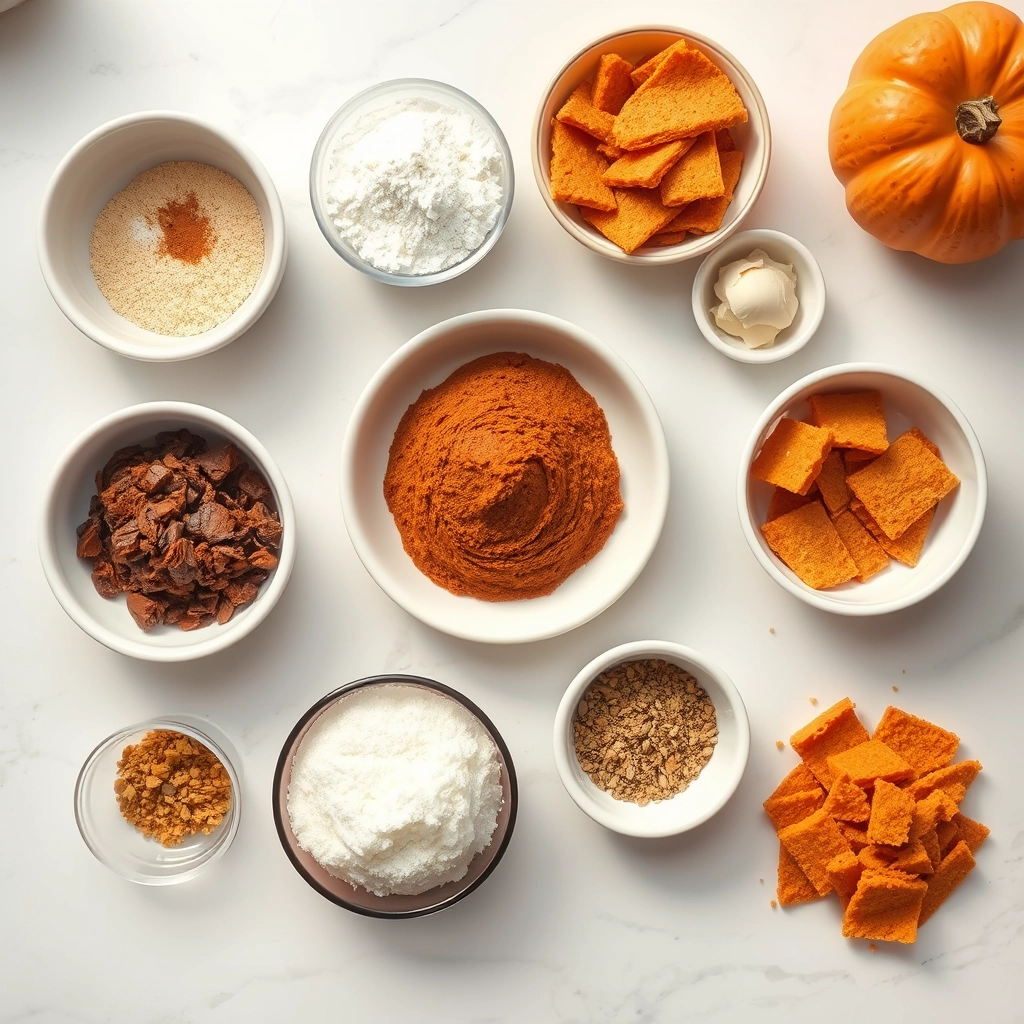
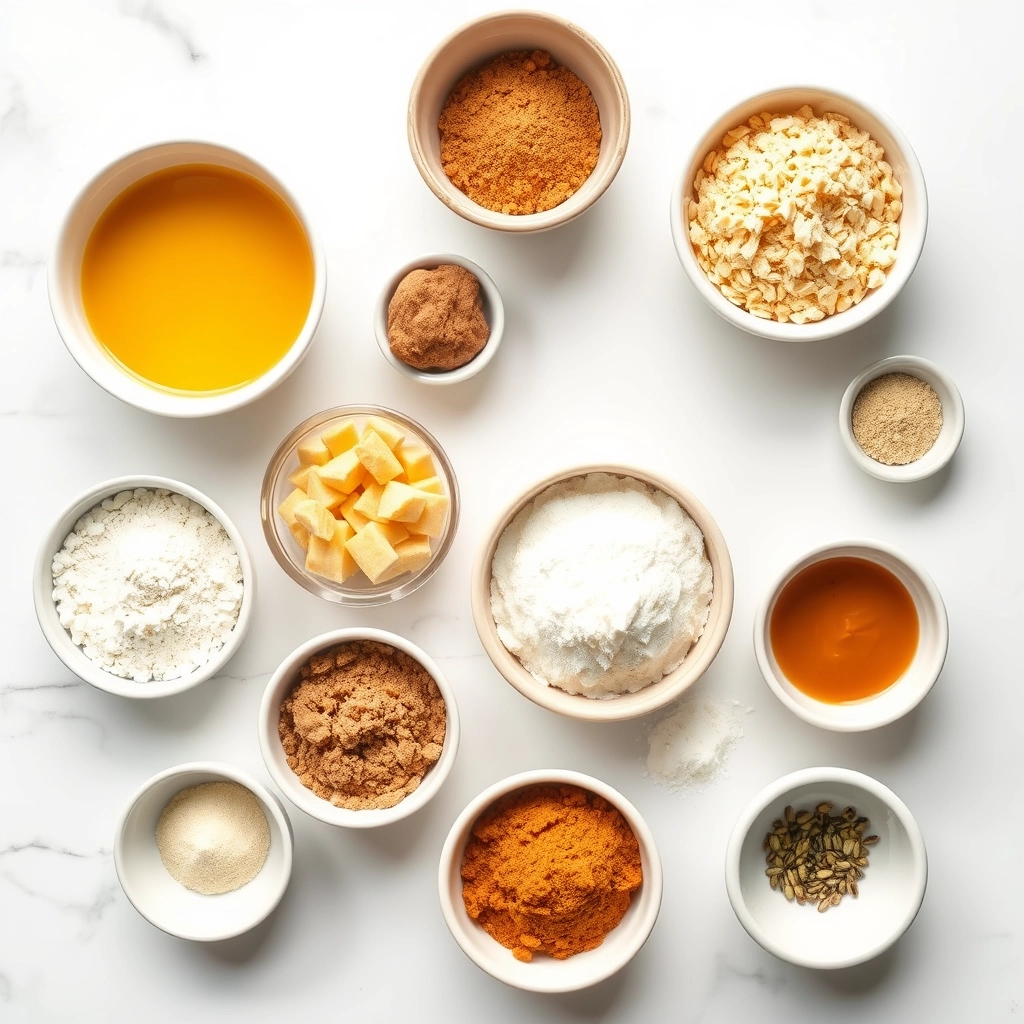
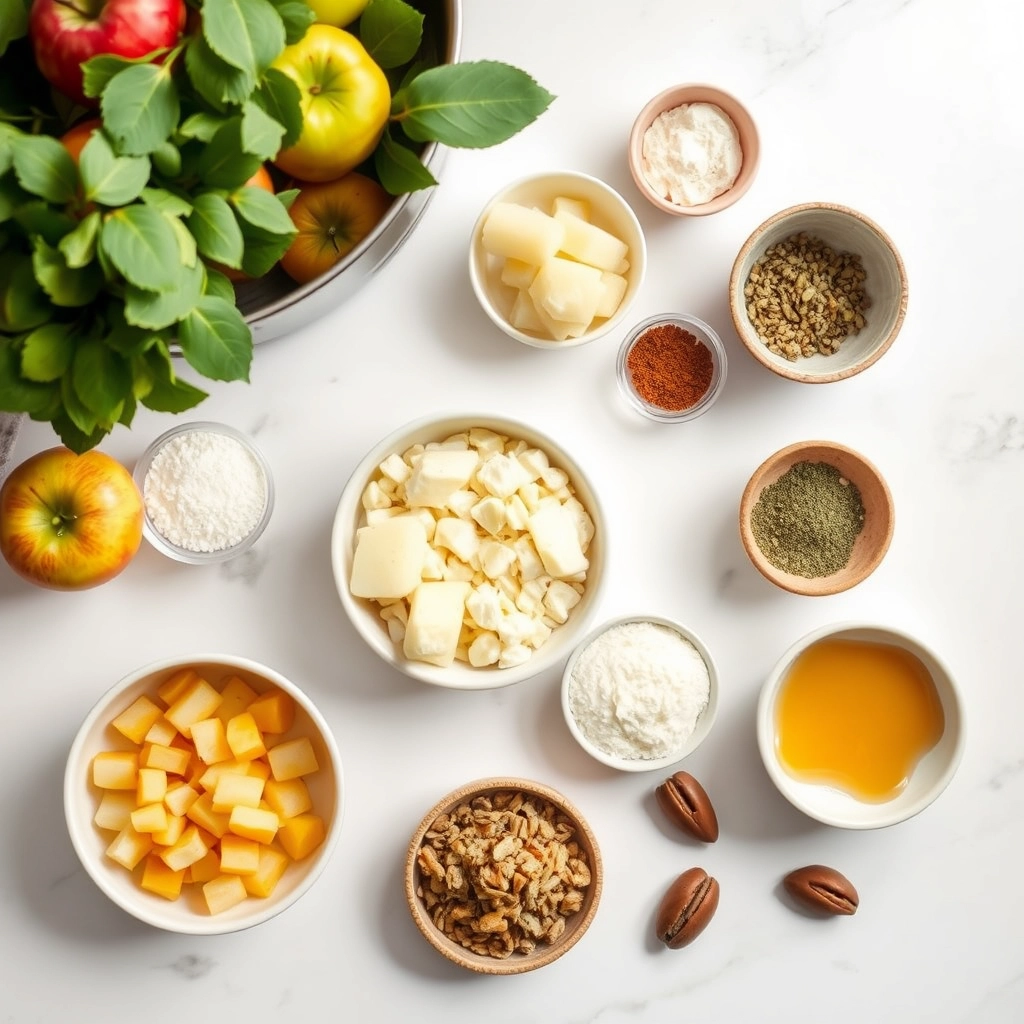
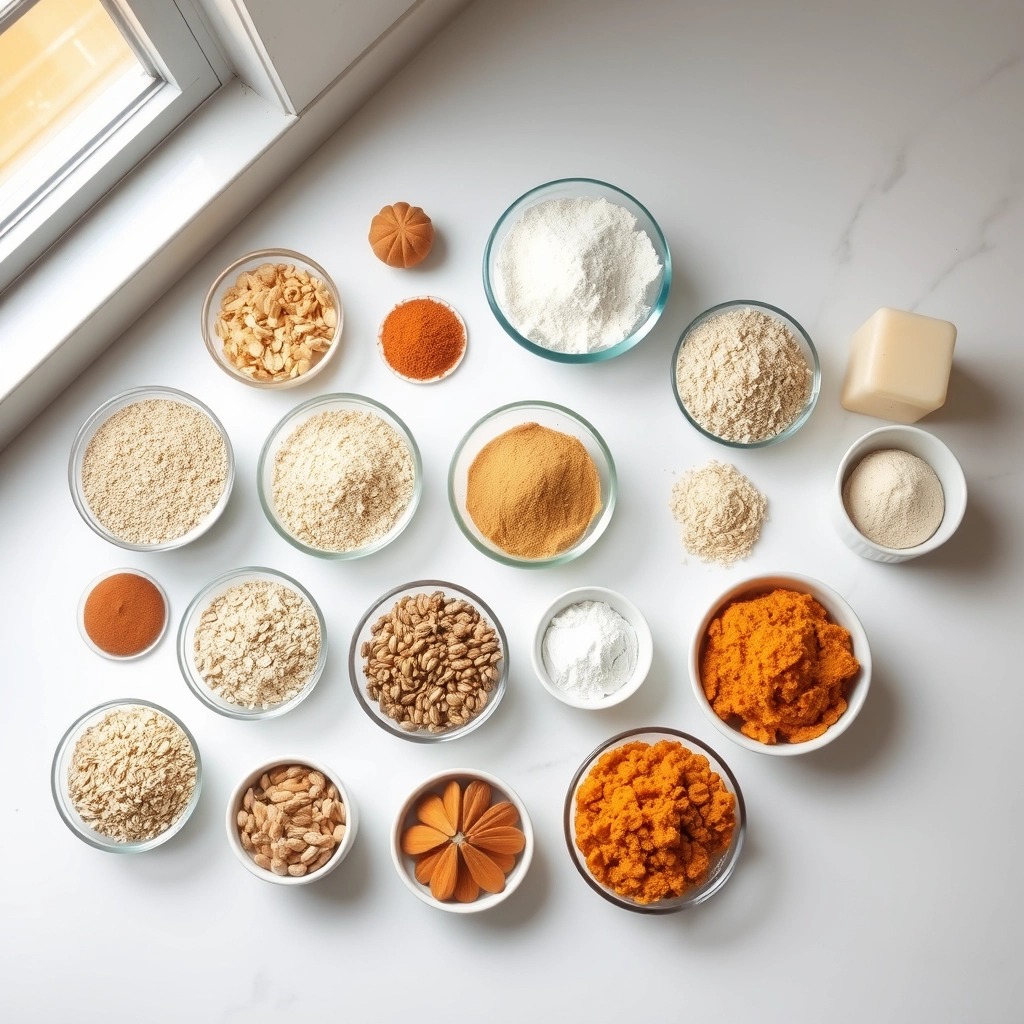
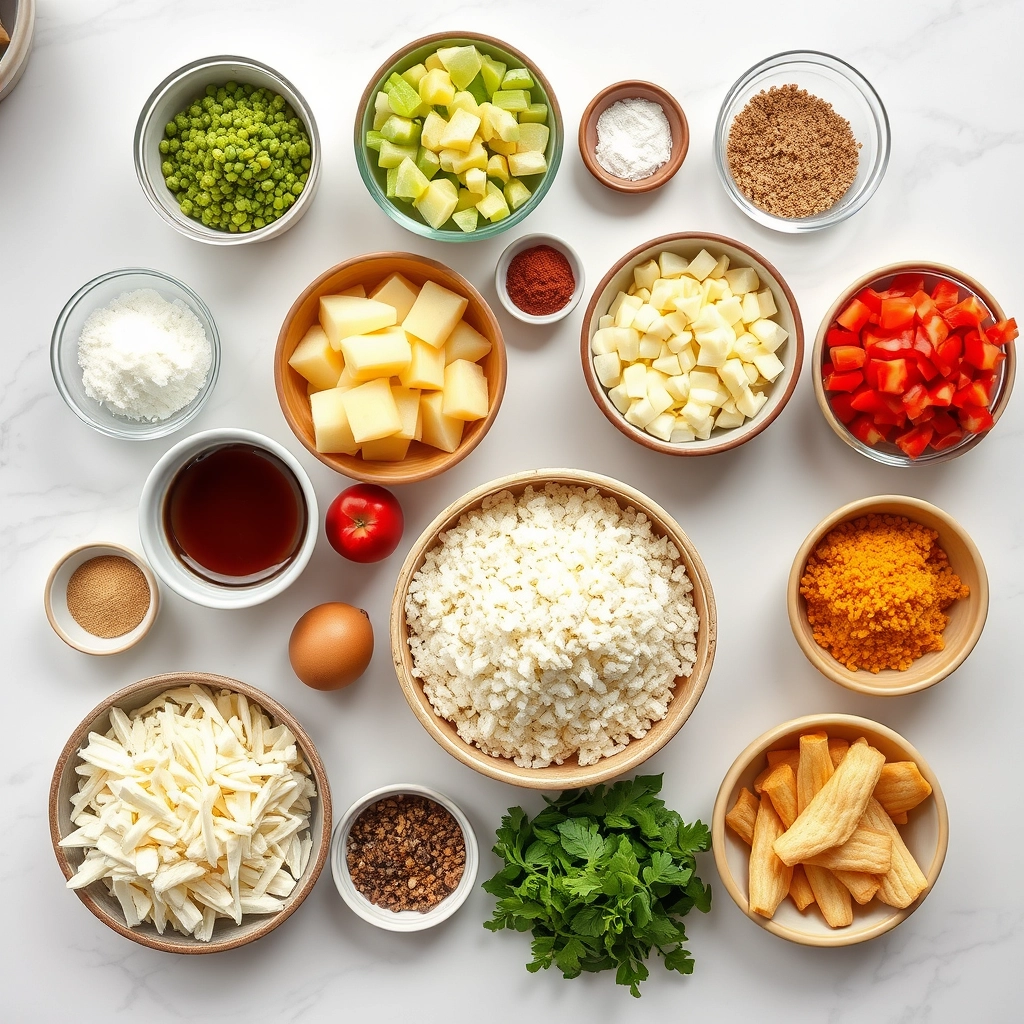
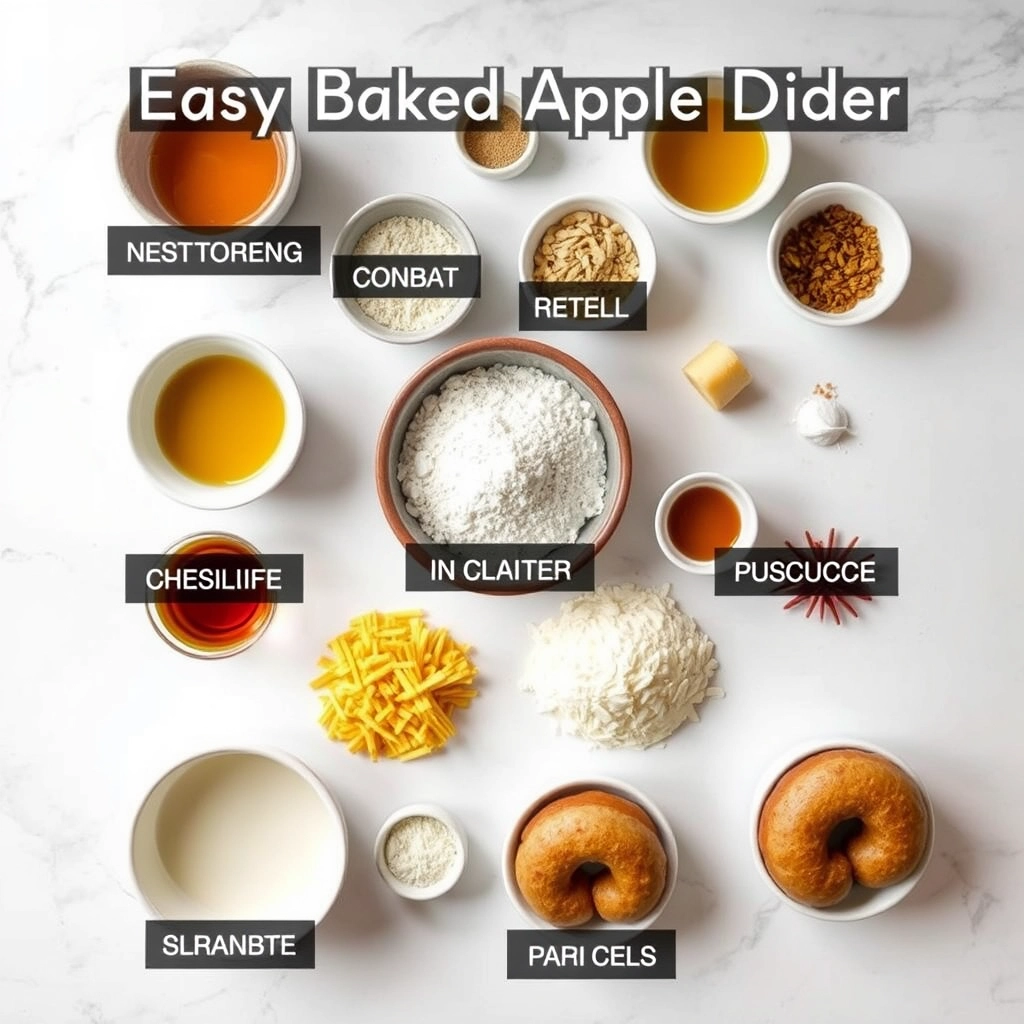
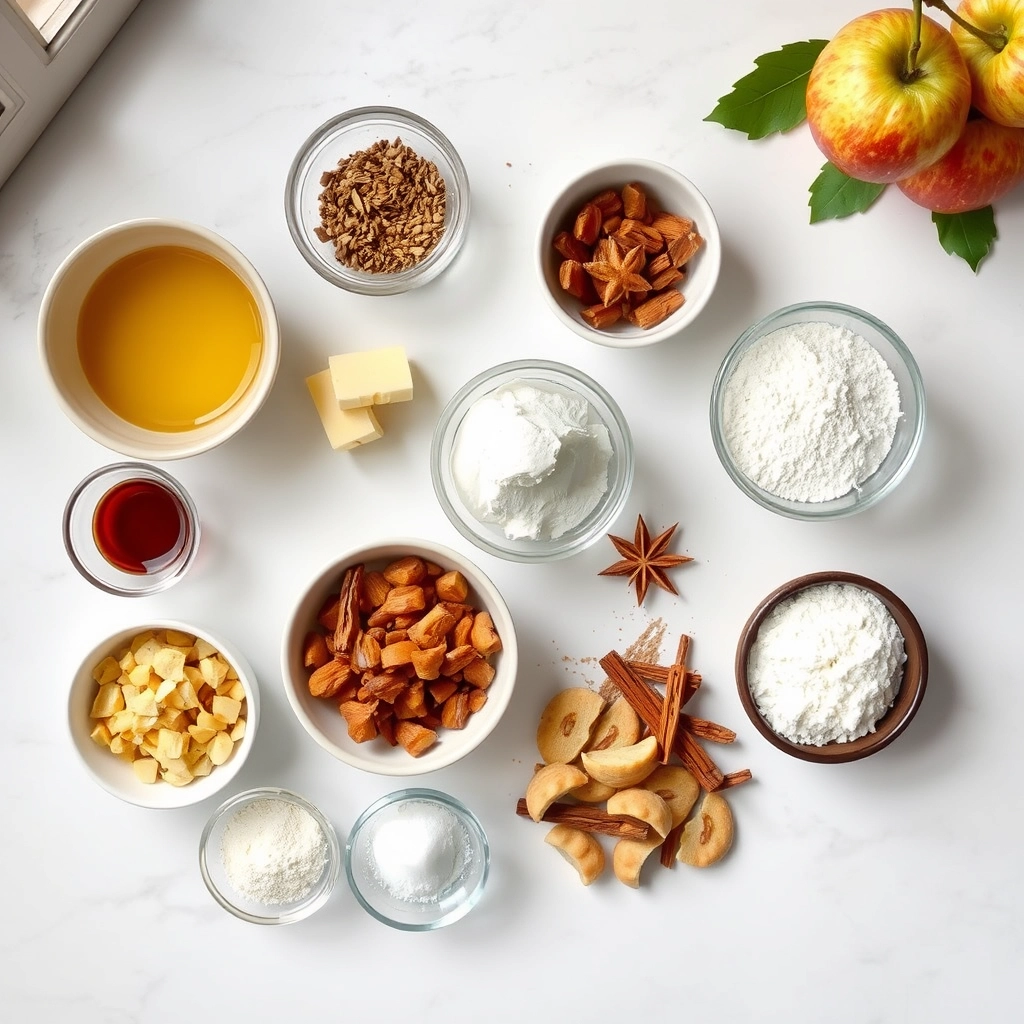
Ingredients
For the Crust:
- 2 cups all-purpose flour
- 1 tsp baking powder
- 1/2 tsp baking soda
- 1/2 tsp salt
- 2 tsp ground cinnamon
- 1/2 tsp ground nutmeg
- 1/2 cup unsalted butter, softened
- 3/4 cup granulated sugar
- 2 large eggs
- 1 tsp vanilla extract
- 1/2 cup sour cream
- 2 medium apples, peeled and diced
- 1/4 cup brown sugar
- 1 cup powdered sugar
- 2 tbsp milk
Instructions
1. Prepare the Crust:
- Preheat oven to 350°F. Grease a 9×5-inch loaf pan.
- In a bowl, whisk together flour, baking powder, baking soda, salt, cinnamon, and nutmeg.
- Cream butter and granulated sugar until fluffy. Beat in eggs one at a time, then vanilla. Mix in sour cream.
- Gradually add dry ingredients to wet, mixing until just combined. Fold in diced apples.
- Pour batter into prepared pan. Sprinkle brown sugar over top. Bake 50-60 minutes or until a toothpick comes out clean.
- Cool in pan 10 minutes, then transfer to a wire rack. Whisk powdered sugar and milk for glaze; drizzle over cooled bread.
Notes
You can customize the seasonings to taste.
How to Prepare This Dish
Steps and time-saving tips
First, preheat your oven and generously grease a loaf pan. Next, whisk together all your dry ingredients in a large bowl. In a separate bowl, vigorously mix the wet ingredients until they are completely smooth and well-blended. Gradually pour the wet mixture into the dry ingredients, then gently fold everything together with a spatula. Remember, a few lumps in the batter are perfectly fine; overmixing will lead to a tough loaf. Meanwhile, toss your chopped apples with the cinnamon-sugar filling until each piece is thoroughly coated. Now, layer half of your batter into the prepared pan, then spoon half of the spiced apple mixture over it. Repeat these layers one more time, finishing with a final dusting of that irresistible cinnamon sugar. Finally, bake until a toothpick inserted into the center comes out clean. For a speedy cleanup, simply line your pan with parchment paper. Moreover, you can prepare the cinnamon swirl mixture ahead of time and store it in a jar. Let the bread cool slightly before you drizzle the simple glaze on top. Ultimately, this process creates an incredibly moist and flavorful Spiced Apple Fritter Bread for Fall.
Mistakes I’ve made and learned from
I once rushed the mixing process for my Spiced Apple Fritter Bread for Fall and ended up with a dense, tunneled crumb that was more brick than bread. I learned the hard way that gently folding the batter just until combined is non-negotiable for a tender texture. Another common hiccup involved my apples sinking straight to the bottom. Now, I always toss them in a light dusting of flour first, which helps them suspend beautifully throughout the loaf. This little trick is a game-changer, much like the lessons I picked up from my early baking mistakes. Getting the bake time just right was another challenge; my first few loaves were slightly underdone in the middle. I finally invested in an oven thermometer to ensure accurate temperature, a crucial step I now recommend to everyone, especially when trying new treats like this amazing pumpkin bread. Learning from these errors truly makes each new bake better than the last.

Cultural Connection and Variations
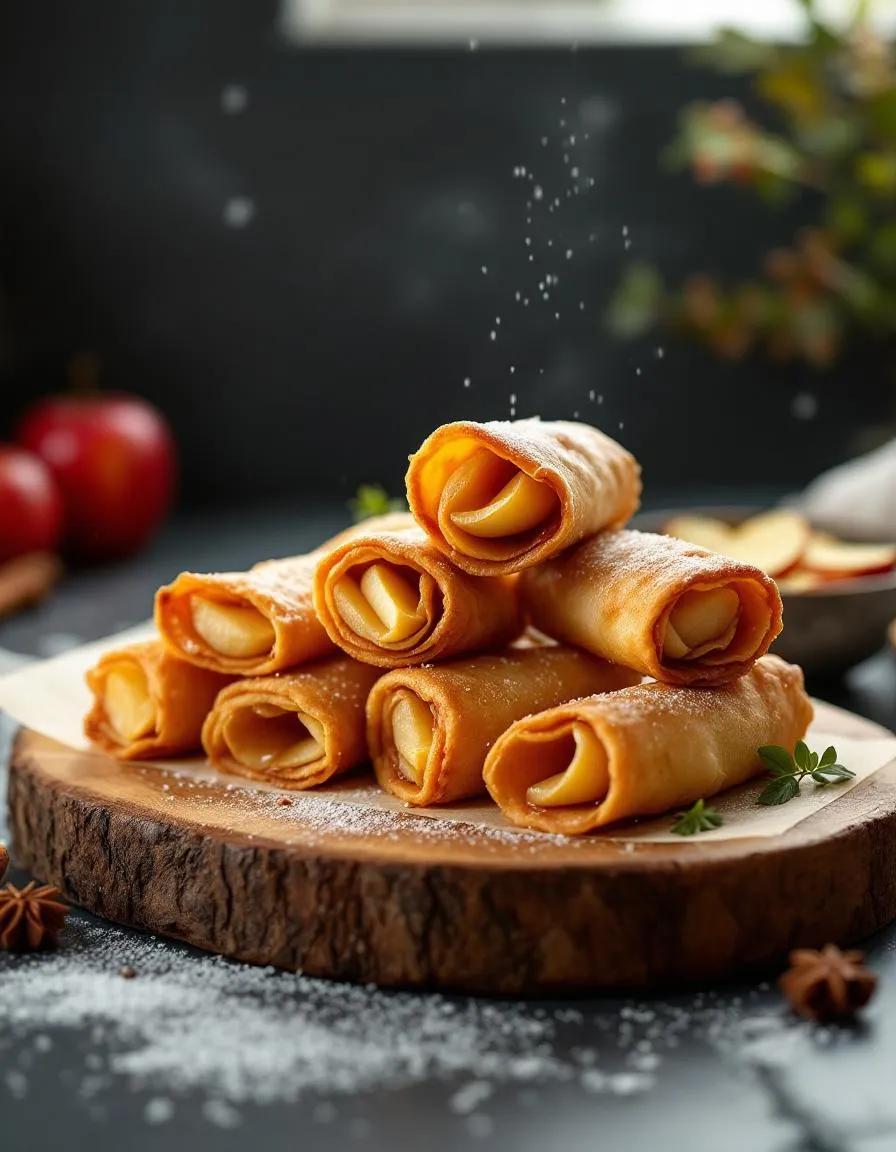
Where this recipe comes from
My grandmother always said that autumn did not truly begin until the scent of cinnamon and baked apples filled her kitchen. Consequently, her Spiced Apple Fritter Bread for Fall became our family’s official welcome to the season. She would use a mix of tart Granny Smith and sweet Honeycrisp apples from the local orchard, claiming the variety gave the loaf its perfect balance. This recipe, however, has roots that stretch far beyond our family table. Essentially, it borrows the soul-warming concept of apple fritters—a treat many cultures claim—and transforms it into a simpler, bakeable form. In the Netherlands, for instance, they serve oliebollen, spiced apple fritters, on New Year’s Eve. Meanwhile, in parts of Germany, you might find apfelküchle, thin apple rings fried to a crisp. Our Spiced Apple Fritter Bread for Fall captures that same festive, spiced spirit but in a comforting loaf perfect for a cozy morning with coffee. Some families add a handful of nuts for crunch, while others might soak their apples in rum or brandy for a deeper flavor. Personally, we always keep it non-alcoholic so the kids can enjoy it too. Ultimately, this bread connects us to a global tradition of celebrating the apple harvest.
How it fits in today’s cooking
This bread absolutely thrives in modern kitchens because it delivers incredible flavor without the fuss of deep frying. Furthermore, it fits perfectly into today’s trend of seasonal, comfort-food baking. Busy home cooks often adapt the recipe by preparing the batter the night before and baking it fresh in the morning. You can easily find inspiration for other make-ahead breakfasts, like our popular Overnight Cinnamon Rolls, to simplify your routine. Spiced Apple Fritter Bread for Fall also holds a special place in holiday traditions, often appearing alongside other baked goods during gatherings. Moreover, its incredible aroma makes your entire home feel festive and warm. For a complete fall breakfast spread, many people pair a slice of this moist bread with a creamy pumpkin spice latte. This bread proves that some traditions not only endure but also evolve beautifully to fit our current lives.
Taste and Texture
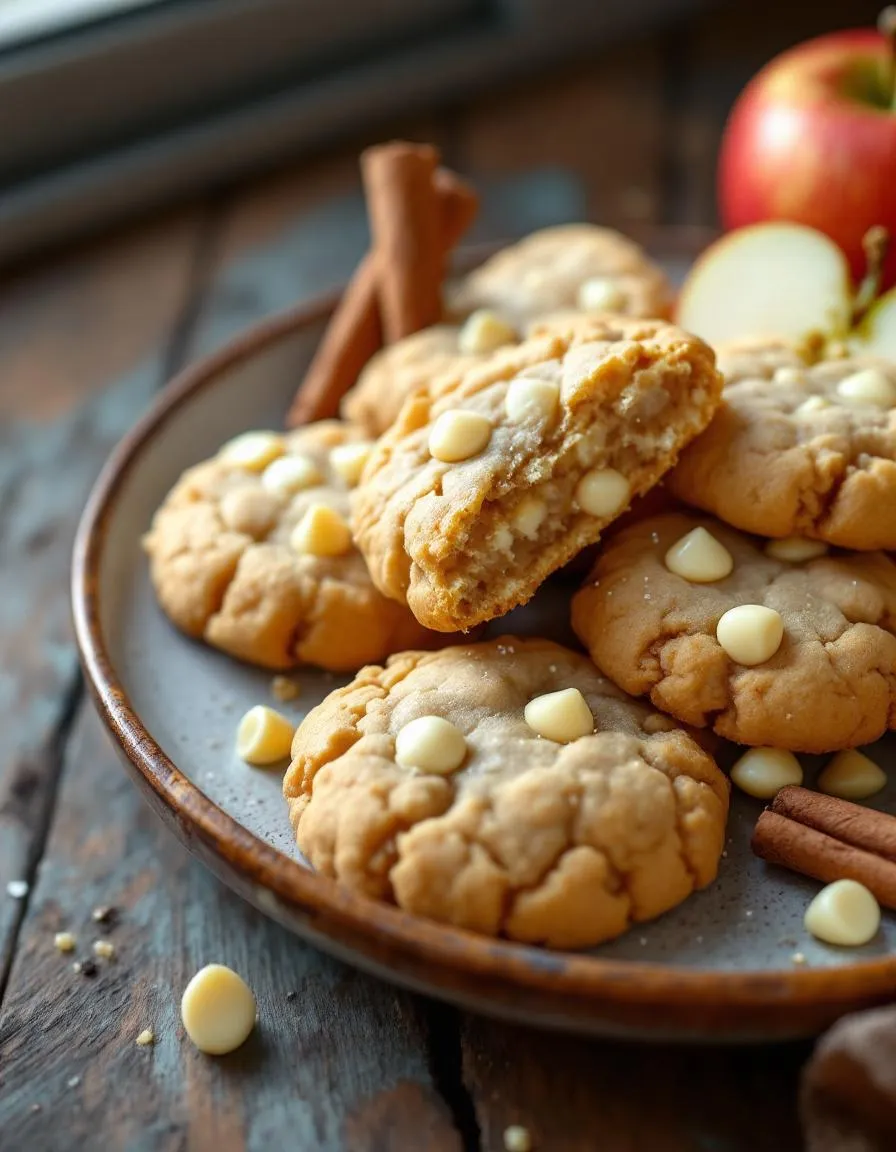
What makes it delicious
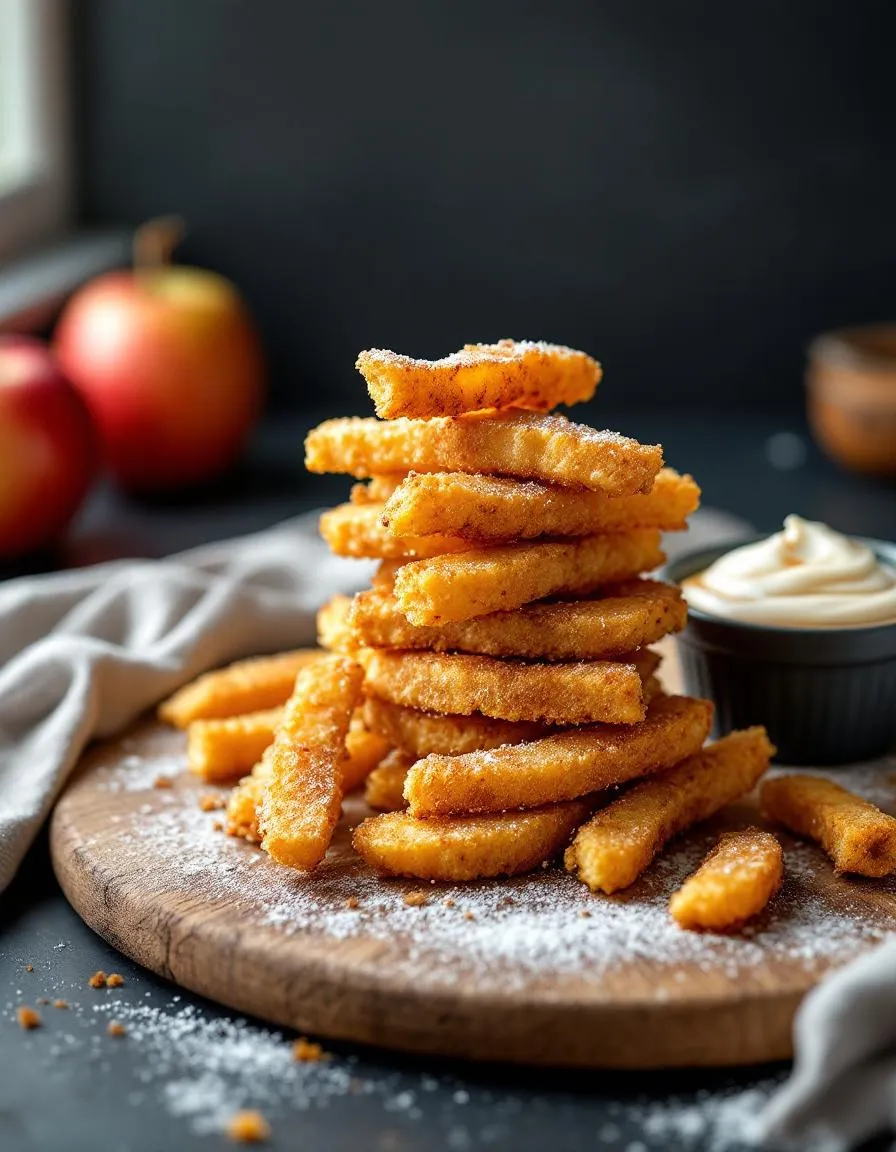
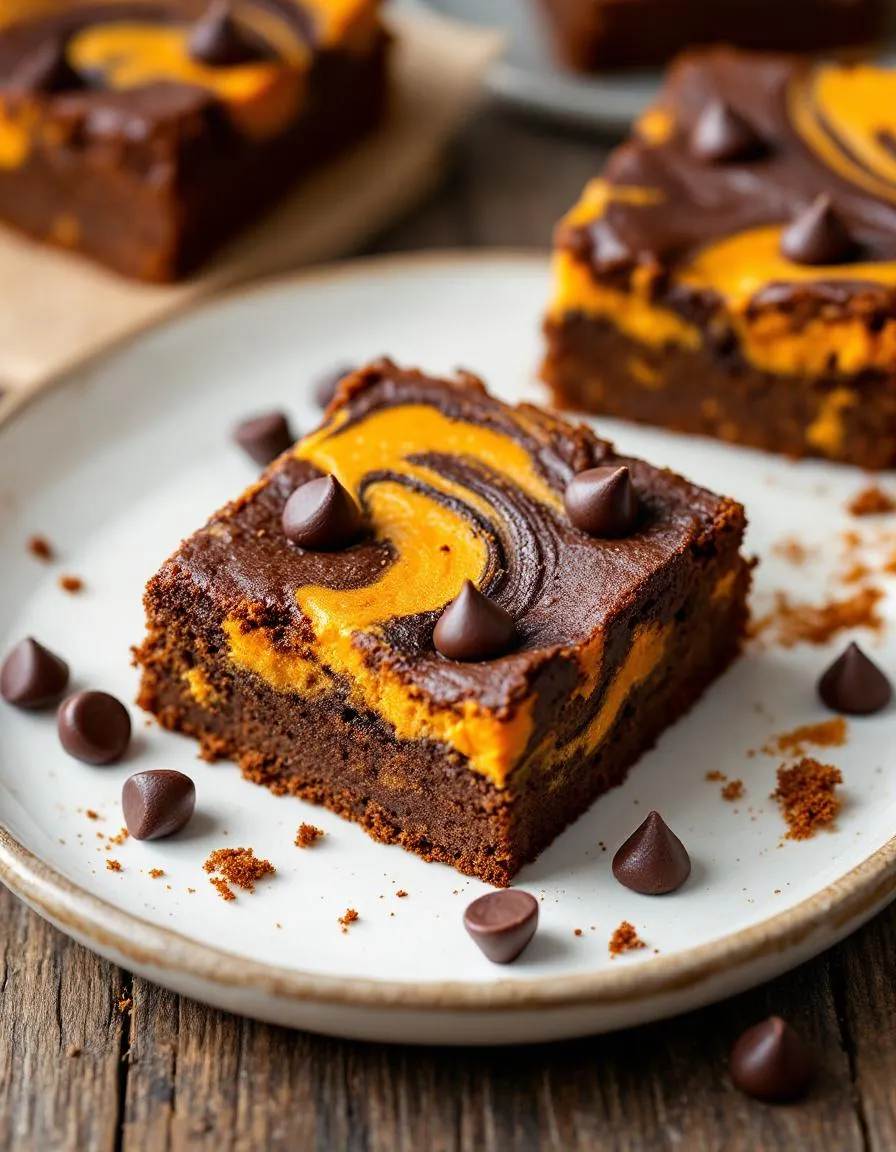
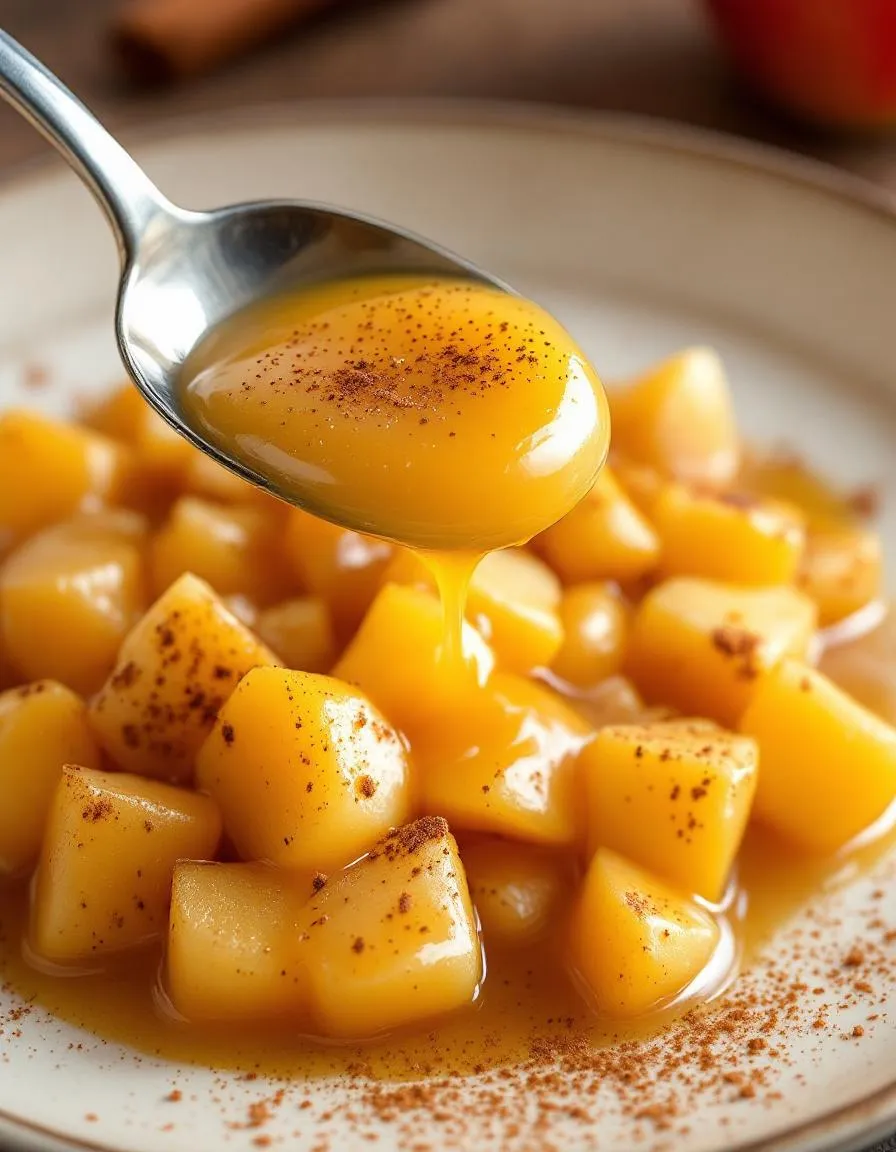
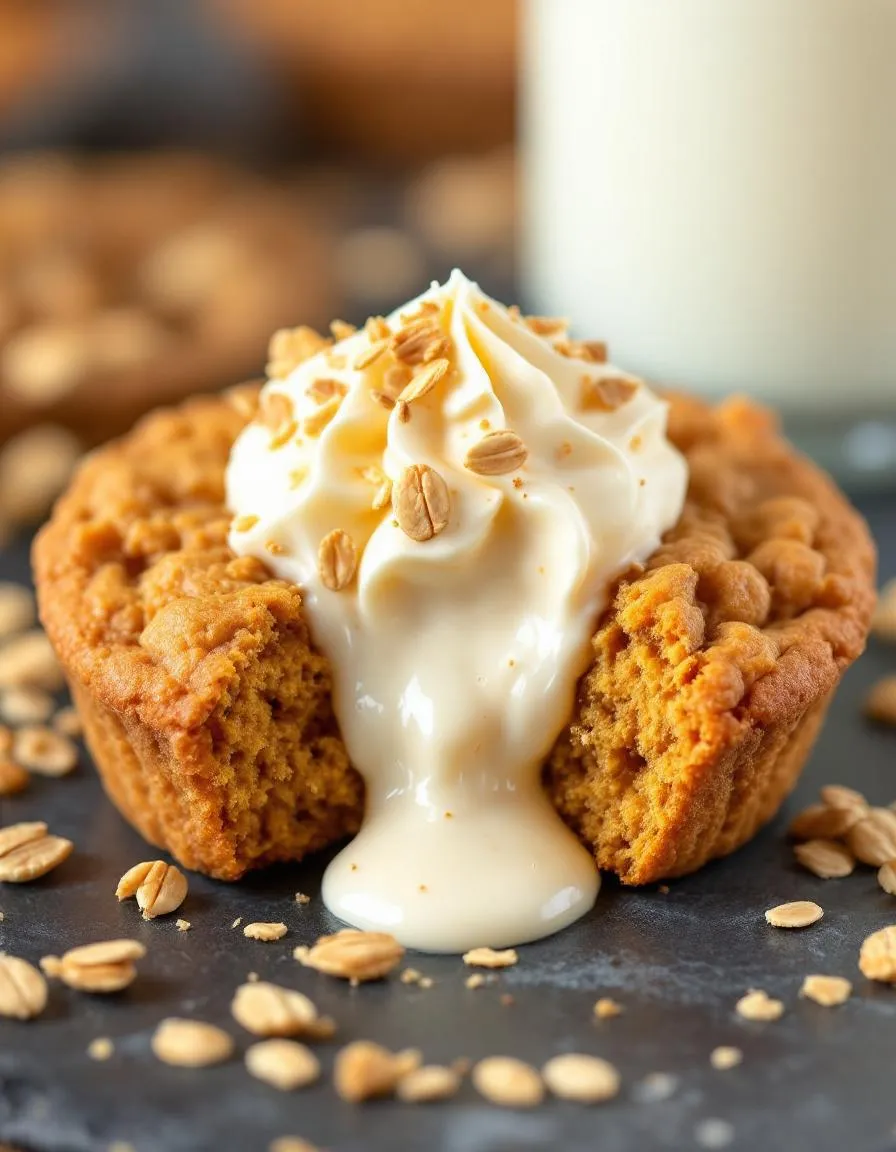
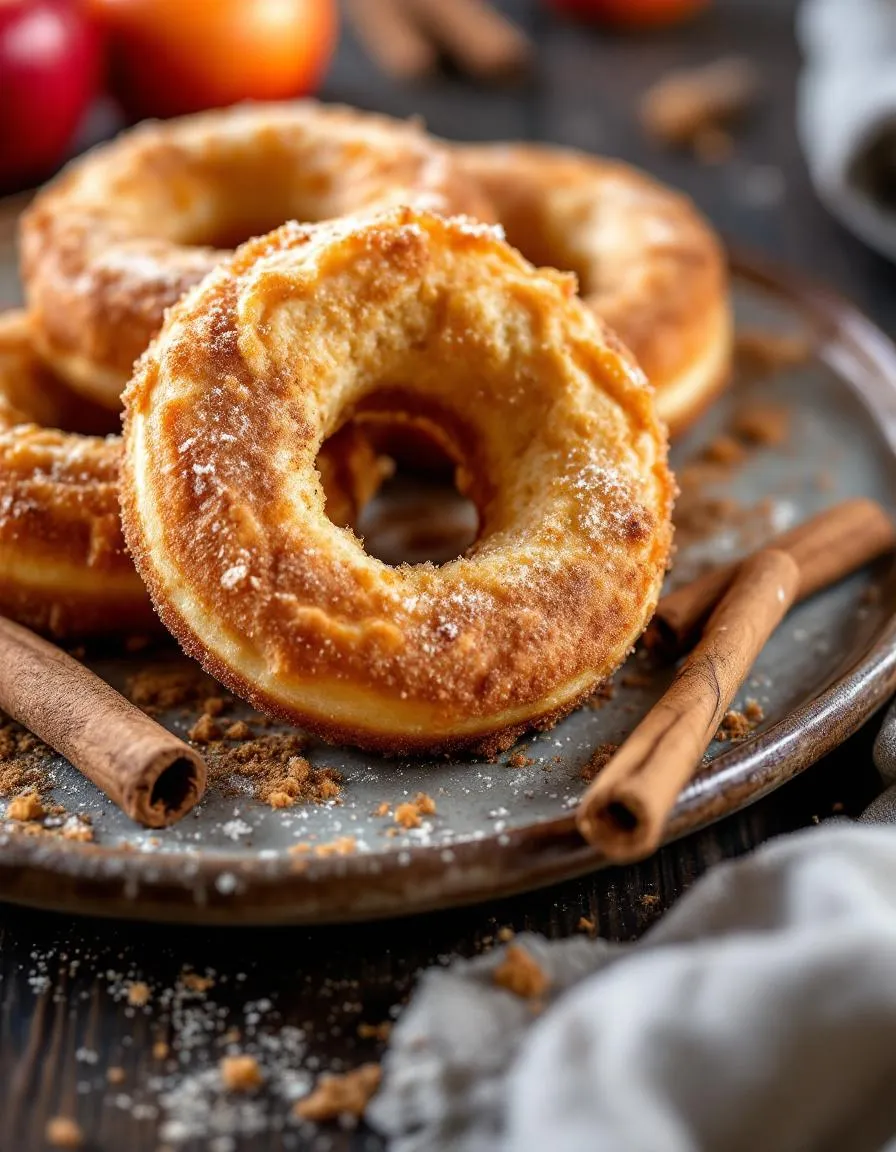
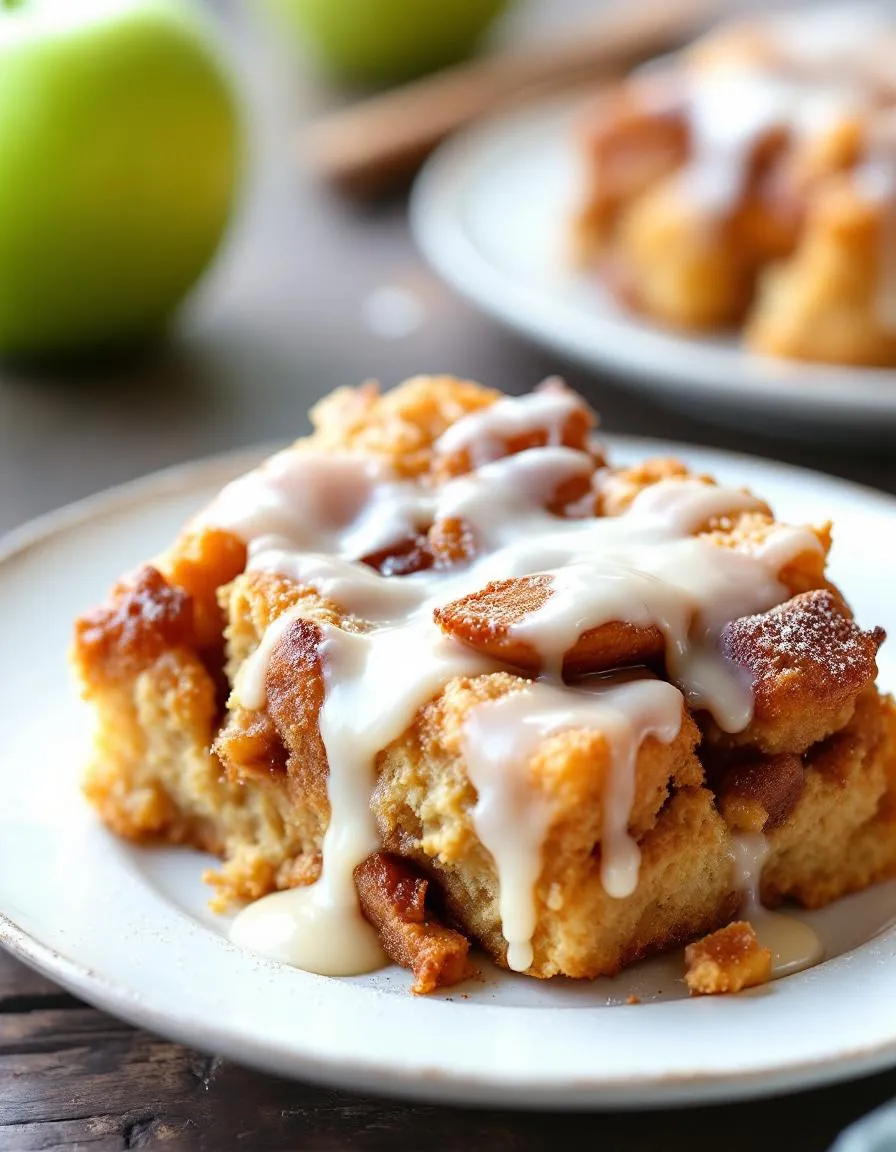
This Spiced Apple Fritter Bread for Fall delivers a truly decadent experience. Firstly, each bite offers a soft, cake-like crumb that practically melts in your mouth. Meanwhile, the generous ribbon of cinnamon sugar and tender apple chunks creates a delightful, gooey swirl. Consequently, you get warm notes of nutmeg and cinnamon in every slice, which perfectly complement the sweet, tart apples. Ultimately, the crunchy streusel topping provides a satisfying contrast to the moist interior. The entire kitchen smells like a cozy autumn day while it bakes, making this Spiced Apple Fritter Bread for Fall an irresistible sensory treat.
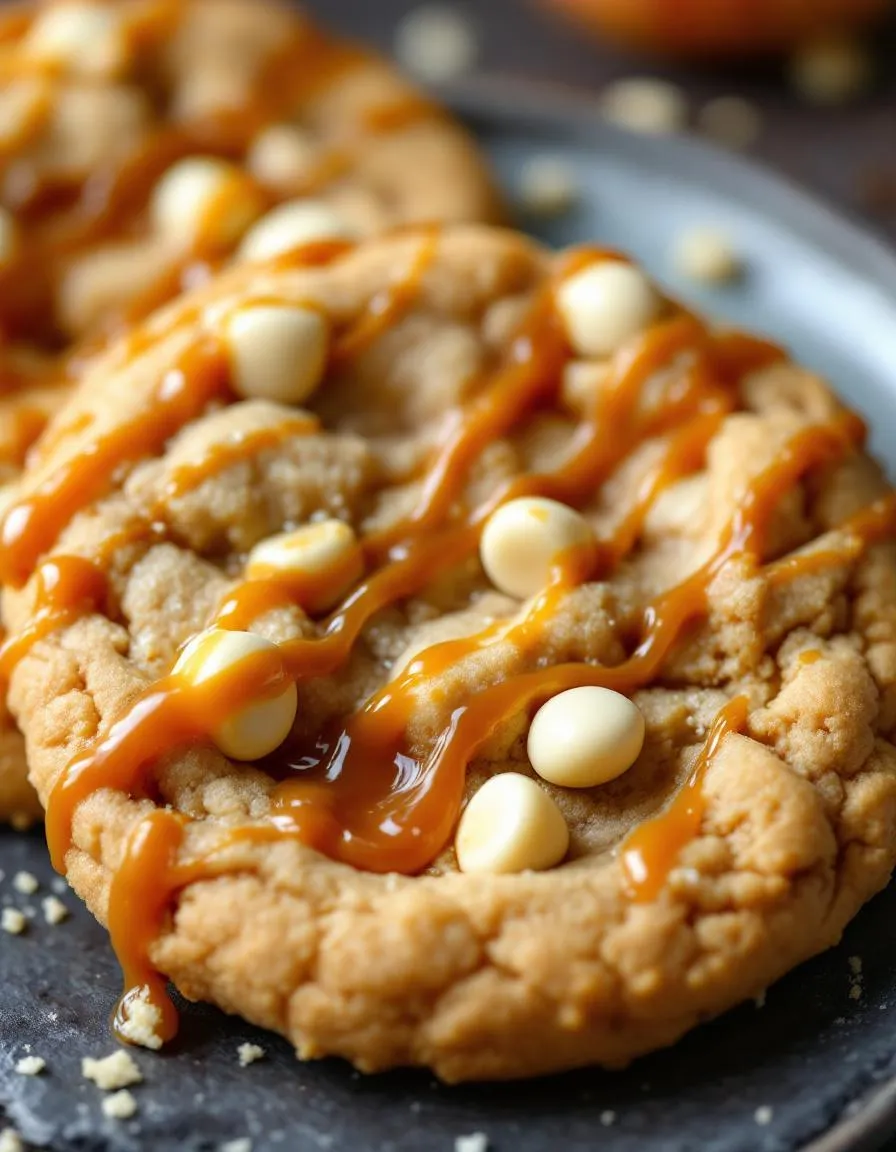
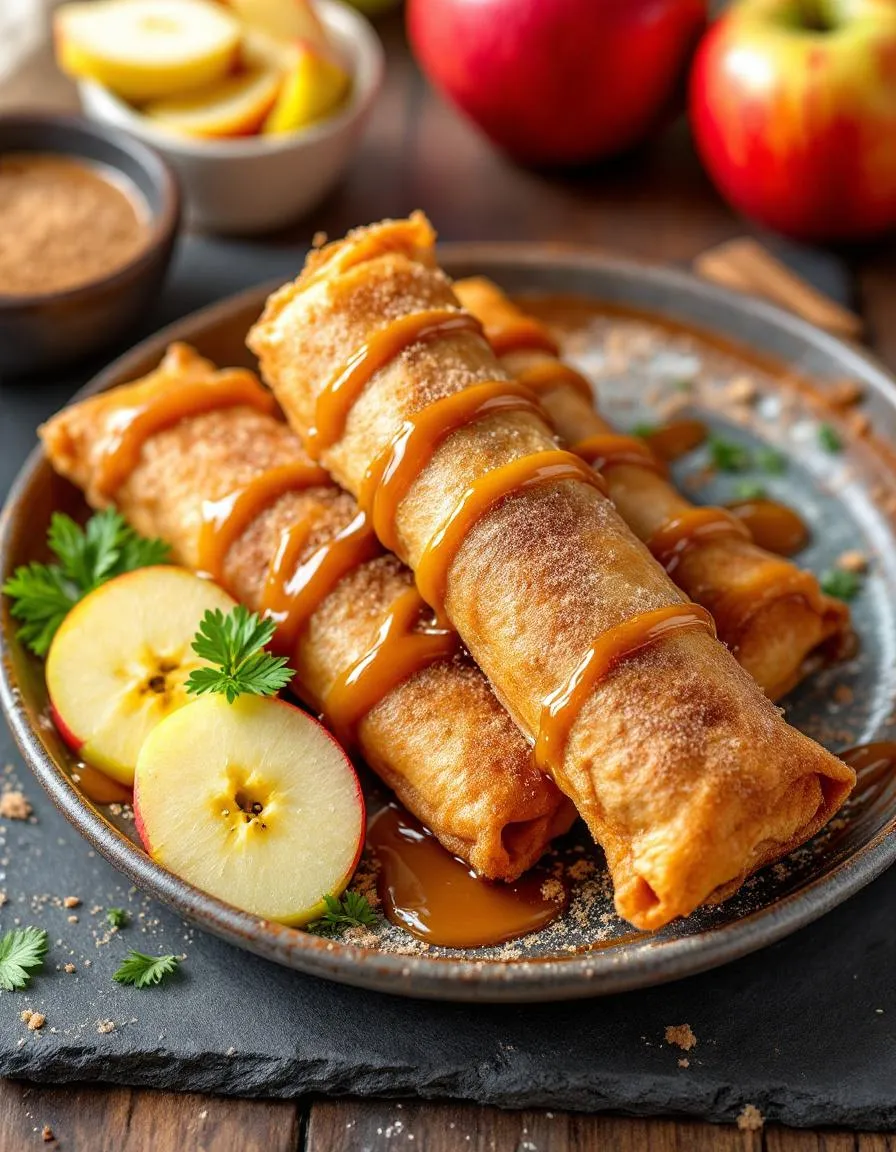
Boosting the flavor
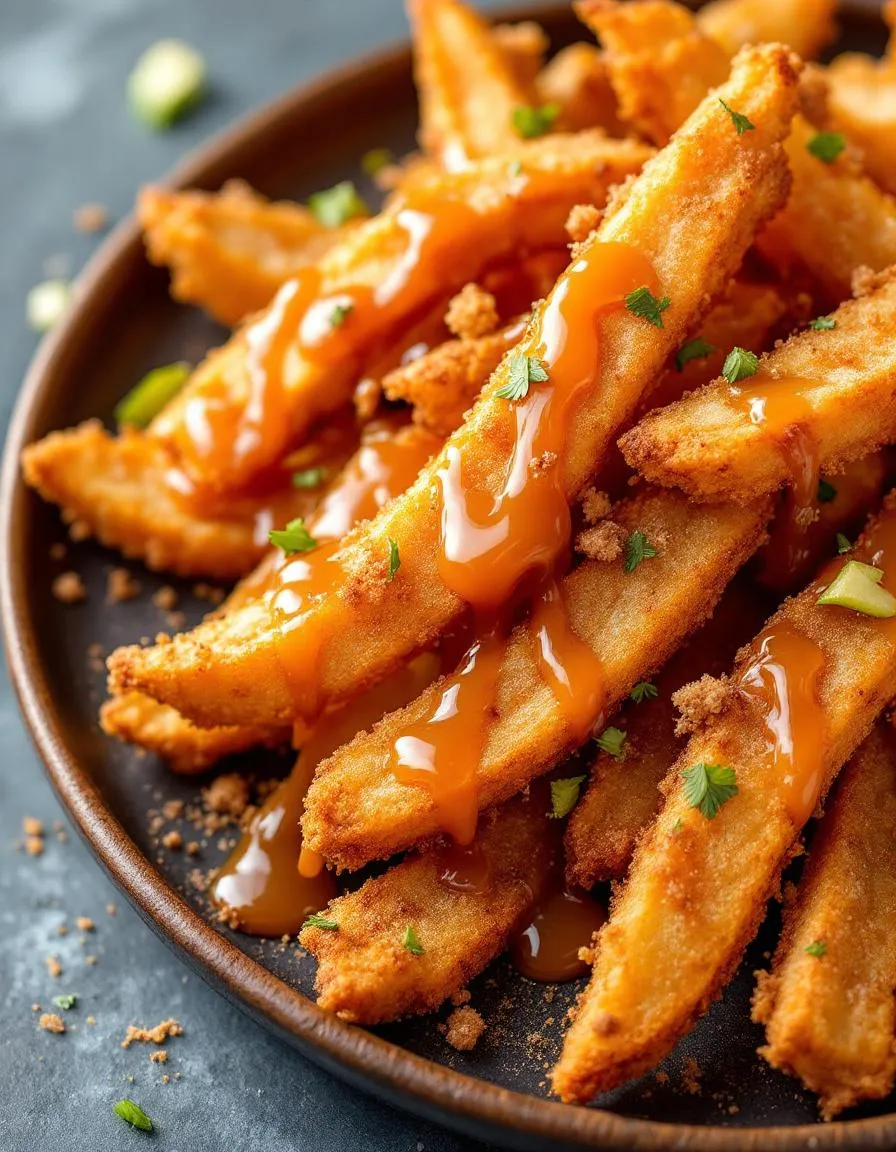
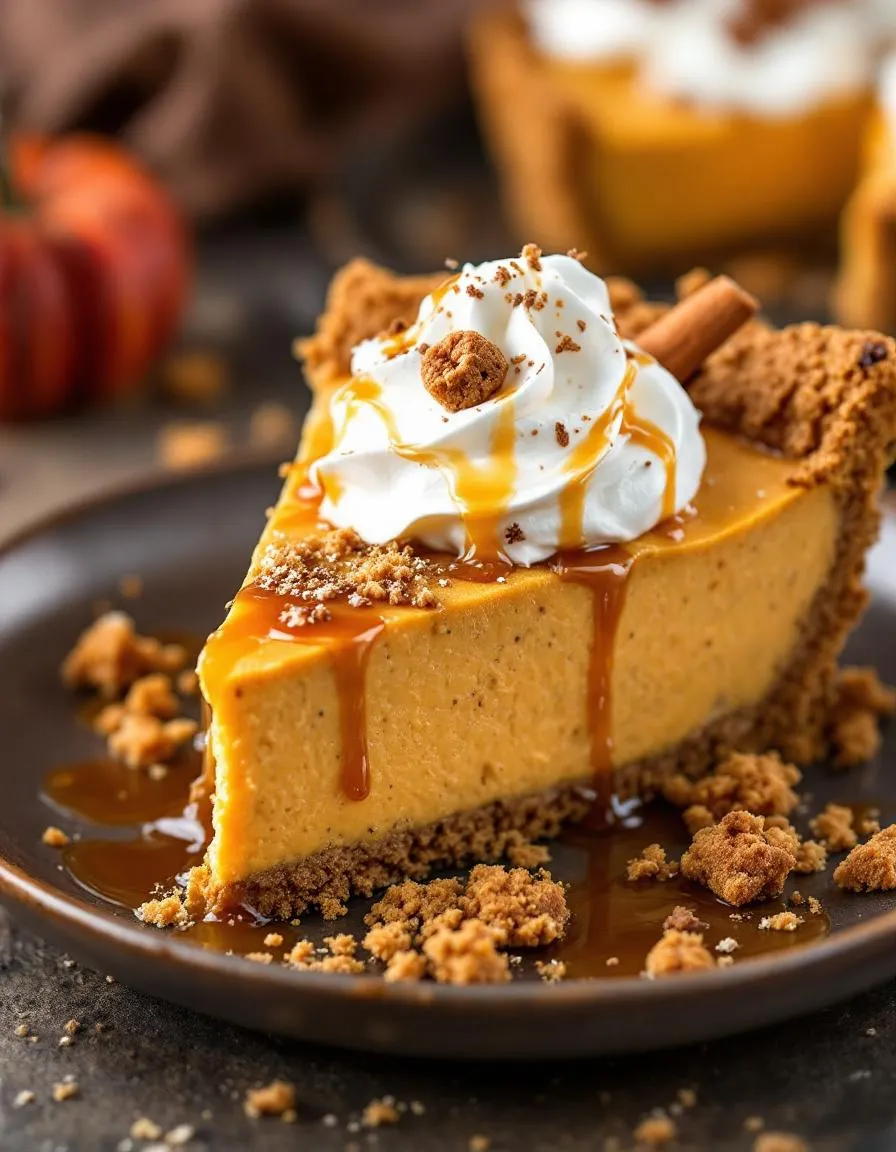
You can easily elevate this recipe with a few creative twists. For instance, try swapping the walnuts in the streusel for pecans to add a richer, buttery crunch. Additionally, a simple drizzle of our vanilla glaze right before serving introduces a sweet, creamy finish that soaks into the warm bread beautifully. Furthermore, serving a warm slice alongside a scoop of salted caramel ice cream creates an unforgettable dessert. Finally, a pinch of cardamom in the spice mix will introduce a unique, aromatic warmth that makes the apples truly shine.

Tips for Success
Best practices for results
Always use room temperature ingredients for your Spiced Apple Fritter Bread for Fall because they combine more smoothly. Furthermore, do not overmix the batter after adding the flour to guarantee a tender crumb. Additionally, generously coat your apple pieces in the cinnamon-sugar mixture for those perfect sweet pockets. Finally, let the loaf cool in the pan for at least twenty minutes before transferring it to a wire rack.
Mistakes to avoid
Avoid packing your flour into the measuring cup, as this mistake adds too much and creates a dense bread. Instead, lightly spoon the flour into the cup and level it off for accuracy. Moreover, do not skip the crumb topping, which provides essential texture and flavor. If you need guidance on creating the perfect streusel, our guide on how to make streusel topping is very helpful. Also, ensure your baking powder is fresh for proper rise; otherwise, your Spiced Apple Fritter Bread for Fall might turn out flat. For more troubleshooting tips, especially if your bread sinks, read our article on why did my bread sink in the middle.
Serving and Pairing Suggestions
How to serve this dish
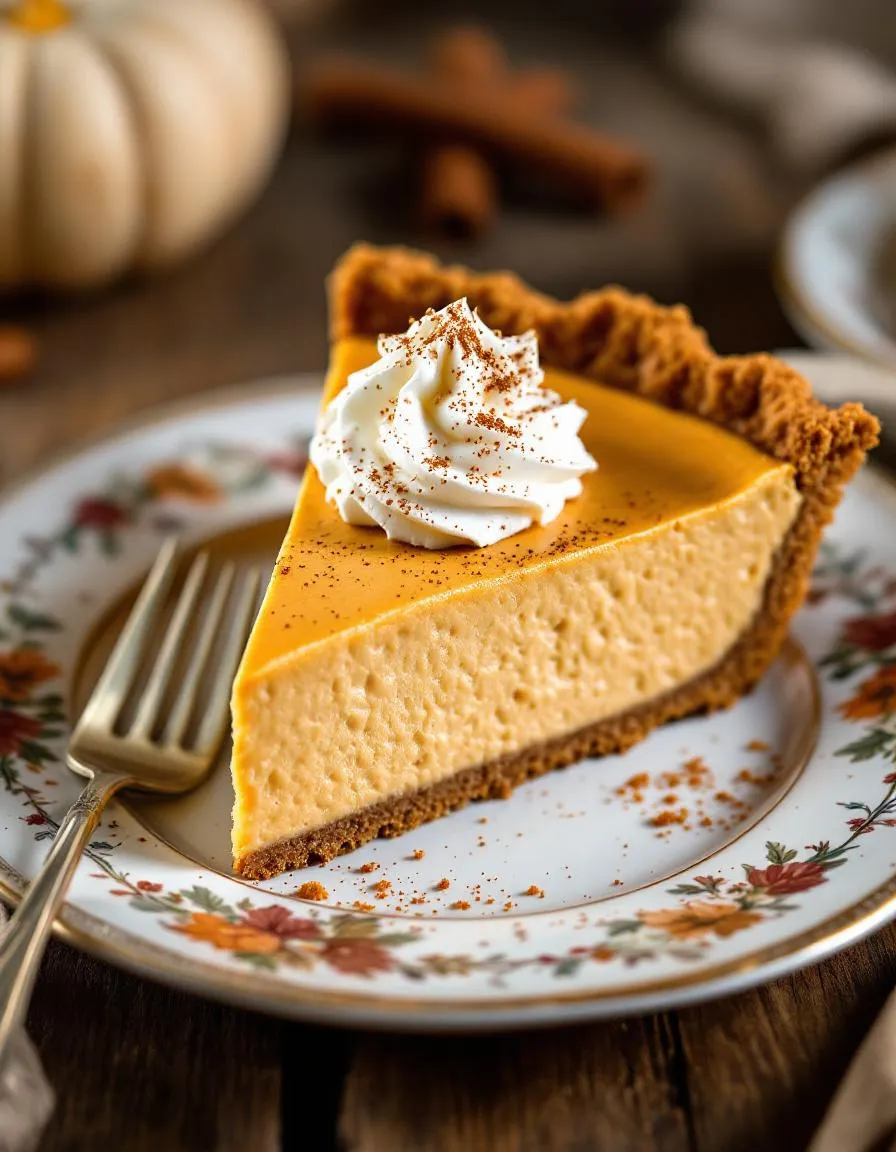
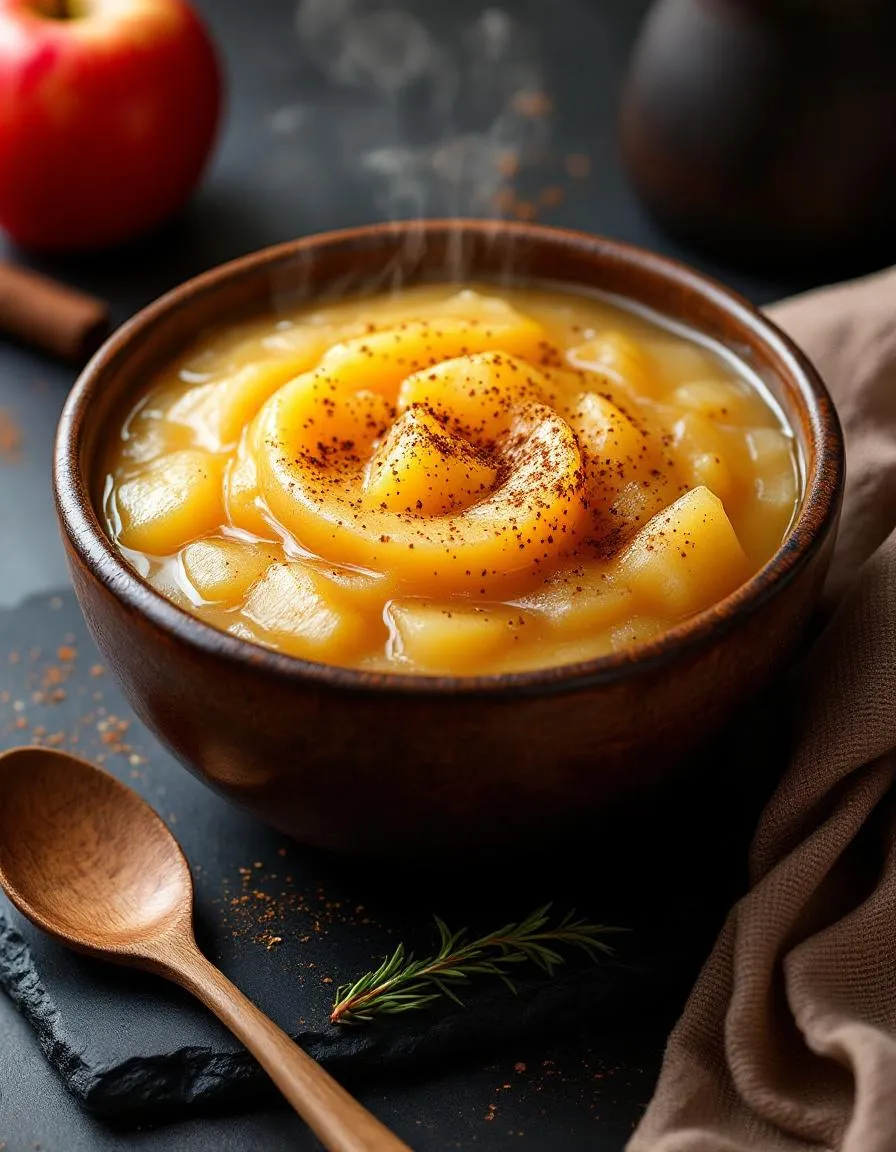
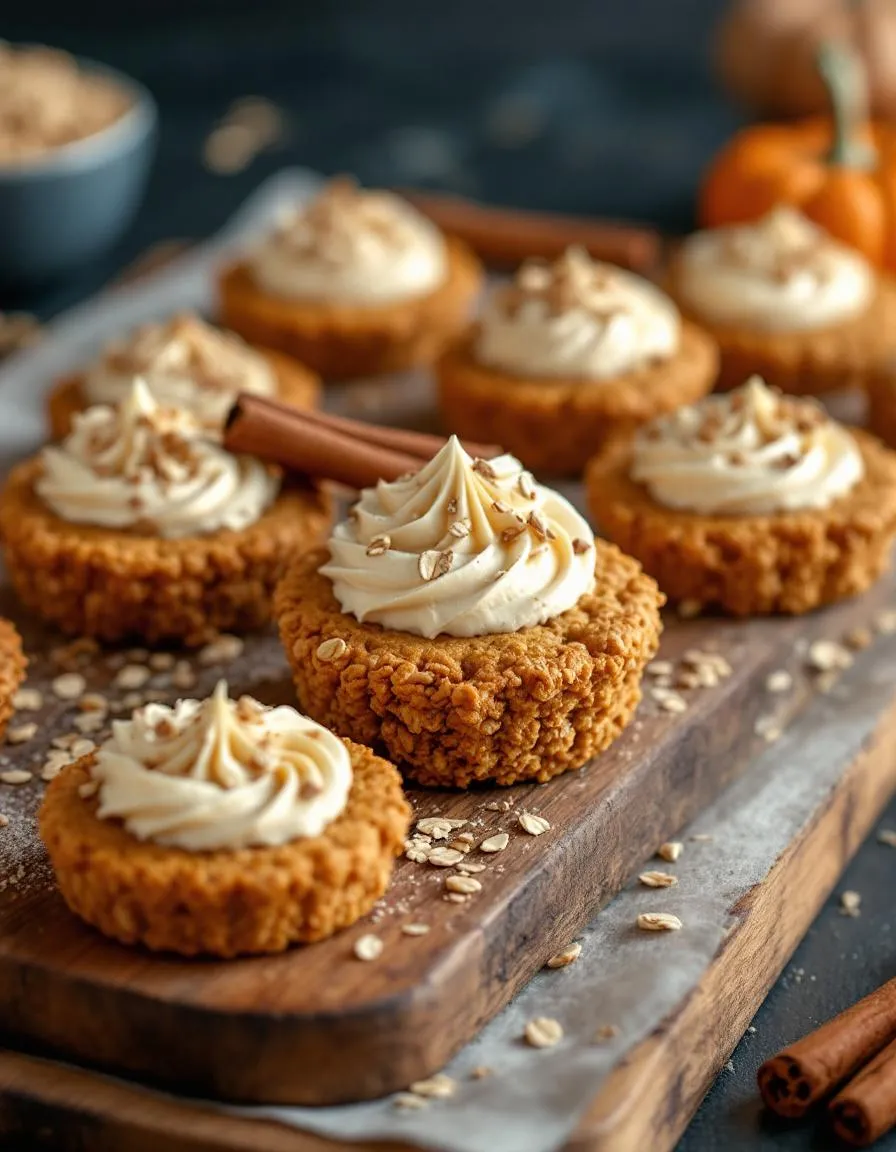
Warm slices of Spiced Apple Fritter Bread for Fall truly create a cozy experience. For a beautiful presentation, dust the top with a light snowfall of powdered sugar just before serving. Additionally, arrange your slices on a rustic wooden board for a charming, autumnal feel. This bread absolutely shines at a weekend brunch or as a sweet centerpiece during holiday gatherings. Finally, garnish each plate with a few thin apple slices and a sprinkle of cinnamon for a visually stunning and delicious treat.
What goes well with it
A hot mug of coffee perfectly cuts through the sweetness of Spiced Apple Fritter Bread for Fall. Alternatively, a cold glass of milk provides a classic, comforting pairing that everyone loves. For an extra indulgent breakfast, serve it alongside a scoop of our creamy vanilla bean Greek yogurt. Moreover, a drizzle of our homemade salted caramel sauce introduces a wonderful salty contrast that enhances every spiced bite.
For the best texture and flavor, use firm, tart apples that hold their shape when baked. Granny Smith is a top choice for its tangy contrast to the sweet glaze, but Honeycrisp or Braeburn also work wonderfully. These varieties provide the perfect apple flavor and texture for your Spiced Apple Fritter Bread for Fall.
Absolutely! This bread actually tastes better the next day as the flavors have more time to meld. You can bake it a day in advance, let it cool completely, and store it wrapped tightly at room temperature. The glaze can be made ahead and stored separately in the fridge, then drizzled on just before serving.
The key is to properly prepare your apples. Tossing the diced apple pieces in a little of the dry flour mixture from the recipe helps to absorb excess moisture. Also, ensure your apples are diced, not shredded, and avoid over-mixing the batter once the wet and dry ingredients are combined to maintain the ideal texture.
Yes, this bread freezes beautifully for enjoying later. Wrap the completely cooled, unglazed loaf tightly in plastic wrap and then in aluminum foil. It will keep for up to 3 months. Thaw overnight in the refrigerator and bring to room temperature before adding the glaze for the best Spiced Apple Fritter Bread for Fall experience.