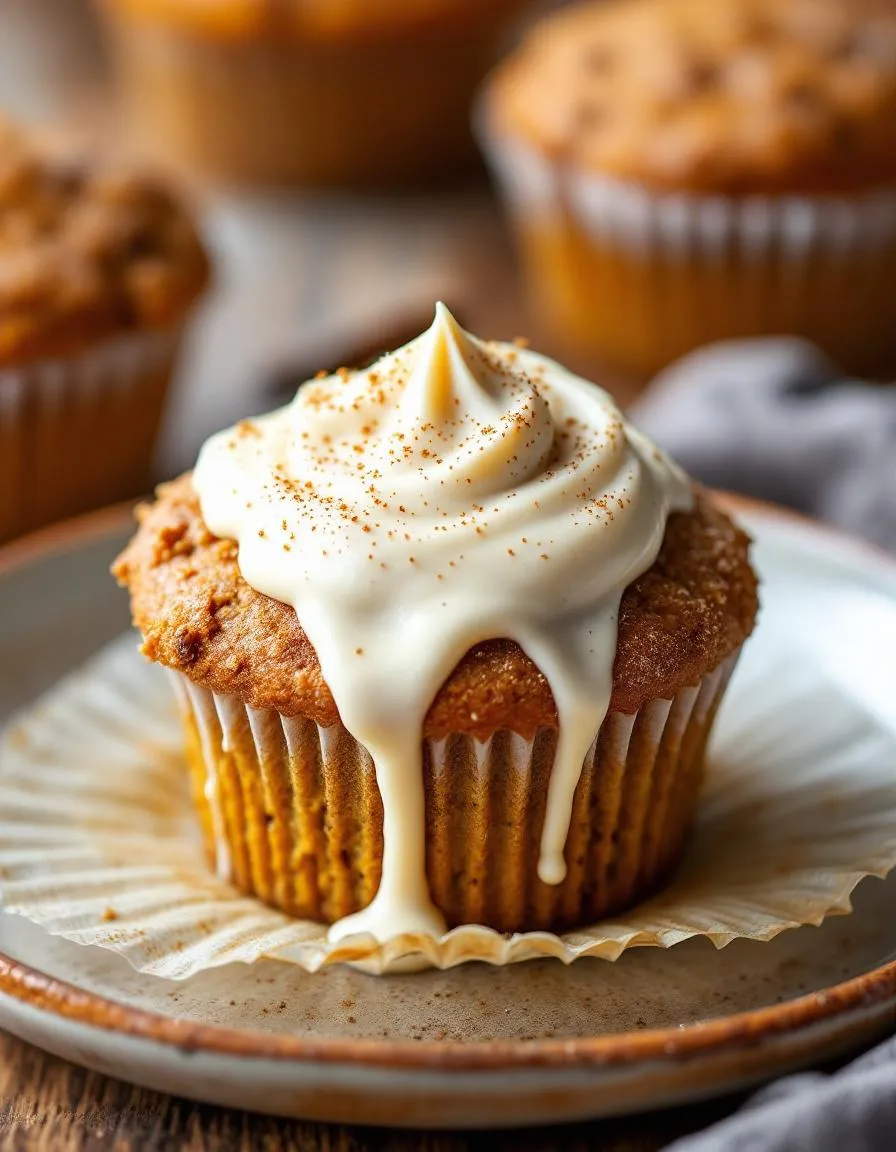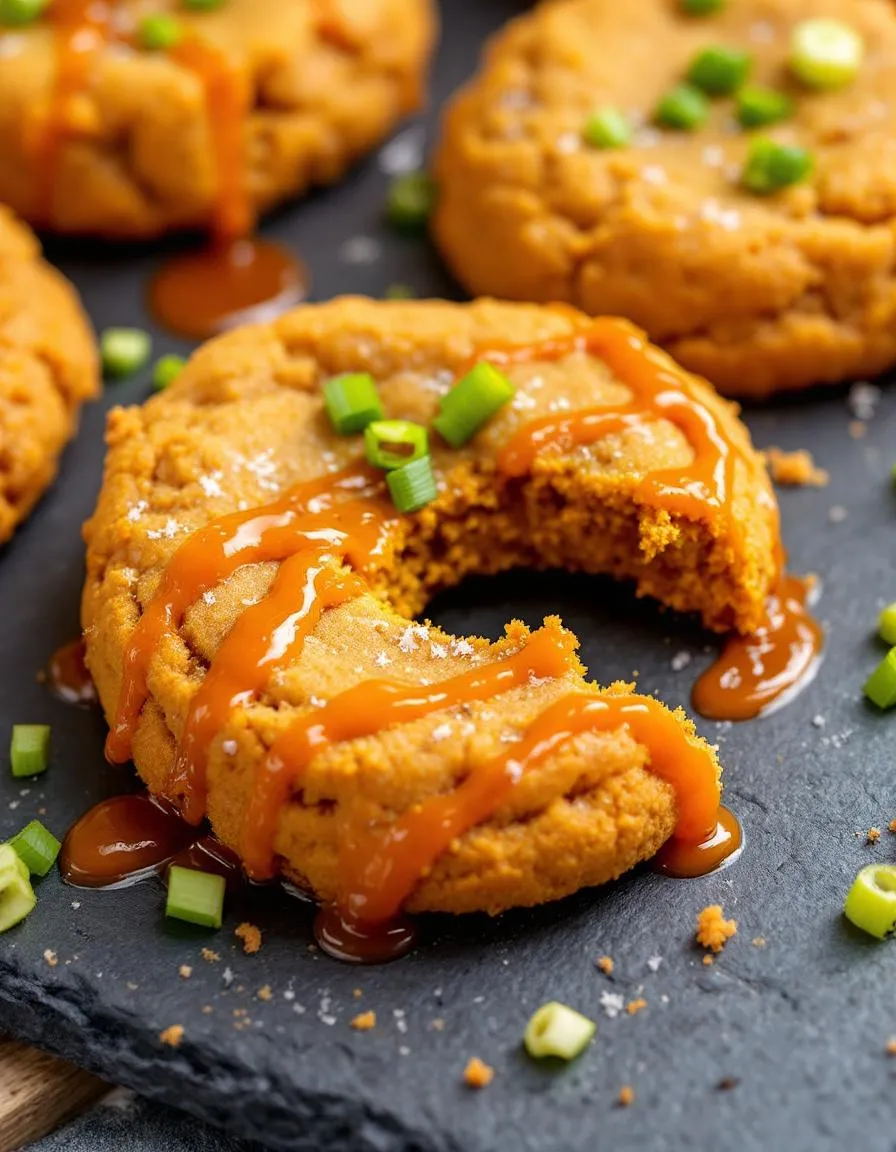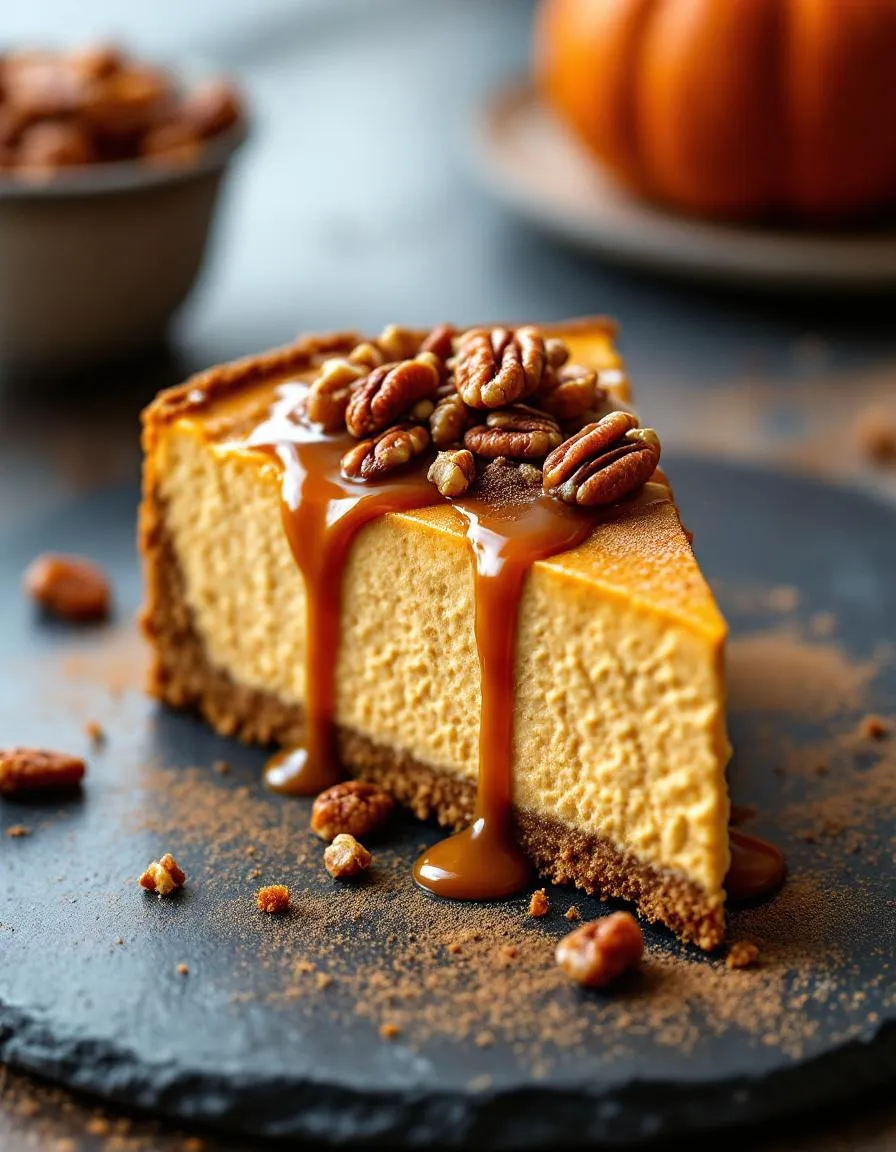
Is there anything more comforting than the warm, spicy aroma of pumpkin and cinnamon filling your kitchen? As the leaves begin to turn and the air gets crisp, we all crave those classic flavors that feel like a cozy hug. This isn’t just another dessert; it’s the centerpiece of your autumn table. This incredibly creamy and spiced Pumpkin Cheesecake recipe delivers that perfect slice of nostalgia, promising a velvety smooth filling and a ginger-spiced crust that will have everyone asking for seconds. It’s the ultimate make-ahead dessert that truly celebrates the season.
What Is Pumpkin Cheesecake
Pumpkin Cheesecake is a magnificent fusion of two beloved classics. Essentially, it combines the rich, tangy creaminess of a traditional New York-style cheesecake with the warm, earthy flavors of spiced pumpkin puree. Consequently, this dessert manages to feel both indulgent and seasonally appropriate. Moreover, it matters because it has become a staple for Thanksgiving and holiday gatherings, often rivaling or even surpassing the traditional pumpkin pie. Its importance lies in its ability to feel both familiar and excitingly decadent at the same time.
This particular recipe fits our blog’s philosophy perfectly because we focus on approachable yet impressive desserts. For instance, we break down the process into simple, foolproof steps, ensuring you achieve that professional-quality crack-free top and creamy texture. Furthermore, a great Pumpkin Cheesecake balances the tang of the cream cheese with the sweetness of the pumpkin and the warmth of spices like cinnamon, nutmeg, and ginger. Ultimately, it is a show-stopping dessert that seems complex but is absolutely achievable for bakers of any level, especially when you follow our detailed guide. If you are new to baking cheesecakes, you might find our tips on how to prevent cracks in cheesecake incredibly helpful for a flawless presentation.
Additionally, the beauty of this dessert is its make-ahead nature. You can bake it a day or two in advance, which actually improves the flavor and makes hosting so much less stressful. Therefore, it allows you to be present with your guests instead of fussing in the kitchen. For another fantastic make-ahead option that is always a crowd-pleaser, consider our classic New York Cheesecake recipe. This Pumpkin Cheesecake is the perfect project for a cozy weekend and the ultimate reward for your efforts.
Why I Love This Recipe
This Pumpkin Cheesecake recipe holds a special place in my heart because it reminds me of baking with my grandmother. Every fall, we would make this together, and the ritual of blending the spices into the creamy filling felt like magic. I love how the scent alone transports me back to her warm, bustling kitchen. This version, with its extra hint of ginger in the crust, is my personal twist on that family tradition, and sharing it with you feels like passing on a little piece of that joy. It is more than a dessert; it is a memory maker.
Health and Nutrition
Why it’s good for your body
This pumpkin cheesecake actually delivers some impressive nutritional benefits. For instance, pumpkin puree provides a powerful dose of vitamin A, which actively supports your immune system and eye health. Moreover, the warming spices like cinnamon and nutmeg not only add flavor but also offer anti-inflammatory properties.
Additionally, pumpkin contributes a good amount of fiber. Consequently, this helps to promote healthy digestion and can keep you feeling satisfied for longer. Furthermore, eggs and dairy in the filling provide a source of high-quality protein and calcium for strong bones. Therefore, enjoying a slice means you are treating yourself to more than just a delicious dessert.
Ultimately, this pumpkin cheesecake incorporates real, whole food ingredients. As a result, it stands apart from many overly processed desserts. Finally, remember that mindful enjoyment of food you love is also a vital component of well-being.
How it fits in a healthy lifestyle
You can absolutely enjoy pumpkin cheesecake as part of a balanced diet. Think of it as a celebratory food rather than an everyday indulgence. Savoring a reasonable portion allows you to appreciate the rich flavors without overdoing it.
Pairing a slice with a cup of black coffee or tea can make it a more mindful experience. For those with specific dietary needs, you can easily adapt this dessert. You might explore our guide on gluten-free baking to create a crust that suits your lifestyle. If you are monitoring your intake, consider it a delightful component of your overall weekly pattern of eating, not a derailment.
Balancing richer foods with lighter meals throughout the day is a great strategy. For more ideas on creating harmony in your diet, check out our tips for healthy meal prep. This approach helps you enjoy treats like pumpkin cheesecake while still nourishing your body with everything it needs.
PrintPumpkin Cheesecake
Description
A creamy and spiced pumpkin cheesecake with a graham cracker crust, perfect for autumn gatherings.
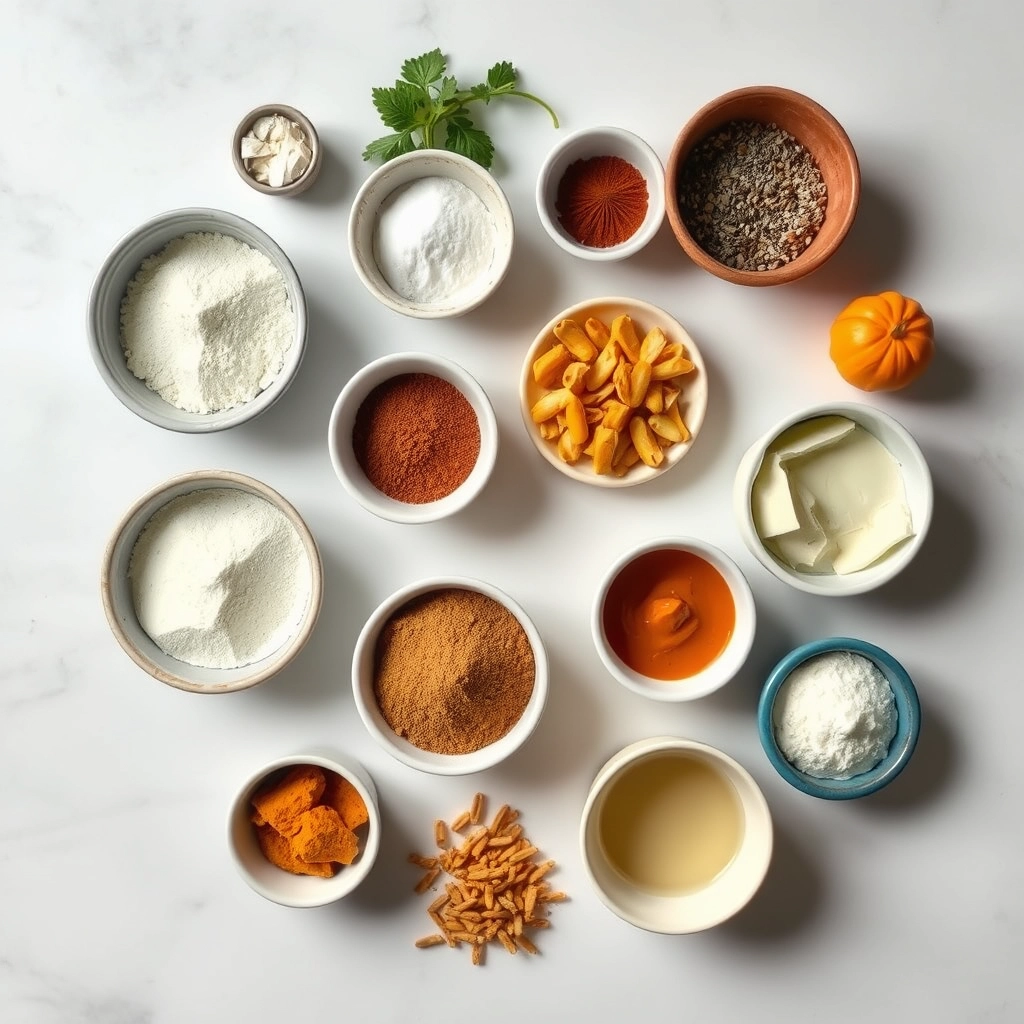
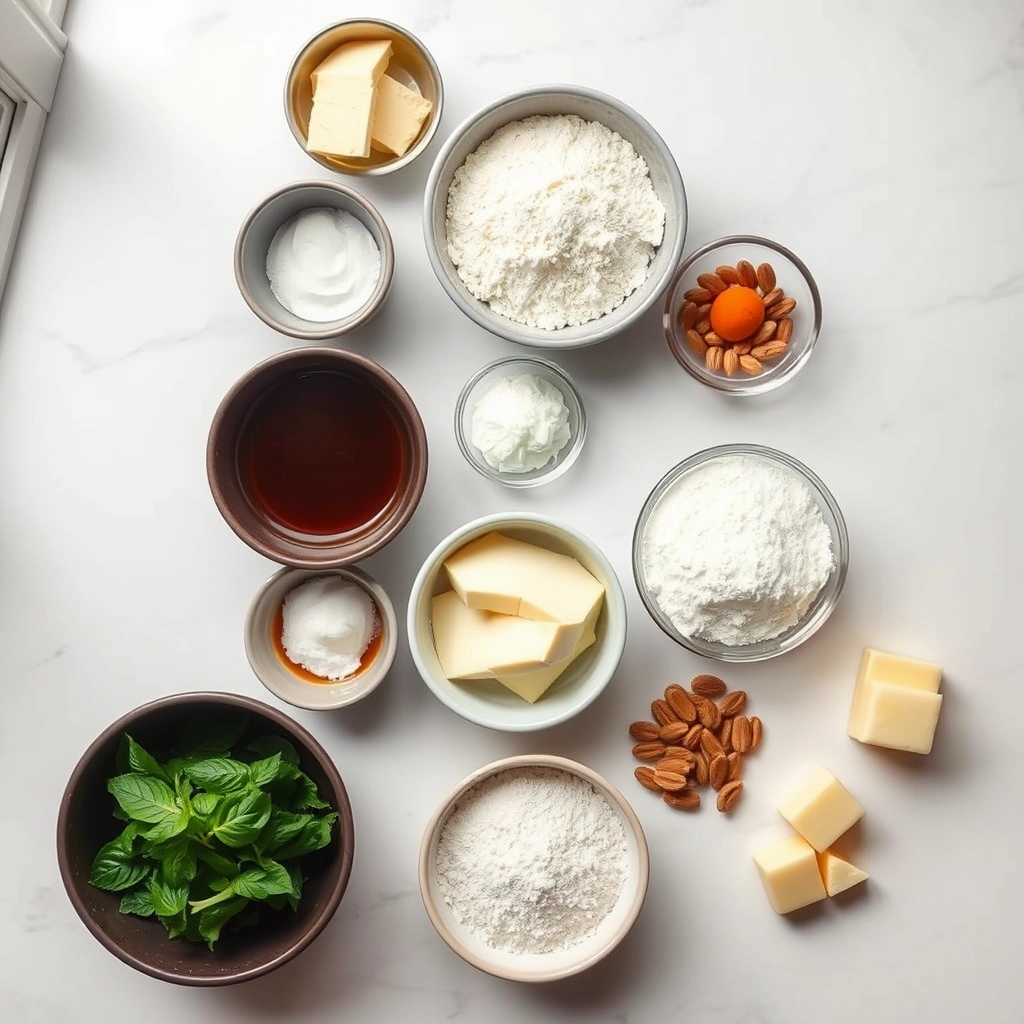
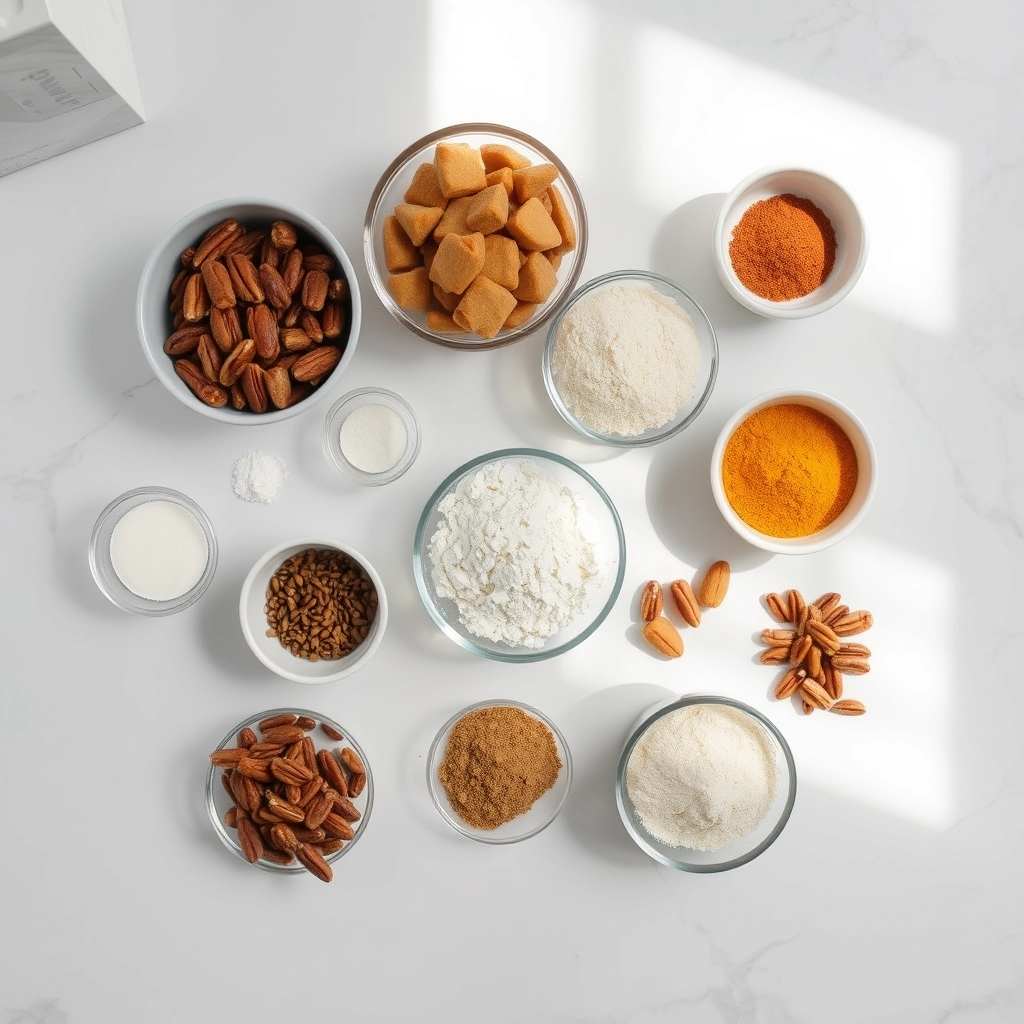
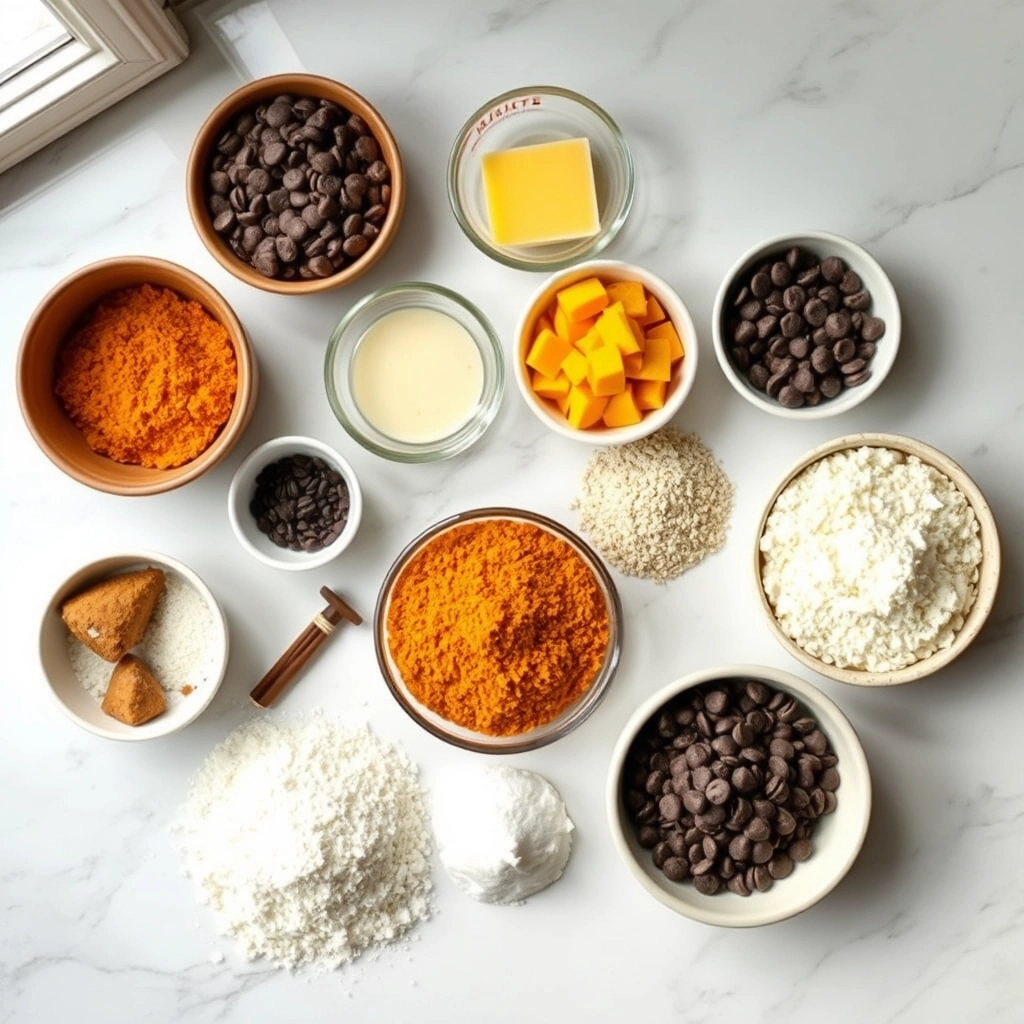
Ingredients
For the Crust:
- 1 1/2 cups graham cracker crumbs
- 1/4 cup granulated sugar
- 1/2 cup unsalted butter, melted
- 3 (8 oz) packages cream cheese, softened
- 1 cup granulated sugar
- 1/4 cup packed brown sugar
- 1 (15 oz) can pumpkin puree
- 3 large eggs
- 1 tsp vanilla extract
- 1 tsp ground cinnamon
- 1/2 tsp ground nutmeg
- 1/4 tsp ground ginger
- 1/4 tsp ground cloves
Instructions
1. Prepare the Crust:
- Preheat oven to 325°F (165°C). Combine graham cracker crumbs, 1/4 cup sugar, and melted butter. Press into bottom of 9-inch springform pan.
- Beat cream cheese, 1 cup granulated sugar, and brown sugar until smooth. Add pumpkin, eggs, vanilla, and spices; mix well.
- Pour filling over crust. Bake for 55-60 minutes until center is almost set. Cool completely, then refrigerate for at least 4 hours before serving.
Notes
You can customize the seasonings to taste.

How to Prepare This Dish
Steps and time-saving tips
First, gather all your ingredients and preheat your oven. This simple step prevents frantic searches later and ensures a smooth baking experience. Meanwhile, combine your graham cracker crumbs with melted butter and a touch of sugar for the crust. Firmly press this mixture into the bottom and slightly up the sides of your springform pan. Next, briefly bake the crust alone until it is fragrant and set. Consequently, this creates a sturdy base that won’t become soggy from the luxurious filling. Now, focus on the star: the Pumpkin Cheesecake filling. Use room temperature cream cheese for a perfectly smooth, lump-free batter. Beat the cream cheese and sugar together until they are completely creamy. Then, incorporate the pumpkin puree, spices, eggs, and a splash of vanilla. Importantly, mix on low speed just until everything is combined. Overmixing incorporates too much air and can cause the cheesecake to crack. Finally, pour the velvety filling over your pre-baked crust and smooth the top. Bake until the edges are set but the center still has a slight jiggle. Afterwards, let it cool gradually in the turned-off oven with the door slightly ajar. This gentle cooling process is the ultimate secret to a flawless finish. Finally, refrigerate your masterpiece for several hours, or ideally overnight, before serving.
Mistakes I’ve made and learned from
I have absolutely opened the oven door too early to check on my Pumpkin Cheesecake, and the resulting temperature shock caused a massive crack right down the middle. I learned that patience is non-negotiable; resist the urge to peek until the very end of the bake time. Another hard lesson was using cold cream cheese straight from the fridge. No matter how long I beat it, the filling always had tiny lumps, which completely ruined the decadent texture I wanted. Now, I always plan ahead and let my ingredients properly come to room temperature, which makes a world of difference. If you’re worried about achieving that perfect, smooth consistency, my guide on avoiding a lumpy cheesecake filling has all my best tips. And if the worst happens and you do get a crack, don’t panic. I’ve mastered some simple fixes that save the day, which you can find in my post on easily fixing a cracked cheesecake with clever toppings.

Cultural Connection and Variations
Where this recipe comes from
Pumpkin Cheesecake feels like a warm hug from autumn itself. Its story, however, begins with a clever twist on tradition. While pumpkin pie has long ruled the Thanksgiving table, someone brilliantly decided to merge its cozy, spiced soul with the rich, creamy texture of a classic New York cheesecake. Consequently, this fusion created an entirely new dessert icon. My own family swears by our version, which includes a surprising dash of black pepper to make the cinnamon and nutmeg truly sing.
Around the world, bakers put their unique spin on this concept. For instance, some French versions might incorporate fromage blanc for a lighter texture, while others in Australia often use a biscuit base made from their famous Anzac cookies. Ultimately, every variation honors the original intent: celebrating the harvest. This beautiful dessert connects us to generations of cooks who used what the season provided. Therefore, every slice of Pumpkin Cheesecake is not just a treat; it is a story on a plate.
How it fits in today’s cooking
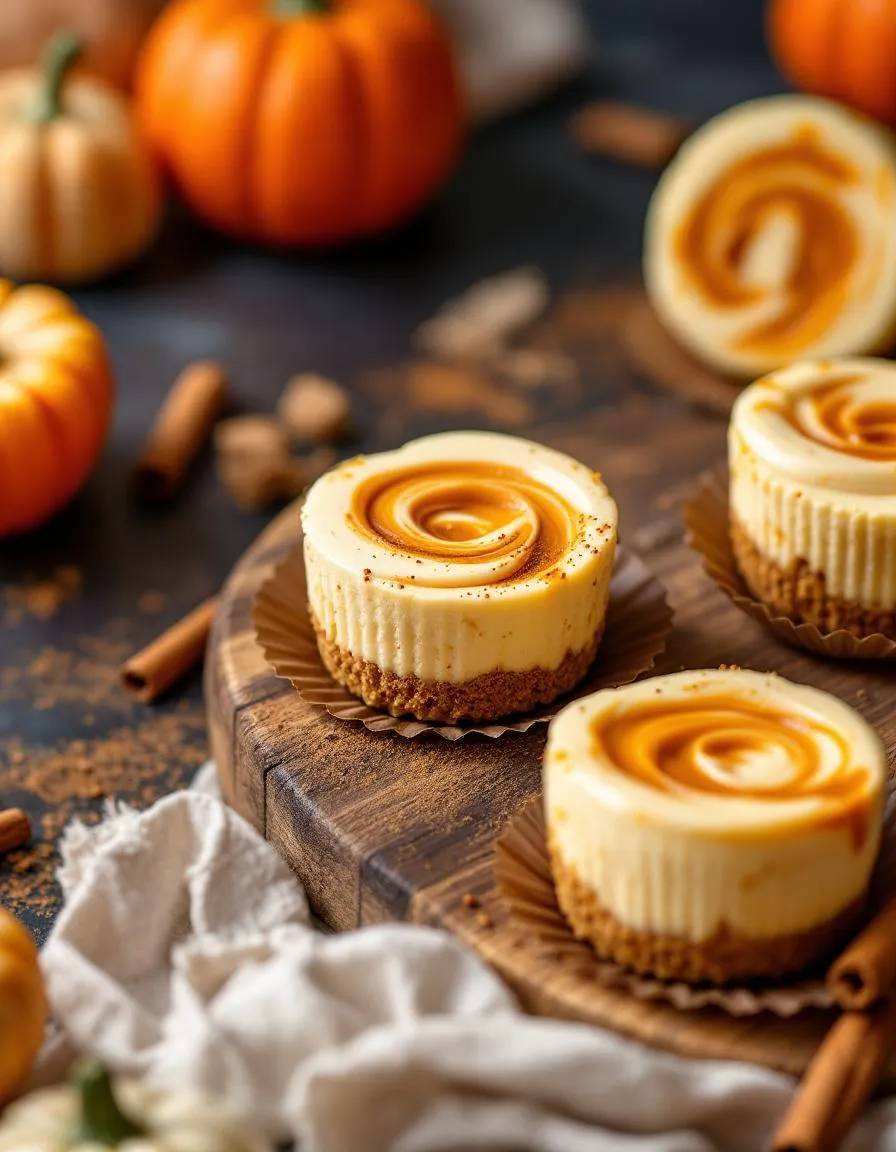
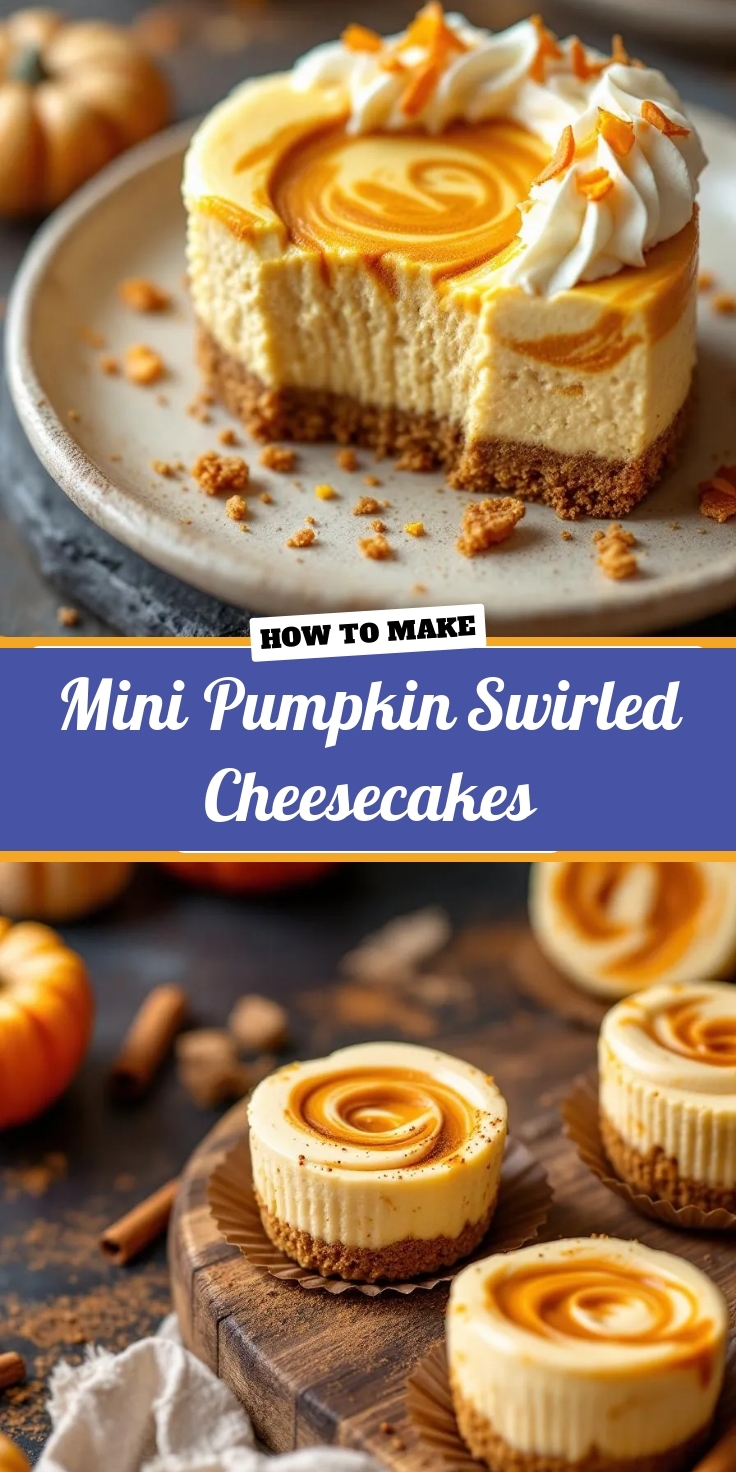
Today, Pumpkin Cheesecake absolutely secures its spot as a modern classic. It effortlessly bridges the gap between time-honored holiday tradition and year-round indulgence. Furthermore, contemporary cooks constantly find new ways to enjoy it, proving its incredible versatility. Many now create stunning mini cheesecakes for portion-controlled treats or elegant party platters.
Its relevance also stems from how easily it adapts to dietary needs. For example, bakers successfully make gluten-free, vegan, and keto-friendly versions so everyone can join the feast. This adaptability ensures its place in our seasonal meals and our everyday comfort cooking. Meanwhile, the quest for the perfect base continues to inspire bakers. Fortunately, you can master a fantastic graham cracker crust that perfectly complements the spiced filling. Ultimately, this dessert continues to evolve while still tasting like fall.
Taste and Texture
What makes it delicious
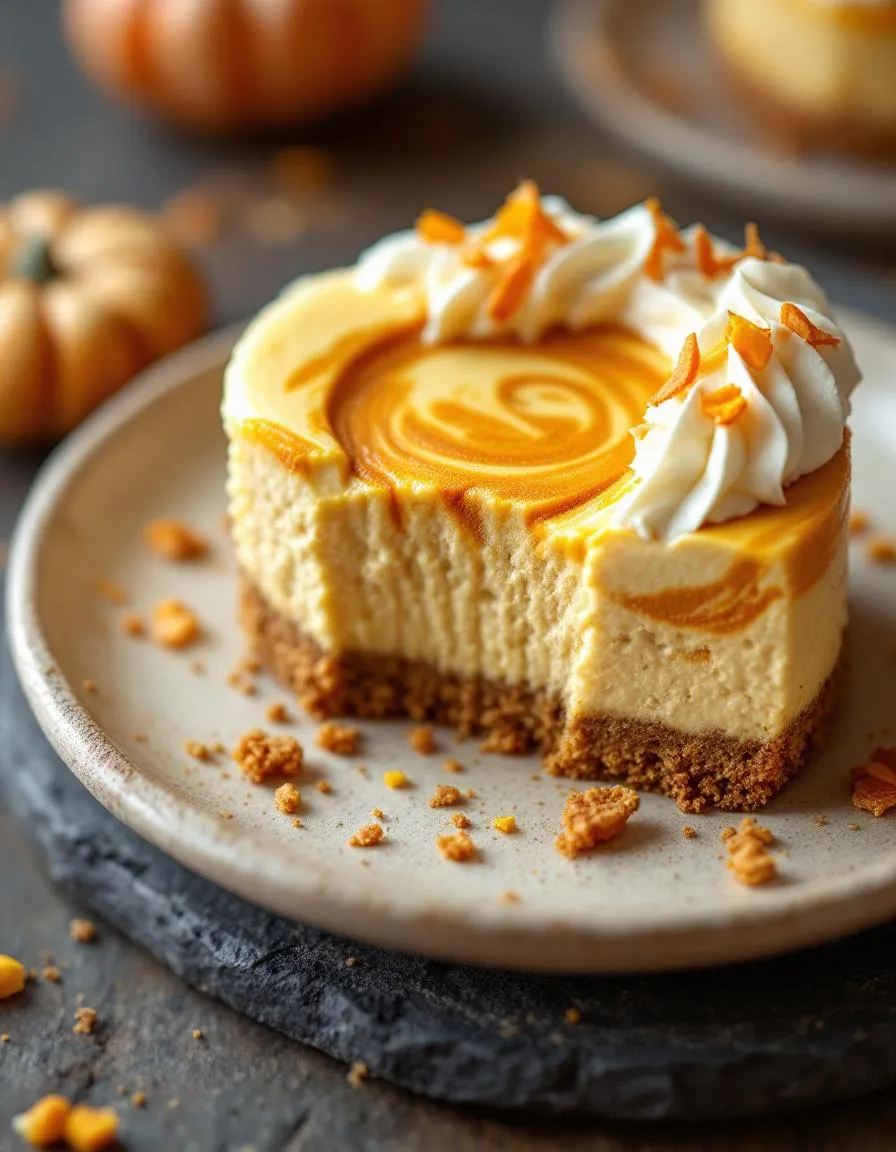
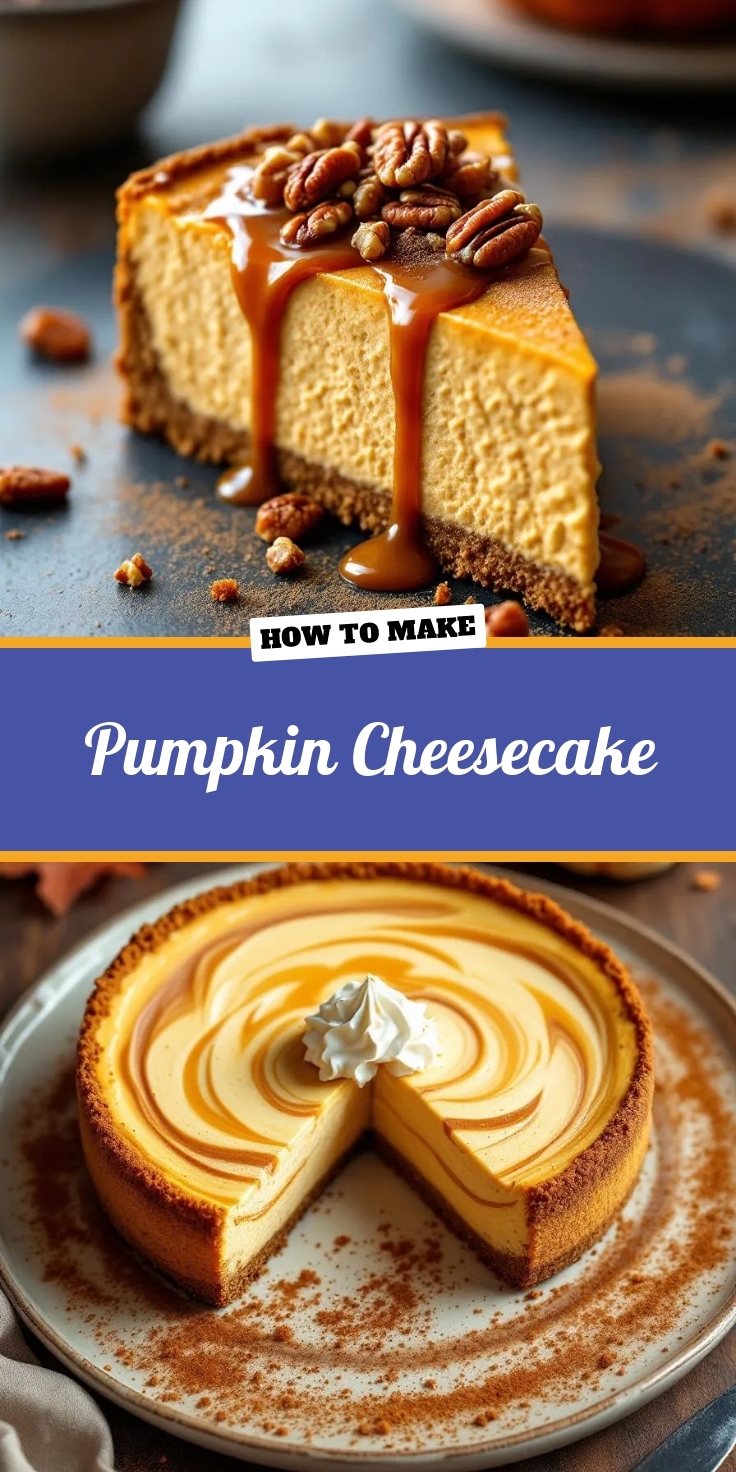
This Pumpkin Cheesecake delivers a symphony of autumnal flavors and luxurious textures. Initially, your fork glides through a supremely creamy, dense filling that feels cool and velvety on the tongue. The rich, tangy cream cheese beautifully complements the earthy sweetness of pumpkin and warm baking spices. Meanwhile, a buttery, crisp graham cracker crust provides the perfect textural contrast. Each decadent bite of this Pumpkin Cheesecake finishes with a fragrant hint of cinnamon and nutmeg, making it an unforgettable treat.
Boosting the flavor
Fortunately, you can easily elevate this dessert with a few creative tweaks. For instance, a generous dollop of homemade whipped cream adds a lovely cloud-like lightness that cuts through the richness. Alternatively, a warm drizzle of salted caramel sauce introduces a delicious sweet and salty dimension. Furthermore, consider swapping the traditional crust for a ginger snap base to amplify the spicy warmth. For more decadent topping ideas, explore our guide on whipped cream variations. Ultimately, serving a slice alongside a scoop of vanilla bean ice cream makes for an incredible pairing, much like the suggestions in our perfect ice cream pairings article.

Tips for Success
Best practices for results
Always use room temperature ingredients for your Pumpkin Cheesecake to ensure a perfectly smooth and lump-free filling. Furthermore, thoroughly wrap your springform pan in foil to prevent any water from the water bath seeping in. Additionally, bake the cheesecake until the edges are set but the center still has a slight jiggle for the ideal creamy texture. Finally, allow it to cool gradually in the turned-off oven to prevent cracking from a sudden temperature change.
Mistakes to avoid
Avoid overmixing the batter after adding the eggs, as this incorporates too much air and can cause the Pumpkin Cheesecake to rise and crack during baking. Instead, mix on low speed just until each ingredient combines. Moreover, do not skip the water bath, as the steam it creates is essential for even, gentle cooking that prevents a rubbery texture. For more guidance on this technique, see our guide on how to use a water bath. Consequently, always remember to chill the cheesecake for the full recommended time; serving it too soon results in a loose, slice that falls apart. For perfect slicing every time, follow our tips for how to slice clean cheesecake.
Serving and Pairing Suggestions
How to serve this dish
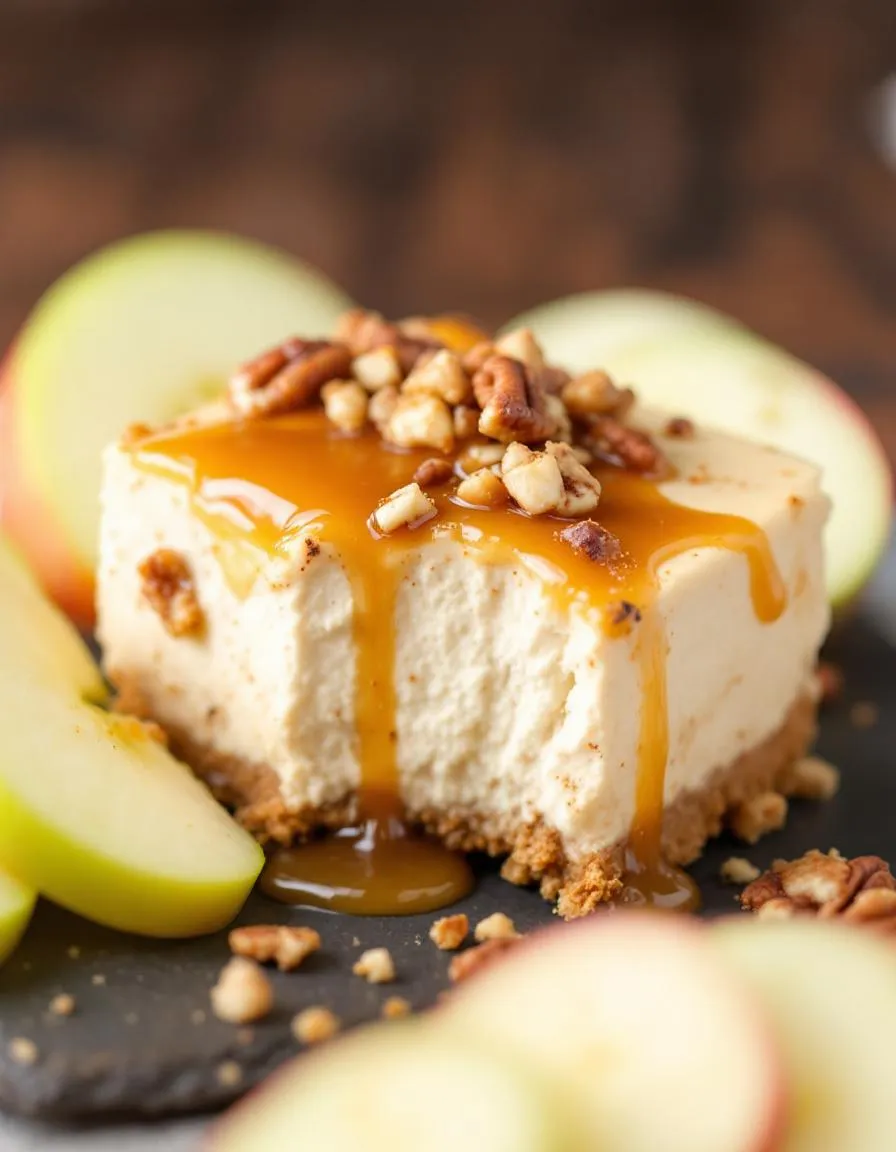
For a stunning presentation, serve each slice of Pumpkin Cheesecake chilled. Furthermore, garnish with a generous dollop of freshly whipped cream and a sprinkle of cinnamon. Alternatively, a drizzle of salted caramel sauce adds a beautiful and delicious touch. This Pumpkin Cheesecake truly shines as the centerpiece of your holiday dessert table. Consequently, it also makes a wonderful finale for a festive brunch or a cozy autumn dinner party.
What goes well with it
A hot cup of coffee perfectly cuts through the rich, creamy texture of this Pumpkin Cheesecake. For a truly decadent experience, however, pair a slice with a glass of our homemade salted caramel sauce for drizzling. Additionally, if you want to offer a contrasting flavor, a light and tart mixed berry compote provides a fantastic balance. Finally, a simple dessert wine like a late-harvest Riesling also complements the warm spices beautifully.
Cracking usually happens from overmixing the batter, which incorporates too much air, or from a rapid temperature change. To prevent a cracked pumpkin cheesecake, avoid overbeating after adding the eggs and let it cool gradually in the oven with the door slightly ajar.
Yes, absolutely. Due to the dairy content in the cream cheese and the eggs, pumpkin cheesecake must be refrigerated. Store it covered in the refrigerator where it will stay fresh for up to 5 days.
Yes, pumpkin cheesecake freezes beautifully for up to 2-3 months. For best results, freeze the whole cheesecake or individual slices without any toppings, wrap them tightly in plastic wrap and then aluminum foil to prevent freezer burn.
The main difference is the filling base; pumpkin pie uses a custard-like filling with eggs and milk or cream, while pumpkin cheesecake has a cream cheese base. This gives pumpkin cheesecake a much denser, richer, and tangier flavor profile compared to the lighter, spiced custard of pumpkin pie.