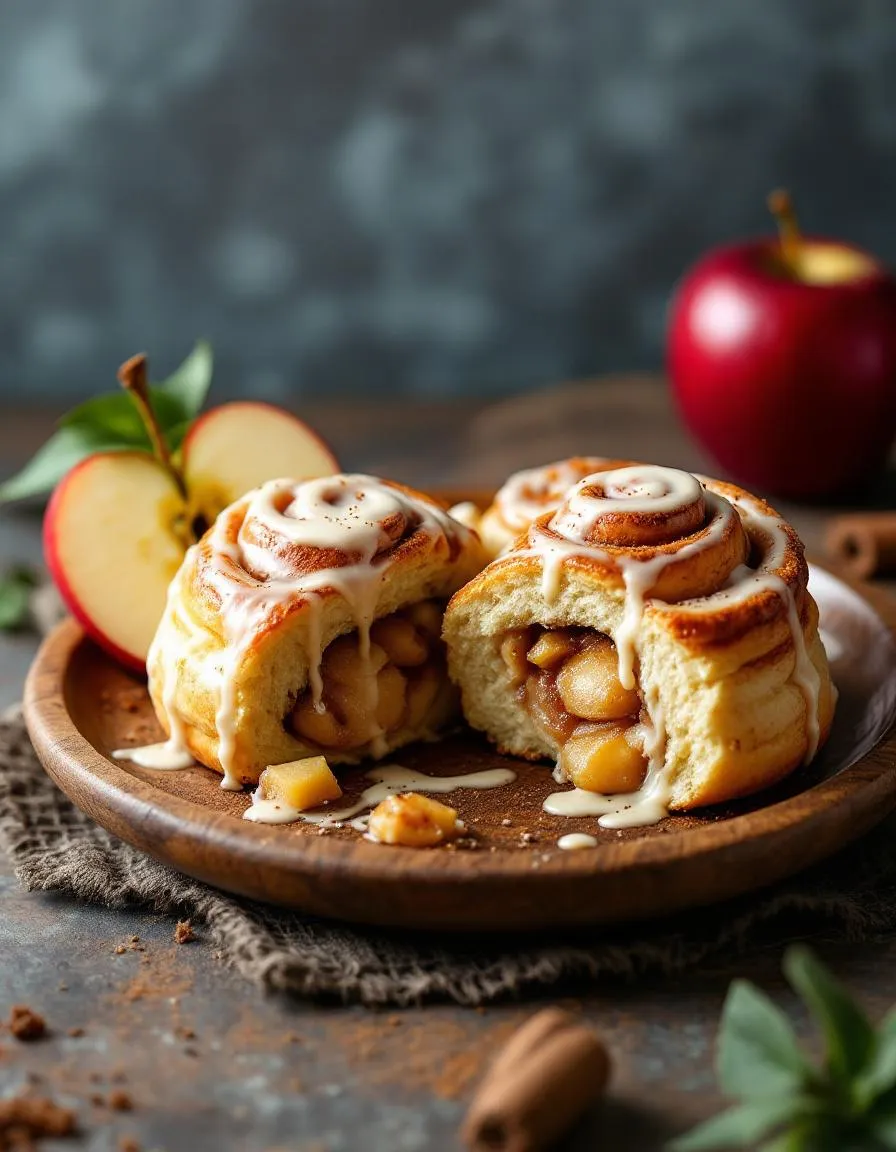
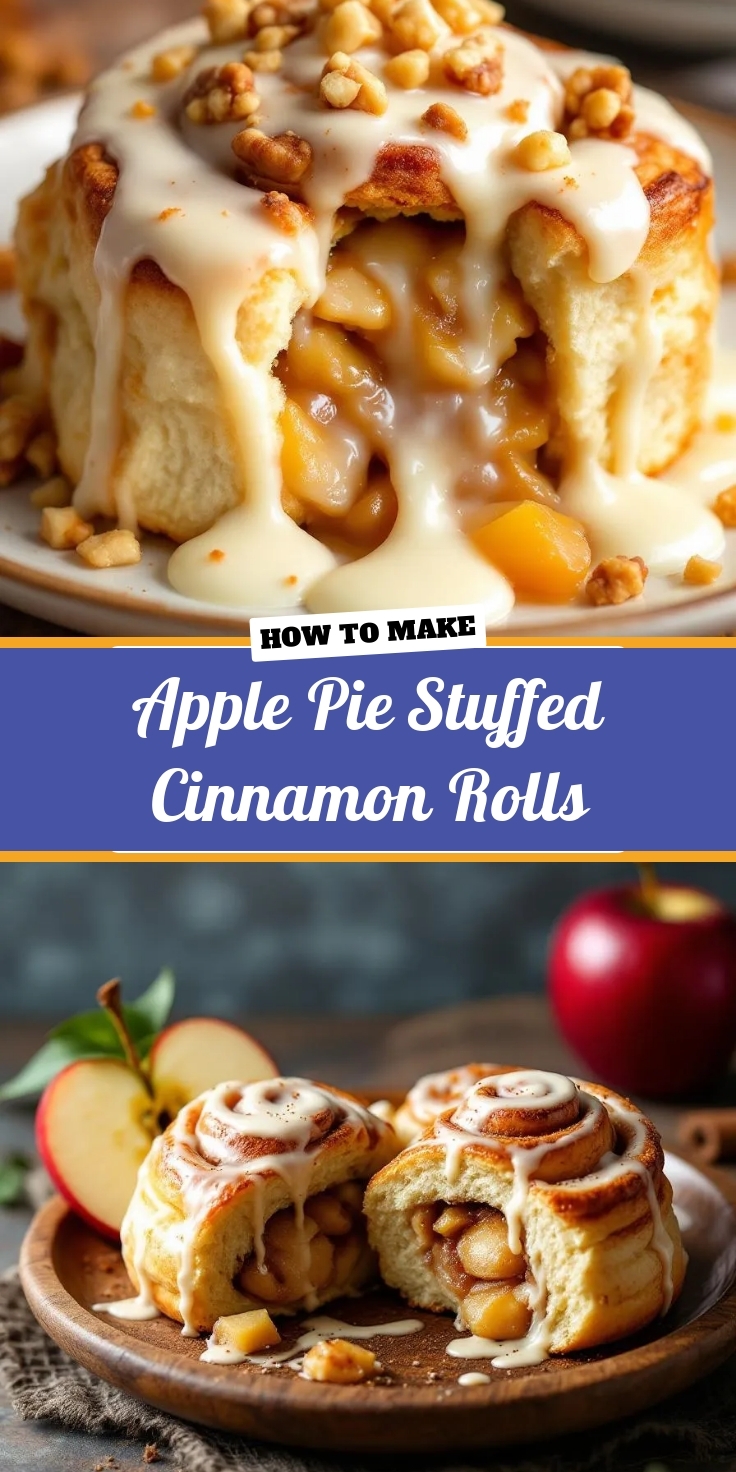
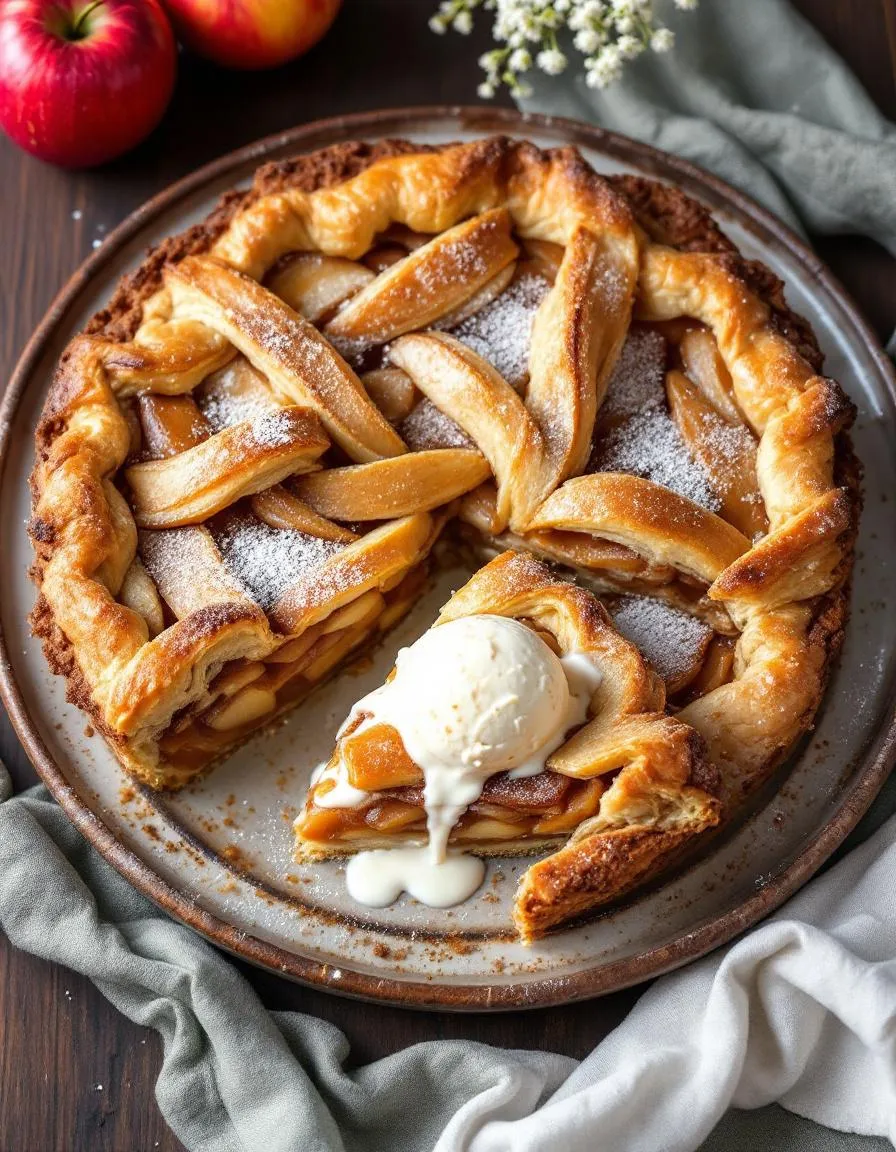
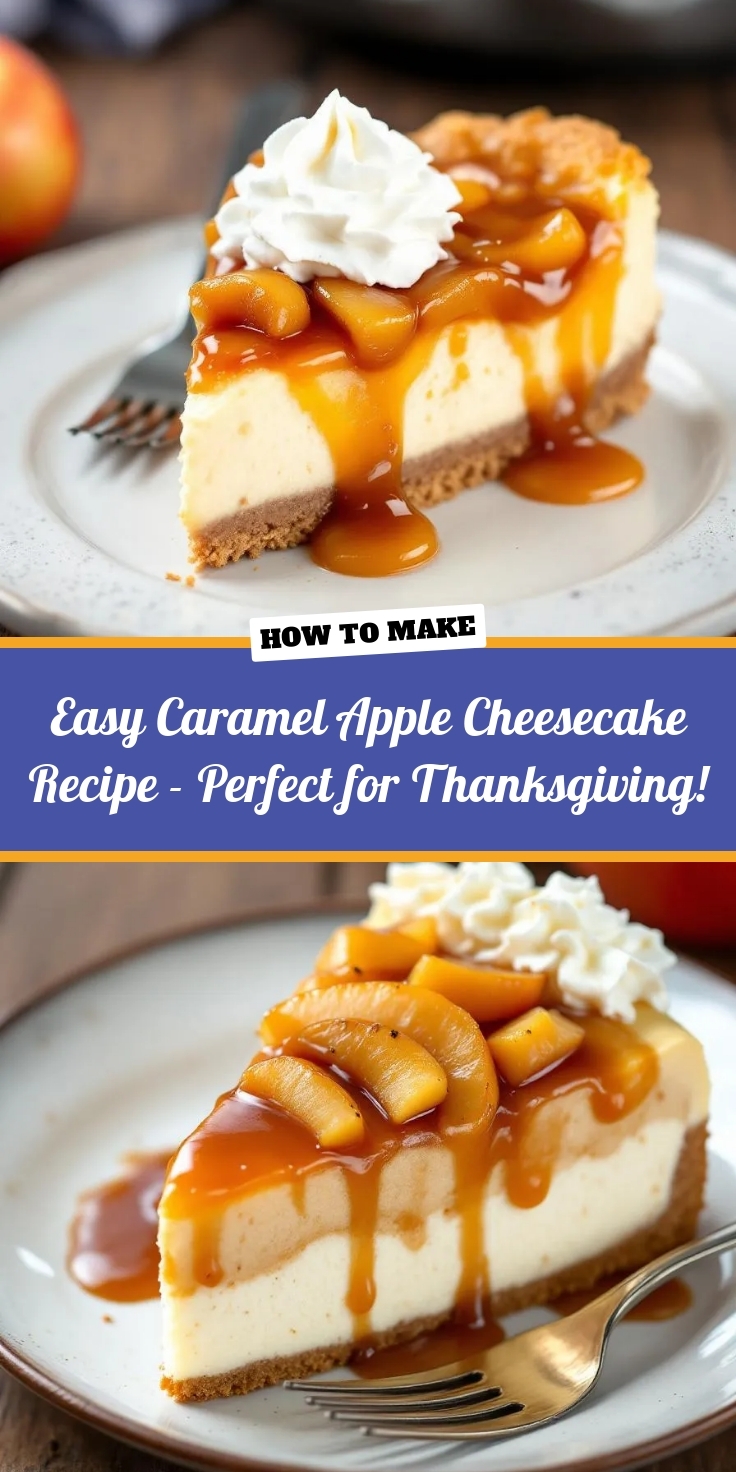
There is a moment every Thanksgiving when the chaos of the day suddenly stills. The dinner plates are cleared, and a collective, happy sigh fills the room. It is in this perfect, expectant pause that you want to present a dessert that feels both spectacular and deeply comforting. This year, let’s create that magic together with an Easy Caramel Apple Cheesecake Recipe – Perfect for Thanksgiving! It masterfully combines the cozy, spiced flavor of baked apples with the rich, creamy luxury of cheesecake, all draped in a sweet, buttery caramel sauce. Best of all, it delivers incredible elegance without any of the stress, ensuring you spend less time in the kitchen and more time making memories.
About This Recipe
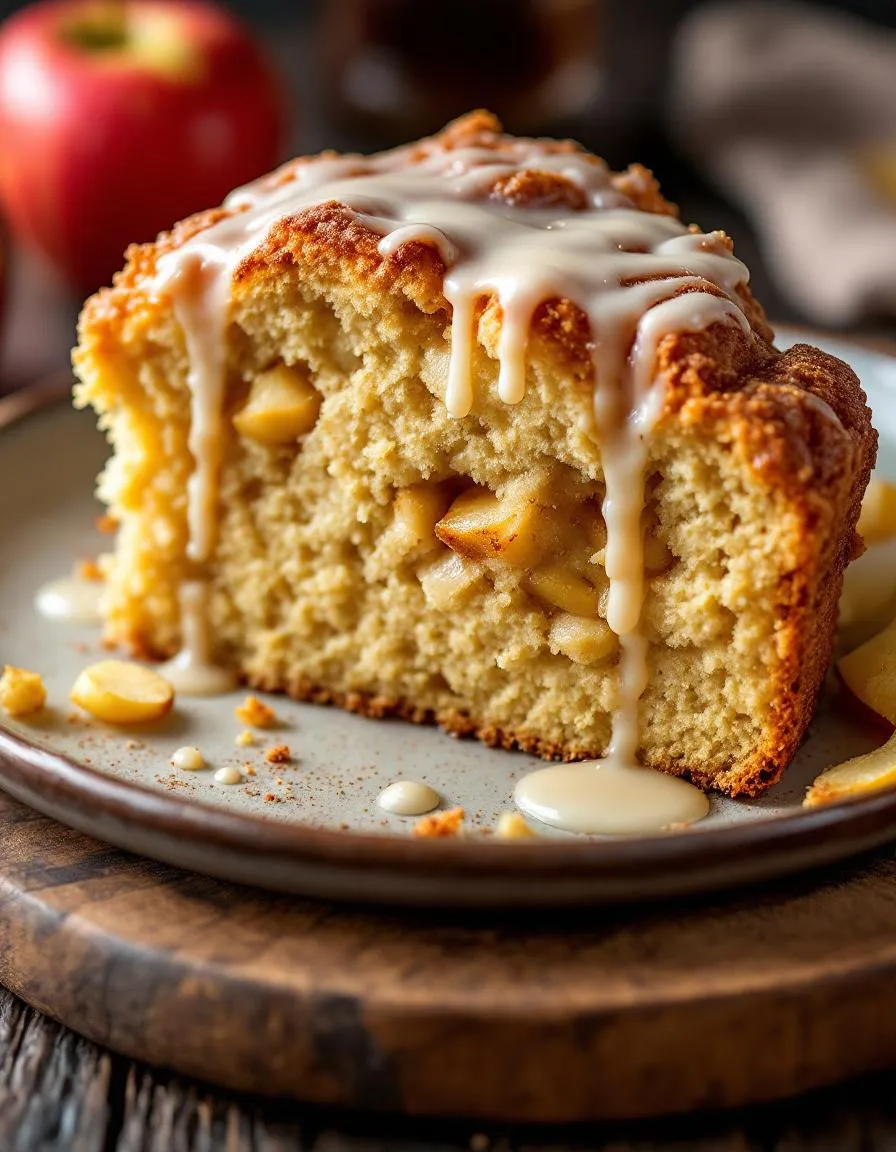
This Easy Caramel Apple Cheesecake Recipe – Perfect for Thanksgiving! is not just another dessert. Essentially, it is a celebration of classic fall flavors in a stunning, no bake format. The recipe features a buttery graham cracker crust that provides a delightful crunch. Subsequently, a velvety smooth, no bake cheesecake filling layers on incredible richness without requiring a water bath or oven time. Furthermore, a spiced apple compote, simmered with cinnamon and nutmeg, adds a warm, fruity dimension that tastes like autumn in every bite. Finally, a generous drizzle of homemade or quality store bought caramel sauce ties everything together with its signature sweetness and decadent finish.
This dessert matters because it solves a key holiday dilemma. Often, you want to serve a show stopping finale but lack the time or confidence for complex baking. This Easy Caramel Apple Cheesecake Recipe – Perfect for Thanksgiving! eliminates that problem entirely. It is incredibly approachable for bakers of any skill level. Moreover, you can prepare every component ahead of time, making your Thanksgiving Day timeline completely stress free. This approachable elegance perfectly matches our blog’s tone, which focuses on delivering reliable, crowd pleasing recipes that truly work. For instance, if you adore no bake desserts, you will definitely want to explore our famous No Bake Cheesecake recipe for more inspiration. This particular recipe builds on that same simple, dependable foundation but introduces seasonal flavors that make it a holiday superstar.
Ultimately, this cheesecake fits the Thanksgiving menu beautifully. It offers a fantastic alternative to traditional pumpkin or pecan pie, while still honoring the familiar and beloved flavors of the season. The combination of creamy cheesecake, tender apples, and gooey caramel feels both indulgent and nostalgic. Additionally, its stunning visual appeal makes it a centerpiece worthy of your holiday spread. For another fantastic make ahead dessert option that wows a crowd, consider our Classic Tiramisu. However, for a truly iconic Thanksgiving experience, this Easy Caramel Apple Cheesecake Recipe – Perfect for Thanksgiving! is absolutely unbeatable.
Why I Love This Recipe
This recipe holds a special place in my heart because it finally gave me the confidence to bring a gorgeous cheesecake to my family’s Thanksgiving. I always admired my aunt’s elaborate baked versions but felt too intimidated to try one myself. This easy, no bake method was my gateway. The first time I made it, the look of pure delight on my family’s faces was everything. Now, it is my non negotiable contribution to the feast. It represents how a simple recipe can create a lasting tradition and make you feel like a baking hero, even if you are just starting out.
Health and Nutrition
Why it’s good for your body
This Easy Caramel Apple Cheesecake Recipe – Perfect for Thanksgiving! offers more than just incredible flavor. For instance, the apples provide a solid foundation of essential nutrients. They deliver a healthy dose of dietary fiber, which actively supports digestive health and helps you feel satisfied. Furthermore, apples bring natural sweetness and valuable antioxidants like quercetin to your dessert.
Additionally, the dairy components contribute important macronutrients. Cream cheese and Greek yogurt, if used, supply your body with calcium for strong bones and protein for muscle maintenance. Consequently, enjoying a slice means you are treating yourself to more than empty calories. Moreover, the warm spices like cinnamon do more than just taste amazing; they also possess anti-inflammatory properties. Therefore, this dessert cleverly combines indulgence with genuine nutritional value. Ultimately, the Easy Caramel Apple Cheesecake Recipe – Perfect for Thanksgiving! is a smarter choice for a celebratory treat.
How it fits in a healthy lifestyle
This Easy Caramel Apple Cheesecake Recipe – Perfect for Thanksgiving! fits beautifully into a balanced approach to eating. You can absolutely enjoy decadent desserts while maintaining your wellness goals. Think of it as a celebratory part of your overall diet, not something that derails it. Savoring a reasonable portion allows you to partake in the joy of the occasion without overindulgence.
For those mindful of specific dietary needs, this recipe is wonderfully adaptable. You can easily explore gluten-free dessert options by using a nut or oat-based crust. If you are watching your sugar intake, consider reducing the caramel drizzle or opting for a natural alternative. Remember, balance is key. Pairing a rich dessert with lighter, nutrient-dense meals throughout the day is a fantastic strategy. For more inspiration on creating satisfying and wholesome meals, check out our guide to healthy weeknight dinners. This way, you can have your cheesecake and feel great about it too.
PrintEasy Caramel Apple Cheesecake
Description
A delicious no-bake cheesecake with spiced apples and caramel topping, perfect for Thanksgiving gatherings.
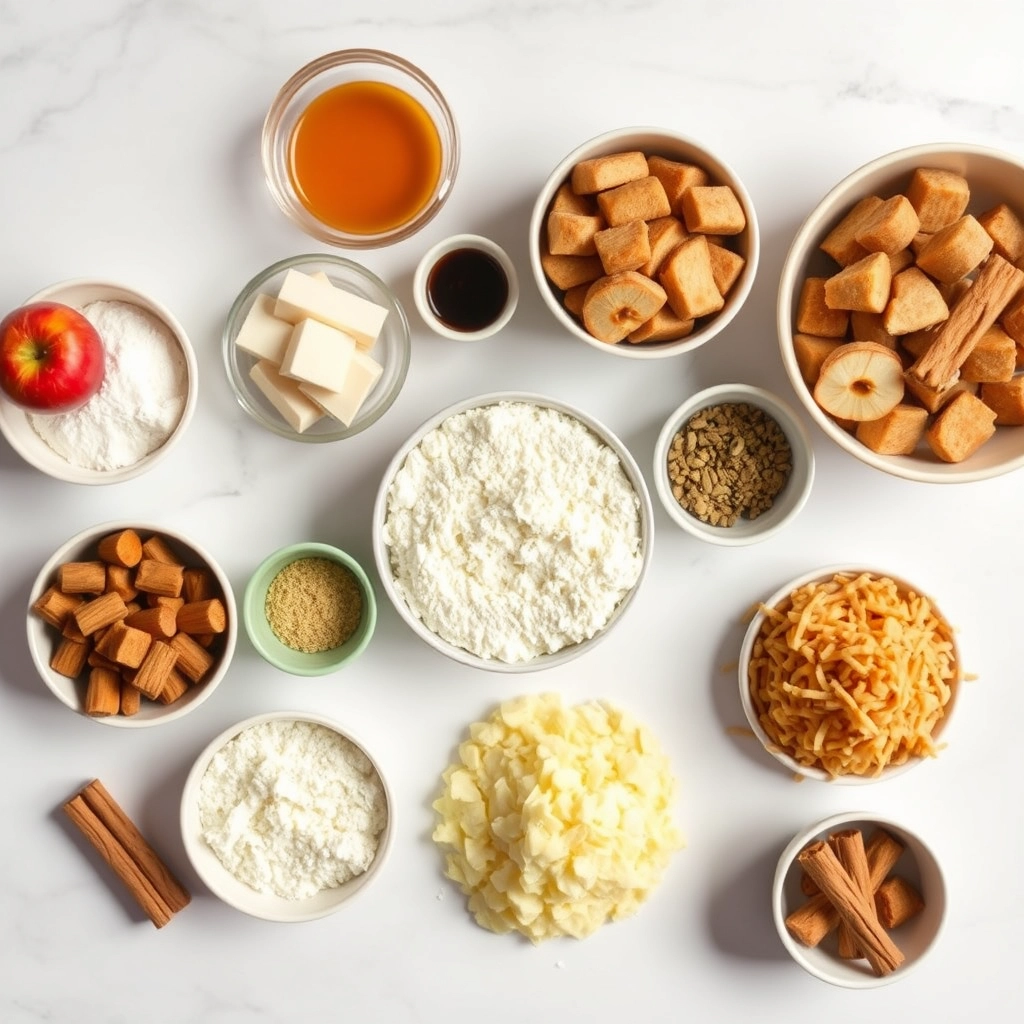
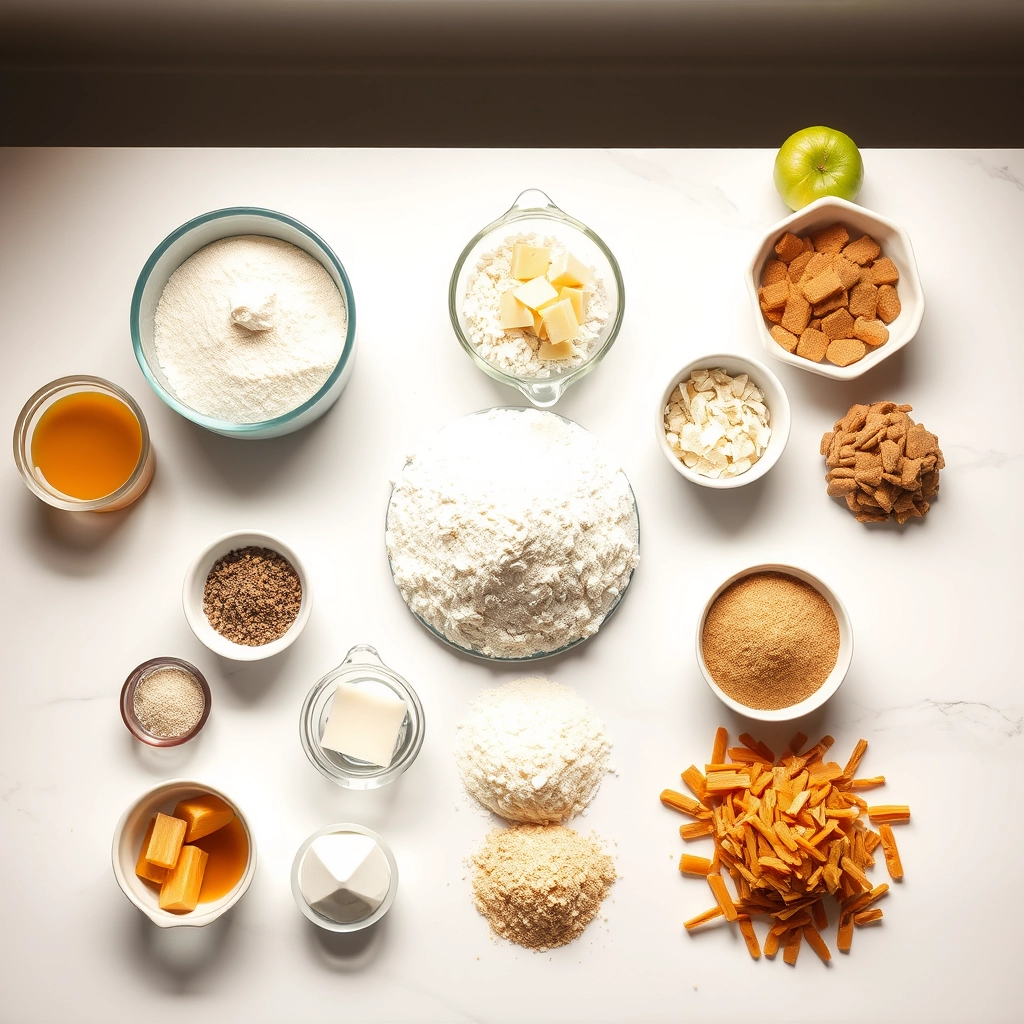
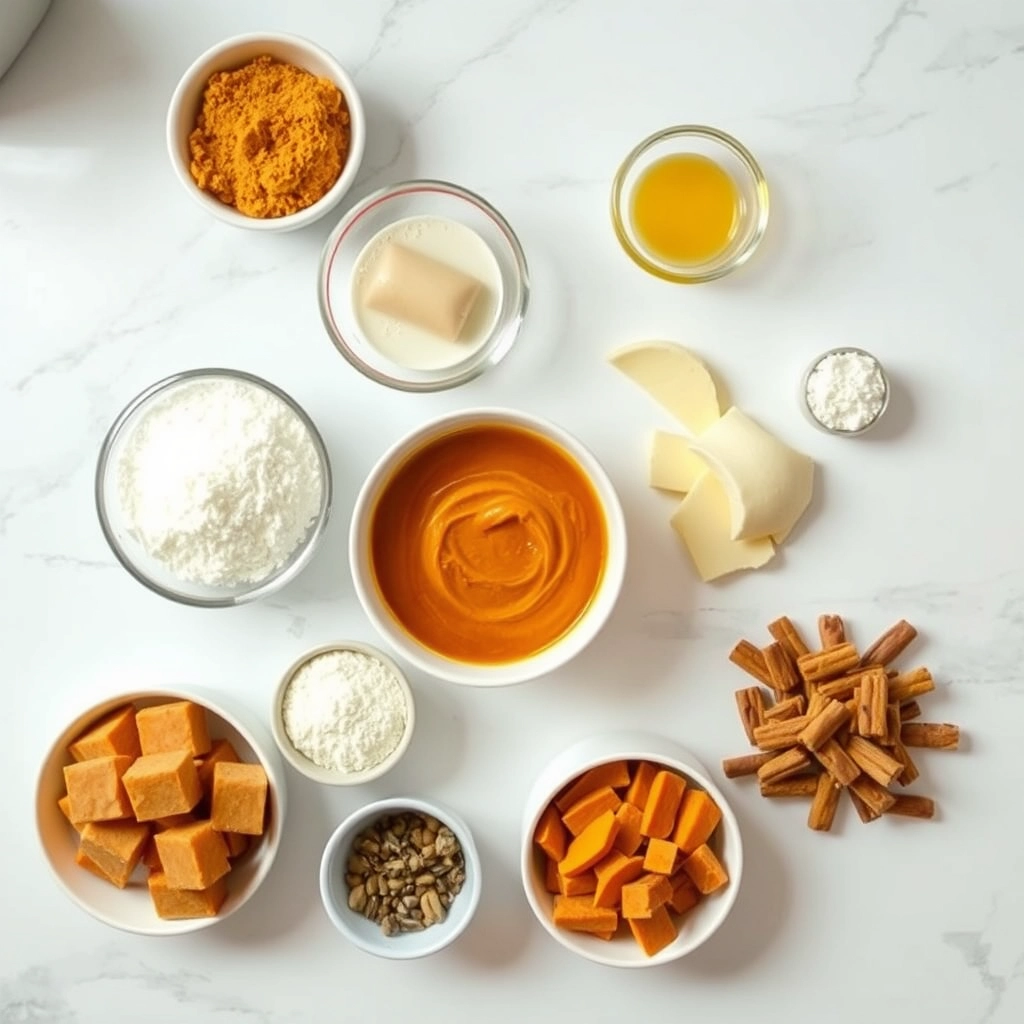
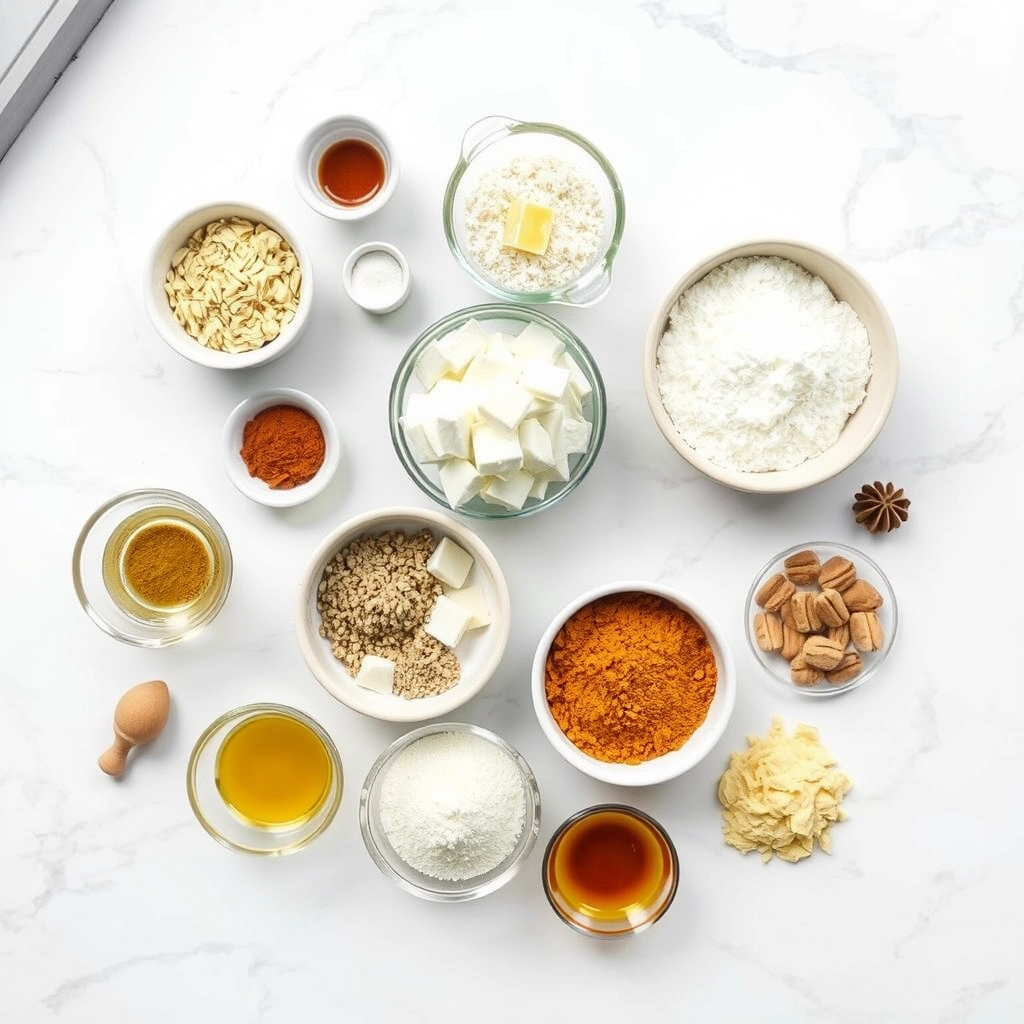
Ingredients
For the Crust:
- 1 1/2 cups graham cracker crumbs
- 1/3 cup melted butter
- 2 (8 oz) packages cream cheese, softened
- 1/2 cup granulated sugar
- 1 tsp vanilla extract
- 1 cup heavy whipping cream
- 2 medium apples, peeled and diced
- 2 tbsp butter
- 1/4 cup brown sugar
- 1/2 tsp cinnamon
- 1/4 tsp nutmeg
- 1/2 cup caramel sauce
- Whipped cream for serving
Instructions
1. Prepare the Crust:
- Combine graham cracker crumbs and melted butter, press into 9-inch springform pan. Chill for 30 minutes.
- Beat cream cheese, sugar, and vanilla until smooth. Whip heavy cream to stiff peaks, then fold into cream cheese mixture. Spread over crust.
- Sauté apples in butter until tender. Add brown sugar, cinnamon, and nutmeg. Cook 2-3 minutes until caramelized. Cool completely.
- Spoon apple mixture over cheesecake layer. Drizzle with caramel sauce. Refrigerate at least 4 hours or overnight.
- Serve chilled with additional caramel drizzle and whipped cream if desired.
Notes
You can customize the seasonings to taste.
How to Prepare This Dish
Steps and time-saving tips
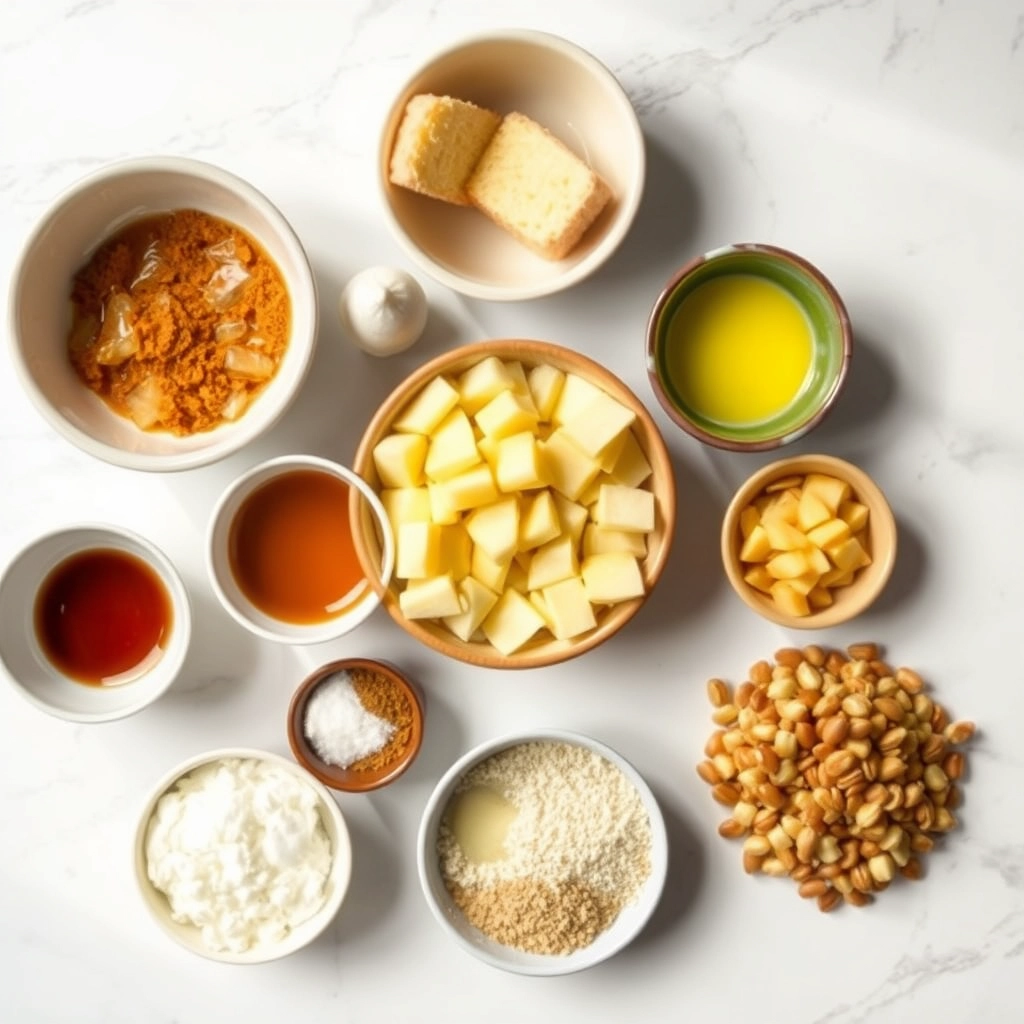
First, gather all your ingredients for this Easy Caramel Apple Cheesecake Recipe. Consequently, you can move through the steps without any frustrating pauses. Start by pressing your graham cracker crust firmly into the pan; a flat-bottomed glass helps create an even, compact layer. Meanwhile, preheat your oven to the specified temperature. Next, beat the cream cheese until it is completely smooth and lump-free; this crucial step guarantees a velvety filling. Gradually add the sugar and then the eggs, one at a time, mixing just until each ingredient blends in. Overmixing incorporates too much air and can cause cracks later. For the spiced apple layer, simply sauté sliced apples with cinnamon and a pinch of nutmeg until they just begin to soften. Finally, swirl this mixture along with generous drizzles of caramel sauce into the cheesecake batter. Bake until the edges are set but the center still has a slight jiggle. Remember, the residual heat will continue to cook the cheesecake as it cools slowly in the turned-off oven. This method is the ultimate time-saving tip for a perfect texture every time. Chill your masterpiece for at least four hours, or ideally overnight, before serving. This Easy Caramel Apple Cheesecake Recipe truly is the perfect dessert for Thanksgiving!
Mistakes I’ve made and learned from
I once learned the hard way that using cold cream cheese is the biggest mistake you can make with this Easy Caramel Apple Cheesecake Recipe. I ended up with a lumpy batter that no amount of mixing could fix, which sadly baked into a grainy texture. Now, I always take the time to let my dairy ingredients fully reach room temperature, which makes for an incredibly smooth and luxurious filling. Another lesson came from a watery apple topping that made my crust soggy. I solved this by thoroughly cooking the apples first to release their excess moisture, a technique I picked up from my favorite guide on how to prevent a soggy cheesecake crust. Furthermore, I used to skip the slow cooling process in the oven because I was impatient. However, the rapid temperature change always caused a giant crack right down the middle. Now I understand that patience is key for that perfect, crack-free finish, just like the pros recommend in their tips for the perfect baked cheesecake. Trust me, learning from these errors will make your Thanksgiving dessert absolutely flawless.

Cultural Connection and Variations
Where this recipe comes from
This Easy Caramel Apple Cheesecake Recipe – Perfect for Thanksgiving! beautifully marries two classic American dessert traditions. On one hand, we honor the deep-dish, creamy cheesecakes that New York delis made famous. Conversely, we celebrate the all-American apple pie, a symbol of harvest and home. My own family always made a similar dessert, but we used a graham cracker crust and layered the apples on top. Ultimately, this version feels more decadent and special for a holiday table.
Different regions put their own spin on this concept. In the South, you might find a splash of bourbon in the caramel or pecans sprinkled throughout for a Derby Pie twist. Meanwhile, in Europe, especially Germany, bakers often incorporate quark, a fresh dairy product, for a lighter filling. Some families even prepare it as a no-bake dessert, which is a fantastic time-saver during the busy holiday season. No matter the variation, the core flavors of sweet apple, rich caramel, and tangy cream cheese create a universal language of comfort.
This particular Easy Caramel Apple Cheesecake Recipe – Perfect for Thanksgiving! captures that spirit of fusion and celebration. It turns two beloved classics into one show-stopping centerpiece that always earns its place next to the pumpkin pie.
How it fits in today’s cooking
This dessert absolutely holds its place in modern cooking, especially as a cherished holiday staple. Its relevance comes from its perfect blend of familiar flavors and make-ahead convenience. Today’s home cooks enthusiastically adapt the recipe to fit dietary needs, for instance, using gluten-free graham crackers or a sugar substitute. Furthermore, its stunning visual appeal makes it a star on social media feeds and a guaranteed crowd-pleaser at potlucks.
While it shines brightest on Thanksgiving, this cheesecake also fits beautifully into autumn weeknights or seasonal gatherings. Many bakers now use innovative tools like an Instant Pot to achieve a incredibly smooth texture without the risk of cracking. For a simpler, equally delicious experience, you can also explore making mini cheesecakes that are perfect for portion control and parties. Ultimately, this recipe continues to evolve while still delivering the timeless taste of fall that everyone loves.
Taste and Texture
What makes it delicious
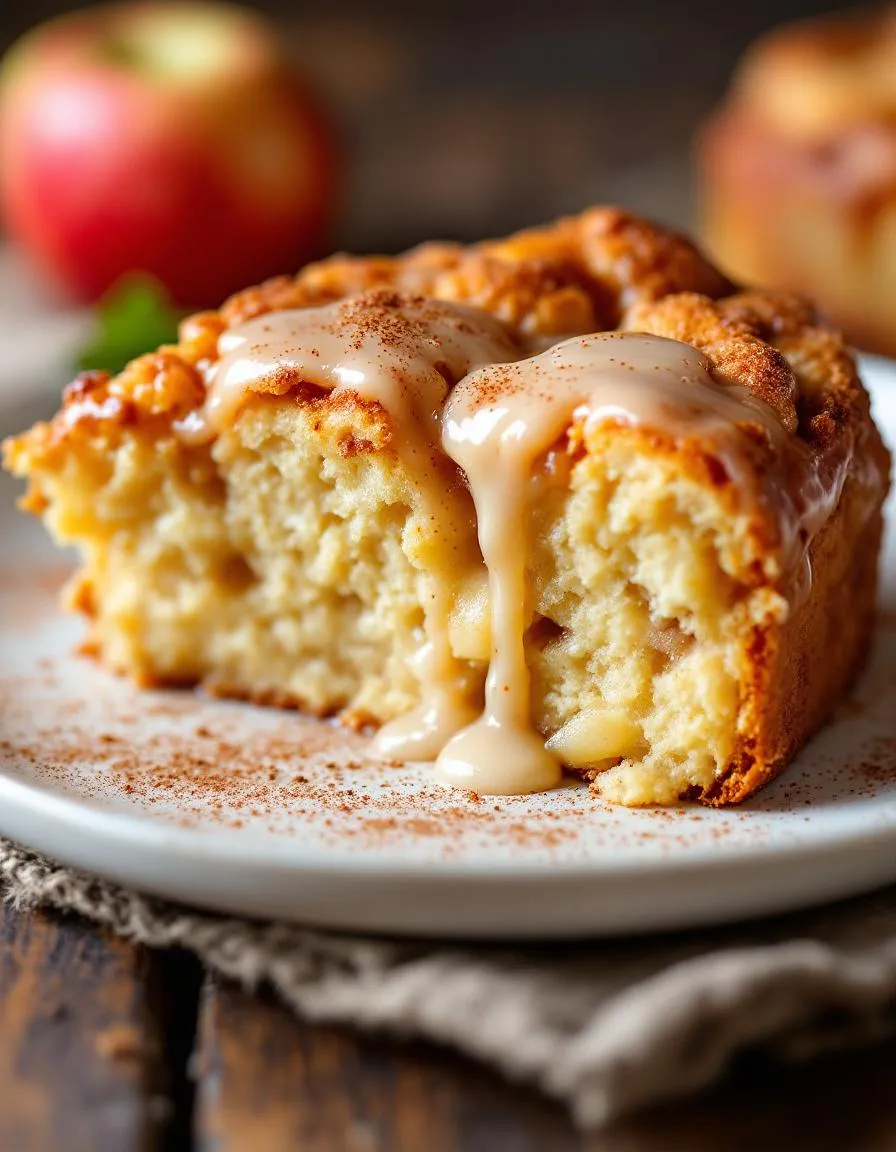
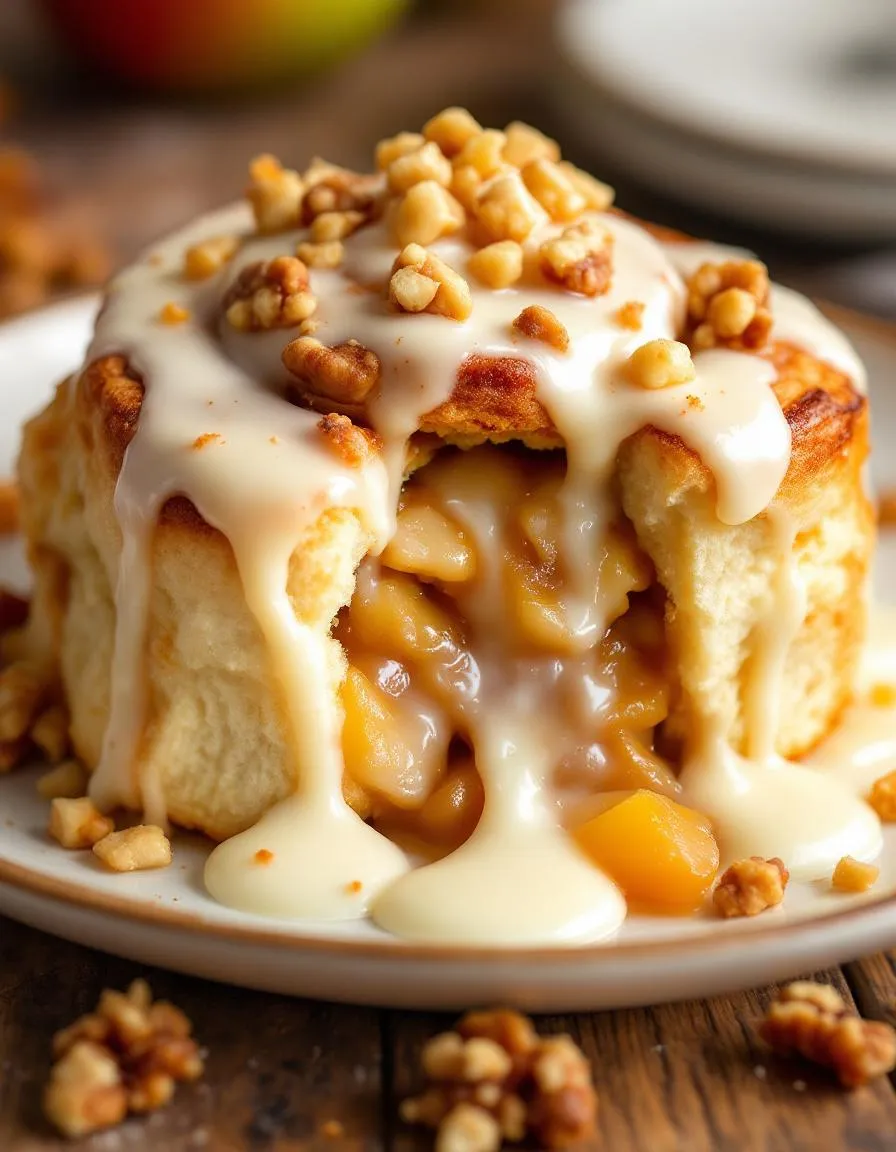
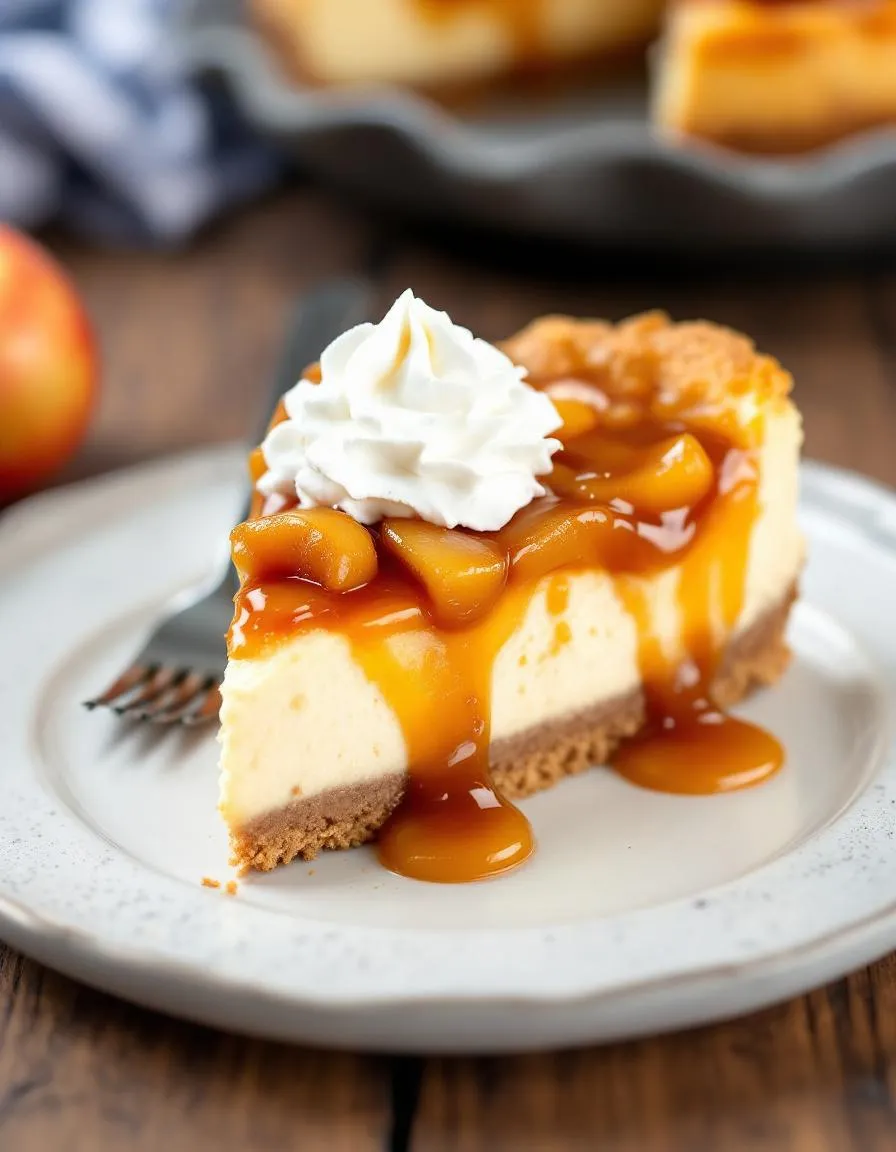
This Easy Caramel Apple Cheesecake Recipe – Perfect for Thanksgiving! delivers a symphony of textures and tastes in every single bite. Firstly, you experience the creamy, impossibly smooth filling that melts luxuriously on your tongue. Then, the spiced apple topping provides a soft, warm, and slightly chewy contrast. Meanwhile, the buttery graham cracker crust offers a essential crunchy foundation that holds everything together. Each element complements the next, creating a perfect balance between sweet, tangy, and spiced flavors. Ultimately, the rich caramel drizzle adds a deep, buttery sweetness that ties this incredible dessert together beautifully.
Boosting the flavor
For an even more decadent experience, consider a few simple upgrades. For instance, swap the traditional graham cracker crust for a ginger snap base to introduce a warm, spicy kick that pairs wonderfully with the apples. Additionally, a generous pinch of flaky sea salt sprinkled over the caramel at the end enhances all the other flavors by cutting through the sweetness. You can also explore different apple varieties for a more complex taste; our guide on selecting the best apples for baking offers fantastic advice. Furthermore, a dollop of freshly whipped cream or a scoop of vanilla bean ice cream makes the perfect finishing touch, much like the pairing suggestions in our ultimate cheesecake toppings article. Therefore, get creative and make this dessert uniquely yours.
Tips for Success
Best practices for results
Always bring your cream cheese to room temperature before you begin; this simple step ensures a perfectly smooth and lump-free filling for your Easy Caramel Apple Cheesecake Recipe – Perfect for Thanksgiving!. Furthermore, use a sharp knife to slice your apples uniformly so they cook evenly and create a beautiful, consistent layer. For the best structural integrity, make sure you let the cheesecake chill in the refrigerator for the full recommended time before adding your toppings.
Mistakes to avoid
Avoid overmixing your cheesecake batter after you add the eggs, as this can incorporate too much air and cause the surface to crack while baking. Instead, mix on low speed just until the ingredients combine. Additionally, do not skip the step of cooling your apple topping completely before spreading it on the cheesecake, otherwise the heat can make the creamy filling too soft. For more guidance on achieving the perfect creamy texture, read our essential cheesecake water bath guide. Moreover, always use a high-quality caramel sauce that is thick enough to hold its shape; a runny sauce will make your beautiful dessert soggy. If you are looking for a great homemade option, our salted caramel sauce recipe is a fantastic and reliable choice.
Serving and Pairing Suggestions
How to serve this dish
Present your Easy Caramel Apple Cheesecake Recipe – Perfect for Thanksgiving! on a beautiful cake stand for a truly stunning centerpiece. For an elegant finish, drizzle extra caramel sauce over each slice just before serving. Furthermore, a simple garnish of thinly sliced apple fans or a sprinkle of toasted pecans adds wonderful texture and visual appeal. This dessert truly shines during the holidays, so be sure to make it the grand finale of your festive meal.
Serve each portion slightly chilled for the perfect creamy yet firm texture that holds its shape. Alternatively, let it sit at room temperature for about fifteen minutes to allow the rich flavors to fully blossom. Consequently, your guests will adore this show-stopping treat.
What goes well with it
A hot cup of coffee makes an exceptional partner for this rich dessert. The robust, slightly bitter notes perfectly cut through the sweetness of the Easy Caramel Apple Cheesecake Recipe – Perfect for Thanksgiving!. For a decadent brunch option, however, consider pairing a slice with a glass of cold apple cider.
If you want to offer another dessert choice, this cheesecake pairs wonderfully with our simple Vanilla Bean Ice Cream. The cool, creamy vanilla provides a lovely contrast to the spiced apple topping. Moreover, for those who enjoy a contrasting texture, a side of our crunchy Cinnamon Sugar Walnuts adds a delightful salty-sweet crunch that elevates every single bite.
Absolutely! This Easy Caramel Apple Cheesecake Recipe – Perfect for Thanksgiving! is an excellent make-ahead dessert. You can prepare it up to two days in advance; just keep it covered in the refrigerator until you’re ready to serve, which allows the flavors to meld together beautifully.
The key is to avoid overmixing the batter, which incorporates too much air, and to bake it in a water bath for even, gentle heat. For this particular Easy Caramel Apple Cheesecake Recipe – Perfect for Thanksgiving!, also make sure your cream cheese and eggs are at room temperature to ensure a smooth, crack-free filling.
Yes, a springform pan is highly recommended for any cheesecake, including this one. Its removable sides make it incredibly easy to release the cheesecake cleanly without damaging the crust or the beautiful caramel apple topping, ensuring a perfect presentation for your Thanksgiving table.
Certainly! Using a high-quality store-bought caramel sauce is a great time-saver and will still yield a delicious dessert. For the best results in this Easy Caramel Apple Cheesecake Recipe – Perfect for Thanksgiving!, look for a thick caramel sauce or dessert topping rather than a thin ice cream syrup.