“`html
Table of Contents
- Strawberry Lemonade Popsicles Recipe
- Why This Recipe is a Summer Must-Have
- Timing is Everything
- Step-by-Step Instructions for Perfect Popsicles
- Nutritional Information for Strawberry Lemonade Popsicles
- Healthier Alternatives and Flavor Variations
- Serving Suggestions
- Common Mistakes to Avoid
- Storing Your Homemade Popsicles
- Frequently Asked Questions About Strawberry Lemonade Popsicles
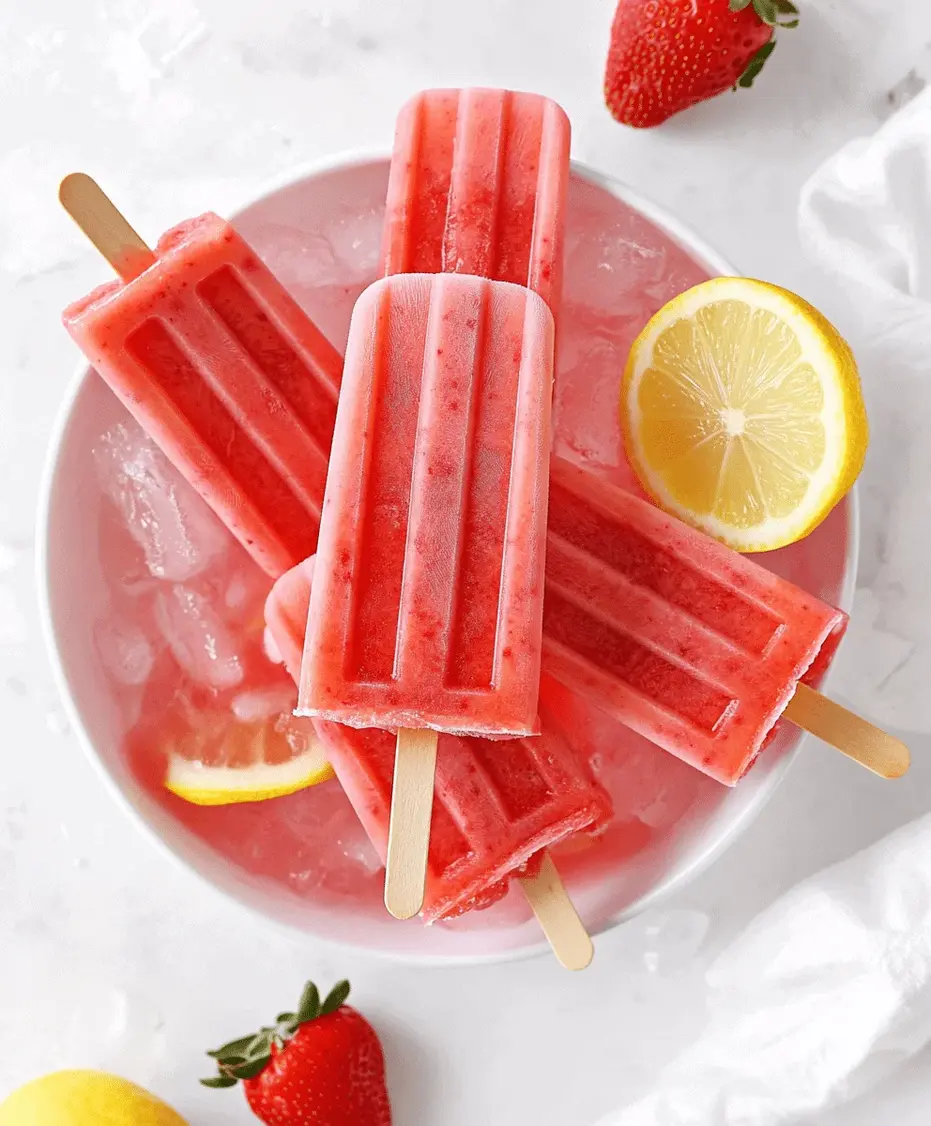
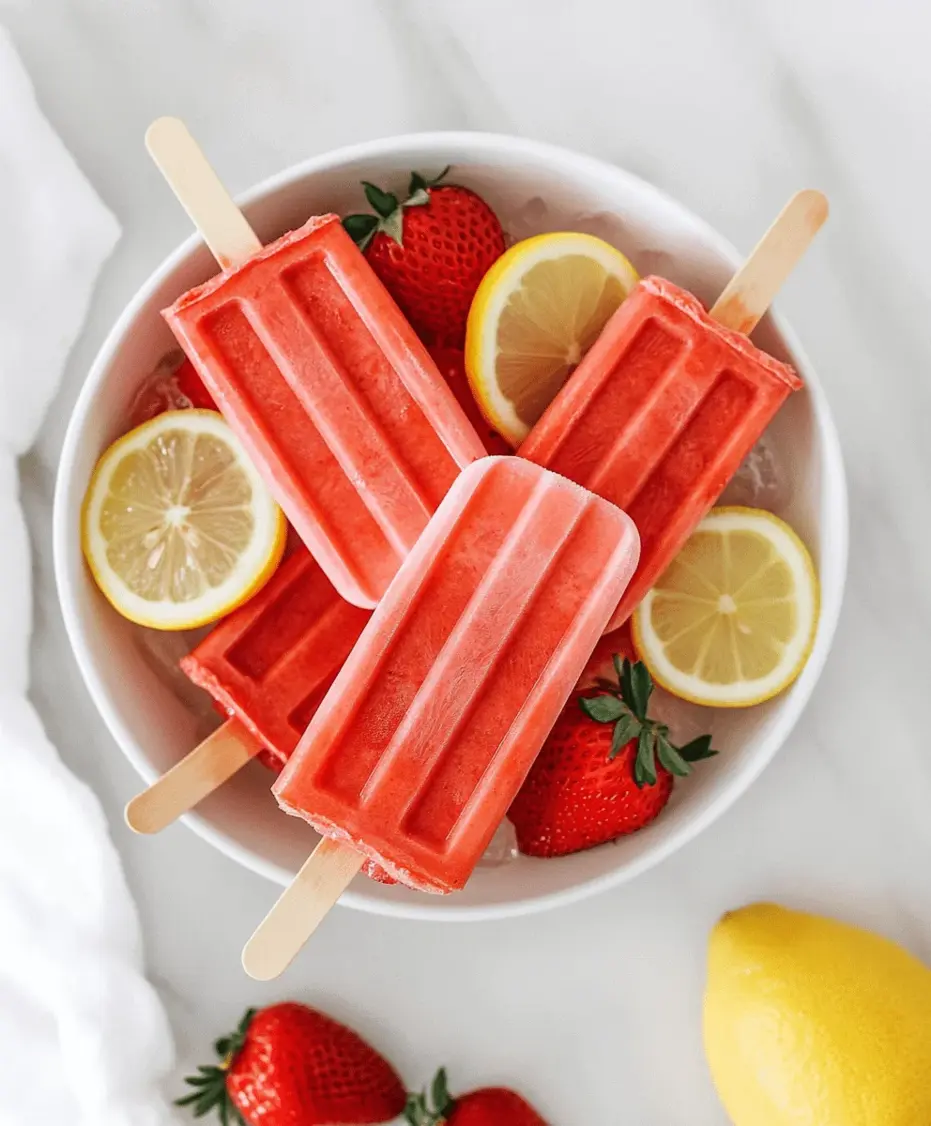
Strawberry Lemonade Popsicles Recipe
Did you know that the average store-bought popsicle can contain up to 15 grams of sugar and artificial dyes? If you’re looking for a healthier, more natural way to beat the summer heat, you’re in the right place! Cooling off with a vibrant Strawberry Lemonade Popsicles Recipe is a sweet and tart treat bursting with fresh strawberries and zesty lemon juice. Easy to make and perfect for kids and adults alike, these popsicles are a healthy alternative to store-bought treats, with no artificial ingredients. A must-try summer dessert!
Why This Recipe is a Summer Must-Have
Summer days are synonymous with sunshine, warmth, and of course, refreshing treats. While ice cream and sugary drinks are classic choices, they often come with a hidden cost of excessive sugar and artificial additives. This Strawberry Lemonade Popsicles Recipe offers a delightful solution. It’s incredibly simple to prepare, allowing you to enjoy a guilt-free, all-natural frozen dessert that tastes
as good as it looks. The combination of sweet, ripe strawberries and tangy lemon juice creates a perfectly balanced flavor profile that is both invigorating and satisfying. Imagine biting into a popsicle that’s packed with the vibrant essence of fresh fruit – that’s exactly what this recipe delivers. It’s a fantastic way to use up seasonal strawberries and a fun activity to involve the whole family in. Plus, the beautiful pink hue makes them visually appealing, a surefire hit at any summer gathering or a simple treat to enjoy on a quiet afternoon.
Ingredients for Strawberry Lemonade Popsicles
The beauty of this recipe lies in its simplicity and the use of fresh, wholesome ingredients. Here’s what you’ll need:
- Fresh Strawberries: 2 cups, hulled and quartered. Choose ripe, fragrant strawberries for the best natural sweetness and intense flavor. They’ll provide a glorious ruby-red color and a juicy, slightly sweet-tart base. If fresh strawberries are out of season, about 1.5 cups of frozen strawberries (thawed slightly) can be substituted.
- Fresh Lemon Juice: ½ cup, freshly squeezed. The zesty kick of lemon is crucial for balancing the sweetness of the strawberries and giving these popsicles that classic lemonade tang. Aim for at least 2-3 large lemons. Bottled lemon juice can be used in a pinch, but fresh is always superior for brightness and flavor.
- Water: 1 cup. This helps to create the right consistency and dilutes the flavors to a perfectly refreshing level. Filtered water is recommended for the cleanest taste.
- Sweetener: ¼ to ½ cup, to taste. Options include granulated sugar, honey, maple syrup, or agave nectar. The amount will depend on the sweetness of your strawberries and your personal preference. Start with ¼ cup and adjust as needed. Honey and maple syrup will add subtle underlying flavors.
- Optional: Lemon Zest: 1 teaspoon. For an extra burst of citrus aroma and flavor, finely grated zest from one lemon can be added.
- Popsicle Molds and Sticks: Ensure you have enough molds and corresponding sticks for your batch.
Timing is Everything
Compared to traditional baking recipes that might take hours, these popsicles are incredibly quick to prepare. The majority of the time is hands-off freezing, making it an ideal recipe for busy households or those looking for an easy summer treat. This is significantly faster than the average time spent preparing elaborate desserts.
Step-by-Step Instructions for Perfect Popsicles
Step 1: Prepare the Strawberries
Begin by washing your strawberries thoroughly under cool running water. Remove the green leafy tops (hull them) and then quarter the berries. This helps them blend more easily.
Step 2: Create the Lemonade Base
In a small saucepan, combine the water and your chosen sweetener (sugar, honey, or maple syrup). Heat gently over medium heat, stirring constantly, until the sweetener is completely dissolved. Do not boil. If using lemon zest, add it to this mixture now and let it steep for a few minutes to infuse the flavor. Remove from heat and let it cool slightly.
Step 3: Blend and Sweeten
Add the hulled strawberries and freshly squeezed lemon juice to a blender. Pour in the slightly cooled sweetened water mixture. If you’re using lemon zest, ensure it has been strained out of the water before adding it to the blender. Blend on high speed until the mixture is smooth and well combined. Taste the mixture and adjust the sweetness or tartness as needed. If it’s too tart, add a touch more sweetener. If it’s too sweet, add a bit more lemon juice or a splash of water. Aim for a flavor that is slightly more intense than you would want to drink, as freezing tends to mute flavors.
Step 4: Fill and Freeze
Carefully pour the strawberry lemonade mixture into your popsicle molds. Leave a small amount of space at the top of each mold, as liquids expand when frozen. Insert the popsicle sticks into the molds according to their design (some molds have built-in holders, while others require you to freeze for about an hour before adding sticks to prevent them from sinking). Place the filled molds onto a flat surface in your freezer. Allow them to freeze completely, which typically takes 4-6 hours, or until solid.
Step 5: Enjoy Your Homemade Treats!
Once frozen, carefully remove the popsicles from their molds. If they are difficult to release, you can briefly run the outside of the mold under warm water for a few seconds. Serve immediately and savor the refreshing taste of homemade strawberry lemonade!
Nutritional Information for Strawberry Lemonade Popsicles
Nutritional information can vary based on the type and amount of sweetener used. The following is an estimated breakdown per popsicle (assuming 8 servings from a standard mold):
- Calories: 40-80 kcal
- Carbohydrates: 10-20g
- Sugar: 8-18g (primarily from fruit and added sweetener)
- Fiber: 1-2g
- Vitamin C: Excellent source (from strawberries and lemon)
Healthier Alternatives and Flavor Variations
Looking to customize or make these even healthier? Try these swaps:
- Reduced Sugar: For a less sweet version, use only ¼ cup of sweetener or rely solely on the natural sweetness of the strawberries. You could also use a natural zero-calorie sweetener like stevia or erythritol, adjusting quantities according to package directions.
- Dairy-Free Creaminess: For a creamier texture, blend in ¼ cup of full-fat coconut milk or a dollop of plain Greek yogurt (use dairy-free yogurt for a vegan option) before freezing.
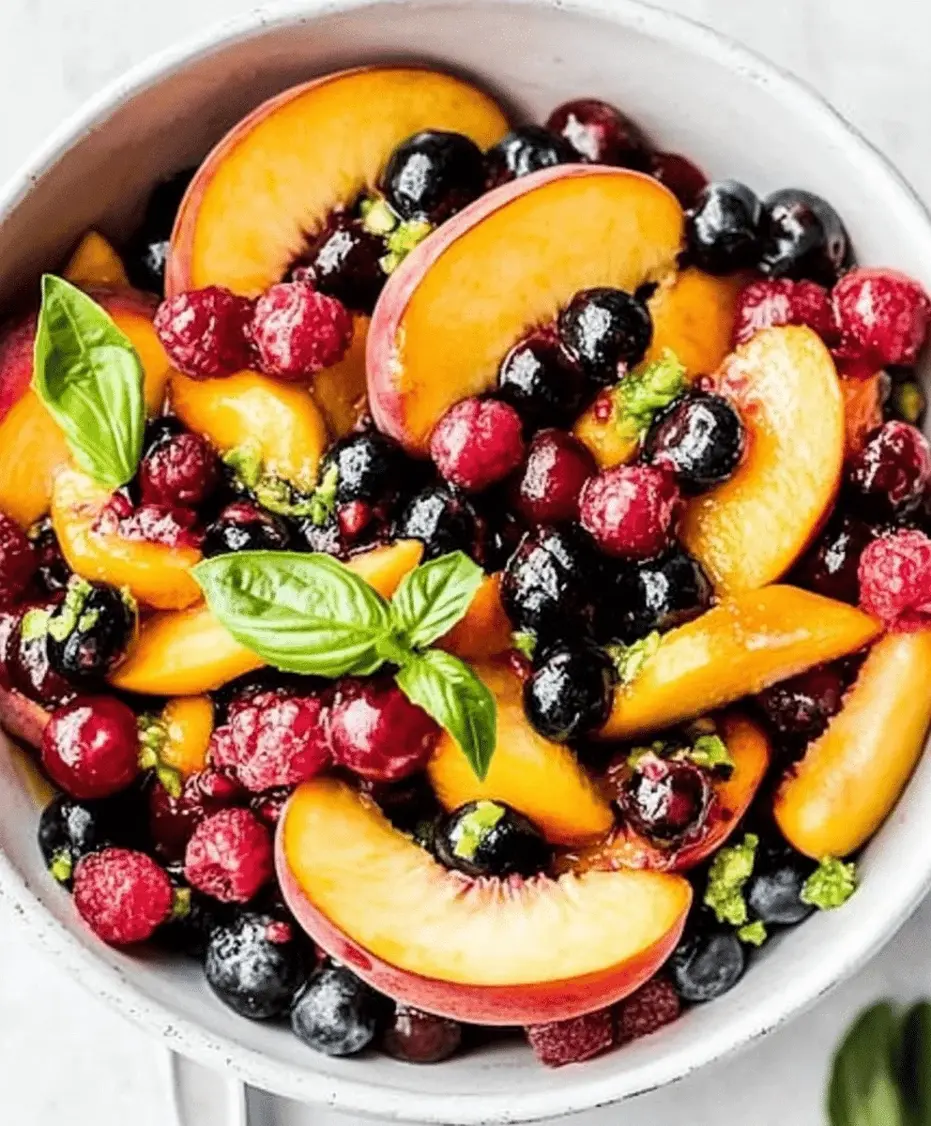
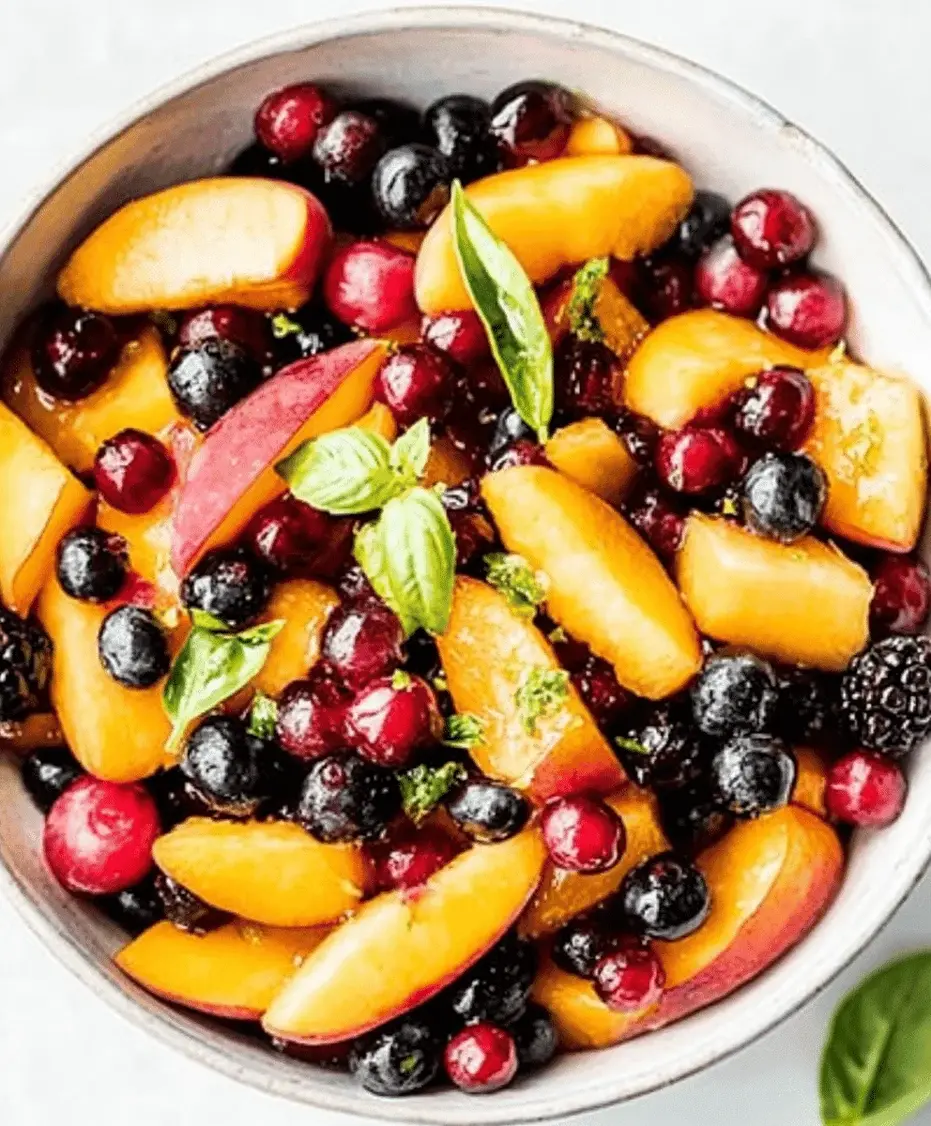
- Add-ins: Incorporate fresh mint leaves, a splash of lime juice, or even a few raspberries or blueberries into the blend for added flavor complexity. A pinch of ginger can also add a delightful zing.
- Herbal Infusions: Steep a chamomile or peppermint tea bag in the hot water before sweetening for subtle, calming flavors.
Serving Suggestions
These Strawberry Lemonade Popsicles are perfect on their own as a refreshing snack or dessert. They are also a delightful addition to:
- Summer Picnics and BBQs: A crowd-pleasing treat that everyone will love.
- Kids’ Parties: A healthier alternative to sugary store-bought ice pops, and fun to make together.
- Afternoon Pick-Me-Up: When you need a cool, sweet escape from the heat.
Common Mistakes to Avoid
While this recipe is quite forgiving, here are a few common pitfalls to watch out for:
- Over-sweetening: Always taste and adjust sweetness before freezing, as cold temperatures can dull flavors. It’s better to be slightly under-sweetened and add more later if needed.
- Not using enough lemon: The lemon is key to cutting through the sweetness and providing that classic lemonade flavor. Don’t skimp on it!
- Filling molds too full: Remember that liquids expand when frozen. Leaving a small gap at the top will prevent overflow and cracked molds.
- Difficulty removing popsicles: If they’re stuck, a quick dip in warm water should do the trick. Forcing them can break the popsicle.
Storing Your Homemade Popsicles
Once frozen solid, you can remove the popsicles from their molds. To store them long-term, wrap each individually in plastic wrap or place them in a freezer-safe bag or container. This prevents freezer burn and keeps them fresh. They will last for several weeks in the freezer.
Frequently Asked Questions About Strawberry Lemonade Popsicles
***Can I use frozen strawberries instead of fresh?***
Absolutely! If fresh strawberries are not in season or readily available, frozen strawberries work just as well. Thaw them slightly before blending to ensure they process smoothly.
***How do I prevent my popsicles from tasting bland?***
Freezing can dull flavors. It’s important to taste your mixture before freezing and make sure it’s slightly more intense in flavor (sweeter and tarter) than you’d want for a drink. This ensures they’ll taste just right once frozen.
***My popsicles are really hard to get out of the mold. What should I do?***
A quick way to release them is to run the outside of the mold under warm water for about 10-15 seconds. This slightly melts the outer layer of the popsicle, making it easier to slide out. Be careful not to use too hot water, or it will melt the pop too much.
***Can I add other fruits to this recipe?***
Yes, definitely! You can add other berries like raspberries or blueberries, or even a small amount of other fruits like watermelon or peach. Adjust the liquid and sweetener as needed based on the added fruits.
***How long do these popsicles last in the freezer?***
Properly stored (wrapped individually or in an airtight container), these popsicles can last for up to 4-6 weeks in the freezer. However, their best flavor is usually within the first 2-3 weeks.
Conclusion
There you have it – a delightful and refreshing Strawberry Lemonade Popsicles Recipe that’s perfect for any occasion. Not only are these homemade popsicles incredibly delicious, but they are also a healthier and more natural alternative to store-bought frozen treats. With minimal effort and a few simple ingredients, you can create a vibrant, flavorful dessert that will be cherished by all ages. So, gather your strawberries and lemons, and dive into the ultimate summer refreshment. Share these with your loved ones and spread the joy of homemade goodness!
Print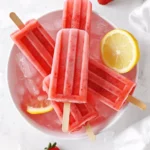
Strawberry Lemonade Popsicles Recipe
Description
Cool off with this vibrantStrawberry Lemonade Popsicles Recipe, a sweet and tart treat bursting with fresh strawberries and zesty lemon juice. Easy to make and perfect for kids and adults alike, these popsicles are a healthy alternative to store-bought treats, with no artificial ingredients. A must-try summer dessert!
Ingredients
- 2 cupsfresh strawberries, hulled
- ½ cupfreshly squeezed lemon juice (about2–3lemons)
- ¼to⅓cup honey or maple syrup (to taste)
- ½ cupwater
Instructions
Notes
You can strain the blended mixture through a fine mesh sieve for a smoother texture.
Add small chunks of strawberries before freezing for texture.
For a more citrusy kick, include lemon zest in the blend.
Nutrition
- Calories: 50
- Sugar: 9g
“`