“`html
Table of Contents
- Apple Pie Bars: A Fall Favorite?
- Ingredients for Flaky Apple Pie Bars
- Timing Your Apple Pie Bar Perfection
- Crafting Your Flaky Apple Pie Bars: Step-by-Step
- Nutritional Snapshot of Apple Pie Bars
- Healthier Twists on Apple Pie Bars
- Serving Suggestions for Maximum Delight
- Common Pitfalls to Avoid
- Storing Your Apple Pie Bars
- Frequently Asked Questions
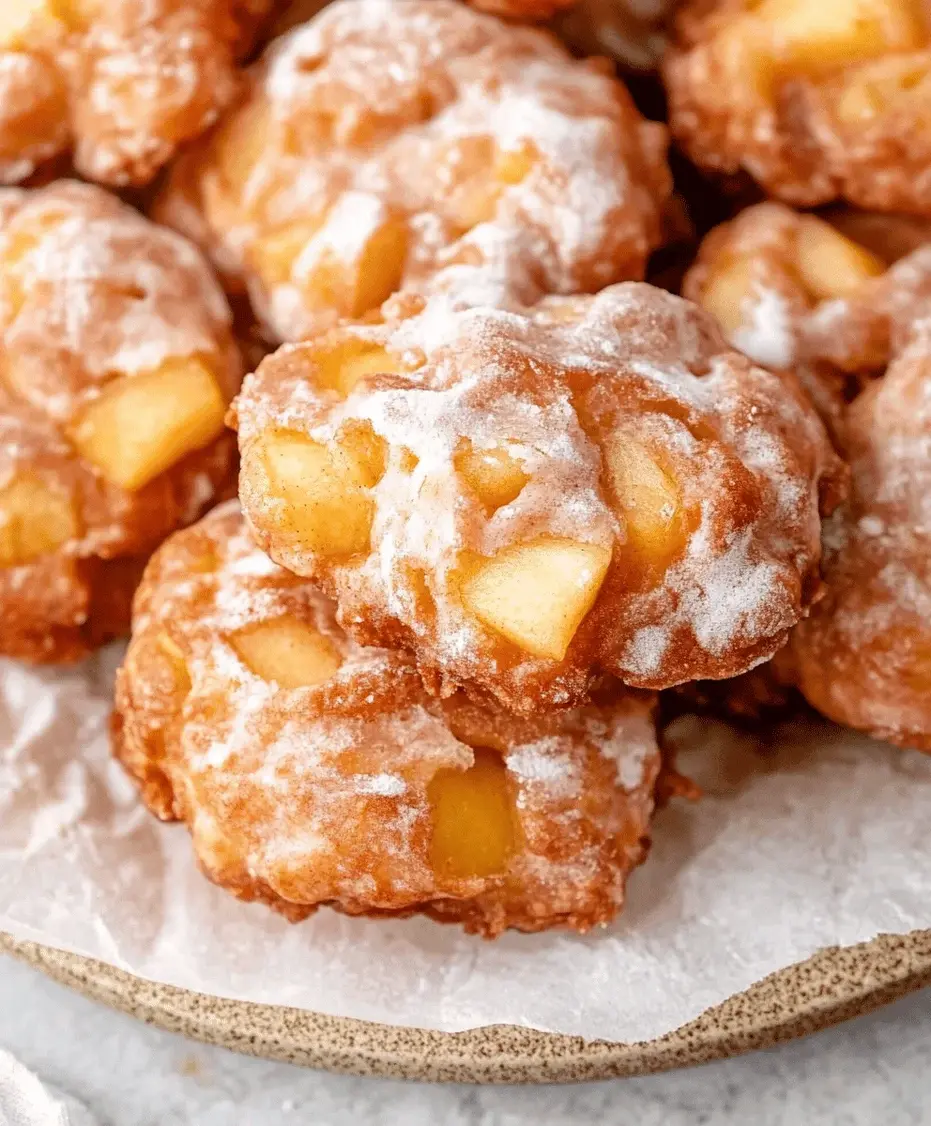
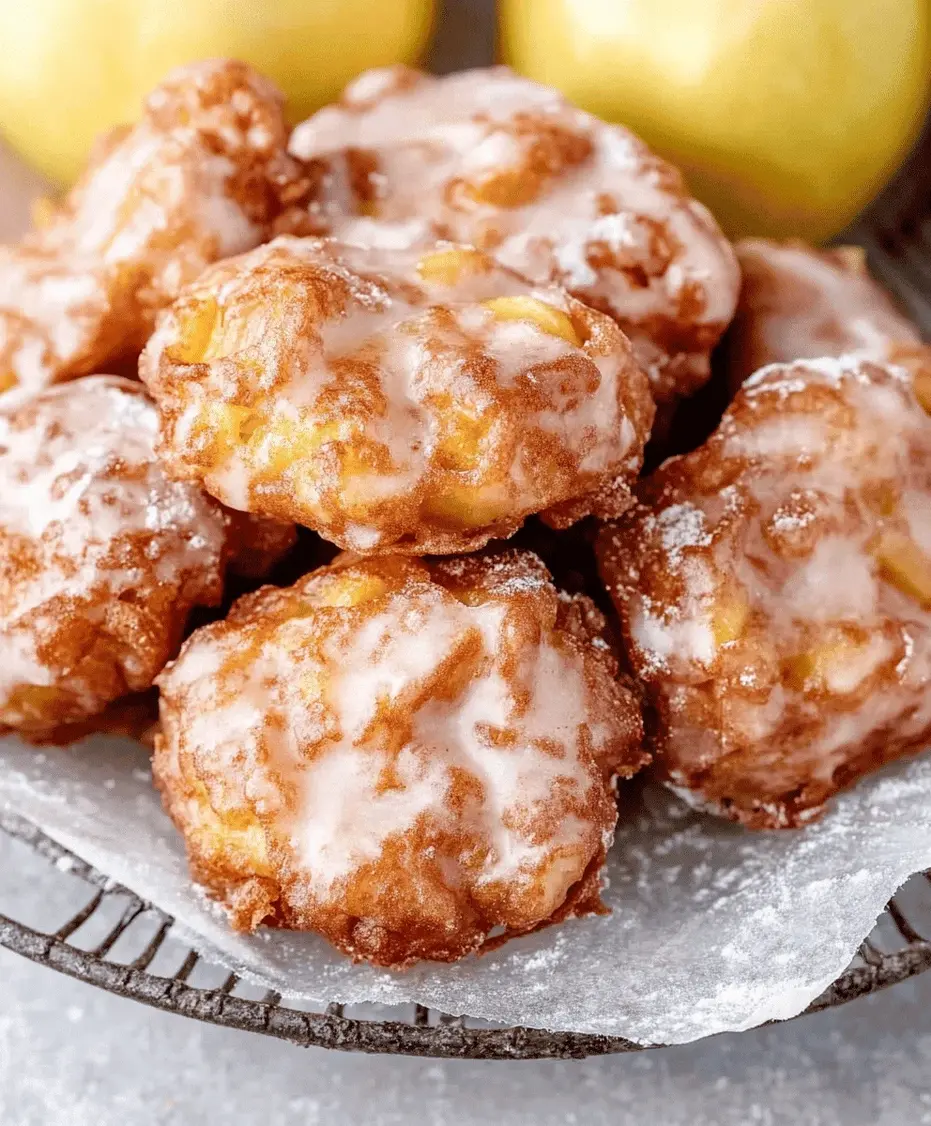
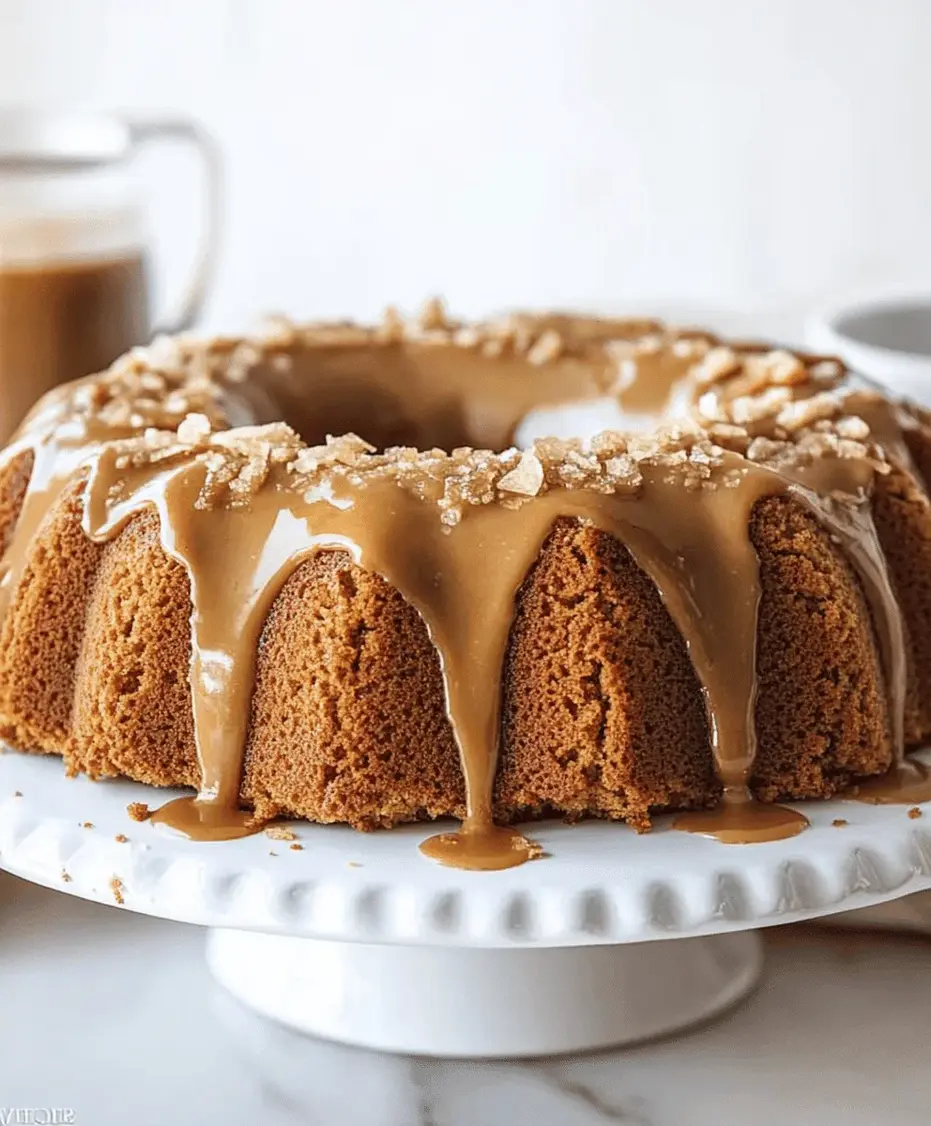
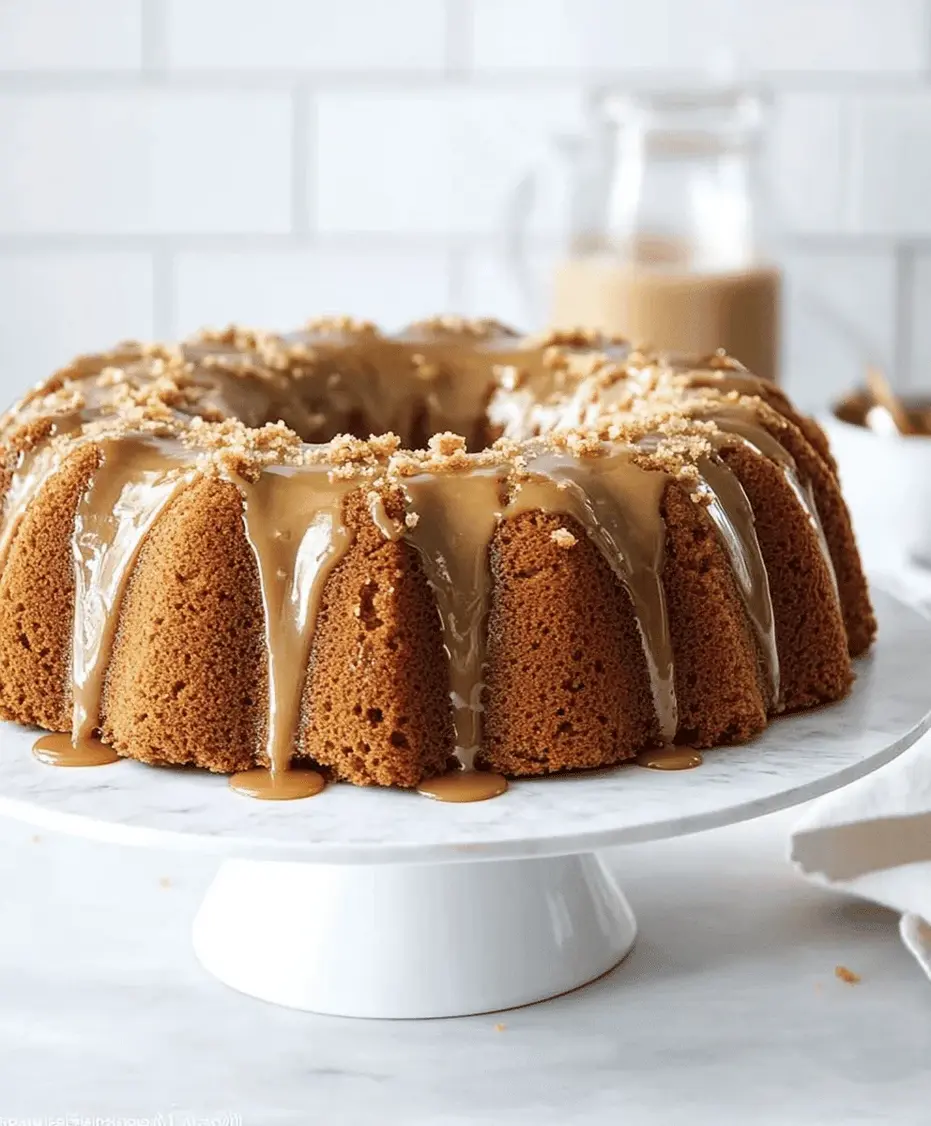
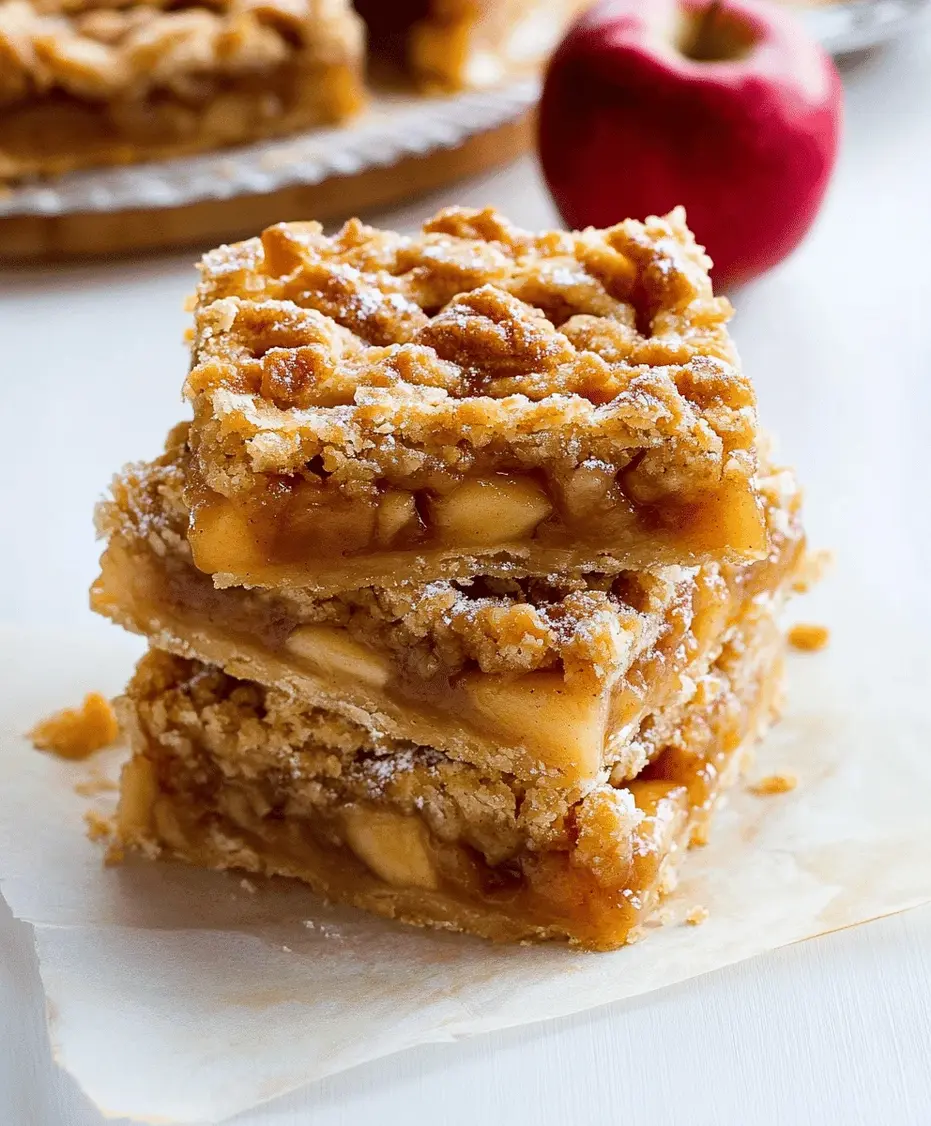
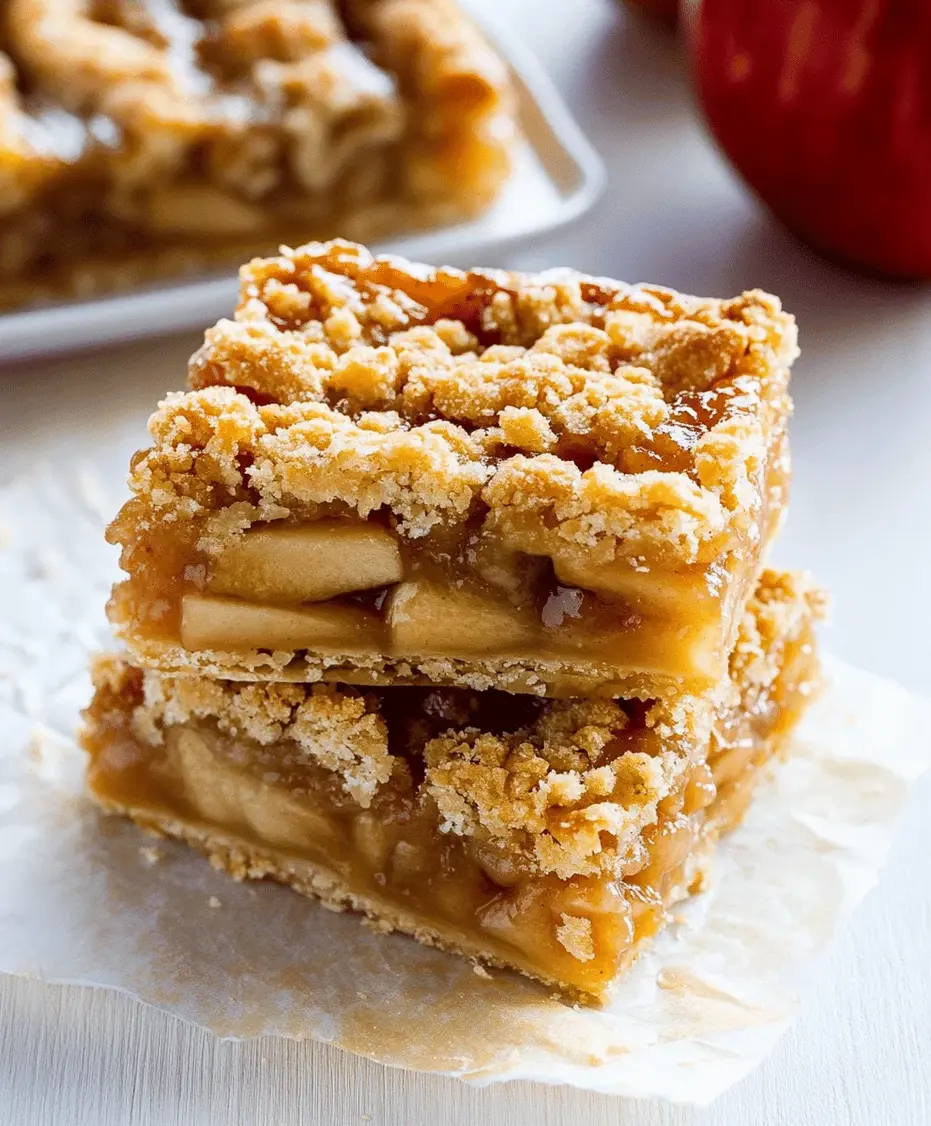
Flaky Apple Pie Bars Recipe
Did you know that the average American consumes about 19 pounds of apples per year? With such a love for this versatile fruit, it’s no wonder apple pie is a national obsession. But what if you could capture all that comforting, spiced apple goodness in a more convenient, less messy form? Enter our Flaky Apple Pie Bars!
Apple Pie Bars: A Fall Favorite?
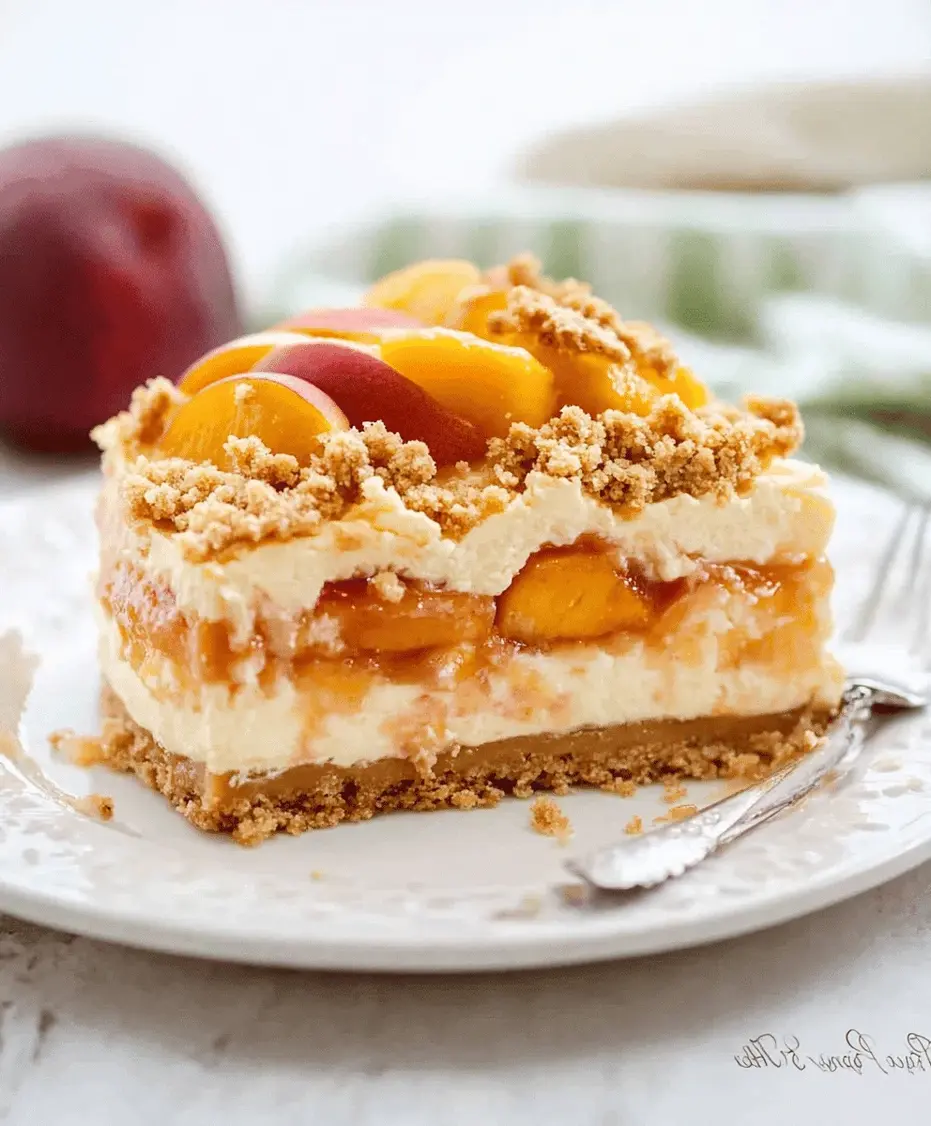
These aren’t just any apple pie bars; they’re a symphony of textures and flavors designed to be your go-to dessert. Imagine a crust that’s irresistibly buttery and tender, yielding to a warm, spiced apple filling that sings with cinnamon and a touch of sweetness. They offer all the nostalgic comfort of a classic apple pie but in a delightfully portable and shareable bar. Perfect for those crisp autumn evenings, festive holiday gatherings, or simply when you crave a cozy treat, these apple pie bars deliver pure joy in every bite. We’ve taken a beloved classic and made it even better – easier to serve, easier to eat, and just as delicious.
Ingredients for Flaky Apple Pie Bars
The magic of these bars lies in simple, high-quality ingredients that come together to create something truly special. We’ve focused on creating a flaky, buttery crust and a perfectly spiced apple filling that isn’t too runny or too dry.
For the Crust
- 2 ½ cups all-purpose flour: The foundation of our flaky pastry. Ensure it’s measured correctly for the best texture.
- 1 cup (2 sticks) unsalted butter, very cold and cubed: This is crucial for flakiness! The cold butter creates steam pockets during baking, resulting in layers. Use good quality butter for superior flavor and texture.
- ½ teaspoon salt: Balances the sweetness and enhances the overall flavor profile.
- ½ cup ice water: Also essential for a tender, flaky crust. Add it gradually to avoid making the dough too wet.
For the Apple Filling
- 6 cups sliced apples (about 6-7 medium apples): A mix of sweet and tart apples works best for complexity. Honeycrisp, Fuji, Gala (for sweetness), and Granny Smith (for tartness) are excellent choices. Slice them about ¼-inch thick for perfect tenderness.
- ¾ cup granulated sugar: Adjust to the sweetness of your apples. You want the filling to be sweet but not overwhelmingly so.
- 2 tablespoons all-purpose flour or cornstarch: This acts as a thickener to prevent a soggy bottom. Cornstarch gives a clearer filling, while flour can make it slightly opaque.
- 1 teaspoon ground cinnamon: The quintessential apple pie spice. Use fresh cinnamon for the most vibrant aroma and taste.
- ¼ teaspoon ground nutmeg: Adds a warm, slightly sweet, and pungent note that complements cinnamon beautifully.
- 1 tablespoon lemon juice: Brightens the apple flavor and prevents them from browning before baking.
- 2 tablespoons unsalted butter, cut into small pieces: Dotting the top of the filling adds richness and helps create a glistening finish.
Optional Topping
- 2 tablespoons turbinado sugar (for a crunchy topping): Sprinkling this on top before baking adds a delightful crunch and visual appeal.
Timing Your Apple Pie Bar Perfection
Compared to a traditional double-crust apple pie, these bars often have a slightly shorter bake time due to their thinner profile. The prep time is comparable, focusing on getting that perfect crust and flavorful filling ready.
Crafting Your Flaky Apple Pie Bars: Step-by-Step
Step 1: Preheat and Prepare
Begin by preheating your oven to 375°F (190°C). Line a 9×13 inch baking pan with parchment paper, leaving an overhang on the sides. This makes it incredibly easy to lift the cooled bars out of the pan for slicing. Lightly grease the parchment paper as well.
Step 2: Create the Buttery Crust
In a large bowl, whisk together the flour and salt. Cut in the cold, cubed butter using a pastry blender, your fingertips, or a food processor until the mixture resembles coarse crumbs with some pea-sized pieces of butter remaining. This is key to achieving that sought-after flakiness. Gradually add the ice water, one tablespoon at a time, mixing until the dough just comes together. Be careful not to overmix. You want a shaggy dough, not a smooth ball. Divide the dough in half. Press one half evenly into the bottom of the prepared baking pan to form the crust. Reserve the other half for the topping.
Step 3: Prepare the Luscious Apple Filling
In a separate large bowl, toss the sliced apples with granulated sugar, flour (or cornstarch), cinnamon, nutmeg, and lemon juice. Ensure all the apple slices are coated evenly. This creates a beautiful, fragrant mixture that will bake into a tender, slightly thickened filling.
Step 4: Assemble the Bars
Spread the prepared apple filling evenly over the crust in the baking pan. Dot the top of the apple filling with the small pieces of butter. For the topping, you have a few options: you can either crumble the reserved dough over the apples, or if you prefer a streusel topping, mix about ½ cup of flour, ¼ cup brown sugar, ¼ cup cold butter, and a pinch of cinnamon until crumbly and sprinkle that over the apples. If you opt for the simple topping, gently press the reserved dough into small pieces or crumbles and distribute them over the apple filling. If using, sprinkle the turbinado sugar over the top for that extra crunch.
Step 5: Bake to Golden Perfection
Bake in the preheated oven for 45-55 minutes, or until the crust is golden brown and the apple filling is bubbling and tender. You should be able to easily pierce an apple slice with a fork. If the topping starts to brown too quickly, you can loosely tent the pan with aluminum foil.
Step 6: Cool and Slice
Let the apple pie bars cool completely in the pan on a wire rack. This is crucial for the filling to set properly, otherwise, they will be messy to cut. Once fully cooled (at least 2-3 hours, or even overnight), use the parchment paper overhang to lift the entire slab out of the pan. Slice into bars using a sharp knife. Wipe the knife clean between cuts for neat edges.
Nutritional Snapshot of Apple Pie Bars
- Calories: Approximately 350-450 per bar (varies based on exact ingredients and portion size)
- Fat: 18-25g
- Carbohydrates: 40-55g
- Sugar: 20-30g
- Fiber: 2-4g
- Protein: 3-5g
(Note: Nutritional information is an estimate and can vary.)
Healthier Twists on Apple Pie Bars
Looking to lighten things up without sacrificing flavor? Try these swaps:
- Whole Wheat Crust: Substitute half of the all-purpose flour with whole wheat flour for added fiber and nutrients.
- Reduced Sugar: Decrease the sugar in both the crust and filling, especially if using very sweet apples. You can also use a natural sweetener like maple syrup or honey, adjusting quantities as needed.
- More Fiber: Add a tablespoon or two of oats to the crust mixture for a bit more texture and fiber.
- Unsweetened Applesauce: While this can affect texture, a small amount of unsweetened applesauce can sometimes replace some of the butter or sugar.
Serving Suggestions for Maximum Delight
These apple pie bars are delightful on their own, but here are a few ways to elevate them:
- Warm with Ice Cream: A classic pairing! Serve warm bars with a scoop of vanilla bean ice cream for a decadent treat.
- Drizzle of Caramel: A generous drizzle of caramel sauce takes these bars to a whole new level.
- Whipped Cream: A dollop of freshly whipped cream is a lighter, yet equally delicious, accompaniment.
- Powdered Sugar Dusting: A light dusting of powdered sugar can add an elegant finish.
- With a cup of tea or coffee: Perfect for an afternoon pick-me-up or a cozy morning breakfast.
Common Pitfalls to Avoid
To ensure your apple pie bars turn out perfectly every time, be mindful of these common mistakes:
- Overworking the Dough: This develops the gluten too much, resulting in a tough crust instead of a tender, flaky one.
- Not Using Cold Ingredients for Crust: Cold butter and ice water are non-negotiable for achieving flakiness.
- Cutting Apples Too Thinly: If sliced too thin, the apples can become mushy. Aim for about ¼-inch thickness.
- Not Letting Them Cool Completely: Patience is key! Cutting warm bars will lead to a messy, unappealing result.
- Too Much Filling: Overfilling can lead to a soggy bottom crust and potentially overflow during baking.
Storing Your Apple Pie Bars
Proper storage will keep your apple pie bars tasting fresh:
- Room Temperature: Store cooled bars in an airtight container at room temperature for up to 2 days.
- Refrigerator: For longer storage, refrigerate them in an airtight container for up to 5 days. They are delicious served cold or gently rewarmed.
- Freezing: You can freeze the entire slab or individual bars. Wrap them tightly in plastic wrap, then in foil. Freeze for up to 2-3 months. Thaw at room temperature or in the refrigerator.
Frequently Asked Questions
***What kind of apples are best for apple pie bars?***
A mix of sweet and tart apples yields the best flavor complexity. Good choices include Honeycrisp, Fuji, Gala for sweetness, and Granny Smith for tartness. Avoid apples that break down too quickly like Red Delicious.
***Why is my apple pie filling watery?***
This can happen if you don’t use enough thickener (flour or cornstarch), or if you don’t cook the apples long enough for some of the juice to evaporate. Also, make sure to let the bars cool completely before slicing!
***Can I make the crust ahead of time?***
Yes, you can make the dough for the crust and refrigerate it for up to 2 days, or freeze it for up to a month. Thaw in the refrigerator before using.
***What if I don’t have parchment paper?***
You can grease and flour your baking pan very well. However, parchment paper with an overhang makes removal and slicing significantly easier.
***Can I add other spices?***
Absolutely! A pinch of ground ginger or cloves can complement the cinnamon and nutmeg beautifully. A touch of cardamom can also add a unique twist.
Conclusion
These Flaky Apple Pie Bars are more than just a dessert; they’re a celebration of simple, comforting flavors wrapped in a perfectly executed pastry. They are incredibly versatile, easy to share, and guaranteed to be a hit at any gathering. Whether you’re a seasoned baker or a beginner, this recipe is designed for success, bringing the warm, cozy essence of apple pie into a convenient and delightful bar form. Don’t wait for a special occasion – whip up a batch today and let the sweet aroma fill your kitchen!
Print
Flaky Apple Pie Bars Recipe
Description
These flaky apple pie bars feature a buttery, tender crust filled with spiced apples and a hint of cinnamon. Perfect for fall gatherings, holidays, or a cozy dessert, they offer all the flavors of a classic apple pie in a convenient bar form.
Ingredients
- 2 ½ cupsall-purpose flour
- 1 cupunsalted butter, cold and cubed
- ½ cupgranulated sugar
- ¼ teaspoonsalt
- ½ cupice water
- 4 cupsapples, peeled and sliced
- ½ cupbrown sugar
- 1 teaspooncinnamon
- ¼ teaspoonnutmeg
- 1 tablespoonlemon juice
- 1 tablespooncornstarch
- 1 teaspoonvanilla extract
- 1egg (for egg wash)
- 1 tablespooncoarse sugar (optional)
Instructions
Notes
Use a mix of sweet and tart apples for the best flavor.
Store leftovers in an airtight container for up to 3 days.
Serve warm with vanilla ice cream for extra indulgence.
Nutrition
- Calories: 250
- Sugar: 18g
“`