“`html
Introduction
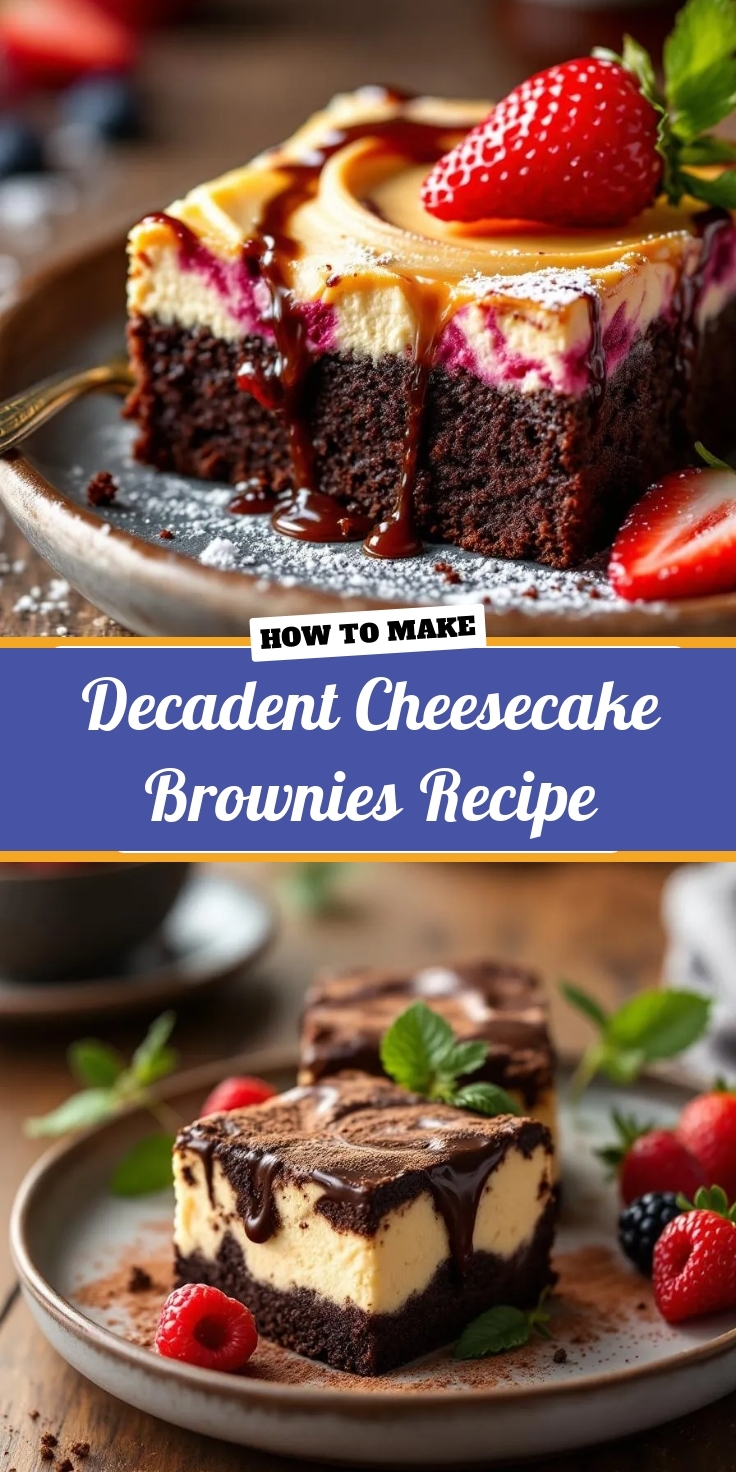
There’s something magical about biting into a rich, fudgy brownie swirled with creamy cheesecake—it’s pure indulgence in every bite. If you’ve ever craved a dessert that combines the best of both worlds, this Decadent Cheesecake Brownies Recipe is your answer. Whether you’re baking for a special occasion or simply treating yourself, these brownies deliver a luscious texture and unforgettable flavor. Trust me, one taste and you’ll understand why they’re a crowd favorite. Plus, they’re surprisingly easy to make, even if you’re not a seasoned baker. Ready to dive into this irresistible treat? Let’s get started.
About This Recipe
Decadent Cheesecake Brownies Recipe brings together two beloved desserts into one showstopping treat. Imagine a dense, chocolatey brownie base topped with a tangy, velvety cheesecake layer, all swirled into a marbled masterpiece. This recipe matters because it solves the age-old dilemma of choosing between brownies and cheesecake—why not have both? Perfect for potlucks, birthdays, or even a cozy night in, these brownies always impress. Moreover, they fit right into the Brekcakes ethos of approachable yet elevated baking. If you love our Classic Fudge Brownies, you’ll adore this twist.
What sets this recipe apart is its balance of simplicity and sophistication. While the ingredients are straightforward, the result feels gourmet. The brownie layer stays moist and fudgy, while the cheesecake adds a refreshing contrast. Additionally, the marbling technique creates a stunning visual effect, making these brownies as beautiful as they are delicious. For more cheesecake inspiration, check out our No-Bake Cheesecake—it’s another fuss-free favorite. Whether you’re a beginner or a pro, this recipe guarantees success and smiles all around.
Why I Love This Recipe
I’ll never forget the first time I made these Decadent Cheesecake Brownies. It was for a friend’s birthday, and the moment they took a bite, their face lit up with pure joy. That’s the power of this recipe—it creates moments of happiness. Beyond the taste, I love how versatile it is. Sometimes I add a sprinkle of sea salt for contrast, or a drizzle of caramel for extra decadence. Every time I bake them, they remind me why I fell in love with sharing desserts in the first place. If you’re looking for a recipe that feels like a hug in dessert form, this is it.
“`
Health and Nutrition
Why it’s good for your body
Decadent Cheesecake Brownies Recipe combines rich flavors with surprising nutritional perks. First, dark chocolate in the brownie layer delivers antioxidants, which support heart health and reduce inflammation. Meanwhile, cream cheese in the cheesecake swirl adds a dose of protein and calcium for stronger bones. Together, these ingredients create a treat that satisfies cravings while offering more than empty calories.
Additionally, Decadent Cheesecake Brownies Recipe includes eggs, which provide essential amino acids and vitamin D. These nutrients help maintain muscle function and boost immunity. Because the recipe balances indulgence with wholesome ingredients, you can enjoy a square guilt-free. Plus, the fiber from cocoa powder aids digestion, making it a smarter choice than overly processed desserts.
Finally, moderation is key, and Decadent Cheesecake Brownies Recipe fits perfectly into an occasional treat routine. The combination of protein, healthy fats, and complex carbs helps stabilize blood sugar levels. As a result, you avoid the energy crashes that come with sugar-heavy snacks. Whether you savor one after dinner or share them at gatherings, these brownies bring joy and nourishment.
How it fits in a healthy lifestyle
Decadent Cheesecake Brownies Recipe works well in a balanced diet when enjoyed mindfully. Pair a small portion with fresh berries or a handful of nuts to add fiber and healthy fats. If you follow a gluten-free diet, simply swap the flour for a gluten-free alternative like almond flour—just like in our Gluten-Free Baking Guide.
For those watching sugar intake, reduce the sweetener slightly or use natural substitutes like maple syrup. The protein-rich cream cheese and eggs also make these brownies a satisfying post-workout treat. Craving more healthy dessert ideas? Explore our Balanced Indulgence Collection for recipes that prioritize flavor and nutrition. With smart swaps and portion control, Decadent Cheesecake Brownies Recipe proves that delicious desserts can have a place in your wellness journey.
PrintDecadent Cheesecake Brownies
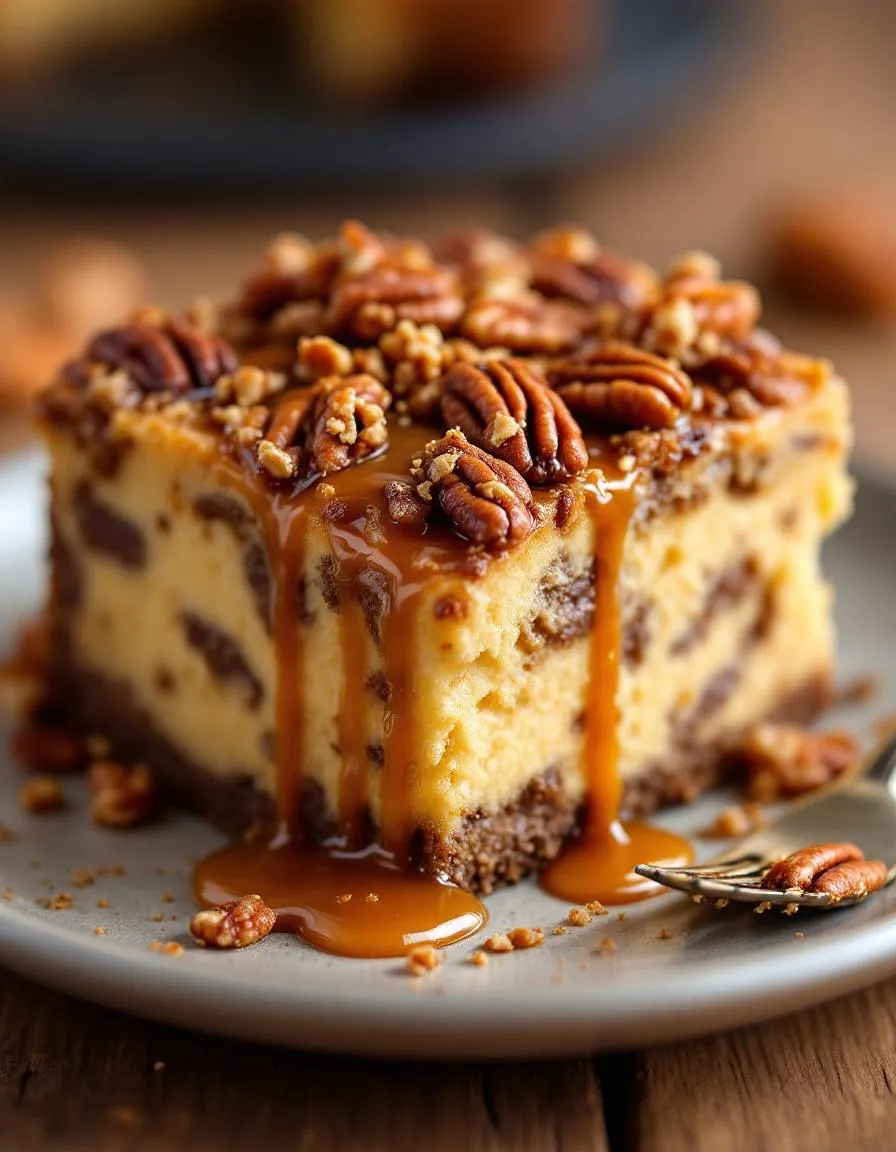
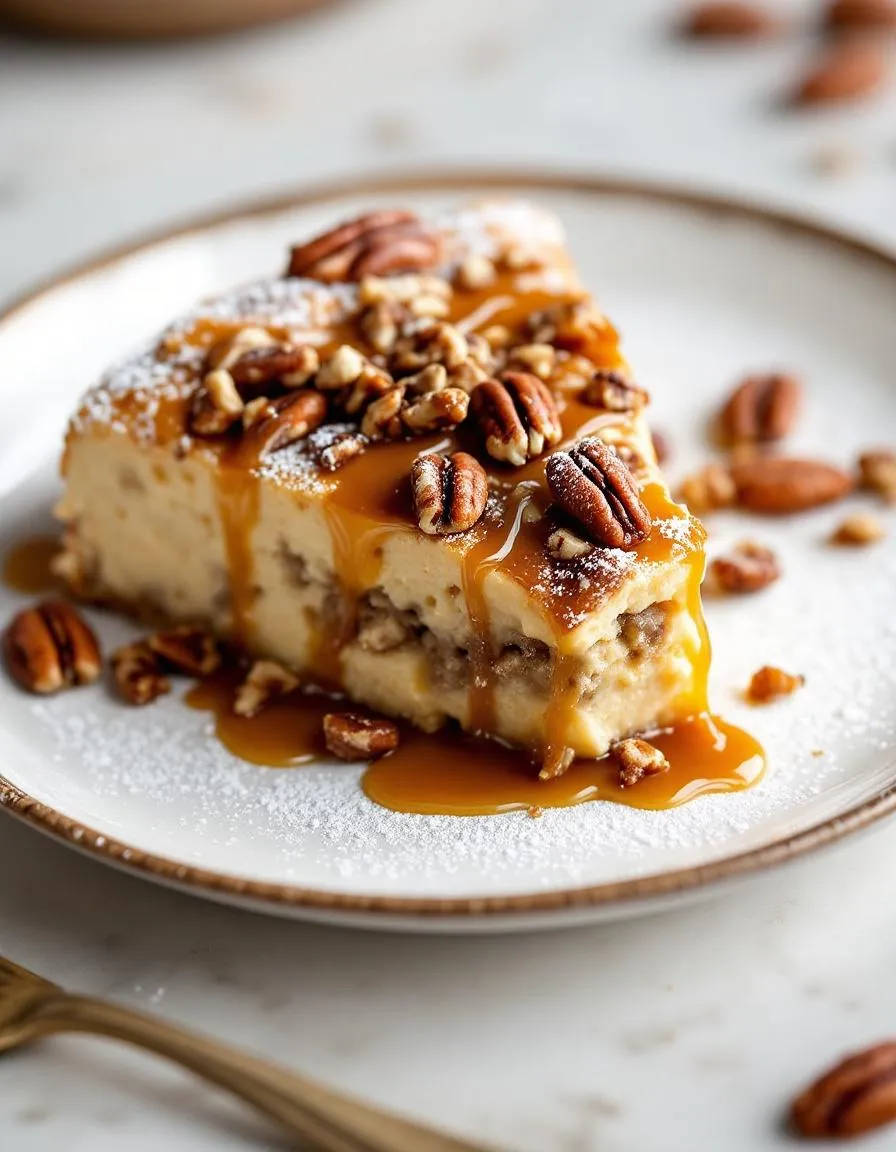
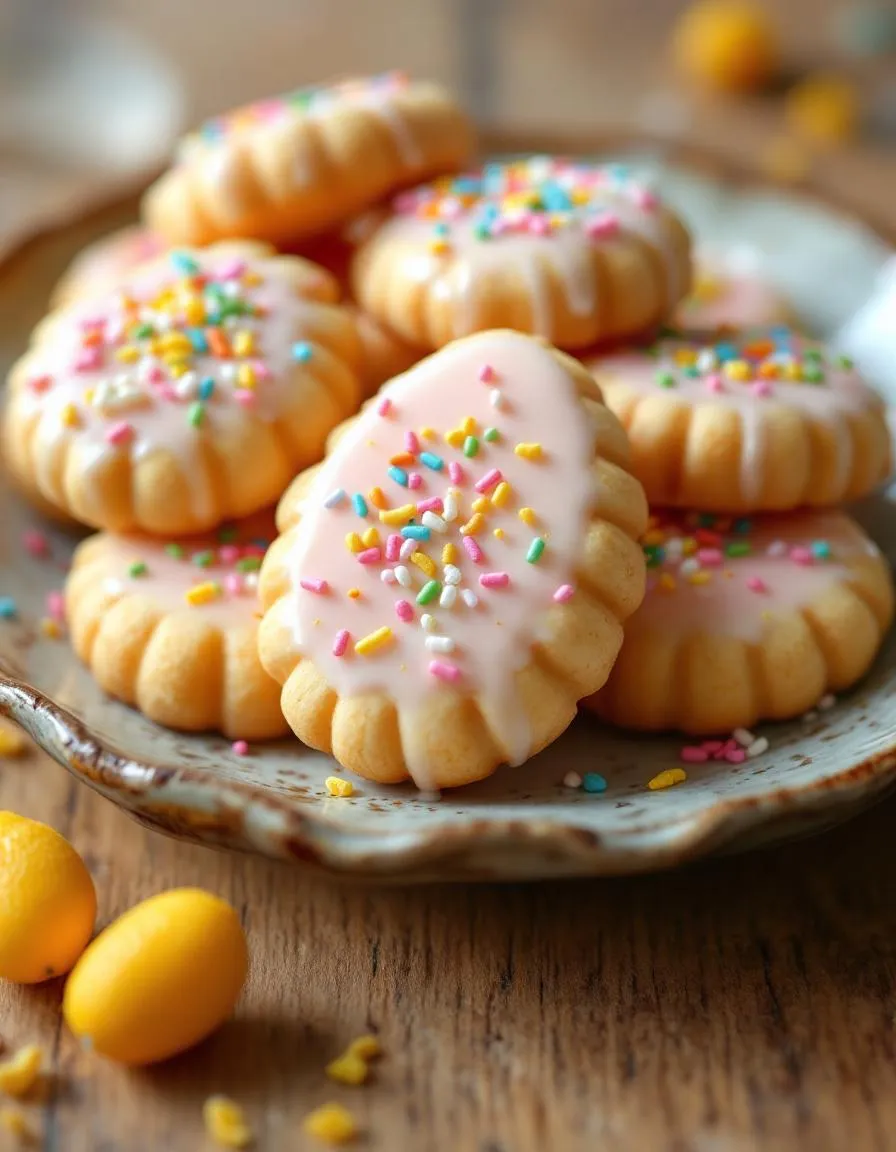
Description
A rich and fudgy brownie swirled with creamy cheesecake for the ultimate dessert experience.
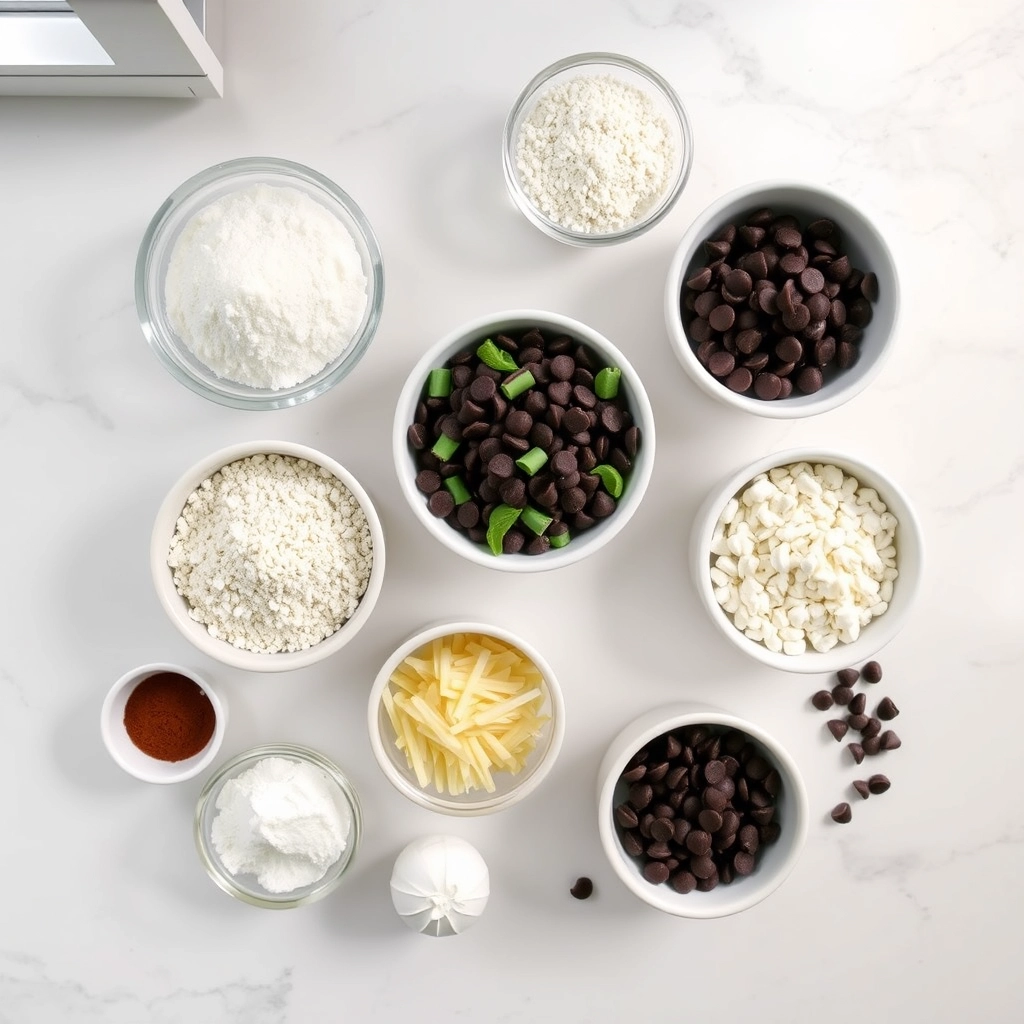
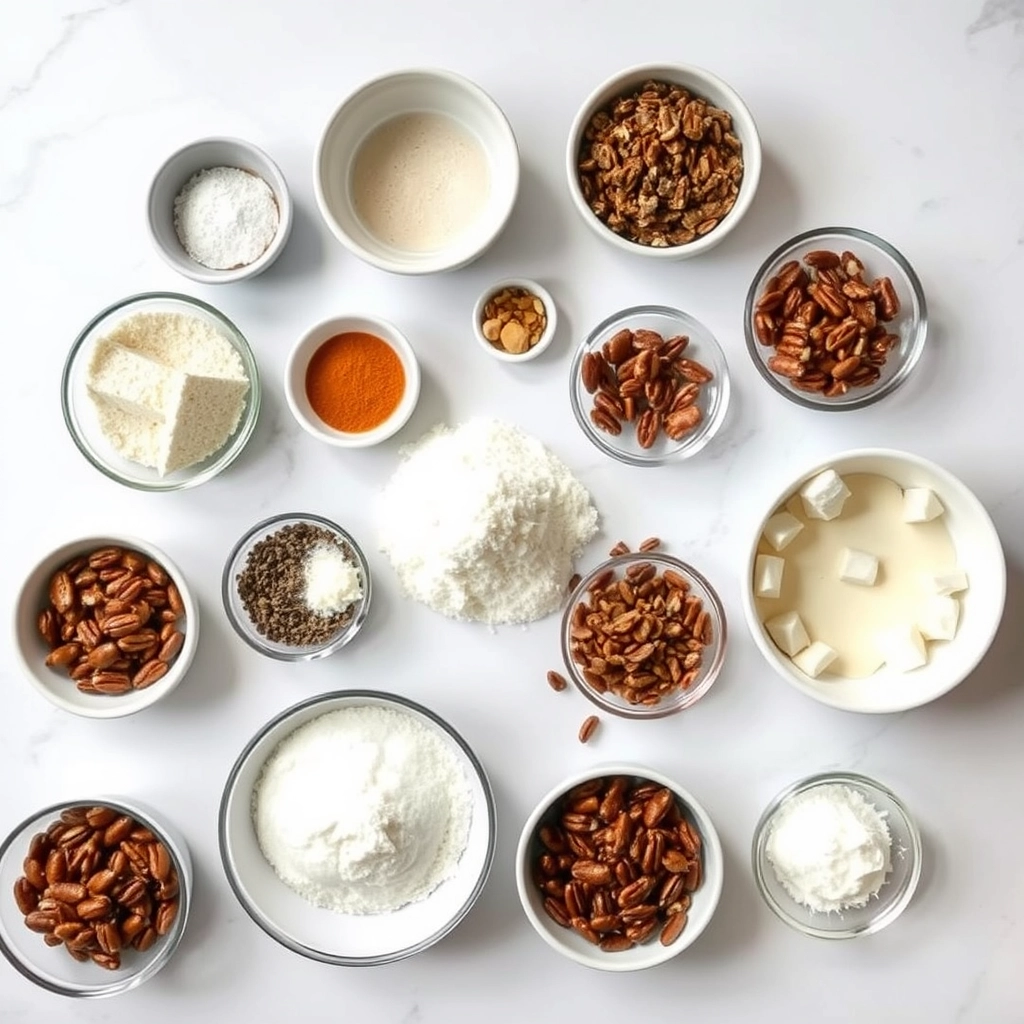
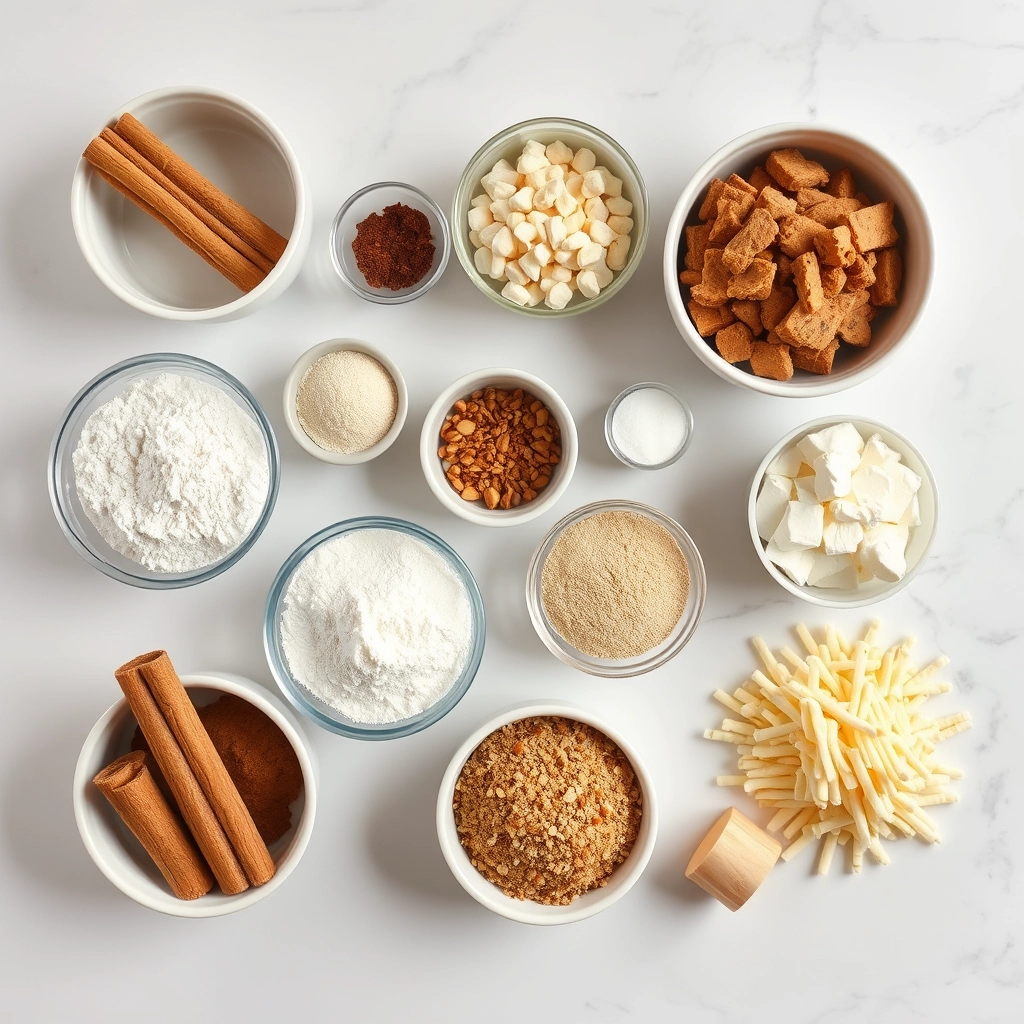
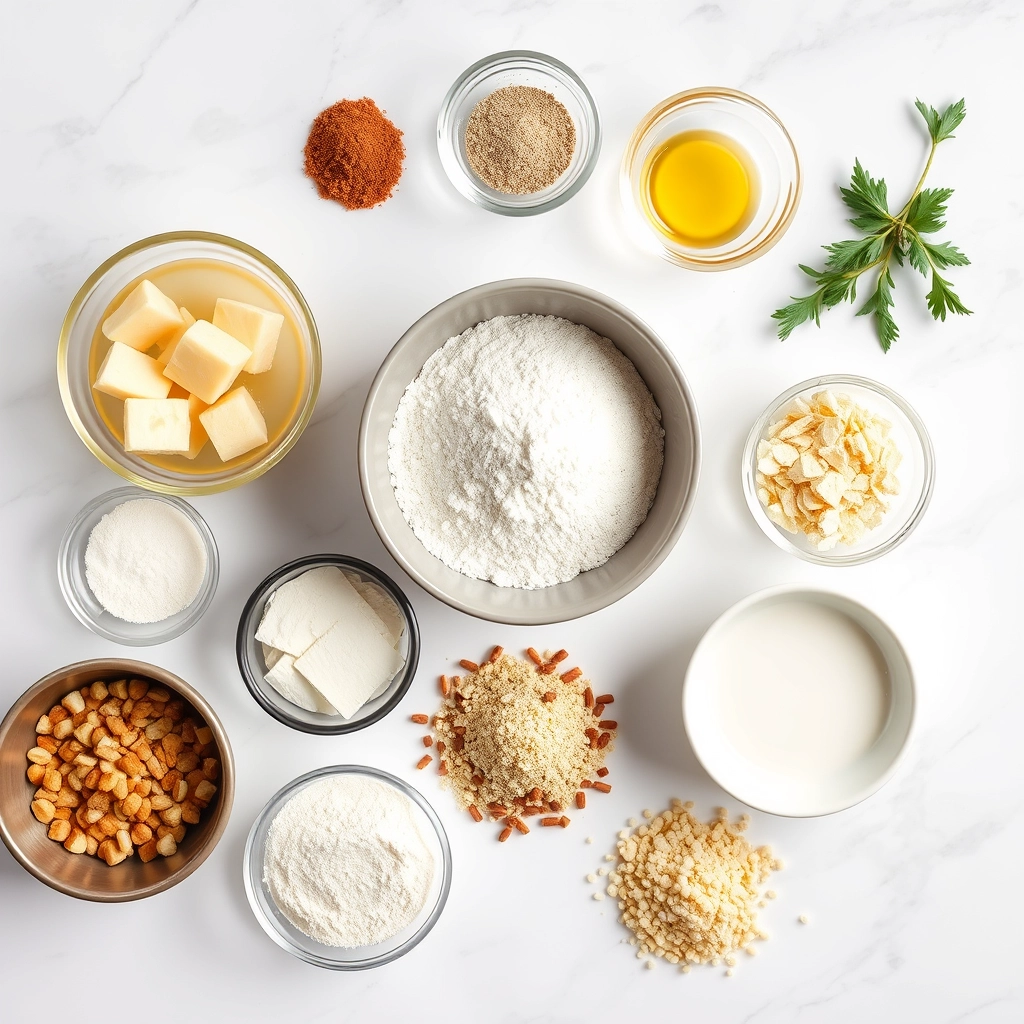
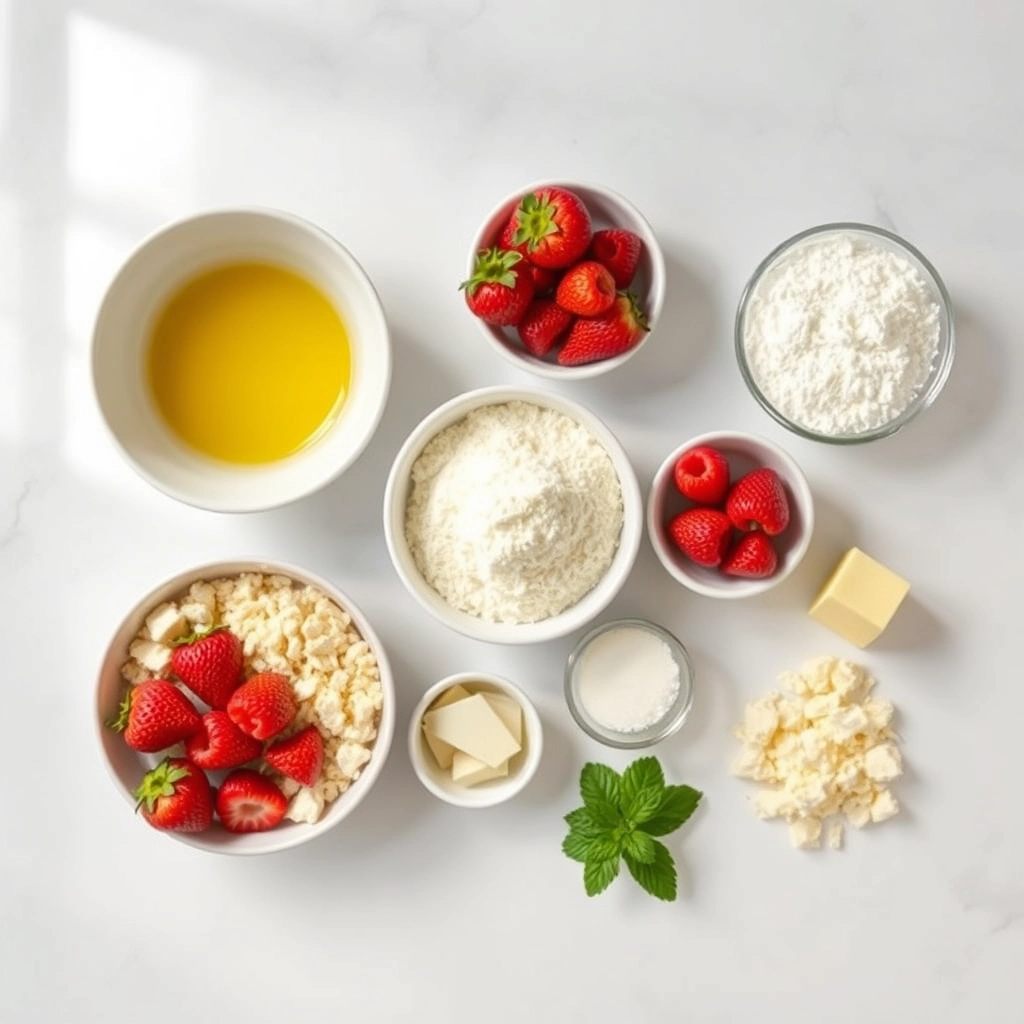
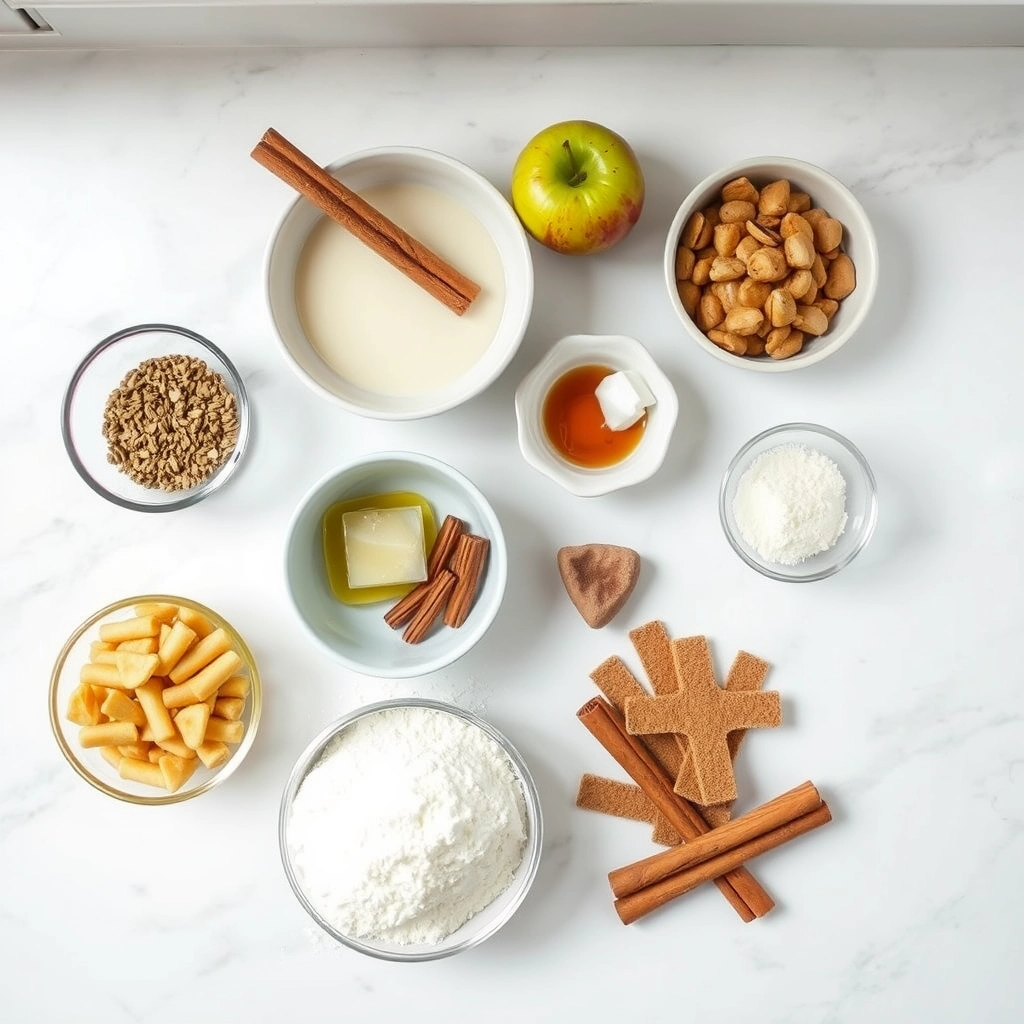
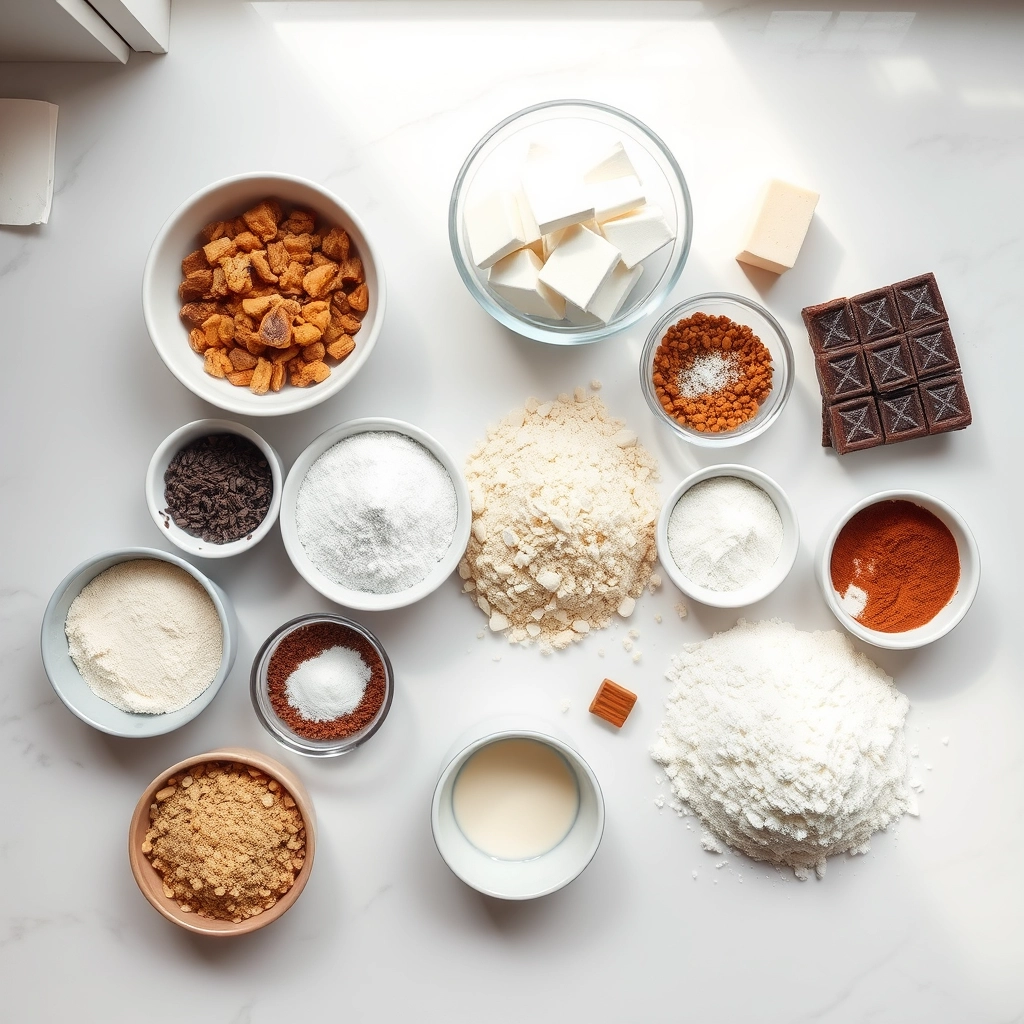
Ingredients
For the Crust:
- 1 cup unsalted butter
- 2 cups granulated sugar
- 4 large eggs
- 1 tsp vanilla extract
- 1 cup all-purpose flour
- 1/2 cup cocoa powder
- 1/4 tsp salt
- 8 oz cream cheese, softened
- 1/4 cup granulated sugar
- 1 egg yolk
- 1/2 tsp vanilla extract
Instructions
1. Prepare the Crust:
- Preheat oven to 350°F (175°C). Grease a 9×13-inch baking pan.
- Melt butter in a saucepan over low heat. Remove from heat and stir in sugar, eggs, and vanilla.
- Whisk in flour, cocoa powder, and salt until just combined. Spread batter into prepared pan.
- In a separate bowl, beat cream cheese, sugar, egg yolk, and vanilla until smooth.
- Drop spoonfuls of cheesecake mixture over brownie batter. Swirl with a knife to create a marbled effect.
- Bake for 30-35 minutes until edges are set but center is slightly jiggly. Cool completely before slicing.
Notes
You can customize the seasonings to taste.
How to Prepare This Dish
Steps and time-saving tips
Start by preheating your oven to 350°F and lining an 8×8 baking pan with parchment paper for easy removal later. In a large bowl, whisk together melted butter, sugar, and vanilla until smooth, then mix in the eggs one at a time. Gradually fold in the flour, cocoa powder, and salt until just combined—overmixing can make the brownies dense. Meanwhile, prepare the cheesecake layer by beating cream cheese, sugar, and egg until creamy. Pour half the brownie batter into the pan, then gently spread the cheesecake mixture on top. Use a knife to swirl the remaining brownie batter into the cheesecake for a marbled effect. Bake for 30-35 minutes until the edges are set but the center still jiggles slightly. Let the Decadent Cheesecake Brownies Recipe cool completely before slicing to avoid a messy cut. For a time-saving hack, use room-temperature ingredients to ensure even mixing and quicker baking.
Mistakes I’ve made and learned from
I once rushed the cooling process and ended up with crumbly brownies that fell apart—patience is key! Now, I let them chill in the fridge for at least an hour, which also enhances the fudgy texture. Another blunder? Overbaking. I learned to trust the jiggle test and pull them out when the edges are firm but the center still has a slight wobble. If you’re new to baking, check out my guide on perfect brownie texture for more tips. Also, I used to skip sifting the dry ingredients, resulting in lumpy batter. A quick sift makes all the difference, just like in my avoid common baking mistakes post. Learn from my errors, and your Decadent Cheesecake Brownies Recipe will turn out flawless every time.
Cultural Connection and Variations
Where this recipe comes from
The Decadent Cheesecake Brownies Recipe is a delicious fusion of two beloved desserts, blending the rich, fudgy depth of brownies with the creamy tang of cheesecake. While brownies trace their roots to early 20th-century America, cheesecake has a much older history, dating back to ancient Greece. This recipe marries these traditions into a modern treat that feels both nostalgic and innovative.
Around the world, bakers put their own spin on similar desserts. In France, you might find a chocolate marquise with a silky cream layer, while in Japan, matcha-infused versions offer a earthy twist. Some families, like mine, add a splash of vanilla or a swirl of raspberry jam to the cheesecake layer for extra flair. No matter the variation, the Decadent Cheesecake Brownies Recipe always delivers a crowd-pleasing combination of textures and flavors.
How it fits in today’s cooking
Today, the Decadent Cheesecake Brownies Recipe remains a staple for potlucks, birthdays, and cozy nights in. Its versatility makes it perfect for any occasion, whether you’re celebrating a holiday or just craving something indulgent. Modern bakers often tweak the recipe, using gluten-free flour or dairy-free cream cheese to suit dietary needs.
For those who love experimenting, pairing these brownies with a scoop of homemade ice cream takes them to the next level. Others might enjoy them alongside a warm cup of spiced coffee for a comforting dessert duo. No matter how you serve them, the Decadent Cheesecake Brownies Recipe continues to win hearts with its timeless appeal.
Taste and Texture
What makes it delicious
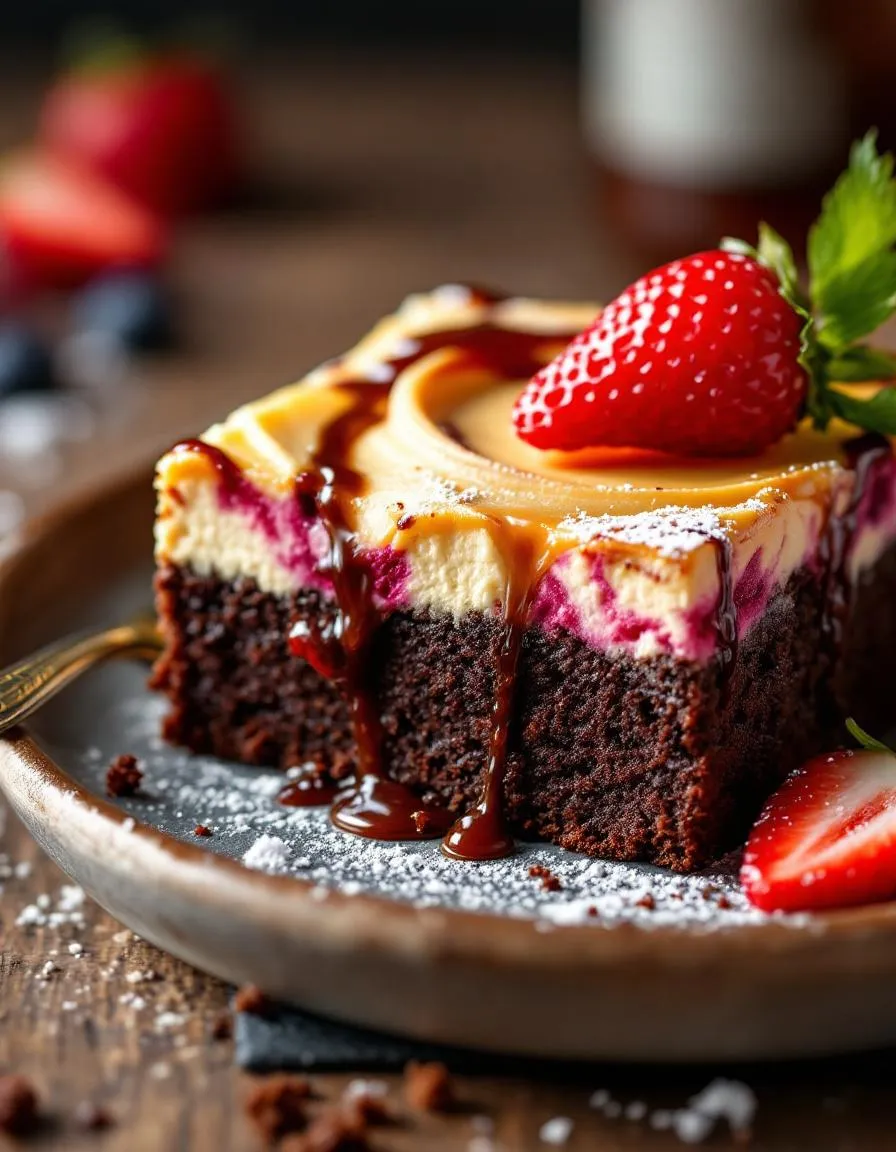
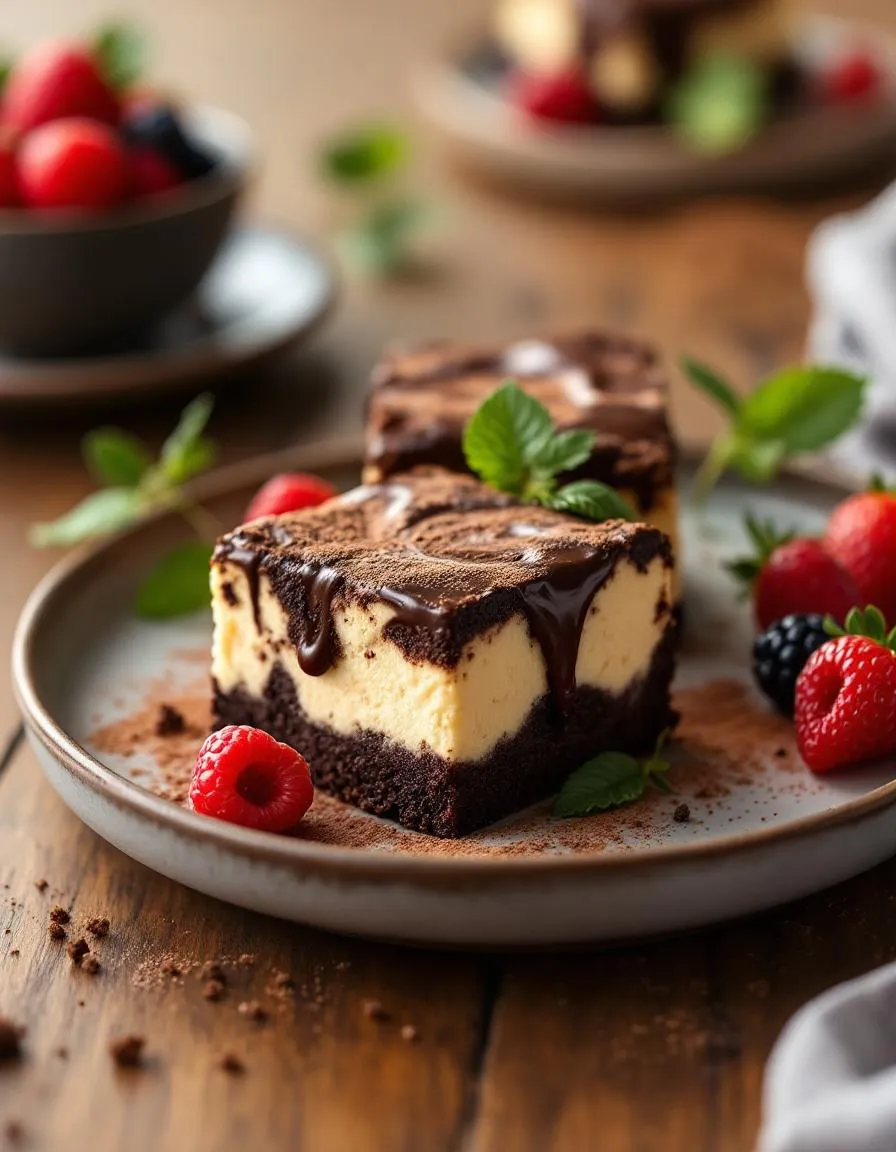
Decadent Cheesecake Brownies Recipe delivers a dreamy contrast of rich, fudgy chocolate and velvety cream cheese swirls. Each bite melts in your mouth, blending the deep cocoa flavor with a tangy, slightly sweet cheesecake layer. The brownie base stays dense and chewy, while the cheesecake topping adds a creamy smoothness that feels indulgent. Warm from the oven, the aroma of melted chocolate and vanilla fills the kitchen, making it impossible to resist. Whether you enjoy them chilled or fresh, Decadent Cheesecake Brownies Recipe offers a luxurious treat that satisfies every craving.
Boosting the flavor
Elevate your Decadent Cheesecake Brownies Recipe with a sprinkle of flaky sea salt for a sweet-salty balance. Alternatively, fold in dark chocolate chunks for extra gooey pockets or swirl in a spoonful of raspberry sauce to brighten the richness. For a nutty crunch, top with toasted pecans or drizzle with salted caramel glaze. A dusting of cocoa powder or a scoop of vanilla ice cream also turns these brownies into a showstopping dessert. Experiment with espresso powder in the batter to deepen the chocolate flavor without overpowering the cheesecake swirl.

Tips for Success
Best practices for results
Always use room-temperature cream cheese for the cheesecake swirl to ensure a smooth, lump-free texture in your Decadent Cheesecake Brownies Recipe. Meanwhile, line your baking pan with parchment paper for easy removal and clean edges. For the best fudgy results, avoid overmixing the brownie batter after adding flour, and bake just until the center passes the toothpick test. Finally, let the brownies cool completely before slicing to maintain their rich, layered structure.
Mistakes to avoid
One common error is overbaking the brownies, which dries them out. Instead, pull them from the oven when the edges are set but the center still jiggles slightly. Another mistake is skipping the chilling step for the cheesecake mixture, which can cause it to sink into the brownie layer. For more troubleshooting tips, check out our guide on fixing dense brownies. Also, if your swirls disappear during baking, gently fold them with a knife right after swirling—our perfect swirl techniques explain how to master this step.
Serving and Pairing Suggestions
How to serve this dish
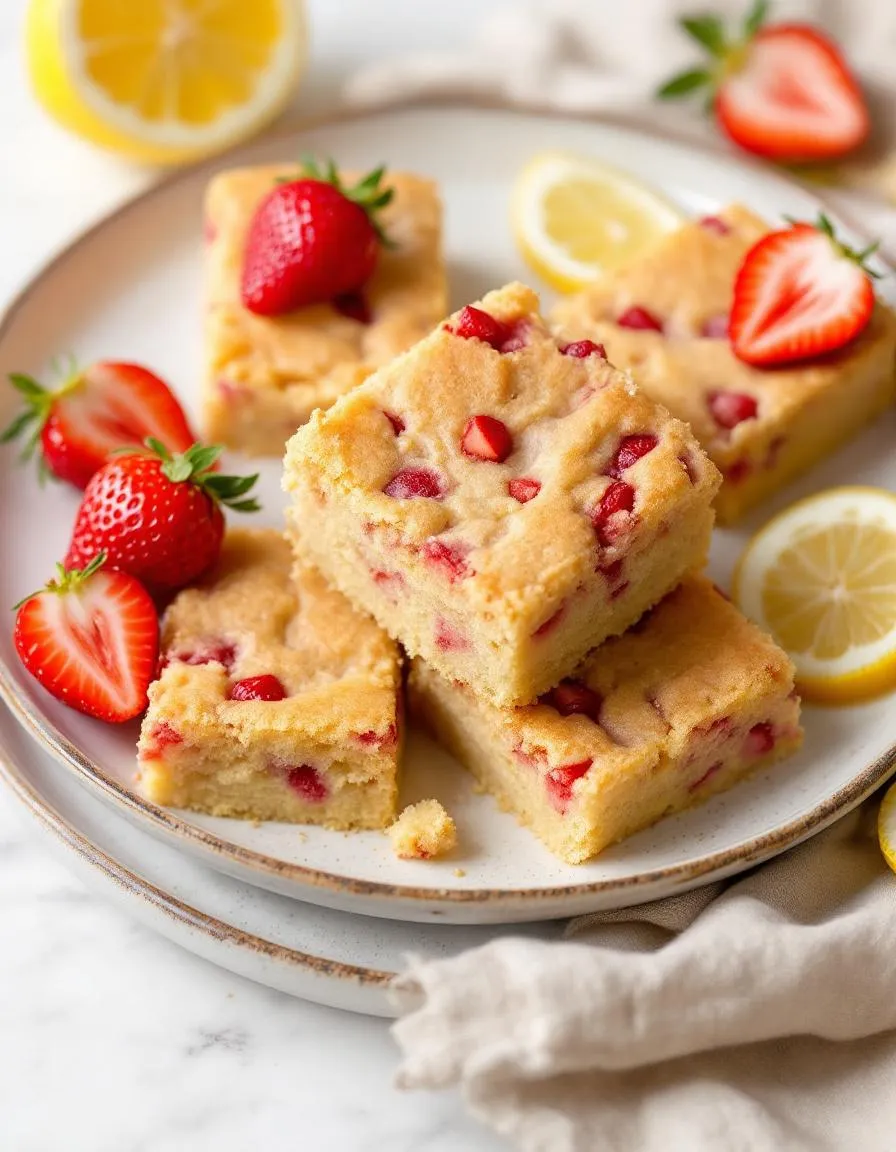
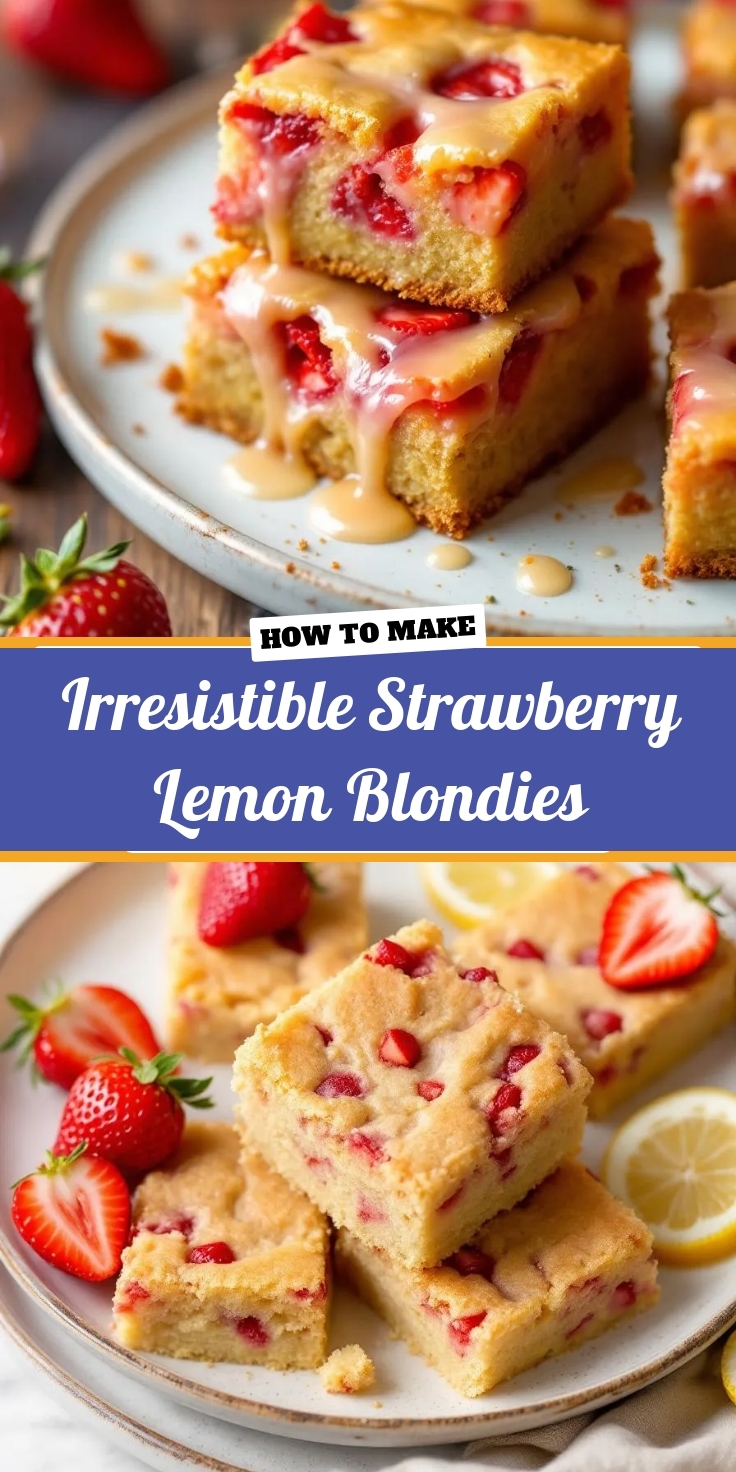
Elevate your Decadent Cheesecake Brownies Recipe by serving them warm with a dusting of powdered sugar for a simple yet elegant touch. Alternatively, drizzle melted chocolate or caramel sauce over each slice to enhance the rich flavors. For special occasions, top them with fresh berries or a dollop of whipped cream to add color and freshness. These brownies shine at holiday gatherings, potlucks, or even as a sweet ending to a dinner party. Meanwhile, cutting them into small squares makes them perfect for casual brunches or afternoon tea.
What goes well with it
Pair your Decadent Cheesecake Brownies Recipe with a scoop of vanilla ice cream for a delightful contrast of warm and cool textures. If you prefer beverages, a cup of freshly brewed coffee or a glass of cold milk balances the richness perfectly. For a more indulgent experience, try serving them alongside our salted caramel sauce or a slice of our classic New York cheesecake. Each pairing enhances the creamy, chocolatey layers without overpowering the dessert.
Decadent Cheesecake Brownies Recipe combines rich fudgy brownies with a creamy cheesecake swirl, creating a luxurious texture and flavor contrast. The addition of high-quality chocolate and full-fat cream cheese elevates the dessert to an indulgent treat.
Yes! While a mixer makes the cheesecake layer smoother, you can make Decadent Cheesecake Brownies by hand-whisking the cream cheese with sugar until smooth. Just ensure all ingredients are at room temperature for easier mixing.
For beautiful swirls in your Decadent Cheesecake Brownies Recipe, dollop the cheesecake mixture over the brownie batter and use a toothpick or knife to gently swirl. Don’t overmix – just 3-4 passes creates the perfect marbled effect.
Absolutely! These Decadent Cheesecake Brownies freeze beautifully for up to 3 months. Wrap them tightly in plastic wrap and store in an airtight container. Thaw overnight in the refrigerator for best texture.