“`html
Introduction
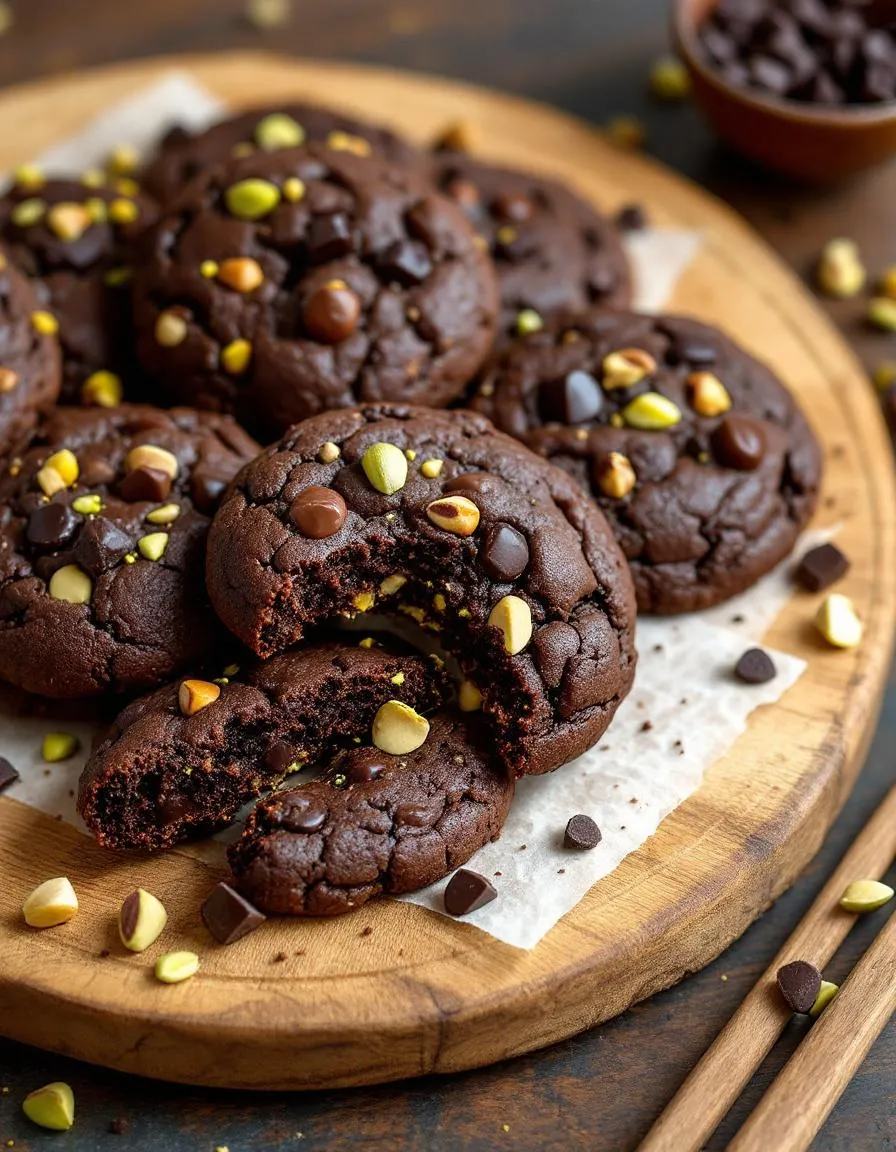
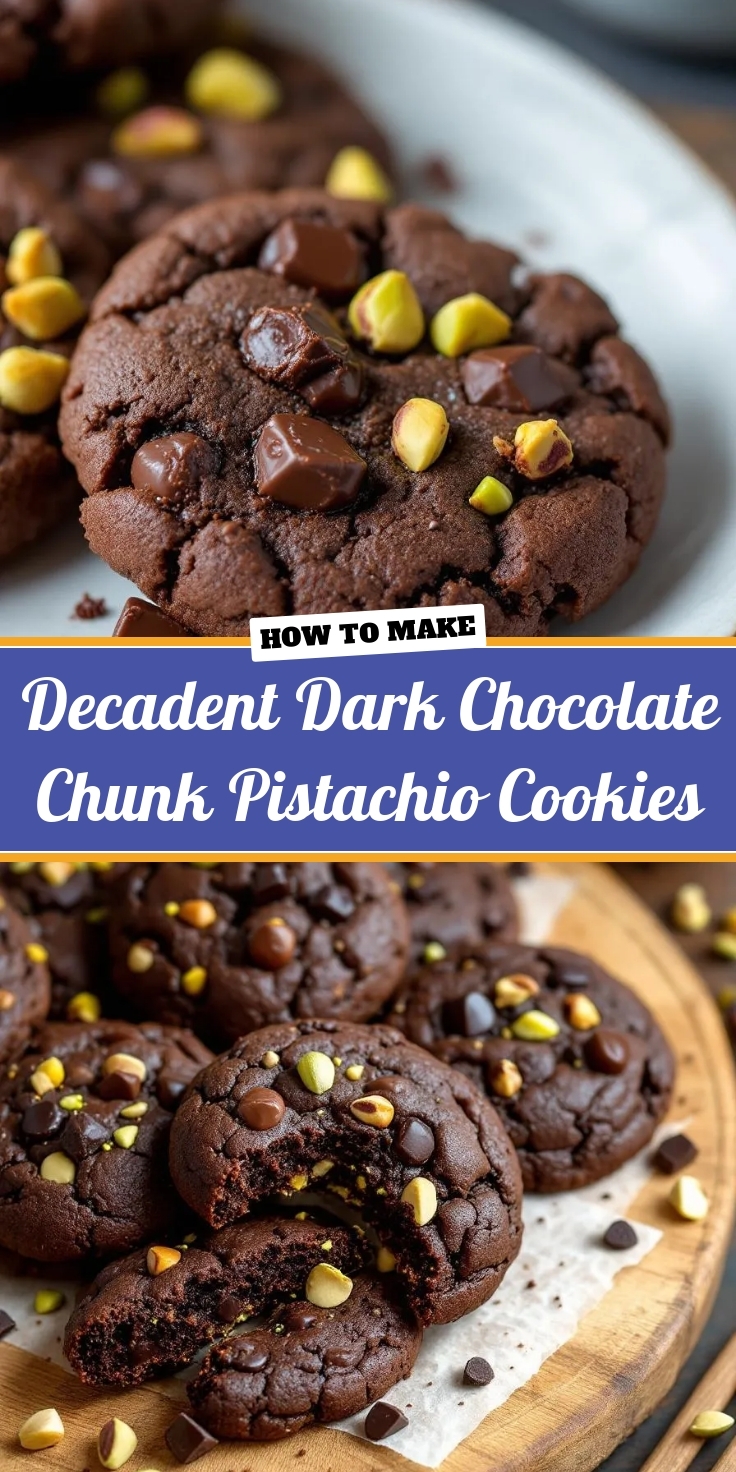
There’s something magical about biting into a warm, chewy cookie that’s studded with rich dark chocolate and crunchy pistachios. Whether you’re craving a sweet treat to unwind after a long day or need a showstopping dessert to impress guests, these Decadent Dark Chocolate Chunk Pistachio Cookies deliver every time. The contrast of bittersweet chocolate and nutty pistachios creates a flavor explosion that feels indulgent yet balanced. Plus, the aroma alone will make your kitchen smell like a cozy bakery. Trust me, one bite and you’ll understand why these cookies deserve a permanent spot in your recipe rotation.
About This Recipe
Decadent Dark Chocolate Chunk Pistachio Cookies are more than just a dessert—they’re a celebration of texture and flavor. Unlike ordinary chocolate chip cookies, this recipe elevates the classic with high-quality dark chocolate chunks and roasted pistachios for a sophisticated twist. The dark chocolate adds depth, while the pistachios bring a buttery crunch that keeps you coming back for more. Moreover, these cookies strike the perfect balance between crisp edges and a soft, fudgy center, making them irresistible fresh from the oven or days later (if they last that long).
This recipe fits perfectly with the warm, approachable tone of Brek Cakes, where we believe baking should feel joyful and achievable. Whether you’re a seasoned baker or a beginner, these cookies come together with simple techniques and pantry-friendly ingredients. For more inspiration, check out our guide to perfect cookie textures or explore our tips for baking with nuts to customize your creations. After all, great baking starts with understanding the basics, and this recipe is a delicious way to practice.
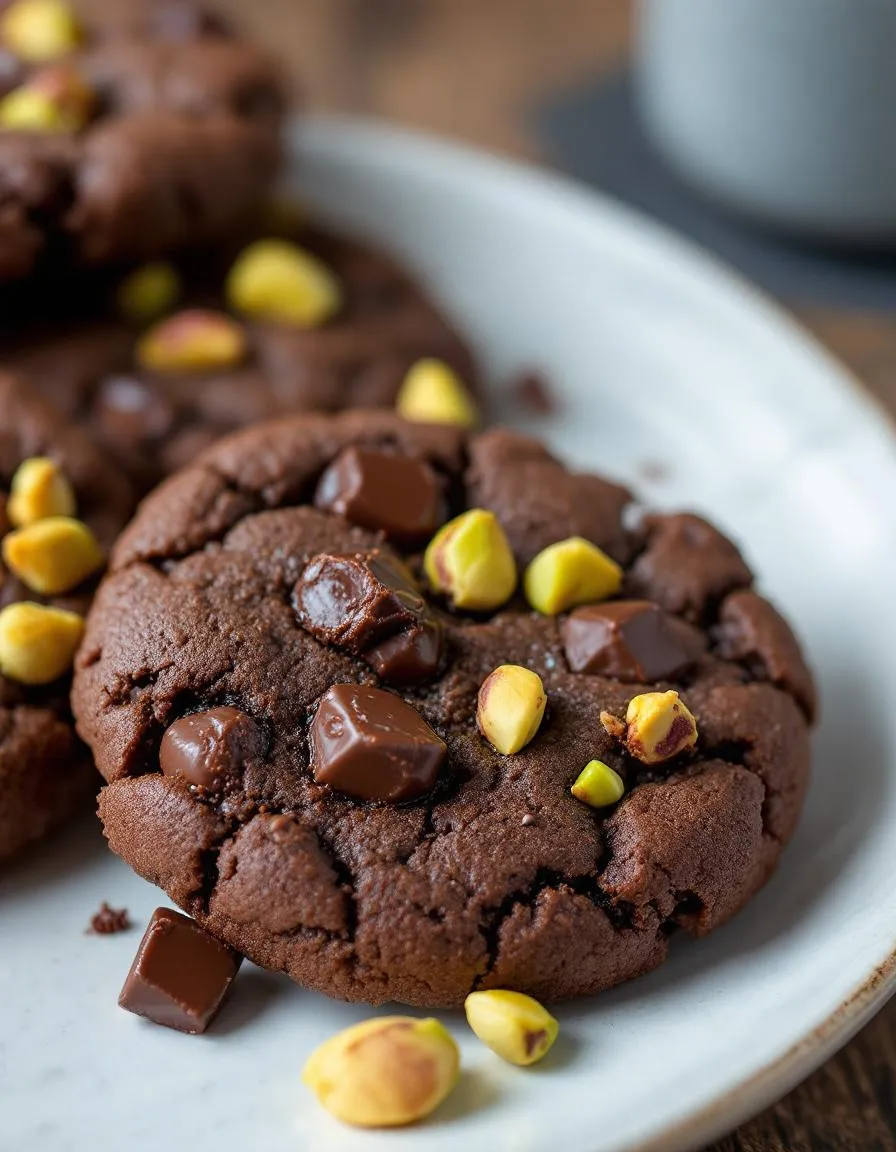
Beyond taste, these cookies also offer a touch of elegance. The vibrant green pistachios against the dark chocolate make them visually stunning, perfect for gifting or serving at gatherings. They’re versatile too—pair them with coffee for an afternoon pick-me-up or crumble them over ice cream for an easy dessert upgrade. Ultimately, Decadent Dark Chocolate Chunk Pistachio Cookies prove that a little effort yields big rewards, and that’s what makes them so special.
Why I Love This Recipe
I’ll never forget the first time I made these cookies. It was a rainy Sunday, and I wanted to bake something that felt like a hug in cookie form. The moment I tasted one, still warm and slightly gooey, I knew I’d found my forever recipe. What I love most is how the pistachios add a subtle saltiness that cuts through the richness of the chocolate, creating a harmony of flavors. They also remind me of holiday baking with my family, where we’d always include nuts for extra crunch. Now, every time I bake these Decadent Dark Chocolate Chunk Pistachio Cookies, they bring back those cozy memories—and make a few new ones too.
“`
Health and Nutrition
Why it’s good for your body
Decadent Dark Chocolate Chunk Pistachio Cookies pack a surprising nutritional punch while satisfying your sweet tooth. First, dark chocolate delivers powerful antioxidants like flavonoids, which support heart health and may reduce inflammation. Additionally, pistachios add plant-based protein and healthy fats, keeping you fuller longer. Together, these ingredients create a treat that balances indulgence with nourishment.
Moreover, Decadent Dark Chocolate Chunk Pistachio Cookies offer a natural energy boost. The combination of complex carbs from whole grains and healthy fats provides steady fuel without a sugar crash. Meanwhile, dark chocolate contains magnesium, which aids muscle function and relaxation. For those mindful of sugar intake, these cookies can be adapted with natural sweeteners for a lower-glycemic option.
Finally, pistachios contribute fiber and essential nutrients like vitamin B6, promoting digestion and metabolism. Unlike overly processed desserts, Decadent Dark Chocolate Chunk Pistachio Cookies use real, wholesome ingredients. Whether you enjoy them as an afternoon pick-me-up or a post-workout reward, they deliver both flavor and functional benefits.
How it fits in a healthy lifestyle
Decadent Dark Chocolate Chunk Pistachio Cookies fit seamlessly into balanced eating habits. For gluten-free diets, simply swap in almond or oat flour—they’ll still taste rich and satisfying. If you’re prioritizing heart health, the monounsaturated fats in pistachios and dark chocolate’s polyphenols make these cookies a smart occasional treat.
Pair them with a protein source like Greek yogurt for a balanced snack, or crumble them over overnight oats for added texture. They also work well in moderation for active lifestyles, offering quick energy before a workout or recovery nutrients afterward. For more ideas on mindful indulgence, explore our guide to healthy dessert swaps. With thoughtful portions, these cookies prove that delicious and nutritious can go hand in hand.
PrintDecadent Dark Chocolate Chunk Pistachio Cookies
Description
Rich, chewy cookies loaded with dark chocolate chunks and crunchy pistachios for a perfect balance of flavors and textures.
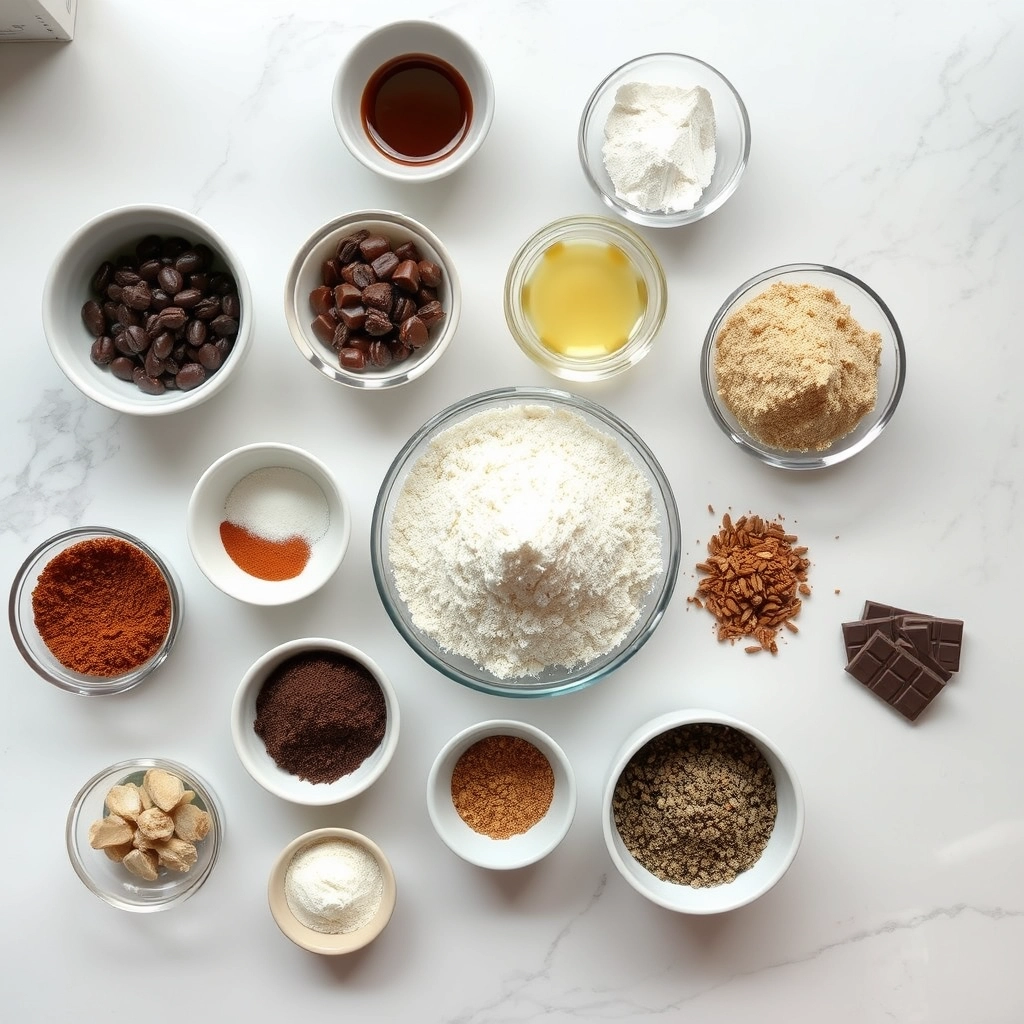
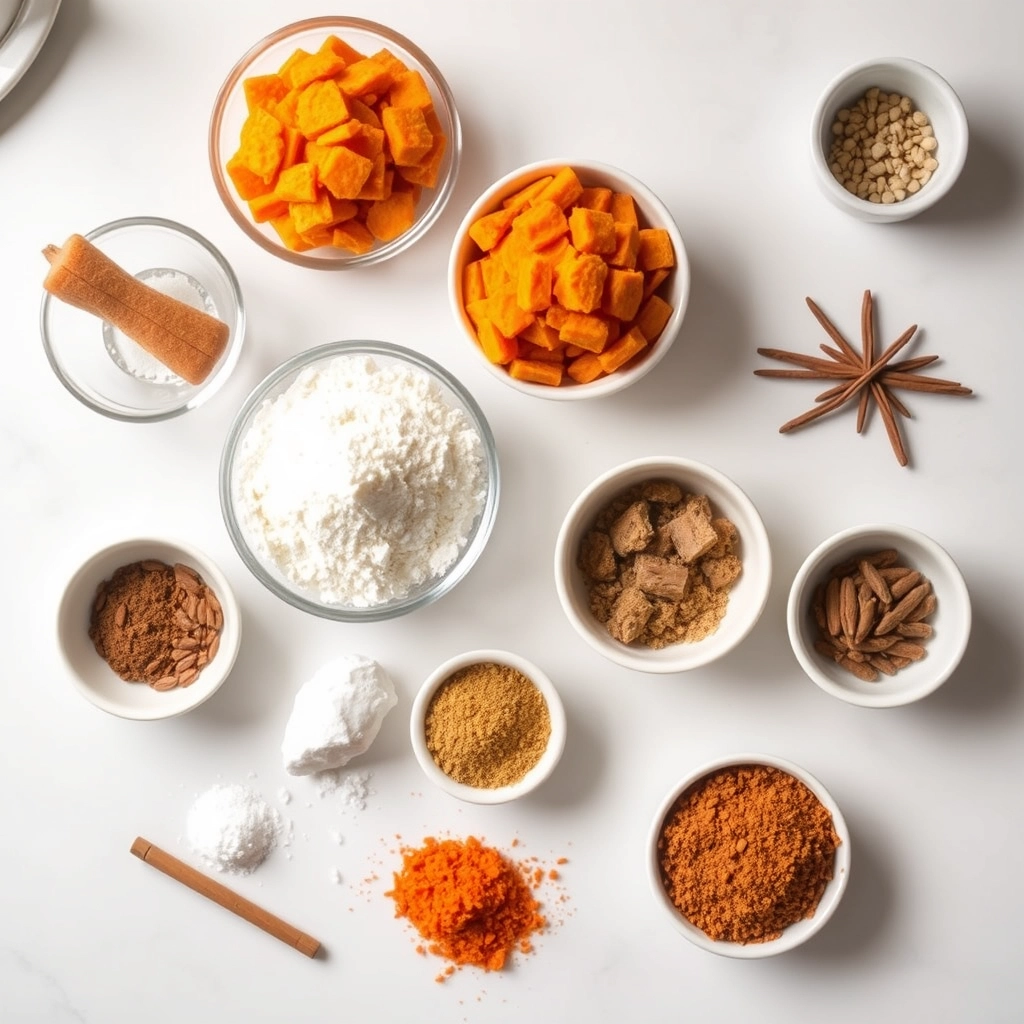
Ingredients
For the Crust:
- 1 cup unsalted butter, softened
- 1 cup brown sugar
- 1/2 cup granulated sugar
- 2 large eggs
- 2 tsp vanilla extract
- 2 1/2 cups all-purpose flour
- 1 tsp baking soda
- 1/2 tsp salt
- 1 1/2 cups dark chocolate chunks
- 1 cup shelled pistachios, roughly chopped
Instructions
1. Prepare the Crust:
- Preheat oven to 350°F (175°C) and line baking sheets with parchment paper.
- In a large bowl, cream together butter, brown sugar, and granulated sugar until light and fluffy.
- Beat in eggs one at a time, then stir in vanilla extract.
- In a separate bowl, whisk together flour, baking soda, and salt. Gradually add to the wet ingredients, mixing until just combined.
- Fold in dark chocolate chunks and chopped pistachios.
- Drop rounded tablespoons of dough onto prepared baking sheets, spacing them 2 inches apart.
- Bake for 10-12 minutes or until edges are golden but centers are still soft. Cool on baking sheets for 5 minutes before transferring to wire racks.
Notes
You can customize the seasonings to taste.

How to Prepare This Dish
Steps and time-saving tips
Start by preheating your oven to 350°F and lining a baking sheet with parchment paper. This ensures your Decadent Dark Chocolate Chunk Pistachio Cookies won’t stick and bake evenly. In a large bowl, whisk together softened butter, brown sugar, and granulated sugar until creamy. Crack in one egg and a splash of vanilla extract, then mix until smooth. Gradually fold in the dry ingredients—flour, baking soda, and a pinch of salt—just until combined. Overmixing can make the cookies tough, so stop as soon as the flour disappears. Next, gently stir in the dark chocolate chunks and chopped pistachios for that rich, nutty crunch. Scoop tablespoon-sized dough balls onto the sheet, spacing them two inches apart. Bake for 10-12 minutes until the edges turn golden but the centers stay soft. Let them cool on the sheet for five minutes before transferring to a wire rack. For a time-saving hack, freeze extra dough balls for up to three months—just bake straight from frozen, adding a minute or two to the time.
Mistakes I’ve made and learned from
I once rushed the butter step, using it straight from the fridge, and my Decadent Dark Chocolate Chunk Pistachio Cookies spread into thin, greasy puddles. Now I always let it soften at room temperature for 30 minutes—or microwave it in 5-second bursts if I’m short on time. Another blunder? Skipping the parchment paper. The cookies stuck stubbornly, and I lost half the batch. Lesson learned: never underestimate nonstick liners. If you’re new to baking, check out my guide on common baking mistakes to dodge similar pitfalls. Also, if your cookies bake unevenly, your oven might need calibration—here’s how I fixed mine using a simple oven temperature test. Trust me, a little patience upfront saves heartache later!
Cultural Connection and Variations
Where this recipe comes from
Decadent Dark Chocolate Chunk Pistachio Cookies weave together rich flavors with a story that spans continents. Originally inspired by Middle Eastern desserts like baklava, which often pair pistachios with honey or chocolate, this recipe modernizes tradition. Bakers in Iran and Turkey have used pistachios for centuries, but adding dark chocolate chunks gives these cookies a bold, contemporary twist. Meanwhile, in Italy, bakers might swap pistachios for hazelnuts, while French patisseries could use almond flour for a delicate texture.
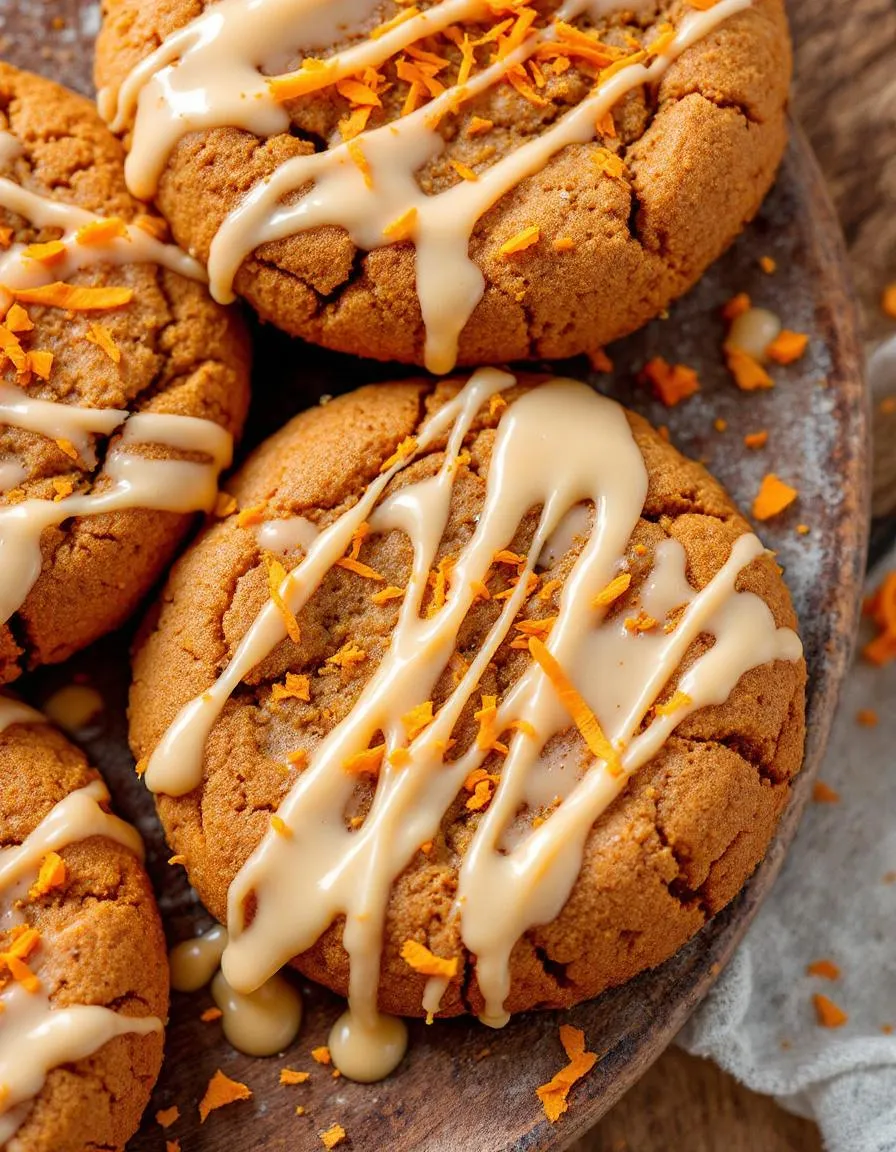
In my family, Decadent Dark Chocolate Chunk Pistachio Cookies became a holiday staple after a cousin brought them to a Christmas cookie exchange. Now, we tweak the recipe yearly—sometimes adding orange zest or a sprinkle of sea salt. Across the U.S., regional twists emerge too. In the Southwest, bakers might mix in chili powder for heat, while coastal towns could fold in dried cranberries for tartness. No matter the variation, these cookies always deliver comfort with every chewy, nutty bite.
How it fits in today’s cooking
Today, Decadent Dark Chocolate Chunk Pistachio Cookies bridge nostalgia and modern cravings. They’re a favorite for holiday baking, but their easy prep makes them perfect for weeknight treats too. Busy home cooks often streamline the recipe by using quality store-bought dough as a base, then folding in pistachios and chocolate. Health-conscious bakers might opt for coconut sugar or gluten-free flour, proving how adaptable this classic can be.
Social media has also revived interest in these cookies, with food bloggers showcasing them as edible gifts or pairing them with dairy-free hot cocoa for cozy nights in. Whether you’re baking them for a crowd or savoring one fresh from the oven, Decadent Dark Chocolate Chunk Pistachio Cookies remind us that some flavors never go out of style.
Taste and Texture
What makes it delicious
Decadent Dark Chocolate Chunk Pistachio Cookies deliver a symphony of rich flavors and satisfying textures. First, the deep, bittersweet notes of dark chocolate chunks melt luxuriously on your tongue, while the buttery cookie base adds a tender, chewy contrast. Meanwhile, crunchy pistachios bring a nutty earthiness and subtle saltiness that balances the sweetness. As you take a bite, the aroma of toasted nuts and warm vanilla fills the air, making every mouthfeel irresistible. Whether enjoyed fresh from the oven or cooled, these cookies strike the perfect harmony between gooey, crisp, and indulgent.
Boosting the flavor
Elevate your Decadent Dark Chocolate Chunk Pistachio Cookies with a few creative tweaks. For extra depth, swap dark chocolate for a mix of milk and white chocolate chunks, or sprinkle flaky sea salt on top before baking. If you love texture, fold in shredded coconut or drizzle melted chocolate over the cooled cookies. Pair them with a scoop of homemade vanilla ice cream for a decadent dessert, or enjoy alongside a glass of spiced chai latte to highlight the warm, nutty flavors. Small changes make a big impact!
Tips for Success
Best practices for results
Always chill the dough for at least 30 minutes before baking to prevent spreading and ensure thick, chewy Decadent Dark Chocolate Chunk Pistachio Cookies. For even baking, use parchment paper and rotate the sheet halfway through. Additionally, measure your flour correctly by spooning it into the cup and leveling it off—this avoids dense cookies. Finally, let the cookies cool on the tray for 5 minutes before transferring them to a rack, as they firm up perfectly during this time.
Mistakes to avoid
Avoid overmixing the dough once you add the dry ingredients, as this can make your Decadent Dark Chocolate Chunk Pistachio Cookies tough. Instead, mix just until combined for a tender texture. Also, don’t skip toasting the pistachios—raw nuts lack depth, while toasted ones add rich flavor. For more on proper nut preparation, check out our guide on toasting nuts. Finally, resist overbaking; pull the cookies when the edges are set but the centers still look slightly soft. If you’re unsure about doneness, our cookie doneness tips can help.
Serving and Pairing Suggestions
How to serve this dish
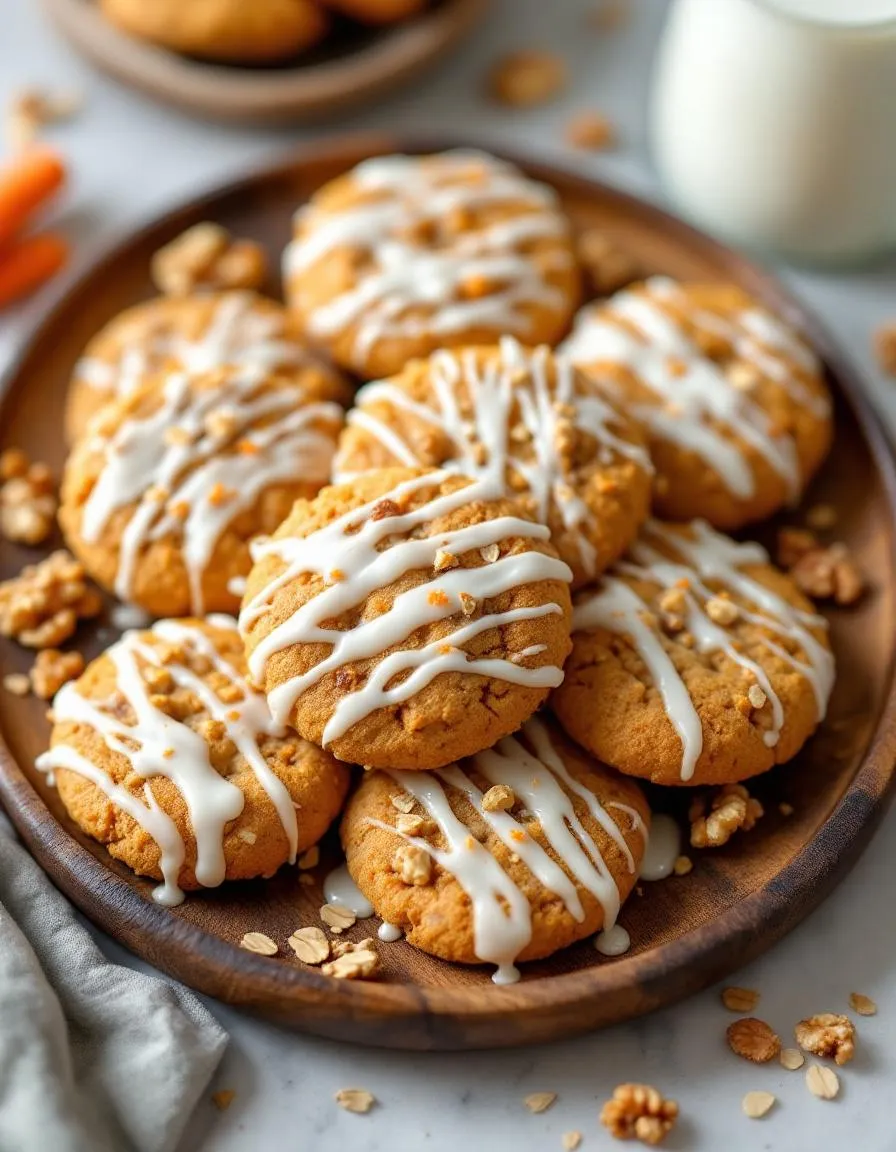
Serve these Decadent Dark Chocolate Chunk Pistachio Cookies warm for an irresistible melt-in-your-mouth experience. For a stunning presentation, arrange them on a rustic wooden board with a sprinkle of crushed pistachios and sea salt. Alternatively, stack them high on a vintage cake stand for holiday gatherings or afternoon tea parties. Since they pair beautifully with seasonal flavors, consider serving them alongside spiced cider in winter or fresh berries in summer. No matter the occasion, these cookies always steal the show.
What goes well with it
Elevate your cookie experience by pairing Decadent Dark Chocolate Chunk Pistachio Cookies with a creamy latte or a bold espresso—the bitterness balances the rich chocolate perfectly. For a dessert spread, try them with a scoop of vanilla bean ice cream or a drizzle of salted caramel sauce for extra indulgence. If you love contrasting textures, serve them with a side of whipped berry yogurt to cut through the richness. Each pairing enhances the cookies’ nutty, chocolatey depth.
Decadent Dark Chocolate Chunk Pistachio Cookies get their richness from high-quality dark chocolate chunks and buttery pistachios. The combination of melted butter and brown sugar also creates a chewy, caramel-like texture that enhances the indulgent flavor.
While you can use milk chocolate, it will change the flavor profile of Decadent Dark Chocolate Chunk Pistachio Cookies. Dark chocolate balances the sweetness and adds depth, but milk chocolate will make them sweeter and less intense.
Store these cookies in an airtight container at room temperature for up to 5 days. For longer freshness, freeze them in a sealed bag—they’ll stay delicious for up to 3 months.
Traditional recipes aren’t gluten-free, but you can easily adapt them by using a 1:1 gluten-free flour blend. Just ensure your dark chocolate chunks and pistachios are also certified gluten-free for safety.