Introduction
Hi there! I’m Emily, the heart and soul behind brekcakes.com. From my earliest memories, the kitchen has always been a place of warmth and creativity. It’s where I discovered the magic of turning simple ingredients into extraordinary meals and learned that the best dishes are often made with love as the main ingredient.
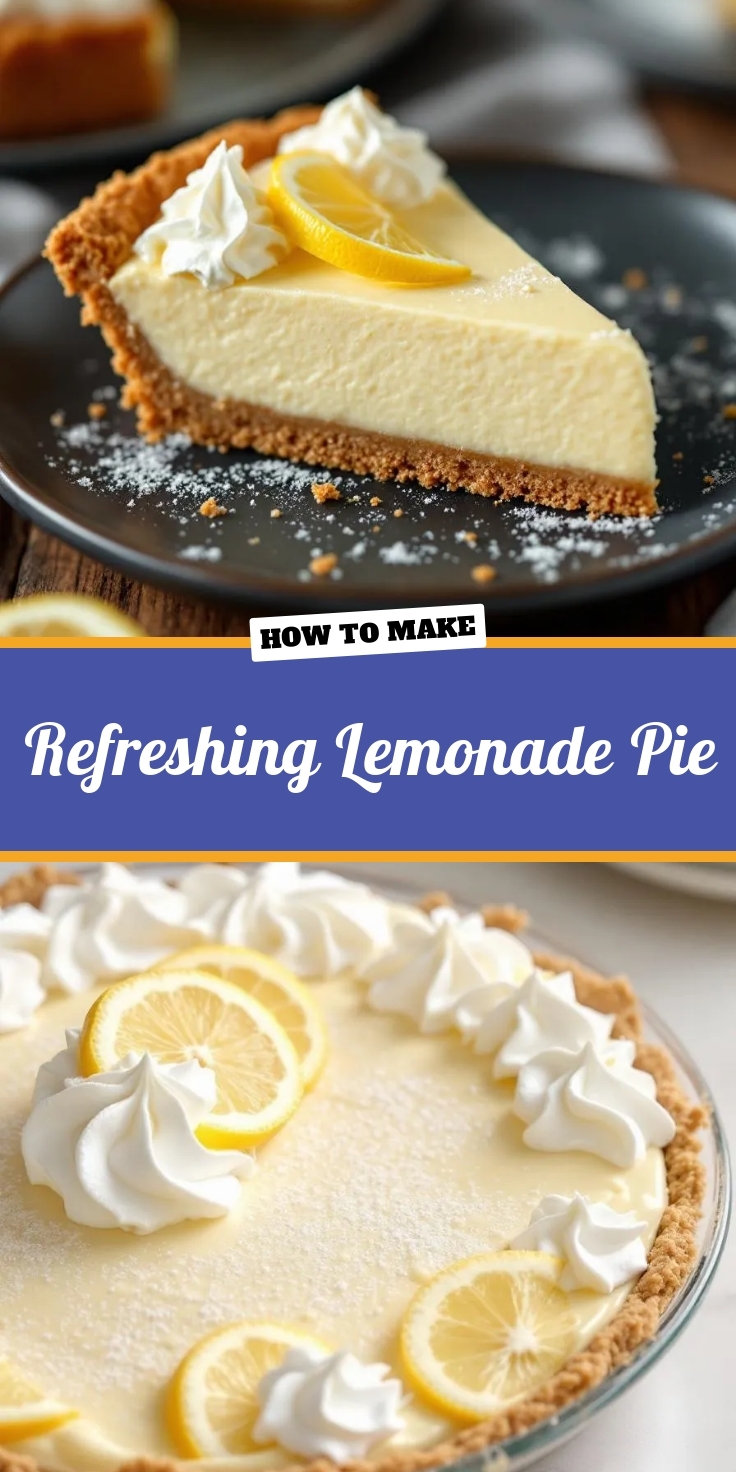
There’s something undeniably refreshing about a drink that balances sweet and tangy flavors perfectly. If you’ve ever craved Chick-fil-A Frosted Lemonade on a hot summer day but wished you could make it at home, you’re in the right place. Whether you’re hosting a backyard BBQ or simply treating yourself, this creamy, citrusy delight will instantly lift your mood. Plus, it’s easier to whip up than you might think!
Chick-fil-A Frosted Lemonade is a dreamy blend of creamy vanilla ice cream and tart lemonade, creating a smooth, slushy-like treat that’s both indulgent and refreshing. What makes it special is its versatility—it’s a dessert, a drink, and a cool-down remedy all in one. For anyone who loves the signature Chick-fil-A flavor but prefers homemade alternatives, this recipe delivers the same irresistible taste without leaving your kitchen. If you’re a fan of copycat recipes, you’ll also love my take on Chick-fil-A Sauce or my creamy Homemade Ice Cream. Trust me, once you try this frosted lemonade, it’ll become your go-to summer sip.
Why I Love This Recipe
I’ll never forget the first time I tried Chick-fil-A Frosted Lemonade—it was a scorching afternoon, and one sip felt like instant relief. Since then, I’ve been obsessed with recreating that perfect balance of creamy and zesty at home. What I adore most about this recipe is how it brings people together. Whether I’m serving it to friends at a picnic or enjoying it solo on my porch, it always sparks joy. Plus, it’s a fantastic way to use up leftover lemonade or ice cream, making it as practical as it is delicious.
Health and Nutrition
Why it’s good for your body
Chick-fil-A Frosted Lemonade blends refreshing lemonade with creamy ice cream, offering a mix of hydration and energy. First, the lemonade base provides a dose of vitamin C, which supports immune health and helps your body absorb iron. Meanwhile, the dairy in the ice cream delivers calcium and protein, essential for strong bones and muscle repair. Together, these ingredients make Chick-fil-A Frosted Lemonade a tasty way to refuel after activity or brighten a warm day.
Additionally, the natural citrus flavors in Chick-fil-A Frosted Lemonade can curb sugar cravings without overwhelming sweetness. Since lemons contain antioxidants, this treat may even help combat inflammation. Of course, moderation is key, but swapping heavier desserts for this lighter option can satisfy your sweet tooth while keeping nutrition in mind. Finally, the cold, creamy texture makes it a satisfying alternative to sugary sodas or artificial drinks.
How it fits in a healthy lifestyle
Chick-fil-A Frosted Lemonade fits into balanced eating when enjoyed mindfully. Pair it with a protein-rich meal like grilled chicken to balance the carbs and sugars. For those avoiding gluten, this frosty drink is naturally gluten-free, making it a safe choice. If you’re watching sugar intake, consider sharing it or savoring it as an occasional treat.
Incorporating Chick-fil-A Frosted Lemonade into your routine works well alongside other smart choices. For example, try it after a workout for a quick energy boost. Or, explore our guide to healthy snack swaps to find more ways to enjoy treats without guilt. If you’re meal planning, check out our tips for balanced meal prep to keep your diet varied and satisfying. With a little planning, this creamy lemonade can be part of an active, health-conscious lifestyle.
PrintChick-fil-A Frosted Lemonade
Description
A creamy and refreshing lemonade milkshake inspired by Chick-fil-A’s famous Frosted Lemonade.
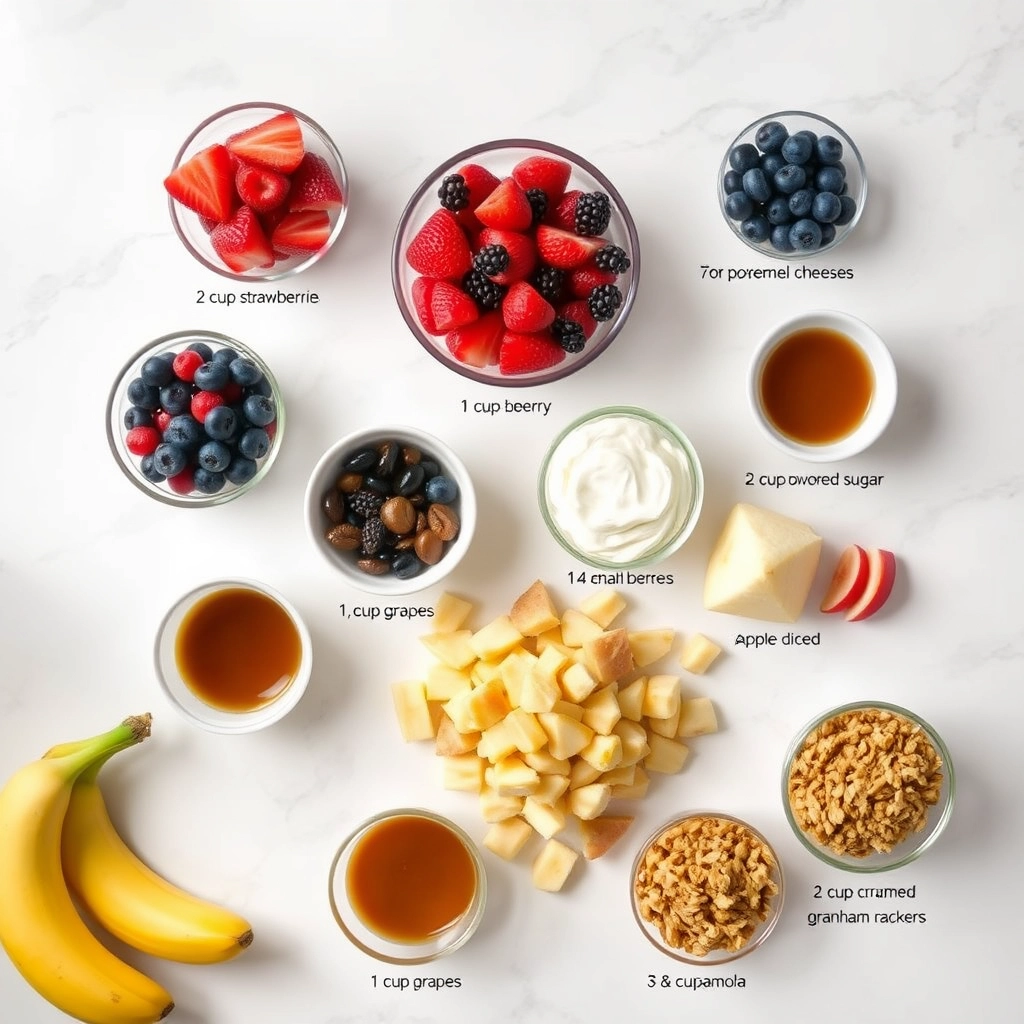
Ingredients
For the Crust:
- 2 cups vanilla ice cream
- 1/2 cup freshly squeezed lemon juice
- 1/4 cup granulated sugar
- 1/2 cup cold water
- 1 cup ice cubes
Instructions
1. Prepare the Crust:
- In a blender, combine the vanilla ice cream, lemon juice, sugar, and cold water.
- Blend on high speed until smooth and creamy.
- Add the ice cubes and blend again until the mixture is thick and frothy.
Notes
You can customize the seasonings to taste.

How to Prepare This Dish
Steps and time-saving tips
Start by chilling your glass in the freezer for 10 minutes while you gather your ingredients. This small step keeps your Chick-fil-A Frosted Lemonade extra refreshing. Next, blend 1 cup of vanilla ice cream with ½ cup of cold lemonade until smooth and creamy. For a thicker consistency, add another scoop of ice cream, but avoid over-blending or the mixture may become too runny. If you prefer a tangier flavor, squeeze fresh lemon juice into the mix, then pulse briefly to combine. Pour the frosted lemonade into your chilled glass and top with a lemon slice for a bright finish. To save time, prep the lemonade ahead and store it in the fridge, then blend with ice cream just before serving. If you’re hosting, double the batch and keep the blender handy for refills—this drink disappears fast!
Mistakes I’ve made and learned from
My first attempt at Chick-fil-A Frosted Lemonade was a watery mess because I used room-temperature lemonade. Now, I always chill it overnight or add ice cubes to the blender for a slushier texture. Another blunder? Overestimating the sweetness—store-bought lemonade can vary, so I taste and adjust with a splash of simple syrup if needed. For more foolproof drink tips, check out my guide on perfecting summer drinks. And if you’re craving another creamy treat, my homemade milkshake secrets will help you nail the consistency every time.

Cultural Connection and Variations
Where this recipe comes from
Chick-fil-A Frosted Lemonade feels like a sip of summer, no matter where you are. This creamy, tangy treat blends lemonade with soft-serve ice cream, creating a refreshing twist on two classic favorites. While Chick-fil-A popularized it, the idea of combining citrus and dairy isn’t new. In Greece, they’ve enjoyed frosted yogurt with lemon for generations, and in Italy, lemon granita often gets a creamy upgrade with whipped cream. Even Southern sweet tea sometimes gets a frosty makeover, proving that cool, citrusy drinks have universal appeal.
What makes Chick-fil-A Frosted Lemonade special is its balance of simplicity and indulgence. Some families add a splash of vanilla extract or swap the lemonade for limeade for a zesty variation. Others toss in fresh berries for a burst of color and flavor. During hot Southern summers, you might find versions with mint or basil for an herby kick. No matter how you tweak it, the drink stays rooted in that craveable contrast of tart and sweet—just like the original Chick-fil-A Frosted Lemonade.
How it fits in today’s cooking
Today, Chick-fil-A Frosted Lemonade isn’t just a fast-food favorite—it’s a template for creativity. Home cooks blend it into smoothie bowls or layer it into parfaits for a breakfast twist. Some even use it as a base for adult-friendly cocktails, adding a shot of vodka or gin. Its versatility makes it a year-round star, though it truly shines at picnics and backyard BBQs when the heat demands something icy and bright.
Modern takes also lean into healthier swaps, like coconut milk ice cream or agave-sweetened lemonade. For those who love a DIY project, it pairs perfectly with homemade ice cream experiments. Whether you stick to the classic or reinvent it, Chick-fil-A Frosted Lemonade proves that some flavors never go out of style—they just get better with a little imagination.
Taste and Texture
What makes it delicious
Chick-fil-A Frosted Lemonade delivers a refreshing burst of sweet-tart flavor that dances on your taste buds. The creamy vanilla soft-serve blends seamlessly with the bright, zesty lemonade, creating a smooth yet tangy sip. Each mouthful feels luxuriously thick, almost like a milkshake, but with a lively citrus kick that keeps it light. The fragrance alone—hints of fresh lemons and rich dairy—makes your mouth water before the first sip. Whether you crave something indulgent or thirst-quenching, Chick-fil-A Frosted Lemonade strikes the perfect balance.
Boosting the flavor
For an extra layer of flavor, swirl in a spoonful of homemade blueberry compote to add a fruity depth that complements the lemonade’s tang. Alternatively, a sprinkle of crushed freeze-dried raspberries amps up the brightness while adding a subtle crunch. If you love herbal notes, try infusing the lemonade with fresh mint before blending—it’s a game-changer. For more inspiration, check out our guide to lemon desserts that pair beautifully with this frosty treat. A little creativity transforms Chick-fil-A Frosted Lemonade into your own signature sip.

Tips for Success
Best practices for results
Always use freshly squeezed lemon juice for the brightest flavor in your Chick-fil-A Frosted Lemonade. Meanwhile, chill your glasses beforehand to keep the drink frosty longer. For the creamiest texture, blend the ice cream and lemonade in short bursts rather than overmixing. Additionally, taste the mixture before serving and adjust the sweetness with a touch of honey if needed. Finally, serve immediately for the perfect slushy consistency.
Mistakes to avoid
Avoid using bottled lemon juice, as it often lacks the vibrant tang of fresh lemons. Instead, grab a citrus squeezer to make the process easier. Another common mistake is adding too much ice, which dilutes the flavor. For a balanced blend, follow the perfect ice ratio guide to nail the texture. Also, don’t skip straining the lemon pulp unless you prefer a chunkier drink. If you’re new to homemade lemonades, check out these lemonade hacks for extra pro tips.
Serving and Pairing Suggestions
How to serve this dish
Chick-fil-A Frosted Lemonade shines as a refreshing treat, especially when served in a chilled mason jar or a tall glass with a colorful paper straw. For a festive touch, rim the glass with sugar or add a lemon wedge garnish. Meanwhile, this creamy, citrusy drink makes a perfect companion for summer picnics, backyard barbecues, or even as a sweet finish to a family brunch. If you want to elevate the presentation, layer it with fresh berries or mint leaves for a vibrant look.
What goes well with it
Pair Chick-fil-A Frosted Lemonade with crispy, savory dishes to balance its sweet-tart flavor. For example, try it alongside our air fryer chicken tenders, which offer a satisfying crunch that contrasts beautifully with the drink’s smooth texture. Alternatively, serve it with a light, flaky pastry like our homemade blueberry scones for a delightful sweet-and-tangy combo. Finally, if you’re hosting a gathering, offer salty snacks like pretzel bites to enhance the lemonade’s refreshing zing.

Chick-fil-A Frosted Lemonade is a creamy blend of their signature lemonade and vanilla soft-serve ice cream. The drink combines tart lemon flavor with sweet, smooth ice cream for a refreshing treat. It’s available in regular and diet lemonade options.
A small Chick-fil-A Frosted Lemonade contains about 330 calories, while a large has around 530 calories. The diet version made with Diet Lemonade reduces the calorie count significantly. The treat is best enjoyed as an occasional indulgence due to its sugar content.
Yes! You can recreate Chick-fil-A Frosted Lemonade by blending equal parts high-quality lemonade and vanilla ice cream until smooth. For an authentic taste, use freshly squeezed lemon juice and premium vanilla ice cream. Adjust the ratio to achieve your preferred thickness.
Chick-fil-A Frosted Lemonade is typically available year-round at most locations, though some stores may limit it during colder months. The drink is especially popular in summer as a cooling treat. Always check with your local restaurant for availability.