There is something truly special about the aroma of Cranberry Orange Muffins filling your kitchen on a quiet morning. The sweet, citrusy scent of orange zest mingling with the tart pop of fresh cranberries promises a cozy moment of pure comfort. Moreover, this classic combination delivers a burst of flavor in every single bite, making an ordinary day feel like a celebration. Ultimately, these muffins are more than just a quick breakfast; they are a warm, homemade hug that everyone in your family will adore.
About This Recipe
Cranberry Orange Muffins are a beloved bakery-style treat that you can easily master at home. This recipe features a tender, moist crumb thanks to ingredients like buttermilk or sour cream, which we often use in our favorite vanilla cake for similar perfection. The vibrant, tart cranberries provide a beautiful contrast to the sweet, sunny orange glaze, creating a perfectly balanced flavor profile. Furthermore, this recipe matters because it turns simple, accessible ingredients into something extraordinary and impressive. Whether you are a seasoned baker or just starting out, these muffins fit seamlessly into any routine, offering a foolproof path to a delicious result. They perfectly match our blog’s tone of approachable, joyful baking that delivers consistent success. Additionally, the method is straightforward, often requiring just one bowl, which means you spend less time cleaning and more time enjoying. For those who love a good streusel topping, the technique here is similar to the one that makes our classic coffee cake so irresistible. Consequently, you can expect a muffin that is not only bursting with flavor but also has that delightful textural contrast everyone craves.
Why I Love This Recipe
This recipe for Cranberry Orange Muffins holds a special place in my heart because it reminds me of my grandmother’s kitchen during the holidays. She always believed that the best conversations happened over something freshly baked, and these muffins were her go-to for a quick, festive treat. I love how the bright citrus and tart berries wake up your senses, and the process of zesting the orange fills the entire house with an incredibly uplifting aroma. Every time I bake them, I feel that same sense of warmth and connection, and sharing them with friends continues that beautiful tradition of gathering over good food.
Health and Nutrition
Why it’s good for your body
These Cranberry Orange Muffins offer more than just a delicious taste; they also provide some wonderful health benefits. First, cranberries pack a powerful nutritional punch. They are famously rich in antioxidants and vitamin C, which actively support your immune system and help fight inflammation. Consequently, starting your day with these muffins gives your body a fantastic boost.
Additionally, the fresh orange zest and juice contribute their own set of advantages. Oranges provide a significant amount of dietary fiber and essential nutrients like folate. Therefore, when you combine them with the tart cranberries, you create a flavorful synergy that benefits your overall wellness. Moreover, if you prepare these Cranberry Orange Muffins with whole wheat flour, you further increase the fiber content. This important nutrient promotes healthy digestion and helps you feel full and satisfied for longer.
Ultimately, choosing a homemade muffin allows you to control the ingredients. You can significantly reduce refined sugars and avoid unhealthy fats often found in store-bought versions. As a result, you enjoy a treat that genuinely nourishes your body. Every bite of these Cranberry Orange Muffins delivers a combination of wholesome ingredients that work together to support your health.
How it fits in a healthy lifestyle
Enjoying a Cranberry Orange Muffin can absolutely be part of a balanced diet. Think of it as a satisfying snack or a component of a complete breakfast, perhaps paired with a source of protein like Greek yogurt or a handful of nuts. This combination helps manage energy levels and keeps those mid-morning cravings at bay.
For those with specific dietary needs, this recipe is wonderfully adaptable. You can easily make it gluten-free by using your favorite 1:1 baking flour. If you are monitoring your heart health, simply reducing the sugar a touch and using a heart-healthy oil works perfectly. Baking at home puts you in the driver’s seat, allowing you to align treats with your wellness goals. For more inspiration on making smarter ingredient choices, explore our guide on healthy baking substitutions.
Remember, a healthy lifestyle is all about balance and enjoyment. A homemade muffin, packed with real fruit and mindful ingredients, is a great example of how you can indulge wisely. It’s a far cry from processed pastries and fits right into a routine of conscious eating. For another delicious recipe that balances health and flavor, try our wholesome banana oatmeal muffins.
PrintCranberry Orange Muffins
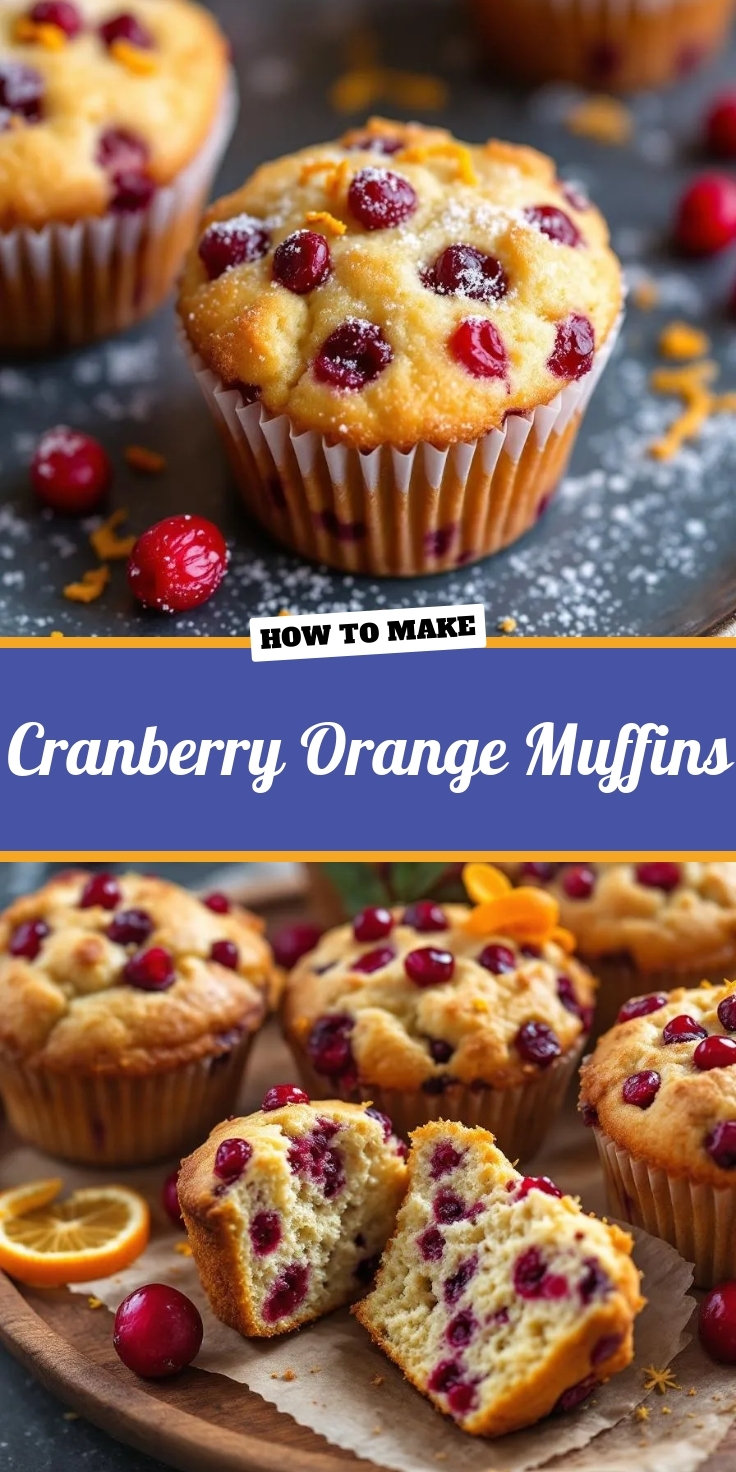
Description
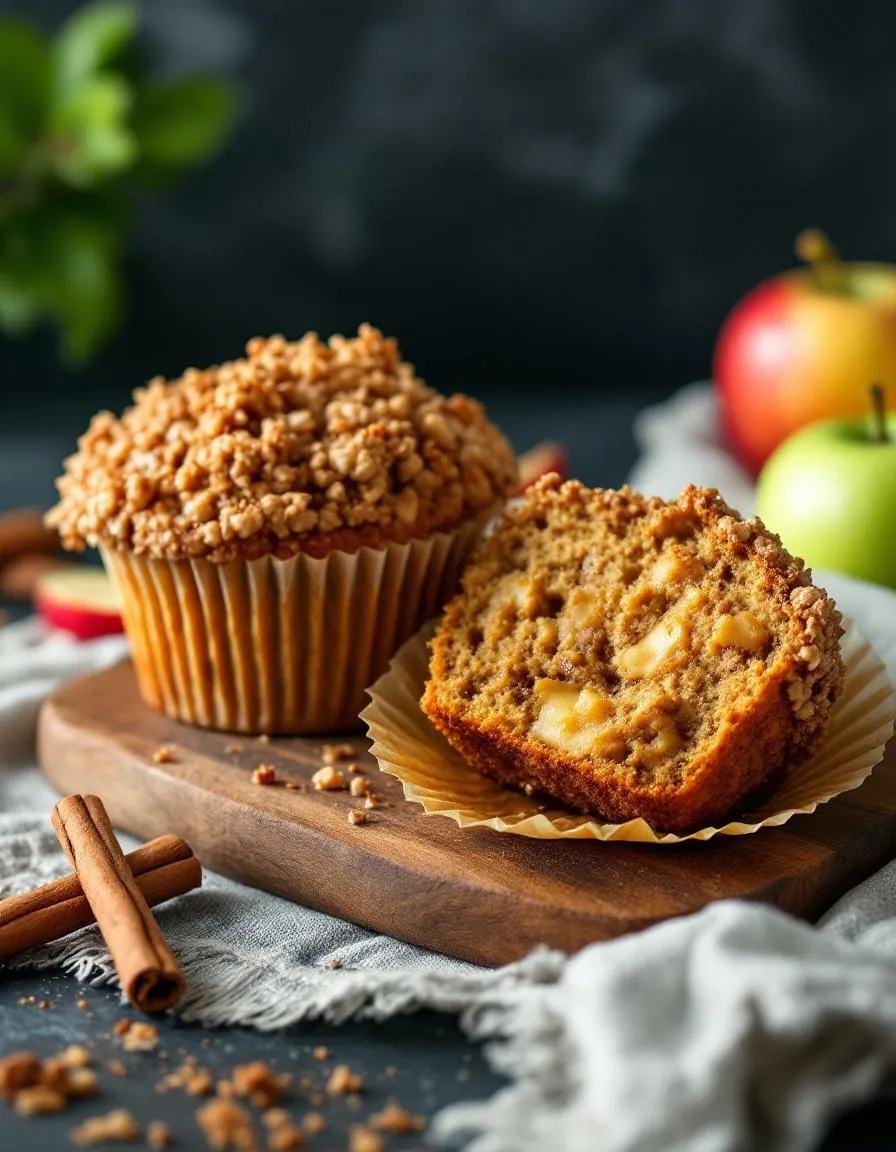
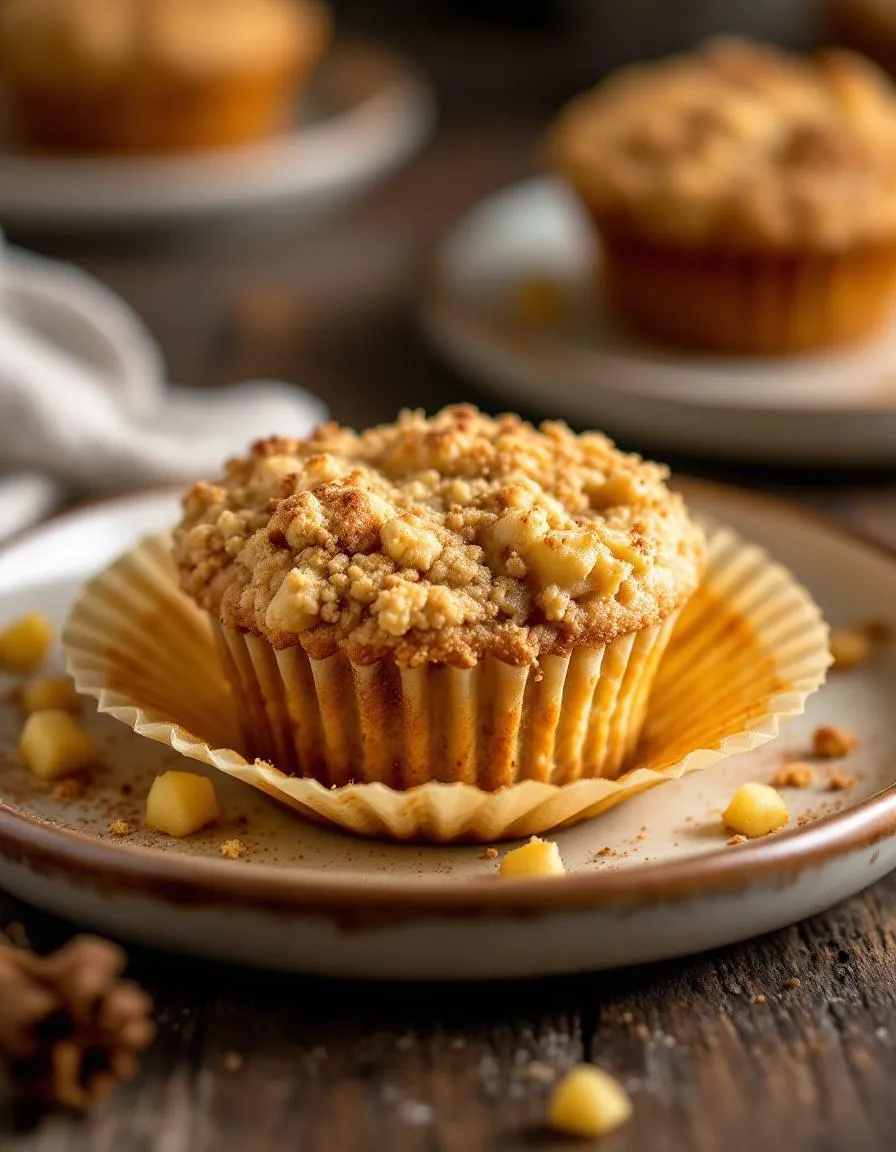
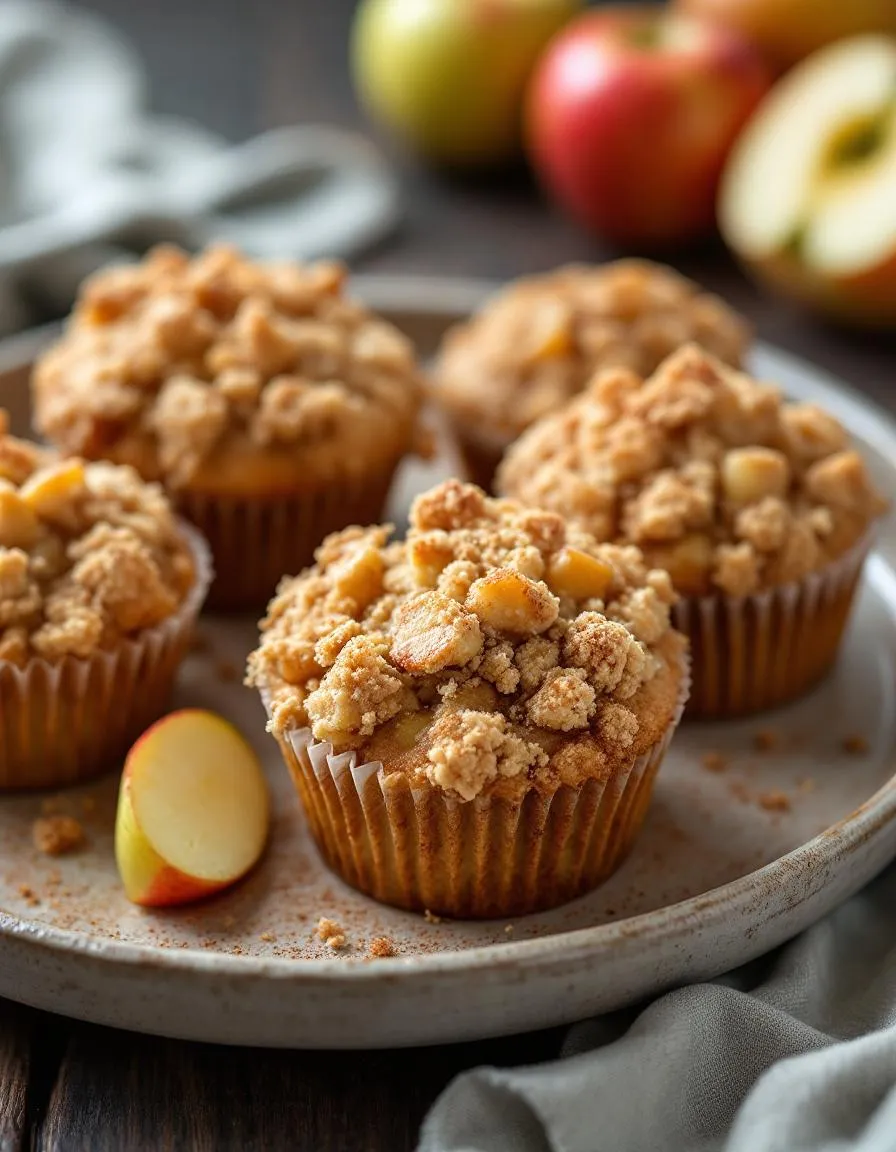
Moist and tangy muffins bursting with fresh cranberries and bright orange flavor, perfect for breakfast or a snack.
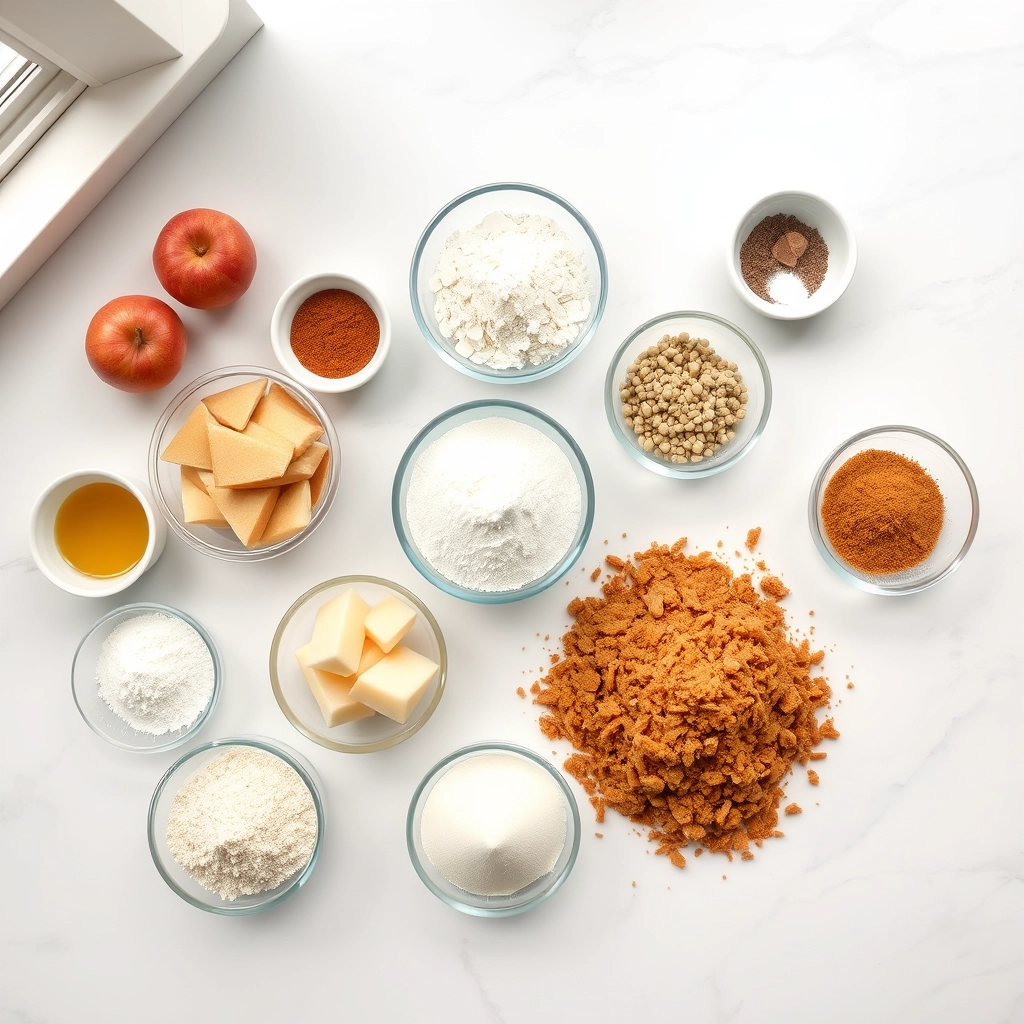
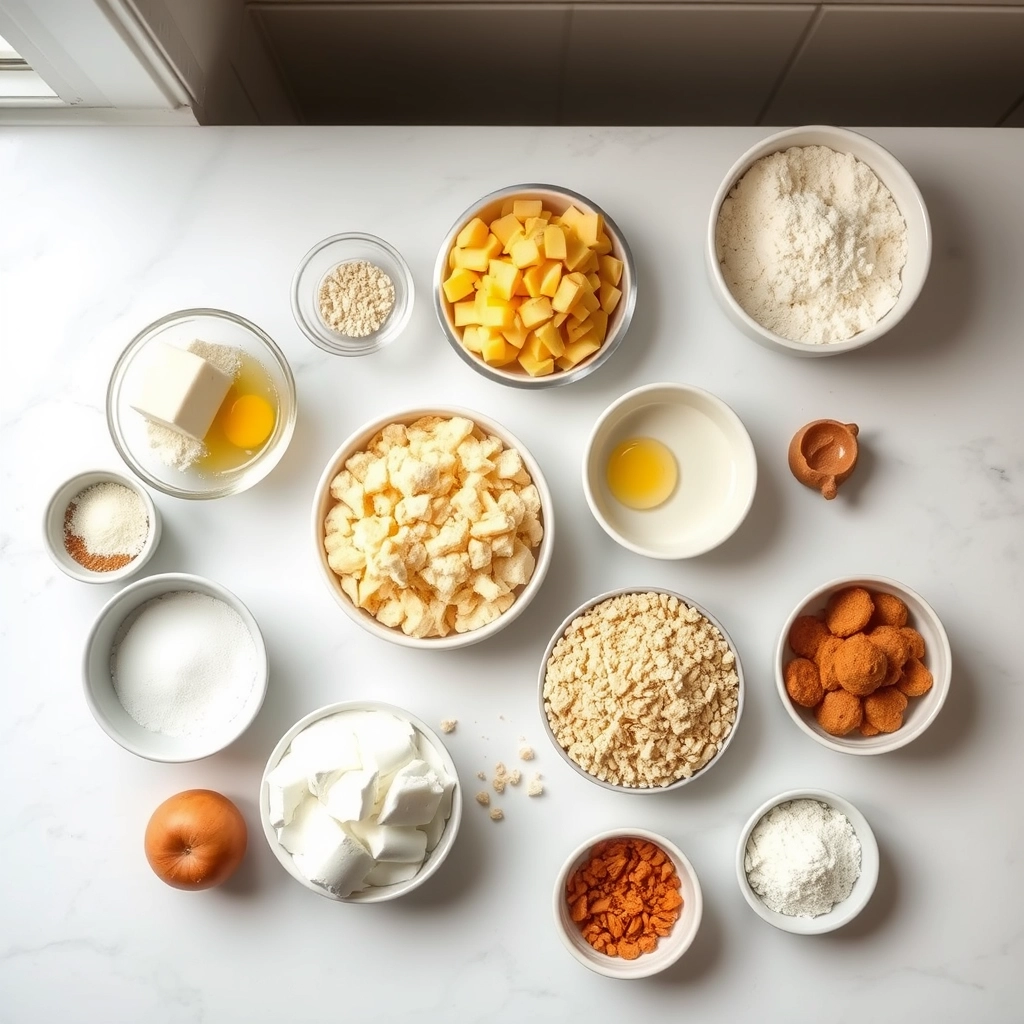
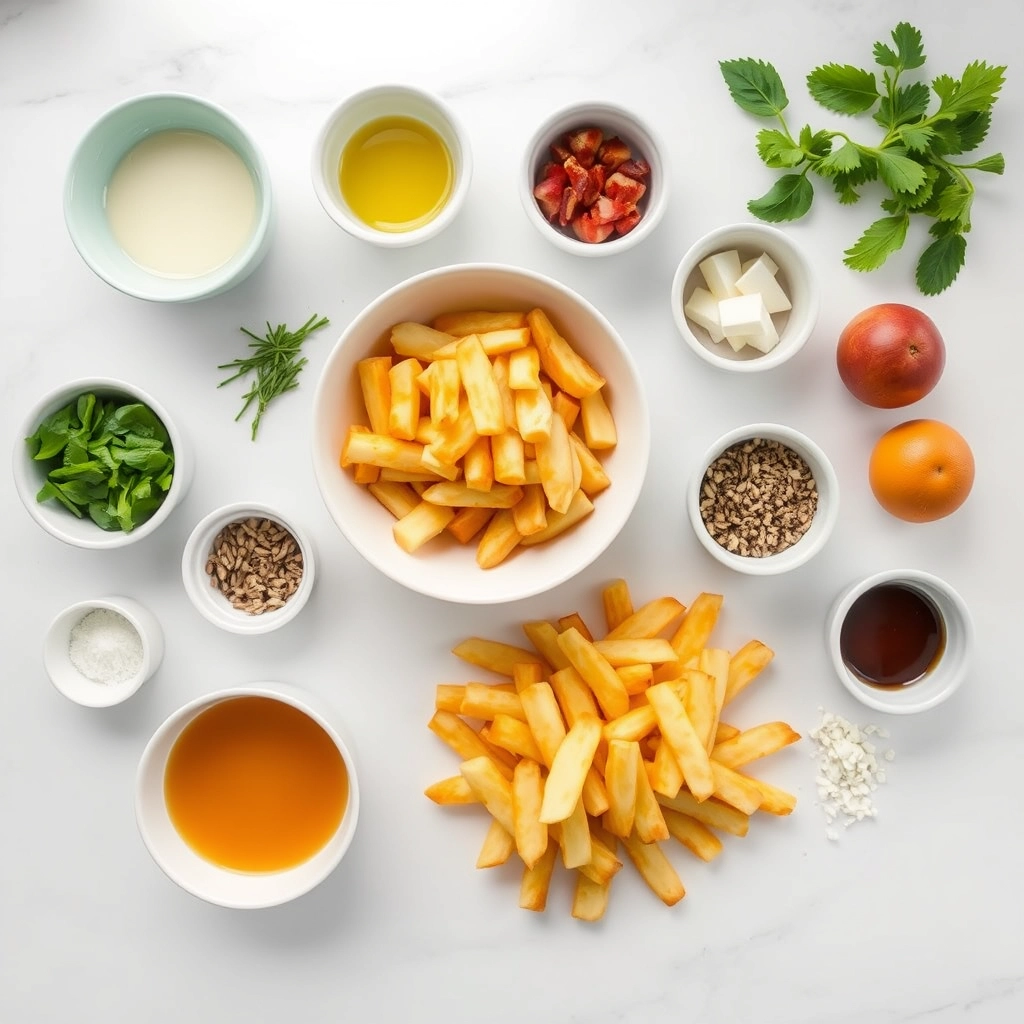
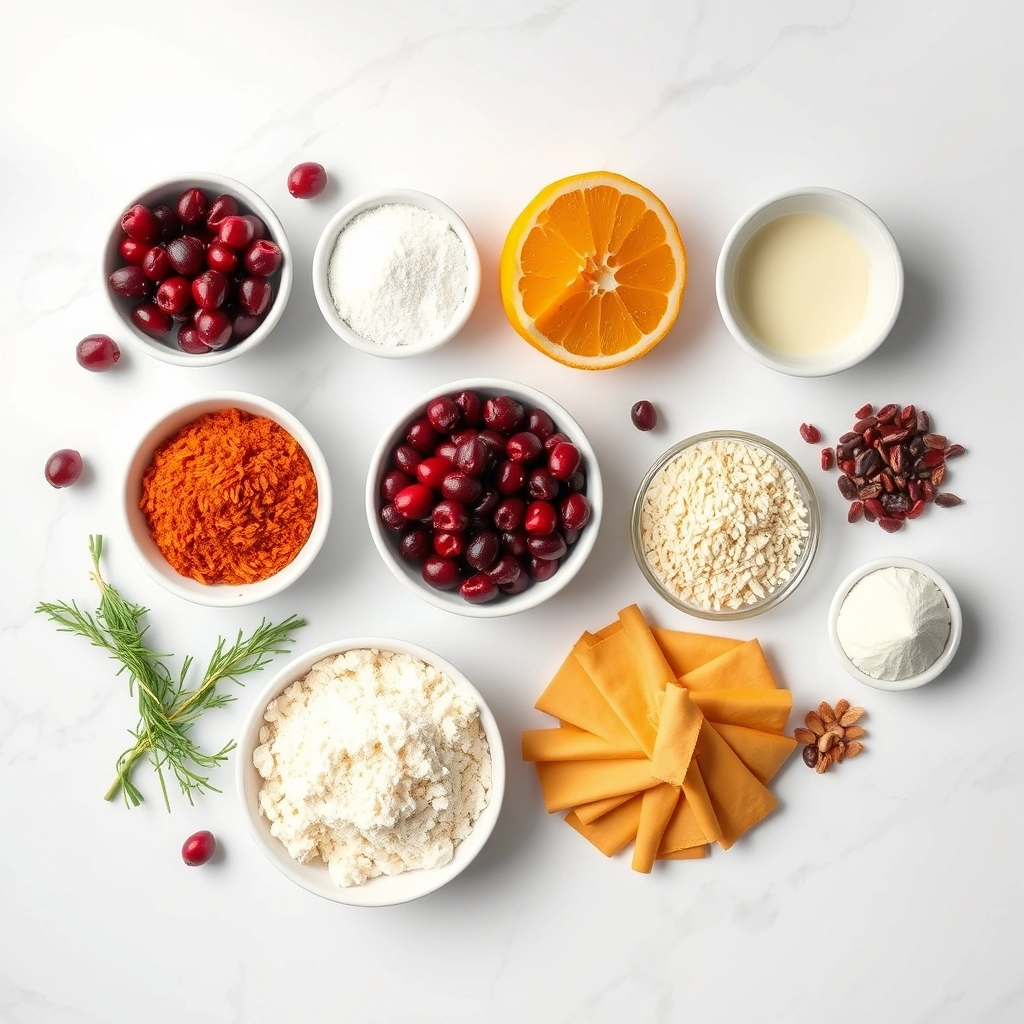
Ingredients
For the Crust:
- 2 cups all-purpose flour
- 3/4 cup granulated sugar
- 2 tsp baking powder
- 1/2 tsp salt
- 1 large egg
- 1 cup milk
- 1/4 cup vegetable oil
- Zest of 1 orange
- 1/4 cup fresh orange juice
- 1 cup fresh cranberries, chopped
Instructions
1. Prepare the Crust:
- Preheat oven to 375°F (190°C) and line a muffin tin with paper liners.
- In a large bowl, whisk together flour, sugar, baking powder, and salt.
- In another bowl, beat the egg, then mix in milk, oil, orange zest, and orange juice.
- Pour wet ingredients into dry ingredients and stir until just combined. Fold in chopped cranberries.
- Divide batter evenly among muffin cups. Bake for 20-25 minutes or until a toothpick comes out clean.
Notes
You can customize the seasonings to taste.
How to Prepare This Dish
Steps and time-saving tips
First, preheat your oven to 375°F and line a muffin tin with paper liners. Meanwhile, zest your orange directly into a large bowl. Next, whisk together the flour, baking powder, and salt in a separate bowl. Then, combine the sugar with the orange zest in your large bowl, rubbing them together with your fingers to release the citrus oils. This simple trick will make your Cranberry Orange Muffins incredibly fragrant. After that, whisk in the wet ingredients like milk, oil, egg, and fresh orange juice until just combined. Gently fold the dry ingredients into the wet batter, but do not overmix. Finally, toss your cranberries in a spoonful of flour and fold them in; this prevents them from sinking. Quickly divide the batter into the muffin cups and bake for about 20 minutes. For a time-saving tip, use a large ice cream scoop to portion the batter evenly and cleanly. Moreover, you can prepare the dry and wet mixes the night before and simply combine them in the morning for fresh, hot muffins with minimal effort.
Mistakes I’ve made and learned from
I have absolutely overmixed this batter in a rush, resulting in dense, tough Cranberry Orange Muffins instead of the light, tender crumb we all want. I learned that a few lumps in the batter are perfectly fine and actually preferable. Another common error I made was not properly coating the cranberries in flour, which caused them to all sink directly to the bottom of every muffin. Now, I always give them a quick toss, and they stay suspended beautifully throughout the bake. Getting the baking time just right was also a challenge for me; my old oven ran hot and would brown the tops too quickly before the centers were done. I finally invested in an oven thermometer to ensure the temperature was accurate, which made a world of difference. For more guidance on avoiding common pitfalls, my post on common baking mistakes covers these issues in greater detail.

Cultural Connection and Variations
Where this recipe comes from
For many of us, the scent of Cranberry Orange Muffins baking instantly transports us to chilly autumn mornings and the joyful chaos of holiday preparations. This classic combination doesn’t hail from one specific region but rather feels like a cherished American tradition, born from the bounty of the fall harvest. Families across New England, for instance, often claim it as their own, using local cranberries and celebrating the citrus that arrives in colder months. Meanwhile, my own grandmother always added a splash of vanilla and a hint of almond extract, creating a version that was uniquely hers.
Other cultures, however, approach this flavor pairing quite differently. British bakers might incorporate dried currants alongside the cranberries and serve their version as a teacake. Conversely, some Scandinavian traditions lean into cardamom or other warm spices to complement the fruit. No matter the variation, the core appeal remains the same. The tart pop of berry against the sunny, sweet citrus creates a perfect harmony. Ultimately, every baker puts their own stamp on these beloved Cranberry Orange Muffins, weaving personal history into each batch.
How it fits in today’s cooking
Today, this recipe absolutely secures its place in modern kitchens. Busy home cooks appreciate that they can whip up a batch quickly for a satisfying breakfast or an afternoon pick-me-up. Furthermore, its seasonal ingredients make it a staple for holiday brunches and Thanksgiving mornings. Many bakers now also adapt the recipe to fit dietary needs, easily creating gluten-free or vegan Cranberry Orange Muffins without losing any of their classic charm.
You can easily incorporate this recipe into your weekly meal prep routine for grab-and-go convenience. Additionally, its comforting flavor profile pairs wonderfully with a cup of coffee, making it ideal for casual gatherings. For another fantastic seasonal bake that captures the same cozy feeling, you must try our popular pumpkin chocolate chip cookies. Ultimately, this muffin continues to thrive because it delivers both nostalgic flavor and effortless adaptability for contemporary life.
Taste and Texture
What makes it delicious
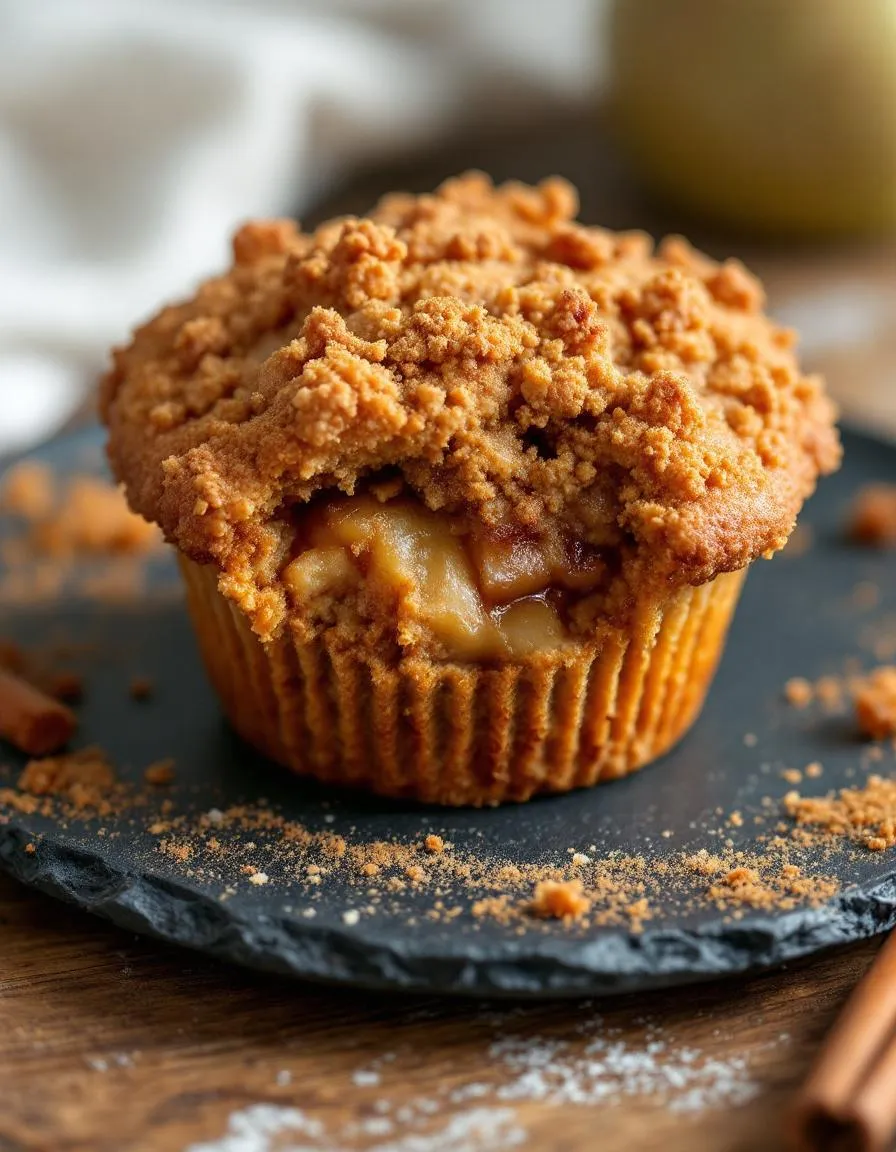
These Cranberry Orange Muffins deliver a perfect balance of sweet and tart in every single bite. Initially, you experience the bright, citrusy aroma of fresh orange zest that fills your kitchen. Then, your teeth sink through a wonderfully tender, moist crumb that gives way to juicy, bursting cranberries. Consequently, the tart pop of fruit beautifully contrasts the sweet, buttery cake. Ultimately, the flavor is both refreshing and comforting, making these Cranberry Orange Muffins an irresistible treat.
Boosting the flavor
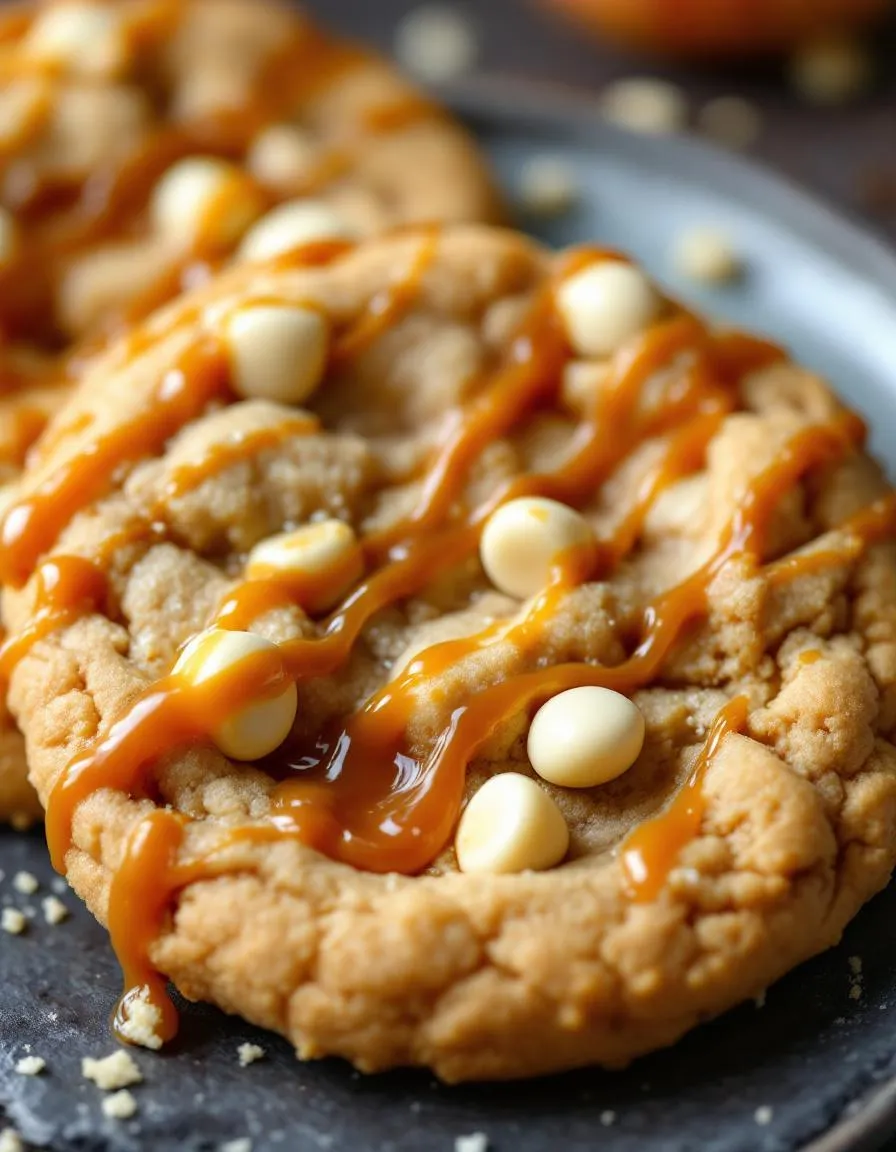
For an extra flavor boost, consider adding a simple orange glaze drizzle after baking. Alternatively, a sprinkle of coarse sugar on top before they go in the oven creates a delightful, sparkling crunch. Furthermore, folding in white chocolate chips introduces a creamy sweetness that pairs wonderfully with the tart berries. If you love this citrus twist, you will adore our ultimate Lemon Poppy Seed Muffins. For another fantastic way to use fresh cranberries, try our easy Cranberry Bread recipe next.

Tips for Success
Best practices for results
Always zest your orange directly into the sugar; consequently, you will release the fragrant oils for maximum flavor. Use fresh cranberries for the best tart burst of flavor in every bite of your Cranberry Orange Muffins. Furthermore, avoid overmixing the batter; simply stir until the ingredients are just combined for a tender crumb. For a beautiful bakery-style rise, initially fill your muffin liners almost to the top.
Mistakes to avoid
One common error is using baking powder that has lost its potency; therefore, always check the expiration date to ensure your muffins rise properly. Additionally, do not skip tossing the cranberries in a little flour, as this simple step prevents them from sinking to the bottom during baking. For more on this, see our guide on avoiding soggy bottoms. Finally, resist the urge to overbake, which leads to dry muffins. Instead, learn the signs of perfect doneness with our tips for baking times conversion.
Serving and Pairing Suggestions
How to serve this dish
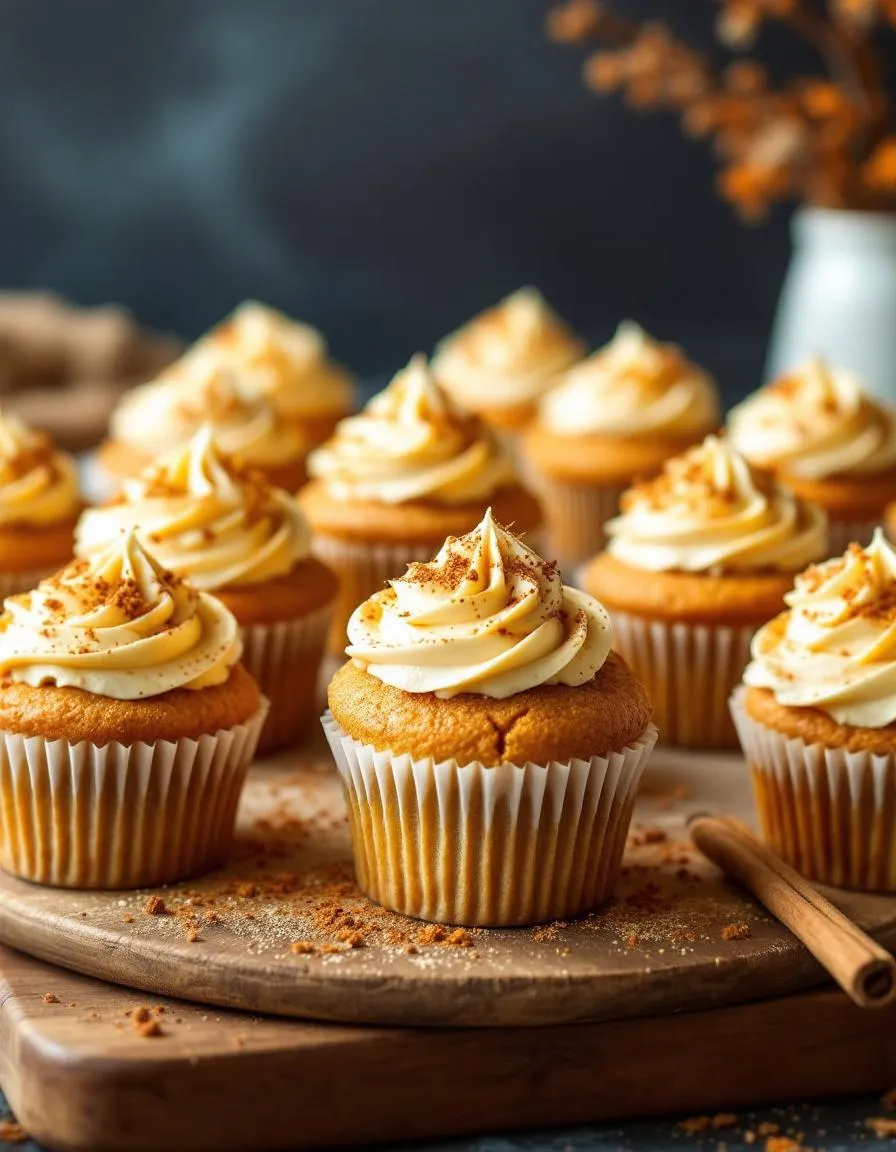
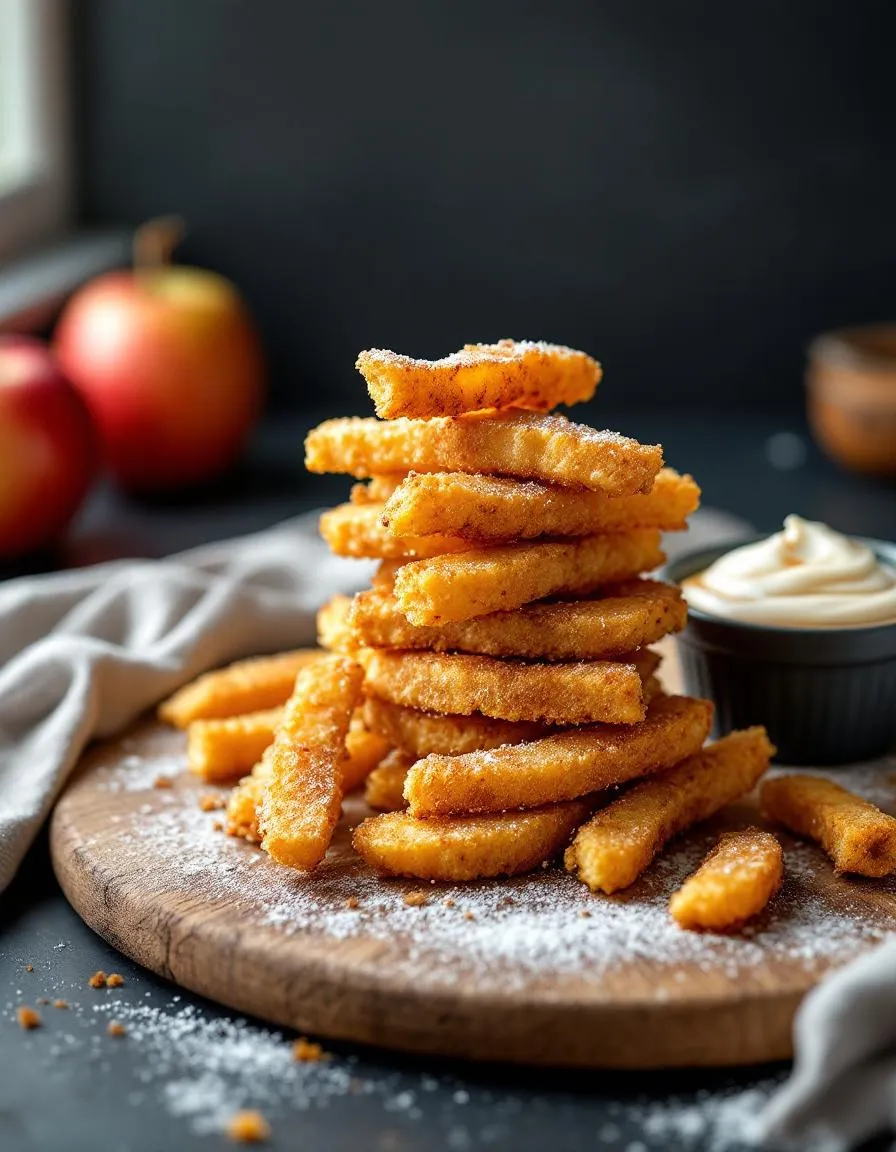
Present your freshly baked Cranberry Orange Muffins on a beautiful rustic wooden board for a charming, homey feel. Alternatively, arrange them in a classic muffin basket lined with a crisp linen napkin for an elegant brunch spread. For a special holiday touch, dust them with a light snowfall of powdered sugar just before your guests arrive. These Cranberry Orange Muffins truly shine at a morning gathering or as a festive breakfast treat during the colder months. Finally, always serve them warm to maximize the burst of citrus and berry flavors in every single bite.
What goes well with it
A hot cup of coffee perfectly cuts through the sweetness of these muffins, creating a classic and comforting pairing. For a truly decadent weekend brunch, consider serving them alongside a slice of our rich Classic Quiche Lorraine. The savory, creamy filling provides a wonderful contrast to the bright, fruity notes of the Cranberry Orange Muffins. If you prefer a lighter option, a simple mixed green salad with a tangy vinaigrette offers a refreshing counterpoint. Moreover, a steaming mug of our soothing Homemade Chai Tea Latte highlights the warm spices and citrus zest beautifully.
Yes, you can absolutely use frozen cranberries without thawing them first. Tossing the frozen cranberries in a little bit of flour from the recipe helps prevent them from sinking to the bottom of the muffins during baking. This ensures every bite of your Cranberry Orange Muffins is packed with fruit.
A simple orange glaze is the perfect finishing touch. Whisk together fresh orange juice and powdered sugar until smooth, then drizzle it over the cooled muffins. The sweet and tangy glaze enhances the citrus flavor and makes these Cranberry Orange Muffins extra special.
The key to moist and fluffy muffins is to avoid overmixing the batter. Mix the wet and dry ingredients together just until they are combined, even if a few lumps remain. Overmixing develops gluten, which leads to a tough and dense texture instead of a light, tender crumb.
Absolutely! These muffins are great for making ahead. They will stay fresh in an airtight container at room temperature for about 2 days or in the refrigerator for up to a week. You can also freeze baked Cranberry Orange Muffins for up to 3 months for a quick breakfast later.