Is there anything more comforting than the rich, chocolatey embrace of a brownie? Now imagine that familiar joy meeting the warm, spiced soul of autumn in one incredible dessert. These pumpkin brownies create the ultimate seasonal treat that feels both indulgentously decadent and surprisingly special. They perfectly bridge the gap between a summer barbecue and a holiday feast, offering a slice of cozy comfort with every single bite. Furthermore, this recipe delivers that deep fudgy texture we all crave, while the pumpkin weaves in a subtle moisture and flavor that will completely redefine your brownie expectations.
About This Recipe
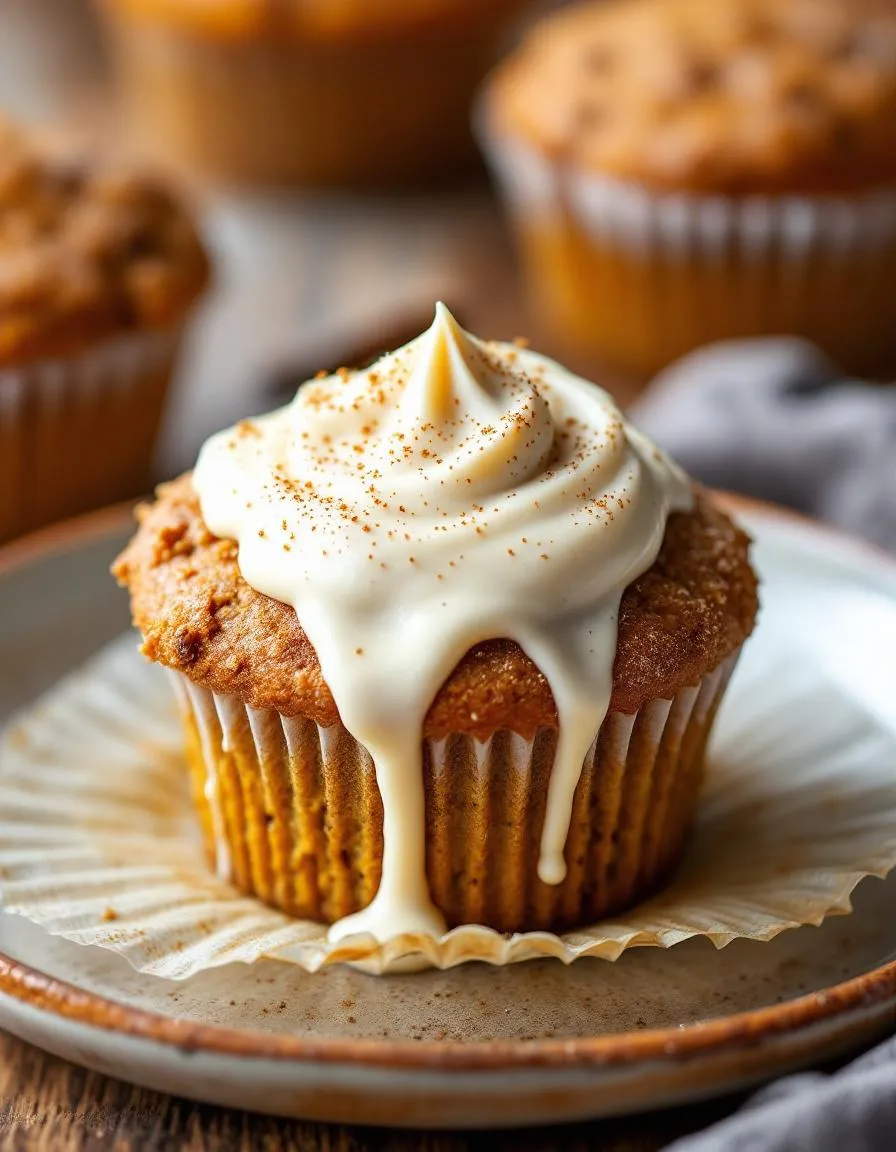
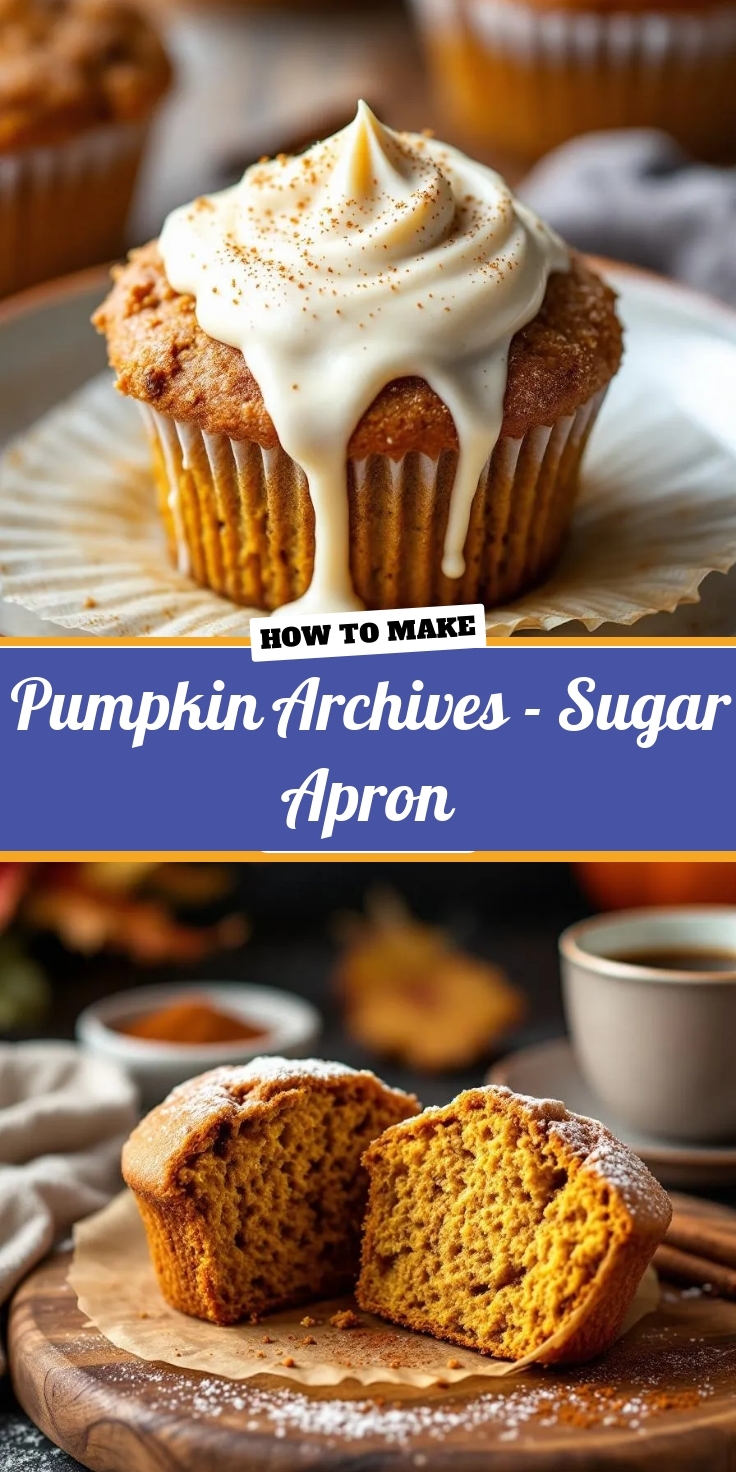
So what exactly are pumpkin brownies? Essentially, they are a magnificent fusion dessert that combines a classic, fudgy chocolate brownie base with the unmistakable taste of pumpkin and autumn spices. This combination matters because it solves a common seasonal dilemma. You want something that feels festive and appropriate for fall, but you also need a reliable, crowd-pleasing chocolate dessert. These brownies answer that call beautifully. They are not merely a pumpkin bar with chocolate chips, nor are they a bland cake. Instead, they represent a moist, dense, and intensely chocolate-forward experience where the pumpkin acts as a supporting star, adding incredible moisture and a hint of earthy sweetness that complements the cocoa. Moreover, this recipe fits our blog’s tone perfectly, as we always strive to create approachable, yet impressive baked goods that bring people joy. For instance, if you adore the cozy flavors in these brownies, you might also love our popular pumpkin cupcakes with cream cheese frosting for another autumn celebration. Ultimately, mastering this recipe means you have a guaranteed hit for potlucks, Halloween parties, or simply a quiet night in. The process is straightforward and uses common baking ingredients, making it accessible for bakers of any skill level. Consequently, you can achieve a bakery-quality treat right in your own kitchen. Additionally, the recipe is wonderfully adaptable. You can easily stir in chocolate chunks, nuts, or even a swirl of cream cheese frosting for an extra decadent touch.
Why I Love This Recipe
I truly love this pumpkin brownies recipe because it reminds me of my first fall in my own home, trying to establish new traditions. I wanted to bake something that smelled like the season and could fill the kitchen with warmth, but I needed it to be simple enough for a novice baker. This was the first dessert I made that actually made me feel like a real cook. The aroma of chocolate and pumpkin spice blending together is absolutely unforgettable. Every time I make these brownies now, they bring back that feeling of accomplishment and the simple joy of creating something delicious from scratch. They are my go-to for making new friends in the neighborhood and for comforting old ones.
Health and Nutrition
Why it’s good for your body
Pumpkin brownies offer a surprisingly nutritious twist on a classic dessert. First, pumpkin puree packs a powerful punch of vitamins and minerals. For instance, it provides a huge dose of vitamin A, which actively supports your vision and immune system. Additionally, pumpkin contributes a healthy amount of fiber to every serving. Consequently, this fiber helps to promote better digestion and can keep you feeling satisfied for longer after you enjoy a treat.
Moreover, these brownies often use less oil or butter than traditional recipes. Ultimately, the pumpkin puree itself adds incredible moisture and richness. Therefore, you can indulge in a decadent dessert while consuming fewer empty calories. Furthermore, pumpkin contains antioxidants like beta-carotene, which actively fights oxidative stress in your body. As a result, enjoying a serving of pumpkin brownies gives you a delicious way to support your overall cellular health.
Finally, the spices commonly paired with pumpkin, like cinnamon, also offer their own benefits. In fact, cinnamon may help support healthy blood sugar levels. So next time you bake a batch, remember that each piece delivers more than just incredible flavor. These pumpkin brownies truly provide a wholesome and beneficial snack.
How it fits in a healthy lifestyle
These pumpkin brownies fit beautifully into a balanced eating plan. You can absolutely enjoy them as a mindful treat without derailing your wellness goals. Consider pairing a small square with a source of protein, like a handful of almonds or a glass of milk, for a more satisfying and balanced snack that keeps your energy levels steady.
For anyone following specific dietary paths, this recipe is wonderfully adaptable. You can easily use a gluten-free flour blend to make it celiac-friendly. We love using almond flour for a nutrient-dense, gluten-free baking option that adds a dose of healthy fats. If you are monitoring your sugar intake, natural sweeteners like maple syrup or monk fruit work perfectly with the warm pumpkin spices. This approach aligns perfectly with a healthy dessert philosophy, proving that you never have to sacrifice flavor for nutrition. It is all about making smart swaps and enjoying every single bite.
PrintPumpkin Brownies
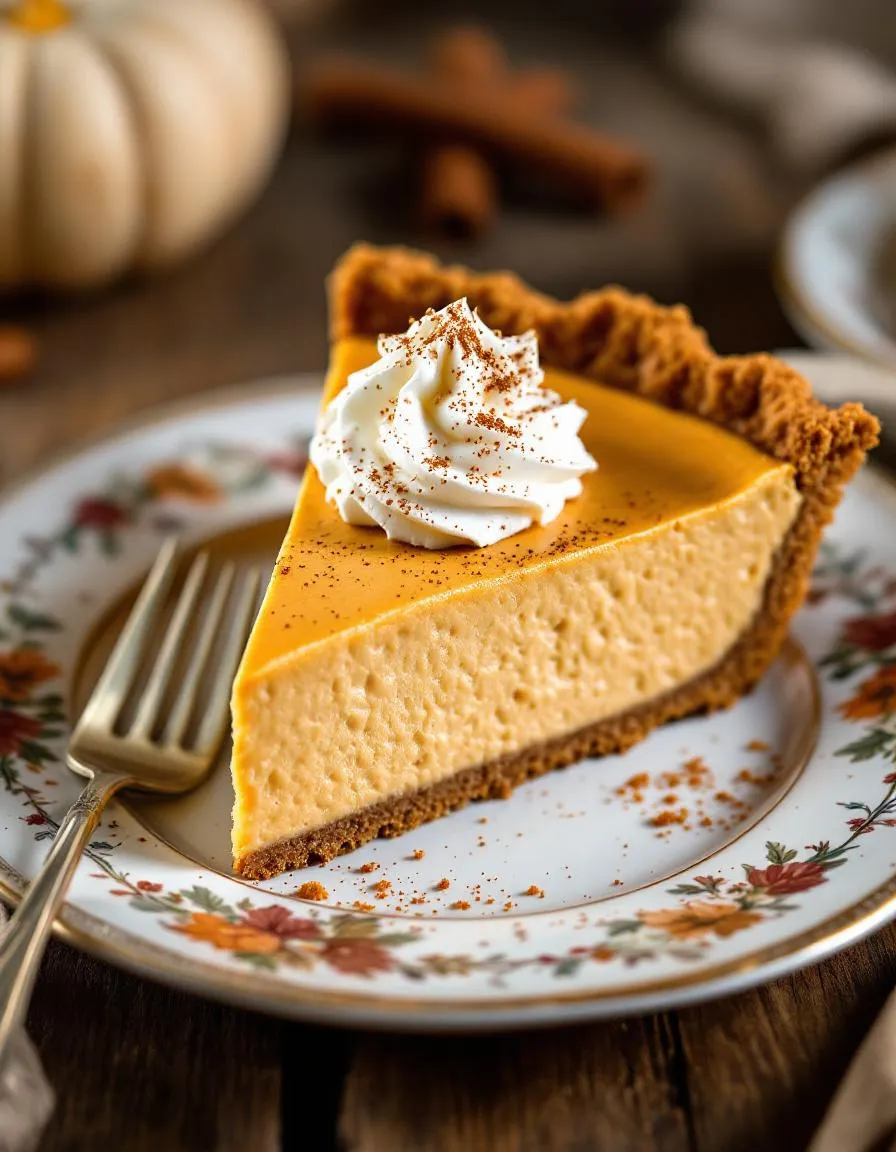
Description
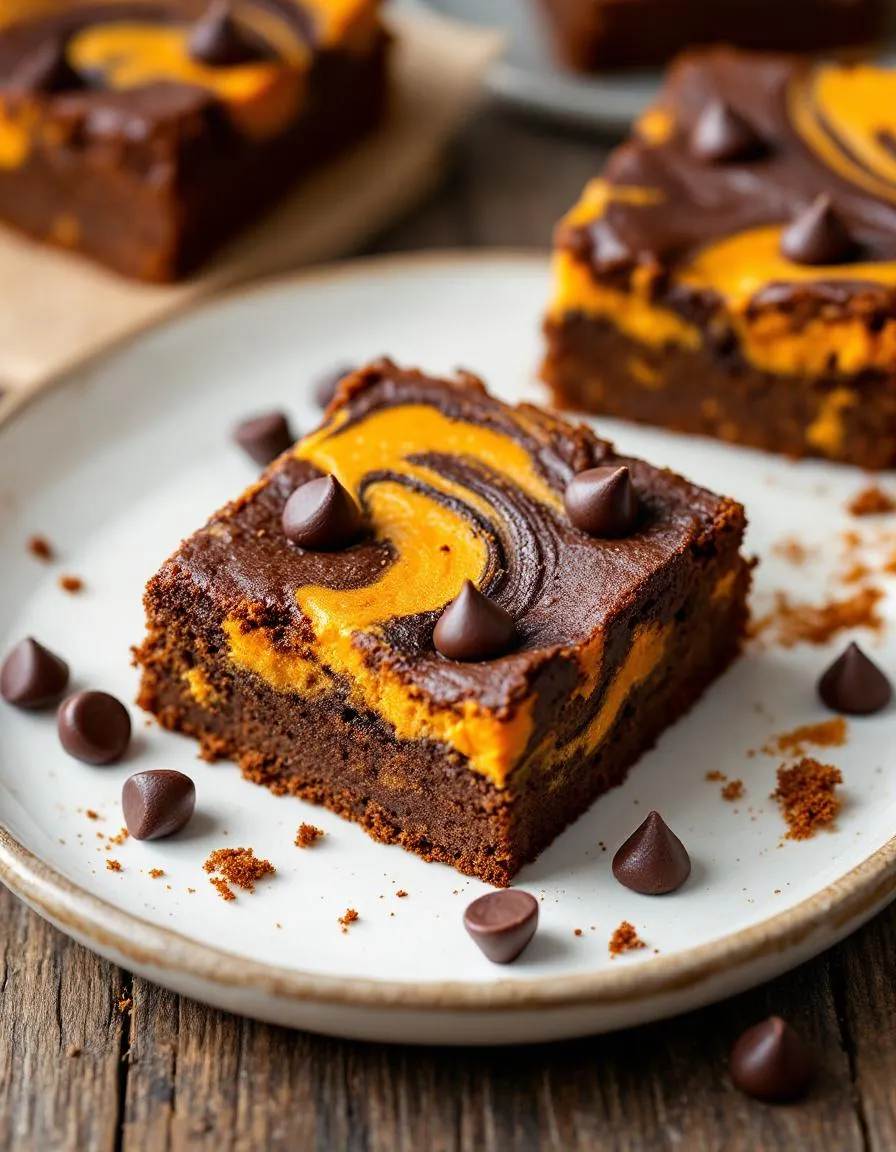
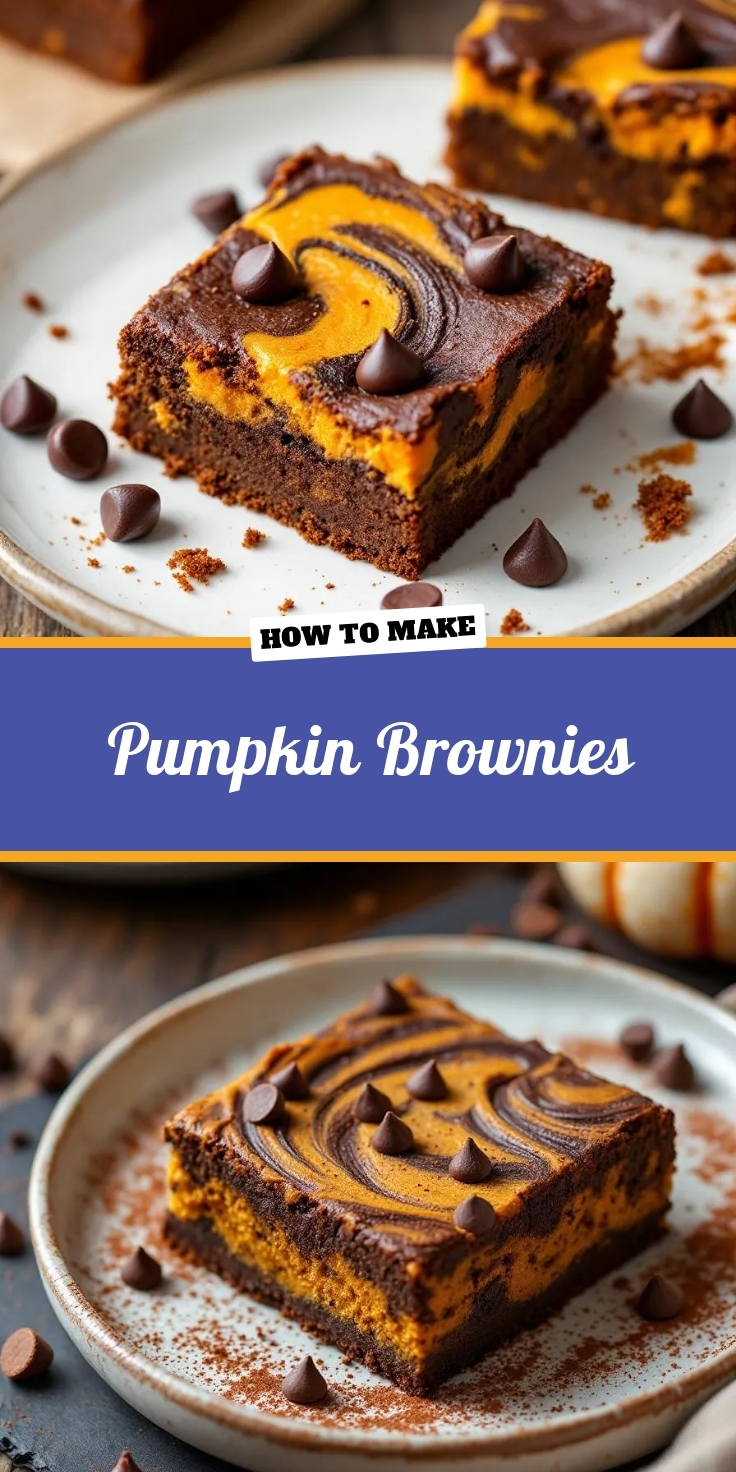
Fudgy brownies swirled with spiced pumpkin puree for a delicious fall twist on a classic dessert.
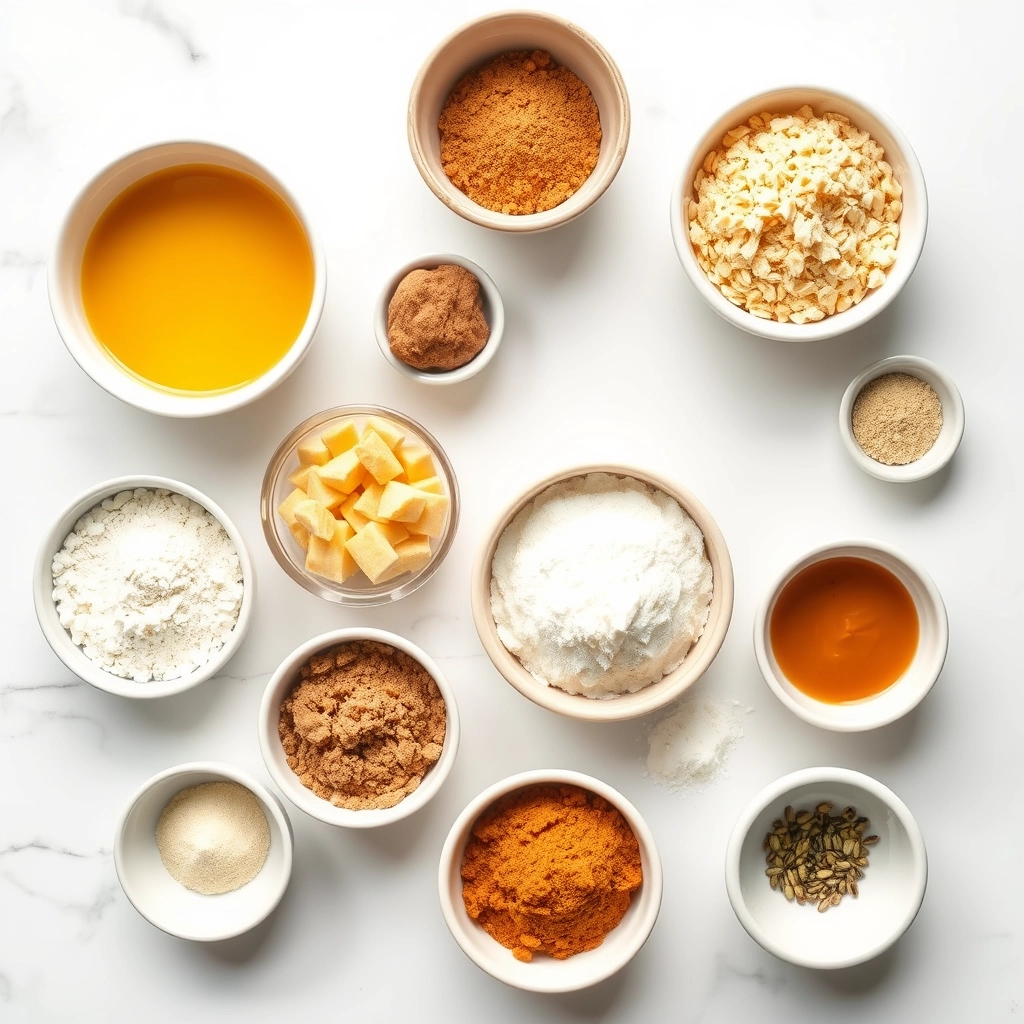
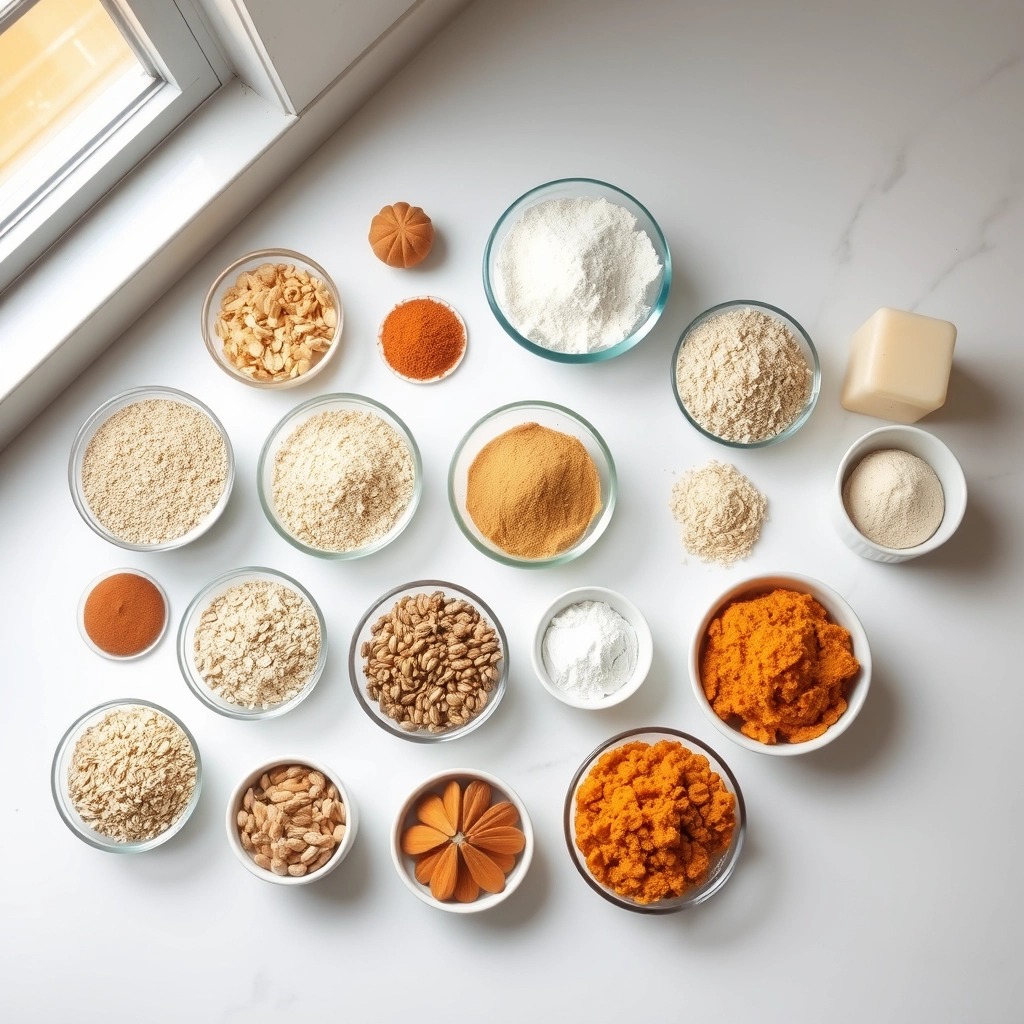
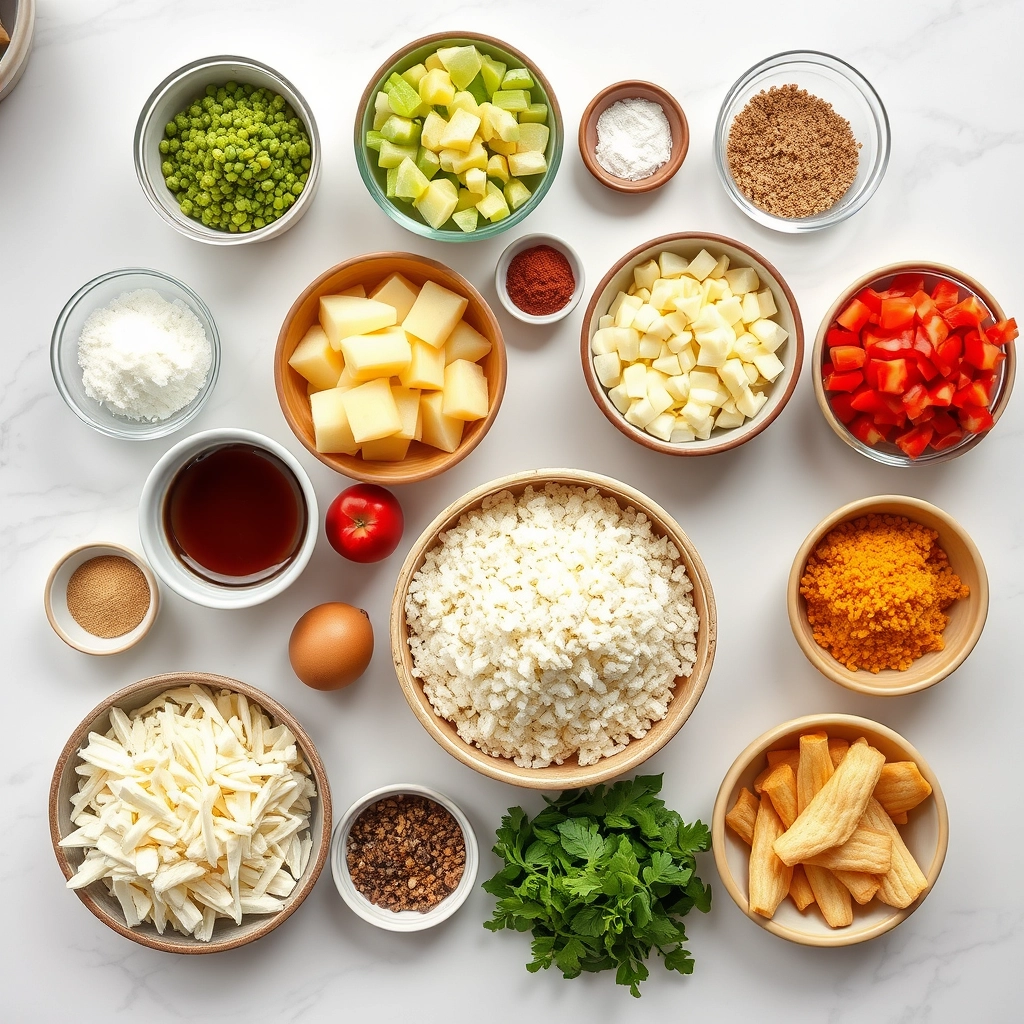
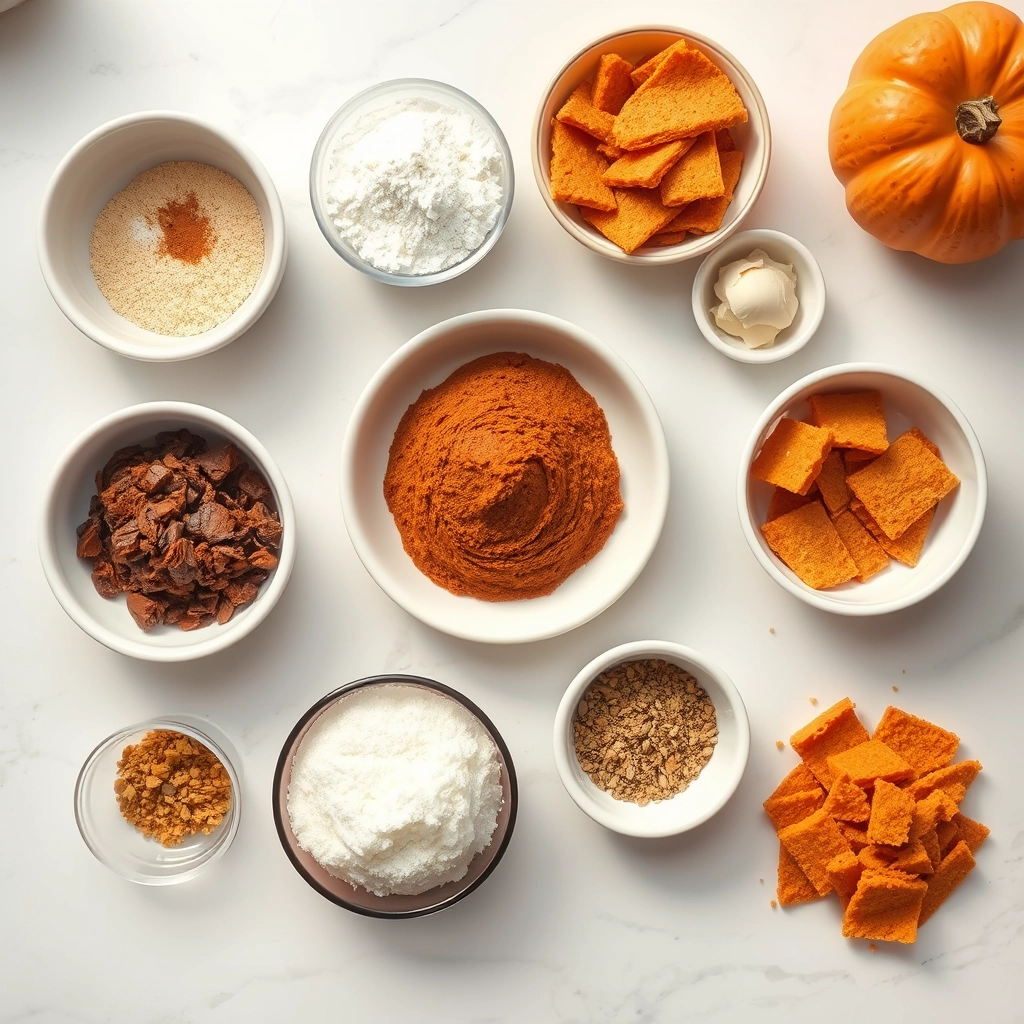
Ingredients
For the Crust:
- 1 cup all-purpose flour
- 3/4 cup cocoa powder
- 1/2 teaspoon salt
- 1 cup unsalted butter, melted
- 2 cups granulated sugar
- 4 large eggs
- 2 teaspoons vanilla extract
- 1 cup pumpkin puree
- 1 teaspoon pumpkin pie spice
- 1/2 cup semi-sweet chocolate chips
Instructions
1. Prepare the Crust:
- Preheat oven to 350°F (175°C). Grease a 9×13 inch baking pan.
- In a medium bowl, whisk together flour, cocoa powder, and salt. Set aside.
- In a large bowl, mix melted butter and sugar until combined. Add eggs one at a time, then stir in vanilla.
- Gradually add dry ingredients to wet ingredients, mixing until just combined. Fold in chocolate chips.
- In a separate bowl, combine pumpkin puree and pumpkin pie spice.
- Spread 2/3 of brownie batter into prepared pan. Drop spoonfuls of pumpkin mixture over batter, then swirl with a knife. Top with remaining brownie batter.
- Bake for 30-35 minutes until a toothpick inserted comes out with moist crumbs. Cool completely before slicing.
Notes
You can customize the seasonings to taste.
How to Prepare This Dish
Steps and time-saving tips
First, preheat your oven to 350°F and line an 8×8 baking pan with parchment paper. This simple step guarantees your brownies will lift out perfectly later. Meanwhile, whisk your dry ingredients—flour, cocoa powder, baking soda, and salt—in a medium bowl. In a separate, larger bowl, vigorously whisk together the pumpkin puree, melted coconut oil, sugar, and eggs until the mixture looks completely smooth. Gradually fold the dry ingredients into the wet batter until you see no more streaks of flour. Finally, gently stir in the chocolate chips for those decadent pockets of melted chocolate. Spread the thick batter evenly into your prepared pan. Bake for 25 to 30 minutes, or until the top is set and a toothpick inserted comes out with just a few moist crumbs. Let the Pumpkin Brownies cool completely in the pan on a wire rack; this patience is crucial for the perfect fudgy texture. For a speedy cleanup, use the same whisk for both mixtures before rinsing. You can also melt your coconut oil directly in the large mixing bowl to save on washing up.
Mistakes I’ve made and learned from
I have absolutely overbaked these Pumpkin Brownies more times than I care to admit, turning my dreamy fudgy dessert into a disappointingly cakey block. I learned the hard way that the toothpick test lies; you need to pull them out when it has a few sticky crumbs, not when it’s completely clean. Another common blunder was underestimating the power of proper cooling. Cutting into them while still warm seemed like a great idea, but it always resulted in a gooey mess. Now, I always let them cool completely, which actually improves the flavor and makes for those clean slices you see in pictures. Getting the right consistency for other baked goods took practice too, much like my journey to perfecting fluffy pancakes from cake mix. Remember, baking is a science, and small tweaks make a huge difference, a lesson I also applied when figuring out the best cupcake baking times for a perfect dome.
Cultural Connection and Variations
Where this recipe comes from
Pumpkin Brownies feel like a hug from autumn itself. Consequently, they weave together two beloved traditions. American bakers have long celebrated pumpkin during the fall harvest, famously filling pies for Thanksgiving. Meanwhile, chocolate brownies became a staple dessert over a century ago. Someone, somewhere, brilliantly decided to marry these two icons. The result is a moist, spiced bar that captures the essence of the season in every bite.
Families often put their own spin on this treat. For instance, some bakers swirl a thick layer of cream cheese frosting on top for a tangy contrast. Others might fold in white chocolate chips or a handful of toasted pecans for extra crunch. Globally, the concept adapts to local tastes. In Australia, you might find a version with a hint of macadamia nut. Ultimately, a great batch of Pumpkin Brownies balances rich chocolate with warm pumpkin spice.
My grandmother always made hers in a cast-iron skillet, creating a delightfully crispy edge that we all fought over. This personal touch is what makes the recipe so special. Every kitchen tells a different story with the same ingredients.
How it fits in today’s cooking
Today, this dessert perfectly fits our love for seasonal and comforting foods. Furthermore, it bridges the gap between a classic chocolate fix and a festive fall flavor. Modern home cooks constantly adapt the recipe to suit their needs. Many easily turn it into a gluten-free or vegan delight by swapping a few key ingredients. It has become a star at Halloween parties and a cozy treat for quiet November evenings alike.
You can easily incorporate these brownies into your holiday baking lineup. For example, they pair wonderfully with a warm cup of our favorite Spiced Apple Cider. Their portable shape also makes them ideal for school bake sales or office potlucks. If you need another great dessert option for your gathering, consider our popular Classic Carrot Cake. Ultimately, Pumpkin Brownies offer a simple, delicious way to celebrate the changing seasons any day of the week.
Taste and Texture
What makes it delicious
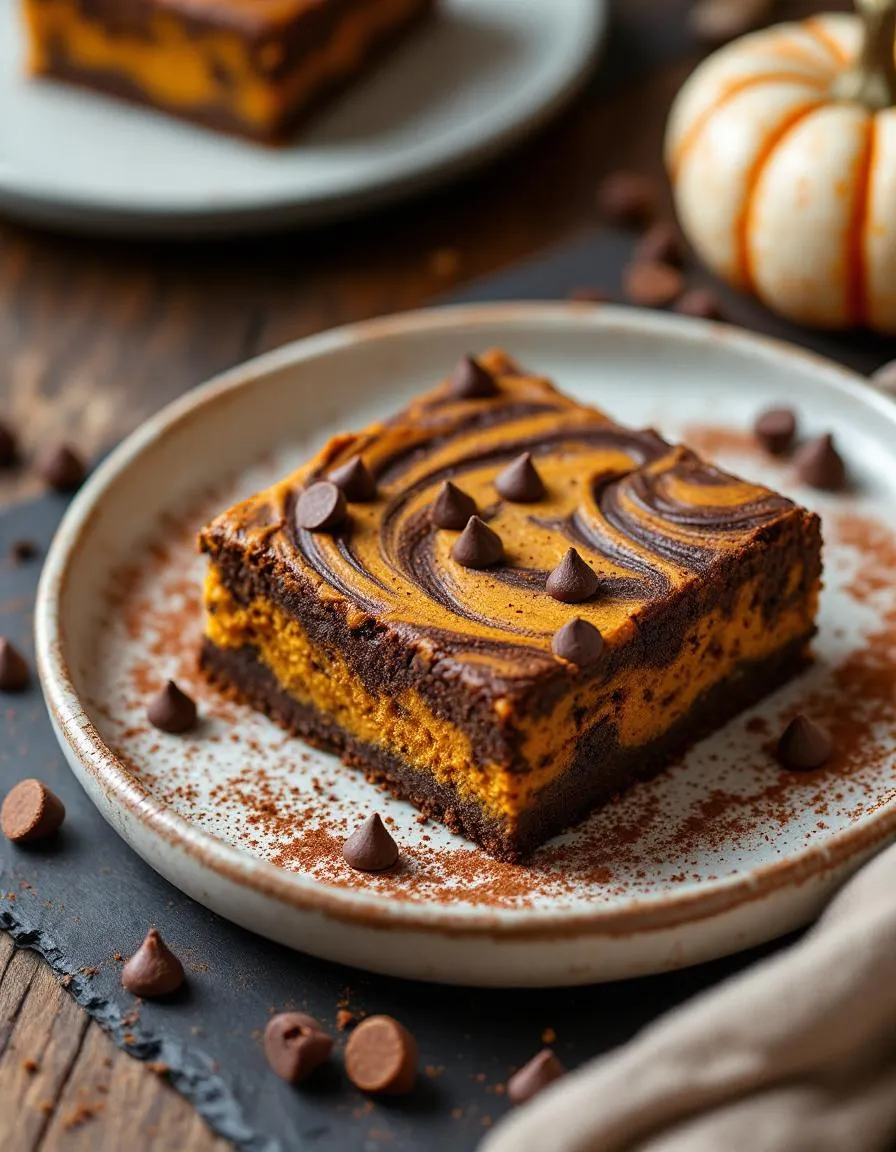
These Pumpkin Brownies deliver a decadent and complex flavor profile. Rich, dark chocolate melds beautifully with warm, aromatic spices like cinnamon and nutmeg. Meanwhile, the pumpkin itself contributes a subtle earthy sweetness that makes every bite incredibly moist and fudgy. Consequently, the texture is an irresistible cross between a classic chewy brownie and a dense, tender cake. Ultimately, the experience of these Pumpkin Brownies is a perfect harmony of cozy autumn spice and deep chocolate indulgence.
Boosting the flavor
For an even more luxurious treat, immediately top your warm Pumpkin Brownies with a generous scoop of vanilla ice cream. Alternatively, a simple cream cheese glaze drizzled over the top introduces a delightful tangy contrast. Furthermore, a pinch of espresso powder in the batter will deepen the chocolate flavor without making it taste like coffee. For another fantastic fall baking project that uses similar spices, consider our popular Pumpkin Cupcakes. Finally, a dollop of Cinnamon Whipped Cream adds a light, spiced finish that perfectly complements the fudgy base.

Tips for Success
Best practices for results
First, always use room temperature ingredients for your Pumpkin Brownies because they combine into a smoother, more even batter. Furthermore, line your baking pan with parchment paper to guarantee easy removal and perfectly clean slices. For the best fudgy texture, moreover, avoid overmixing the batter once you add the dry ingredients. Finally, let the Pumpkin Brownies cool completely in the pan before you cut them for the cleanest, most beautiful squares.
Mistakes to avoid
A common error involves overbaking, which results in a cakey and dry texture instead of a fudgy brownie. Consequently, always perform the toothpick test a few minutes before the timer goes off; you want a few moist crumbs attached. Additionally, do not substitute pumpkin pie filling for pure pumpkin puree, as the added spices and sugar will throw off the recipe’s balance. If you are unsure about your oven’s accuracy, however, using an oven thermometer can help you avoid temperature-related baking disasters. Similarly, properly measuring your flour is crucial; for best results, always measure flour correctly by spooning it into the cup and leveling it off.
Serving and Pairing Suggestions
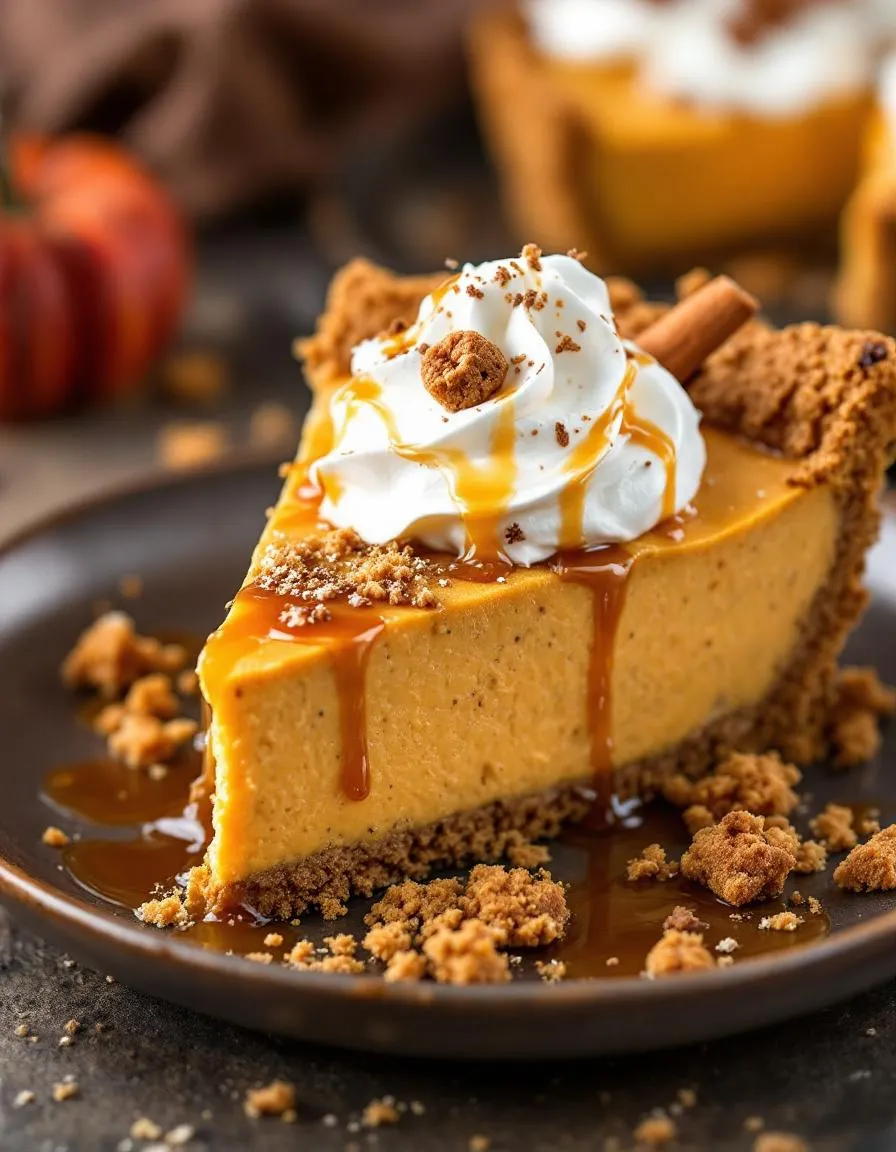
How to serve this dish
For a beautiful presentation, dust your Pumpkin Brownies with a light snowfall of powdered sugar. Alternatively, drizzle a simple vanilla glaze over the top for extra sweetness. Serve these spiced treats warm to make your kitchen smell incredible, especially during holiday gatherings. You can also cut them into small, bite-sized pieces for a party platter. Ultimately, a scoop of vanilla ice cream melting on top of a warm Pumpkin Brownie creates a truly divine dessert experience.
What goes well with it
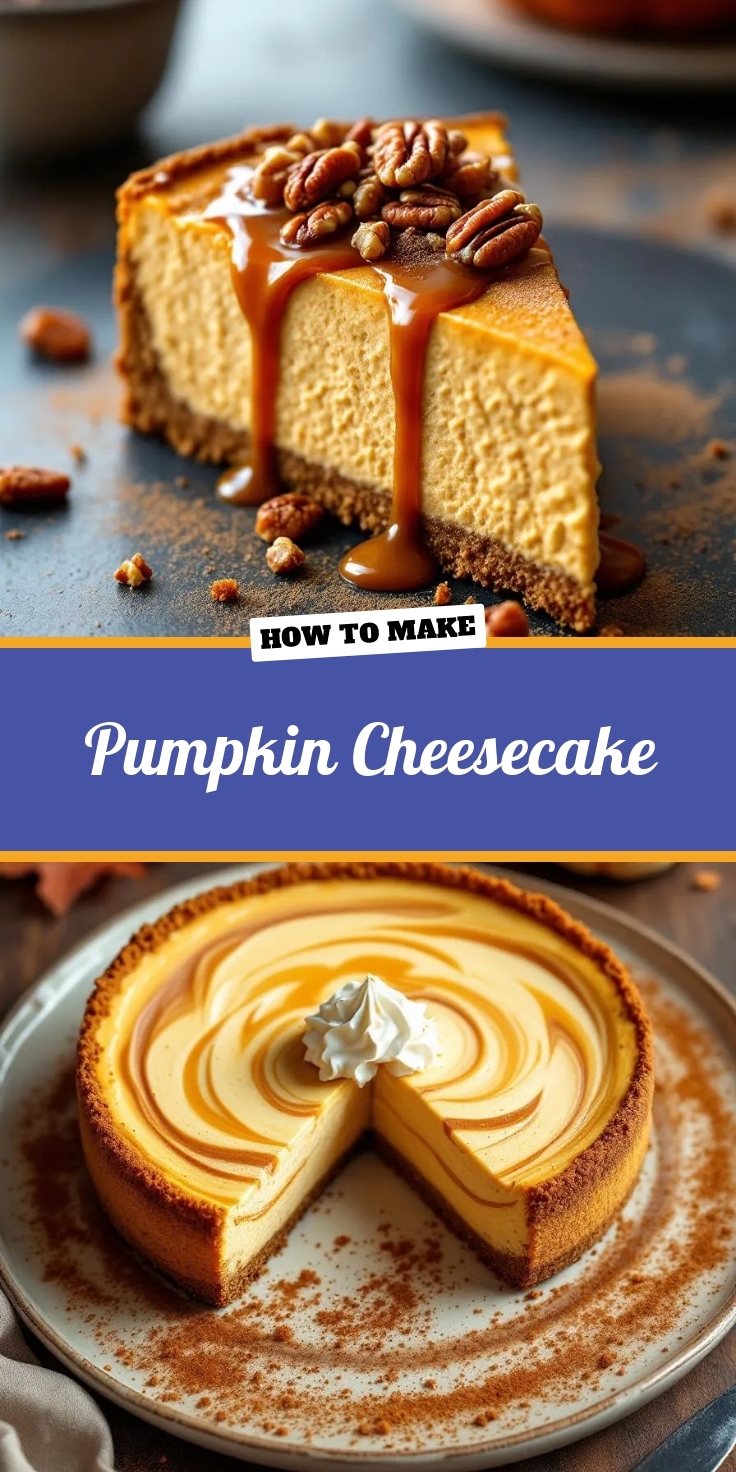
A hot cup of coffee wonderfully highlights the warm spices in these Pumpkin Brownies. Similarly, a glass of cold milk provides a classic, creamy contrast that everyone loves. For an elegant dessert pairing, try a scoop of our Homemade Vanilla Bean Ice Cream. Furthermore, these brownies make a fantastic finale to a festive meal alongside a slice of our Spiced Pumpkin Cheesecake for the ultimate pumpkin celebration.
Yes, canned pumpkin puree is the best and most convenient option for making pumpkin brownies. Ensure you use 100% pure pumpkin puree, not pumpkin pie filling, which has added sugars and spices. The puree adds moisture and flavor to your brownies.
The natural moisture from the pumpkin puree helps keep these brownies incredibly moist. Be careful not to overbake them; pulling them from the oven when a few moist crumbs stick to a toothpick is key. Proper storage in an airtight container will also lock in that moisture.
The primary difference is the addition of pumpkin puree, which gives pumpkin brownies a denser, cakier texture and a subtle, warm flavor compared to the classic fudgy or chewy texture of regular brownies. Pumpkin brownies are often spiced with cinnamon, nutmeg, or pumpkin pie spice for an autumnal twist.
Due to the perishable nature of pumpkin, it is recommended to refrigerate your pumpkin brownies, especially if you plan to keep them for more than two days. Store them in an airtight container to maintain freshness. This will keep them safe to eat and help preserve their texture.