“`html
Introduction
Imagine waking up to the warm, comforting aroma of cinnamon rolls—but with a protein-packed twist that keeps you energized all morning. That’s exactly what these Protein-Packed Cinnamon Roll Crepes deliver. Whether you’re craving a cozy weekend breakfast or a quick yet wholesome meal prep option, this recipe blends indulgence with nutrition effortlessly. No more choosing between flavor and fuel. Plus, it’s a game-changer for anyone who loves the classic cinnamon roll but wants a lighter, protein-rich alternative. Trust me, once you try these crepes, you’ll wonder how you ever settled for anything less.
About This Recipe
Protein-Packed Cinnamon Roll Crepes combine the soft, delicate texture of traditional crepes with the irresistible sweetness of cinnamon rolls—all while packing a serious protein punch. Unlike heavy pastries that leave you sluggish, these crepes use high-quality ingredients like protein powder, Greek yogurt, and egg whites to keep you satisfied without the crash. They’re perfect for fitness enthusiasts, busy parents, or anyone who wants a guilt-free treat. Best of all, they come together in just 20 minutes, making them ideal for hectic mornings. If you’re a fan of our protein pancakes, you’ll adore this spin on a classic.
What sets this recipe apart is its versatility. You can enjoy these crepes as a post-workout snack, a decadent dessert, or even a high-protein brunch centerpiece. The cinnamon roll flavor shines through thanks to a creamy filling and a drizzle of glaze, but you can easily customize the toppings to suit your taste. For more inspiration on balancing flavor and nutrition, check out our guide to healthy meal prep. This recipe fits seamlessly into our blog’s mission: proving that healthy eating doesn’t mean sacrificing the foods you love.
Why I Love This Recipe
I’ll never forget the first time I made Protein-Packed Cinnamon Roll Crepes. It was a snowy Sunday morning, and I wanted something special but didn’t have the energy for a complicated bake. These crepes saved the day—they felt like a treat but kept me full until lunch. Now, they’re a staple in my house. My kids beg for them, and I love knowing they’re getting protein without even realizing it. There’s something magical about how the cinnamon swirl melts into the warm crepe, and the fact that it’s good for you? That’s just the icing on top.
“`
Health and Nutrition
Why it’s good for your body
Protein-Packed Cinnamon Roll Crepes deliver a delicious way to fuel your body with essential nutrients. First, they provide a solid dose of high-quality protein, which helps build and repair muscles while keeping you full longer. Additionally, the cinnamon in these crepes offers anti-inflammatory benefits and may help regulate blood sugar levels. Unlike traditional sugary breakfasts, this recipe balances sweetness with wholesome ingredients.
Moreover, Protein-Packed Cinnamon Roll Crepes include fiber-rich components that support digestion and gut health. The combination of protein and fiber ensures steady energy, preventing mid-morning crashes. Furthermore, you can customize the toppings with fresh fruit or nuts for added vitamins and healthy fats. Whether you enjoy them post-workout or as a satisfying breakfast, these crepes pack both flavor and nutrition.
Finally, the recipe avoids excessive refined sugars, making it a smarter choice for sustained energy. With each bite, you get a guilt-free treat that tastes indulgent but nourishes your body. Protein-Packed Cinnamon Roll Crepes prove that healthy eating doesn’t mean sacrificing flavor.
How it fits in a healthy lifestyle
Protein-Packed Cinnamon Roll Crepes fit seamlessly into a balanced diet, whether you’re focused on high-protein meals or simply want a nutritious breakfast. They work well for meal prep, so you can enjoy a quick, healthy option on busy mornings. If you follow a gluten-free diet, simply swap the flour for a gluten-free alternative like almond or oat flour.
For those tracking macros, these crepes offer a protein boost without unnecessary carbs or fats. Pair them with a wholesome smoothie bowl for a complete meal. If heart health is a priority, the recipe’s minimal processed ingredients align with a clean-eating approach. You can also explore other high-protein breakfast ideas to keep your mornings varied and satisfying. Protein-Packed Cinnamon Roll Crepes make it easy to stay on track without feeling restricted.
PrintProtein-Packed Cinnamon Roll Crepes
Description
A delicious and healthy twist on classic cinnamon rolls, these crepes are packed with protein and flavor.
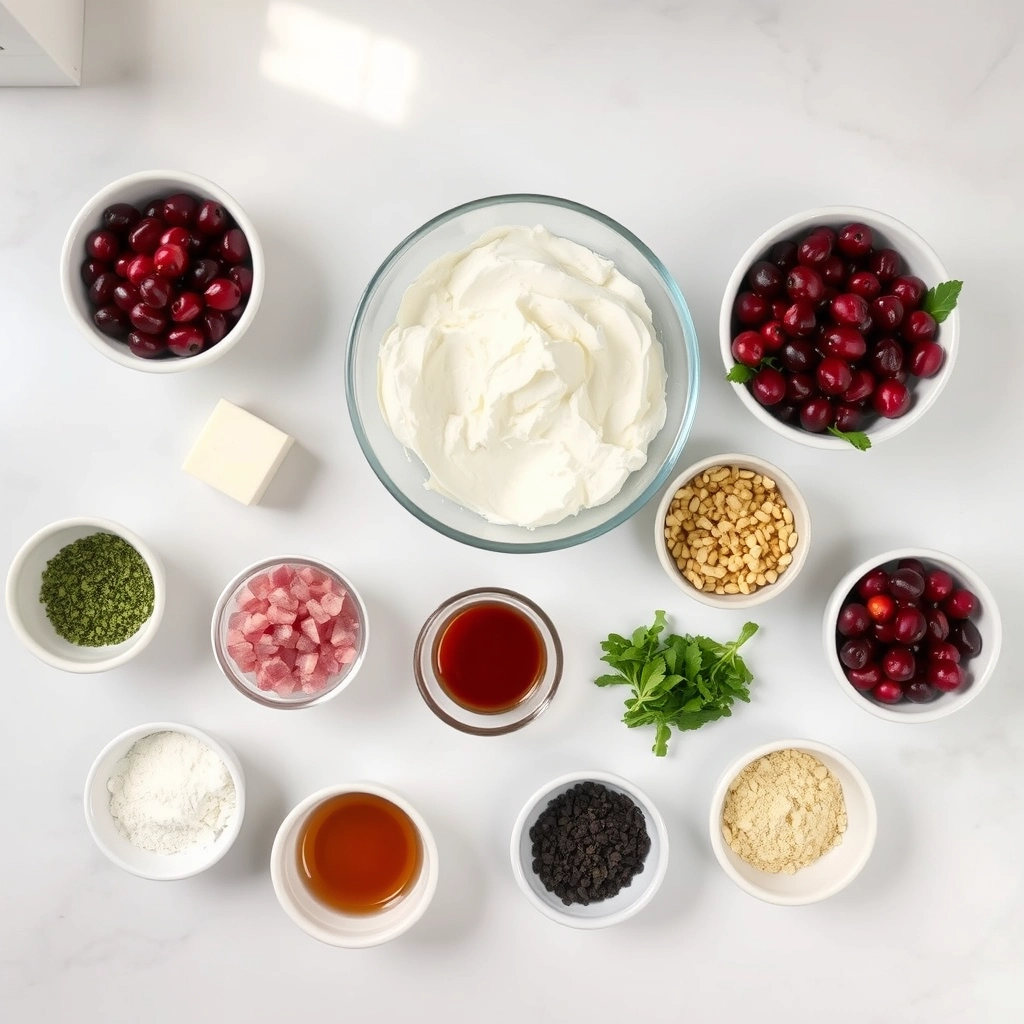
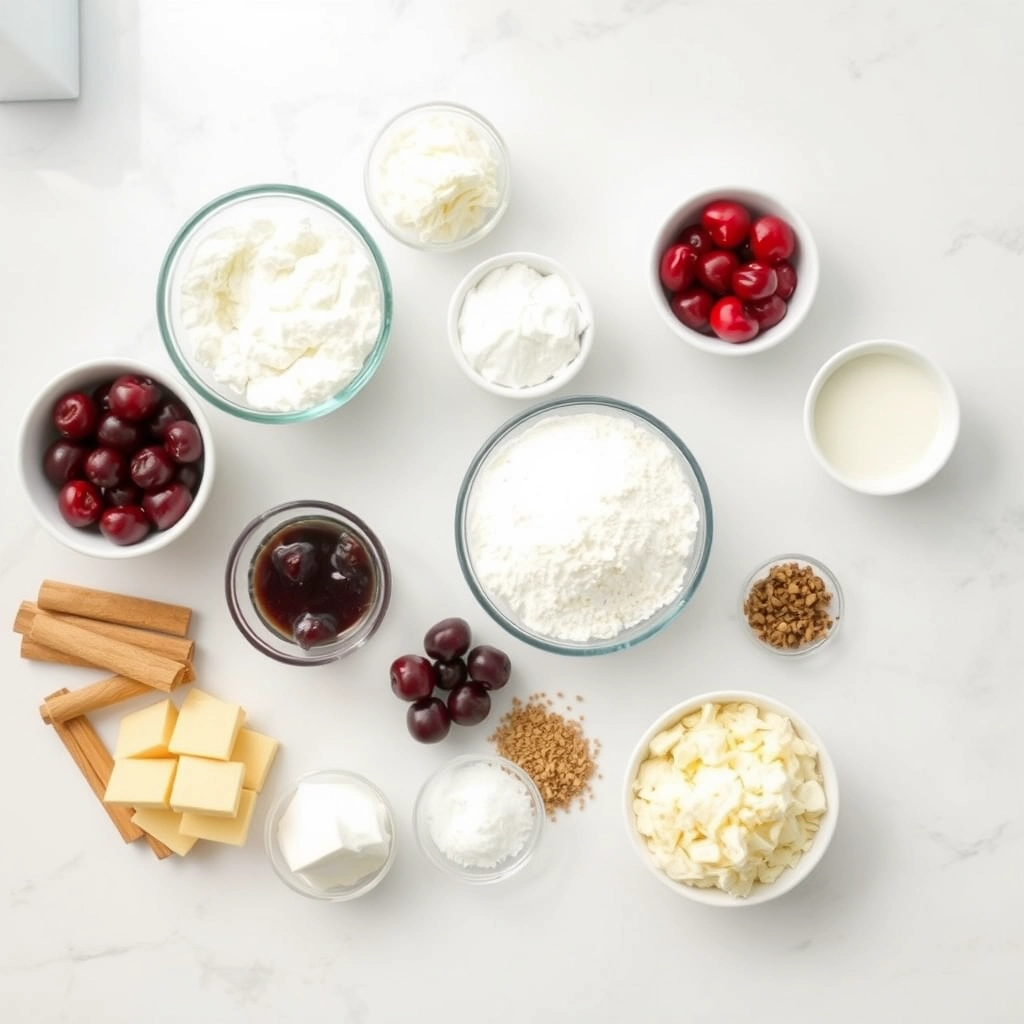
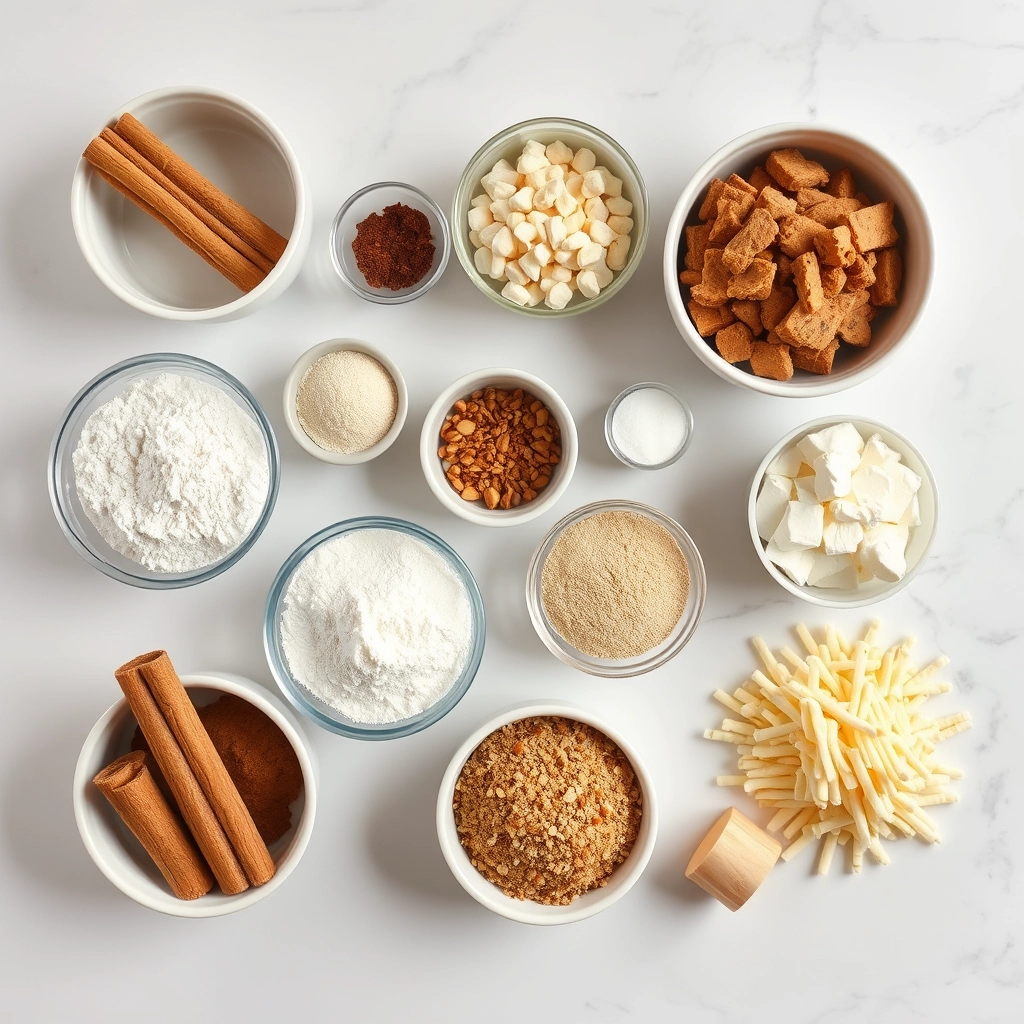
Ingredients
For the Crust:
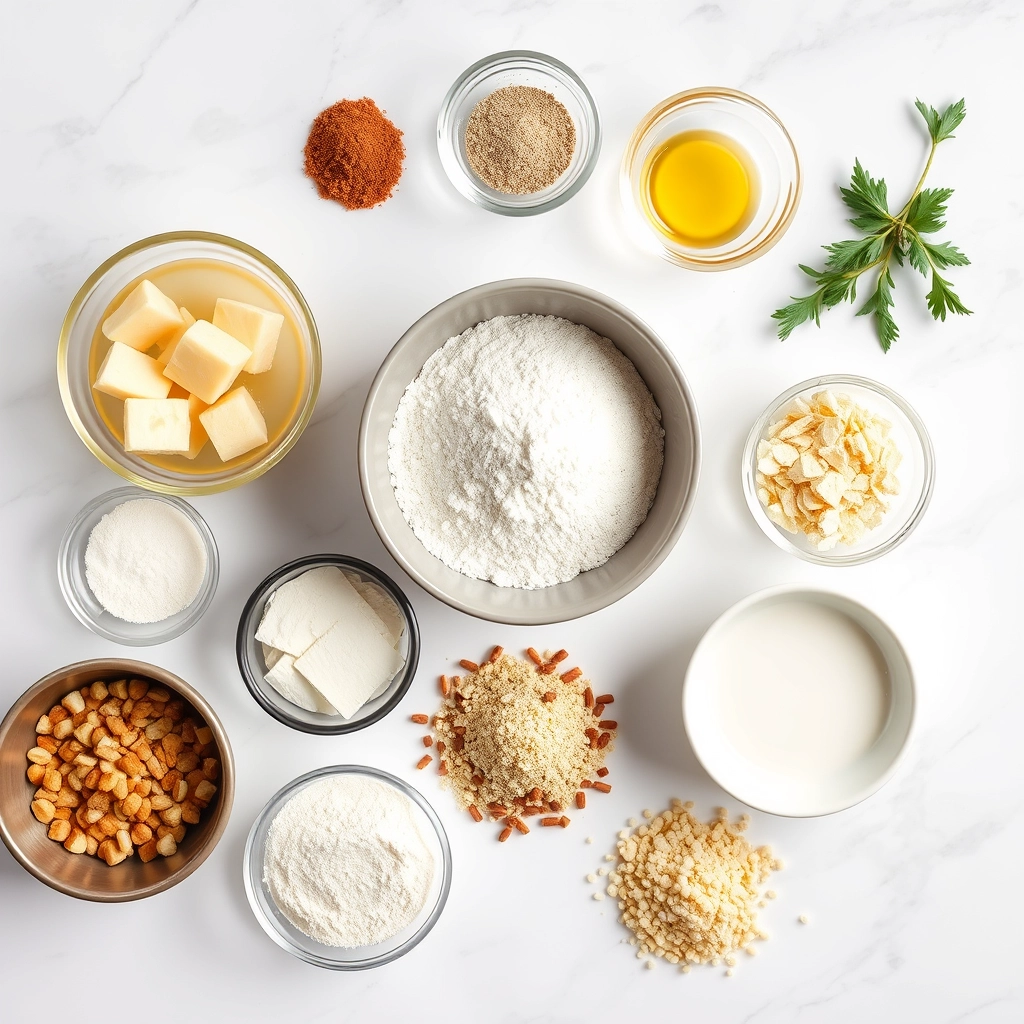
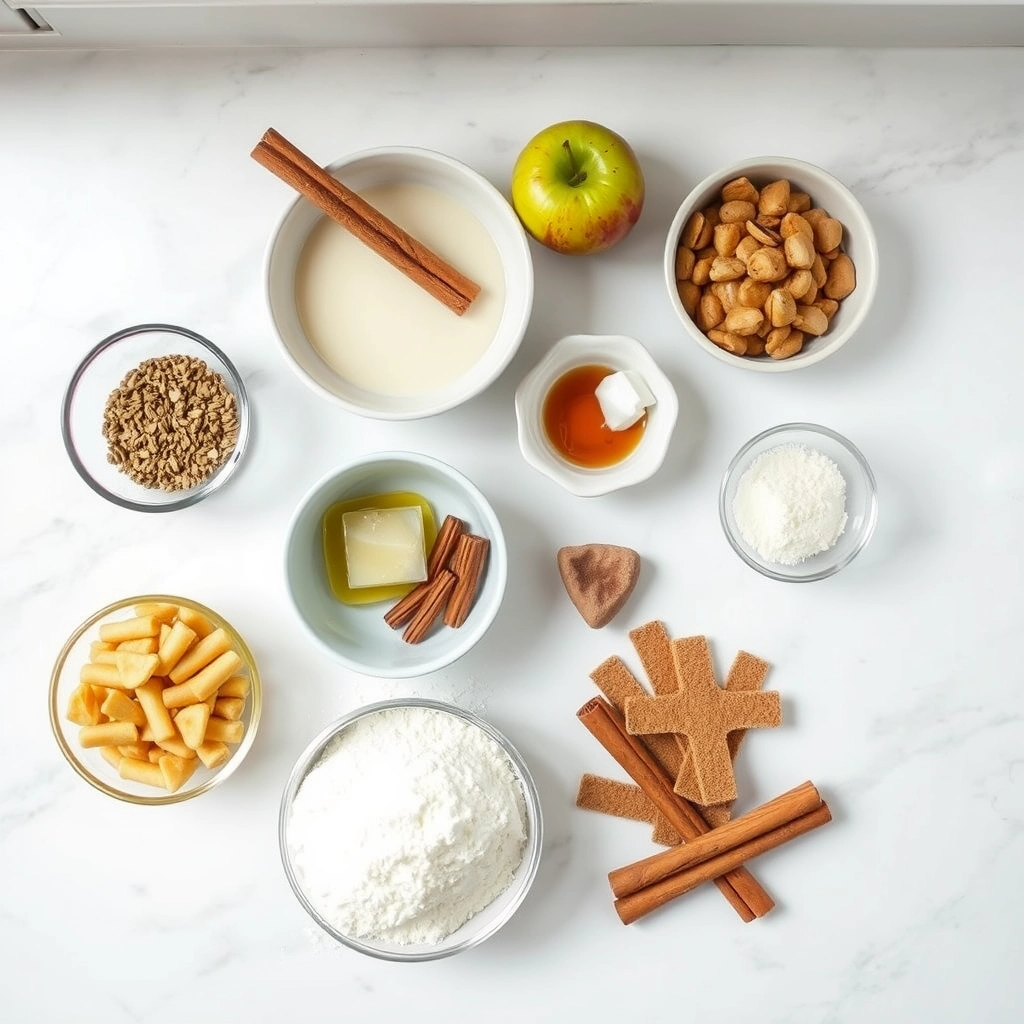
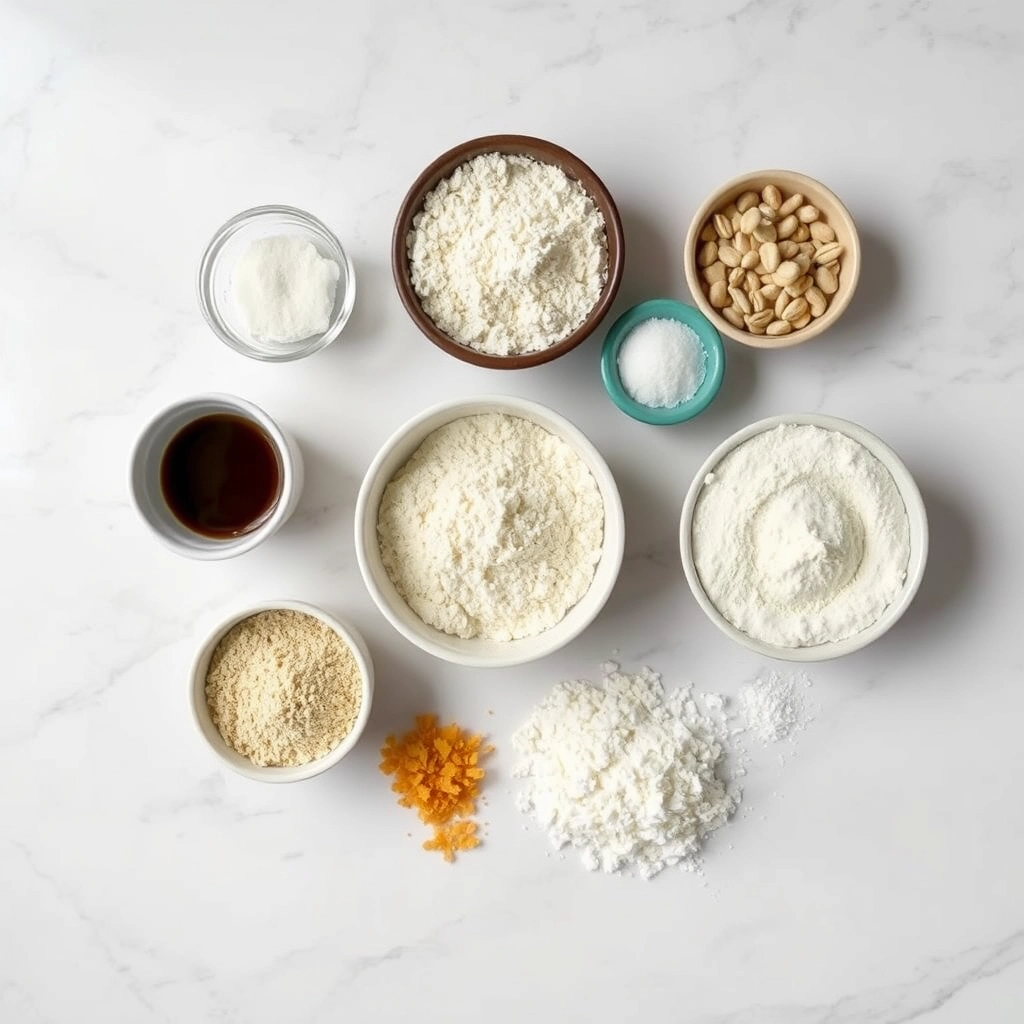
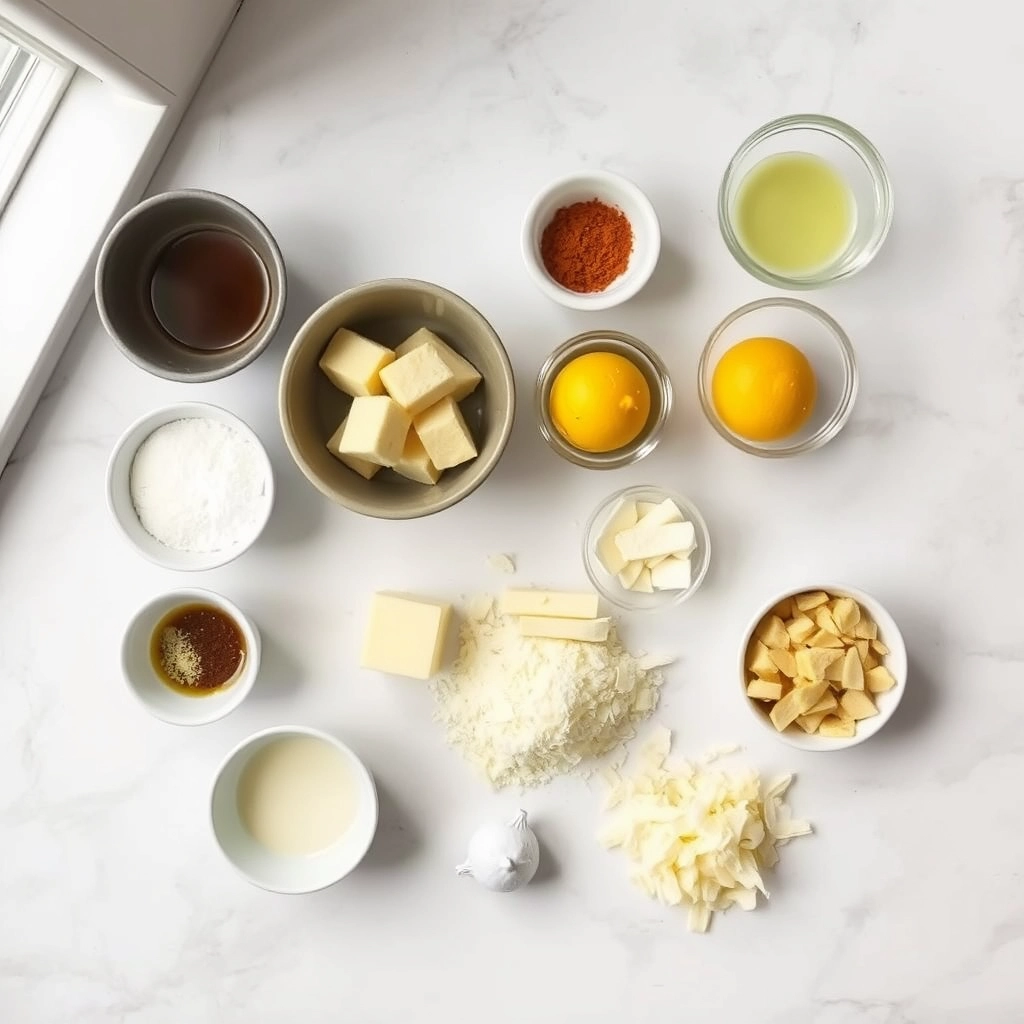
- 1 cup oat flour
- 2 scoops vanilla protein powder
- 1 cup almond milk
- 2 eggs
- 1 tsp cinnamon
- 1 tbsp maple syrup
- 1/4 tsp salt
- 1 tbsp coconut oil (for cooking)
Instructions
1. Prepare the Crust:
- In a large bowl, whisk together oat flour, protein powder, cinnamon, and salt.
- Add almond milk, eggs, and maple syrup to the dry ingredients. Whisk until smooth.
- Heat a non-stick skillet over medium heat and lightly grease with coconut oil.
- Pour 1/4 cup of batter into the skillet, swirling to form a thin crepe. Cook for 2-3 minutes per side.
- Repeat with remaining batter, stacking crepes on a plate as they cook.
Notes
You can customize the seasonings to taste.
How to Prepare This Dish
Steps and time-saving tips
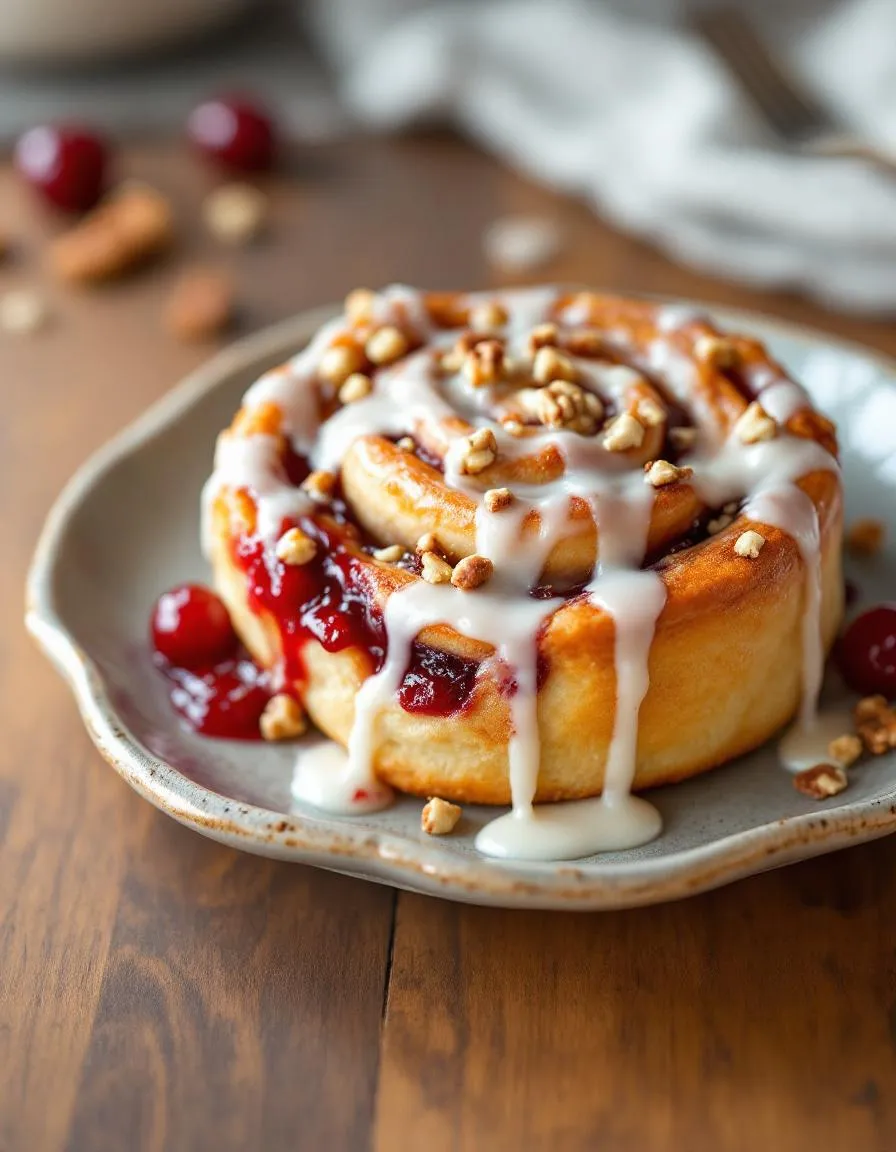
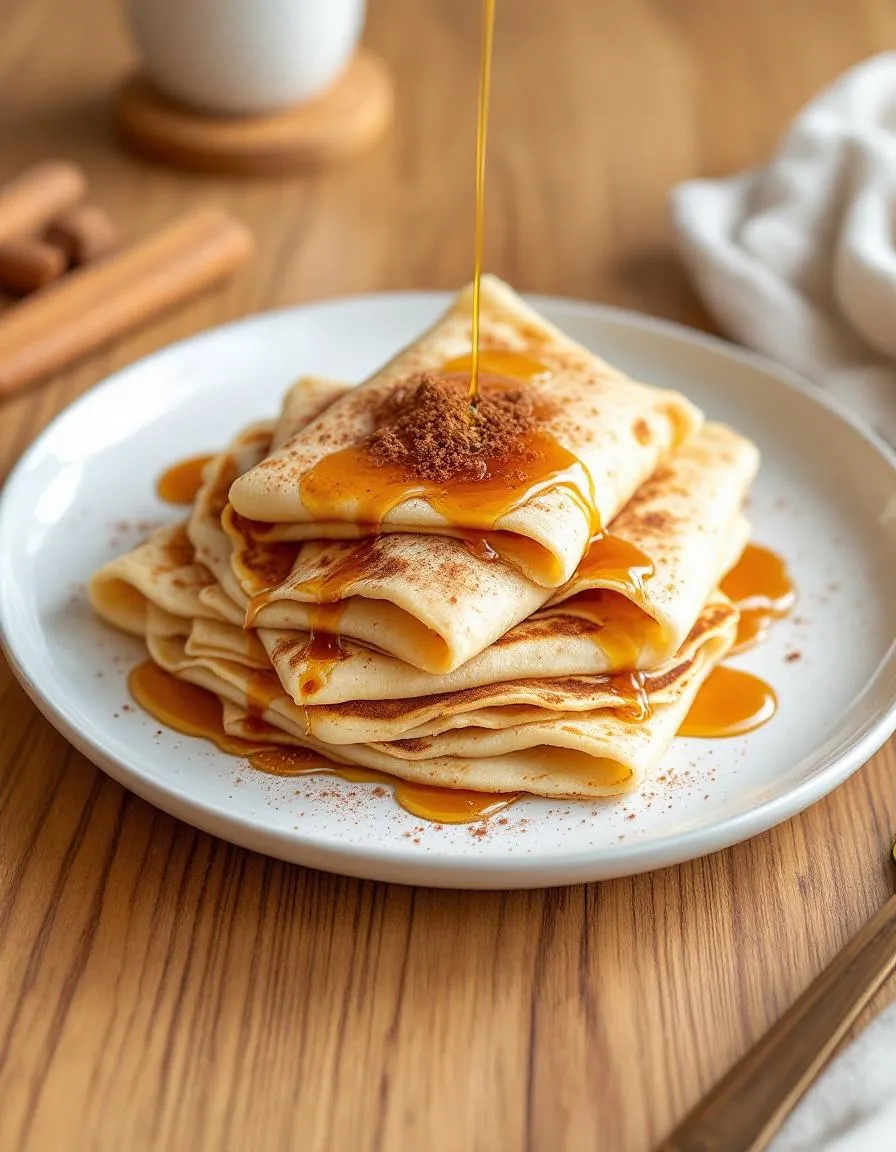
Start by whisking together the dry ingredients for your Protein-Packed Cinnamon Roll Crepes—oat flour, protein powder, cinnamon, and a pinch of salt. In a separate bowl, mix the wet ingredients: almond milk, eggs, and a touch of vanilla extract. Slowly pour the wet mixture into the dry ingredients while stirring to avoid lumps. Let the batter rest for 5 minutes; this helps the crepes cook evenly. Meanwhile, heat a nonstick skillet over medium-low heat and lightly grease it with coconut oil. Pour a thin layer of batter, swirl the pan to spread it, and cook for about 90 seconds until the edges lift. Flip carefully and cook for another 30 seconds. Repeat until you have a stack of golden crepes. For the filling, blend cream cheese, maple syrup, and cinnamon until smooth. Spread a thin layer on each crepe, roll tightly, and drizzle with extra syrup. If you’re short on time, prep the batter the night before and store it in the fridge. You can also double the recipe and freeze extra crepes for later.
Mistakes I’ve made and learned from
I used to rush the batter-resting step, which led to uneven, rubbery crepes. Now, I always let it sit—it makes a huge difference! Another blunder? Cranking the heat too high, causing the Protein-Packed Cinnamon Roll Crepes to brown too fast while staying raw in the middle. Medium-low heat is key. If your crepes tear when flipping, try a thinner spatula or wait a few extra seconds for the edges to crisp. For more troubleshooting, check out my guide on common crepe mistakes. And if you love this recipe, you’ll adore my protein pancake variations—they’re just as easy and delicious!
Cultural Connection and Variations
Where this recipe comes from
Protein-Packed Cinnamon Roll Crepes blend the cozy familiarity of American breakfast traditions with the delicate elegance of French crepes. While classic cinnamon rolls trace their roots to Sweden, this recipe gives them a modern, protein-rich twist. Families in Scandinavia often enjoy cinnamon buns during fika, a cherished coffee break, but here, we fold those warm spices into a light, versatile crepe.
Across Europe, crepes take on different personalities. In Brittany, they use buckwheat for savory galettes, while in Russia, blini often feature sour cream and caviar. Meanwhile, Protein-Packed Cinnamon Roll Crepes borrow the best of both worlds—sweet, spiced filling meets a thin, tender wrapper. Some home cooks add a drizzle of maple syrup for a North American touch, while others layer in Greek yogurt for extra protein, making it a global comfort food.
In my kitchen, these crepes became a weekend ritual. My grandmother used to make thin pancakes with cinnamon sugar, and this recipe feels like an upgrade. Whether you fill them with almond butter or top them with fresh berries, Protein-Packed Cinnamon Roll Crepes adapt to any taste while keeping their nostalgic heart.
How it fits in today’s cooking
Today, Protein-Packed Cinnamon Roll Crepes fit perfectly into busy mornings and lazy brunches alike. Health-conscious cooks love them because they deliver flavor without the guilt, thanks to ingredients like protein powder and almond milk. For meal preppers, they’re a freezer-friendly option—just reheat and go. Plus, they’re versatile enough to pair with a vibrant smoothie bowl or stand alone as a satisfying treat.
Seasonal twists keep this dish fresh year-round. In fall, pumpkin spice crepes dominate, while summer calls for a berry compote topping. Holidays? Add a dash of eggnog flavor. Whether you’re fueling up after a workout or hosting a brunch gathering, these crepes bridge tradition and modern tastes. They prove that comfort food can be both indulgent and nourishing.
Taste and Texture
What makes it delicious
Protein-Packed Cinnamon Roll Crepes deliver a dreamy balance of sweet warmth and satisfying texture. The delicate, thin crepes soak up a rich cinnamon swirl, while the creamy protein filling adds a luscious contrast. Each bite offers a fragrant burst of vanilla and spice, with just a hint of caramelized sweetness from the maple glaze. The crepes stay tender yet slightly chewy, making them irresistible alongside the fluffy, whipped center. Thanks to the protein boost, these Protein-Packed Cinnamon Roll Crepes keep you full without weighing you down—perfect for a decadent yet energizing treat.
Boosting the flavor
For an extra flavor kick, try folding a spoonful of cinnamon protein butter into the filling—it deepens the spice and adds a velvety richness. Alternatively, drizzle the crepes with a quick vanilla protein glaze for a glossy, aromatic finish. A sprinkle of toasted pecans or a dash of nutmeg can also elevate the warmth, while fresh berries cut through the sweetness with a bright, juicy contrast. Experiment with these tweaks to make your Protein-Packed Cinnamon Roll Crepes even more memorable.

Tips for Success
Best practices for results
First, always measure your ingredients precisely for the best Protein-Packed Cinnamon Roll Crepes. A kitchen scale ensures accuracy, especially with flour and protein powder. Next, let the batter rest for 10 minutes before cooking so the gluten relaxes and the crepes turn tender. Meanwhile, preheat your pan properly—medium-low heat prevents burning while giving the crepes time to cook evenly. Finally, swirl the batter quickly in the pan for thin, delicate crepes that hold the cinnamon filling perfectly.
Mistakes to avoid
Avoid overmixing the batter, as this makes the Protein-Packed Cinnamon Roll Crepes tough. Instead, gently fold the ingredients until just combined. Also, don’t skip greasing the pan between batches, or the crepes may stick and tear. For more troubleshooting, check out our guide on fixing common baking mistakes. Another pitfall? Adding too much filling, which can cause leaks. For balanced flavor, follow our perfect filling ratios and spread it thinly.
Serving and Pairing Suggestions
How to serve this dish
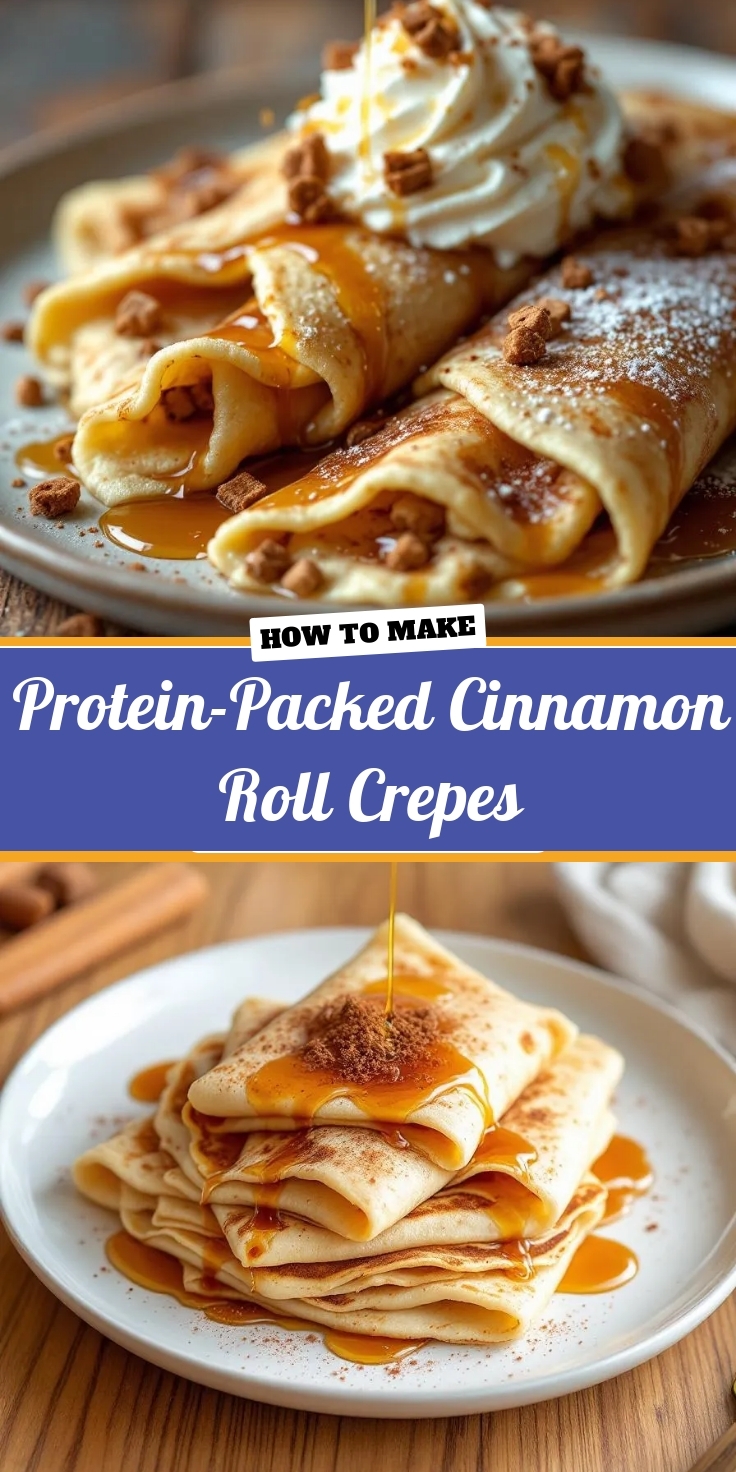
Protein-Packed Cinnamon Roll Crepes shine brightest when you plate them with flair. For a brunch crowd, stack them high and drizzle extra cream cheese glaze between each layer. Meanwhile, a dusting of cinnamon or crushed nuts adds texture and warmth. If you’re serving these for a holiday gathering, try rolling them into elegant spirals and topping them with fresh berries for a pop of color. Whether you enjoy them as a cozy weekend treat or a special occasion centerpiece, these crepes always impress.
What goes well with it
Pair Protein-Packed Cinnamon Roll Crepes with a frothy protein hot chocolate for a decadent yet balanced breakfast. The rich cocoa flavor complements the cinnamon spice perfectly. Alternatively, serve them alongside a refreshing berry protein smoothie to brighten the dish’s sweetness. For a savory contrast, crispy turkey bacon adds a satisfying crunch without overpowering the crepes’ delicate flavor.
Yes! You can substitute protein powder with Greek yogurt or cottage cheese blended into the batter. Protein-Packed Cinnamon Roll Crepes will still taste delicious while keeping the high-protein benefits.
Store them in an airtight container in the fridge for up to 3 days. Reheat Protein-Packed Cinnamon Roll Crepes in a skillet or microwave for a quick breakfast.
Absolutely! These crepes are high in protein and lower in sugar than traditional cinnamon rolls, helping you stay full longer. Protein-Packed Cinnamon Roll Crepes make a satisfying, guilt-free treat.
Vanilla or unflavored whey protein blends seamlessly into the batter. Plant-based options like pea protein also work well for these Protein-Packed Cinnamon Roll Crepes.