Introduction
There’s something truly special about recipes that bring people together, and today, I want to share one of my all-time favorites: Sweet Peach Chutney Delight. Whether you’re hosting a summer barbecue or simply craving a burst of flavor, this dish delivers a perfect balance of sweet, tangy, and spicy notes. Moreover, it’s incredibly versatile—pair it with grilled meats, spread it on toast, or even enjoy it straight from the jar. Trust me, once you try it, you’ll understand why it’s become a staple in my kitchen.
Sweet Peach Chutney Delight is more than just a condiment—it’s a celebration of seasonal produce and bold flavors. Fresh peaches take center stage, simmered with aromatic spices like cinnamon and ginger, while a hint of chili adds a delightful kick. What makes this recipe stand out is its adaptability. You can tweak the sweetness or spice level to suit your taste, making it a crowd-pleaser for any occasion. If you’re looking for more ways to use peaches, check out my Southern Peach Cobbler for another delicious twist. This chutney also aligns perfectly with the breezy, approachable vibe of brekcakes.com, where I strive to share recipes that feel both comforting and exciting. For those who love experimenting with flavors, my Spiced Apple Chutney offers another fantastic option to explore.
Why I Love This Recipe
Sweet Peach Chutney Delight holds a special place in my heart because it reminds me of lazy summer afternoons spent at my grandmother’s farm. She taught me how to preserve the season’s bounty, and this chutney captures that same nostalgic warmth. Every time I make it, the aroma fills my kitchen with memories of laughter and shared meals. Plus, seeing friends and family light up after their first bite? That’s the real magic of cooking.
Health and Nutrition
Why it’s good for your body
Sweet Peach Chutney Delight packs a nutritious punch while delighting your taste buds. First, peaches bring a wealth of vitamins, including vitamin C, which boosts immunity and promotes glowing skin. Additionally, the natural sweetness of peaches means you can enjoy this dish without relying on refined sugars. Moreover, the spices often found in chutney, like ginger and cinnamon, offer anti-inflammatory benefits and aid digestion.
Beyond vitamins, Sweet Peach Chutney Delight contains fiber from its fruit and vegetable ingredients. Fiber keeps you full longer and supports a healthy gut. Furthermore, when paired with proteins or whole grains, this dish becomes a balanced meal that stabilizes blood sugar levels. The combination of flavors and nutrients makes it a smart choice for anyone seeking both taste and wellness.
Finally, Sweet Peach Chutney Delight includes antioxidants from its fresh ingredients. These compounds fight oxidative stress and may reduce the risk of chronic diseases. Whether you enjoy it as a condiment or a main component, you’re treating your body to something wholesome. With every bite, you get flavor and nourishment in one delicious package.
How it fits in a healthy lifestyle
Sweet Peach Chutney Delight fits effortlessly into a balanced diet. If you’re following a gluten-free lifestyle, it pairs perfectly with grilled chicken or quinoa for a satisfying meal. The natural ingredients also make it heart-healthy, as they’re low in saturated fats and rich in nutrients that support cardiovascular health.
For those managing portion control, Sweet Peach Chutney Delight adds vibrant flavor without excess calories. Try it as a topping for yogurt or a dip for whole-grain crackers. If you’re exploring more ways to incorporate wholesome ingredients into your meals, check out our guide to healthy snack ideas. You’ll find plenty of inspiration to keep your diet varied and enjoyable.
Planning meals ahead? Sweet Peach Chutney Delight stores well, making it a great make-ahead option for busy weeks. For more tips on meal prep that saves time without sacrificing nutrition, visit our meal prep strategies page. With its versatility and health benefits, this dish proves that eating well doesn’t mean missing out on flavor.
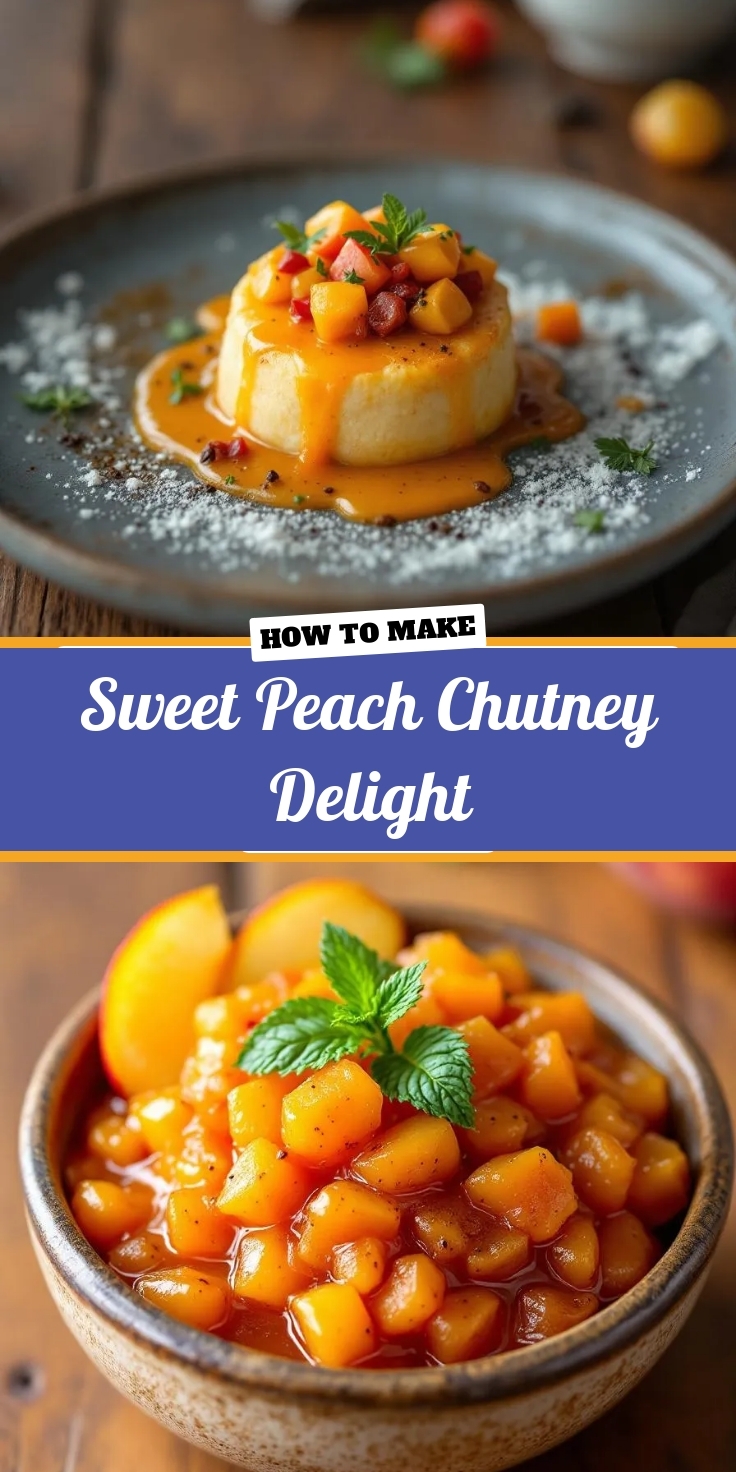
Sweet Peach Chutney Delight
Description
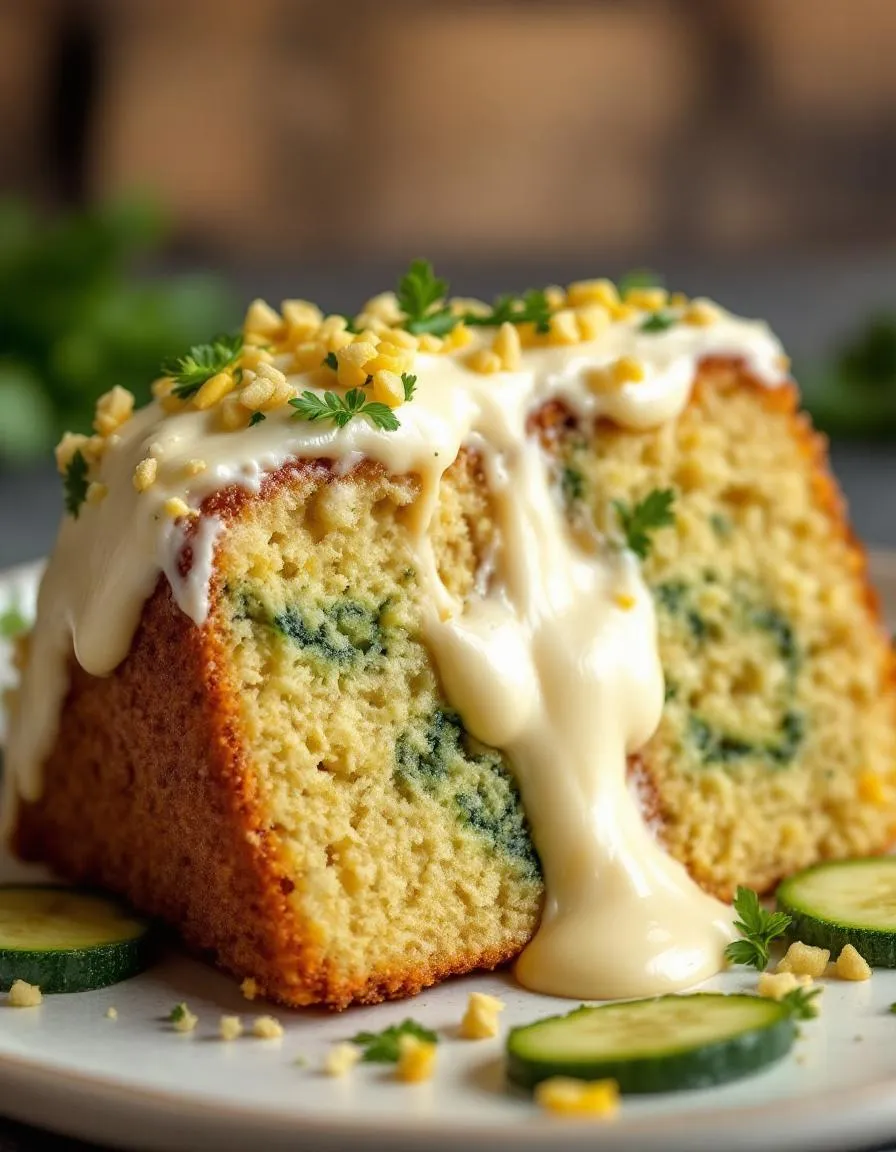
A sweet and tangy peach chutney that pairs perfectly with grilled meats or as a condiment.
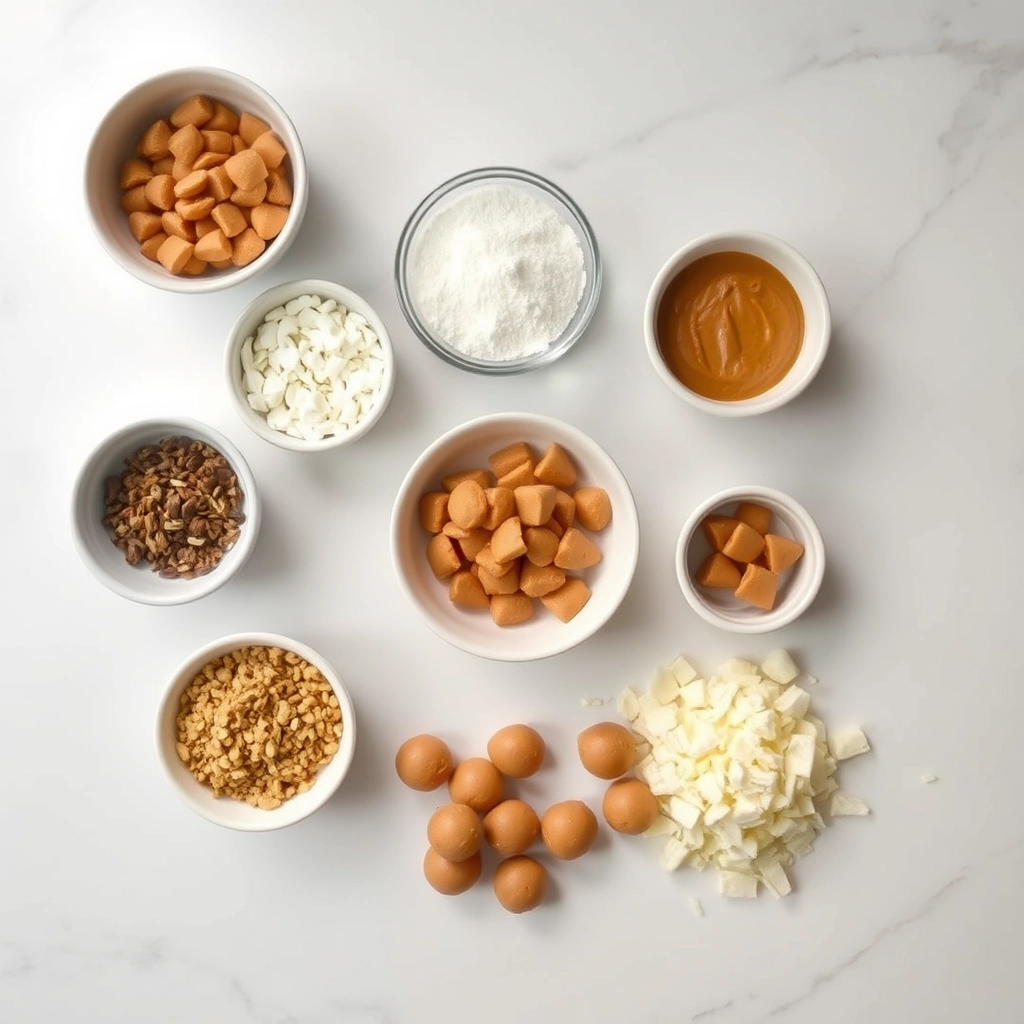
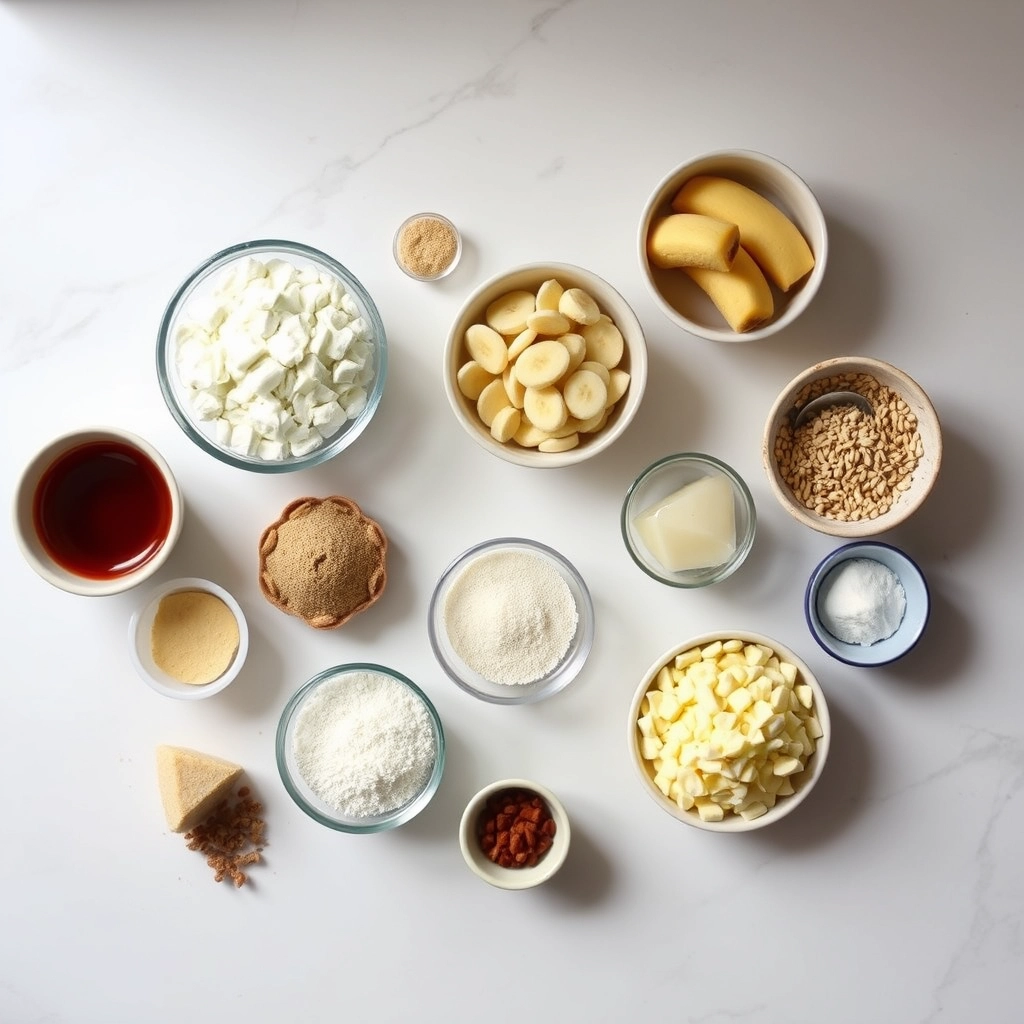
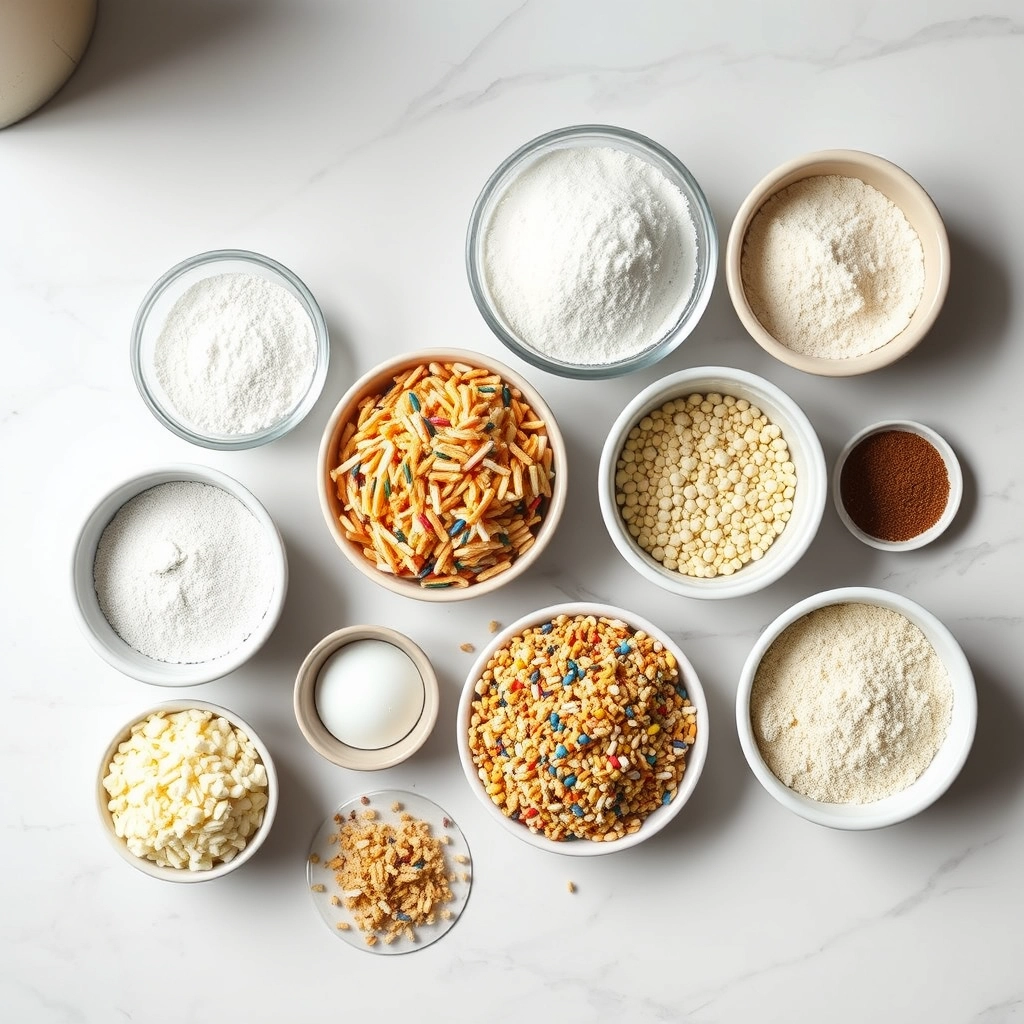
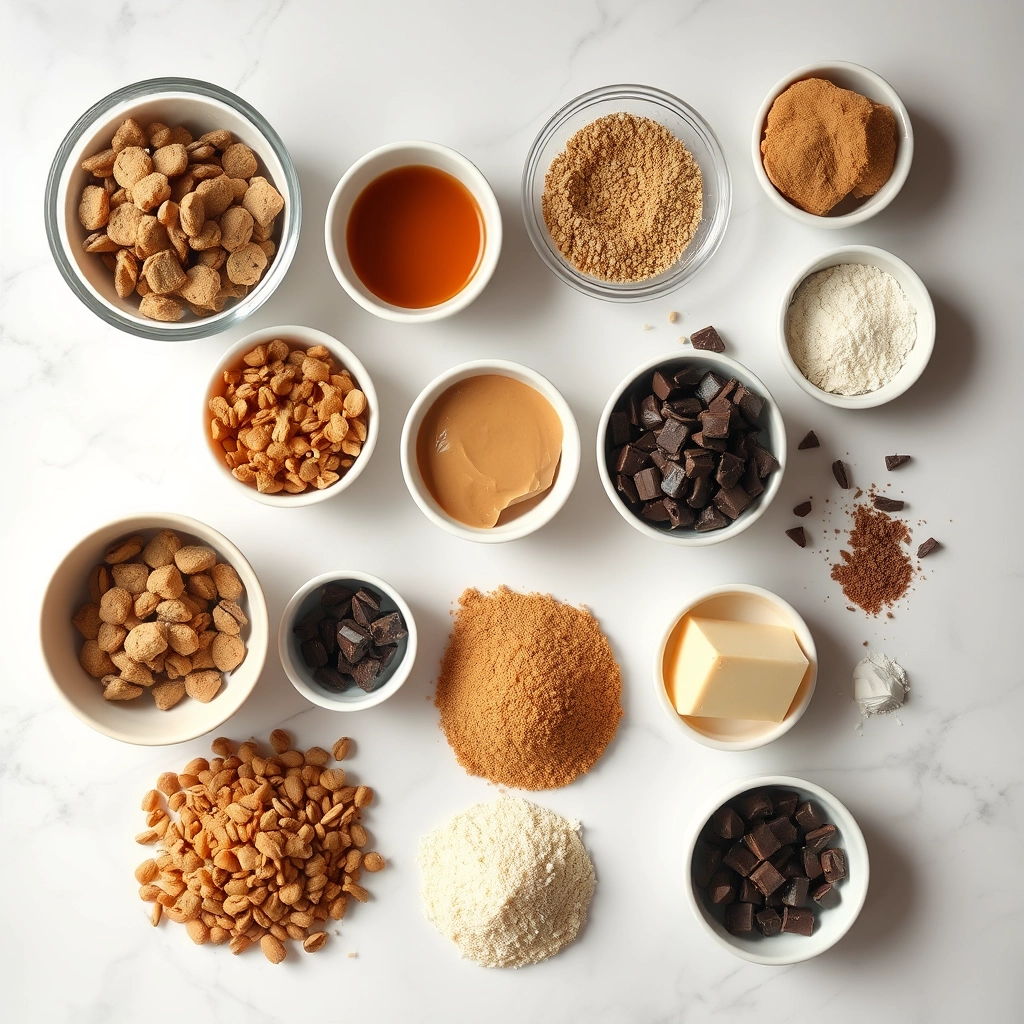
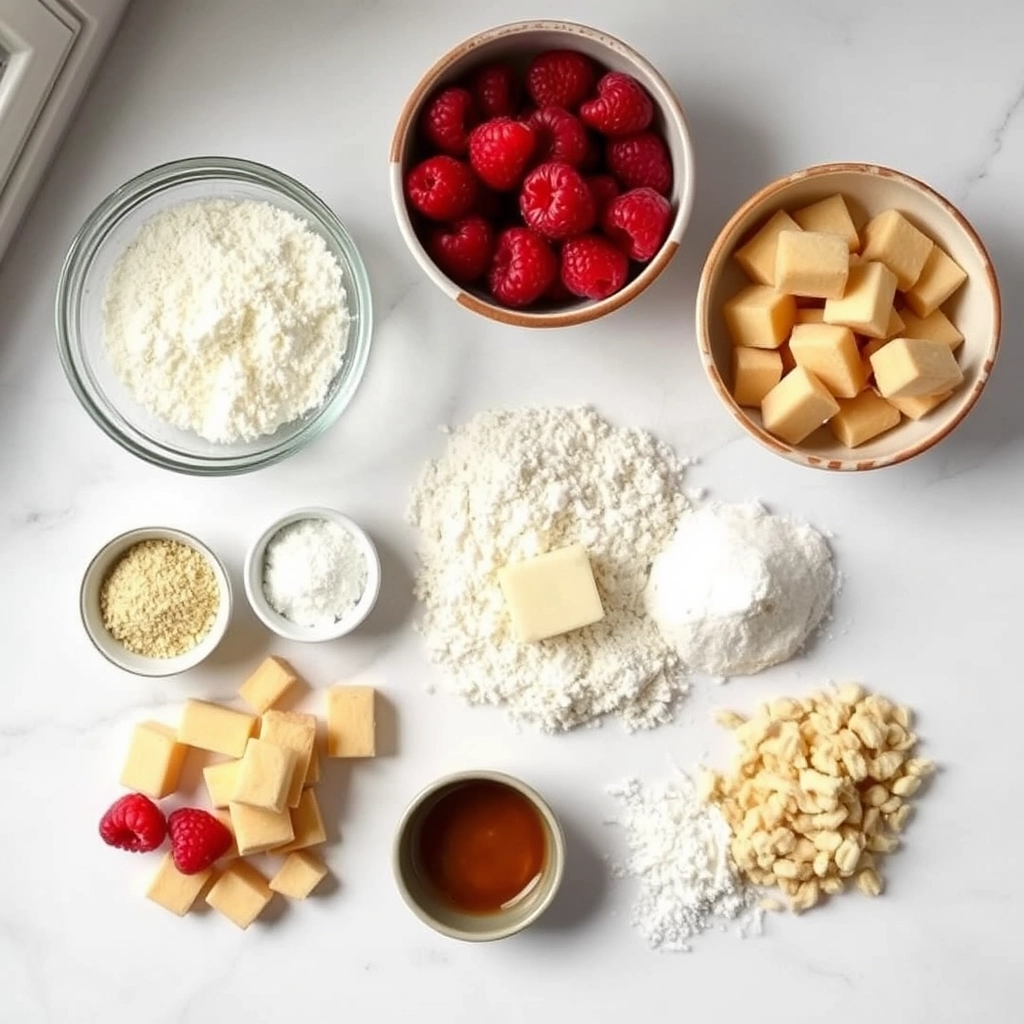
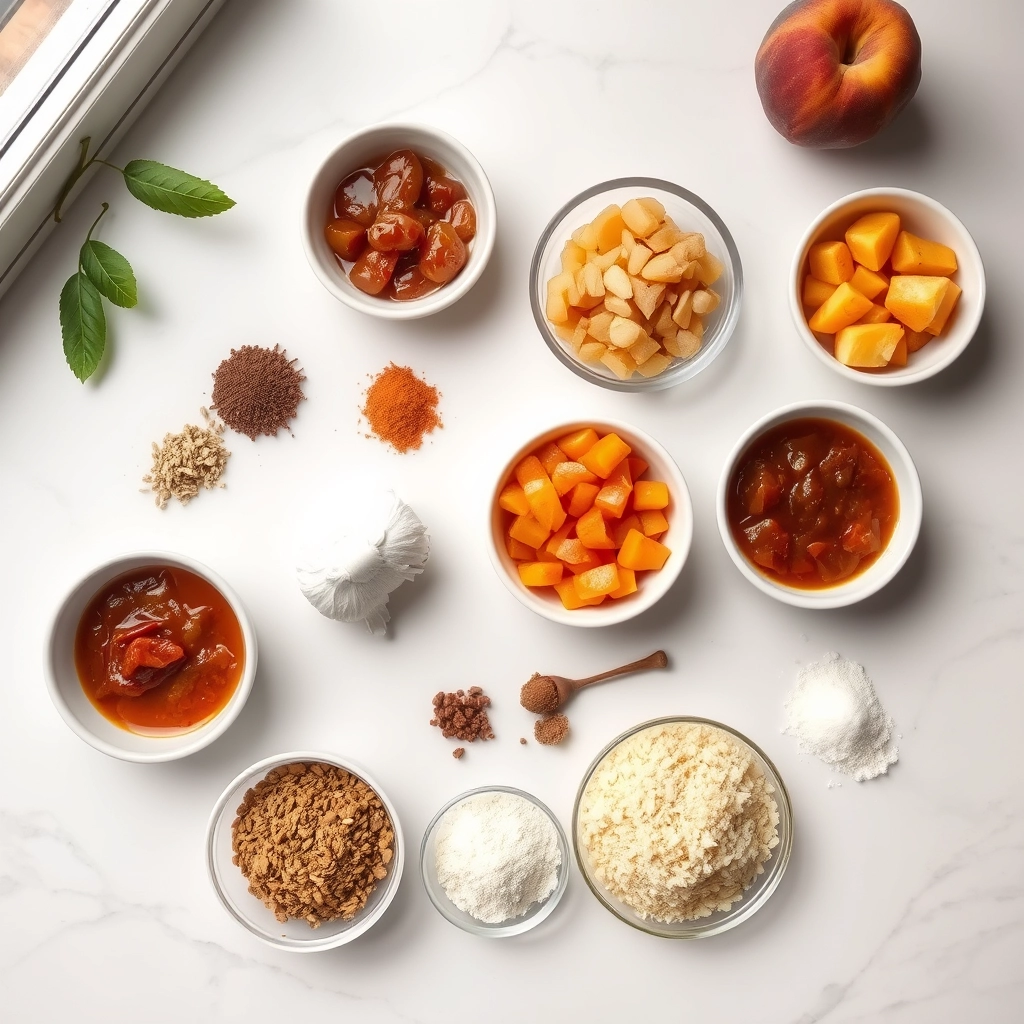
Ingredients
Scale
For the Crust:
- 4 cups fresh peaches, peeled and diced
- 1 cup brown sugar
- 1/2 cup apple cider vinegar
- 1 small onion, finely chopped
- 1/2 teaspoon ground ginger
- 1/2 teaspoon cinnamon
- 1/4 teaspoon red pepper flakes
- 1/4 teaspoon salt
Instructions
1. Prepare the Crust:
- Combine all ingredients in a medium saucepan over medium heat.
- Bring to a simmer, stirring occasionally.
- Reduce heat to low and let simmer for 25-30 minutes until thickened.
- Remove from heat and let cool before serving.
Notes
You can customize the seasonings to taste.
“`html
How to Prepare This Dish
Steps and time-saving tips
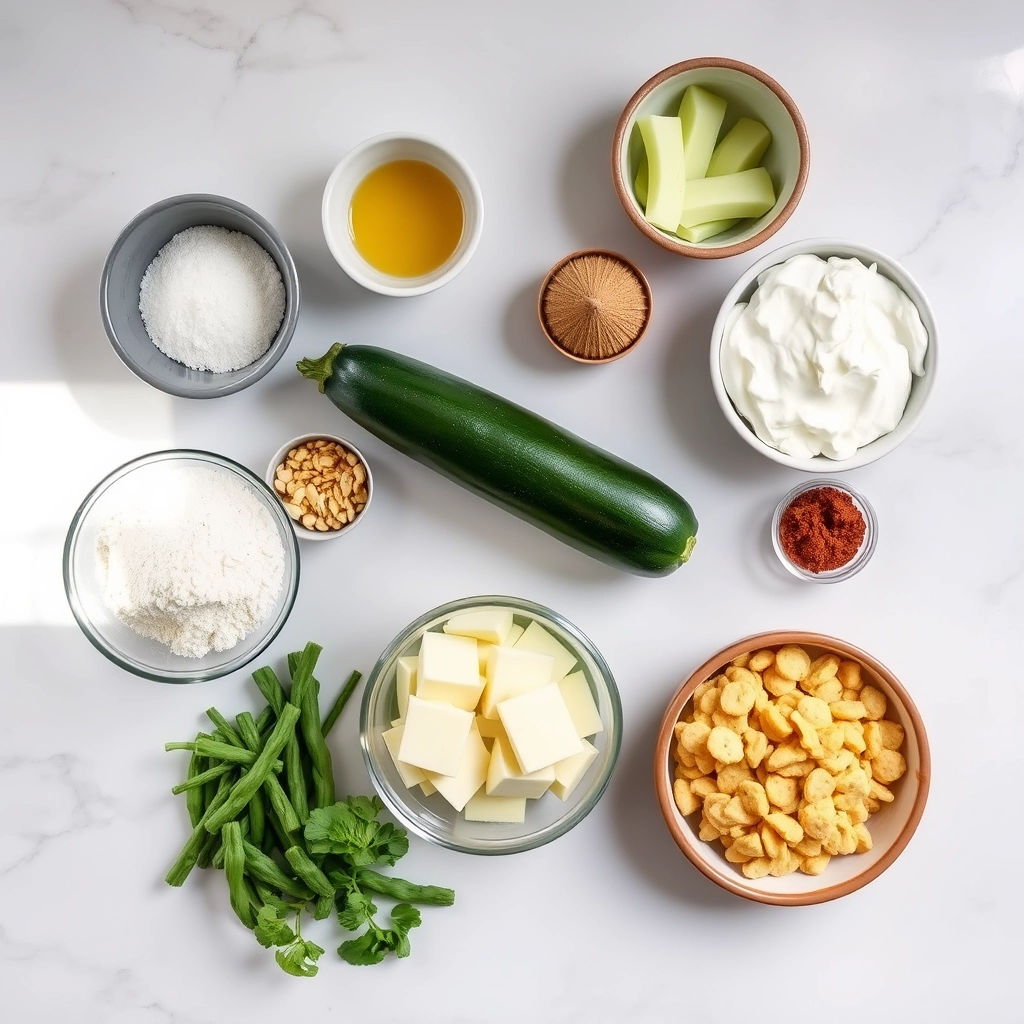
Start by gathering all your ingredients for the Sweet Peach Chutney Delight so everything is within reach. First, dice the peaches into small, even pieces to ensure they cook uniformly. Next, heat a medium saucepan over low heat and add a splash of olive oil. Toss in the diced onions and sauté them until they turn translucent, which usually takes about 3 minutes. Stir in the peaches, vinegar, and brown sugar, then let the mixture simmer gently for 15 minutes. Meanwhile, toast the spices in a dry pan for 30 seconds to unlock their full flavor before adding them to the chutney. Stir occasionally to prevent sticking, and if the mixture thickens too quickly, add a tablespoon of water. Once the chutney reaches a jam-like consistency, remove it from the heat and let it cool slightly. For a time-saving tip, prepare the chutney a day ahead and store it in the fridge—it tastes even better the next day. Finally, layer the Sweet Peach Chutney Delight over grilled chicken or spread it on crusty bread for a quick, flavorful meal.
Mistakes I’ve made and learned from
When I first made Sweet Peach Chutney Delight, I rushed the cooking process and ended up with a burnt, bitter mess. I learned the hard way that low and slow is the way to go—patience is key for that perfect caramelized sweetness. Another mistake? Using underripe peaches, which made the chutney overly tart. Now I always check for ripe, fragrant peaches, and if they’re not quite there, I let them sit on the counter for a day or two. If you’re new to chutneys, my guide on avoiding common chutney mistakes has more tips. Also, don’t skip toasting the spices like I did once—it makes a huge difference in depth of flavor. For more on balancing sweet and savory flavors, check out my guide to perfecting flavor profiles. Trust me, these small tweaks will save you from my early disasters!
“`

Cultural Connection and Variations
Where this recipe comes from
Sweet Peach Chutney Delight traces its roots to the sun-kissed orchards of the American South, where peaches ripen into juicy perfection every summer. Families there often preserve the harvest by turning peaches into chutneys, blending sweet and tangy flavors with warm spices like cinnamon and ginger. Meanwhile, in India, chutneys take on a bolder profile with mustard seeds and chilies, but the Southern version keeps it mellow, letting the peaches shine.
In my own kitchen, Sweet Peach Chutney Delight became a staple after a trip to Georgia, where a farmer shared her grandmother’s secret—a splash of apple cider vinegar for balance. Some Caribbean cooks add mango or pineapple for a tropical twist, while others in the Midwest might stir in cranberries come fall. No matter the variation, this dish always carries a touch of nostalgia, whether served over grilled pork or paired with a sharp cheddar.
How it fits in today’s cooking
Today, Sweet Peach Chutney Delight bridges tradition and modern convenience. Busy home cooks love it because it stores well in the fridge, making it a quick upgrade for weeknight meals. For instance, try swirling it into creamy butternut squash soup for a sweet contrast, or slathering it on herb-crusted salmon for a gourmet touch. It’s also a star at holiday gatherings, where it brings a homemade warmth to charcuterie boards.
Seasonal eating trends have only boosted its appeal. Farmers’ market fans grab peaches in bulk to whip up batches, while keto adapters swap sugar for honey. Whether you stick to the classic or experiment, Sweet Peach Chutney Delight proves that some flavors never go out of style.
Taste and Texture
What makes it delicious
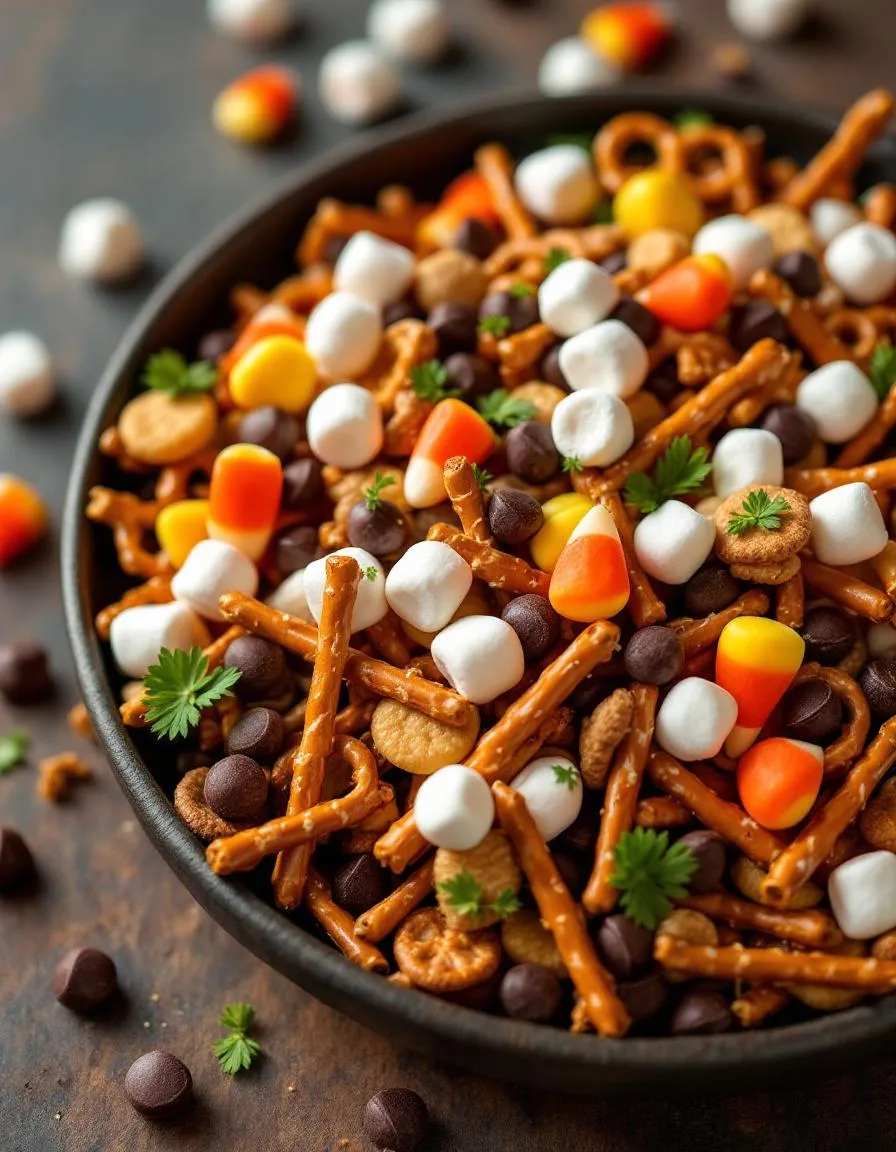
Sweet Peach Chutney Delight bursts with a vibrant balance of sweet, tangy, and subtly spicy flavors. Juicy peaches melt into a lush, jammy texture, while hints of ginger and cinnamon add warmth. The chutney’s glossy finish clings perfectly to crackers or grilled meats, offering a delightful contrast between silky smoothness and occasional pops of chewy dried fruit. Each bite carries a fragrant aroma of ripe peaches mingled with earthy spices, making it irresistible. Whether you spread it or spoon it, Sweet Peach Chutney Delight transforms simple dishes into something extraordinary.
Boosting the flavor
For an extra kick, stir in a pinch of red pepper flakes or a splash of apple cider vinegar to brighten the chutney’s sweetness. Alternatively, pair it with creamy goat cheese or crispy bacon for a savory twist. If you love experimenting with spices, try cardamom or star anise for deeper complexity. For more pairing ideas, explore our fall spice blends or cheese and chutney pairings. A drizzle of honey or a sprinkle of toasted nuts can also elevate Sweet Peach Chutney Delight into a showstopper.
Tips for Success
Best practices for results
First, always use ripe peaches for your Sweet Peach Chutney Delight to ensure natural sweetness and soft texture. Meanwhile, simmer the mixture on low heat to prevent burning while allowing flavors to meld perfectly. Additionally, stir occasionally to distribute spices evenly and avoid sticking. For the best consistency, let the chutney cool completely before serving, as it thickens slightly upon standing. Finally, store leftovers in an airtight container to maintain freshness for days.
Mistakes to avoid
Avoid overcooking the peaches, as they can turn mushy and lose their vibrant flavor. Instead, cook them just until tender for the ideal Sweet Peach Chutney Delight texture. Also, don’t skip tasting as you go—adjusting spices early prevents an overly sharp or bland result. If your chutney seems too thin, try simmering it longer while stirring frequently. For more on balancing flavors, check out our guide on spice blending basics. And if you’re new to chutneys, our perfect chutney consistency tips will help you nail the texture every time.
Serving and Pairing Suggestions
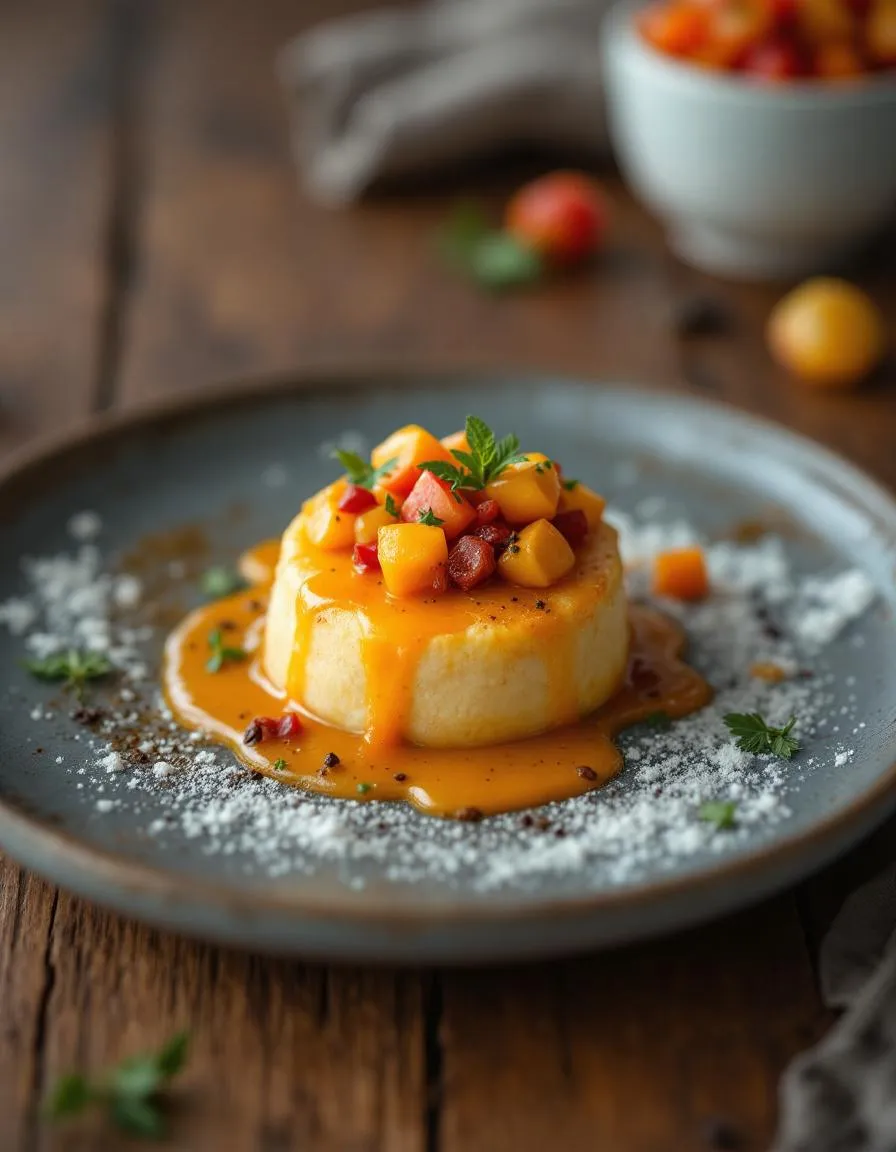
How to serve this dish
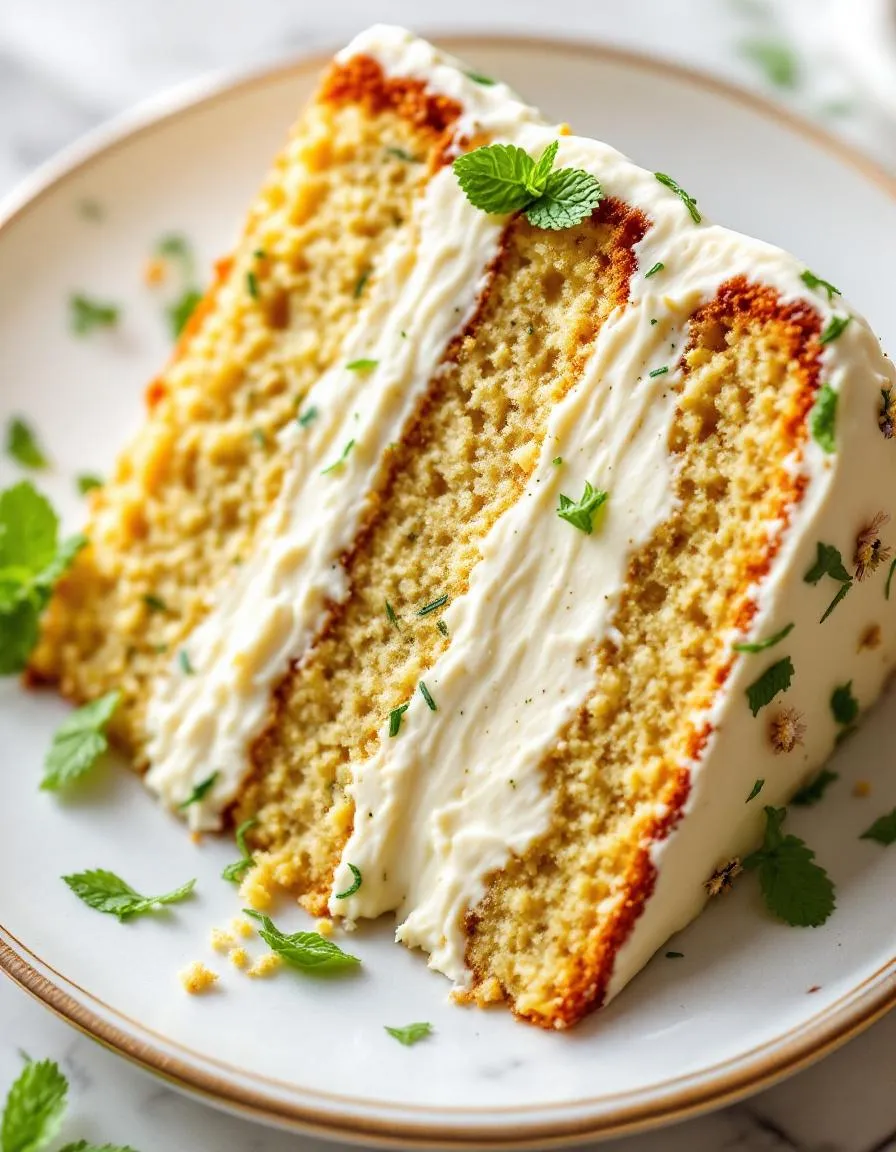
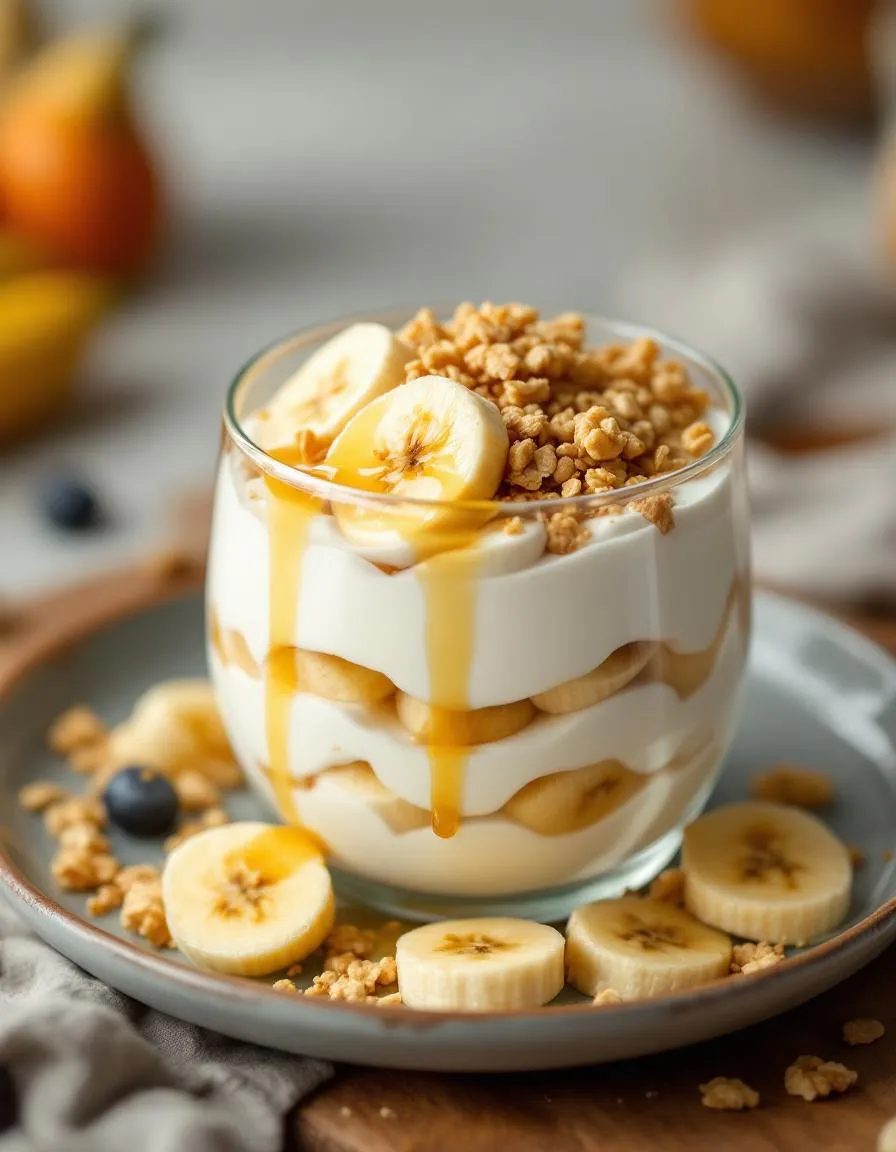
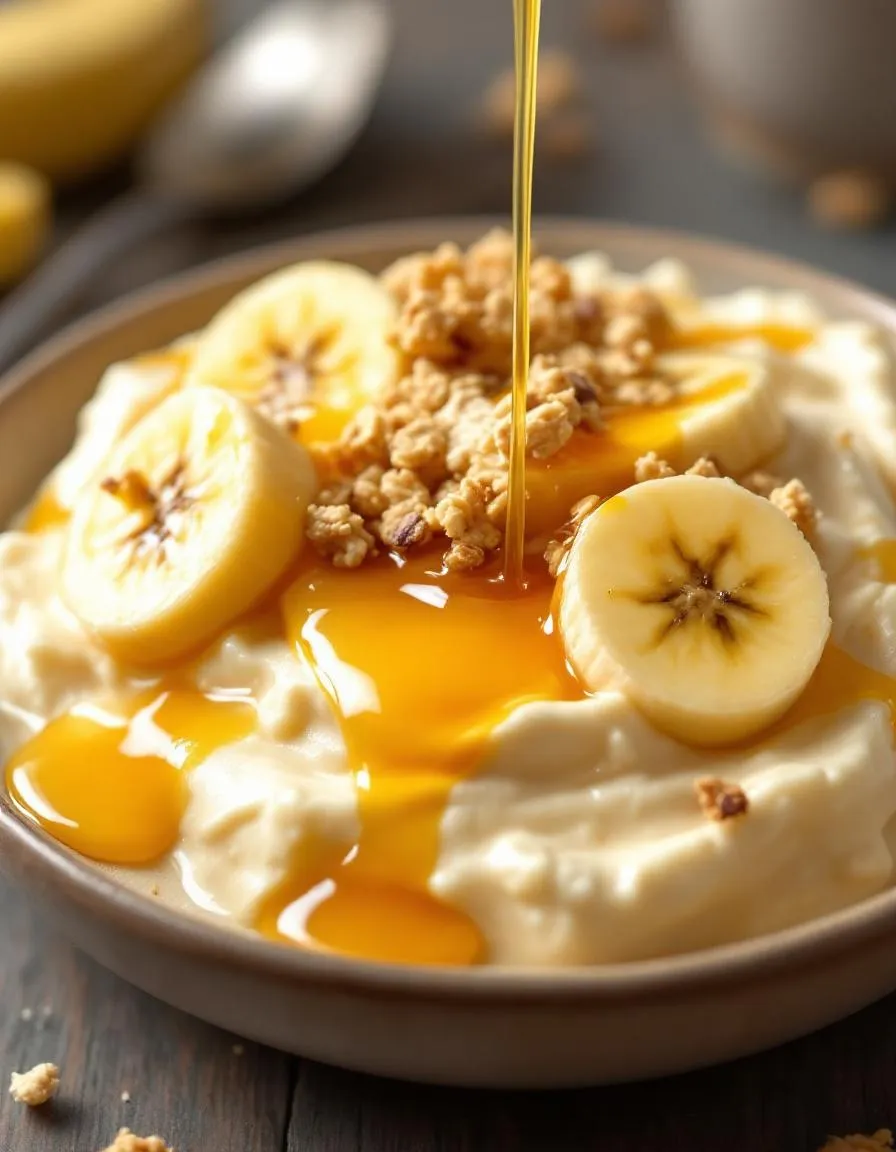
For a stunning presentation, serve Sweet Peach Chutney Delight in a small ceramic bowl or mason jar to highlight its vibrant color. Meanwhile, drizzle it over a cheese board with creamy brie or sharp cheddar for an elegant appetizer. Alternatively, spoon it onto grilled chicken or pork chops right before serving to let the flavors shine. If you’re hosting a summer brunch, pair it with fluffy buttermilk biscuits or croissants for a sweet-savory twist. Finally, garnish with fresh mint leaves or a sprinkle of crushed pistachios to add texture and visual appeal.
What goes well with it
Sweet Peach Chutney Delight pairs beautifully with a crisp white wine like Riesling or Sauvignon Blanc, as the acidity balances its natural sweetness. For a non-alcoholic option, try it with sparkling water infused with lemon or basil. If you’re serving it as part of a larger meal, consider pairing it with our Herb-Roasted Chicken or a simple Garlic Mashed Potatoes side. The chutney’s fruity notes elevate these dishes without overpowering them. Whether you’re enjoying it as a condiment or a centerpiece, these combinations will delight your taste buds.
Sweet Peach Chutney Delight pairs perfectly with grilled meats like chicken or pork, adding a fruity tang to savory dishes. It also works wonderfully with cheese boards, crackers, or as a glaze for roasted vegetables. The balanced sweetness and spice make it a versatile condiment for many meals.
When stored in an airtight container in the refrigerator, Sweet Peach Chutney Delight stays fresh for up to 2 weeks. For longer storage, you can freeze it for up to 3 months. Always check for mold or off smells before using.
Yes, frozen peaches work well for Sweet Peach Chutney Delight—just thaw and drain them first to avoid excess liquid. The texture may be slightly softer, but the flavor will still shine. Fresh peaches are ideal, but frozen are a great alternative when out of season.
Sweet Peach Chutney Delight has a mild, balanced heat—typically from ginger or a pinch of red pepper flakes. You can easily adjust the spice level by reducing or omitting the chili elements. The dominant flavor profile remains sweet and tangy with just a subtle kick.