There is something incredibly comforting about walking into a home that smells like a lovingly prepared meal. The rich, savory aroma of herbs and garlic that has been slowly melding with tender beef all day is pure magic. It promises a dinner that is both deeply satisfying and remarkably easy, a true hug in a bowl. This Slow Cooker Garlic Herb Pot Roast is that promise fulfilled. It transforms a few simple ingredients into a spectacular, family-friendly feast without demanding your constant attention in the kitchen. Ultimately, it frees you up to enjoy your day, all while creating a memorable culinary experience.
About This Recipe
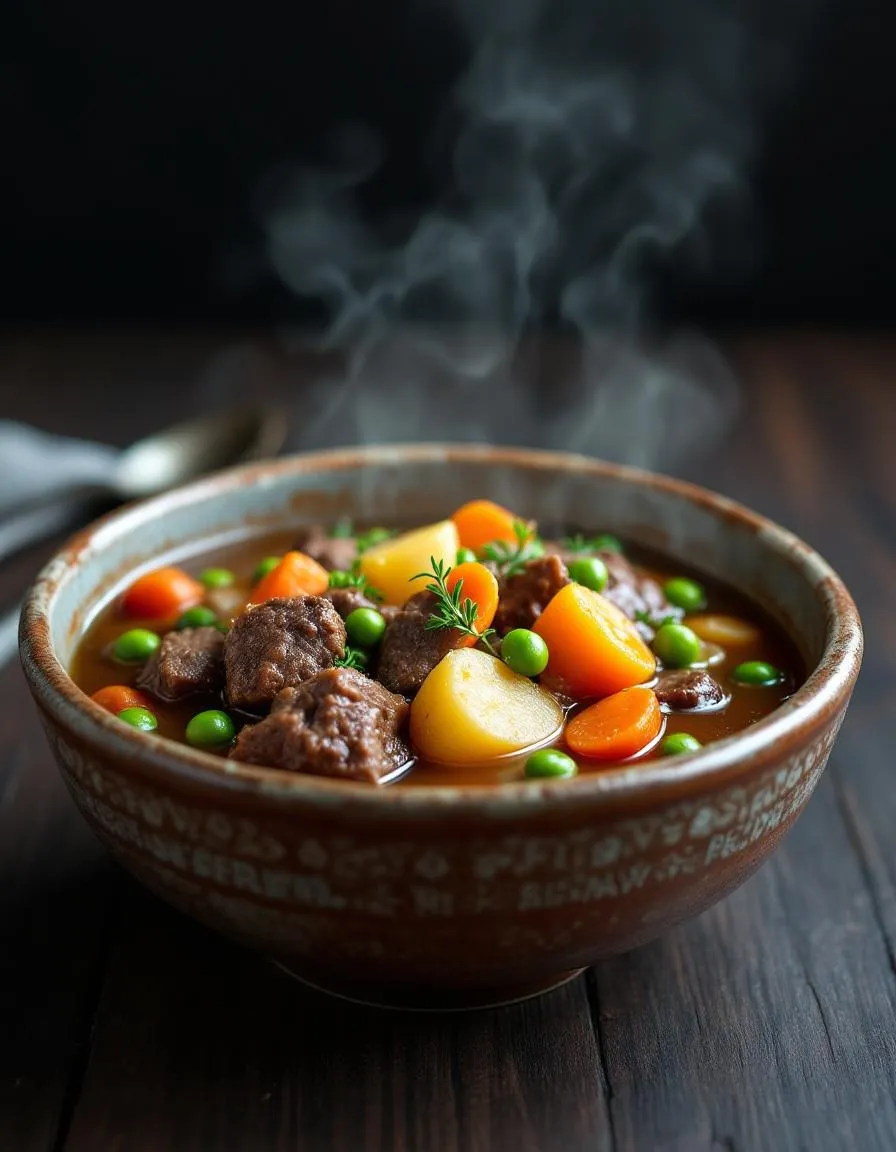
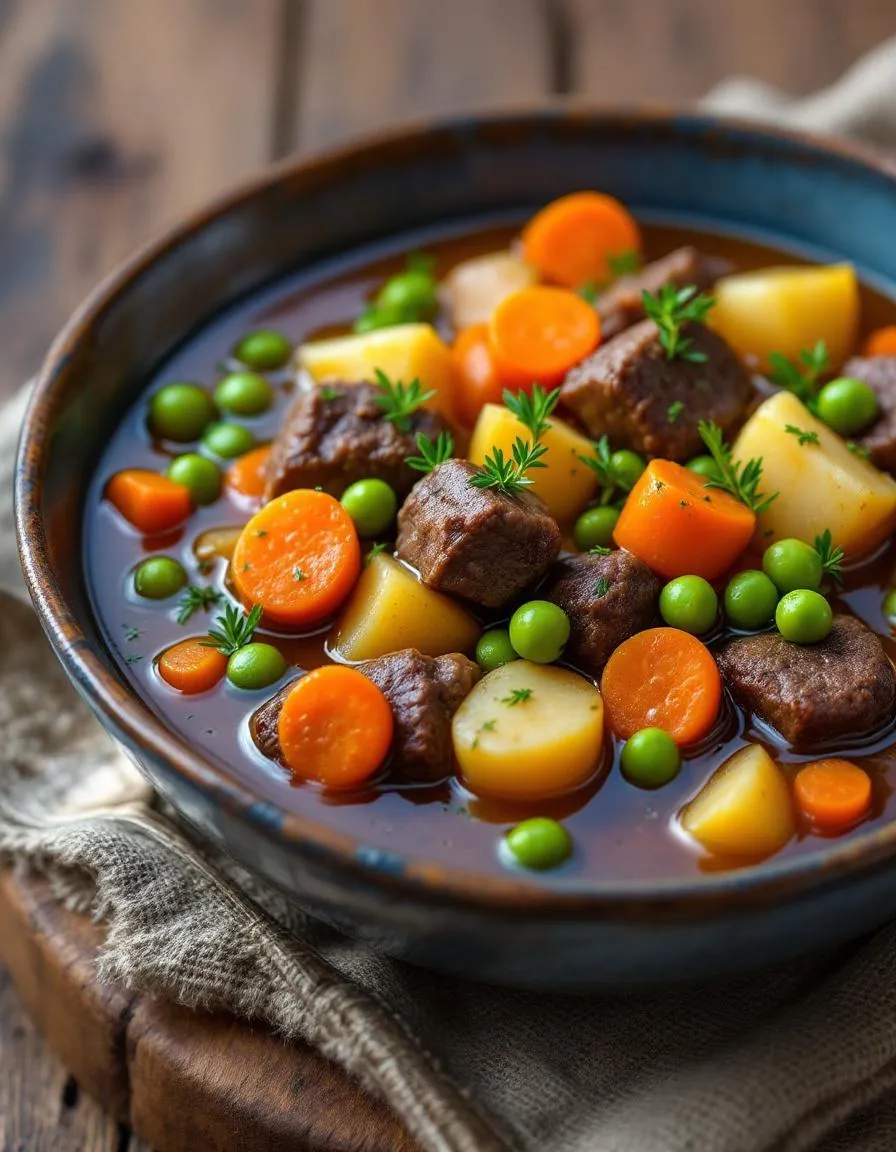
This Slow Cooker Garlic Herb Pot Roast is a classic American comfort food dish reimagined for the modern home cook. It features a generously sized chuck roast, which slowly braises to fork-tender perfection in a deeply flavorful broth infused with fresh garlic, rosemary, and thyme. The slow cooker does the heavy lifting, gently breaking down the tough connective tissues in the meat over several hours. Consequently, you get an incredibly succulent and flavorful main course that practically falls apart with a fork. This cooking method not only maximizes flavor but also fits perfectly into a busy schedule, making a spectacular dinner achievable on even the most hectic weekdays.
This recipe matters because it delivers restaurant-quality results with minimal effort. The combination of fresh herbs and low, slow heat creates a complex flavor profile that feels gourmet. Moreover, it is an incredibly versatile dish. You can serve the roast and its rich cooking juices over mashed potatoes, egg noodles, or even creamy polenta for a complete meal. This approach to cooking aligns with our blog’s philosophy that incredible food should be accessible to everyone, regardless of their skill level or available time. For another fantastic make-ahead meal that your family will adore, you must try our Easy Overnight Breakfast Casserole. Furthermore, if you are looking for the perfect side to accompany this hearty roast, our Best Creamy Mashed Potatoes are an absolute requirement.
Why I Love This Recipe
This Slow Cooker Garlic Herb Pot Roast holds a special place in my heart because it was my grandmother’s signature Sunday dinner. I vividly remember the anticipation that would build throughout her house as the incredible smells wafted from the kitchen. Now, I love recreating that same feeling of warmth and expectation for my own family. It represents more than just a meal; it is a tradition of gathering, sharing, and comfort. Every time I make it, I feel that connection to my past while creating new memories around the dinner table, and that is a truly powerful thing for a simple recipe to accomplish.
Health and Nutrition
Why it’s good for your body
This Slow Cooker Garlic Herb Pot Roast delivers a powerful nutritional punch. First, the lean beef provides a fantastic source of high-quality protein, which is essential for building muscle and keeping you feeling full. Furthermore, the slow cooking process gently breaks down the meat’s collagen, making it incredibly tender while also releasing nutrients that support joint health.
Additionally, the vegetables in this dish contribute their own benefits. Carrots offer a wealth of beta-carotene for healthy vision, while potatoes provide sustainable energy through complex carbohydrates. The garlic and herbs not only create amazing flavor but also contain natural antioxidants. Consequently, enjoying this meal means you are supporting your body’s overall well-being with every bite.
Ultimately, this Slow Cooker Garlic Herb Pot Roast is a complete and balanced meal. It combines protein, healthy carbohydrates, and vital nutrients all in one pot. Therefore, you can feel great about serving a dish that truly nourishes your family from the inside out.
How it fits in a healthy lifestyle
This pot roast fits seamlessly into a balanced eating plan. It’s naturally gluten-free and packed with protein, making it an excellent choice for supporting muscle maintenance after a workout or simply keeping you satisfied throughout the day. The simple, whole-food ingredients give you full control over what goes into your meal, aligning perfectly with a clean-eating approach.
For those following specific health goals, this dish is a wonderful option. You can easily adjust the amount of salt to suit a heart-healthy diet without sacrificing any flavor, thanks to the robust garlic and herb profile. If you are looking for more ways to incorporate healthy proteins into your week, explore our guide to easy meal prep ideas. Planning meals like this Slow Cooker Garlic Herb Pot Roast ahead of time sets you up for success. Pair it with a light, fresh side to round out your plate; a simple refreshing green salad would be the perfect complement.
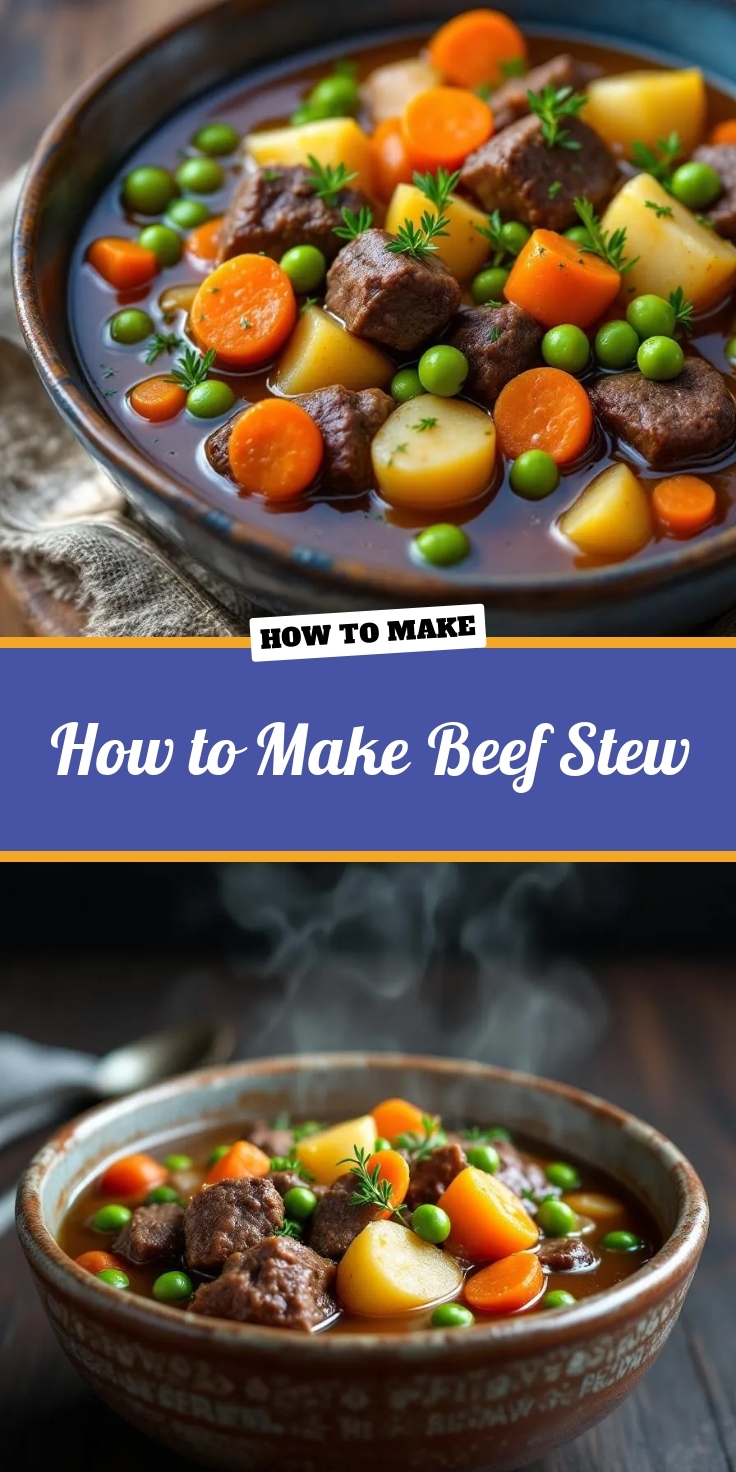
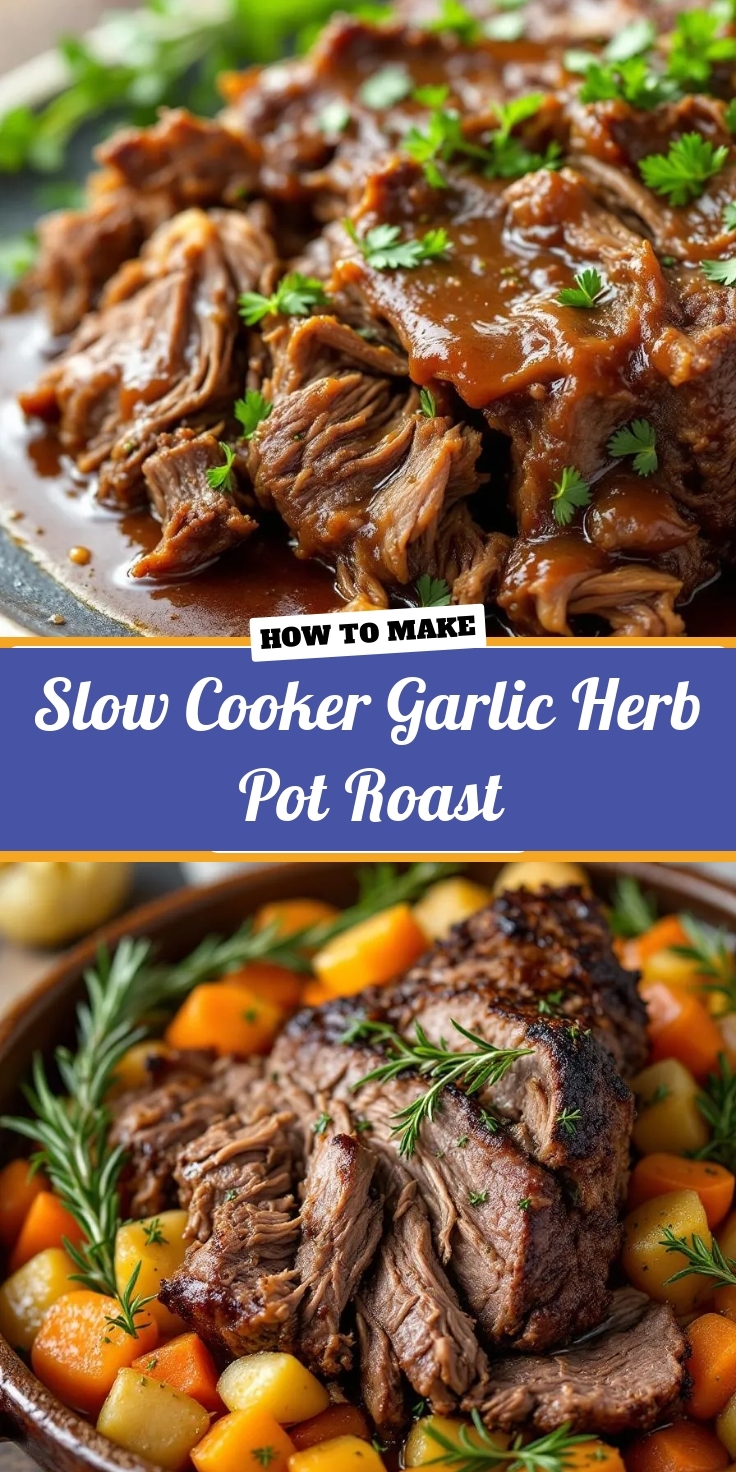
PrintSlow Cooker Garlic Herb Pot Roast
Description
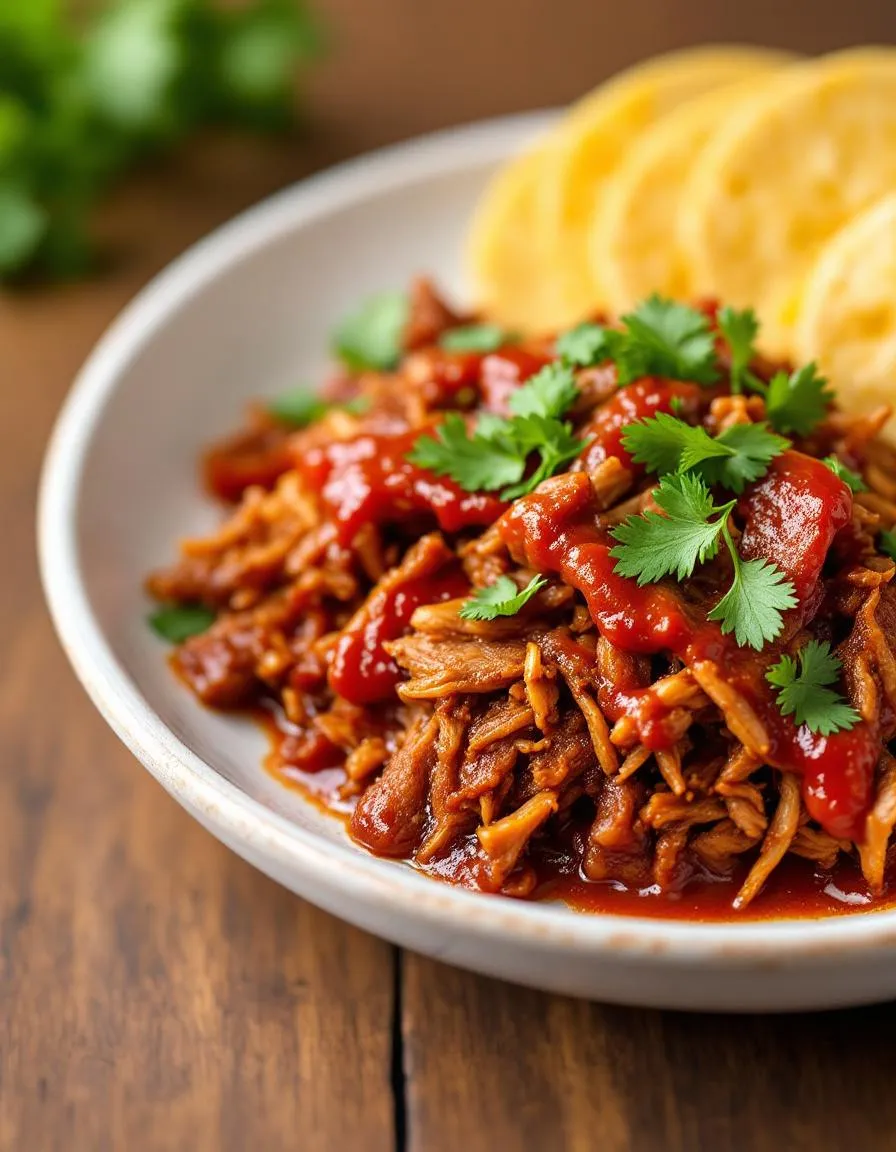
A tender and flavorful pot roast slow-cooked with garlic and herbs until it falls apart.
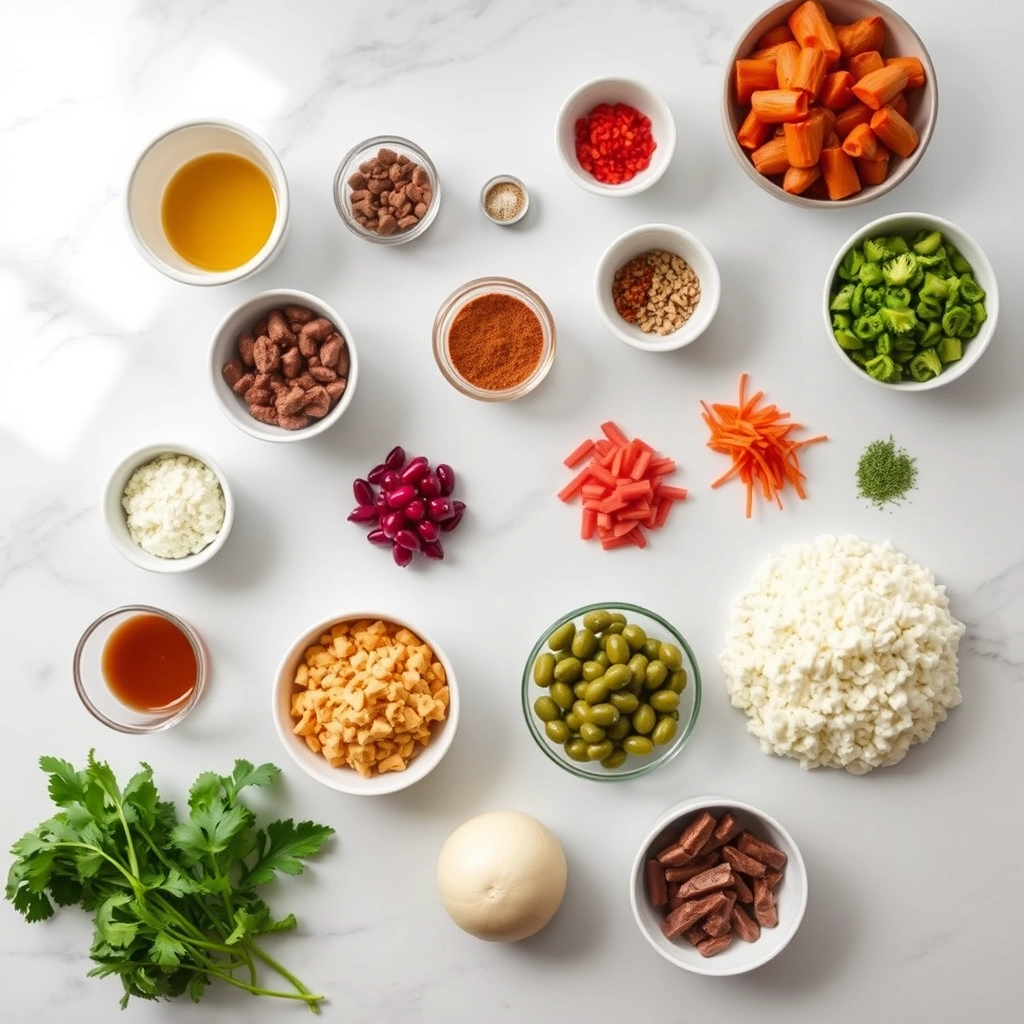
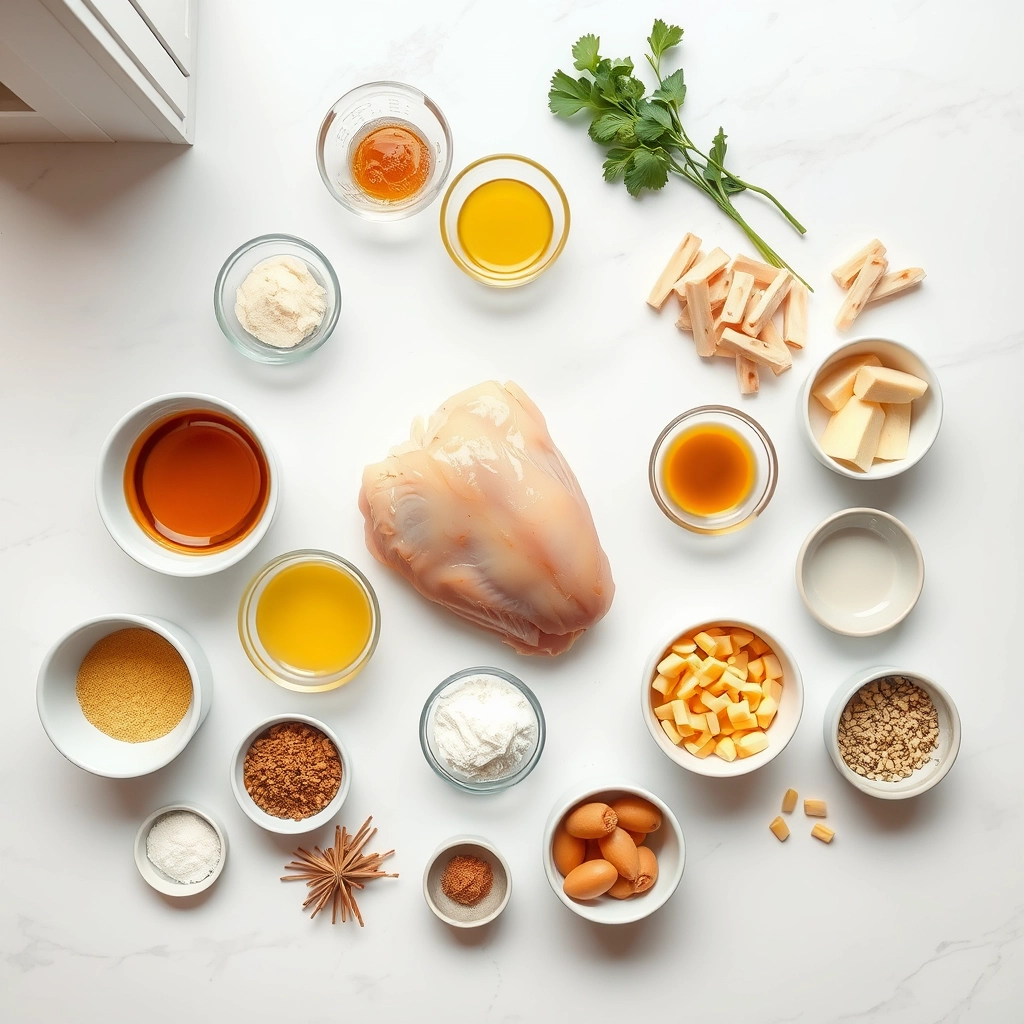
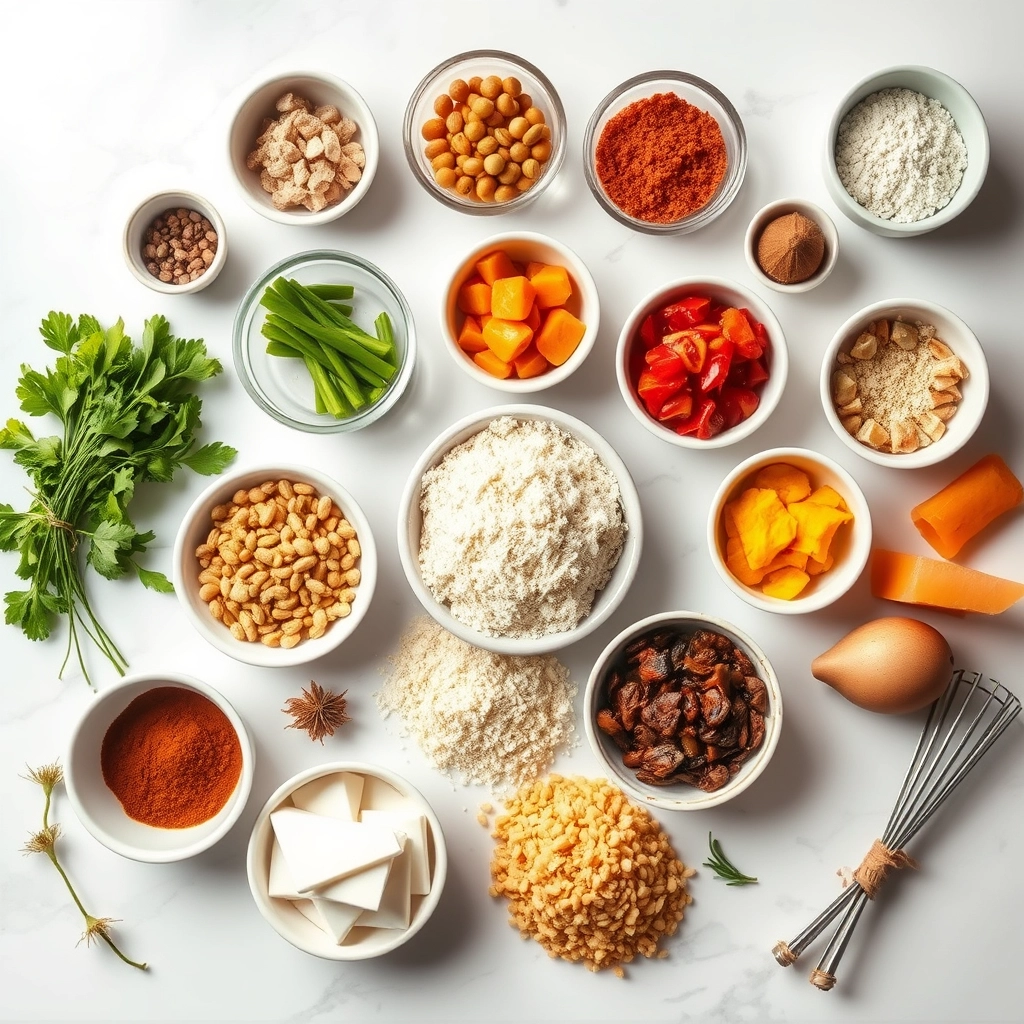
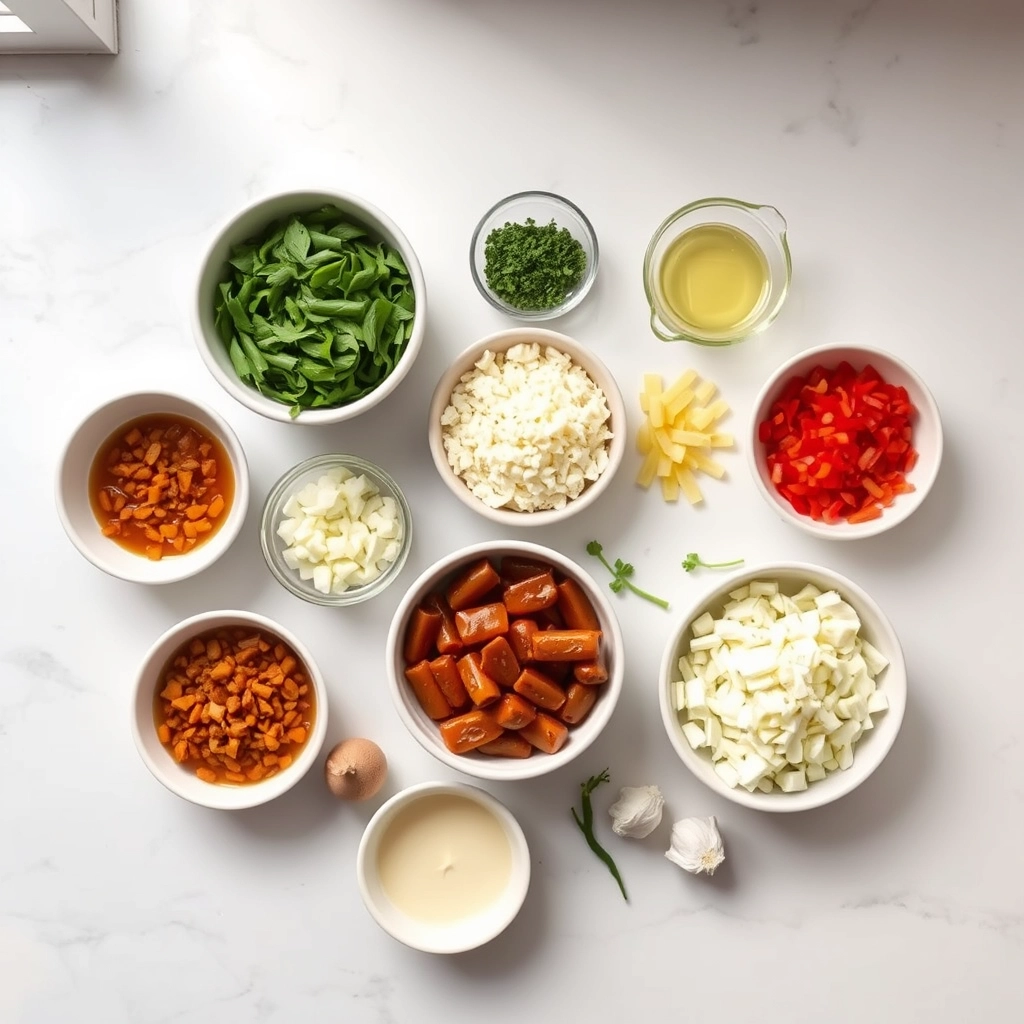
Ingredients
For the Crust:
- 3–4 lb chuck roast
- 1 tbsp olive oil
- 1 onion, sliced
- 4 cloves garlic, minced
- 2 cups beef broth
- 1 tbsp Worcestershire sauce
- 1 tsp dried rosemary
- 1 tsp dried thyme
- 1 tsp dried oregano
- 4 carrots, chopped
- 2 potatoes, cubed
- Salt and pepper to taste
Instructions
1. Prepare the Crust:
- Season the chuck roast generously with salt and pepper on all sides.
- Heat olive oil in a skillet and sear the roast on all sides until browned.
- Place onions, garlic, carrots, and potatoes in the slow cooker.
- Place the seared roast on top of the vegetables.
- In a bowl, mix beef broth, Worcestershire sauce, rosemary, thyme, and oregano. Pour over the roast.
- Cover and cook on low for 8 hours or high for 5-6 hours, until the meat is tender and shreds easily.
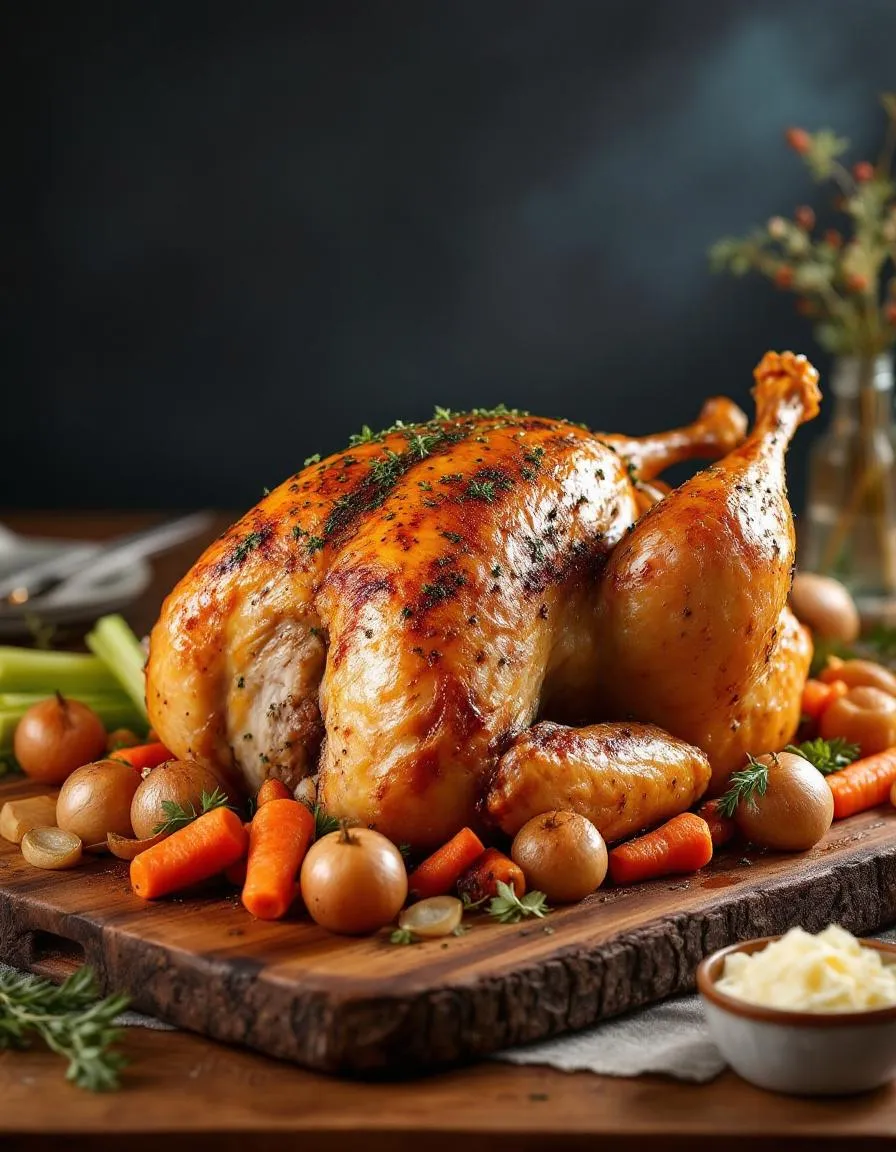
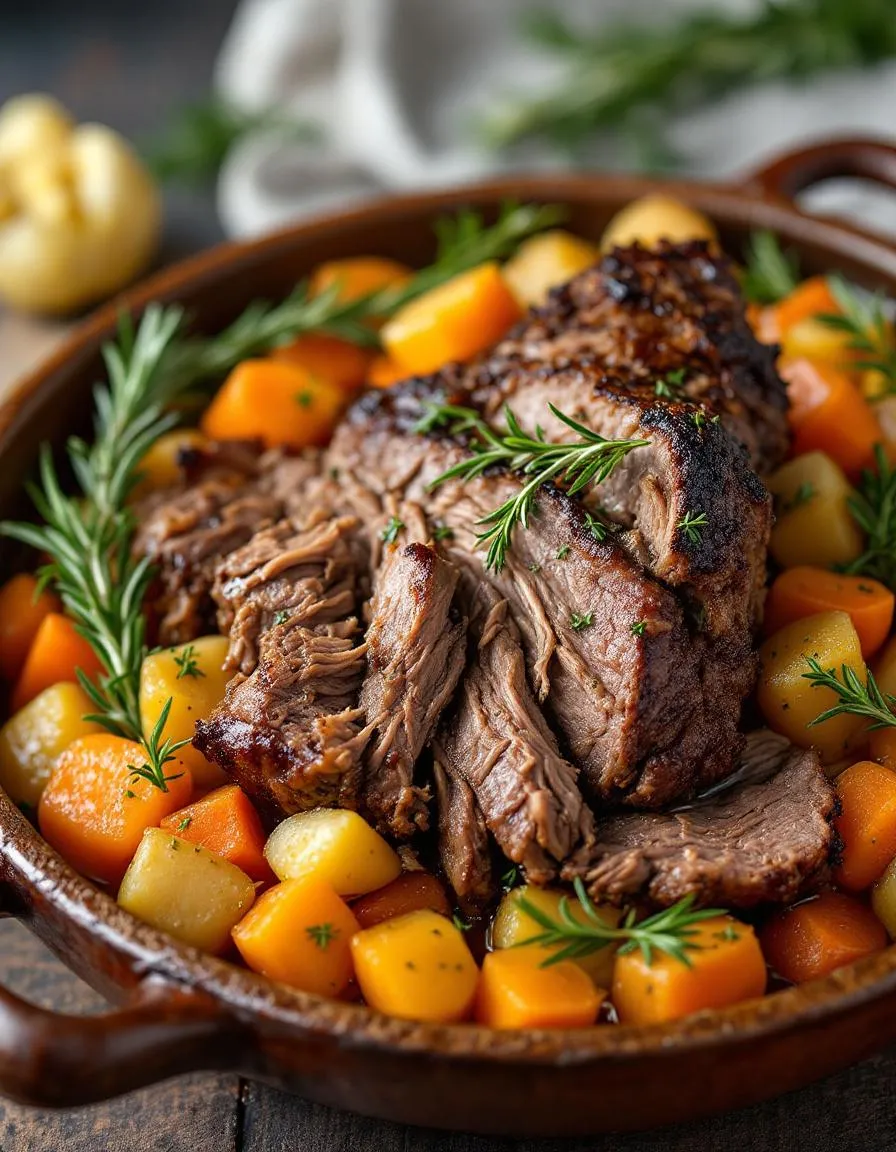
- Serve the roast with the vegetables and drizzle with the cooking juices.
Notes
You can customize the seasonings to taste.
How to Prepare This Dish
Steps and time-saving tips
First, pat your roast completely dry with paper towels. This crucial step guarantees a beautiful sear. Meanwhile, generously season all sides with salt and pepper. Next, heat a tablespoon of oil in a large skillet over medium-high heat. Carefully sear the roast for a few minutes on each side until you develop a deep, brown crust. This process locks in incredible flavor. Then, transfer the meat to your slow cooker. Quickly toss your chopped onions, carrots, and potatoes into the same skillet. Sauté them for just a couple of minutes to soften slightly. After that, scatter the vegetables around the roast in the pot. Whisk together your broth, tomato paste, and all those fragrant garlic herbs. Pour this liquid evenly over everything. Finally, set your slow cooker to low for 8-10 hours or high for 5-6 hours. For a time-saving tip, you can chop all your vegetables the night before. Simply store them in an airtight container in the fridge. Your patience will reward you with a fall-apart tender Slow Cooker Garlic Herb Pot Roast.
Mistakes I’ve made and learned from
I learned the hard way that skipping the sear is a major mistake. I once just dumped everything in the pot raw, and the flavor was sadly bland. Now, I never skip creating that gorgeous, caramelized crust. Another lesson involved my vegetables turning to complete mush. I had cut them too small for the long cook time. Now, I always chop them into large, hearty chunks so they hold their shape. Getting the liquid level right was another challenge. I used to completely submerge the roast, which essentially boiled it. Through trial and error, I found the liquid should only come about halfway up the sides of the meat for the perfect braise. For more on building flavor, my guide on how to make the perfect pan sauce uses the same principles. And if you’re new to this, my slow cooker beginner’s guide will help you avoid these common pitfalls.
Cultural Connection and Variations
Where this recipe comes from
My grandmother never owned a slow cooker, but she absolutely perfected the art of the pot roast in her ancient oven. Her kitchen would fill with the scent of garlic and thyme, a signal that Sunday dinner was a sacred, unhurried event. This tradition of slow-cooked, fork-tender meat connects families across cultures, from the French pot-au-feu to the Italian brasato. Essentially, every culture that stews tough cuts of meat with aromatics claims a version of this ultimate comfort food.
For instance, regions often swap herbs based on what grows locally. A Provencal cook might use herbes de Provence and a splash of wine, while someone in the American Midwest may lean on simple rosemary and pan drippings. My family’s twist always involved a hefty dose of smoked paprika, which gives the gravy a beautiful, ruddy color and a subtle warmth. No matter the variation, the goal remains the same: to transform a humble cut into something magnificent with nothing but time and patience. This Slow Cooker Garlic Herb Pot Roast carries that same spirit of resourcefulness and love.
Furthermore, the beauty of this dish lies in its incredible adaptability. You can easily make it your own by adding root vegetables like parsnips or swapping the beef for a similar cut of pork. Ultimately, this classic Slow Cooker Garlic Herb Pot Roast is a delicious testament to home cooking across generations and borders.
How it fits in today’s cooking
Today, this classic dish fits perfectly into our busy lives without sacrificing an ounce of flavor or tradition. The modern slow cooker does all the heavy lifting, allowing you to enjoy that same deep, savory taste without being tethered to the kitchen. Consequently, it has become a weekday hero for meal preppers and a centerpiece for holiday gatherings alike.
Many contemporary cooks also adapt the recipe to fit different dietary needs, often using coconut aminos instead of soy sauce for a gluten-free option or loading it with extra vegetables for a well-rounded one-pot meal. Moreover, this style of cooking aligns beautifully with the desire for wholesome, scratch-made food that brings everyone to the table. After a long day, few things are more comforting than walking into a house that smells like a lovingly prepared dinner.
This method of cooking is incredibly versatile, much like when you make a big batch of meal prep breakfast burritos to simplify your mornings. Similarly, the leftovers from your roast are fantastic. You can easily shred the remaining meat for a completely different meal, perhaps using it in a hearty weeknight beef stroganoff the next day. Ultimately, this recipe remains a beloved and relevant part of our cooking repertoire because it delivers both nostalgia and convenience in every single bite.
Taste and Texture
What makes it delicious
This Slow Cooker Garlic Herb Pot Roast delivers an incredibly rich and savory experience. First, you smell the fragrant garlic and earthy herbs the moment you open the lid. Subsequently, the beef becomes so tender it practically melts in your mouth, shredding easily with a fork. Meanwhile, the vegetables soak up the savory broth, becoming soft and flavorful. Ultimately, every bite of this Slow Cooker Garlic Herb Pot Roast is a perfect, comforting blend of hearty and aromatic notes.
Boosting the flavor
You can easily amplify the savory depth of your pot roast with a few creative twists. For instance, try adding a splash of red wine or a tablespoon of balsamic vinegar to the broth for a tangy complexity. Additionally, a dollop of our creamy horseradish sauce on top provides a sharp, peppery kick that cuts through the richness beautifully. Furthermore, serving it over a bed of our creamy Parmesan risotto soaks up every last drop of the delicious cooking juices. Finally, a sprinkle of fresh chopped parsley right before serving adds a bright, fresh finish that truly makes the dish pop.

Tips for Success
Best practices for results
Always sear the roast on all sides first because this crucial step builds a rich, deep flavor foundation for your entire Slow Cooker Garlic Herb Pot Roast. Furthermore, place your vegetables on the bottom of the pot so they steam and tenderize perfectly while catching all the delicious juices. Additionally, use fresh herbs whenever you can since they will infuse the dish with a much brighter and more aromatic quality than dried ones.
Mistakes to avoid
Avoid overfilling your slow cooker with liquid; consequently, the roast will braise instead of boiling, which helps it become incredibly tender. Many home cooks also lift the lid too often to check, but this releases essential heat and steam, so trust the process. For perfect results every time, always use a reliable instant-read thermometer to check for doneness. Moreover, do not skip the resting step before slicing; otherwise, those precious juices will run out instead of staying in the meat. If you are new to slow cooking, our guide on slow cooker basics covers these essential principles in detail.
Serving and Pairing Suggestions
How to serve this dish
For a truly memorable meal, transfer your Slow Cooker Garlic Herb Pot Roast to a large, elegant platter. Furthermore, generously spoon the rich, savory cooking juices over the top to make it glisten. Subsequently, garnish with a handful of fresh chopped parsley or thyme sprigs for a beautiful pop of color. This comforting dish absolutely shines at a cozy family Sunday supper. Alternatively, it makes a stunning, stress-free centerpiece for holiday gatherings where everyone can gather around the table.
What goes well with it
First, a crisp, bright side salad provides the perfect contrast. For instance, our popular Easy Arugula Salad cuts through the richness with its peppery flavor and light lemon vinaigrette. Next, you must soak up every last drop of the incredible juices. Consequently, we always serve a basket of warm, crusty bread on the side. Our simple No-Knead Artisan Bread is ideal for this delicious task. Finally, a smooth, medium-bodied red wine like a Merlot or Pinot Noir beautifully complements the deep, herbal notes of your Slow Cooker Garlic Herb Pot Roast.
Chuck roast is the best cut for a Slow Cooker Garlic Herb Pot Roast because it has a good amount of marbling and connective tissue. These break down during the long, slow cooking process, resulting in a roast that is incredibly tender and flavorful. Other good options include rump roast or bottom round.
While not strictly mandatory, browning the roast first is highly recommended. Searing the meat creates a flavorful crust through the Maillard reaction, which adds a deeper, richer flavor to the entire dish. This extra step significantly enhances the overall taste of your Slow Cooker Garlic Herb Pot Roast.
For a standard 3-4 pound roast, cook it on the LOW setting for 8-10 hours. This long, gentle cooking time is essential for breaking down tough fibers and making the meat fall-apart tender. Your Slow Cooker Garlic Herb Pot Roast is done when the meat easily shreds with a fork.
Absolutely! Adding hearty vegetables like potatoes, carrots, and onions is a classic way to make a complete meal. Place the chopped vegetables around and underneath the roast so they can cook in the flavorful juices. Just ensure they are cut into large, uniform chunks so they don’t become mushy.