Introduction
There’s something undeniably comforting about biting into a juicy cheeseburger, but what if you could enjoy all those flavors in a warm, sliceable pie? This Cheeseburger Pie Recipe brings together the best of both worlds—savory ground beef, melty cheese, and a buttery crust—for a dish that feels like a hug on a plate. Whether you’re craving a weeknight dinner that’s both easy and satisfying or need a crowd-pleaser for game day, this recipe delivers. Plus, it’s a fantastic way to sneak in veggies for picky eaters. Trust me, one bite and you’ll wonder why you haven’t been making this all along.
About This Recipe
The Cheeseburger Pie Recipe is a hearty, family-friendly dish that combines classic burger ingredients with the simplicity of a pie. Imagine seasoned ground beef, sharp cheddar, and a golden crust coming together in under an hour. Unlike traditional burgers, this version skips the bun but keeps all the flavor, making it perfect for gluten-free adjustments or low-carb diets. Moreover, it’s incredibly versatile. You can customize it with your favorite toppings, like diced tomatoes or crispy bacon, just as you would with our Loaded Potato Skillet.
What makes this recipe stand out is its balance of nostalgia and convenience. It reminds me of the dinners my mom used to make, yet it’s effortless enough for busy weeknights. The pie format also makes it ideal for meal prep or potlucks, much like our Easy Chicken Pot Pie. The blog’s tone leans toward approachable, flavorful recipes that don’t require fancy techniques, and this dish fits right in. Whether you’re a seasoned cook or a beginner, you’ll find the steps straightforward and the results delicious.
Why I Love This Recipe
This Cheeseburger Pie Recipe holds a special place in my heart because it’s the first dish I ever made for my now-husband. Back in our tiny apartment kitchen, I nervously layered the ingredients, hoping it would turn out okay. The moment he took a bite and grinned, I knew it was a keeper. Over the years, I’ve tweaked the recipe—adding a dash of Worcestershire sauce or swapping cheeses—but the joy it brings hasn’t changed. It’s more than just food; it’s a reminder of how simple meals can create lasting memories.
Health and Nutrition
Why it’s good for your body
Cheeseburger Pie Recipe packs a nutritious punch while satisfying comfort food cravings. First, it delivers a solid dose of protein from ground beef and cheese, which helps build muscle and keeps you full longer. Additionally, the eggs in the recipe provide essential amino acids and support healthy metabolism. Because the dish includes wholesome ingredients like onions and garlic, it also offers antioxidants that boost immunity.
Moreover, Cheeseburger Pie Recipe balances indulgence with nourishment. While it tastes rich and hearty, you can easily tweak the recipe to reduce fat by using lean ground beef or low-fat cheese. The crustless version cuts carbs, making it a great option for those watching their intake. Furthermore, the dish contains calcium from cheese, which strengthens bones and supports nerve function.
Finally, Cheeseburger Pie Recipe fits into various dietary preferences. For instance, you can swap regular cheese for a dairy-free alternative if needed. Since it’s a one-dish meal, it simplifies healthy eating without sacrificing flavor. Whether you’re fueling up after a workout or feeding a family, this recipe delivers both taste and nutrition.
How it fits in a healthy lifestyle
Cheeseburger Pie Recipe works well in a balanced diet because it’s versatile and nutrient-dense. If you’re focusing on high-protein meals, this dish fits perfectly, especially when paired with a fresh side salad. For gluten-free eaters, simply skip the traditional crust or use a gluten-free alternative like almond flour.
Planning meals ahead? Cheeseburger Pie Recipe stores beautifully, making it a practical choice for meal prep. Pair it with roasted vegetables or a light soup for a well-rounded dinner. If you’re exploring heart-healthy options, check out our guide to healthy dinner ideas for more inspiration. For those tracking macros, this recipe adapts easily—try our tips in this meal prep strategies post to keep your nutrition on track. With simple adjustments, Cheeseburger Pie Recipe becomes a smart part of your everyday eating habits.
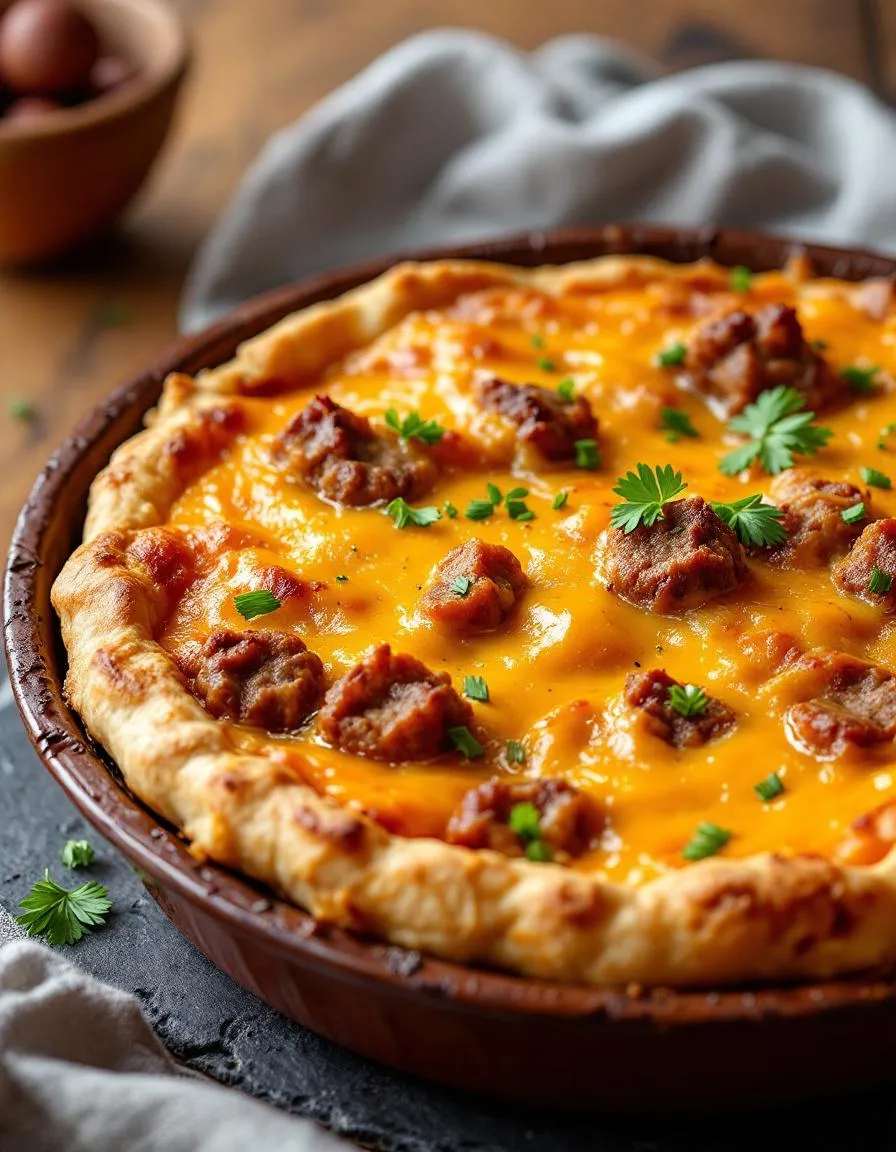
PrintCheeseburger Pie
Description
A savory pie that combines the flavors of a classic cheeseburger in a delicious, easy-to-make dish.
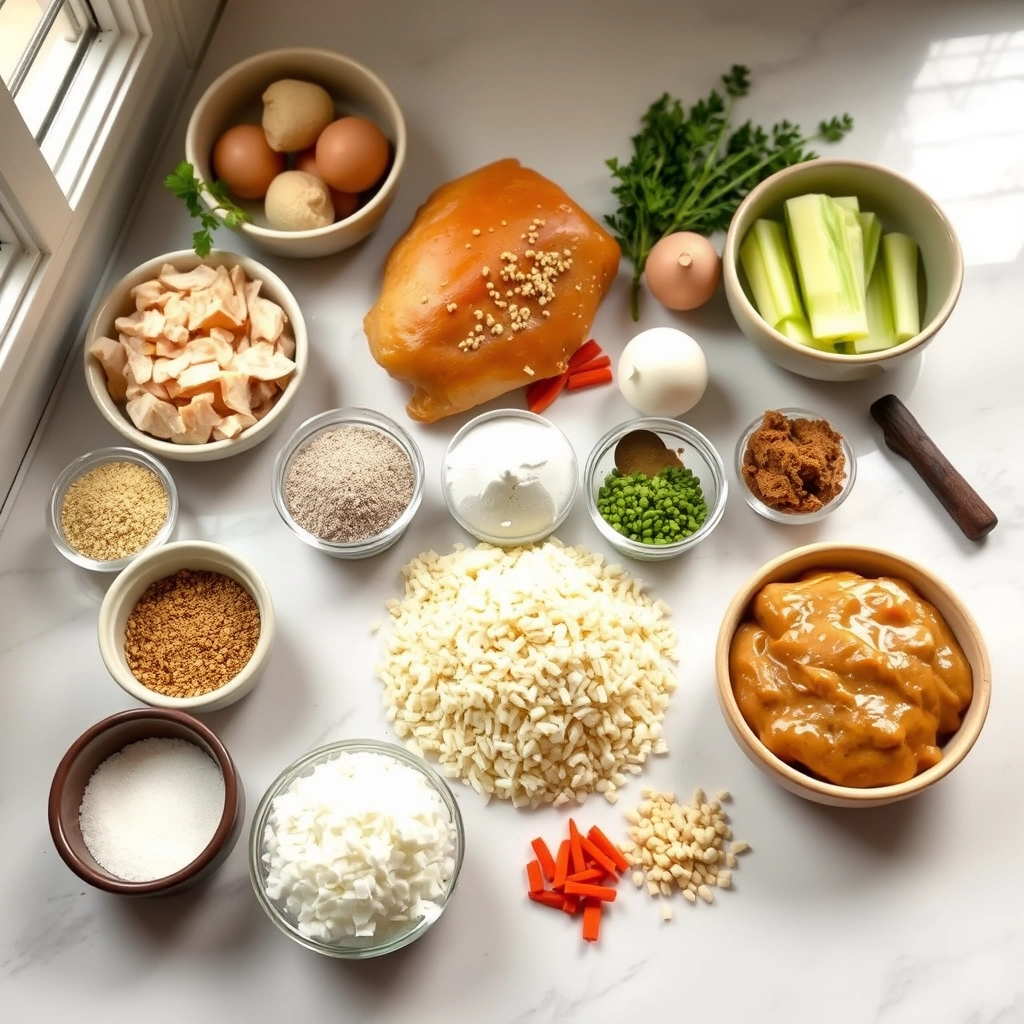
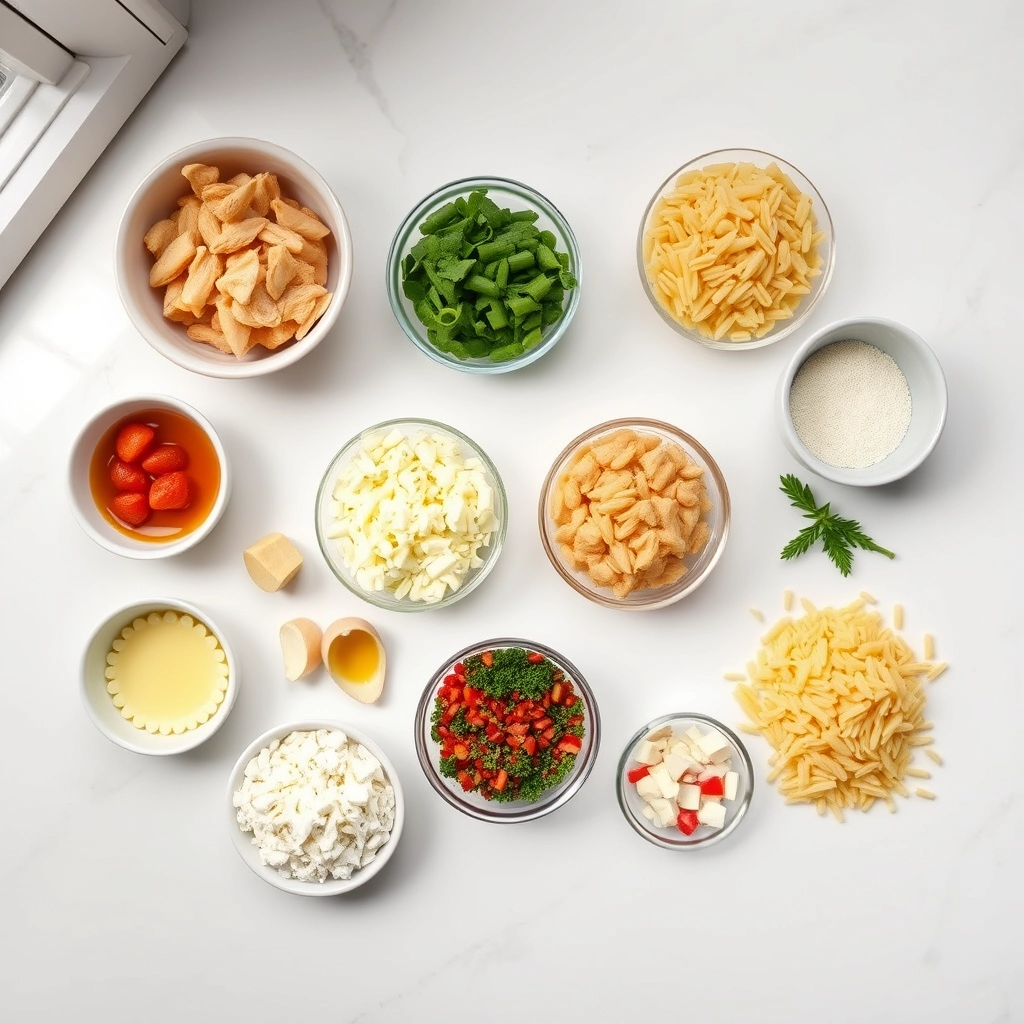
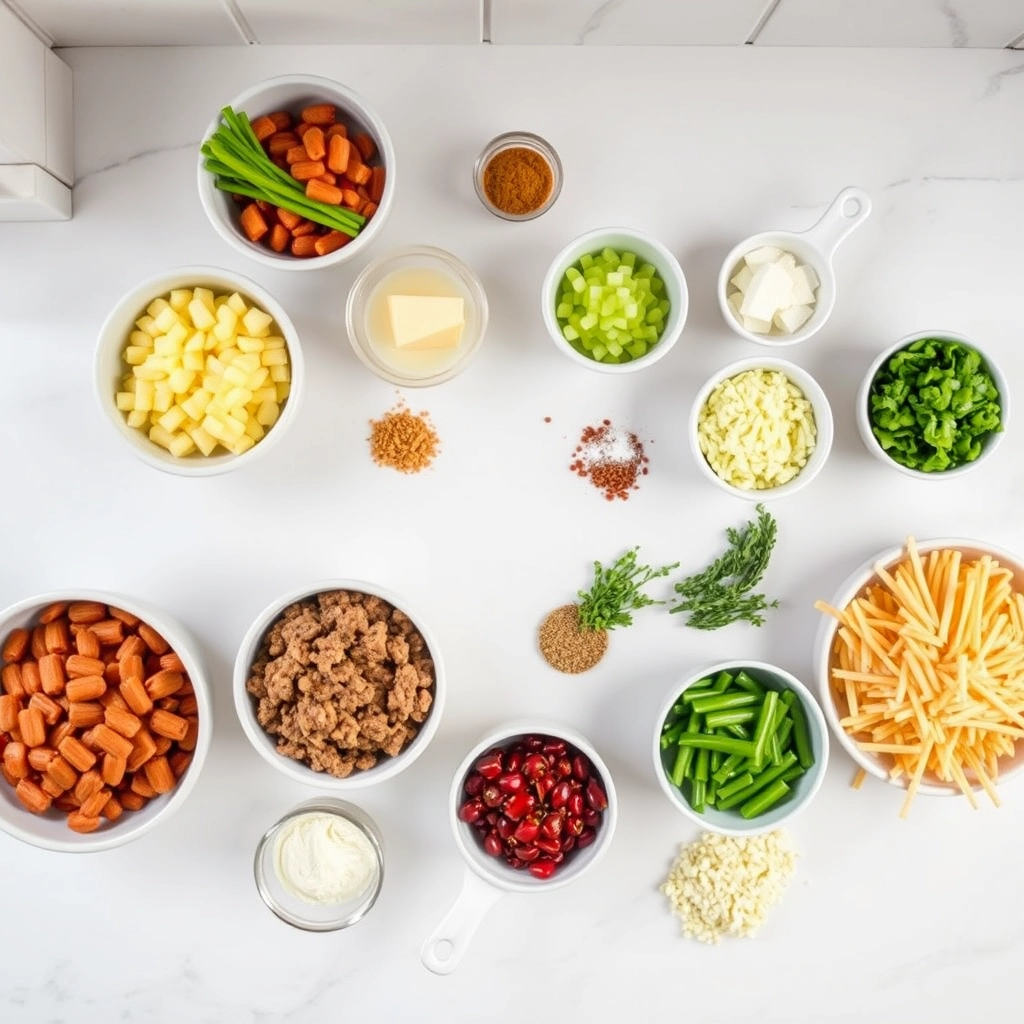
Ingredients
For the Crust:
- 1 lb ground beef
- 1/2 cup chopped onion
- 1/2 teaspoon salt
- 1/4 teaspoon black pepper
- 1 cup shredded cheddar cheese
- 1/2 cup milk
- 1/2 cup biscuit baking mix
- 2 eggs
Instructions
1. Prepare the Crust:
- Preheat oven to 400°F (200°C).
- In a skillet, cook beef and onion over medium heat until beef is browned. Drain excess fat and stir in salt and pepper.
- Spread beef mixture in a pie plate and sprinkle with cheese.
- In a bowl, whisk together milk, biscuit mix, and eggs. Pour over beef and cheese.
- Bake for 25 minutes or until golden brown and set in the center.
Notes
You can customize the seasonings to taste.
How to Prepare This Dish
Steps and time-saving tips
Start by preheating your oven to 375°F so it’s ready when you need it. While the oven heats, brown the ground beef in a skillet over medium heat, breaking it into small crumbles with a wooden spoon. Drain any excess grease, then stir in diced onions and seasonings like garlic powder, salt, and pepper for extra flavor. Meanwhile, whisk together eggs, milk, and biscuit mix in a separate bowl until smooth—this creates the perfect creamy layer for your Cheeseburger Pie Recipe. Spread the cooked beef mixture into a greased pie dish, then sprinkle shredded cheddar cheese evenly over the top. Pour the egg mixture over the cheese, ensuring it covers everything. Bake for 25-30 minutes until the center sets and the edges turn golden brown. Let it cool for 5 minutes before slicing so it holds together. For a time-saving hack, prep the beef filling ahead and store it in the fridge—just assemble and bake when ready. If you’re short on time, use pre-shredded cheese or frozen diced onions to speed things up.
Mistakes I’ve made and learned from
I once rushed the baking time for this Cheeseburger Pie Recipe, pulling it out too early because the top looked done. The center was still jiggly, and it fell apart when sliced. Now I always check with a toothpick—if it comes out clean, it’s ready. Another mistake? Overloading the pie with toppings, which made the egg mixture sink and bake unevenly. Stick to the recommended cheese and beef ratios for the best texture. If you’re new to savory pies, my Perfect Pie Crust Guide has tips for avoiding soggy bottoms, and this Cheese Melting Secrets post will help you get that gooey, golden finish every time. Trust me, a little patience pays off with this dish!
Cultural Connection and Variations
Where this recipe comes from
Cheeseburger Pie Recipe feels like a love letter to American comfort food, blending the heartiness of a classic burger with the cozy simplicity of a pie. Originally, it likely emerged from Midwestern home kitchens in the 1950s or 60s, when busy families needed a way to stretch ground beef into a filling meal. However, some argue it has Southern roots, where biscuit-topped casseroles reign. Either way, this dish captures the spirit of resourcefulness and nostalgia.
Around the world, cooks put their own spin on the concept. In Australia, they might add beetroot or a fried egg, nodding to their iconic “burger with the lot.” Meanwhile, in Mexico, you’ll find versions with jalapeños or chorizo for extra kick. Even within the U.S., some families swear by a Bisquick crust, while others layer tater tots or swap cheddar for pepper jack. The beauty of Cheeseburger Pie Recipe lies in its adaptability—it’s a blank canvas for creativity.
How it fits in today’s cooking
Today, Cheeseburger Pie Recipe still earns its spot as a weeknight hero. Busy parents adore it because it’s faster than grilling burgers but just as satisfying. Plus, modern twists keep it fresh—think gluten-free crusts, plant-based meat, or even sneaking in veggies like spinach or mushrooms. It’s also a star at potlucks, where it pairs perfectly with easy side dishes that round out the meal.
Seasonally, it shines in fall and winter, offering warmth when the air turns crisp. Yet, it’s versatile enough for summer picnics if you serve it room-temperature with a crisp refreshing salad. Whether you’re craving nostalgia or need a crowd-pleaser, this recipe bridges generations and tastes. After all, who can resist the magic of burger flavors baked into a golden, cheesy pie?
Taste and Texture
What makes it delicious
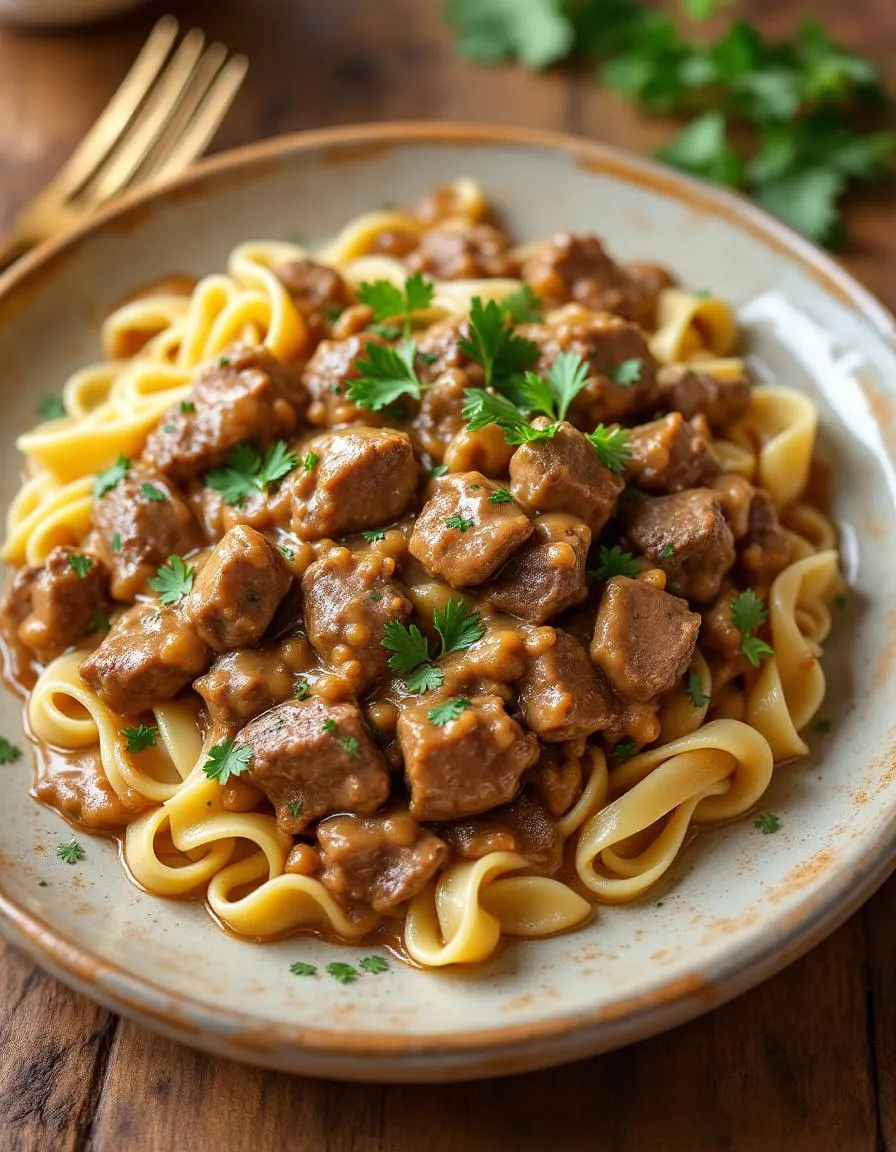
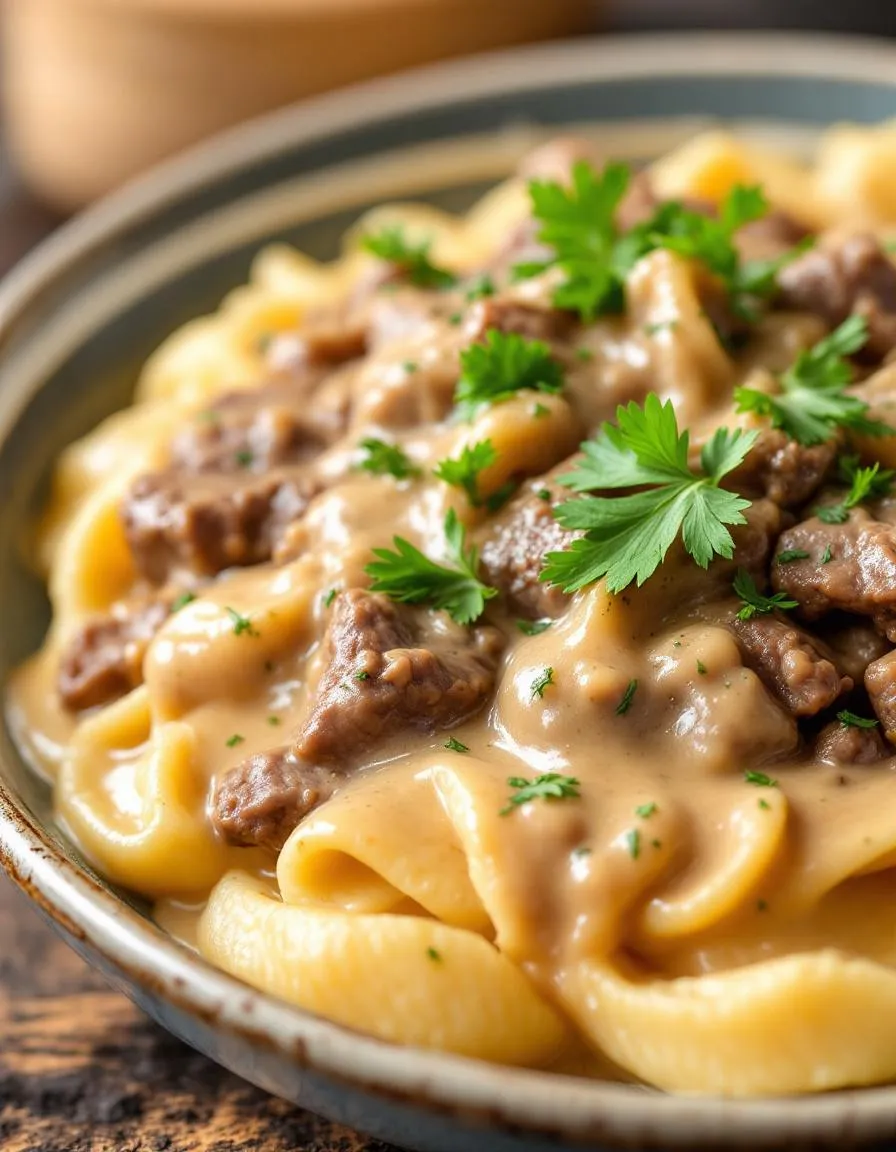
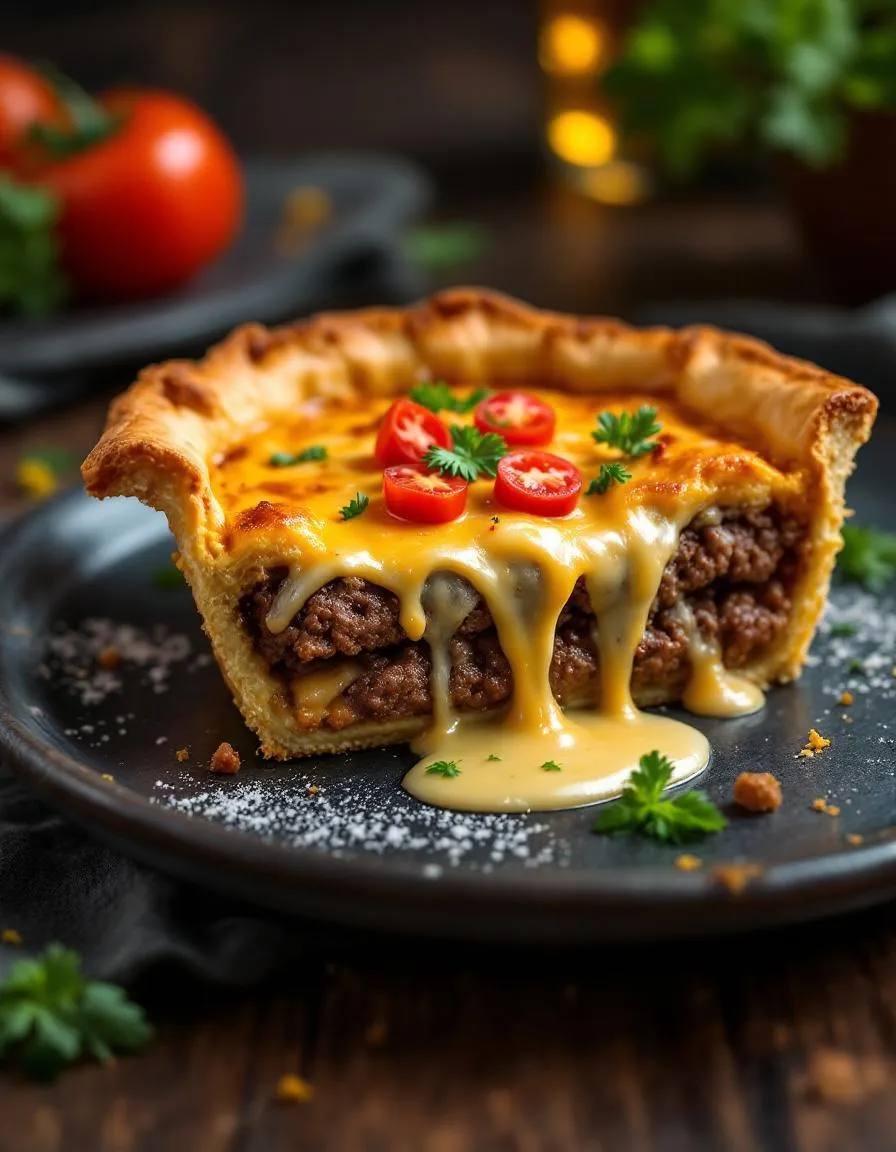
Cheeseburger Pie Recipe delivers a mouthwatering blend of savory, cheesy, and slightly tangy flavors that mimic your favorite burger in pie form. The ground beef sizzles with umami richness, while melted cheddar adds a creamy, gooey texture that stretches with every bite. A buttery, flaky crust crumbles perfectly, contrasting the tender filling. Meanwhile, diced onions and a hint of mustard or Worcestershire sauce deepen the flavor with a subtle kick. The aroma alone—a mix of toasted pastry, sizzled beef, and bubbling cheese—will have everyone gathering around the table. Whether served warm or at room temperature, Cheeseburger Pie Recipe satisfies cravings with its hearty, comforting layers.
Boosting the flavor
Elevate your Cheeseburger Pie Recipe by stirring caramelized onions into the beef for a sweet, smoky depth. For extra tang, swirl in a spoonful of homemade pickles or top slices with a drizzle of burger sauce. Crumbled bacon or a sprinkle of smoked paprika amps up the savoriness, while a dash of garlic powder enhances the overall warmth. If you love a crispy finish, try adding a layer of golden breadcrumbs before baking. Small tweaks like these keep the dish exciting without overpowering its classic appeal.

Tips for Success
Best practices for results
Always preheat your oven before baking the Cheeseburger Pie Recipe to ensure even cooking. For the best texture, press the crust firmly into the pan so it holds together after baking. Additionally, drain excess grease from the beef mixture to prevent a soggy bottom layer. If you want extra flavor, sprinkle shredded cheese on top during the last few minutes of baking. Finally, let the pie cool slightly before slicing so the layers set properly.
Mistakes to avoid
Avoid overmixing the crust, as this can make it tough instead of flaky. Instead, gently combine the ingredients until just incorporated. Many cooks also forget to blind bake the crust, which helps prevent sogginess—check out our guide on blind baking for perfect pies for details. Another common misstep is using cold toppings straight from the fridge, so always bring ingredients like sour cream or diced tomatoes to room temperature first. For more tips on balancing flavors, explore our savory pie seasoning guide to elevate your Cheeseburger Pie Recipe.
Serving and Pairing Suggestions
How to serve this dish
Slice your Cheeseburger Pie Recipe into generous wedges and serve it warm for the best flavor and texture. For a fun twist, top each piece with a dollop of sour cream, a sprinkle of fresh chives, or even a few pickles to mimic classic burger toppings. Meanwhile, if you’re hosting a casual gathering, consider pairing it with a build-your-own topping bar so guests can customize their slices. Alternatively, serve it at brunch alongside other hearty dishes for a crowd-pleasing meal. Finally, for a visually appealing presentation, place the pie on a rustic wooden board or colorful platter to highlight its golden crust and cheesy filling.
What goes well with it
A crisp, refreshing side like this Easy Cucumber Salad balances the richness of the Cheeseburger Pie Recipe perfectly. Additionally, a tangy dipping sauce such as sriracha mayo or classic ketchup adds an extra layer of flavor. For drinks, try a chilled craft beer or a fizzy soda to cut through the savory notes. If you’re craving something heartier, pair it with these Garlic Parmesan Fries for the ultimate comfort food experience. Each pairing enhances the dish while keeping the meal satisfying and well-rounded.

Cheeseburger Pie Recipe typically includes ground beef, onions, cheddar cheese, and a biscuit or pie crust base. Some versions add ingredients like pickles, mustard, or tomatoes to mimic classic cheeseburger flavors.
Yes! For a low-carb version of Cheeseburger Pie Recipe, simply omit the crust and bake the meat-and-cheese mixture in a greased pie dish. The eggs and cheese will bind everything together as it cooks.
To prevent a soggy Cheeseburger Pie Recipe, drain excess grease from the cooked beef and pat it dry. Pre-baking the crust for 5-7 minutes (blind baking) also helps create a crispier base.
Classic burger sides complement Cheeseburger Pie Recipe perfectly – try serving with crispy fries, a simple green salad, or pickles. For a heartier meal, add roasted vegetables or baked beans.