“`html
Introduction
There’s something undeniably comforting about the aroma of garlic and Parmesan mingling over a hot grill. Whether you’re hosting a summer barbecue or just craving a flavorful weeknight dinner, this Garlic Parmesan Grilled Chicken Recipe delivers juicy, tender chicken with a crispy, cheesy crust that’s impossible to resist. It’s the kind of dish that brings everyone to the table—simple enough for beginners yet impressive enough to wow guests. Plus, with minimal prep and maximum flavor, it’s a guaranteed crowd-pleaser that’ll have you coming back for seconds.
About This Recipe
Garlic Parmesan Grilled Chicken Recipe combines bold, savory flavors with the smoky char of the grill for a dish that’s both hearty and satisfying. The star of the show is the garlic-Parmesan coating, which forms a golden crust while keeping the chicken moist inside. Unlike dry or bland grilled chicken, this version packs a punch with every bite, thanks to a blend of fresh garlic, grated Parmesan, and a touch of herbs. It’s a versatile recipe, too—pair it with a crisp salad, roasted vegetables, or even slice it for sandwiches. For more inspiration, check out our guide to perfect side dishes for grilled meals.
What makes this recipe stand out is its balance of simplicity and depth. You don’t need fancy techniques or hard-to-find ingredients. Instead, it relies on pantry staples to create something extraordinary. The blog’s tone leans toward approachable, family-friendly meals, and this Garlic Parmesan Grilled Chicken Recipe fits perfectly. It’s a no-fuss dish that still feels special, whether you’re cooking for a busy Tuesday or a weekend gathering. If you’re new to grilling, don’t worry—our grilling tips for beginners will help you master the basics in no time.
Why I Love This Recipe
This Garlic Parmesan Grilled Chicken Recipe holds a special place in my heart because it’s the dish that turned me into a grilling enthusiast. I remember the first time I made it—the way the Parmesan formed a crisp, golden layer while the garlic infused every bite with warmth. It became an instant favorite at family cookouts, and now my kids request it every summer. There’s nostalgia in that first bite, but also the joy of knowing how effortlessly it comes together. It’s proof that the best meals don’t need to be complicated—just packed with love and flavor.
“`
Health and Nutrition
Why it’s good for your body
Garlic Parmesan Grilled Chicken Recipe packs a powerful nutritional punch while delivering incredible flavor. First, chicken serves as a lean protein source, helping you build muscle and stay full longer. Additionally, garlic boosts immunity with its natural antibacterial properties, making this dish a great choice for staying healthy. Meanwhile, Parmesan cheese adds calcium for strong bones without overloading on calories.
Moreover, grilling the chicken keeps the meal light and avoids excess oil. Olive oil in the marinade provides heart-healthy fats, which support cardiovascular health. Furthermore, the dish includes minimal carbs, making it ideal for low-carb or keto diets. Garlic Parmesan Grilled Chicken Recipe also delivers a dose of antioxidants from garlic, reducing inflammation in the body.
Finally, this recipe balances taste and nutrition effortlessly. The combination of protein, healthy fats, and key vitamins makes it a standout meal. Whether you’re fueling up post-workout or simply craving something wholesome, Garlic Parmesan Grilled Chicken Recipe fits the bill perfectly.
How it fits in a healthy lifestyle
Garlic Parmesan Grilled Chicken Recipe easily adapts to various dietary needs. If you’re following a high-protein plan, this dish helps meet your goals without unnecessary additives. It’s also naturally gluten-free, so those with sensitivities can enjoy it worry-free. For heart-conscious eaters, the lean protein and olive oil base align perfectly with a balanced diet.
Pair this chicken with a fresh salad or roasted veggies for a complete, nutrient-dense meal. If you’re meal prepping, it stores well and stays juicy for days. Looking for more healthy dinner ideas? Check out our healthy dinner recipes for inspiration. You might also love our grilling tips to perfect your technique and keep meals flavorful yet light. With simple ingredients and quick prep, Garlic Parmesan Grilled Chicken Recipe makes eating well effortless.
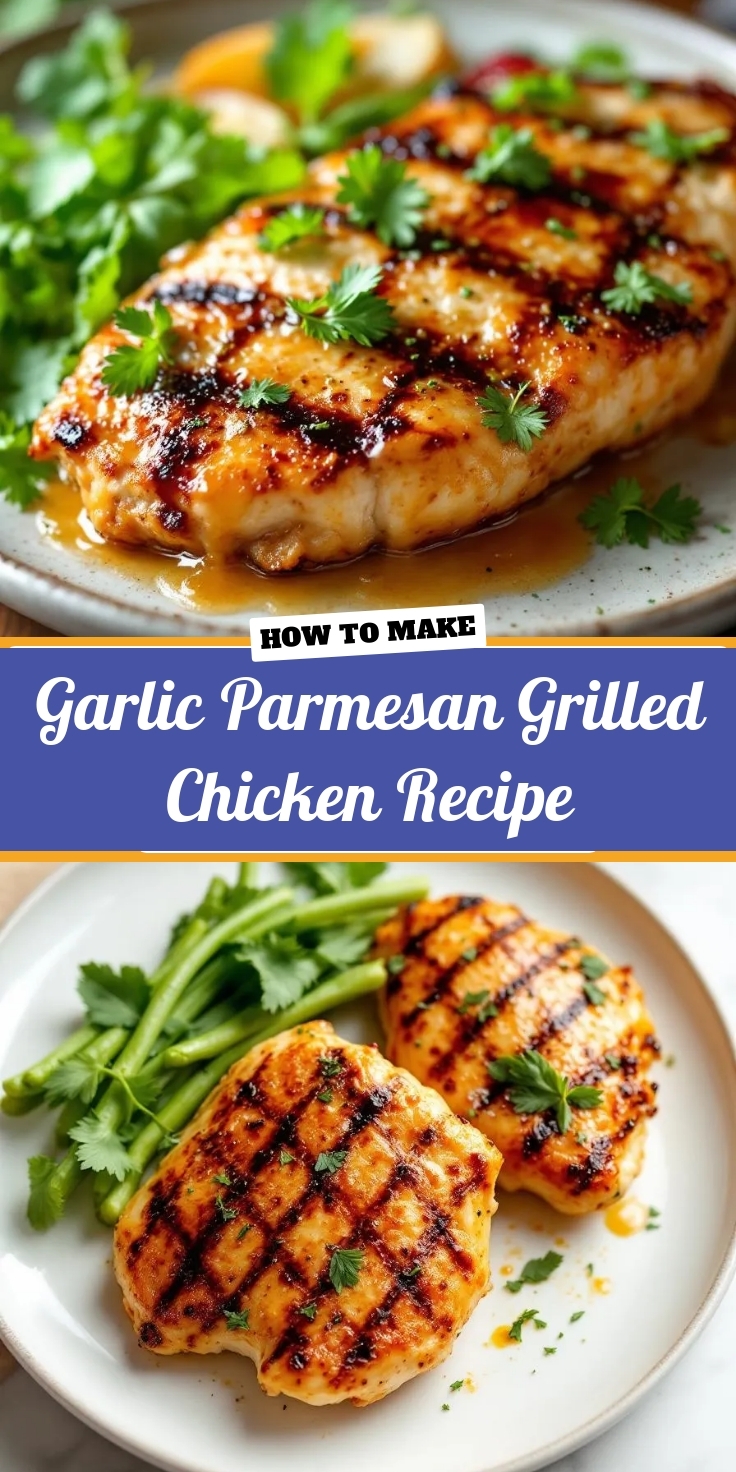
PrintGarlic Parmesan Grilled Chicken
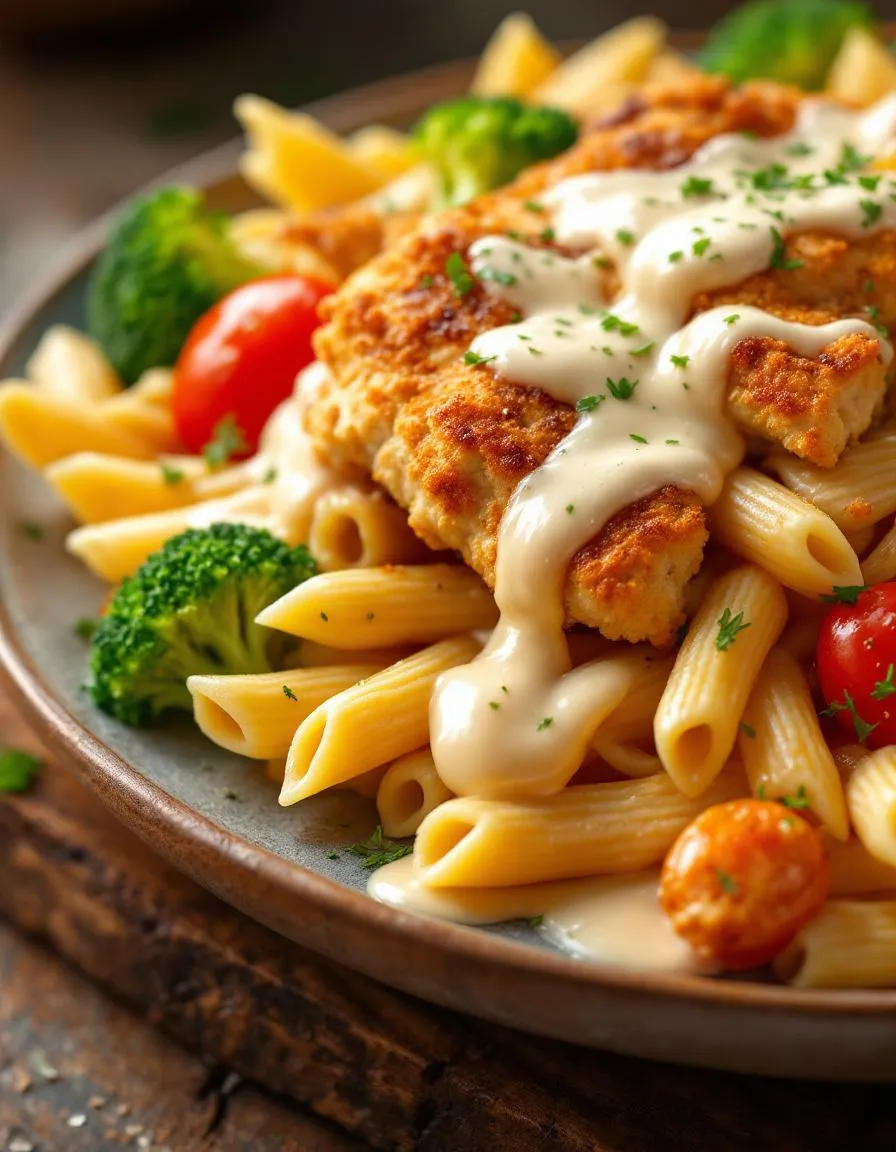
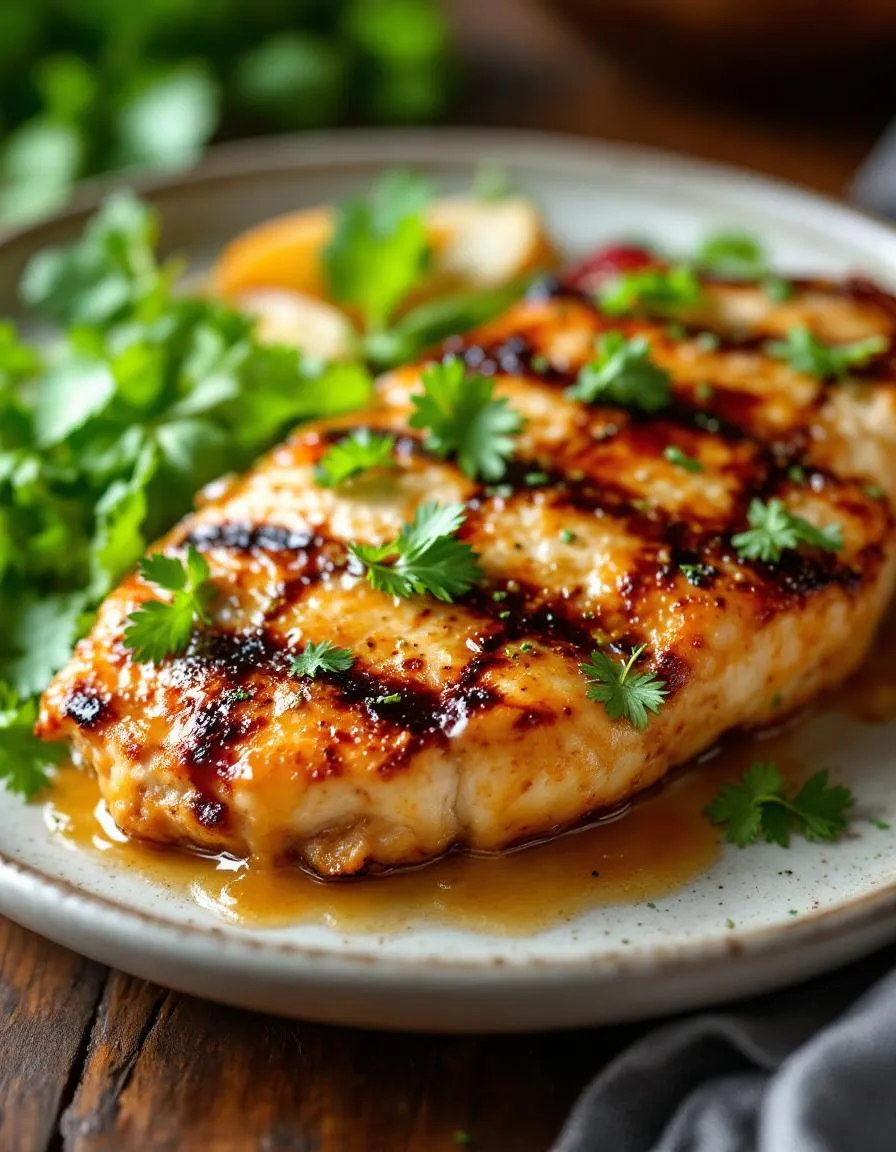
Description
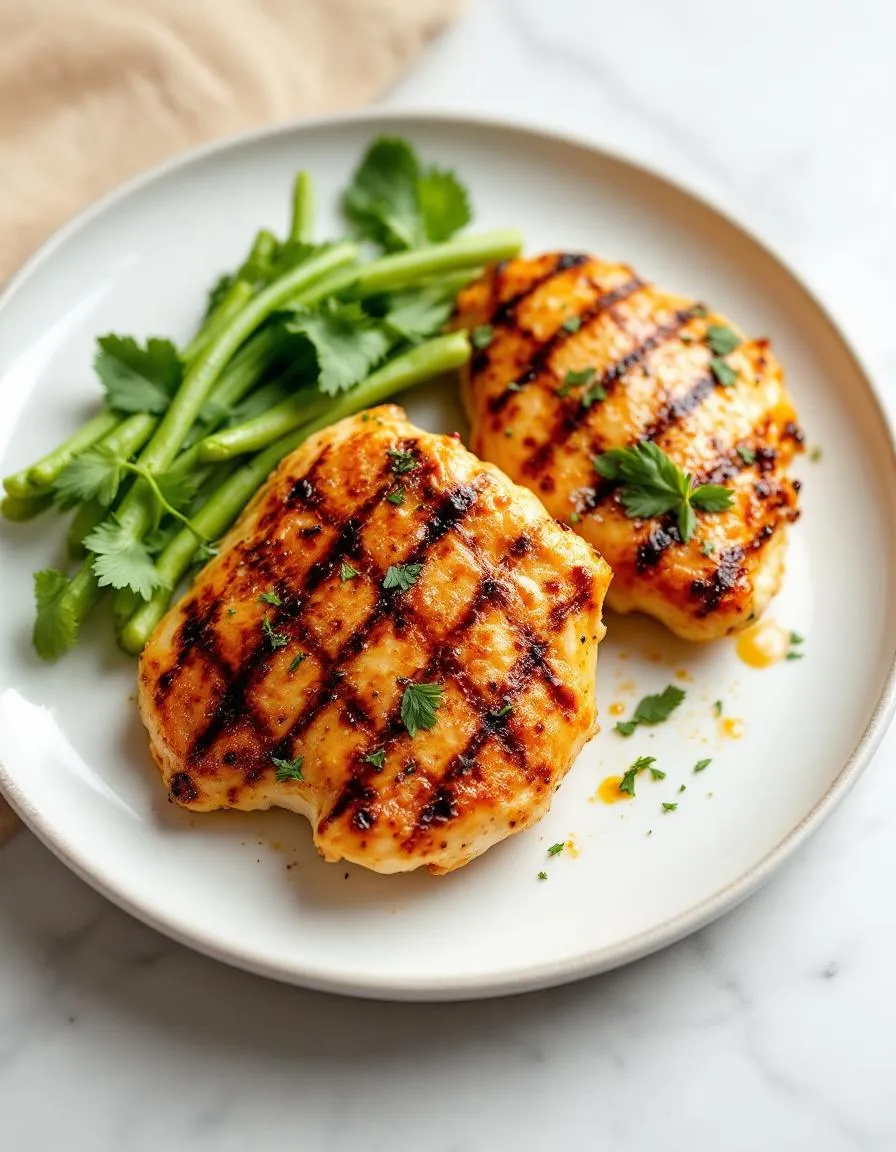
Juicy grilled chicken coated in a flavorful garlic parmesan marinade.
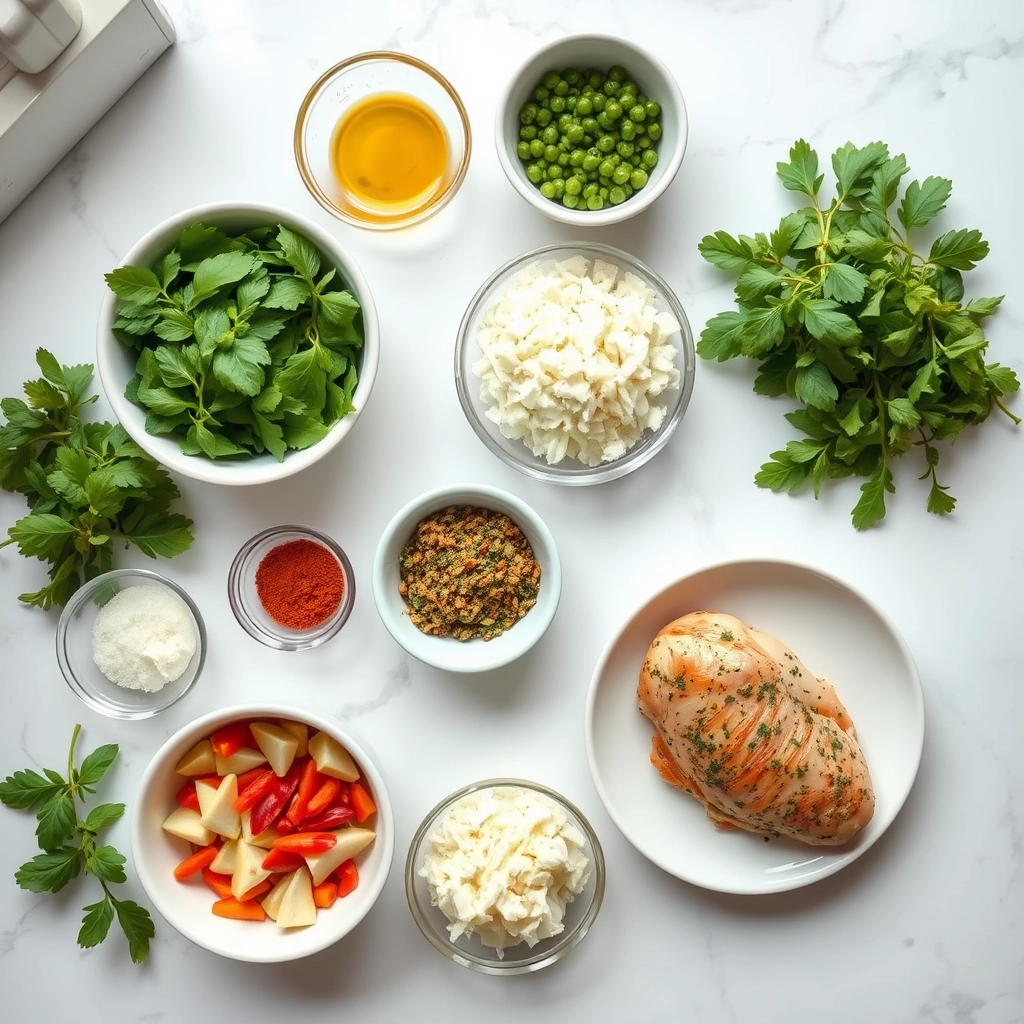
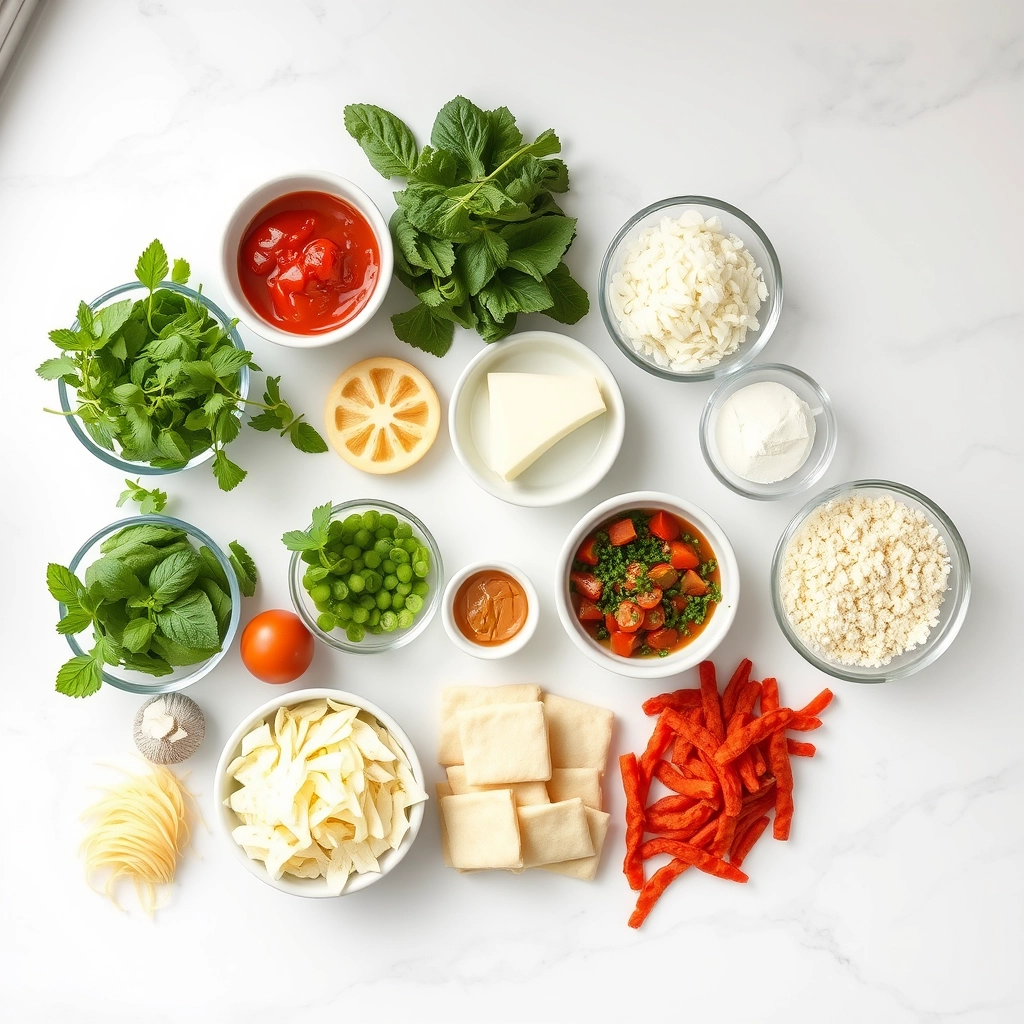
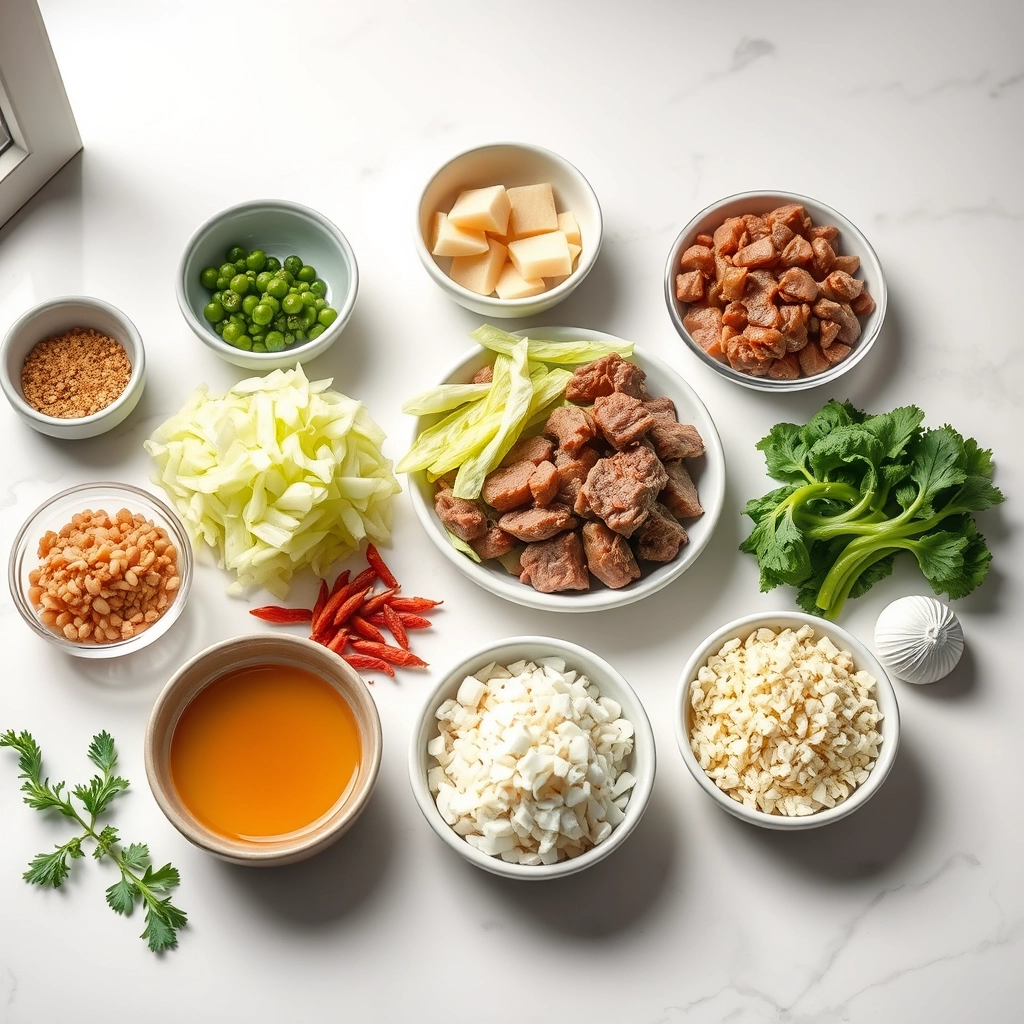
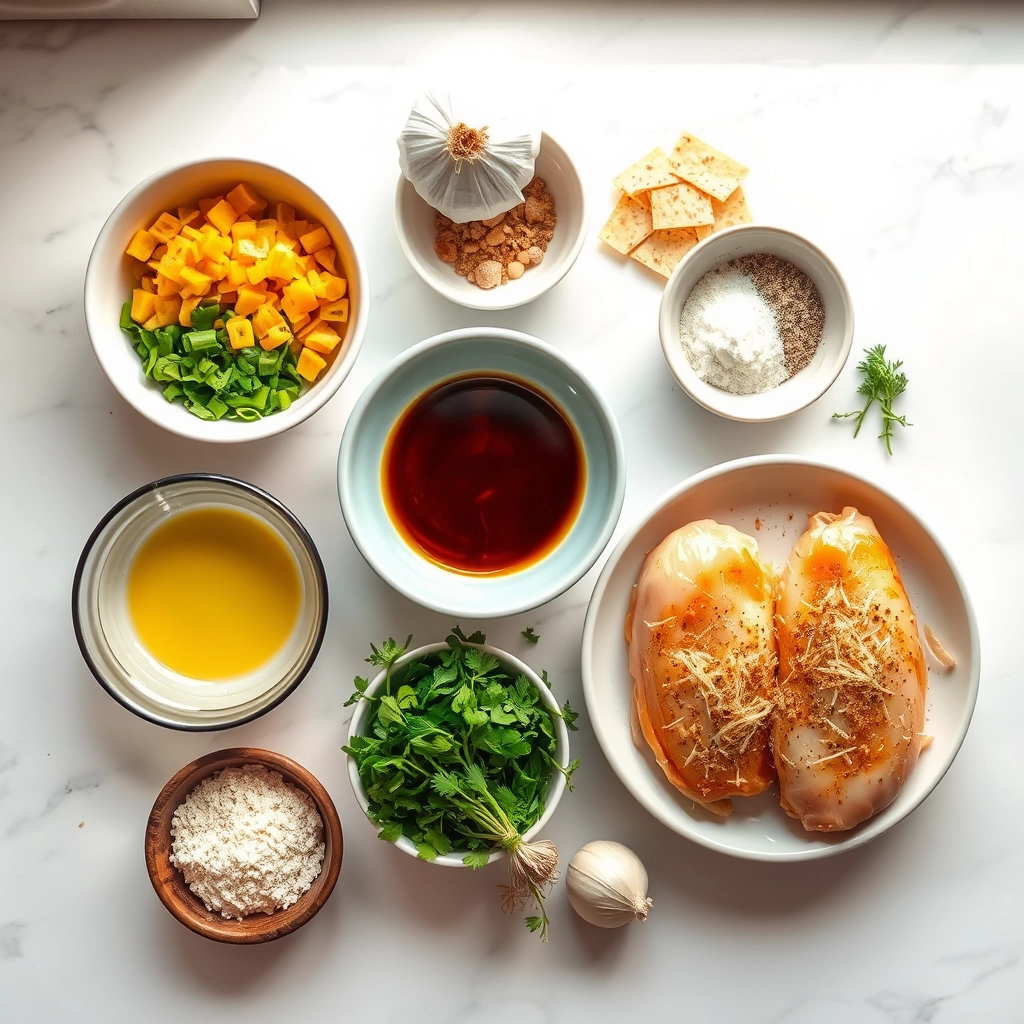
Ingredients
For the Crust:
- 4 boneless, skinless chicken breasts
- 1/4 cup olive oil
- 3 cloves garlic, minced
- 1/2 cup grated parmesan cheese
- 1 tsp dried oregano
- 1 tsp dried basil
- 1/2 tsp salt
- 1/4 tsp black pepper
- 1 tbsp lemon juice
Instructions
1. Prepare the Crust:
- In a bowl, whisk together olive oil, minced garlic, parmesan cheese, oregano, basil, salt, pepper, and lemon juice.
- Place chicken breasts in a resealable bag or shallow dish and pour the marinade over them. Coat evenly.
- Marinate in the refrigerator for at least 30 minutes or up to 4 hours.
- Preheat grill to medium-high heat. Grill chicken for 6-7 minutes per side or until internal temperature reaches 165°F.
- Let rest for 5 minutes before serving.
Notes
You can customize the seasonings to taste.
How to Prepare This Dish
Steps and time-saving tips
Start by whisking together olive oil, minced garlic, lemon juice, and grated parmesan in a bowl to create the marinade for your Garlic Parmesan Grilled Chicken Recipe. Next, place the chicken breasts in a resealable bag or shallow dish, then pour the marinade over them, ensuring each piece is fully coated. For maximum flavor, let the chicken marinate in the fridge for at least 30 minutes—though if you’re short on time, even 15 minutes will work. Meanwhile, preheat your grill to medium-high heat and lightly oil the grates to prevent sticking. Once the grill is hot, remove the chicken from the marinade, letting excess drip off, and place it on the grill. Cook for 6-7 minutes per side, or until the internal temperature reaches 165°F. While grilling, resist the urge to flip the chicken too often—this helps achieve those perfect grill marks. For a time-saving twist, prep the marinade the night before and let the chicken soak overnight. Serve the grilled chicken with a sprinkle of fresh parsley and extra parmesan for a restaurant-quality finish.
Mistakes I’ve made and learned from
When I first tried this Garlic Parmesan Grilled Chicken Recipe, I made two big mistakes: overcrowding the grill and skipping the resting time. Overcrowding caused uneven cooking, leaving some pieces underdone while others dried out. Now, I leave space between each chicken breast for even heat distribution. Another lesson? Letting the chicken rest for 5 minutes after grilling locks in the juices—something I learned the hard way after serving dry chicken to guests. If you’re new to grilling, check out my guide on grilling tips for beginners to avoid common pitfalls. Also, if your marinade isn’t sticking well, try patting the chicken dry before applying it—a trick I picked up from my marinade secrets post. Trust me, these small adjustments make all the difference!
Cultural Connection and Variations
Where this recipe comes from
The Garlic Parmesan Grilled Chicken Recipe has roots in Italian-American cuisine, where bold flavors and simple techniques shine. Originally, cooks combined garlic and Parmesan—a classic Italian duo—with grilled chicken to create a dish that’s both rustic and elegant. Over time, families added their own twists, like extra herbs or a splash of lemon, making it a versatile favorite.
In Italy, you might find a similar dish called “Pollo al Parmigiano,” but it often skips the grill for a pan-seared method. Meanwhile, in the U.S., backyard barbecues popularized the Garlic Parmesan Grilled Chicken Recipe, especially during summer gatherings. Some regions even swap Parmesan for Pecorino or add a smoky paprika rub. No matter the variation, the dish always brings people together.
In my family, we prepare it with a generous sprinkle of red pepper flakes for a little heat. Friends from the Midwest swear by marinating the chicken in buttermilk first, while others bake it instead of grilling. The beauty of the Garlic Parmesan Grilled Chicken Recipe lies in its adaptability—it’s a canvas for creativity.
How it fits in today’s cooking
Today, the Garlic Parmesan Grilled Chicken Recipe remains a go-to for busy weeknights and weekend cookouts alike. Its quick prep time and crowd-pleasing flavors make it a modern staple. Many cooks pair it with easy side dishes or serve it over a fresh salad for a lighter twist.
Health-conscious eaters love it too, since grilling keeps the dish lean while packing in flavor. Some even use air fryers for a crispy finish without the oil. And let’s not forget meal preppers—this recipe stores beautifully, making it a top pick for meal prep ideas. Whether you’re hosting a summer party or need a speedy dinner, the Garlic Parmesan Grilled Chicken Recipe fits seamlessly into today’s kitchens.
Taste and Texture
What makes it delicious
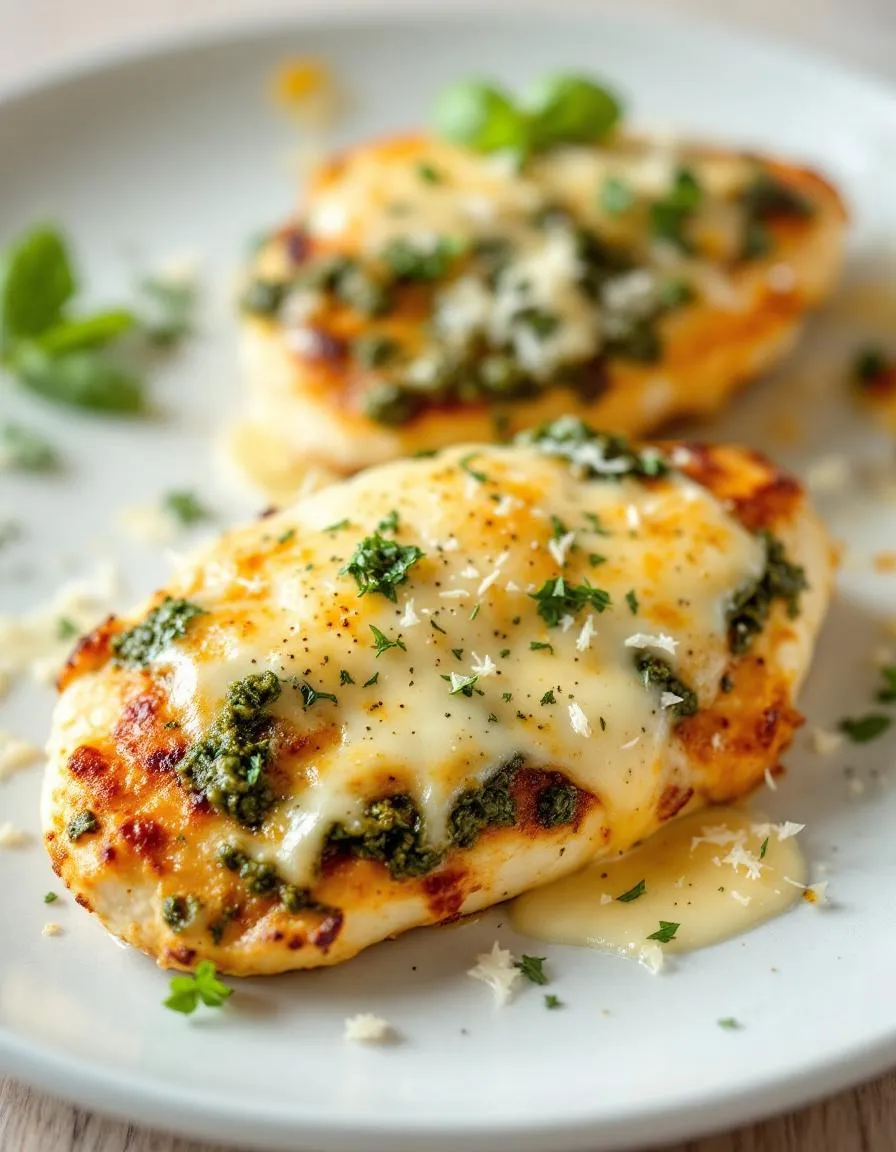
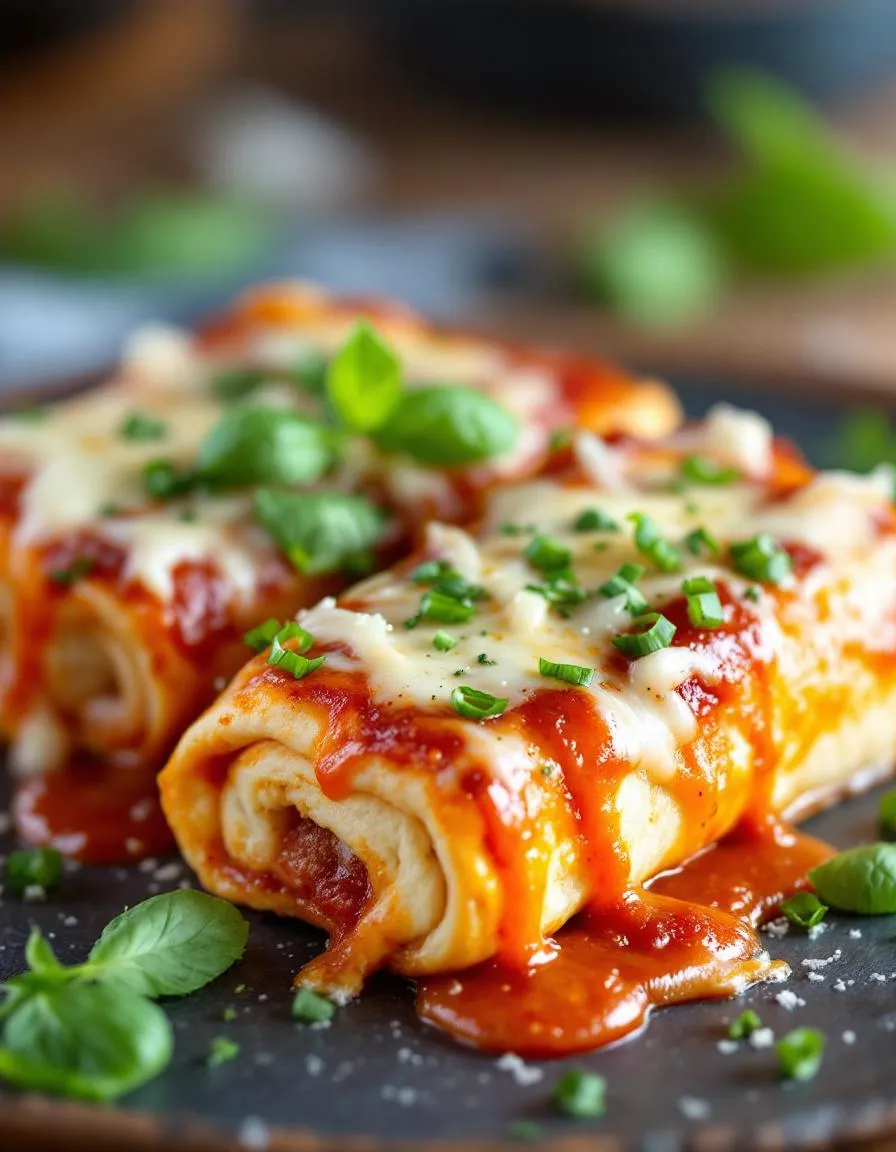
The Garlic Parmesan Grilled Chicken Recipe delivers a mouthwatering blend of savory, garlicky goodness with a rich, cheesy finish. Each bite offers tender, juicy chicken with a slightly crisp exterior, thanks to the golden grill marks. The minced garlic infuses every bite with a fragrant punch, while the Parmesan cheese melts into a creamy, umami-packed layer. A hint of lemon zest brightens the dish, balancing the bold flavors. Whether you serve it hot off the grill or let it rest, the Garlic Parmesan Grilled Chicken Recipe stays irresistibly moist and flavorful.
Boosting the flavor
For an extra flavor kick, try brushing the chicken with a garlic butter glaze during the last few minutes of grilling. Alternatively, sprinkle red pepper flakes for a subtle heat or top with fresh herbs like chopped parsley or basil. Pair it with a tangy creamy Caesar dressing for dipping or serve alongside garlic herb roasted potatoes to complement the dish. Experimenting with smoked paprika or a dash of honey can also elevate the taste without overpowering the star ingredients.

Tips for Success
Best practices for results
Always marinate the chicken for at least 30 minutes to let the garlic parmesan flavors fully penetrate the meat. Meanwhile, preheat your grill to medium-high heat so it reaches the ideal temperature for juicy, evenly cooked Garlic Parmesan Grilled Chicken Recipe. Additionally, brush the grill grates with oil to prevent sticking and ensure those perfect grill marks. For extra flavor, baste the chicken with leftover marinade during the first few minutes of cooking. Finally, let the chicken rest for 5 minutes before slicing to lock in all the delicious juices.
Mistakes to avoid
Avoid overcrowding the grill, as this lowers the heat and steams the chicken instead of giving it a crispy exterior. For even cooking, space out the pieces and rotate them occasionally. Another common mistake is skipping the meat thermometer, which can lead to overcooked or undercooked chicken. Instead, check that the internal temperature reaches 165°F for safety. If you’re new to grilling, review our grilling basics guide for more confidence. Also, don’t forget to properly store leftovers—learn how in our food storage tips to keep your Garlic Parmesan Grilled Chicken Recipe fresh.
Serving and Pairing Suggestions
How to serve this dish
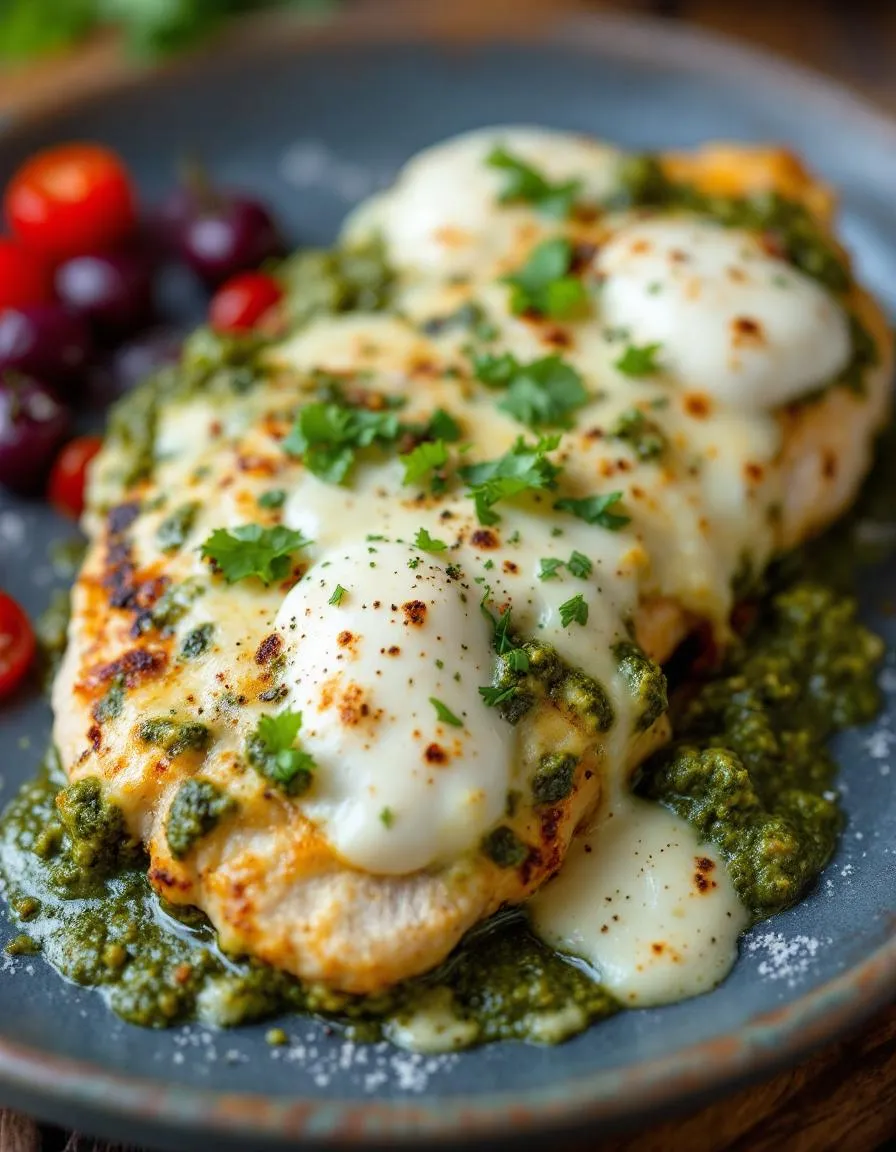
Elevate your Garlic Parmesan Grilled Chicken Recipe by serving it on a warm platter with fresh lemon wedges and a sprinkle of chopped parsley. For a casual dinner, slice the chicken and arrange it over a bed of crisp greens or alongside roasted vegetables. Alternatively, serve it whole for a hearty family-style meal. During summer gatherings, pair it with skewered veggies for a vibrant barbecue spread. The golden-brown crust and aromatic garlic parmesan flavors make this dish a showstopper for holidays or weeknight dinners alike.
What goes well with it
Complement your Garlic Parmesan Grilled Chicken Recipe with a light, citrusy salad like our Lemon Herb Quinoa Salad, which balances the rich flavors perfectly. For a heartier option, try roasted garlic mashed potatoes or buttery corn on the cob. A chilled glass of crisp Sauvignon Blanc or sparkling water with lime enhances the dish’s savory notes. If you love dipping sauces, our Creamy Avocado Dressing adds a cool, tangy contrast to the grilled chicken.
For the best flavor, marinate your Garlic Parmesan Grilled Chicken for at least 30 minutes, but ideally 2–4 hours. This allows the garlic, Parmesan, and herbs to fully infuse the chicken. Avoid marinating overnight, as the acidity can make the texture mushy.
Shredded Parmesan works best for Garlic Parmesan Grilled Chicken because it melts evenly and creates a better texture. Grated Parmesan can clump or burn more easily on the grill. If you only have grated, mix it into the marinade rather than sprinkling it directly on the chicken.
Garlic Parmesan Grilled Chicken pairs perfectly with light sides like grilled asparagus, a crisp Caesar salad, or garlic butter pasta. For heartier options, try roasted potatoes or crusty bread to soak up the flavorful juices. The dish’s rich flavors balance well with fresh, simple accompaniments.
To avoid sticking, oil your grill grates well and preheat them before adding the Garlic Parmesan Grilled Chicken. Pat the chicken dry before grilling, and don’t move it for the first 2–3 minutes to let a crust form. Using a medium-high heat (not scorching) also helps release the chicken easily.