“`html
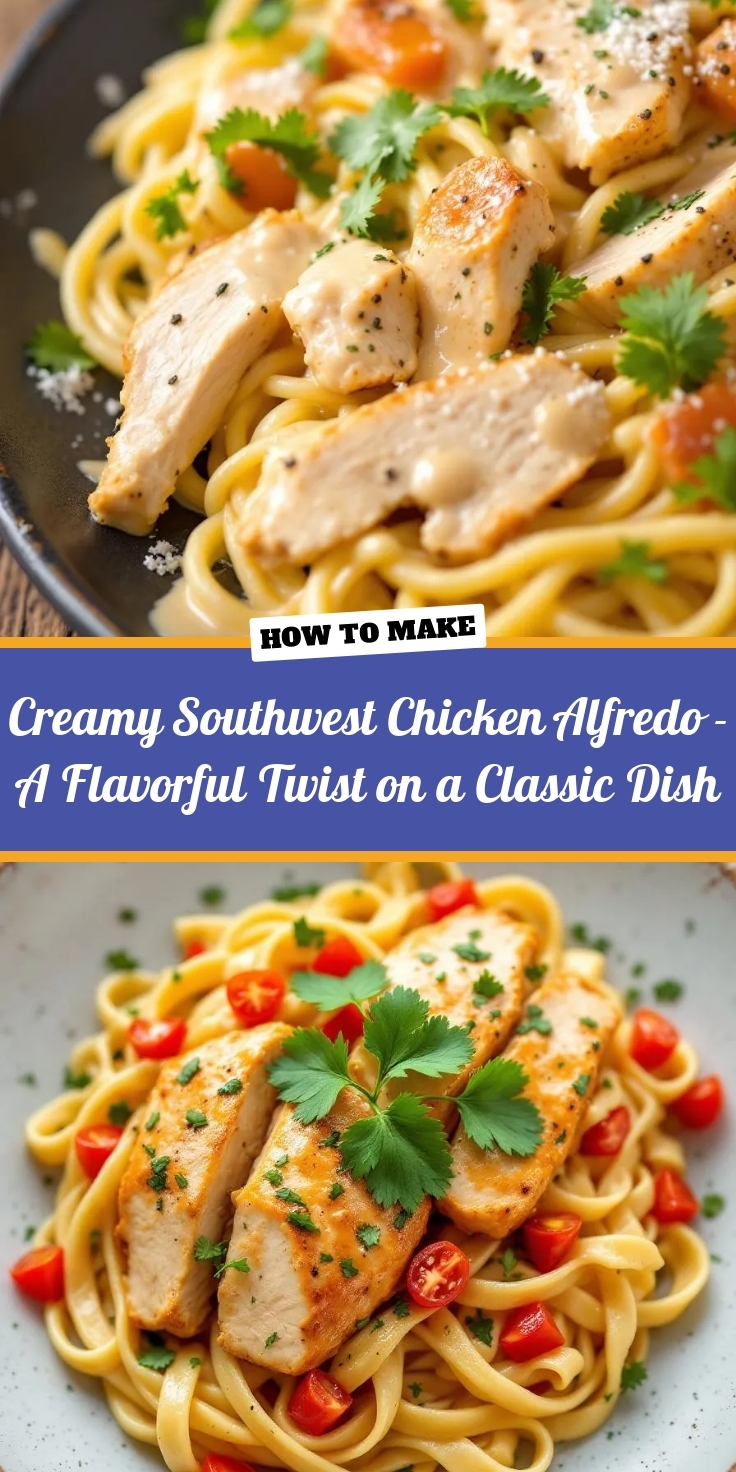
Introduction
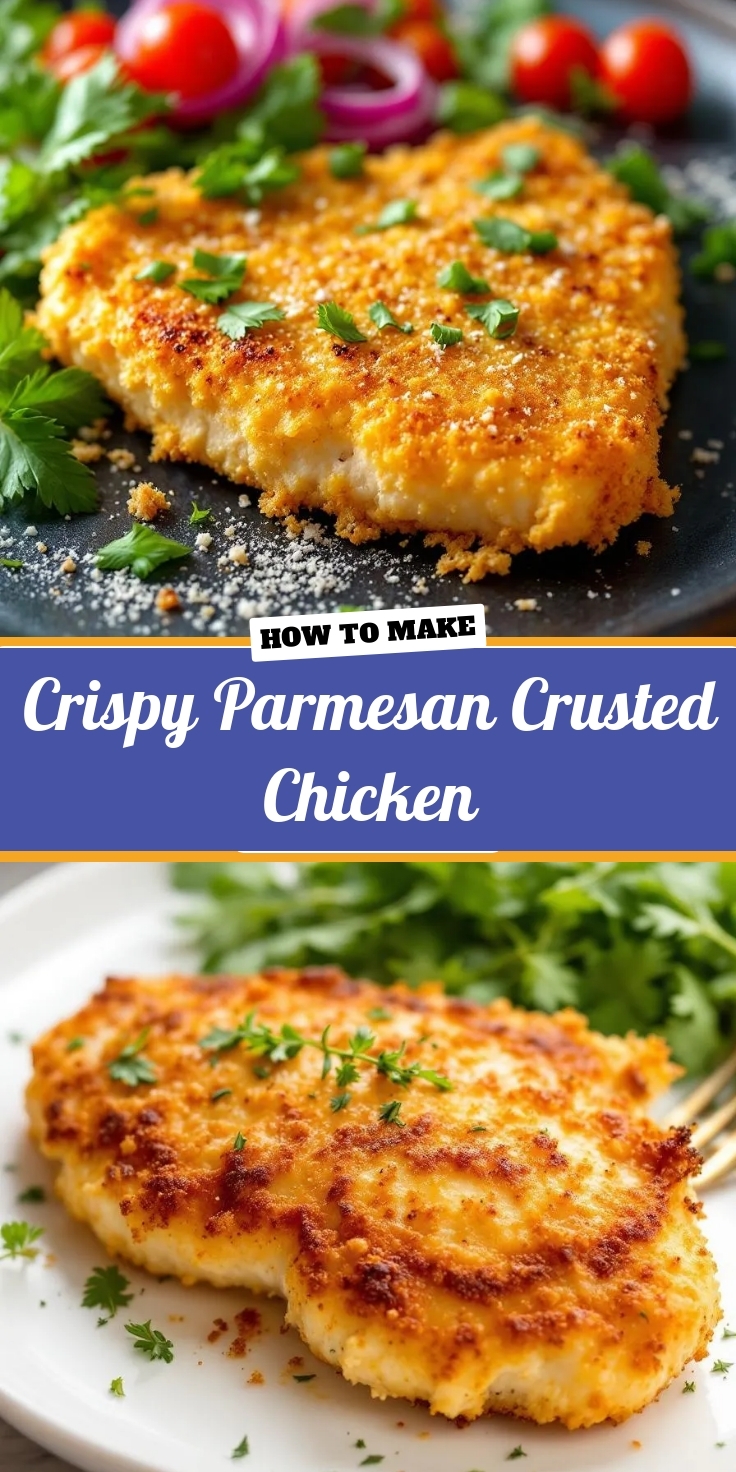
There’s something undeniably comforting about biting into a perfectly golden, crispy piece of chicken. Now, imagine that crunch giving way to a savory, cheesy explosion—that’s exactly what you get with Crispy Parmesan Crusted Chicken. Whether you’re cooking for a busy weeknight dinner or impressing guests at a weekend gathering, this dish delivers both flavor and texture in every bite. Plus, it’s surprisingly simple to make, even if you’re not a kitchen pro. If you love recipes that balance ease and elegance, this one will quickly become a staple in your rotation.
About This Recipe
Crispy Parmesan Crusted Chicken is a delicious twist on classic breaded chicken, featuring a golden, crunchy exterior made with grated Parmesan and breadcrumbs. Unlike traditional fried chicken, this version bakes up beautifully in the oven, cutting down on grease without sacrificing that irresistible crispiness. Moreover, the Parmesan adds a rich, umami depth that pairs perfectly with everything from fresh salads to buttery pasta. For anyone who loves quick, flavorful meals, this recipe is a game-changer.
On this blog, we specialize in recipes that are both approachable and impressive, and Crispy Parmesan Crusted Chicken fits right in. It’s the kind of dish that feels special enough for date night but easy enough for a Tuesday dinner. If you’re looking for more crowd-pleasing chicken ideas, check out our Garlic Butter Chicken or Lemon Herb Chicken. Ultimately, this recipe proves that a few simple ingredients can transform an ordinary meal into something extraordinary.
Why I Love This Recipe
I’ll never forget the first time I made Crispy Parmesan Crusted Chicken for my family. My kids, who usually pick at their food, devoured every last bite—and asked for seconds. Since then, it’s been our go-to for busy nights when we want something satisfying without a lot of fuss. The way the Parmesan forms a crisp, salty crust reminds me of the meals my grandmother used to make, but with a modern, lighter twist. Every time I pull it out of the oven, that golden crust and the smell of toasted cheese make me smile. It’s more than just a recipe—it’s a little piece of joy on a plate.
“`
Health and Nutrition
Why it’s good for your body
Crispy Parmesan Crusted Chicken packs a nutritious punch while satisfying your cravings for something crunchy and flavorful. First, the lean chicken breast provides high-quality protein, which helps build and repair muscles. Additionally, the parmesan cheese adds a boost of calcium, supporting strong bones and teeth.
Moreover, this dish keeps things balanced. Unlike deep-fried alternatives, Crispy Parmesan Crusted Chicken uses a lighter baking method, cutting down on excess oil. The golden crust comes from a blend of parmesan and breadcrumbs, offering a satisfying texture without overwhelming your diet. Plus, the dish includes minimal added sugars, making it a smarter choice for steady energy levels.
Finally, the ingredients work together to deliver essential nutrients. Garlic and herbs in the seasoning add antioxidants, which help fight inflammation. Meanwhile, the protein and healthy fats in Crispy Parmesan Crusted Chicken keep you full longer, reducing the urge to snack on less nutritious options. Whether you’re fueling a busy day or winding down at night, this meal supports your body without compromise.
How it fits in a healthy lifestyle
Crispy Parmesan Crusted Chicken fits seamlessly into a balanced diet. If you’re watching your carbs, simply swap traditional breadcrumbs for a gluten-free alternative. The dish also aligns with high-protein diets, making it a great post-workout meal. Pair it with a fresh salad or steamed veggies for a well-rounded plate.
For heart-healthy eating, use olive oil instead of butter when preparing the crust. This small tweak adds beneficial fats while keeping the flavor rich. If you’re meal prepping, Crispy Parmesan Crusted Chicken stores well, so you can enjoy it throughout the week. Check out our guide on easy meal prep ideas for more inspiration.
Even on busy nights, this recipe comes together quickly. It’s a smarter alternative to takeout, giving you control over ingredients and portions. For more ways to keep dinners nutritious and simple, explore our quick healthy dinners collection. With Crispy Parmesan Crusted Chicken, eating well doesn’t mean sacrificing taste or convenience.
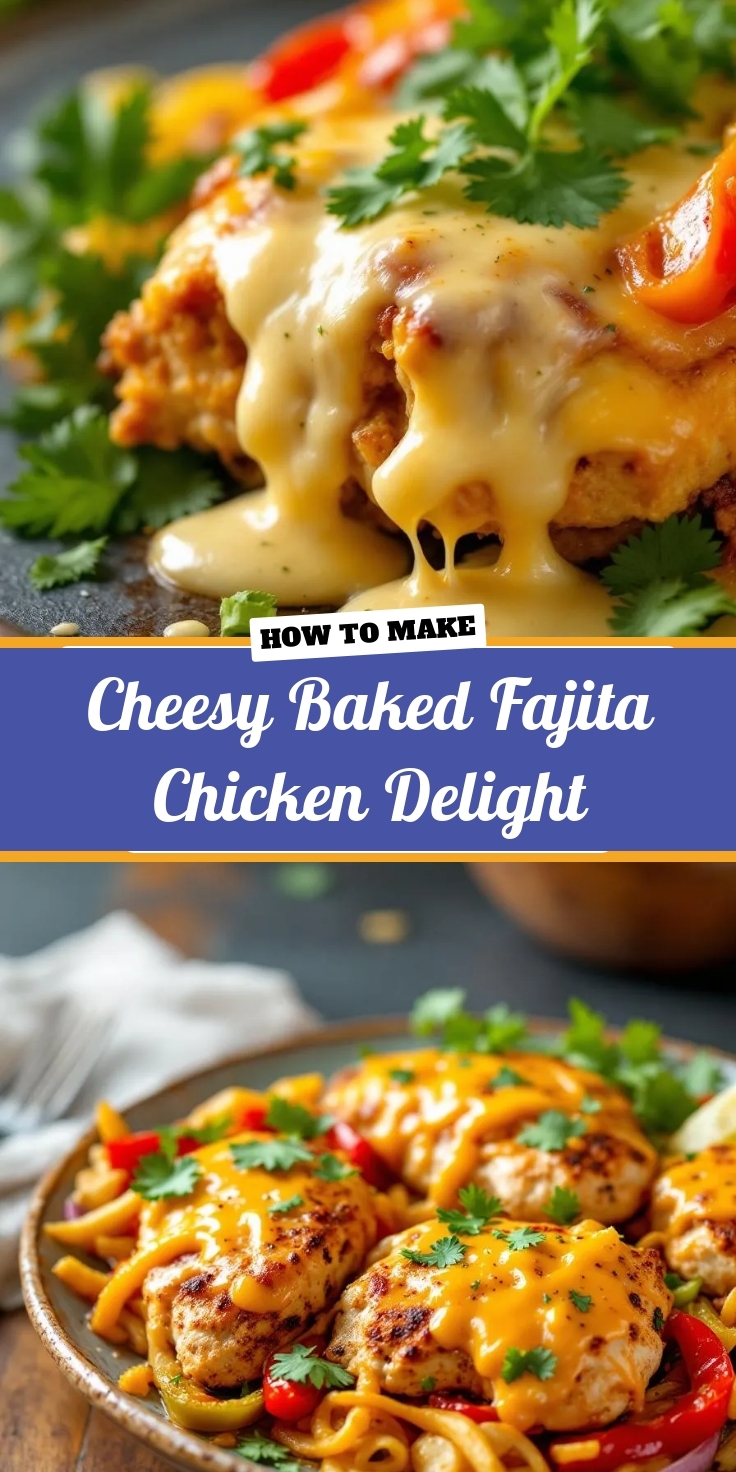
PrintCrispy Parmesan Crusted Chicken
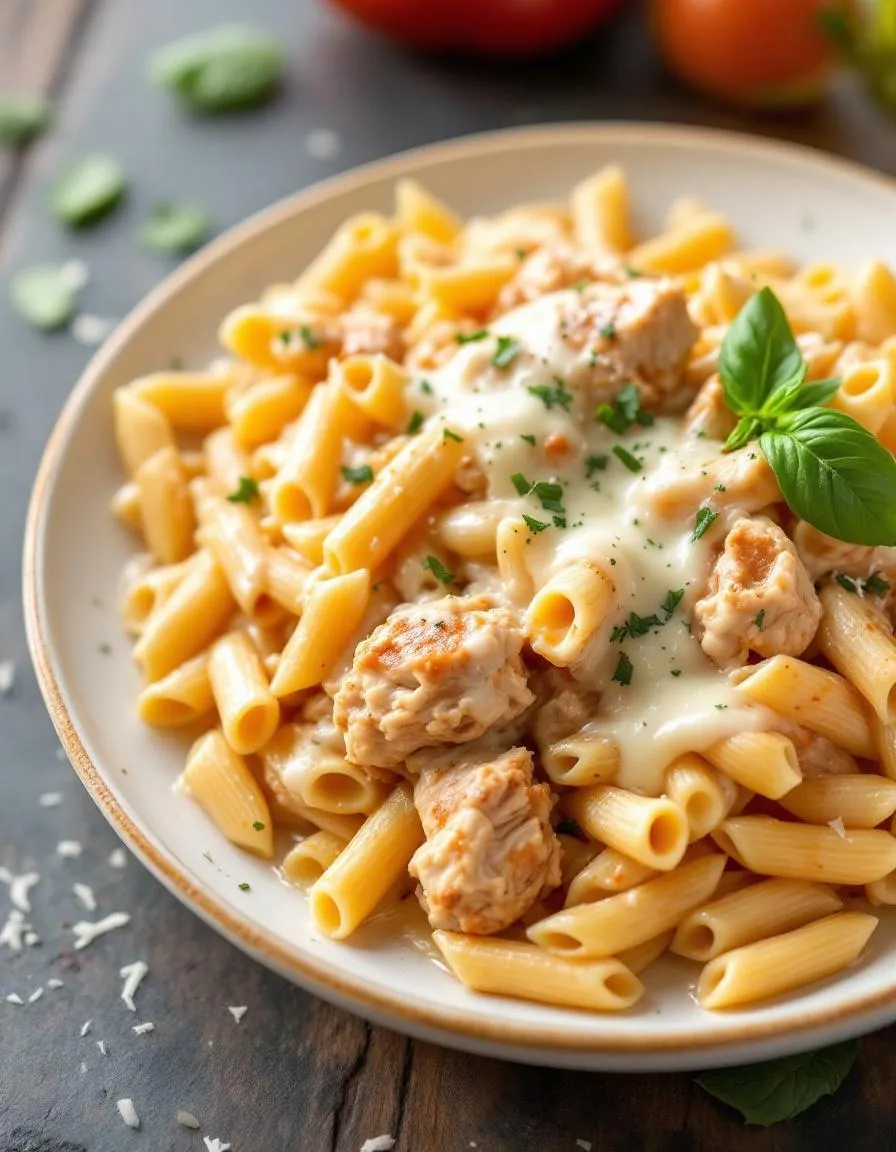
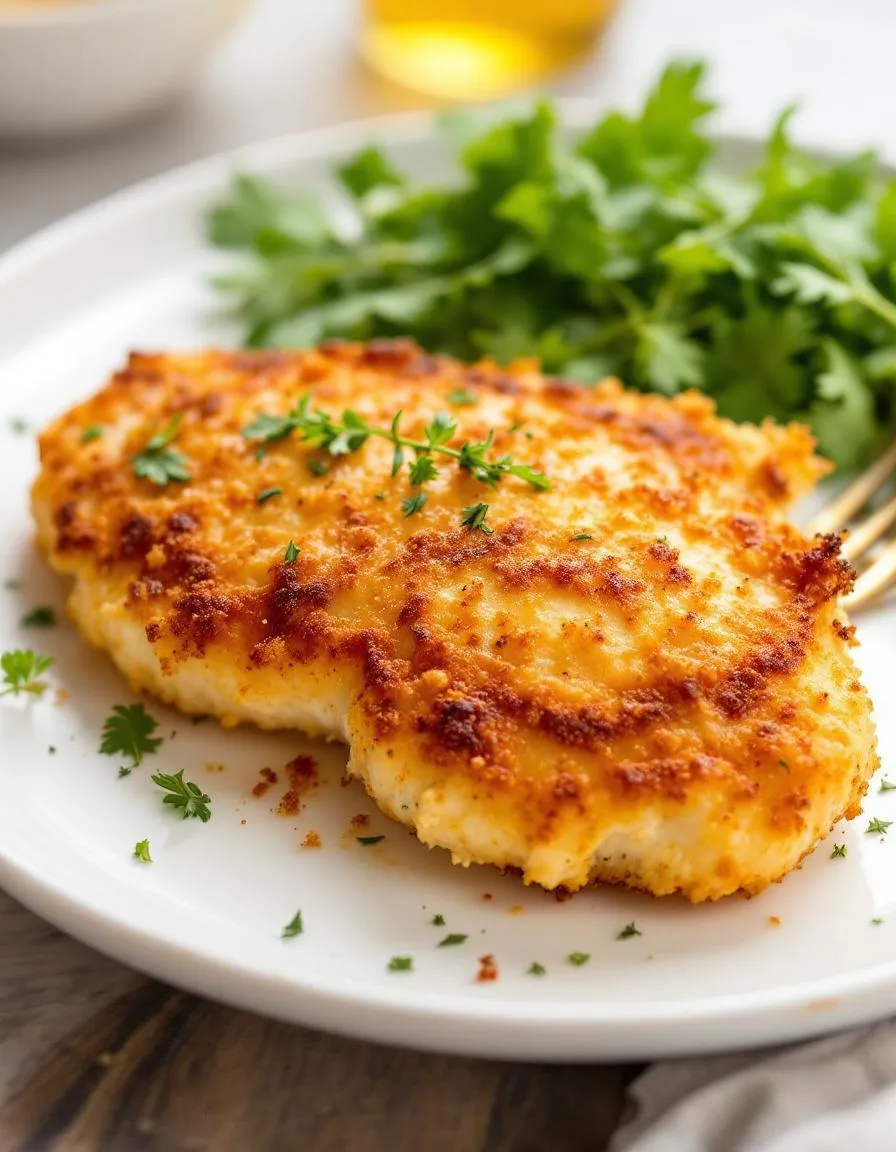
Description
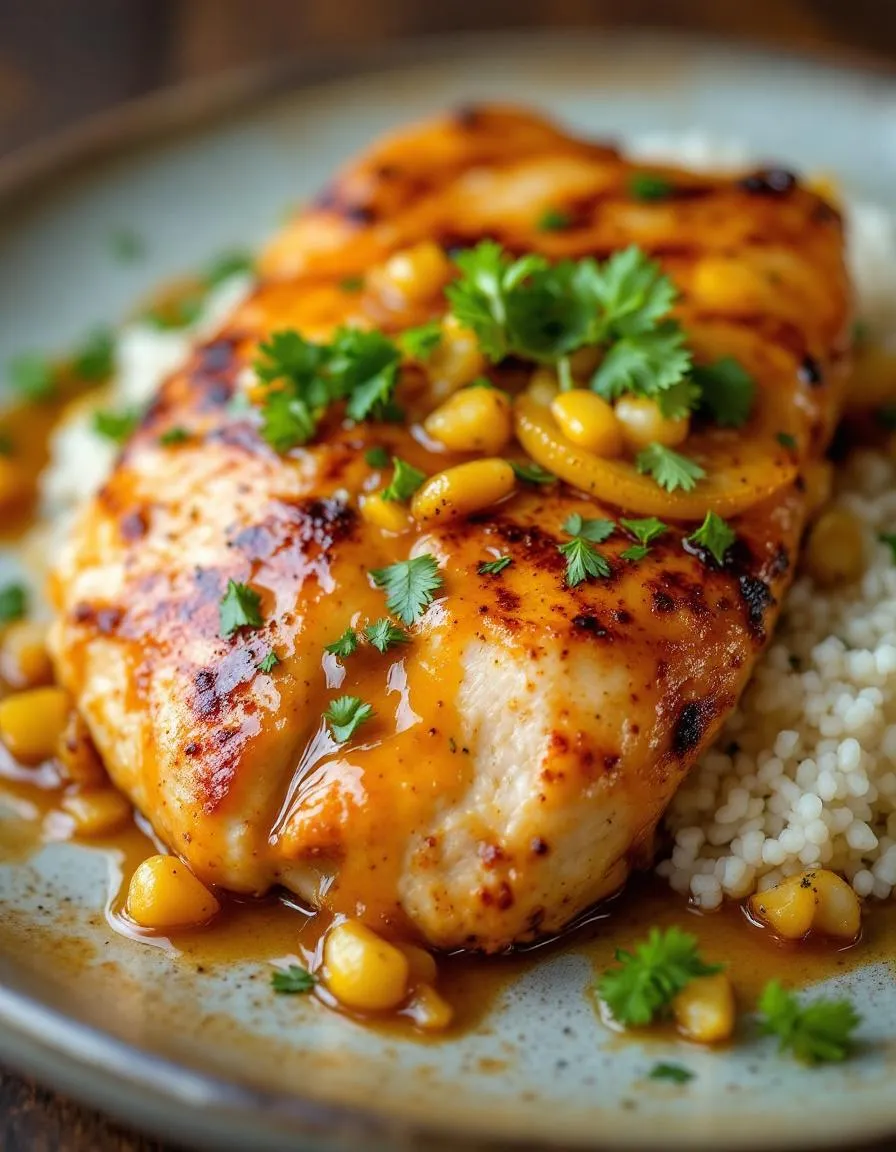
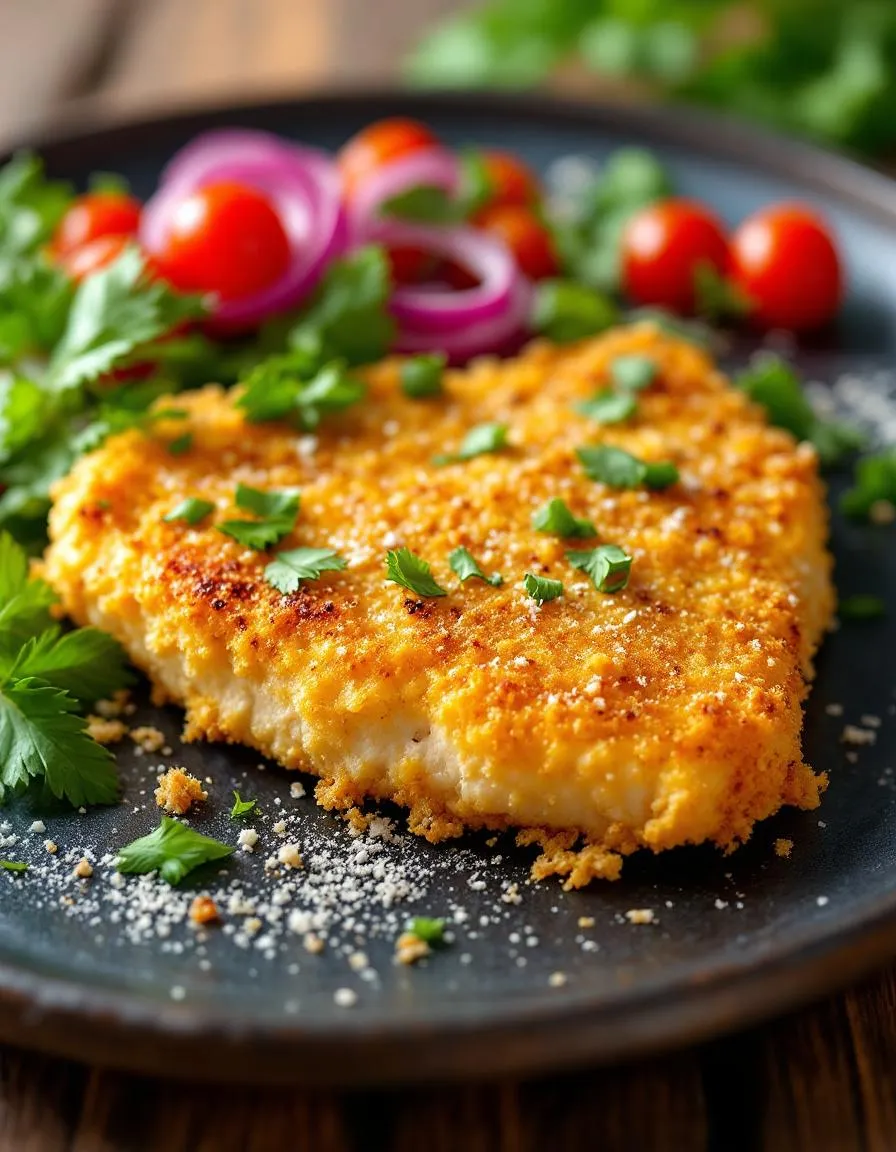
Juicy chicken breasts coated in a crispy parmesan and breadcrumb crust, baked to golden perfection.
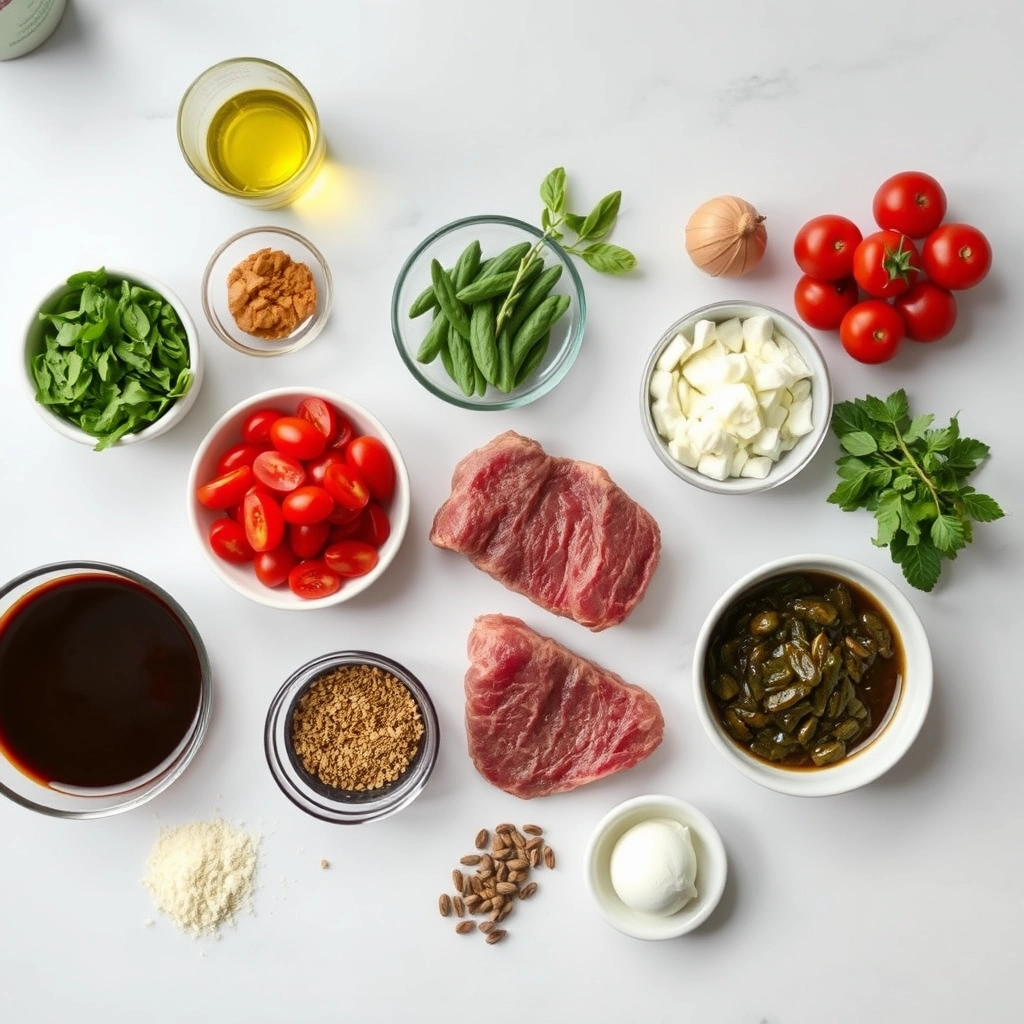
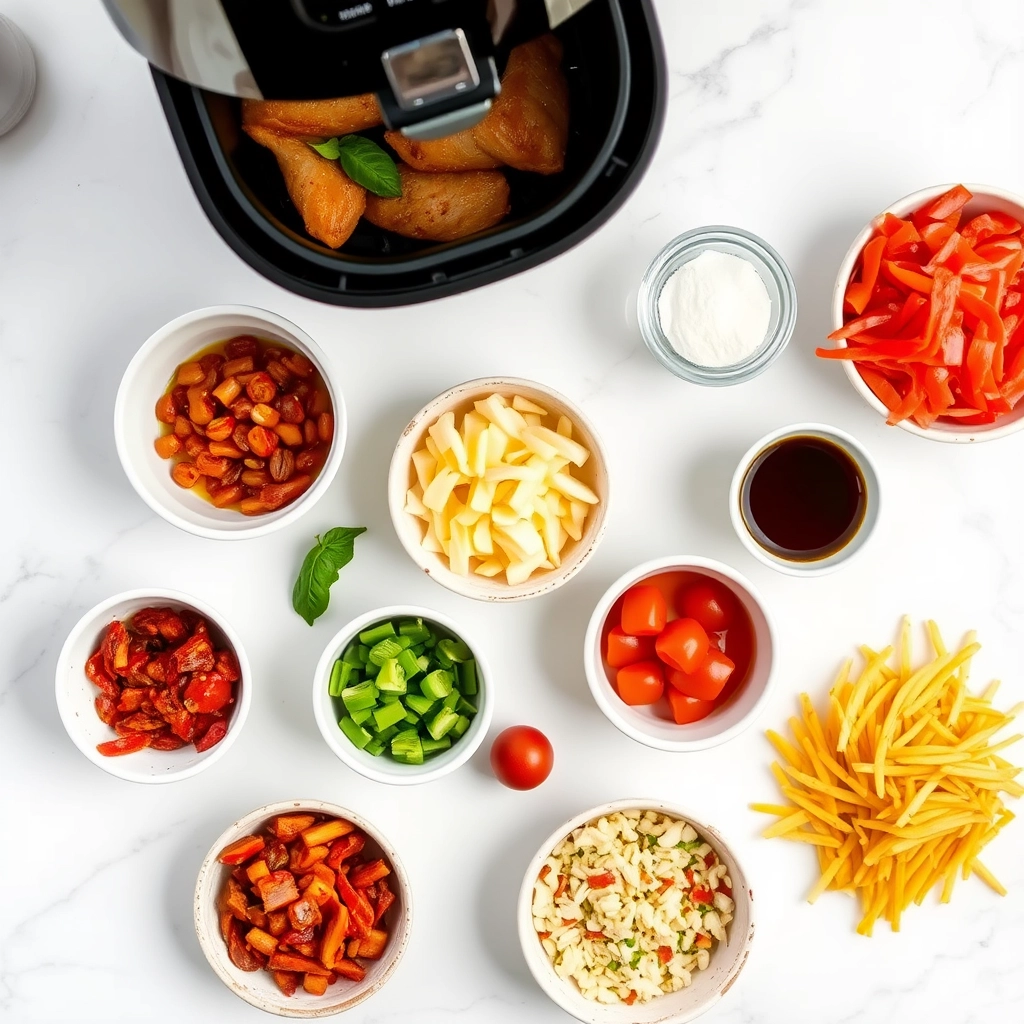
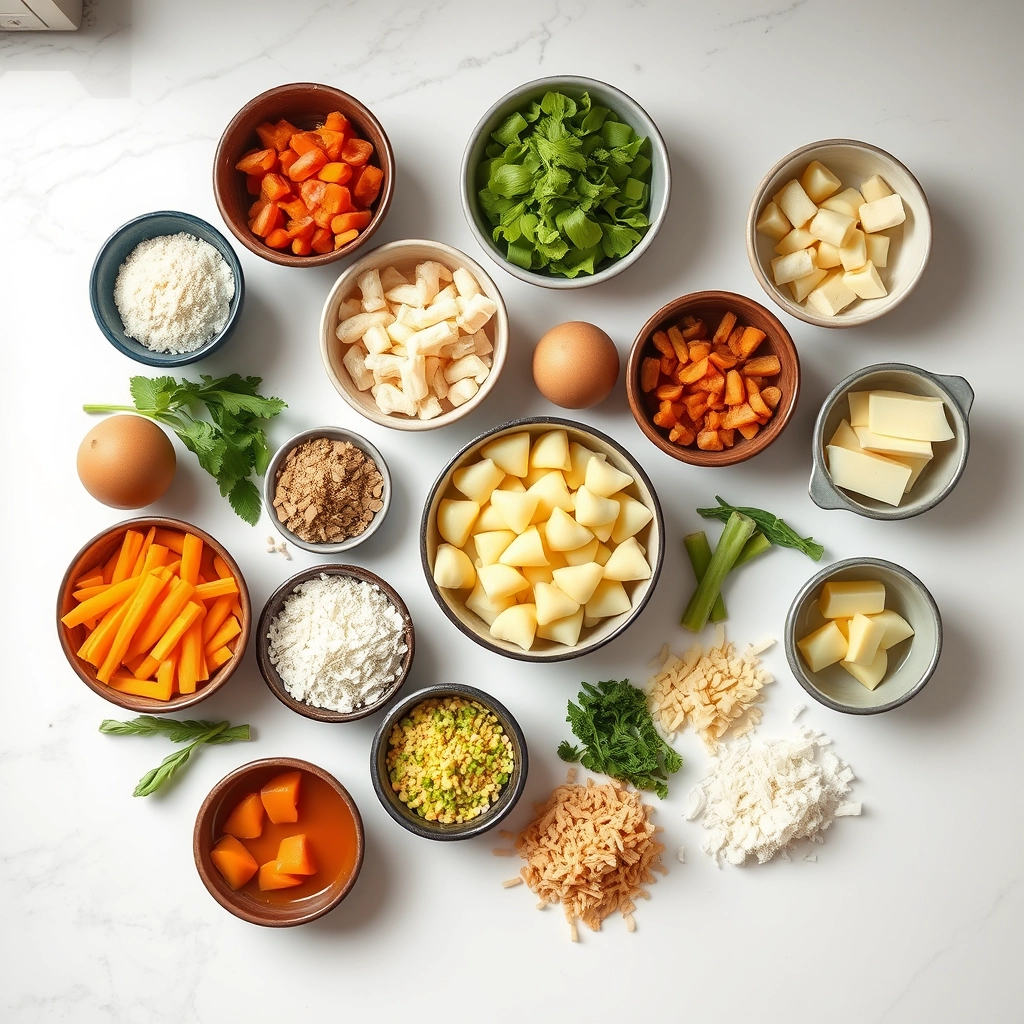
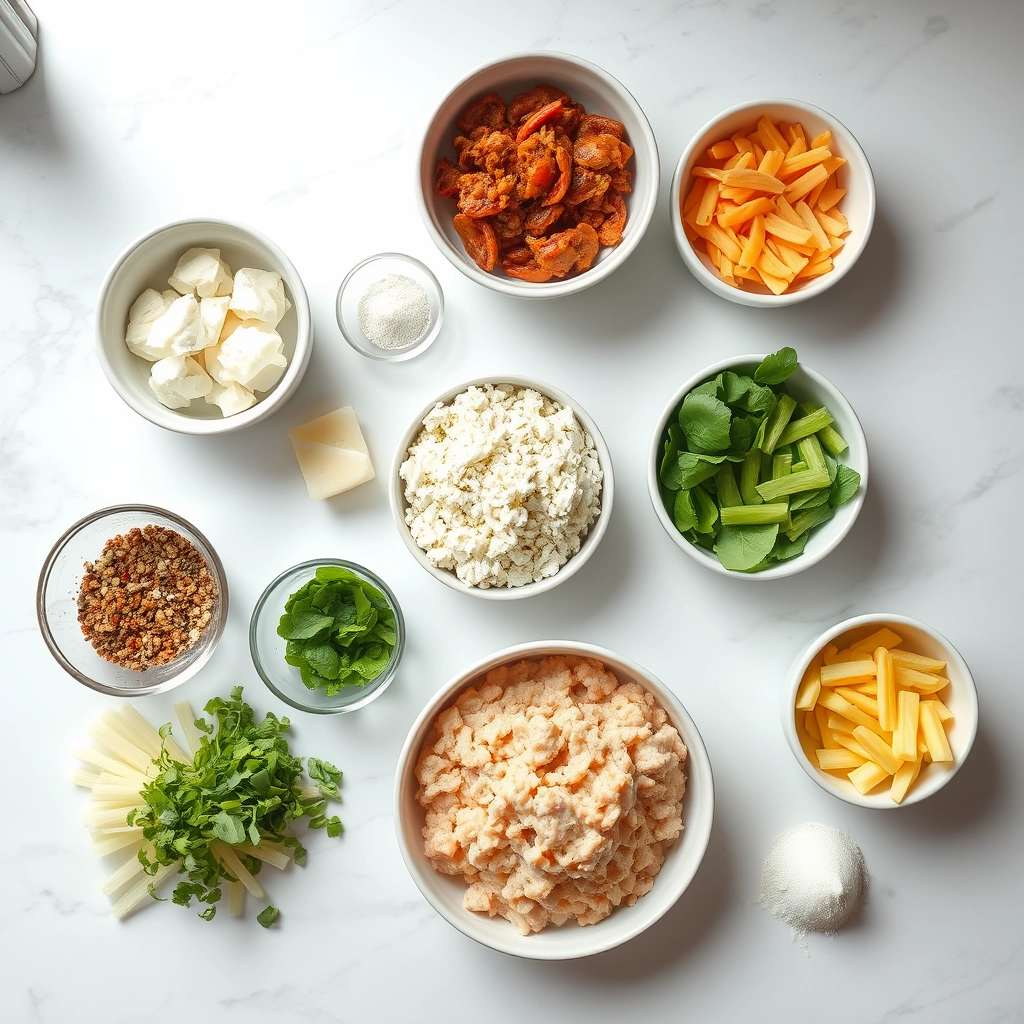
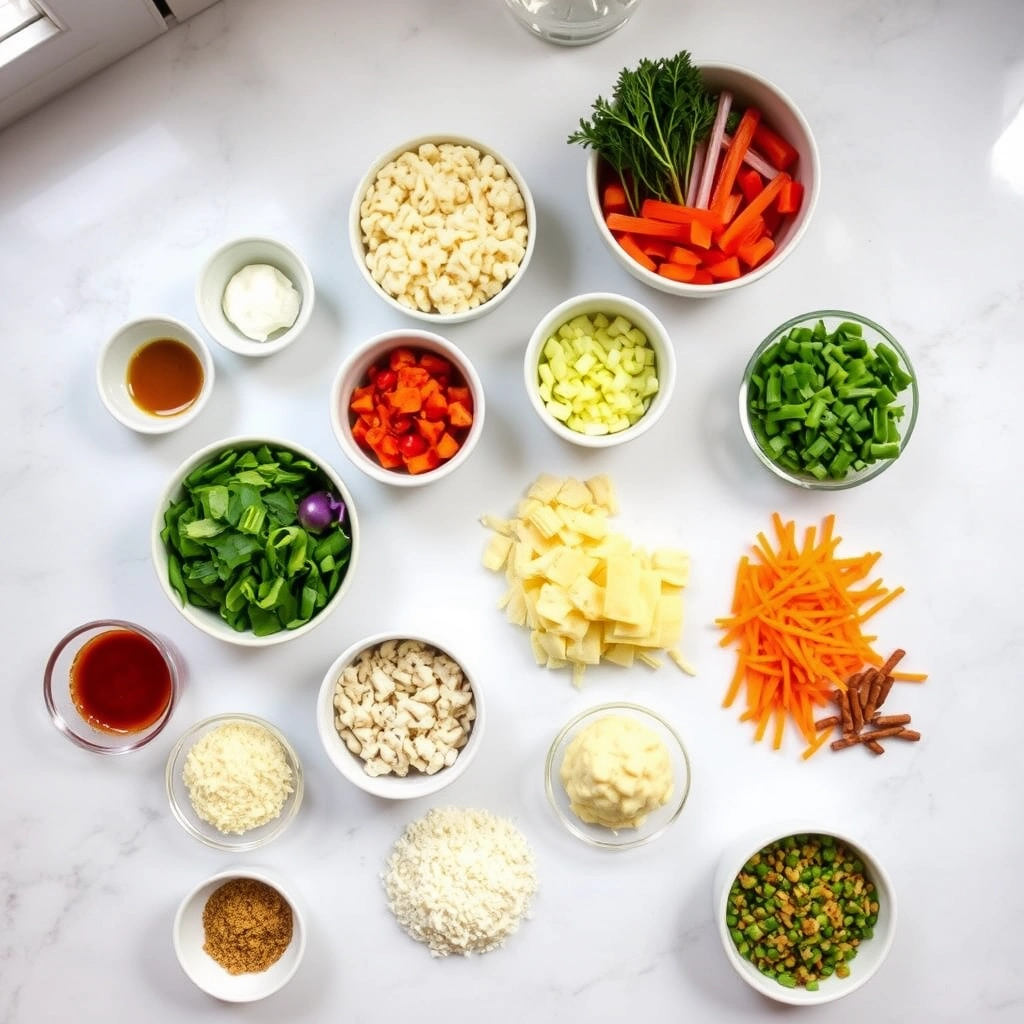
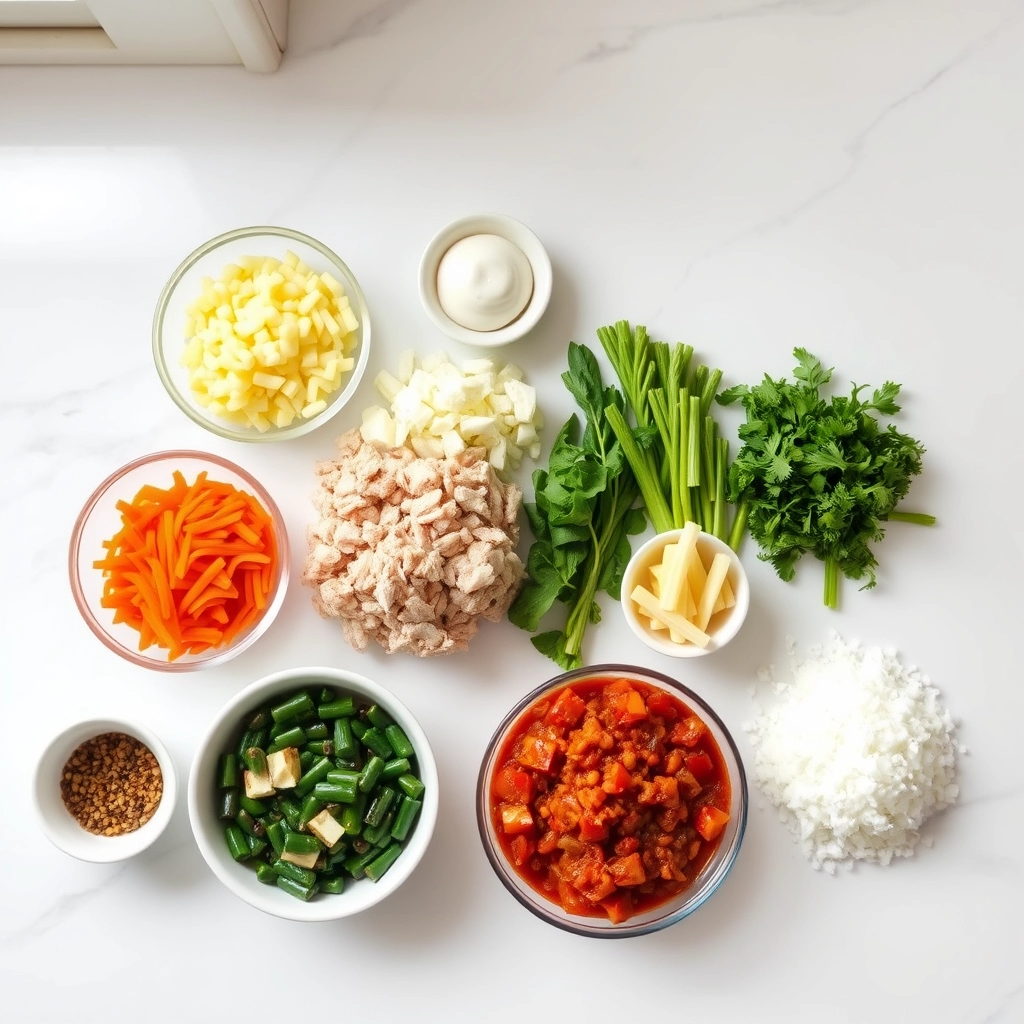
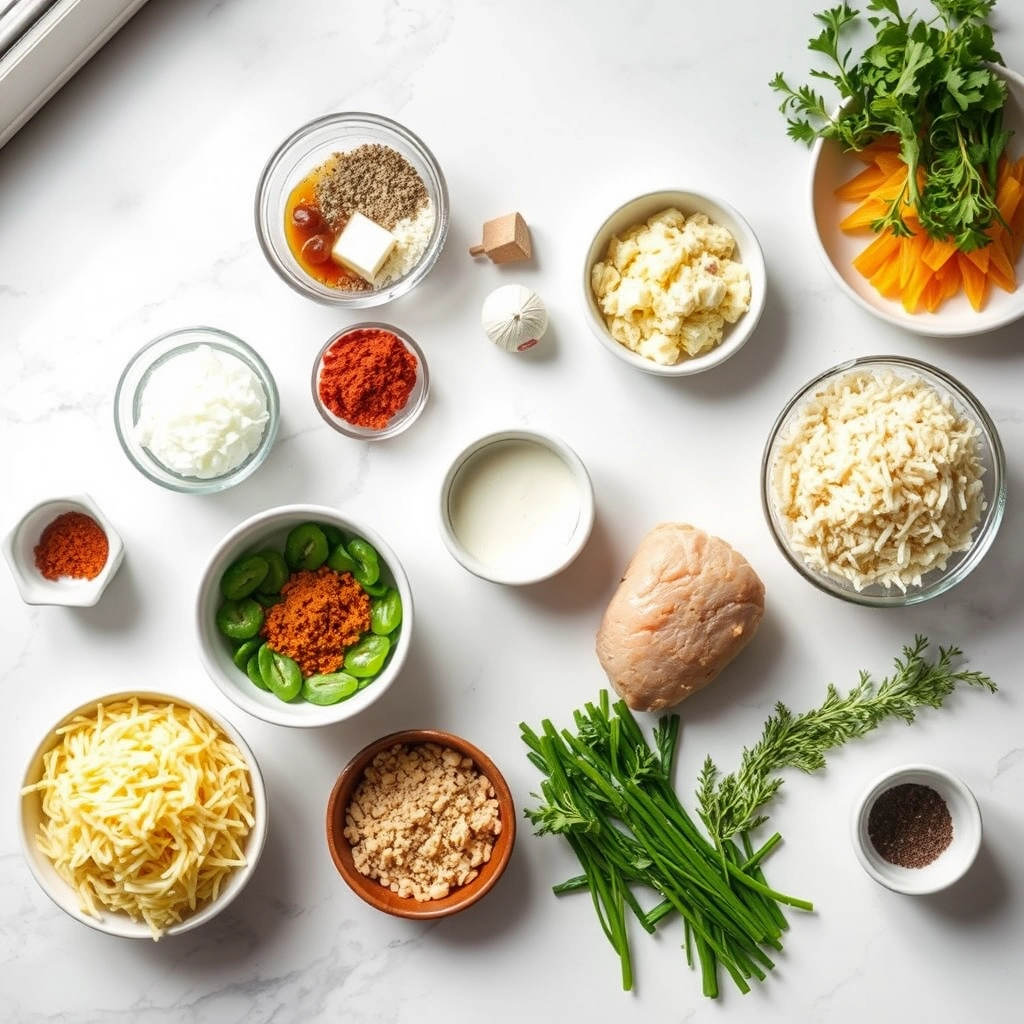
Ingredients
For the Crust:
- 4 boneless, skinless chicken breasts
- 1 cup grated parmesan cheese
- 1 cup breadcrumbs
- 1 teaspoon garlic powder
- 1 teaspoon paprika
- 1/2 teaspoon salt
- 1/2 teaspoon black pepper
- 2 large eggs
- 2 tablespoons olive oil
Instructions
1. Prepare the Crust:
- Preheat oven to 400°F (200°C). Line a baking sheet with parchment paper.
- In a shallow bowl, mix parmesan cheese, breadcrumbs, garlic powder, paprika, salt, and pepper.
- In another bowl, beat the eggs.
- Dip each chicken breast in the beaten eggs, then coat evenly with the parmesan mixture.
- Place the coated chicken on the prepared baking sheet and drizzle with olive oil.
- Bake for 25-30 minutes or until the chicken is cooked through and the crust is golden and crispy.
Notes
You can customize the seasonings to taste.
“`html
How to Prepare This Dish
Steps and time-saving tips
Start by preheating your oven to 400°F so it’s ready when you finish prepping the Crispy Parmesan Crusted Chicken. While the oven heats, whisk two large eggs in a shallow bowl with a splash of water for a lighter coating. In another bowl, mix grated Parmesan, breadcrumbs, garlic powder, and a pinch of salt for extra flavor. Pat the chicken breasts dry with paper towels—this helps the coating stick better. Dip each piece first in the egg mixture, letting excess drip off, then press firmly into the Parmesan blend to coat both sides. For extra crispiness, drizzle a little olive oil on a baking sheet before placing the chicken on it. Bake for 20-25 minutes until golden brown and the internal temperature hits 165°F. If you’re short on time, pound the chicken to an even thickness so it cooks faster. Let the Crispy Parmesan Crusted Chicken rest for 5 minutes before slicing to keep it juicy. Serve with a squeeze of lemon or marinara sauce for a bright finish.
Mistakes I’ve made and learned from
I’ve learned the hard way that skipping the drying step leads to soggy Crispy Parmesan Crusted Chicken—moisture is the enemy of crunch! Another blunder? Overcrowding the baking sheet, which steams the coating instead of crisping it. Now I always leave space between pieces, or use two trays if needed. If your breading falls off, try chilling the coated chicken for 10 minutes before baking. For more foolproof tips, check out my guide on common baking mistakes or how to nail the perfect chicken temperature every time. Trust me, a little patience makes all the difference.
“`
Cultural Connection and Variations
Where this recipe comes from
Crispy Parmesan Crusted Chicken feels like a love letter to Italian-American kitchens, where simple ingredients transform into something extraordinary. While the dish doesn’t trace back to a specific region in Italy, it embodies the spirit of Italian cucina povera—turning humble staples like chicken and cheese into a crispy, golden masterpiece. In my family, we’d make it for Sunday dinners, pairing it with a tangy marinara or a bright arugula salad. Some versions add herbs like oregano or thyme, while others swap Parmesan for Pecorino Romano for a sharper kick.
Across the globe, cooks put their own spin on Crispy Parmesan Crusted Chicken. In Argentina, they might top it with chimichurri, while in Japan, a drizzle of tonkatsu sauce adds sweetness. My grandmother’s secret? A pinch of smoked paprika in the breadcrumb mix for depth. Whether served as a weeknight hero or a festive centerpiece, this dish adapts effortlessly. It’s proof that comfort food knows no borders.
How it fits in today’s cooking
Today, Crispy Parmesan Crusted Chicken remains a star for busy cooks and food lovers alike. It’s a go-to for meal prep—reheating beautifully for lunches—or a crowd-pleaser for dinner parties. Modern twists include air-frying for extra crispiness or using gluten-free panko for dietary needs. Some even layer it into sandwiches or slice it over creamy garlic mashed potatoes for ultimate comfort.
Seasonally, it shines year-round. In summer, pair it with a fresh lemon herb quinoa salad, or in winter, serve it alongside roasted root veggies. Its versatility keeps it relevant, whether you’re cooking for one or hosting a holiday feast. After all, who can resist that golden, cheesy crunch?
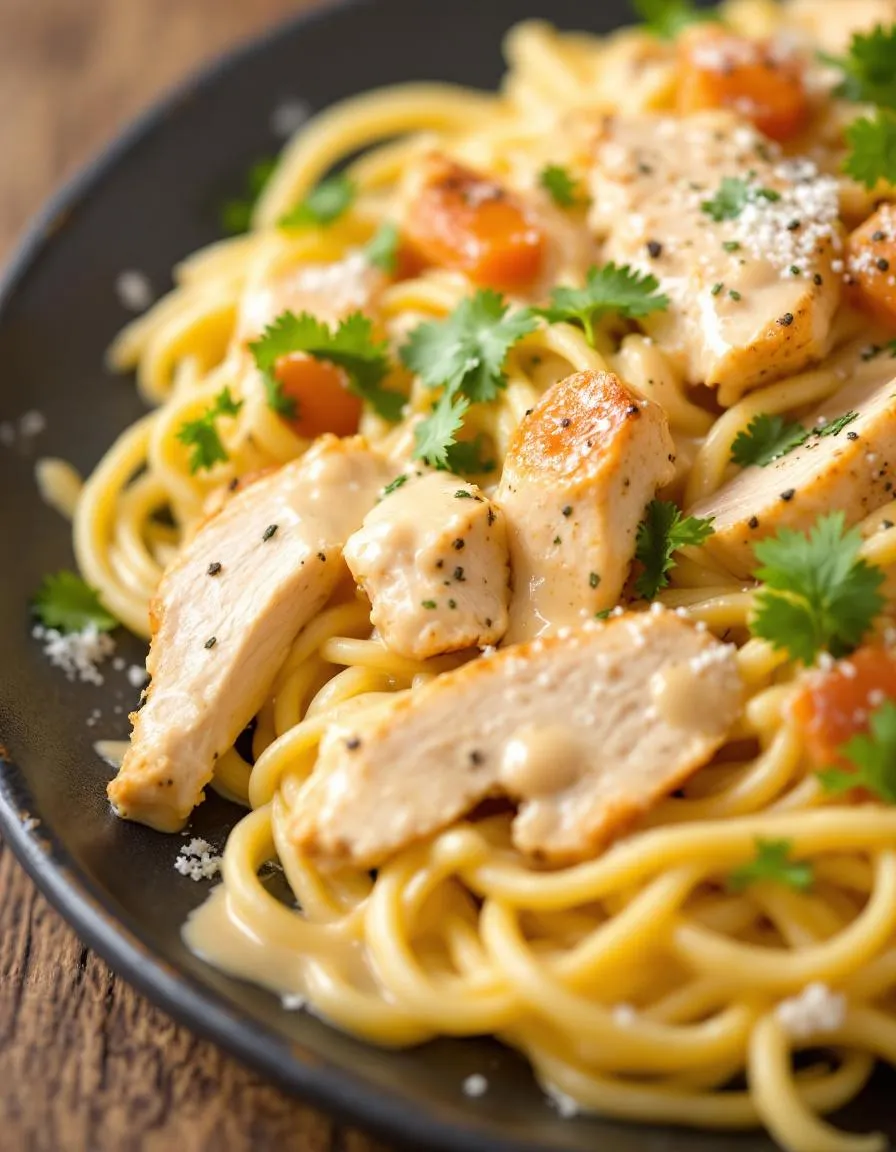
Taste and Texture
What makes it delicious
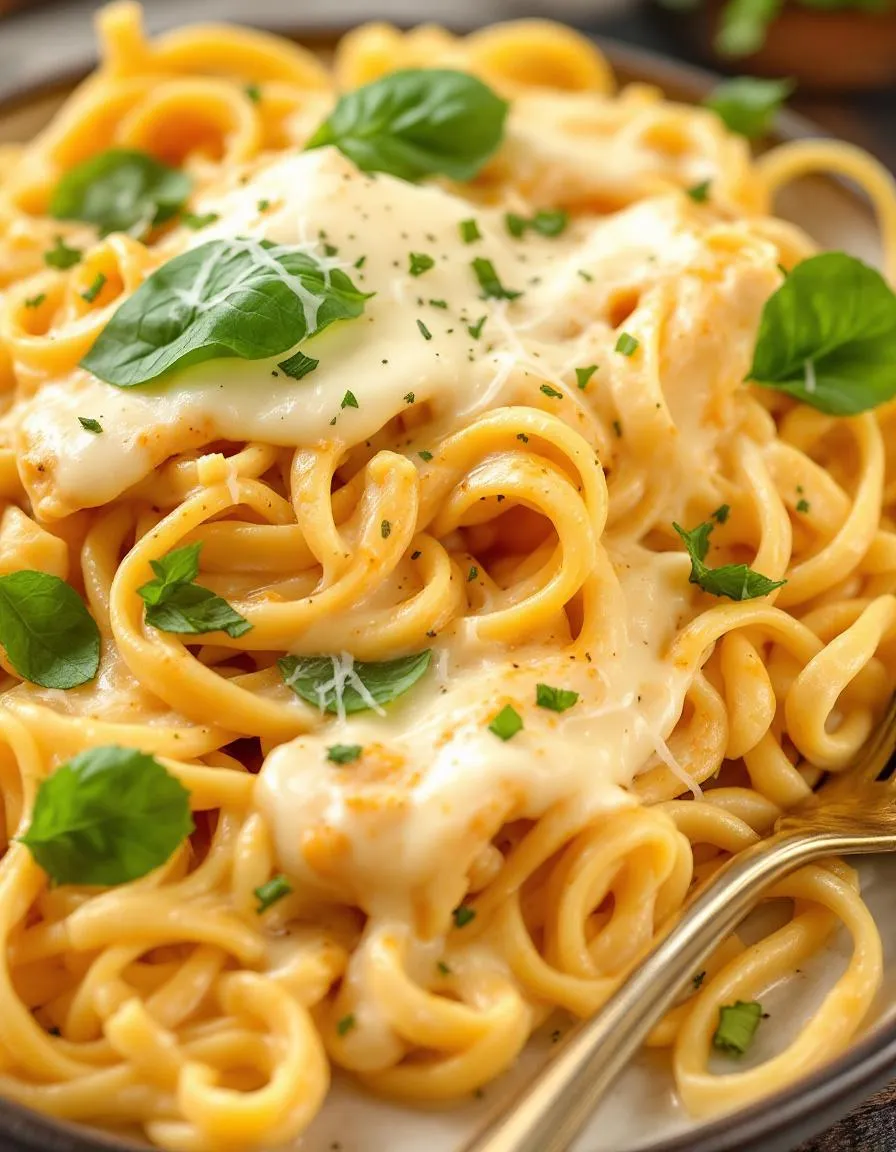
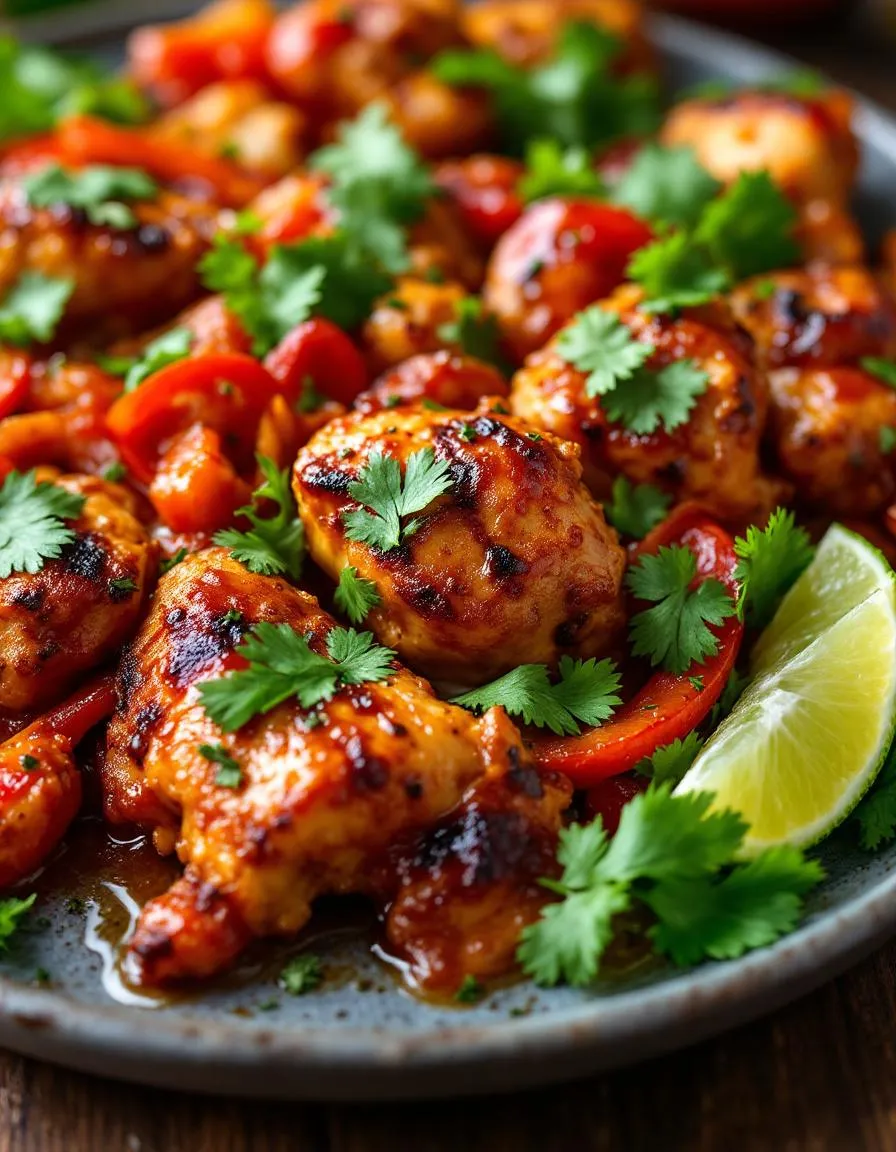
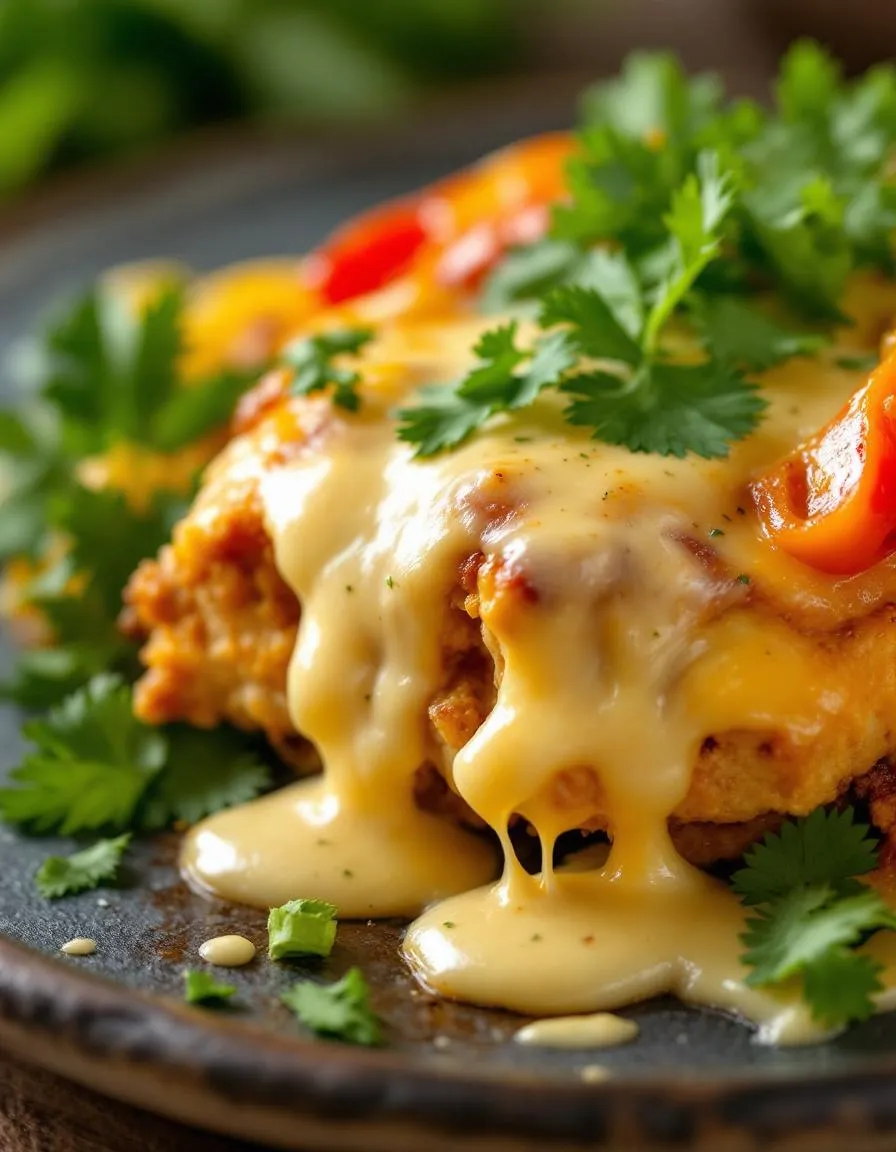
Crispy Parmesan Crusted Chicken delivers a symphony of textures and flavors in every bite. The golden crust shatters with a satisfying crunch, revealing tender, juicy chicken underneath. Nutty Parmesan cheese and garlic infuse the coating with a rich, savory depth, while a hint of paprika adds warmth. As you take a bite, the aroma of toasted breadcrumbs and herbs fills the air, making it irresistible. The contrast between the crispy exterior and succulent interior makes Crispy Parmesan Crusted Chicken a standout dish. Plus, the cheese melts slightly, creating a delicate, lacy edge that’s both visually appealing and delicious.
Boosting the flavor
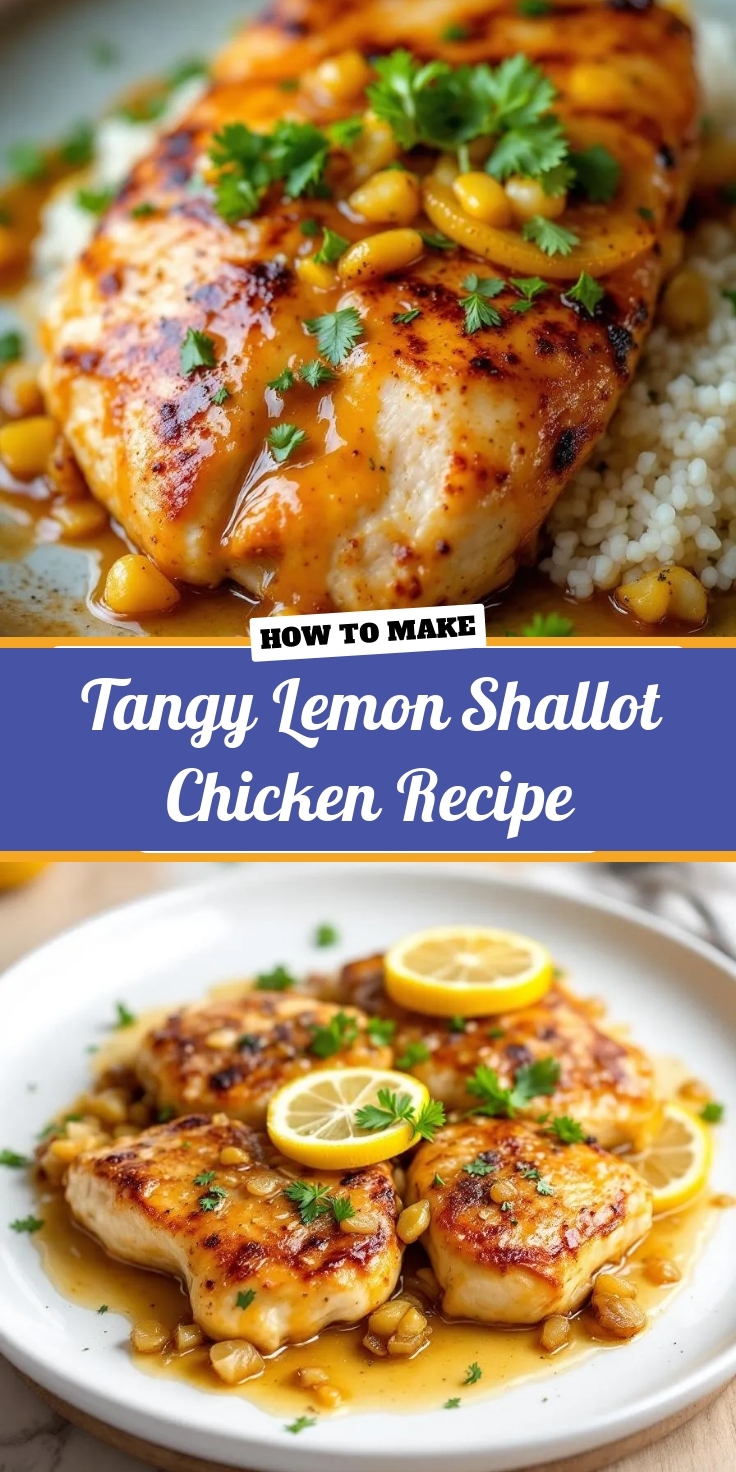
Elevate your Crispy Parmesan Crusted Chicken with a few creative tweaks. For a tangy twist, drizzle with a squeeze of lemon or serve with a side of garlic aioli for dipping. Fresh herbs like chopped parsley or basil brighten the dish, while a sprinkle of red pepper flakes adds a subtle kick. If you love bold flavors, try swapping half the Parmesan for sharp Pecorino Romano. Pair it with a light citrus salad to balance the richness. With these simple upgrades, every bite becomes even more memorable.
Tips for Success
Best practices for results
For perfectly crispy Parmesan crusted chicken, always pat the chicken dry before coating it. Moisture prevents the crust from sticking, so take this extra step for the best texture. Additionally, press the Parmesan mixture firmly onto the chicken to ensure an even, golden crust. Meanwhile, preheat your oil or butter in the pan so the chicken sizzles immediately, sealing in flavor. Finally, let the cooked chicken rest for a few minutes before slicing to keep it juicy.
Mistakes to avoid
Avoid overcrowding the pan when cooking crispy Parmesan crusted chicken, as this steams the crust instead of crisping it. Instead, cook in batches if needed for consistent results. Another common mistake is using pre-shredded Parmesan, which often contains anti-caking agents that affect texture. For the crispiest coating, freshly grate your cheese. If you need more guidance on selecting ingredients, check out our guide to choosing the right cheese. Also, resist the urge to flip the chicken too soon—let it develop a deep golden crust first, just like we recommend in our perfect pan-frying tips.
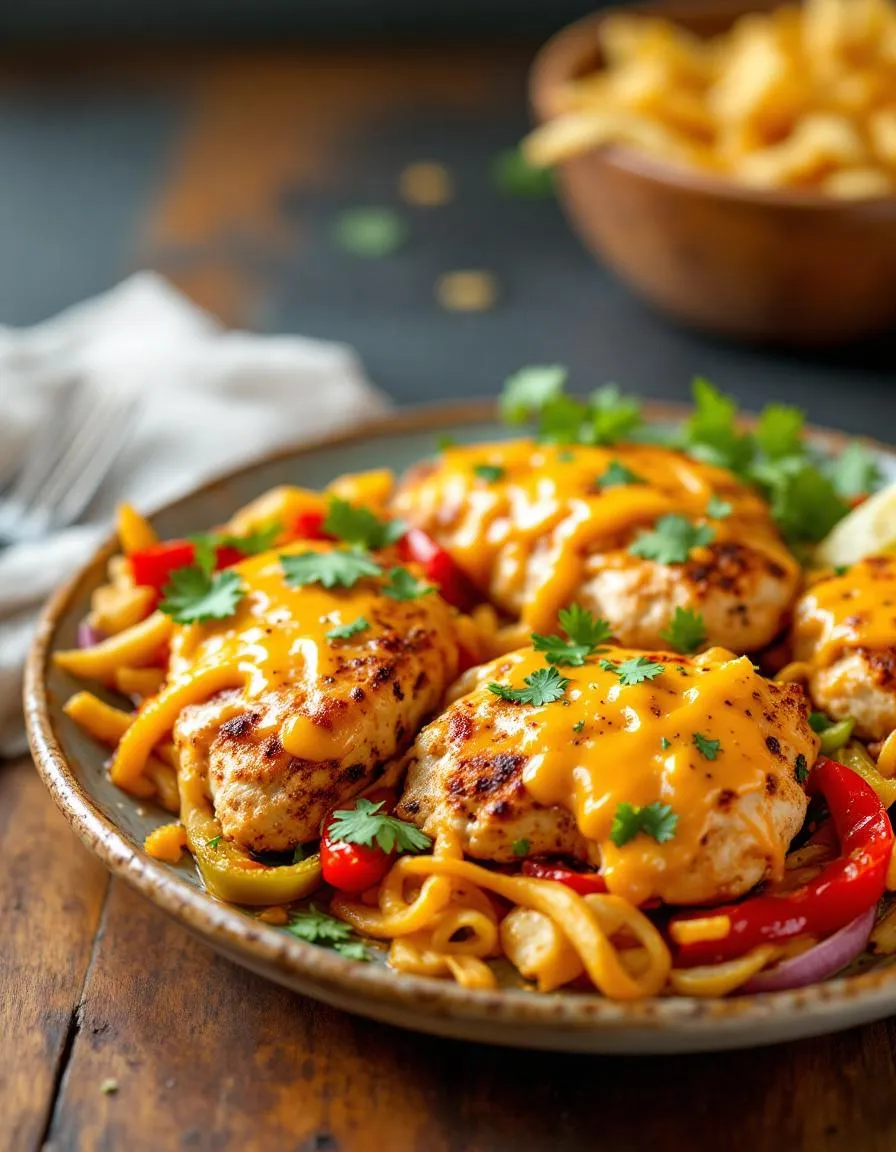
Serving and Pairing Suggestions
How to serve this dish
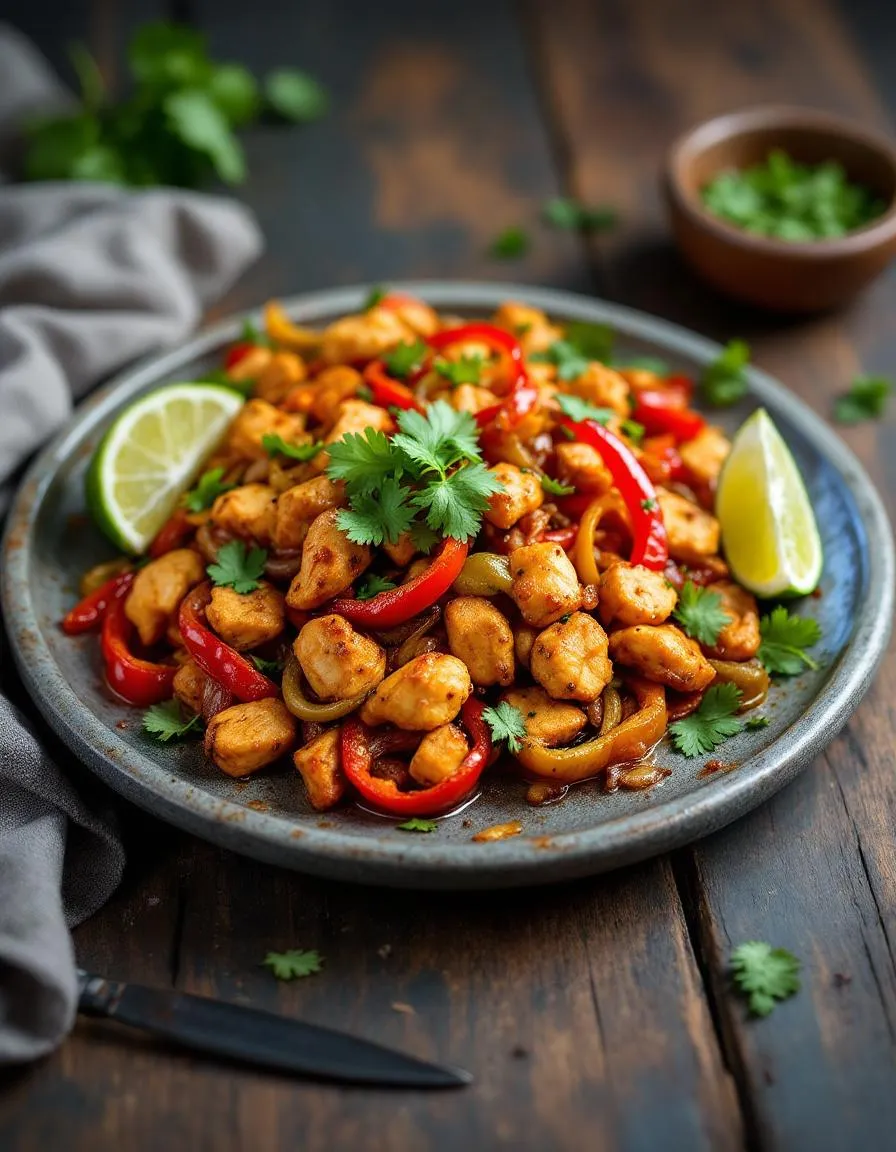
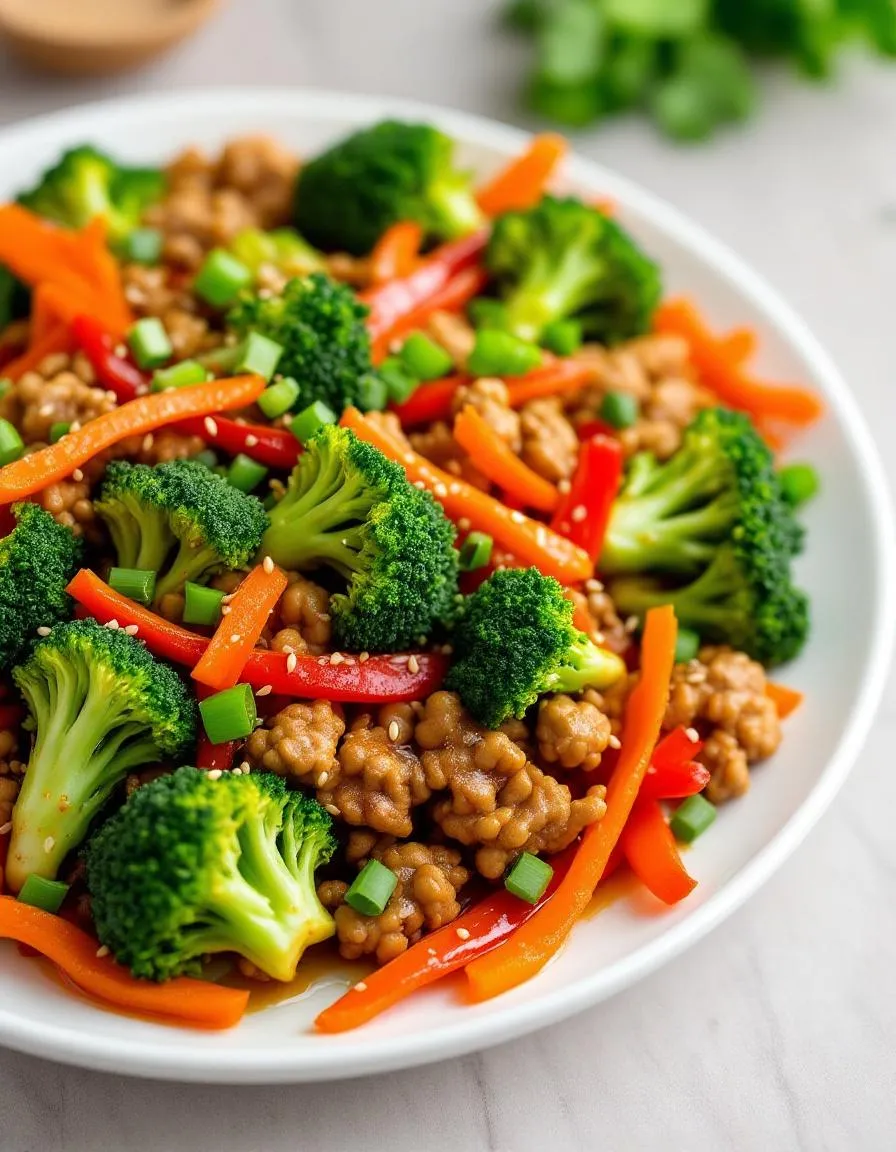
Elevate your Crispy Parmesan Crusted Chicken by plating it on a warm, rustic wooden board or a sleek white platter for contrast. For a pop of color, garnish with fresh parsley or lemon wedges, which also add a bright, zesty note. Meanwhile, this dish shines at casual weeknight dinners yet also fits right in at holiday gatherings or Sunday brunch. If you want to impress guests, layer the chicken over a bed of vibrant greens or alongside roasted vegetables for a restaurant-worthy presentation.
What goes well with it
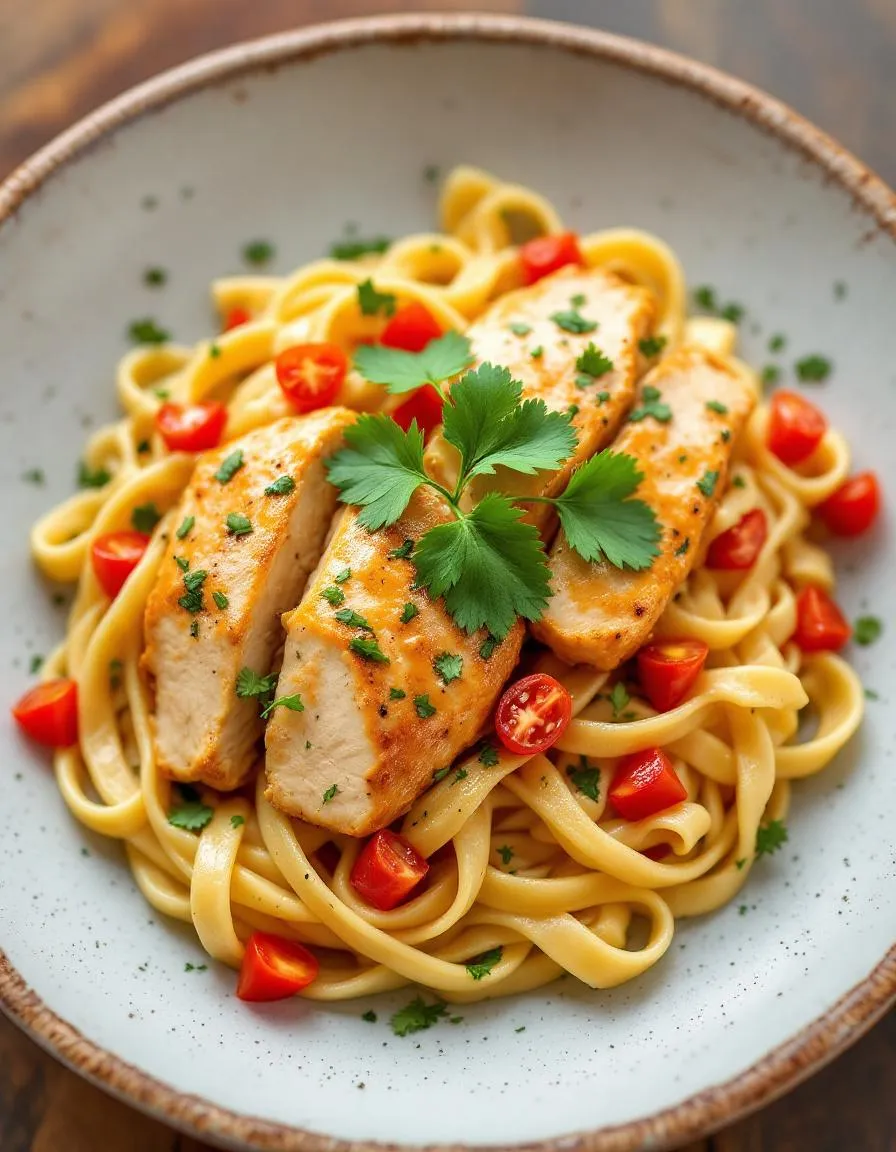
Pair your Crispy Parmesan Crusted Chicken with a crisp, chilled white wine like Sauvignon Blanc to balance its rich flavors. Alternatively, try a tangy lemon garlic aioli for dipping—it enhances the savory Parmesan crust perfectly. For sides, roasted garlic mashed potatoes or a light arugula salad with balsamic glaze make ideal companions. If you’re craving something heartier, our Creamy Tuscan Pasta adds a luxurious touch, while our Roasted Asparagus keeps the meal fresh and balanced.
To keep your Crispy Parmesan Crusted Chicken crispy, avoid overcrowding the pan while cooking and use a wire rack to let excess oil drain after frying. Baking at a high temperature (around 400°F) also helps maintain crunchiness, and serving immediately ensures the crust stays perfectly crisp.
Crispy Parmesan Crusted Chicken pairs well with light sides like a fresh arugula salad, roasted vegetables, or garlic mashed potatoes. For a complete meal, drizzle with lemon juice or serve with marinara sauce for dipping to enhance the flavors.
Yes! You can bake Crispy Parmesan Crusted Chicken in the oven at 400°F for 20-25 minutes for a healthier alternative. Spraying the chicken with a little oil before baking helps achieve a golden, crispy crust without deep-frying.
The key is to pat the chicken dry, then coat it thoroughly in flour, dip in beaten eggs, and press firmly into the Parmesan mixture. Letting the coated chicken rest for 5-10 minutes before cooking helps the crust adhere better to Crispy Parmesan Crusted Chicken.