“`html
Introduction
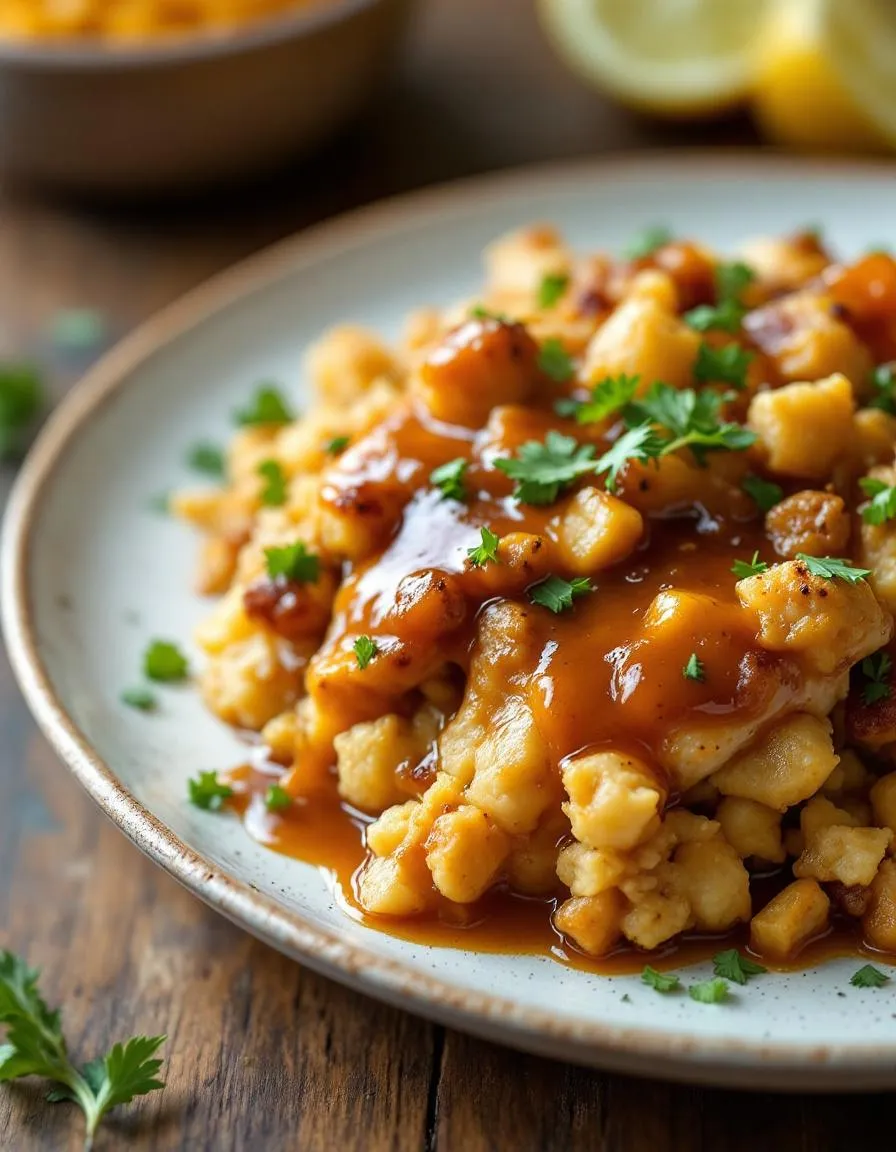
Imagine biting into a warm, crispy naan crust topped with tender chicken, cool tzatziki, and a burst of fresh veggies—this is the magic of Tzatziki Chicken Naan Pizza Delight. Whether you crave a quick weeknight dinner or a crowd-pleasing appetizer, this recipe delivers flavor and comfort in every bite. Plus, it’s a fun twist on traditional pizza that brings Mediterranean vibes straight to your kitchen. If you love easy yet impressive meals, this dish will quickly become a favorite. And the best part? You can customize it to suit your taste, making it perfect for picky eaters or adventurous foodies alike.
About This Recipe
Tzatziki Chicken Naan Pizza Delight combines the creamy tang of tzatziki sauce with juicy grilled chicken, all piled onto a soft naan bread base. Unlike traditional pizza, this version skips the tomato sauce and cheese overload, opting instead for lighter, brighter flavors. The result? A refreshing yet satisfying meal that works for lunch, dinner, or even a snack. Moreover, it’s incredibly versatile—swap the chicken for chickpeas to make it vegetarian, or add a sprinkle of feta for extra richness.
This recipe matters because it solves the eternal question: “What’s for dinner?” without sacrificing taste or creativity. Busy home cooks will appreciate how quickly it comes together, especially if you use pre-cooked chicken or store-bought tzatziki. Meanwhile, food lovers will adore the fusion of textures and flavors, from the crunch of cucumbers to the warmth of garlic-infused sauce. If you enjoy Mediterranean-inspired dishes like our Greek Salad, you’ll find this pizza just as addictive.
On this blog, we celebrate recipes that balance simplicity with bold flavors, and Tzatziki Chicken Naan Pizza Delight fits right in. It’s approachable enough for beginners but exciting enough to impress guests. Plus, it pairs beautifully with other easy favorites, such as our Homemade Hummus, for a full Mediterranean feast. Whether you’re meal-prepping or hosting a casual get-together, this dish delivers on taste, convenience, and versatility.
Why I Love This Recipe
I first made Tzatziki Chicken Naan Pizza Delight on a whim, using leftovers from a Greek-themed dinner party. The moment I took that first bite, I knew it was a keeper. The cool tzatziki balances the savory chicken perfectly, while the naan stays delightfully crisp yet chewy. It reminds me of summer nights eating al fresco, with minimal cleanup and maximum flavor. Now, it’s my go-to when I want something fuss-free but special—proof that the best recipes often come from happy accidents and a little creativity.
“`
Health and Nutrition
Why it’s good for your body
Tzatziki Chicken Naan Pizza Delight packs a nutritious punch while satisfying your cravings. First, the lean chicken provides high-quality protein to support muscle repair and keep you full longer. Meanwhile, the creamy tzatziki sauce delivers probiotics from yogurt, which promote gut health and digestion. Additionally, fresh cucumbers and herbs in the tzatziki add antioxidants and vitamins.
Moreover, the naan base offers a lighter alternative to traditional pizza dough, reducing refined carbs without sacrificing flavor. Olive oil in the recipe contributes heart-healthy fats, which may lower inflammation. Together, these ingredients make Tzatziki Chicken Naan Pizza Delight a balanced meal that fuels your body efficiently.
Finally, this dish includes garlic, a natural immune booster with antimicrobial properties. Whether you need a post-workout meal or a wholesome dinner, Tzatziki Chicken Naan Pizza Delight delivers both taste and nutrition. With every bite, you get a mix of protein, healthy fats, and fresh veggies—making it a smart choice for any day.
How it fits in a healthy lifestyle
Tzatziki Chicken Naan Pizza Delight fits seamlessly into a balanced diet. If you’re watching your carb intake, the naan base offers a lighter option compared to regular pizza crust. For those focusing on protein, the chicken helps meet daily goals without excess calories. Plus, the dish works well with gluten-free naan if you avoid gluten.
This recipe also aligns with Mediterranean-inspired eating, which emphasizes heart-healthy fats and fresh ingredients. Pair it with a side salad from our Easy Mediterranean Salad for extra fiber and nutrients. If you’re meal prepping, Tzatziki Chicken Naan Pizza Delight stores well and reheats quickly for busy weeknights. For more high-protein ideas, check out our Protein-Packed Dinners roundup. Whether you’re eating clean or simply want a flavorful twist on pizza, this dish keeps health and taste in perfect harmony.
PrintTzatziki Chicken Naan Pizza Delight
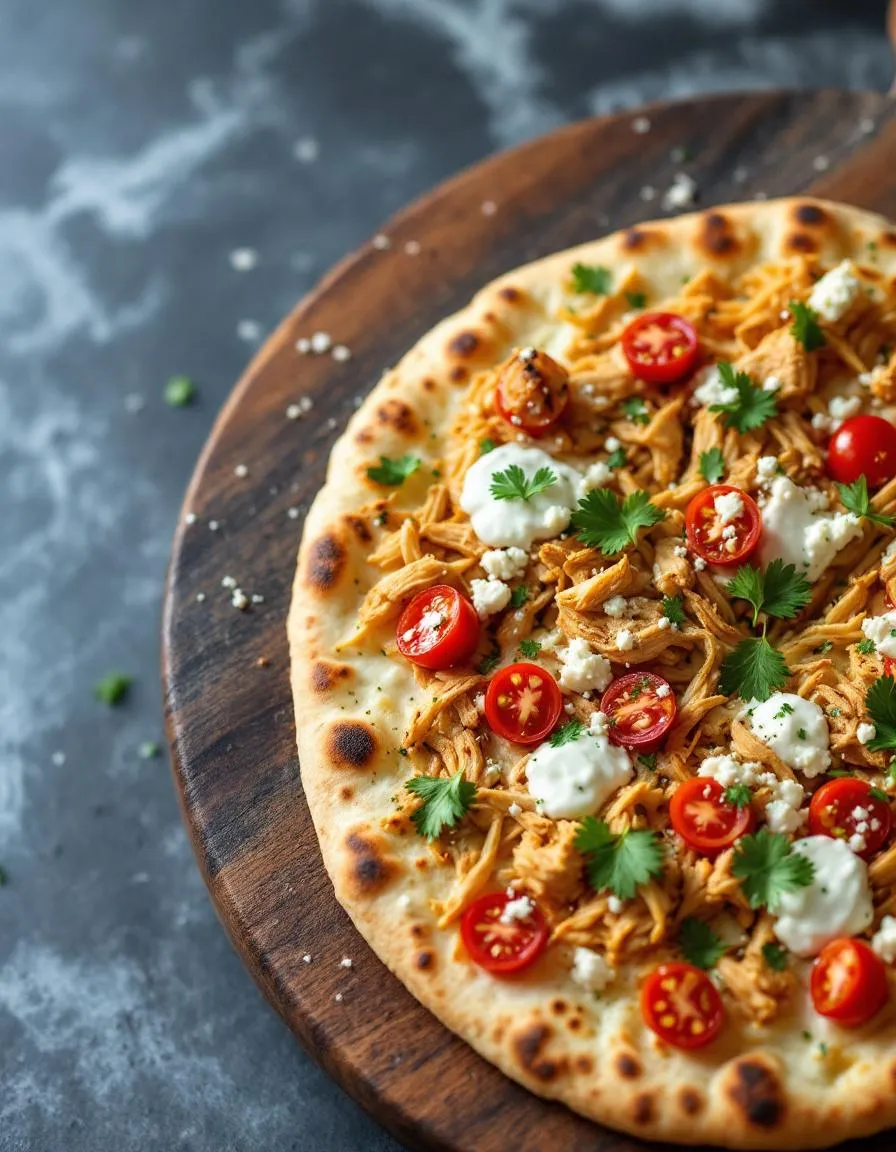
Description
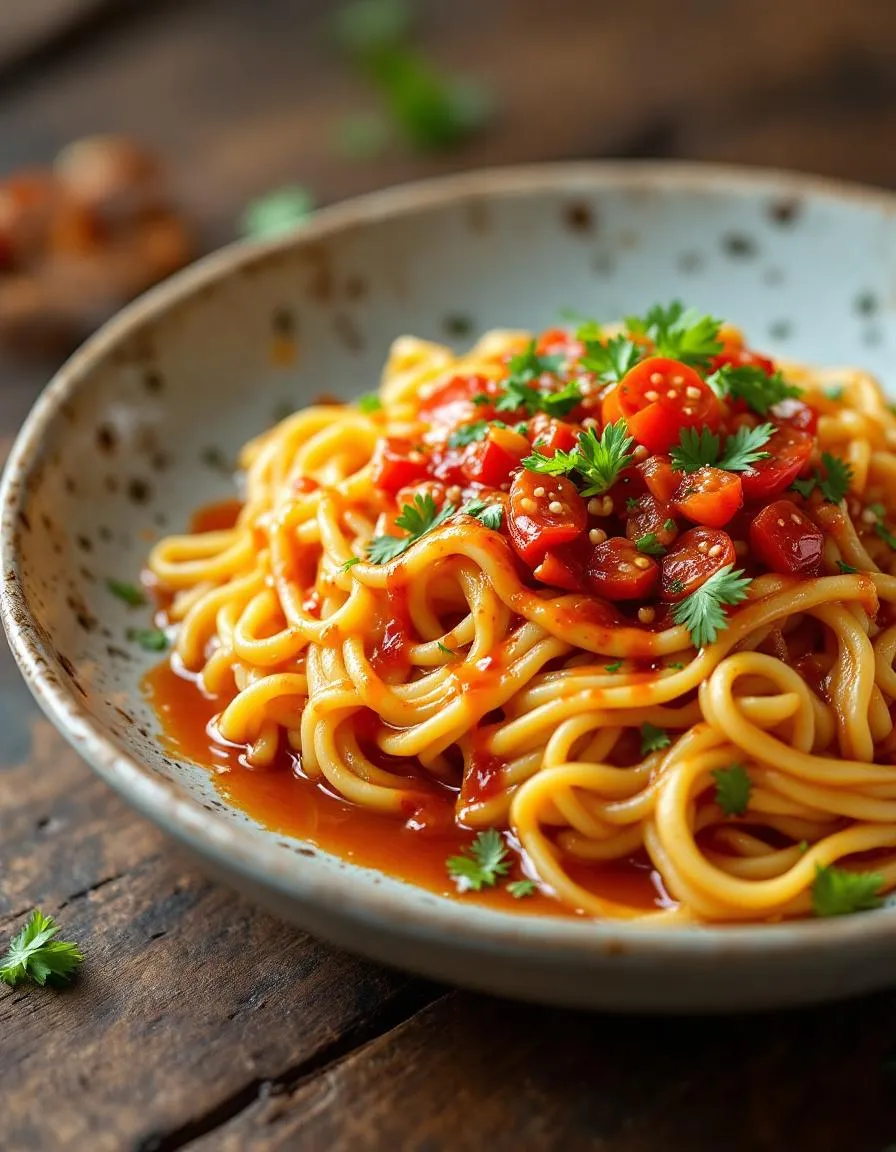
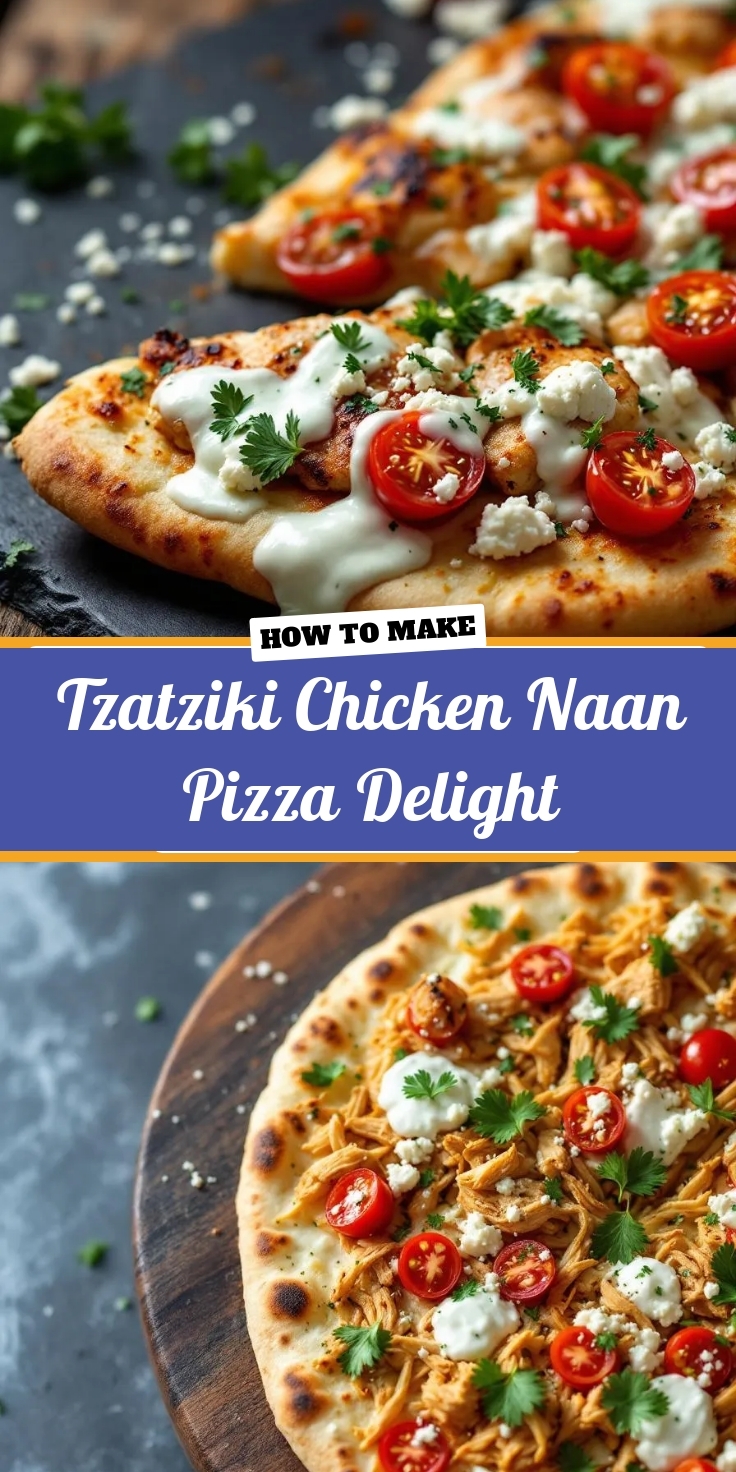
A Mediterranean-inspired pizza with creamy tzatziki, tender chicken, and fresh toppings on naan bread.
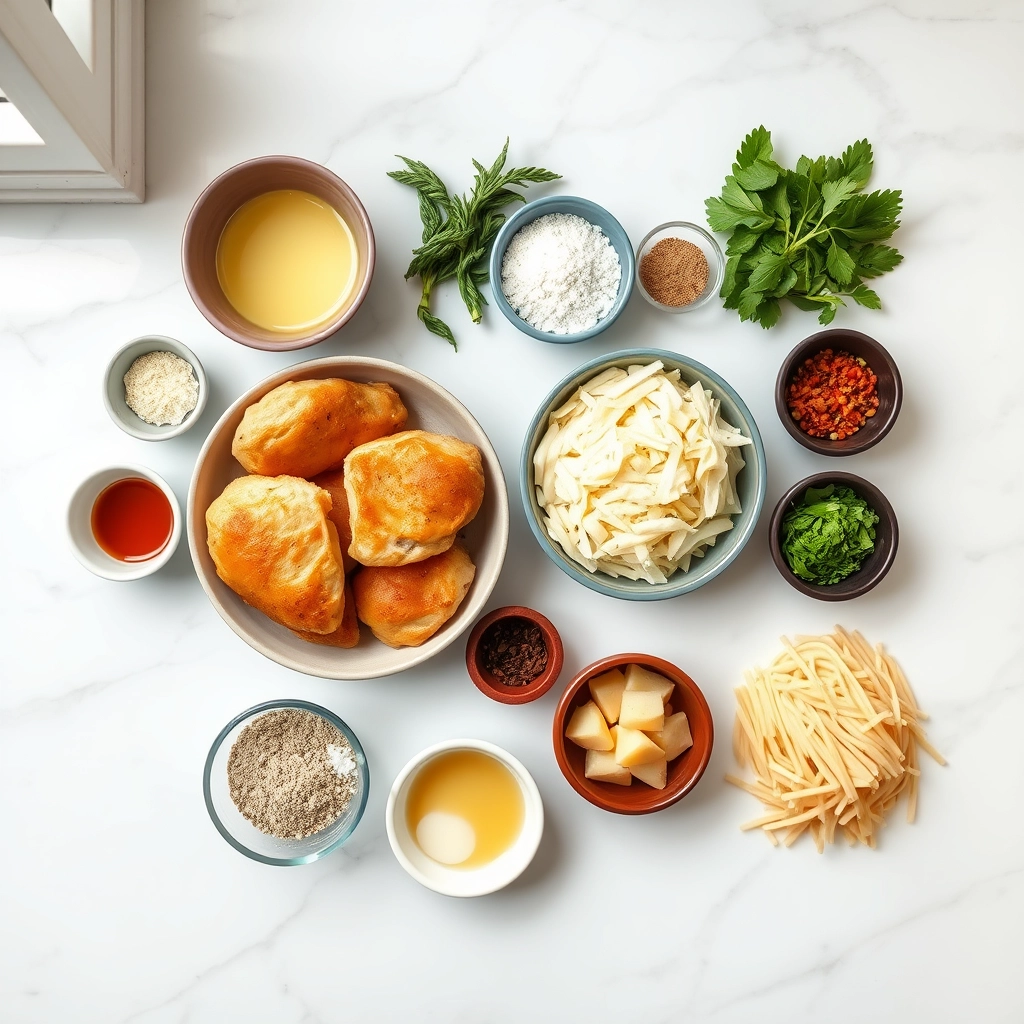
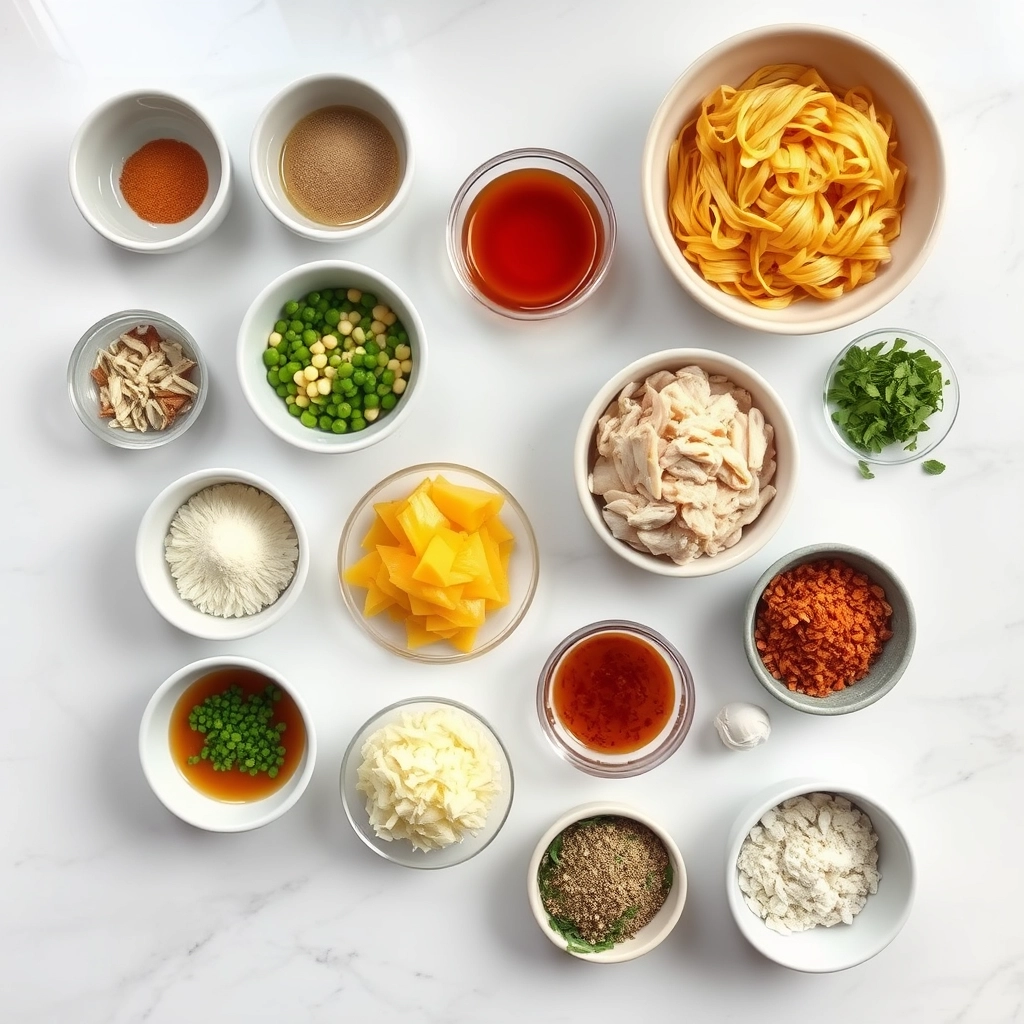
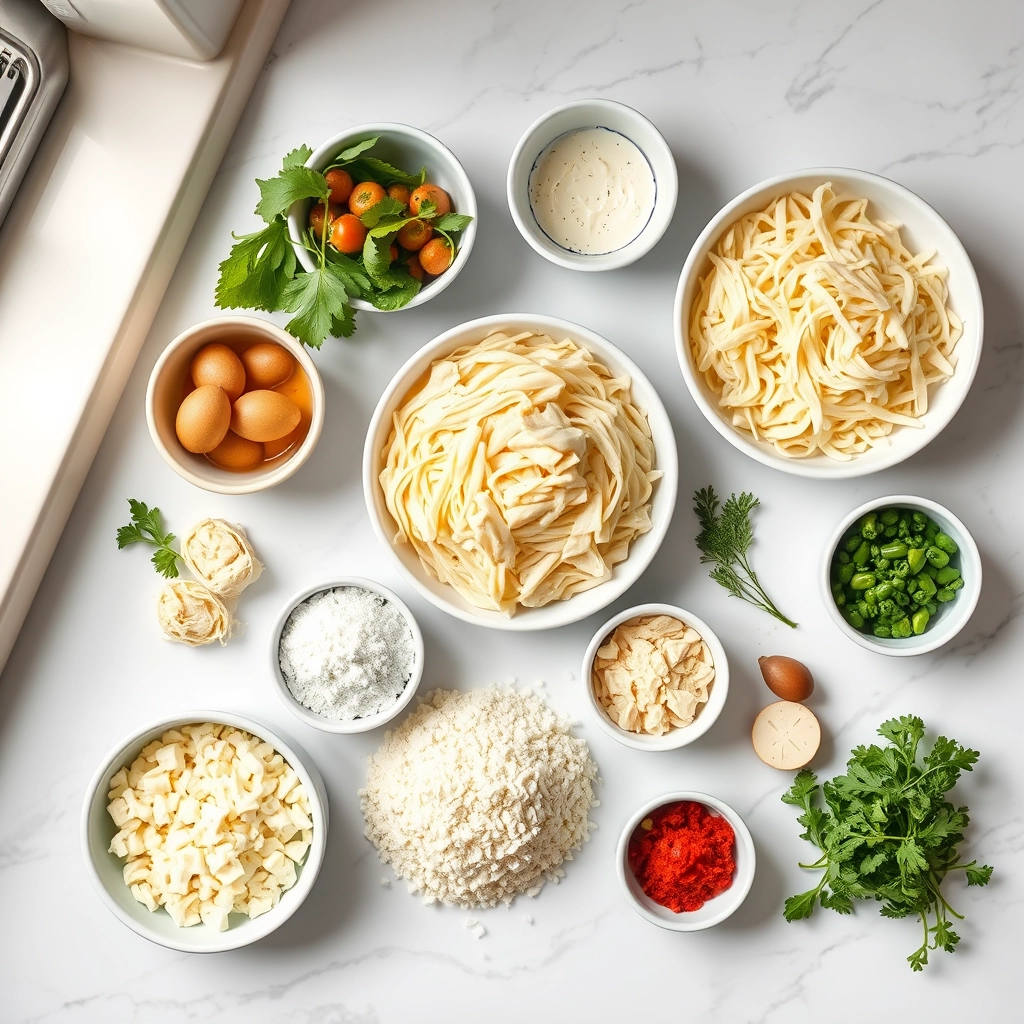
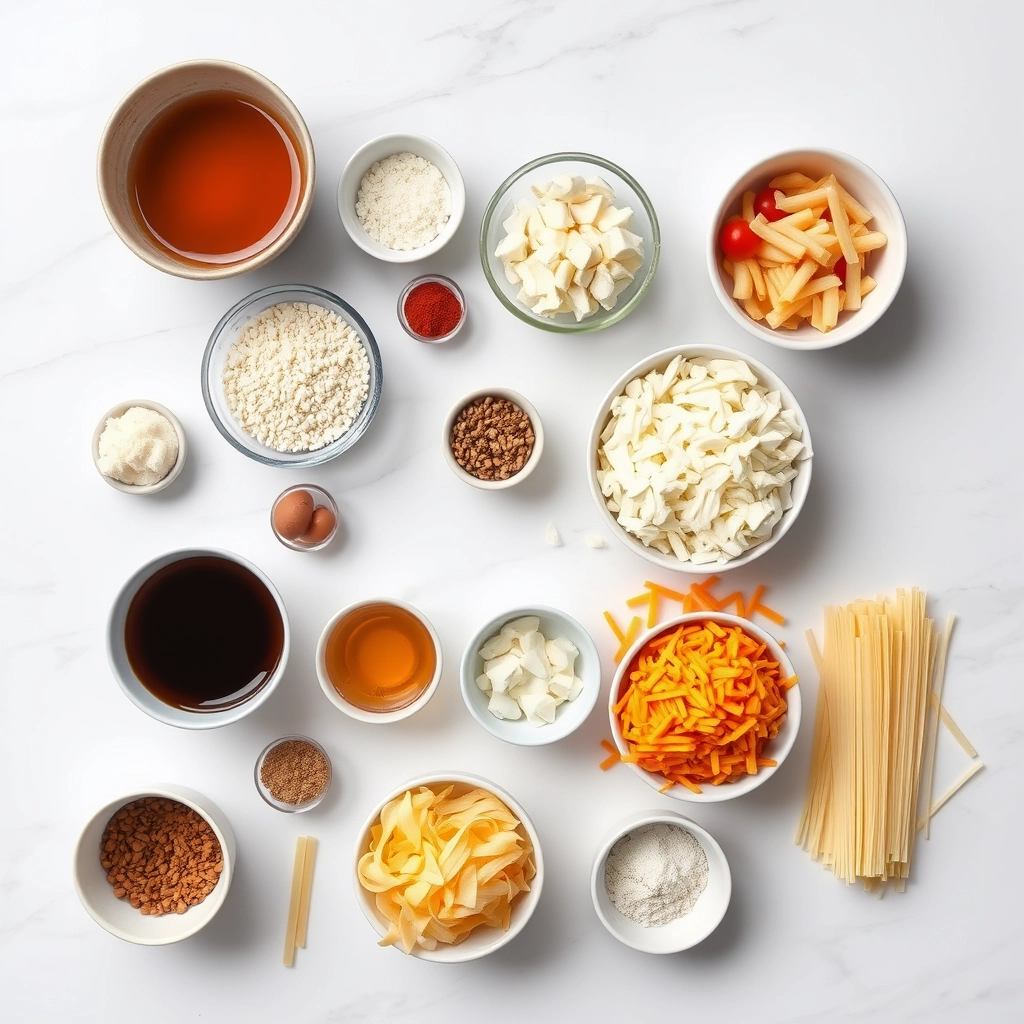
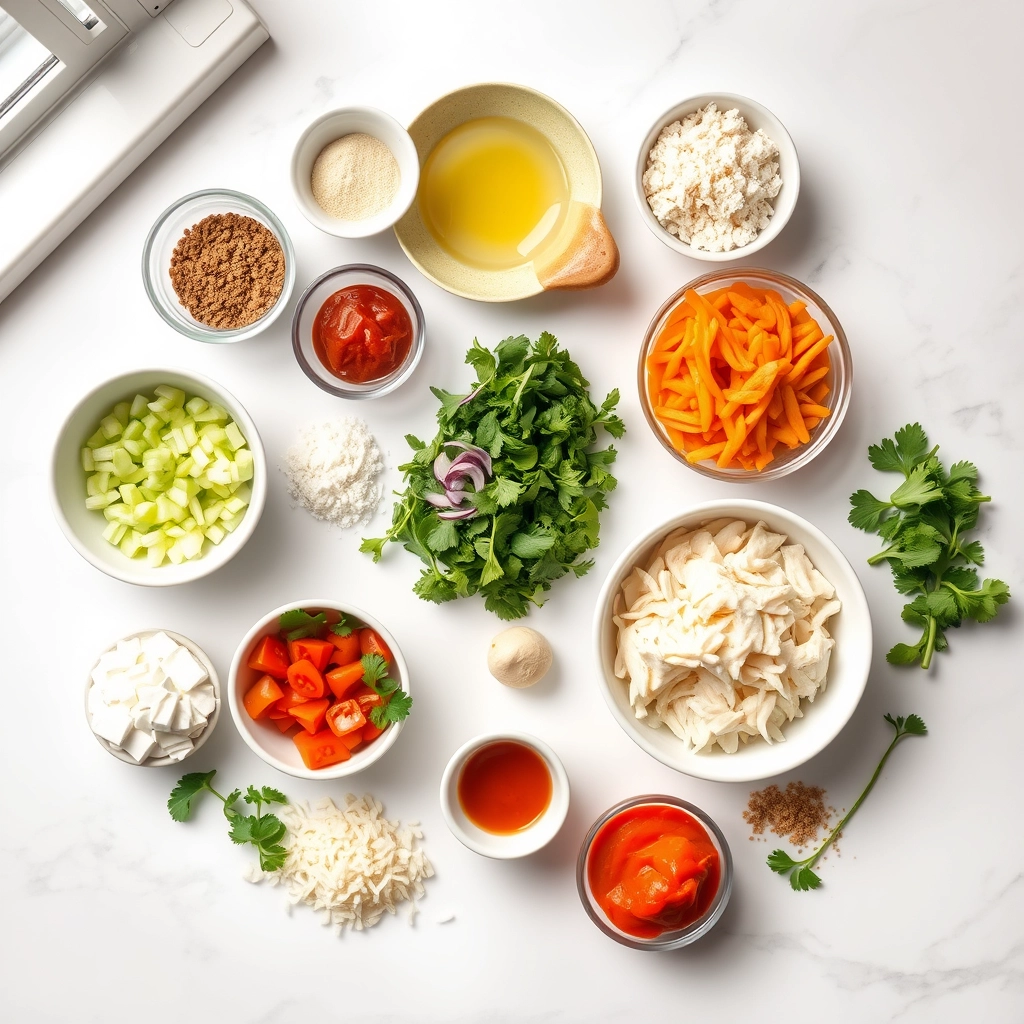
Ingredients
For the Crust:
- 2 pieces naan bread
- 1 cup cooked chicken, shredded
- 1/2 cup tzatziki sauce
- 1/2 cup cherry tomatoes, halved
- 1/4 cup red onion, thinly sliced
- 1/2 cup feta cheese, crumbled
- 1 tbsp olive oil
- 1 tsp dried oregano
- 1/4 cup fresh parsley, chopped
Instructions
1. Prepare the Crust:
- Preheat oven to 375°F (190°C).
- Brush naan bread lightly with olive oil and sprinkle with dried oregano.
- Spread tzatziki sauce evenly over the naan bread.
- Top with shredded chicken, cherry tomatoes, red onion, and feta cheese.
- Bake for 12-15 minutes until cheese is slightly melted and edges are golden.
- Garnish with fresh parsley before serving.
Notes
You can customize the seasonings to taste.
How to Prepare This Dish
Steps and time-saving tips
Start by preheating your oven to 400°F to save time while you prep the ingredients. Next, whisk together Greek yogurt, grated cucumber, minced garlic, lemon juice, and fresh dill in a bowl for the tzatziki sauce. Meanwhile, season diced chicken with salt, pepper, and a pinch of paprika before sautéing it in olive oil until golden. Spread a generous layer of tzatziki over each naan bread, then top with the cooked chicken, thinly sliced red onions, and crumbled feta cheese. Drizzle with a touch of olive oil and bake for 10-12 minutes until the edges crisp. For a time-saving shortcut, use store-bought rotisserie chicken or pre-made tzatziki. Let the Tzatziki Chicken Naan Pizza Delight cool slightly before garnishing with fresh herbs and a squeeze of lemon. Serve immediately for the best texture.
Mistakes I’ve made and learned from
Early on, I rushed the tzatziki sauce and didn’t drain the cucumber well enough, which made the naan soggy. Now, I press the grated cucumber in a towel to remove excess moisture—game changer! Another blunder? Overloading the toppings, which caused uneven cooking. Stick to a light, even layer for crisp perfection. If you’re new to balancing flavors, check out my guide on Mastering Mediterranean Spices to nail the seasoning. And for more easy weeknight wins, my 5-Ingredient Dinners post has plenty of inspo. Trust me, a little patience with prep pays off big with this dish.
Cultural Connection and Variations
Where this recipe comes from
The Tzatziki Chicken Naan Pizza Delight is a vibrant fusion of Mediterranean and South Asian flavors, blending creamy tzatziki, tender chicken, and soft naan into one irresistible dish. While tzatziki hails from Greece and naan originates in India, this recipe brings them together in a way that feels both familiar and exciting. In Greece, families often serve tzatziki as a cooling dip with grilled meats, while in India, naan acts as a staple bread for scooping up curries. Combining these elements creates a cross-cultural comfort food that’s perfect for modern palates.
Around the world, cooks put their own spin on the Tzatziki Chicken Naan Pizza Delight. Some add roasted red peppers for sweetness, while others layer on feta cheese for extra tang. In my family, we love topping it with fresh dill and a squeeze of lemon to brighten the flavors. Whether you enjoy it as a quick weeknight dinner or a crowd-pleasing appetizer, this dish adapts effortlessly to different tastes and traditions.
How it fits in today’s cooking
The Tzatziki Chicken Naan Pizza Delight fits perfectly into today’s fast-paced, flavor-driven kitchens. Busy home cooks appreciate its simplicity, while food lovers adore its bold Mediterranean-inspired taste. Because it requires minimal prep and bakes in minutes, it’s ideal for weeknight meals or last-minute gatherings. Plus, it’s a fantastic way to use leftover chicken, making it a smart choice for reducing food waste.
Modern twists keep this dish fresh and relevant. Some swap naan for cauliflower crusts for a low-carb version, while others add spicy harissa for a kick. For a heartier meal, pair it with a crisp Greek salad or a side of roasted vegetables. Whether you serve it at a summer barbecue or a cozy winter dinner, the Tzatziki Chicken Naan Pizza Delight always feels right for the moment.
Taste and Texture
What makes it delicious
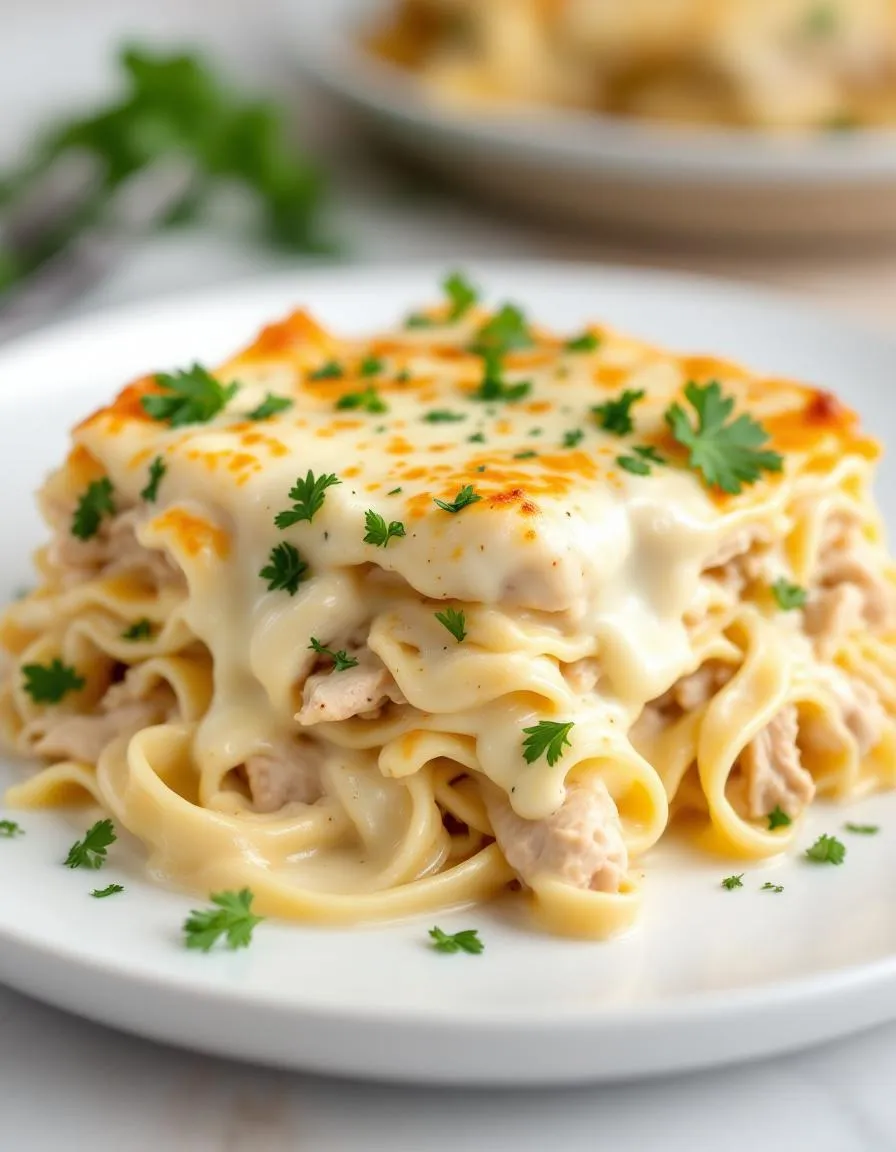
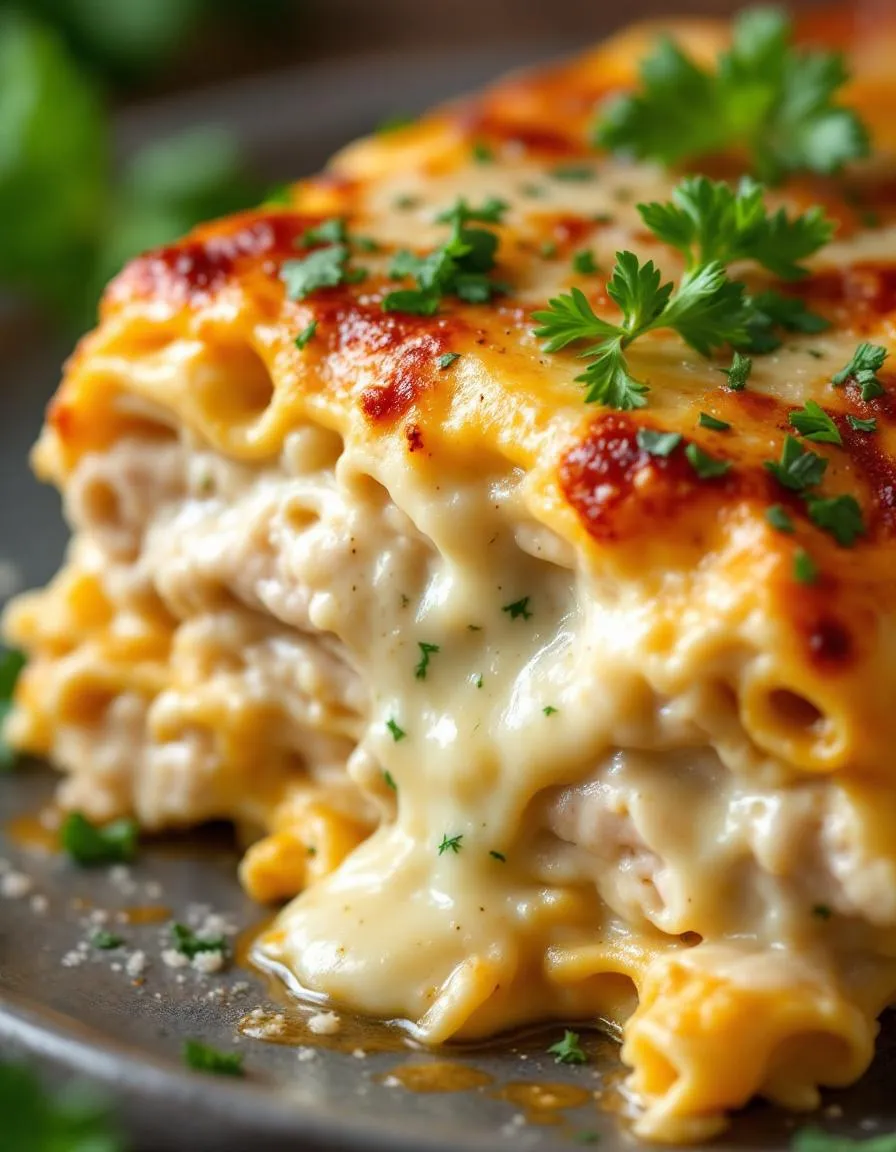
Every bite of Tzatziki Chicken Naan Pizza Delight bursts with bright, tangy flavors and satisfying contrasts. The creamy tzatziki sauce, cool and garlicky, balances the juicy, seasoned chicken, while the soft yet slightly chewy naan base adds a comforting heartiness. Fresh cucumbers and dill lend a crisp, refreshing crunch, and a sprinkle of feta cheese brings a salty, crumbly finish. Meanwhile, the aroma of toasted naan and herbs wafts up, making Tzatziki Chicken Naan Pizza Delight as irresistible to the nose as it is to the taste buds.
Boosting the flavor
For an extra flavor kick, try marinating the chicken in lemon juice and oregano before cooking—it deepens the savory notes. Alternatively, drizzle a touch of homemade harissa sauce for a smoky, spicy twist. If you love texture, pile on roasted red peppers or kalamata olives for a briny bite. Pair your Tzatziki Chicken Naan Pizza Delight with a side of Mediterranean chopped salad to keep the meal fresh and balanced. Small tweaks can transform this dish into a personalized masterpiece.
Tips for Success
Best practices for results
For the best Tzatziki Chicken Naan Pizza Delight, always preheat your oven before assembling the pizza to ensure even cooking. Meanwhile, spread the tzatziki sauce thinly over the naan to prevent sogginess. Additionally, use freshly grilled chicken for maximum flavor and tenderness. Finally, top with crisp veggies right after baking to keep them fresh and crunchy. Following these steps guarantees a perfect Tzatziki Chicken Naan Pizza Delight every time.
Mistakes to avoid
Avoid overloading your naan with toppings, as this can make the Tzatziki Chicken Naan Pizza Delight soggy and hard to handle. Instead, layer ingredients sparingly for a balanced bite. Also, don’t skip resting the dough if using homemade naan—this ensures a chewy, not tough, base. For more dough tips, check out our naan dough guide. Another common mistake is using cold tzatziki straight from the fridge, which dulls the flavors. Let it sit at room temperature for 10 minutes first. For extra sauce inspiration, explore our tzatziki variations.
Serving and Pairing Suggestions
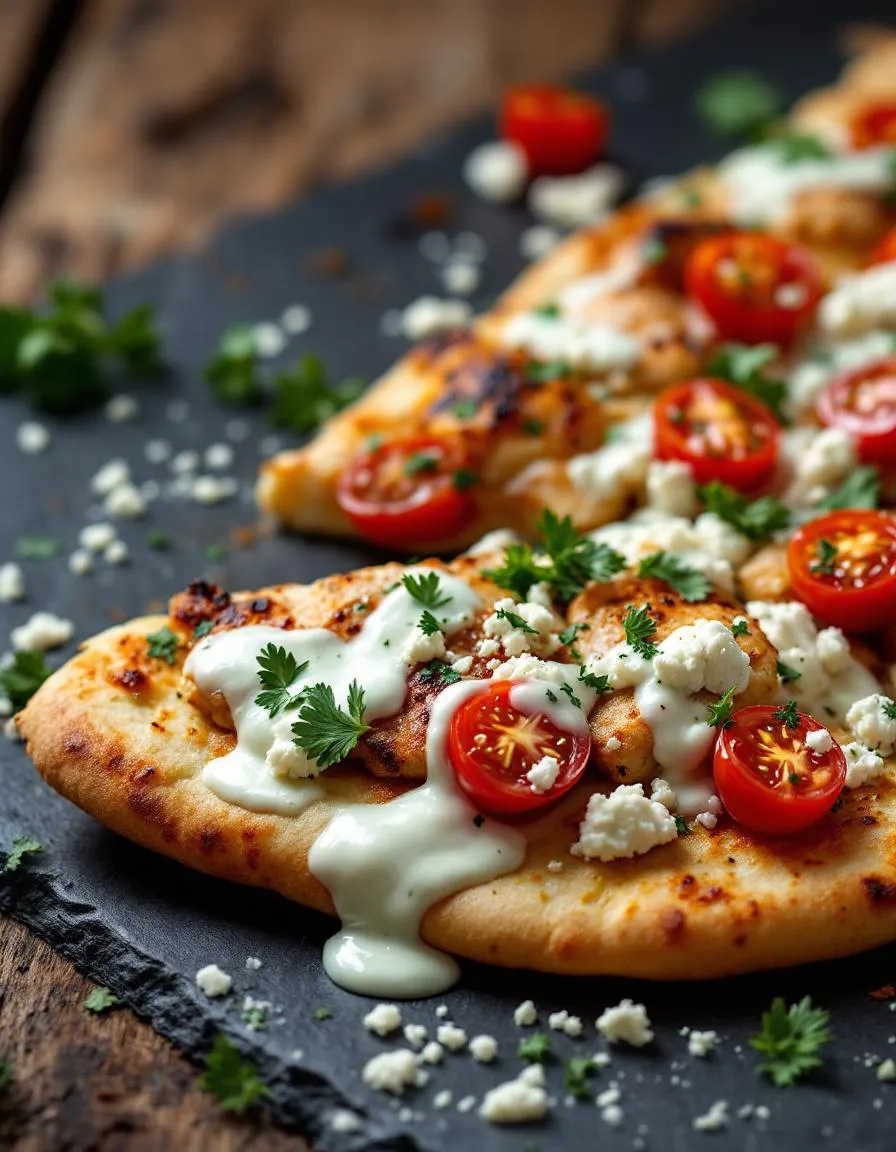
How to serve this dish
For a stunning presentation, slice your Tzatziki Chicken Naan Pizza Delight into shareable wedges and arrange them on a rustic wooden board. Meanwhile, drizzle extra tzatziki sauce over the top and sprinkle with fresh dill or microgreens for a pop of color. This dish shines at casual gatherings, whether you’re hosting a summer barbecue or a cozy game night. Alternatively, serve it as a fun twist on brunch alongside a crisp salad for a balanced meal.
What goes well with it
Pair your Tzatziki Chicken Naan Pizza Delight with a refreshing cucumber mint lemonade to balance the creamy richness of the tzatziki. If you prefer something heartier, try a side of roasted garlic hummus and warm pita chips for dipping. For a complete Mediterranean-inspired spread, add our Mediterranean Quinoa Salad or a light Greek Orzo Salad. Each pairing enhances the flavors while keeping the meal vibrant and satisfying.
To make Tzatziki Chicken Naan Pizza Delight, you’ll need naan bread, cooked chicken, tzatziki sauce, shredded mozzarella, cherry tomatoes, red onion, and fresh dill. The combination of creamy tzatziki and tender chicken creates a delicious Mediterranean-inspired pizza.
Lightly toast the naan bread before adding toppings to create a crisp base. For Tzatziki Chicken Naan Pizza Delight, spread a thin layer of tzatziki and avoid overloading with wet ingredients to maintain texture.
Yes, store-bought tzatziki works perfectly for Tzatziki Chicken Naan Pizza Delight. Choose a high-quality brand or make your own with Greek yogurt, cucumber, garlic, and lemon for fresher flavor.
Tzatziki Chicken Naan Pizza Delight pairs beautifully with a simple Greek salad, roasted vegetables, or hummus with pita chips. The light, fresh flavors complement the pizza’s Mediterranean profile.