About This Recipe
There’s something magical about comfort food that wraps you in warmth with every bite. If you love the rich, savory flavors of French onion soup and the creamy indulgence of cheesy potatoes, then Cheesy French Onion Potatoes will steal your heart. This dish combines caramelized onions, gooey melted cheese, and tender potatoes into one irresistible side or main course. Whether you’re hosting a cozy dinner or just craving something hearty, this recipe delivers nostalgia and satisfaction in every forkful. Plus, it’s surprisingly simple to make, proving that the best meals often come from humble ingredients.
Cheesy French Onion Potatoes takes the deep, umami flavors of French onion soup—think golden caramelized onions, aromatic thyme, and a hint of garlic—and layers them with crispy, tender potatoes and melted cheese. The result is a dish that feels both familiar and exciting, perfect for weeknight dinners or holiday gatherings. What makes it special is its versatility. You can serve it as a side alongside roasted meats or enjoy it as a standalone comfort meal. The blog’s tone here at Brek Cakes celebrates approachable yet elevated recipes, and this dish fits right in. It’s rustic enough for casual meals but elegant enough to impress guests. If you’re a fan of hearty, cheesy dishes like our Garlic Parmesan Mashed Potatoes, you’ll adore this twist. And if you’re looking for more ways to upgrade your potato game, our Crispy Smashed Potatoes are another must-try.
Why I Love This Recipe
Cheesy French Onion Potatoes holds a special place in my kitchen because it reminds me of family gatherings. My grandmother used to make a similar dish, filling the house with the scent of onions slowly cooking down to sweet perfection. Every time I prepare it, I’m transported back to those moments of laughter around the table. Beyond the nostalgia, I love how forgiving this recipe is. Even if you’re not a confident cook, the layers of flavor come together effortlessly. It’s the kind of dish that feels like a hug—comforting, reliable, and always worth sharing.
Health and Nutrition
Why it’s good for your body
Cheesy French Onion Potatoes pack a nutritious punch while delivering rich, comforting flavors. First, potatoes provide a solid dose of vitamin C, which supports immune health, and potassium, which helps regulate blood pressure. Additionally, the caramelized onions add antioxidants like quercetin, known for its anti-inflammatory benefits. Meanwhile, the cheese contributes calcium and protein, essential for strong bones and muscle repair.
Because Cheesy French Onion Potatoes combine these wholesome ingredients, they offer a balanced mix of macronutrients. The dish includes complex carbs from potatoes for sustained energy, healthy fats from cheese for satiety, and fiber from onions for digestive health. Furthermore, the slow-cooked onions enhance natural sweetness, reducing the need for excess salt or sugar.
Finally, Cheesy French Onion Potatoes can be a versatile part of a nutrient-rich meal. Pair them with a lean protein like grilled chicken or a crisp salad for a well-rounded plate. Whether you’re fueling up after a workout or enjoying a cozy family dinner, this dish satisfies cravings while nourishing your body.
How it fits in a healthy lifestyle
Cheesy French Onion Potatoes fit seamlessly into a balanced diet when enjoyed mindfully. For gluten-free eaters, this dish naturally avoids grains, making it a hearty side or main. If you’re watching your heart health, opt for reduced-fat cheese and swap butter for olive oil to keep saturated fats in check.
Including Cheesy French Onion Potatoes in your weekly rotation can also support practical eating habits. Prep them ahead for easy meal prep, or serve them alongside healthy dinner ideas for variety. For those tracking macros, balance the dish with protein-rich options like the high-protein recipes from our collection. With smart tweaks and portion control, you can savor every bite without compromising your goals.
PrintCheesy French Onion Potatoes
Description
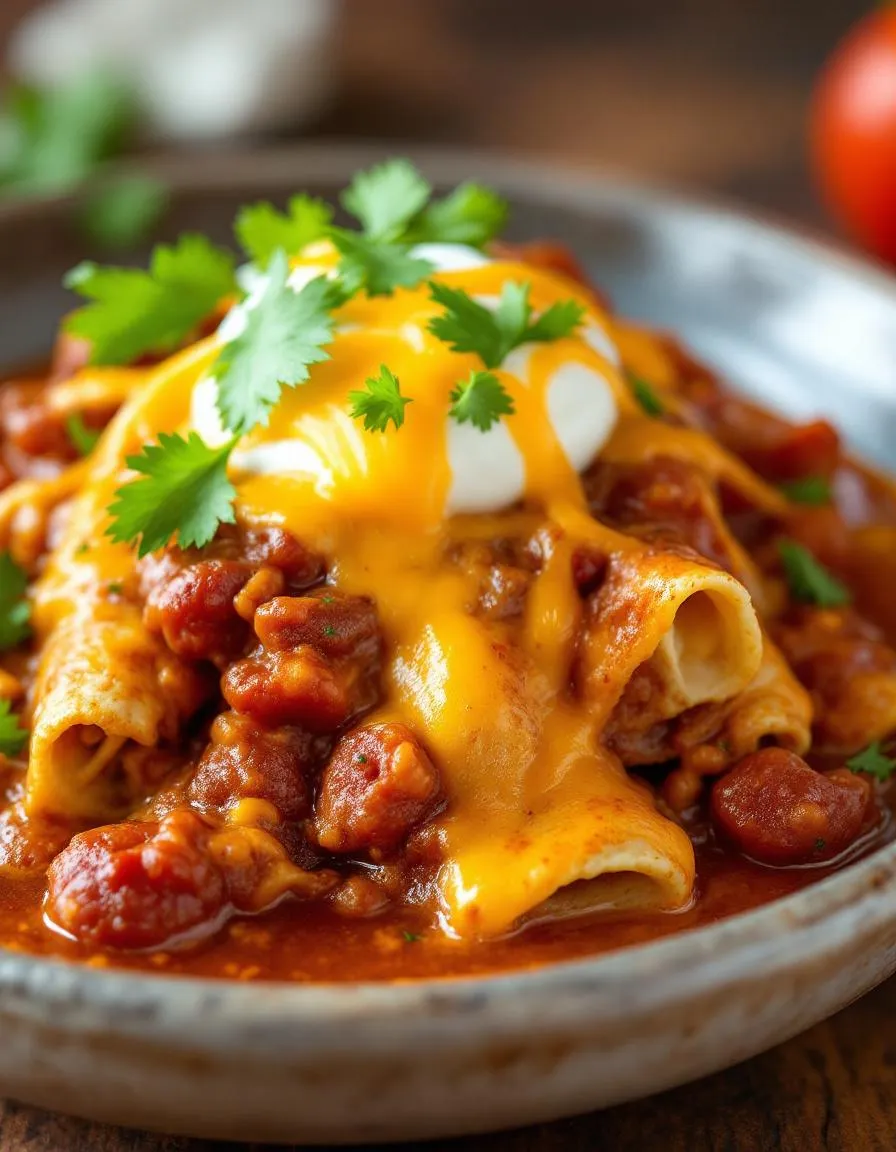
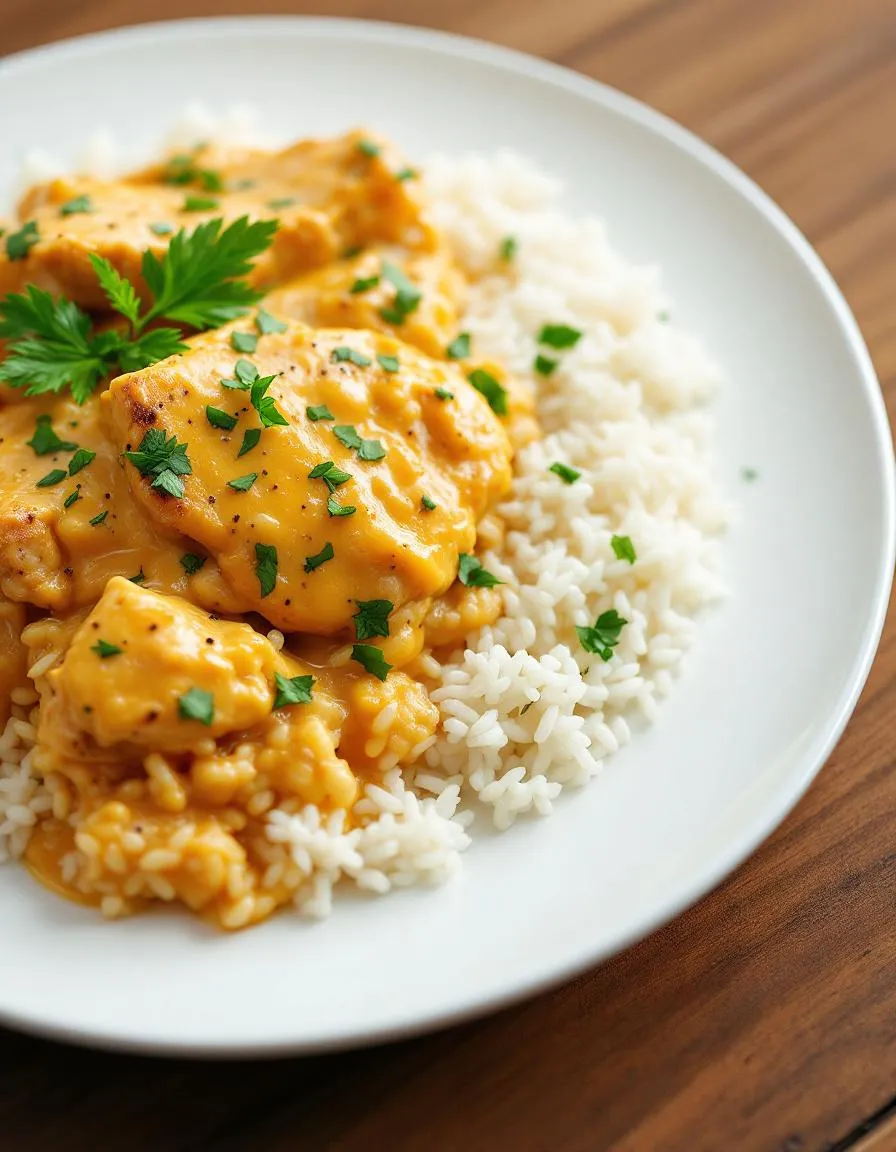
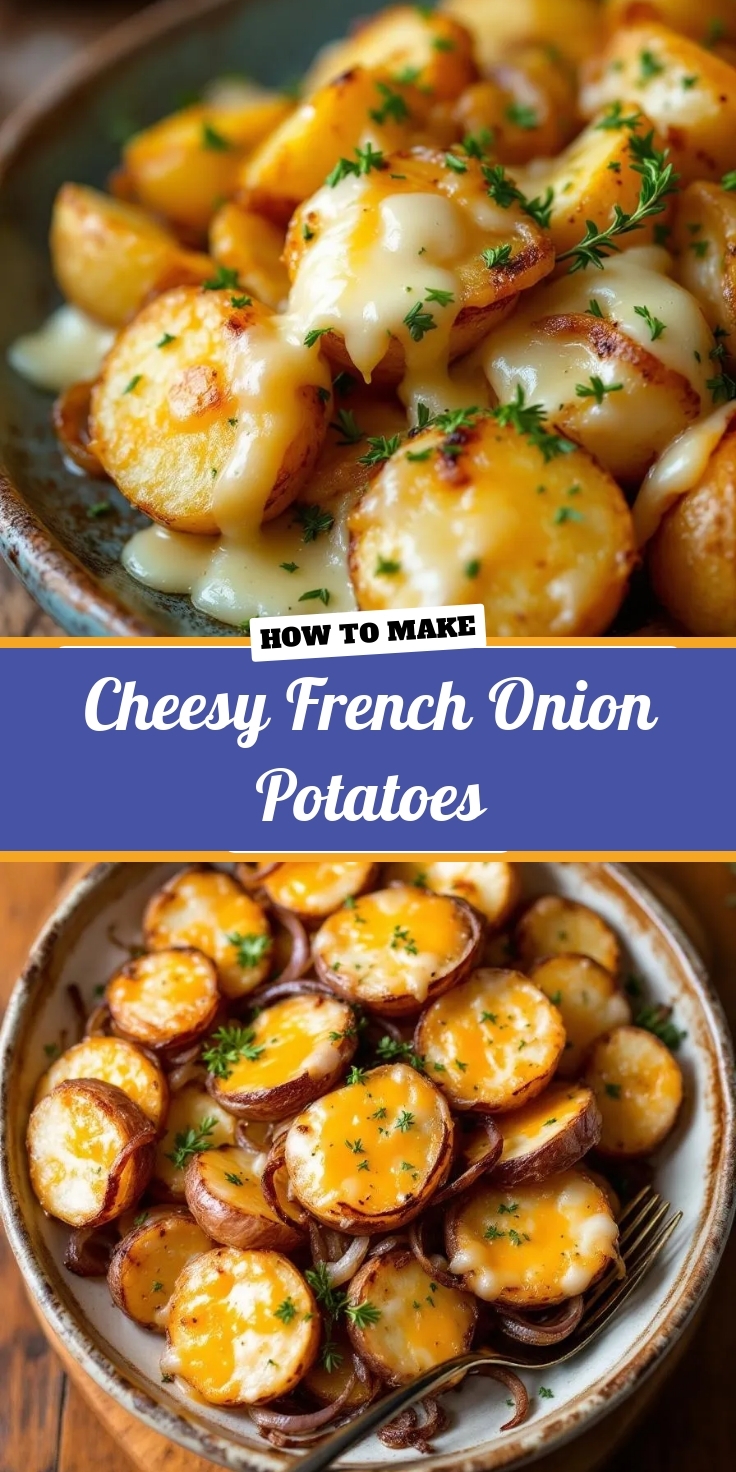
A comforting and flavorful side dish featuring tender potatoes smothered in caramelized onions and melted cheese.
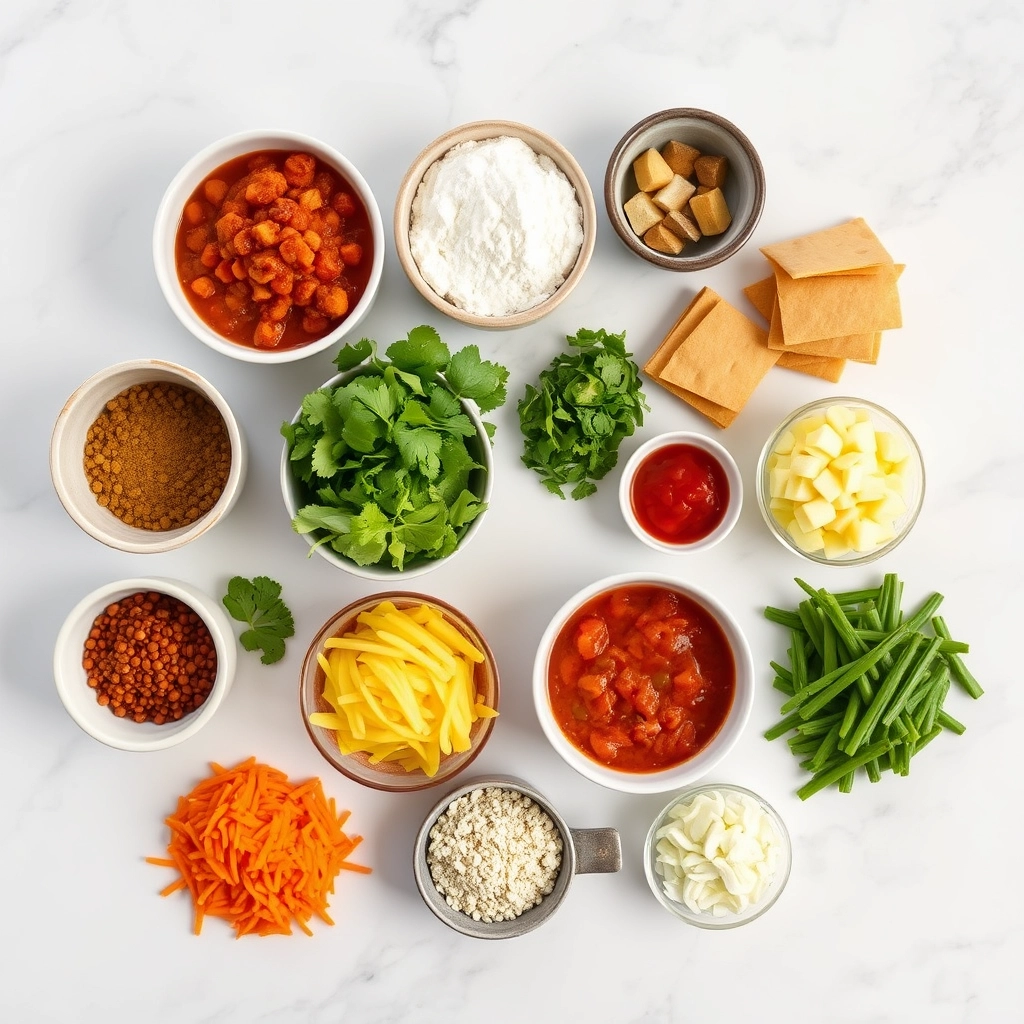
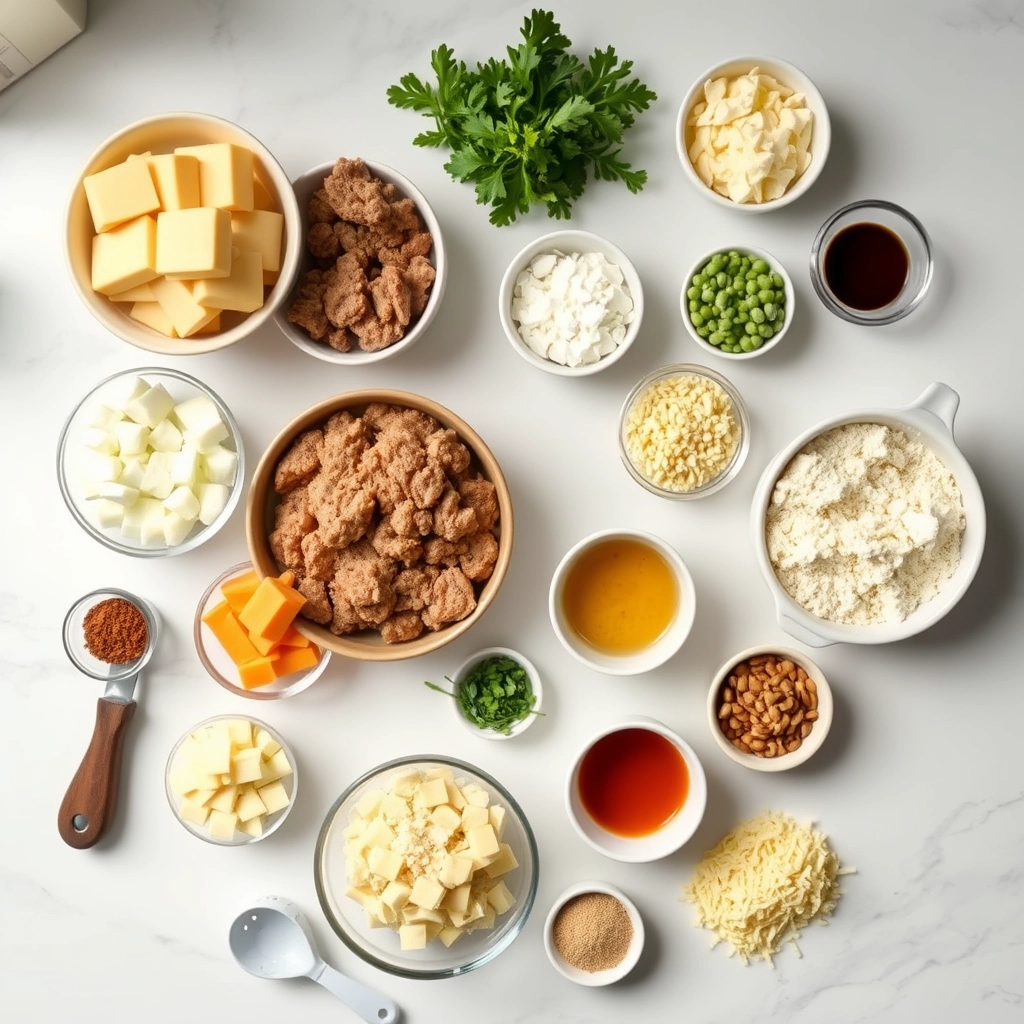
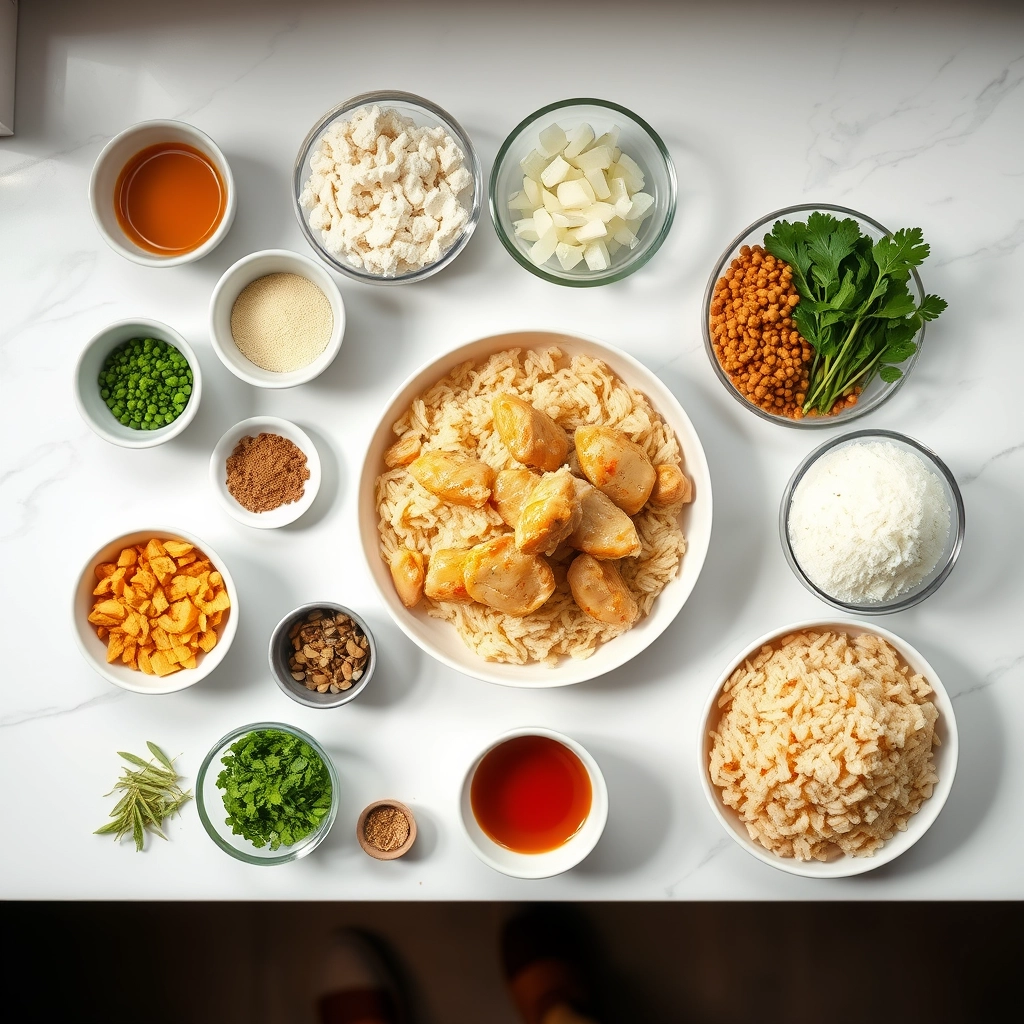
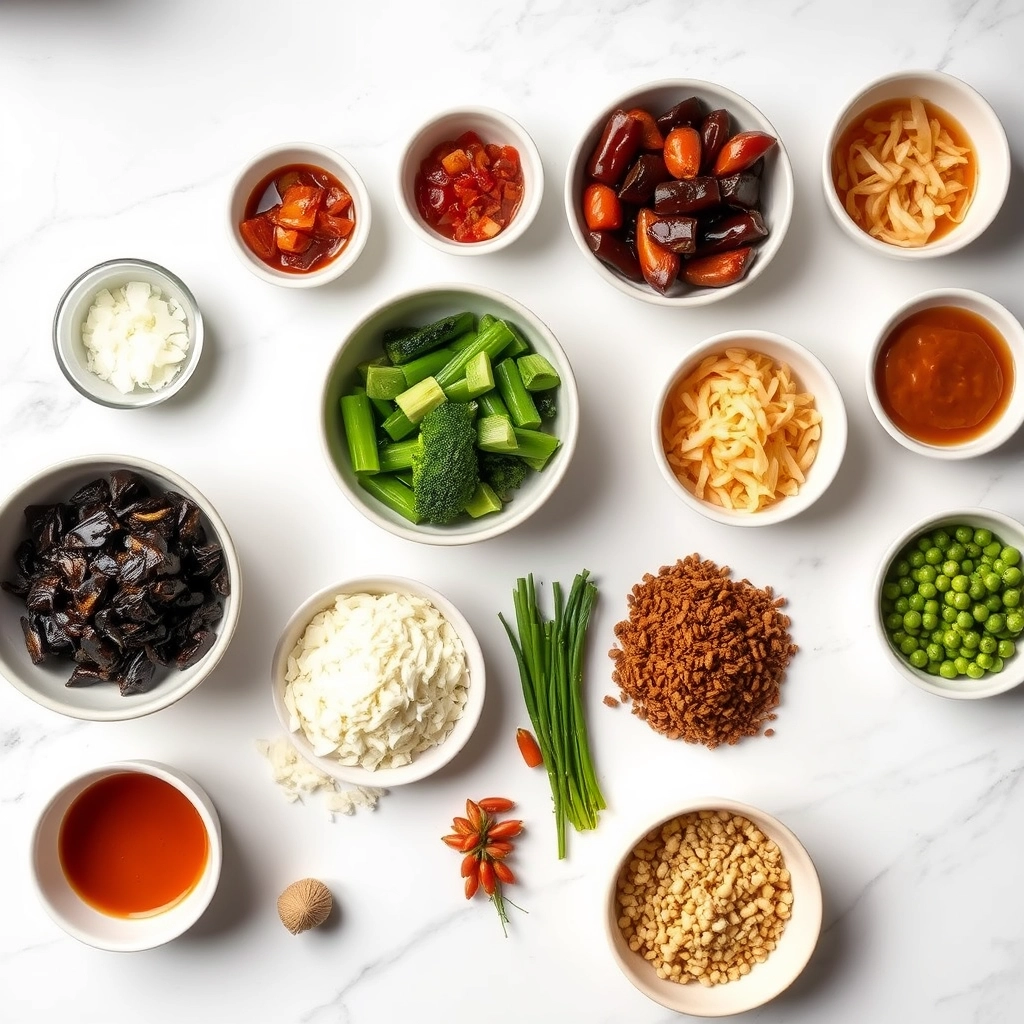
Ingredients
For the Crust:
- 4 large russet potatoes, sliced thin
- 2 large yellow onions, thinly sliced
- 2 cups shredded Gruyere cheese
- 1/2 cup beef broth
- 2 tbsp butter
- 1 tbsp olive oil
- 1 tsp salt
- 1/2 tsp black pepper
- 1 tsp thyme
Instructions
1. Prepare the Crust:
- Preheat oven to 375°F (190°C). Grease a 9×13 baking dish.
- In a large skillet, heat butter and olive oil over medium heat. Add onions and cook until caramelized (about 15 minutes), stirring occasionally.
- Layer half the potato slices in the baking dish. Top with half the caramelized onions and half the cheese. Repeat layers.
- Pour beef broth over the layers. Sprinkle with salt, pepper, and thyme.
- Cover with foil and bake for 30 minutes. Remove foil and bake another 15 minutes until cheese is bubbly and golden.
Notes
You can customize the seasonings to taste.
How to Prepare This Dish
Steps and time-saving tips
Start by preheating your oven to 375°F so it’s ready when you finish prepping the Cheesy French Onion Potatoes. While the oven heats, thinly slice your potatoes into even rounds—this ensures they cook uniformly. Toss them in a large bowl with olive oil, salt, and pepper until evenly coated. Next, layer half the potatoes in a greased baking dish, then sprinkle a generous handful of shredded Gruyère and caramelized onions over the top. Repeat the layers, finishing with cheese for that golden, bubbly crust. Cover the dish with foil and bake for 30 minutes to soften the potatoes. Meanwhile, whisk together sour cream, a splash of beef broth, and a pinch of thyme for extra richness. Remove the foil, drizzle the mixture over the potatoes, and bake uncovered for another 20 minutes until the top crisps. For a time-saving hack, use pre-sliced potatoes or caramelize onions in bulk ahead of time. Let the dish rest for 5 minutes before serving so the flavors meld perfectly.
Mistakes I’ve made and learned from
I’ve learned the hard way that uneven potato slices lead to some pieces staying crunchy while others turn mushy. Now, I always use a mandoline for consistency, or I take extra time to hand-cut them carefully. Another blunder? Skipping the foil cover during the first bake—this traps steam and prevents the potatoes from drying out. If you’ve struggled with soggy bottoms, try my crispy potato tips for better results. And don’t rush the caramelized onions! Low and slow is key, as I discovered after burning a batch. For foolproof onions, check out my caramelized onion guide. These small tweaks transformed my Cheesy French Onion Potatoes from uneven to unforgettable.

Cultural Connection and Variations
Where this recipe comes from
Cheesy French Onion Potatoes blend the comforting flavors of French onion soup with the hearty satisfaction of potatoes, creating a dish that feels both familiar and exciting. Originally inspired by the classic French onion soup, this recipe likely emerged as a creative twist in home kitchens, where cooks wanted to stretch the flavors of caramelized onions and melted cheese into a more substantial side. In France, you might find similar dishes layered with Gruyère, while in the American Midwest, families often swap in cheddar for a sharper bite.
Seasonally, Cheesy French Onion Potatoes shine in colder months when rich, warming dishes take center stage. However, some regions adapt them for summer by grilling the potatoes or adding fresh herbs for brightness. My grandmother, for instance, always added a pinch of thyme and a splash of white wine to hers, turning it into a holiday staple. Meanwhile, in Quebec, you might encounter a version topped with squeaky cheese curds, proving how versatile this dish can be.
How it fits in today’s cooking
Today, Cheesy French Onion Potatoes remain a go-to for cozy dinners and holiday spreads alike. Modern cooks love how easily they adapt to dietary preferences, like using plant-based cheese or swapping sweet potatoes for a healthier twist. They also pair perfectly with other comfort classics, such as garlic herb roasted chicken, making them a versatile side for any occasion.
Beyond tradition, this dish fits seamlessly into meal prep routines. Many busy families bake a big batch to enjoy throughout the week, or even repurpose leftovers into breakfast hash. For those hosting gatherings, it’s a crowd-pleaser that requires minimal effort—just like easy no-knead bread, another simple yet impressive staple. Whether you’re craving nostalgia or need a reliable side, Cheesy French Onion Potatoes deliver every time.
Taste and Texture
What makes it delicious
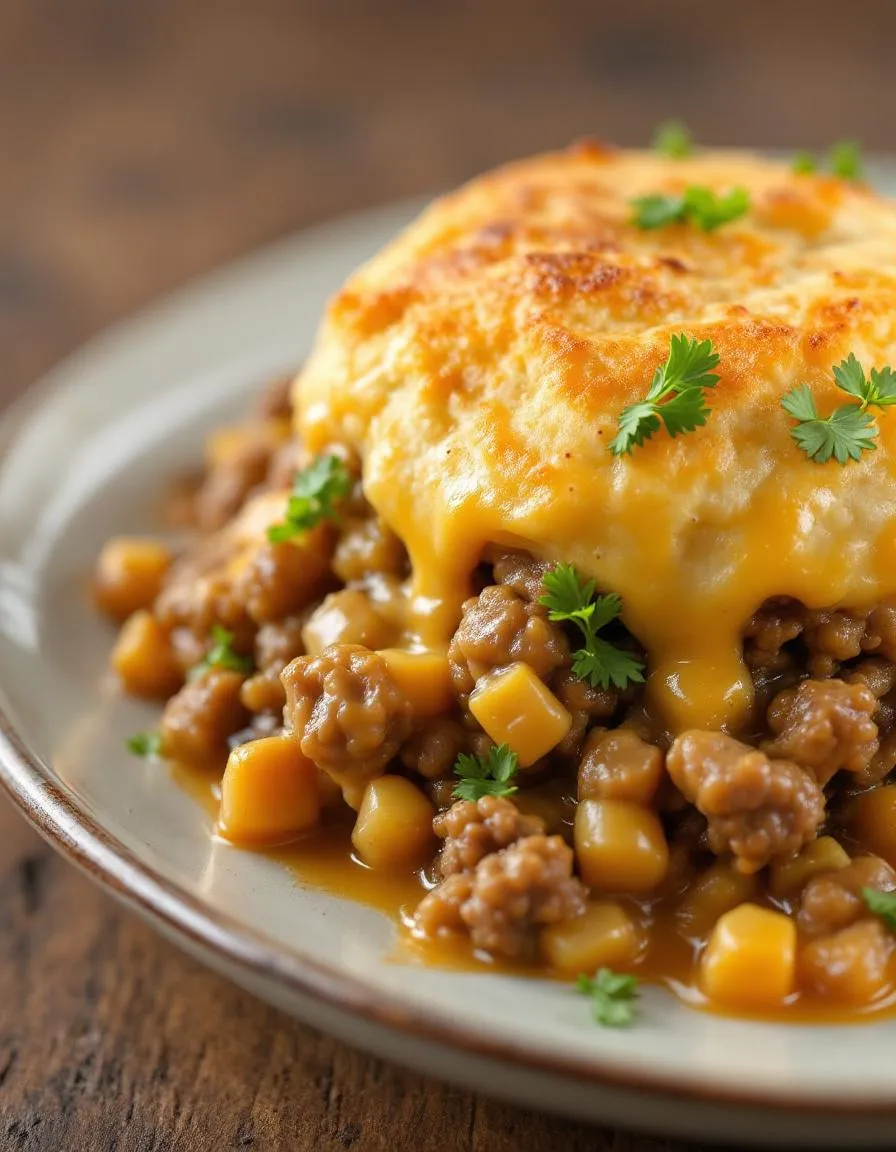
Cheesy French Onion Potatoes deliver a mouthwatering blend of savory, creamy, and caramelized flavors. Each bite starts with tender, buttery potatoes that melt in your mouth, followed by the rich, gooey sharpness of melted Gruyère or cheddar. Meanwhile, the golden-brown caramelized onions add a sweet, deeply fragrant depth, while a crispy breadcrumb topping provides the perfect crunch. The dish smells irresistible as it bakes, filling your kitchen with the warm, toasty aroma of cheese and onions. Whether served as a side or a hearty main, Cheesy French Onion Potatoes strike the ideal balance between comfort and sophistication.
Boosting the flavor
For an extra flavor kick, try swapping Gruyère for smoked Gouda or adding a sprinkle of crispy bacon bits. A dash of Worcestershire sauce or Dijon mustard in the cheese sauce deepens the umami notes, while fresh thyme or rosemary brightens the dish. If you love bold toppings, a drizzle of garlic aioli or a spoonful of caramelized onion jam takes it to the next level. Experiment with different potato varieties, like Yukon Gold for creaminess or russets for a fluffier texture. No matter how you customize it, Cheesy French Onion Potatoes stay irresistibly delicious.

Tips for Success
Best practices for results
Slice your potatoes uniformly so they cook evenly in your Cheesy French Onion Potatoes. Additionally, caramelize the onions slowly to deepen their flavor before layering them. For the best texture, shred your own cheese instead of using pre-shredded varieties. Meanwhile, always cover the dish tightly with foil during baking to lock in moisture. Finally, let the dish rest for 5 minutes before serving so the flavors meld perfectly.
Mistakes to avoid
Avoid overcrowding the pan when caramelizing onions, as this steams them instead of browning. Instead, cook them in batches if needed for even results. Also, don’t skip preheating your oven, since inconsistent temperatures can lead to unevenly cooked Cheesy French Onion Potatoes. For more on oven accuracy, check out our oven temperature guide. Another common mistake is using watery cheeses, which can make the dish soggy. Opt for high-melting cheeses like Gruyère or sharp cheddar, and learn more about cheese selection in our best cheeses for baking guide.
Serving and Pairing Suggestions
How to serve this dish
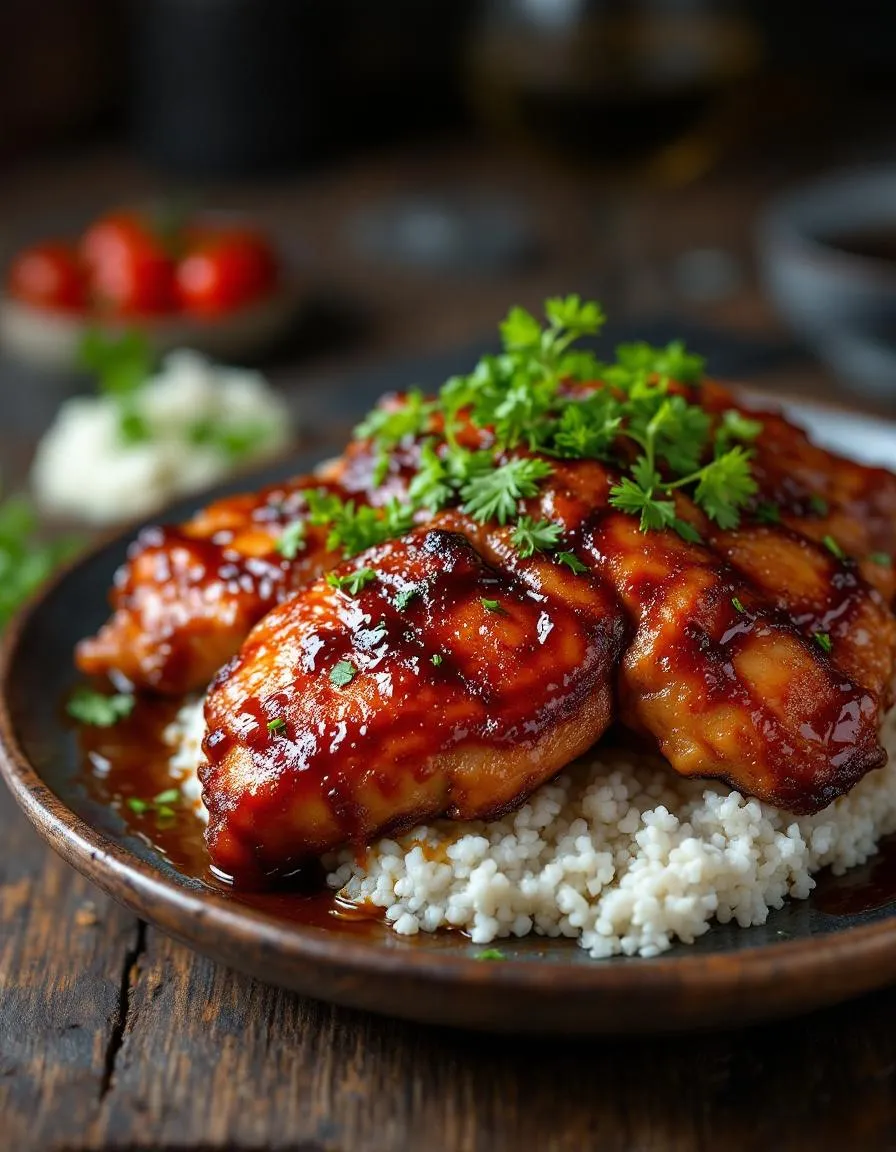
For a stunning presentation, serve Cheesy French Onion Potatoes in a rustic cast-iron skillet or a colorful ceramic dish to keep them warm. Top them with a sprinkle of fresh chives or parsley for a pop of color. Meanwhile, if you’re hosting a brunch or holiday gathering, pair them with a side of crispy bacon or fresh fruit for a balanced spread. Alternatively, layer them in individual ramekins for an elegant twist that guests will love. No matter how you serve them, the golden, bubbly cheese and caramelized onions make Cheesy French Onion Potatoes irresistible.
What goes well with it
Balance the rich flavors of Cheesy French Onion Potatoes with a crisp, refreshing salad like this Spring Mix Salad, which adds a light contrast to the dish. For heartier meals, try pairing them with juicy grilled chicken or steak, as the savory potatoes enhance the meat’s depth. Finally, a chilled glass of white wine or sparkling cider complements the dish perfectly, cutting through the richness while elevating every bite. If you’re craving more cozy sides, these Garlic Herb Dinner Rolls make an excellent addition for soaking up every cheesy bite.
Cheesy French Onion Potatoes typically combine sliced potatoes, caramelized onions, Gruyère or Swiss cheese, and a creamy sauce infused with French onion soup flavors. Some recipes also include breadcrumbs for a crispy topping or thyme for extra aroma. This dish is a hearty twist on classic scalloped potatoes with a rich, savory taste.
Yes! Assemble Cheesy French Onion Potatoes up to a day in advance, cover tightly, and refrigerate until ready to bake. For best results, add 10–15 minutes to the baking time if cooking straight from the fridge. The flavors often deepen when prepared ahead, making this dish ideal for meal prep or holiday gatherings.
Cheesy French Onion Potatoes complement roasted meats like beef tenderloin, grilled steak, or herb-crusted chicken beautifully. The creamy, umami-rich potatoes balance lighter proteins like pork chops or roasted turkey. For a French-inspired meal, serve them alongside a simple green salad and crusty bread.
Store leftovers in an airtight container in the refrigerator for 3–4 days. Reheat portions in the oven at 350°F until bubbly or use the microwave for quicker results. Note that the texture may soften slightly, but the delicious flavors of Cheesy French Onion Potatoes hold up well.