This Savory Hash Brown Crust Bacon and Cheddar Quiche is pure comfort food—crispy, cheesy, and totally satisfying! It’s perfect for a cozy weekend brunch or an easy make-ahead breakfast.
Print

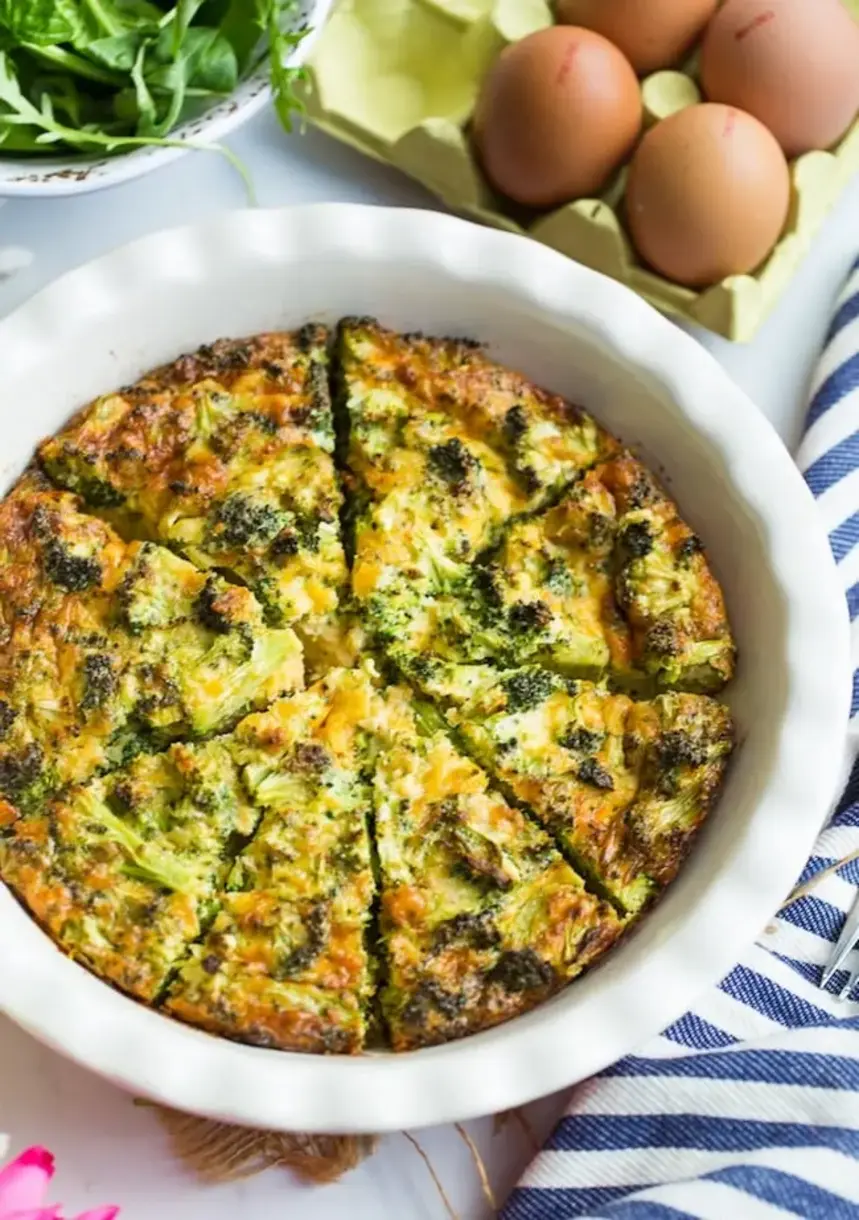
Mouthwatering Hash Brown Crust Bacon and Cheddar Quiche
Description
Delicious Mouthwatering Hash Brown Crust Bacon and Cheddar Quiche recipe with step-by-step instructions.
Ingredients
Scale
- 20 oz frozen hash browns, thawed (squeezed dry)
- 1/2 cup shredded white cheddar
- 1/2 tsp salt
- 1/4 tsp black pepper
Instructions
- Squeeze as much liquid as possible from the thawed hash browns and place them in a large mixing bowl. Add 1/2 cup shredded white cheddar, 1/2 teaspoon salt, and 1/4 teaspoon black pepper. Stir the mixture together until well combined.
- Lightly grease a 9-inch springform pan with cooking spray. Press the hash brown mixture from Step 1 evenly into the bottom and up the sides of the pan, ensuring there are no gaps or holes. Place the pan in the freezer for at least 1 hour to firm up the crust. This helps prevent leakage later when adding the filling.
- Preheat your oven to 425ËF. Once preheated, place the frozen crust directly into the oven and bake for 15 minutes. Remove and allow to cool slightly. This step helps set the crust and prevents it from becoming soggy later.
- In a skillet, melt butter over medium heat. Add the diced onion and cook, stirring occasionally, for 10 to 15 minutes until lightly caramelized. Season with a pinch of salt and pepper. Set aside to cool slightly. I find taking time to caramelize the onions really boosts the flavor of the quiche.
- In a large mixing bowl, whisk together the eggs and heavy cream until light and fluffy. Stir in 1 cup shredded white cheddar, caramelized onions from Step 4, cooked and crumbled bacon, and season with additional salt and pepper as needed. Make sure all ingredients are evenly mixed.
- Lower the oven temperature to 375ËF. Carefully pour the filling mixture from Step 5 into the par-baked hash brown crust from Step 3. Bake the quiche for 25 to 30 minutes, or until the eggs are just set.
- Remove the quiche from the oven and run a paring knife around the edge to loosen it from the sides. Release the springform pan, then place the quiche (now without the pan sides) back in the oven for an additional 10 to 15 minutes. This crisps up the crust nicely, especially along the sides.
- Allow the quiche to cool for 10 minutes before slicing into wedges. Top each wedge with freshly chopped chives just before serving. For a pop of freshness, I like to add a little extra chive right on top.