📖 Table of Contents
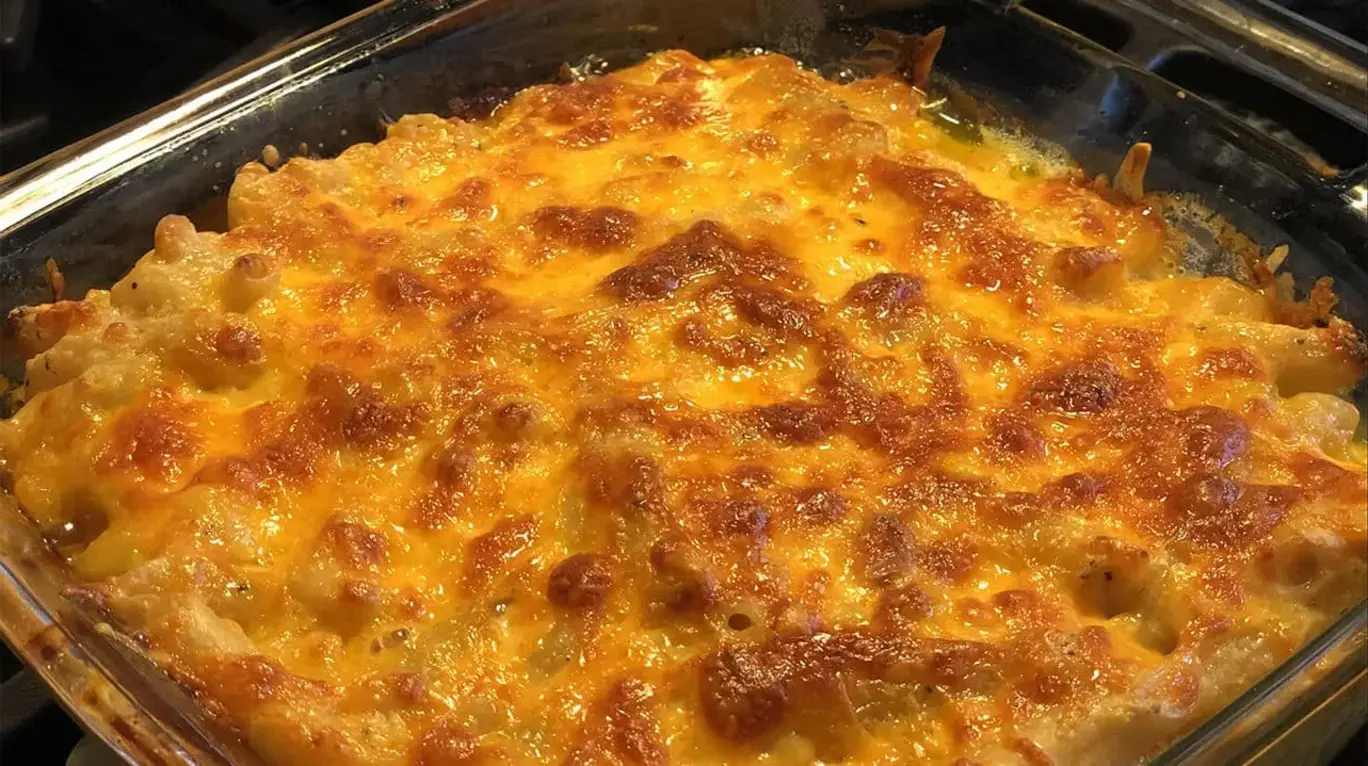
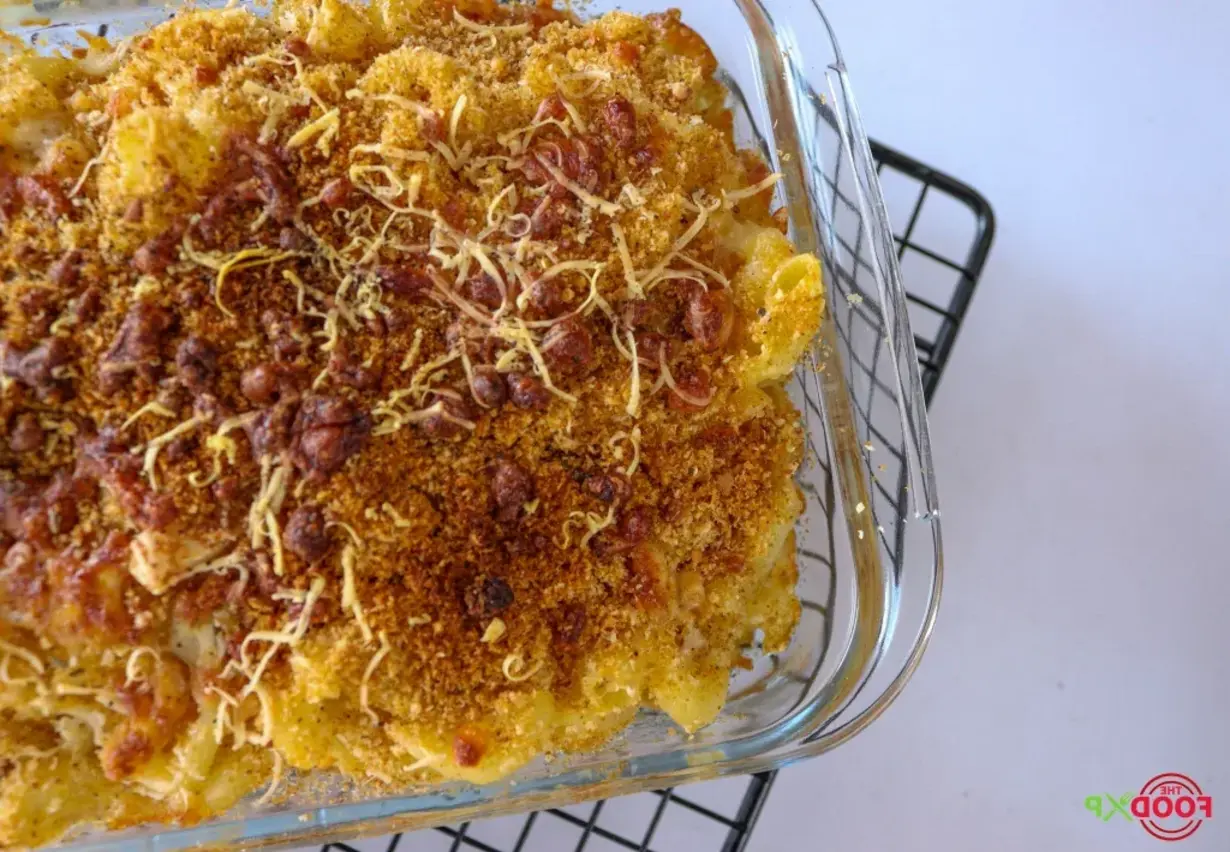
Gordon Ramsay’s Creamy Mac and Cheese Recipe: The Ultimate Comfort Food
⭐⭐⭐⭐⭐ (4.9/5 from 127 reviews)

Published: January 2024 | Updated: January 2024
By The Kitchen Team | CookingWithEmy.com
15 minutes
25 minutes
40 minutes
6-8 servings
Easy
520 per serving
Introduction: The Quest for the Perfect Mac and Cheese
Are you craving the ultimate comfort food? Look no further than this incredible Gordon Ramsay’s Creamy Mac and Cheese Recipe. This isn’t just any mac and cheese—it’s a restaurant-quality dish that brings the magic of Chef Ramsay’s culinary expertise right into your kitchen.
Today, The Kitchen Team is thrilled to share this fantastic recipe that will give you the exact cozy feeling you’re looking for. Whether you’re cooking for a family dinner, a potluck, or just treating yourself, this creamy, cheesy masterpiece never disappoints.
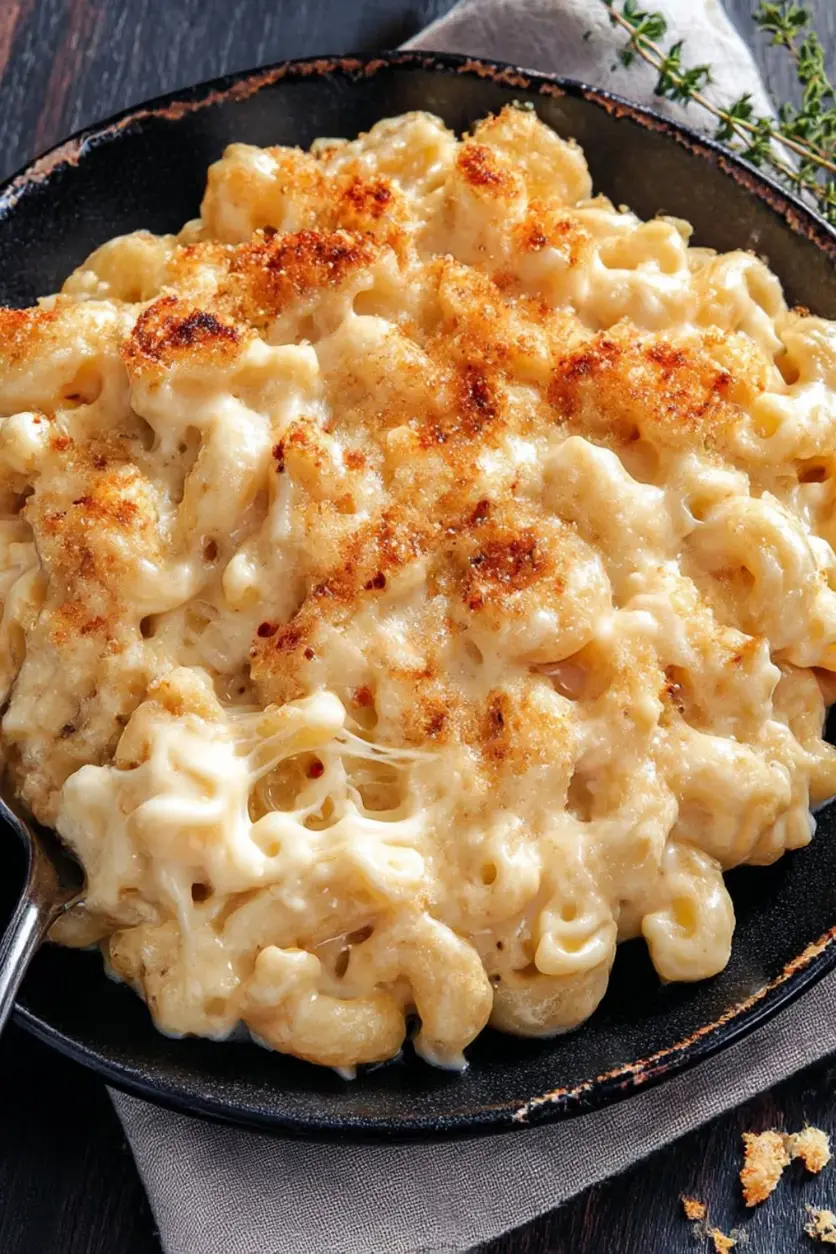
What makes this recipe special? It’s the perfect balance of rich, creamy cheese sauce with perfectly cooked pasta, topped with golden, crispy breadcrumbs. The combination of sharp cheddar, aromatic spices, and that signature Gordon Ramsay touch creates a dish that’s both sophisticated and deeply satisfying.
Follow along with our detailed instructions, and you’ll be enjoying restaurant-quality mac and cheese in no time. Let’s dive into this delicious journey!
Why This Gordon Ramsay Mac and Cheese is the Best
After testing dozens of mac and cheese recipes, we can confidently say this Gordon Ramsay version stands out for several reasons:
- Perfect Creaminess: The combination of whole milk and quality cheddar creates an incredibly smooth, velvety sauce that coats every piece of pasta perfectly.
- Bold Flavor Profile: The addition of cayenne pepper and mustard paste adds depth and a subtle kick that elevates this dish far beyond basic mac and cheese.
- Crunchy Topping: The golden breadcrumb crust provides the perfect textural contrast to the creamy pasta underneath.
- Simple Ingredients: No fancy, hard-to-find ingredients—just quality staples that come together beautifully.
- Foolproof Method: Chef Ramsay’s technique ensures success every time, even for beginner cooks.
Ingredients for Gordon Ramsay’s Creamy Mac and Cheese
Here’s everything you need to make this incredible dish. All measurements are in US standard units.
| Ingredient | Amount | Notes |
|---|---|---|
| Macaroni pasta | 1 pound | Elbow macaroni or cavatappi |
| Unsalted butter | 8 tablespoons (1 stick) | Divided for sauce and topping |
| Cheddar cheese | 2 cups, shredded | Sharp cheddar recommended |
| Whole milk | 4 cups | Full fat for best creaminess |
| Mustard paste | ½ tablespoon | Dijon or whole grain |
| Breadcrumbs | ½ cup | Panko for extra crunch |
| Kosher salt | 2 teaspoons | Plus more for pasta water |
| Cayenne pepper | 1 tablespoon | Adjust to taste |
| Black pepper | ½ teaspoon | Freshly ground |
Step-by-Step Instructions
Follow these detailed instructions for perfect Gordon Ramsay Mac and Cheese every time.
- Preheat and Prepare: Preheat your oven to 400°F (200°C). Grease a 9×13 inch baking dish with butter or non-stick spray.
- Cook the Pasta: In a large stockpot, warm the whole milk over medium heat. Add the macaroni and cook until al dente, about 8-10 minutes. Stir occasionally to prevent sticking. The pasta will absorb some milk, creating a creamy base.
- Season the Base: Once the pasta is al dente, remove the pot from heat. Immediately stir in the kosher salt, black pepper, cayenne pepper, mustard paste, and 6 tablespoons of butter. Mix until the butter is fully melted and incorporated.
- Add the Cheese: Gradually add the shredded cheddar cheese, stirring constantly. Continue mixing until the cheese is completely melted and the sauce is smooth and creamy. Make sure to scrape the bottom of the pot to prevent any cheese from burning.
- Prepare the Topping: In a separate small saucepan, melt the remaining 2 tablespoons of butter over medium heat. Add the breadcrumbs and toast them, stirring frequently, until they turn golden brown and fragrant. This should take about 3-4 minutes.
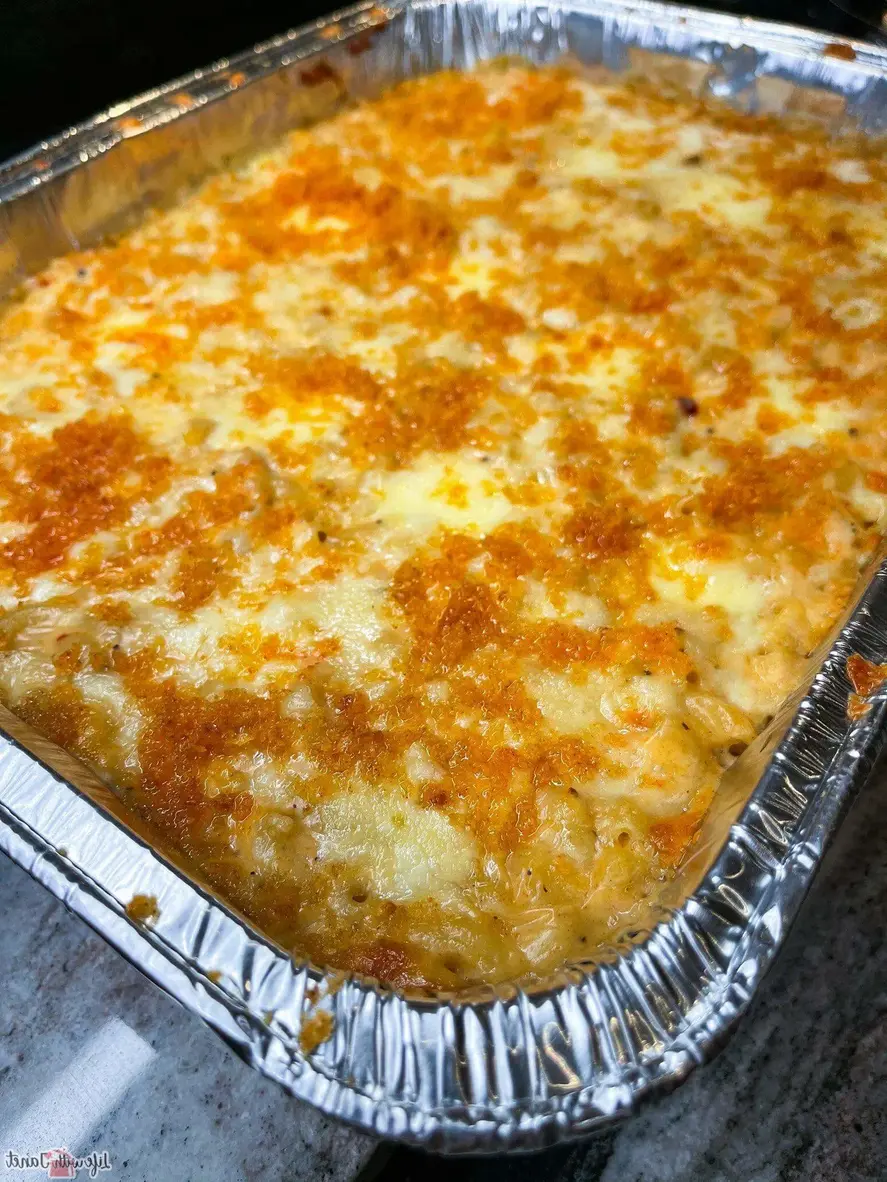
- Assemble the Dish: Pour the macaroni and cheese mixture into the prepared baking dish. Spread it evenly with a spatula. Sprinkle the toasted breadcrumbs over the top in an even layer.
- Bake to Perfection: Place the baking dish in the preheated oven and bake for 10 minutes, or until the top is golden and the edges are bubbling. For a deeper golden crust, broil for the last 1-2 minutes, watching carefully to prevent burning.
- Rest and Serve: Remove from the oven and let it rest for 5 minutes before serving. This allows the sauce to set slightly for the perfect creamy texture.
Serving Suggestions
This Gordon Ramsay Mac and Cheese is incredibly versatile. Here are our favorite ways to serve it:
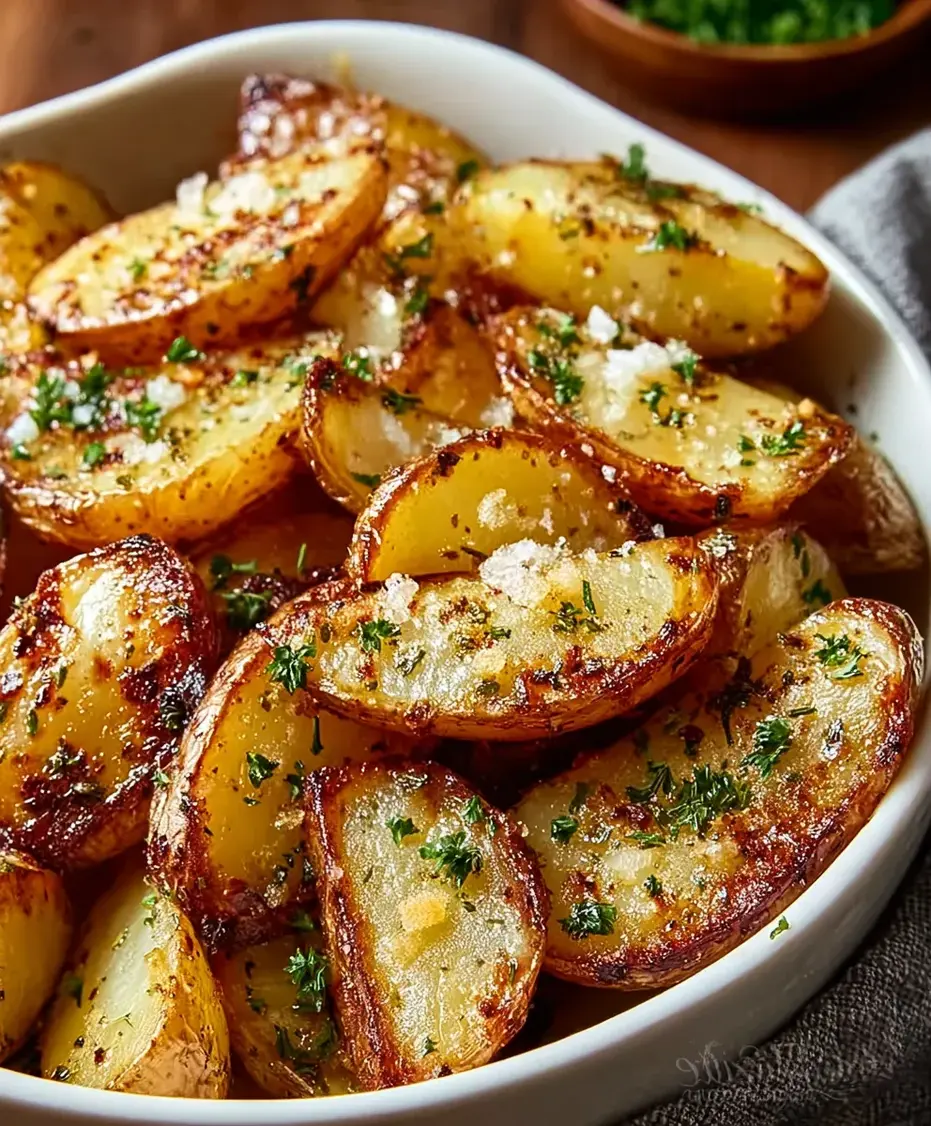
- Classic Side: Serve alongside grilled steak, roasted chicken, or meatloaf for a complete meal.
- Main Course: Pair with a fresh green salad dressed with vinaigrette to cut through the richness.
- Toppings Bar: Set out crispy bacon bits, chopped chives, extra shredded cheese, and hot sauce for guests to customize.
- Holiday Favorite: This dish is a showstopper at Thanksgiving, Christmas, or Easter dinners.
- Game Day Snack: Serve in small cast iron skillets for individual portions at parties.
For the perfect presentation, garnish with fresh parsley or chives and an extra sprinkle of cayenne pepper for color.
Storage & Reheating Tips
Refrigeration
Store leftover mac and cheese in an airtight container in the refrigerator for up to 5 days. The flavors actually deepen and become even more delicious overnight!
Freezing
This recipe freezes beautifully. Place cooled mac and cheese in a freezer-safe container and freeze for up to 3 months. Thaw overnight in the refrigerator before reheating.
Reheating Instructions
- Oven: Reheat at 350°F for 15-20 minutes, covered with foil. Remove foil for the last 5 minutes to crisp the topping.
- Microwave: Heat individual portions in 30-second intervals, stirring between each. Add a splash of milk if needed to restore creaminess.
- Stovetop: Reheat in a saucepan over low heat, adding a little milk to loosen the sauce. Stir frequently to prevent sticking.
Delicious Variations to Try
Once you’ve mastered the classic Gordon Ramsay Mac and Cheese, try these exciting variations:
- Lobster Mac and Cheese: Add 1 cup of cooked lobster meat when you add the cheese. The sweet lobster pairs beautifully with the creamy sauce.
- Truffle Mac and Cheese: Drizzle with truffle oil before serving and add ¼ cup of finely grated Parmesan cheese.
- Buffalo Chicken Mac: Add 1 cup of shredded cooked chicken and ¼ cup of buffalo sauce. Top with blue cheese crumbles.
- Smoky Bacon Mac: Stir in ½ cup of crispy bacon bits and use smoked cheddar for a deeper flavor.
- Vegetable Loaded: Add 1 cup of steamed broccoli florets and ½ cup of sautéed mushrooms for a veggie boost.
- Spicy Jalapeño Popper: Mix in ¼ cup of pickled jalapeños and 4 oz of cream cheese for a spicy, creamy twist.
Each variation maintains the creamy, cheesy base while adding exciting new flavors. Feel free to experiment and create your own signature version!
Frequently Asked Questions
Can I use a different type of pasta?
Absolutely! While elbow macaroni is traditional, you can use any short pasta like cavatappi, shells, rotini, or penne. The key is to choose shapes that catch and hold the creamy sauce.
Can I make this gluten-free?
Yes! Use gluten-free pasta and substitute the breadcrumbs with gluten-free panko or crushed gluten-free crackers. The rest of the ingredients are naturally gluten-free.
Why did my cheese sauce turn out grainy?
Grainy cheese sauce usually happens when the cheese is overheated or pre-shredded cheese is used. Always use freshly shredded cheese and add it off the heat, stirring gently until just melted.
Can I prepare this dish in advance?
Yes! Assemble the mac and cheese completely (without baking), cover, and refrigerate for up to 24 hours. Add 5-10 minutes to the baking time when cooking from cold.
What’s the best cheese for mac and cheese?
Sharp cheddar is classic, but a blend of cheddar, Gruyère, and Monterey Jack creates incredible depth of flavor. Avoid pre-shredded cheese for best results.
How can I make this recipe vegetarian?
This recipe is already vegetarian! Just ensure your cheese is made with vegetarian rennet. For a vegan version, use plant-based milk and vegan cheese alternatives.
Can I reduce the spice level?
Absolutely! Reduce the cayenne pepper to ½ teaspoon or omit it entirely for a milder version. The mustard paste adds tang without heat, so keep that for flavor.
Why do I cook the pasta in milk?
Cooking pasta in milk creates a starchier, creamier base for the cheese sauce. The pasta releases starch directly into the milk, which helps thicken the sauce naturally without needing a roux.
Can I add more cheese?
Yes! You can increase the cheese to 3 cups for an extra cheesy version. Just make sure to add it gradually and stir well to maintain a smooth sauce.
How do I prevent the breadcrumbs from burning?
Toast the breadcrumbs separately before adding them to the dish. This ensures they’re already golden and only need a short time in the oven to stay crispy without burning.
📌 Save This Recipe for Later!
Love this Gordon Ramsay Mac and Cheese recipe? Pin it to your favorite comfort food board on Pinterest!
Follow Cooking With Emy on Pinterest →
Don’t forget to tag us when you make this recipe! #gordonramsaymacandcheese #comfortfood #cookingwithemy
Did you make this recipe? We’d love to see your creation! Share a photo and tag us on social media — we can’t wait to see what you’ve made!
Recipe by The Kitchen Team at CookingWithEmy.com
📧 For questions or feedback: [email protected]
Gordon Ramsay Mac And Cheese Recipe
Description
Today, I’m thrilled to share a fantastic recipe for such a meal: Gordon Ramsay’s Mac and Cheese. It will give you the exact cozy feeling that you’re looking for.
Ingredients
Scale
- 1 Pound Macaroni
- 8 Tablespoons Unsalted Butter
- 2 Cups Cheddar (shredded)
- 4 Cups Whole Milk
- ½ Tablespoon Mustard Paste
- ½ Cup Breadcrumbs
- 2 Teaspoons Kosher Salt
- 1 Tablespoon Cayenne Pepper
- ½ Teaspoon Freshly Ground Black Pepper
Instructions
- In a stockpot, warm the milk, add the macaroni, and cook until it reaches al dente.
- When the macaroni is done, remove the pot from the heat and add the salt, pepper, cayenne pepper, mustard paste, and butter, stirring until everything is well combined.
- Next, add the shredded cheddar cheese to the macaroni and combine thoroughly.
- Next, melt butter in a separate saucepan and toast the bread crumbs until golden.
- After that, transfer the macaroni and cheese mixture to the baking dish, layer it with the toasted breadcrumbs, and bake in the oven at 400°F for 10 minutes.
- And there you have it! It’s time to enjoy your Gordon Ramsay Mac and Cheese!