“`html
Table of Contents
- Why You’ll Love This Cheesy Baked Asparagus
- Ingredients for Cheesy Baked Asparagus
- Timing is Everything
- Step-by-Step Instructions
- Nutritional Highlights
- Healthier Alternatives and Flavor Enhancements
- Serving Suggestions
- Common Mistakes to Avoid
- Storing and Reheating Tips
- Frequently Asked Questions (FAQs)
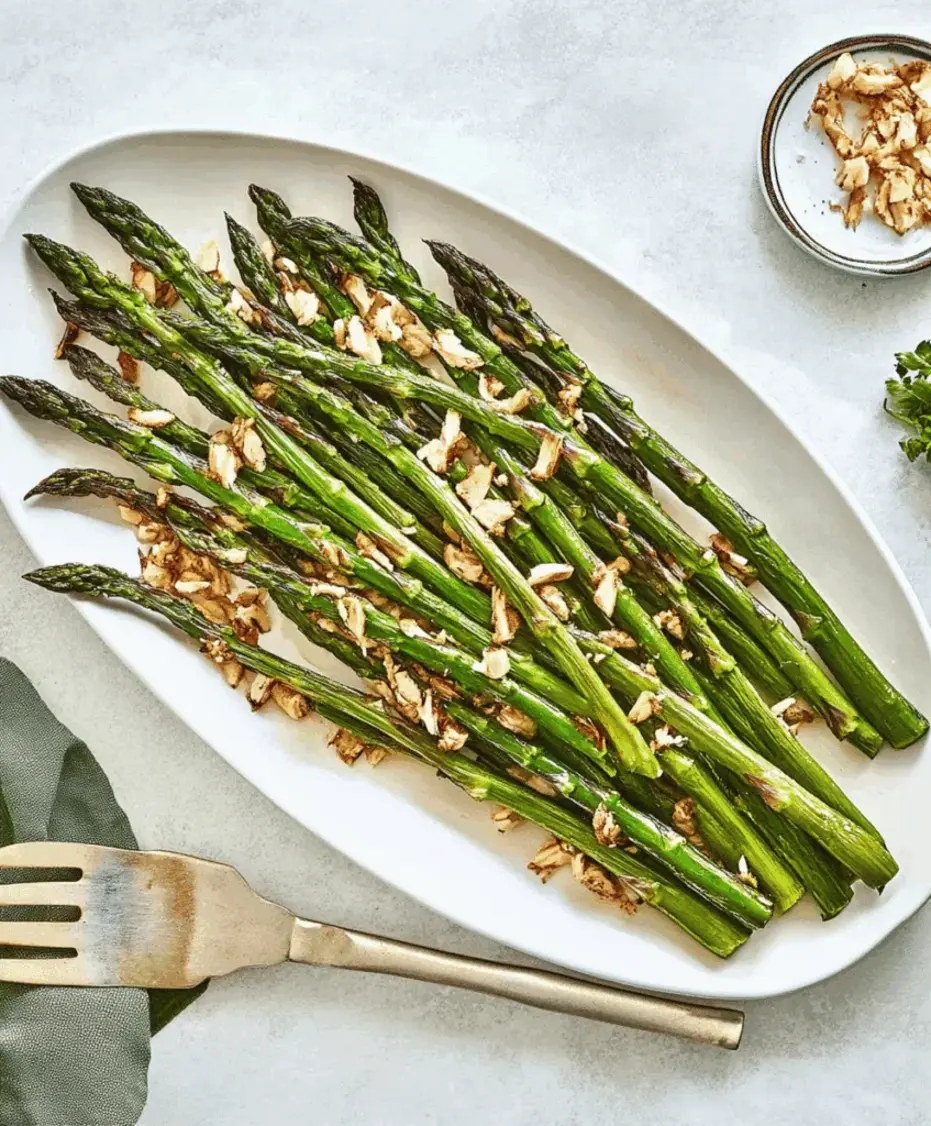
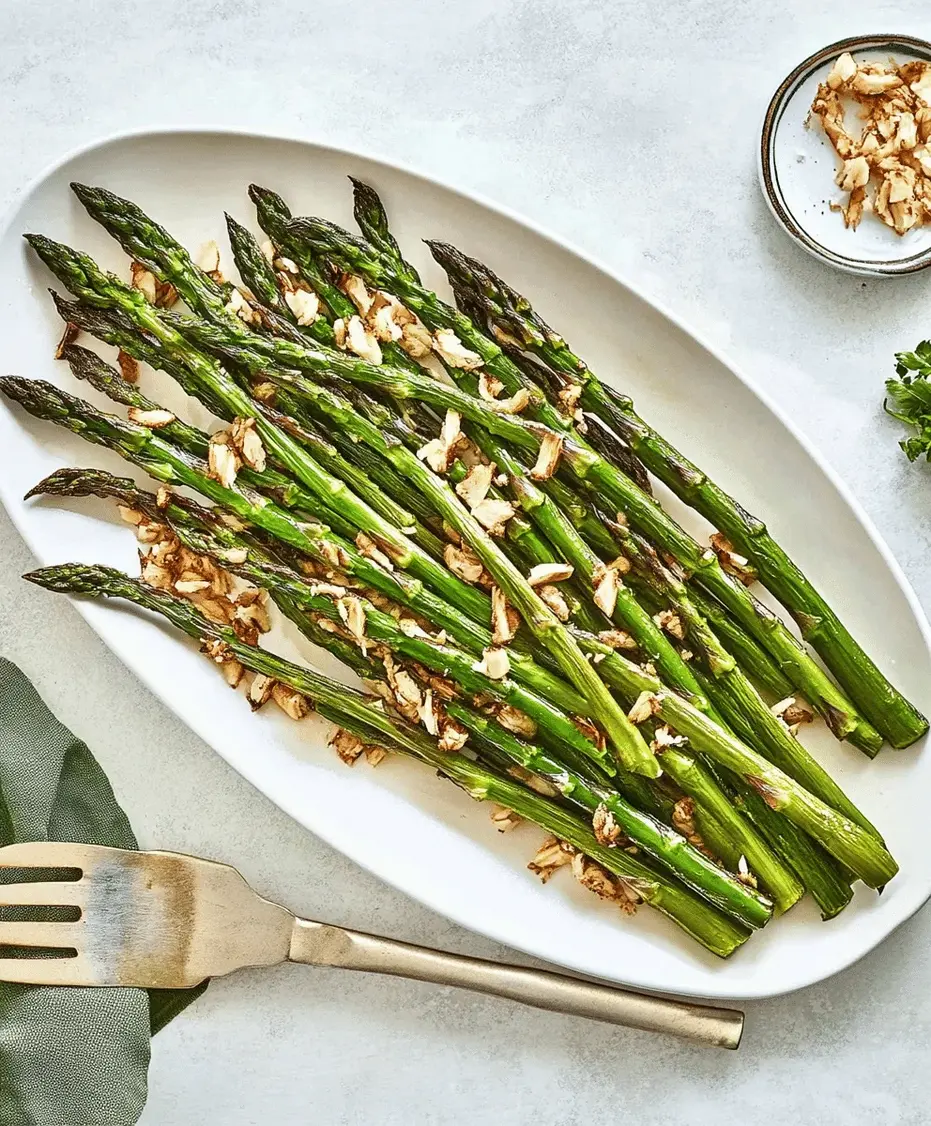
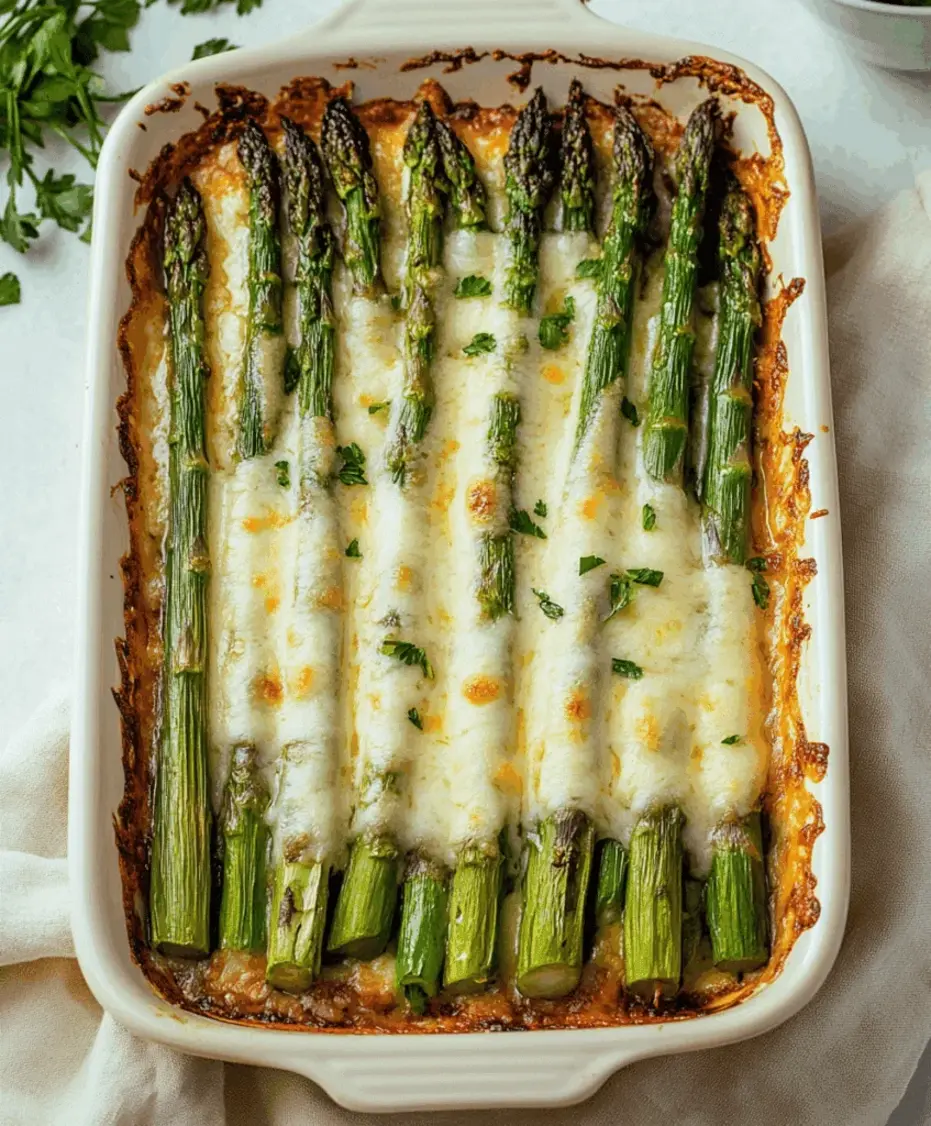
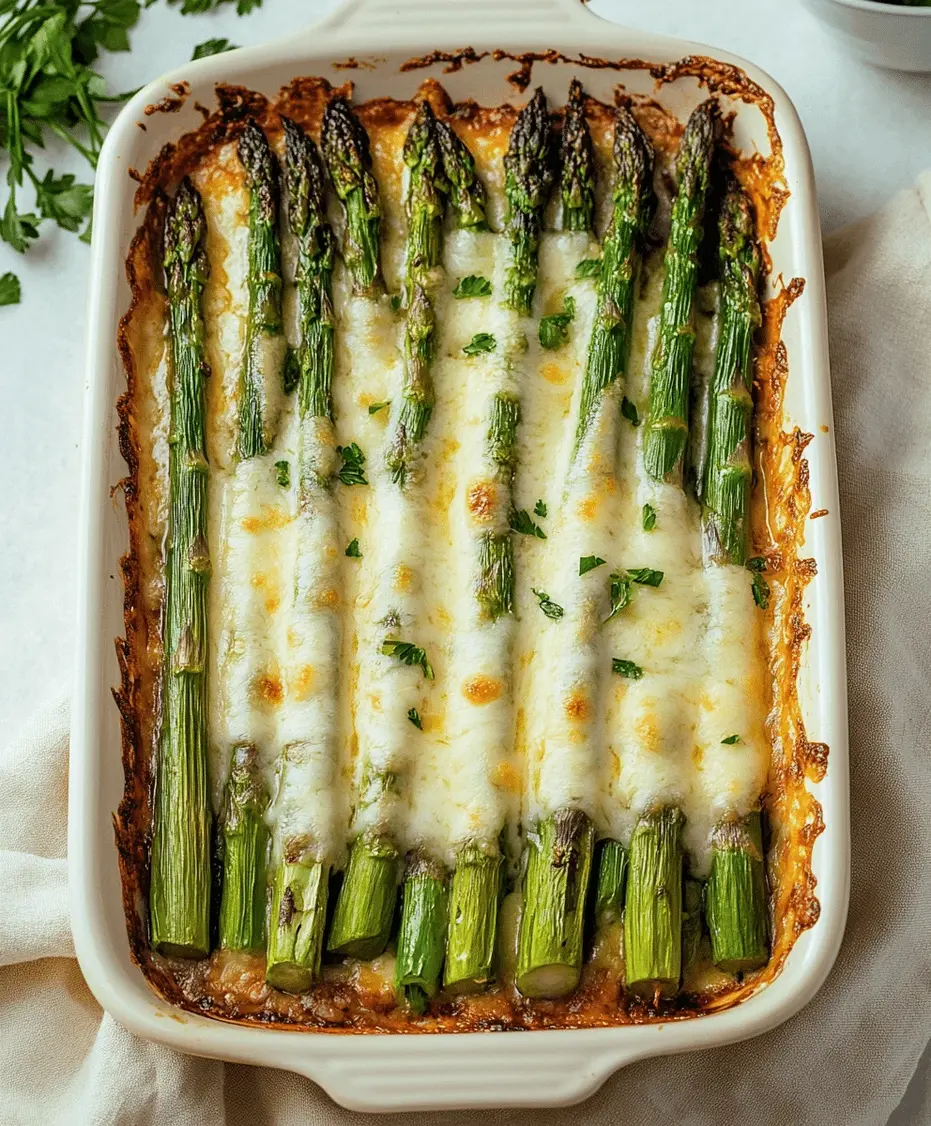
Cheesy Baked Asparagus Recipe
Why You’ll Love This Cheesy Baked Asparagus
Are you looking for a simple yet elegant side dish that can elevate any meal? If your weeknight dinners or holiday feasts often leave you scrambling for a healthy and delicious accompaniment, then Cheesy Baked Asparagus is about to become your new best friend. This recipe transforms humble asparagus spears into a culinary delight, perfectly baked with aromatic garlic, rich butter, and a generous blanket of melted mozzarella. It’s not just delicious; it’s also a fantastic option for those following a low-carb, keto, or gluten-free lifestyle, proving that healthy eating doesn’t mean sacrificing flavor or enjoyment. Imagine tender-crisp asparagus with a beautifully bubbly, golden-brown cheesy topping – a truly irresistible combination that’s ready in a flash. This guide will walk you through creating this crowd-pleasing dish with ease.
Ingredients for Cheesy Baked Asparagus
The beauty of this Cheesy Baked Asparagus recipe lies in its simplicity and the quality of its core ingredients. We aim for fresh, vibrant flavors that complement the natural taste of asparagus.
- 1 pound Fresh Asparagus Spears: Look for bright green, firm spears with tightly closed tips. Thicker spears are generally preferred for baking as they are less likely to overcook. If you only have pencil-thin spears, reduce the baking time slightly.
- 2-3 cloves Garlic, minced: Freshly minced garlic offers the most potent and delightful aroma and flavor. You can substitute with 1/2 teaspoon of garlic powder if fresh is unavailable, but the punch will be milder.
- 2 tablespoons Butter, melted: Unsalted butter is ideal, allowing you to control the saltiness. For a richer flavor, you could use salted butter and adjust the added salt accordingly. A dairy-free butter substitute can also work.
- 1/2 cup Shredded Mozzarella Cheese: Full-fat, low-moisture mozzarella melts beautifully and provides that classic cheesy pull. You can use pre-shredded or shred your own for the best meltiness.
- 1 tablespoon Olive Oil (Optional): A drizzle of olive oil adds a lovely richness and helps prevent the butter from burning. Extra virgin olive oil provides a wonderful fruity note.
- Salt, to taste: Sea salt or kosher salt are excellent choices. Season generously to bring out the flavors.
- Freshly Ground Black Pepper, to taste: A few twists of freshly ground black pepper add a subtle warmth and complexity.
- 2 tablespoons Grated Parmesan Cheese (Optional): For an extra layer of nutty, salty goodness. Add this along with the mozzarella or sprinkle on top just before serving.
Timing is Everything
Step-by-Step Instructions
Step 1: Preheat Your Oven and Prepare the Asparagus
First things first, let’s get your oven nice and hot! Preheat it to 400°F (200°C). While the oven is heating up, it’s time to prep our star ingredient: the asparagus. Wash the asparagus spears under cool running water and gently pat them dry with a clean kitchen towel or paper towels. This is crucial for achieving that perfect tender-crisp texture without any sogginess. Now, for the woody ends – the part that’s tough and fibrous. You can either snap them off (they’ll naturally break where the woody part begins) or trim them with a knife. Lay the spears on a cutting board and chop off about 1 to 1.5 inches from the bottom of each spear.
Step 2: Season the Asparagus
Grab a large bowl or even just keep the asparagus on the baking sheet you plan to use. Drizzle the melted butter and optional olive oil over the asparagus. Add your minced garlic, a generous pinch of salt, and a few grinds of black pepper. Toss everything gently with your hands or tongs until each asparagus spear is evenly coated. You want to ensure every piece gets a taste of that garlicky, buttery goodness!
Step 3: Bake Partially
Arrange the seasoned asparagus spears in a single layer on your baking sheet. A single layer is key for even cooking. You don’t want them overlapping too much, or they’ll steam instead of roast. Pop the baking sheet into your preheated oven and let those asparagus beauties bake for about 8-10 minutes. We’re just looking to give them a head start and get them slightly tender.
Step 4: Add Cheese and Bake Again
After the initial bake, carefully remove the baking sheet from the oven. Now for the magic! Evenly sprinkle the shredded mozzarella cheese (and optional Parmesan, if using) over the top of the asparagus. Return the baking sheet to the oven for another 4-5 minutes, or until the cheese is completely melted, bubbly, and just starting to turn a beautiful golden brown. Keep an eye on it; cheese can go from perfect to burnt very quickly!
Step 5: Serve Hot
Once the cheese is perfectly melted and golden, carefully remove the baking sheet from the oven. Let the Cheesy Baked Asparagus sit for just a minute or two before serving. This dish is best enjoyed immediately while the cheese is still warm and gooey. Garnish with a little extra fresh pepper or a sprinkle of chopped parsley if you like, and prepare for compliments!
Nutritional Highlights
Cheesy Baked Asparagus is a fantastic way to incorporate more vegetables into your diet. It’s naturally low in carbohydrates and a good source of vitamins A, C, K, and folate. The addition of cheese provides protein and calcium. A typical serving is roughly:
- Calories: ~100-150 kcal (depending on cheese and butter amount)
- Net Carbs: ~3-5g
- Protein: ~6-10g
- Fat: ~7-12g
(Note: These are approximate values and can vary based on specific ingredient brands and quantities used.)
Healthier Alternatives and Flavor Enhancements
Want to tweak this recipe? Here are some ideas:
- Lighter Cheese: For a slightly lighter version, try using a part-skim mozzarella or a blend with cheddar. However, these might not melt as smoothly.
- Dairy-Free: Use a good quality dairy-free butter alternative and a dairy-free shredded cheese blend that melts well.
- Herbs: Add fresh chopped herbs like chives, parsley, or a pinch of dried Italian seasoning to the butter mixture before baking for an herbaceous twist.
- Spice: A pinch of red pepper flakes added with the garlic can give a subtle kick.
- Lemon Zest: A little lemon zest sprinkled over the top just before serving brightens up the flavors beautifully.
Serving Suggestions
This Cheesy Baked Asparagus is incredibly versatile! It’s the perfect accompaniment to:
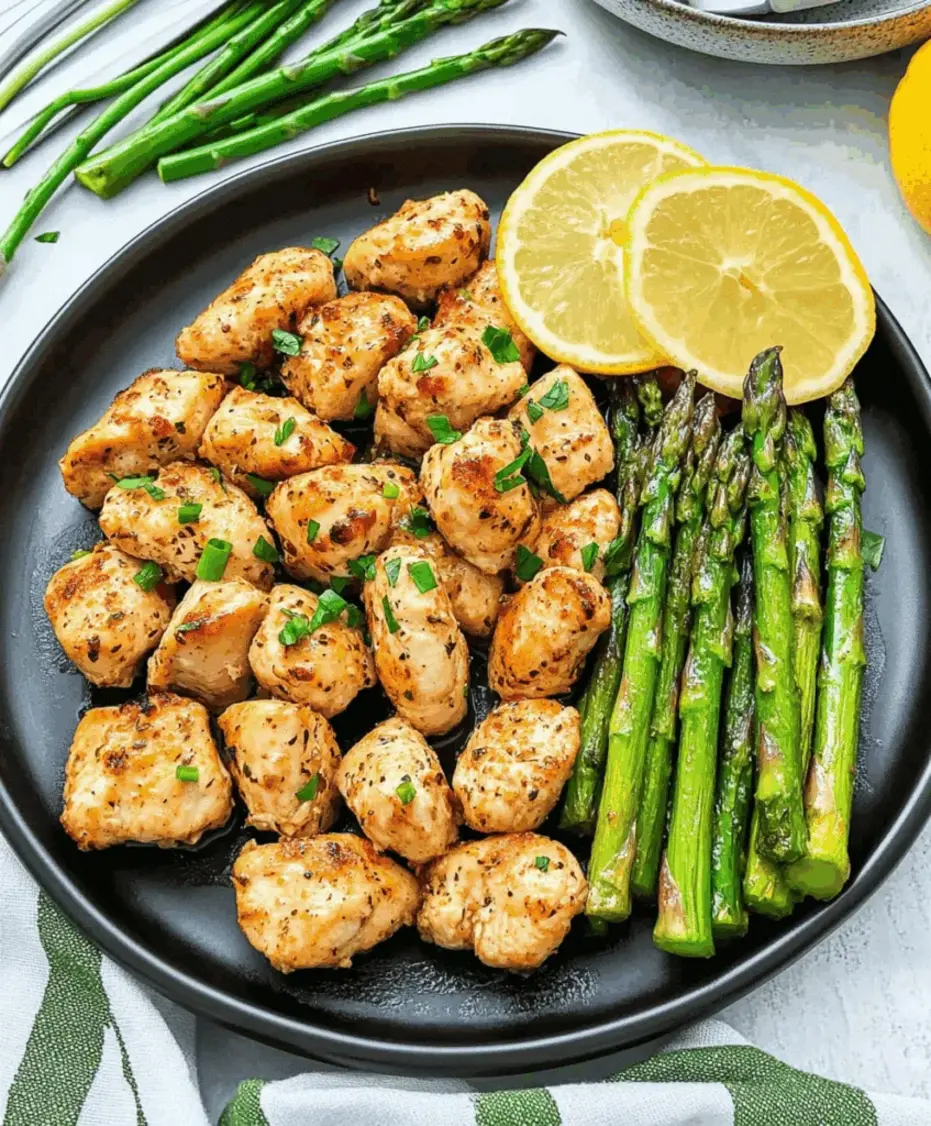
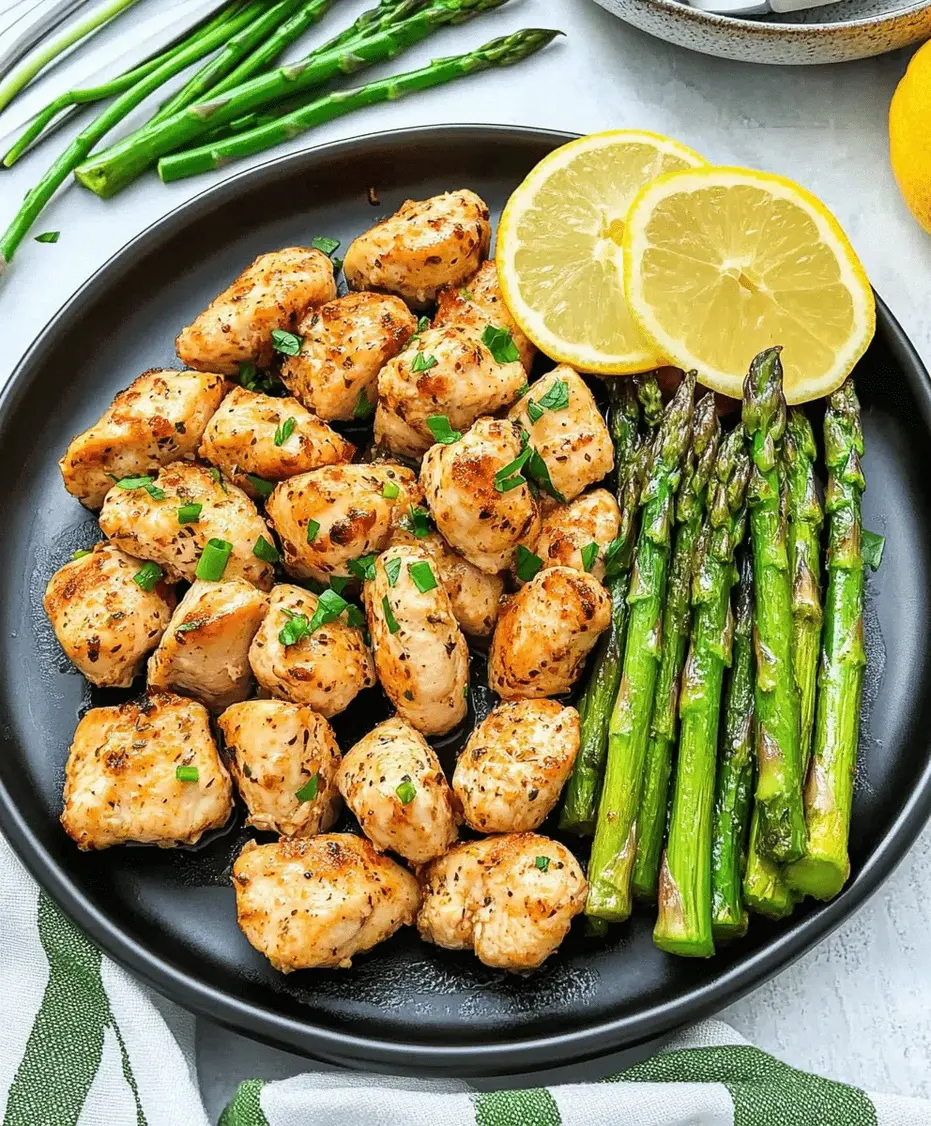
- Steak, chicken, or fish
- Roasted pork loin or other roasts
- Pasta dishes
- As part of a brunch spread
- Alongside other roasted vegetables for a vibrant side medley
Common Mistakes to Avoid
- Overcooking: Asparagus can quickly go from tender-crisp to mushy. Keep an eye on the baking time, especially the second stage with the cheese.
- Uneven Baking: Ensure the asparagus is spread in a single layer and that thicker and thinner spears are separated if possible, or adjust baking time accordingly.
- Not Drying Asparagus: Excess moisture will steam the asparagus instead of baking it, leading to a less desirable texture.
- Burning Garlic: Minced garlic can burn easily. If you are worried, you can add it halfway through the first baking stage.
Storing and Reheating Tips
Leftovers can be stored in an airtight container in the refrigerator for up to 2-3 days. Reheat gently in a toaster oven or a low oven (around 300°F/150°C) to maintain some crispiness. Microwaving is an option, but it can make the asparagus softer.
Frequently Asked Questions (FAQs)
***Can I use frozen asparagus?***
While fresh is best for texture, you can use frozen asparagus. Ensure it’s fully thawed and patted very dry before proceeding with the recipe. You may need to slightly reduce the baking time.
***What kind of cheese works best?***
Mozzarella melts beautifully and provides that classic gooeyness. Provolone, Monterey Jack, or a mild cheddar can also be used, or you can mix them with mozzarella for varied flavor.
***How do I ensure the asparagus is tender-crisp?***
The key is to not overbake it. The first baking stage (8-10 minutes) softens it, and the second stage (4-5 minutes) finishes it off. The thickness of the spears also plays a role; adjust time as needed.
***Can I make this ahead of time?***
You can prep the asparagus and toss it with seasonings ahead of time and store it in the fridge. Add the cheese and bake just before serving for the best texture and melt.
***I don’t have butter, what can I use?***
Olive oil can be used as a direct substitute for butter. For added richness, you could also use ghee or a plant-based butter alternative.
Enjoy Your Delicious Cheesy Baked Asparagus!
There you have it – a simple, flavorful, and incredibly satisfying Cheesy Baked Asparagus recipe that’s perfect for any occasion. Whether you’re looking for a quick weeknight side or a show-stopping addition to your holiday table, this dish delivers. Its low-carb and gluten-free friendly nature makes it a winner for diverse dietary needs. Don’t hesitate to experiment with herbs and spices to make it your own! We’d love to hear how your Cheesy Baked Asparagus turns out. Share your creations and thoughts in the comments below!
Print
Cheesy Baked Asparagus Recipe
Description
Cheesy Baked Asparagus is a delicious low-carb side dish featuring fresh asparagus spears baked with garlic, butter, and melted mozzarella cheese. Perfect for keto or gluten-free diets, this quick and easy recipe adds flavor to any weeknight dinner or holiday table. Enjoy tender-crisp asparagus topped with bubbly, golden cheese!
Ingredients
- 1bunch fresh asparagus, trimmed
- 2 tablespoonsolive oil or melted butter
- 2cloves garlic, minced
- Salt and pepper to taste
- 1 cupshredded mozzarella cheese
- ¼ cupgrated parmesan cheese
- Optional: crushed red pepper flakes or lemon zest for garnish
Instructions
Notes
For extra crispiness, broil for 1–2 minutes at the end.
Use a blend of cheeses like cheddar or provolone for a twist.
Great served with roasted chicken, steak, or fish.
Nutrition
- Calories: 180
- Sugar: 2g
“`