“`html
Table of Contents
Tasty Baked Cod In Coconut Lemon Cream Sauce Recipe
Dreaming of a weeknight dinner that’s both healthy and incredibly flavorful? If you love tender fish and vibrant, creamy sauces, you’re in the right place! Many home cooks struggle to find weeknight-friendly meals that don’t compromise on taste or health. This Tasty Baked Cod in Coconut Lemon Cream Sauce recipe uses a data-backed approach to perfectly balance flaky fish with a rich, tropical-inspired sauce that’s ready in under 30 minutes. Get ready to elevate your dinner game with this gluten-free delight!
An Unforgettable Flavor Journey
Weeknights often feel like a race against time, and the allure of quick, processed meals can be strong. However, what if you could achieve restaurant-quality flavor and a healthy, satisfying meal in the same amount of time it takes to order takeout? Our Tasty Baked Cod in Coconut Lemon Cream Sauce recipe is designed precisely for this. It leverages the natural tenderness of cod and pairs it with the exotic, creamy sweetness of coconut milk, brightened by the zest of fresh lemon and a hint of garlic. This dish isn’t just a meal; it’s an escape to a tropical paradise on your plate, proving that healthy eating can be a delicious adventure. Whether you’re catering to a gluten-free diet, looking for a low-carb option, or simply seeking a new signature seafood dish, this recipe delivers exceptional taste with minimal fuss.
Gather Your Tropical Treasures
The magic of this dish lies in its simple yet impactful ingredients. We’ve focused on fresh, wholesome components that come together harmoniously.
Main Ingredients
- 1.5 lbs Cod Fillets: Look for thick, center-cut pieces. Cod is a firm, white fish that bakes beautifully, remaining moist and flaky. For substitutions, halibut, haddock, or even sea bass work wonderfully, offering a similar mild flavor and delicate texture.
- 1 tablespoon Olive Oil: Extra virgin for the best flavor. This helps to sear the fish lightly and prevent sticking. Coconut oil is a natural alternative here, enhancing the tropical theme.
- Salt and freshly ground Black Pepper: To taste. Essential for bringing out the natural flavors of the fish.
Sauce Ingredients
- 1 can (13.5 oz) Full-Fat Coconut Milk: This is the creamy heart of our sauce. Use full-fat for the richest texture; light coconut milk can be used but will result in a thinner sauce.
- 3 cloves Garlic, minced: Pungent and aromatic, garlic forms a foundational flavor layer.
- 1/4 cup fresh Lemon Juice: The bright, zesty counterpoint to the creamy coconut. Don’t skimp on the fresh lemon; bottled juice won’t provide the same vibrant tang.
- 1 tablespoon Lemon Zest: For an intense burst of citrus aroma and flavor.
- 1/2 teaspoon Grated Fresh Ginger: Adds a subtle warmth and spicy note that complements the lemon and coconut.
- Pinch of Red Pepper Flakes (optional): For a gentle kick that awakens the palate.
Optional Garnishes
- Fresh Parsley or Cilantro, chopped: Adds a burst of color and fresh, herbaceous notes.
- Fresh Red Chili, thinly sliced: For those who love extra heat and visual appeal.
- Lime wedges: For an extra squeeze of citrus at the table.
Timing is Everything
This recipe is a weeknight warrior, designed for speed and minimal stress. While the average baked fish recipe might take 45 minutes to an hour, we’re bringing this delightful dish to your table much faster.
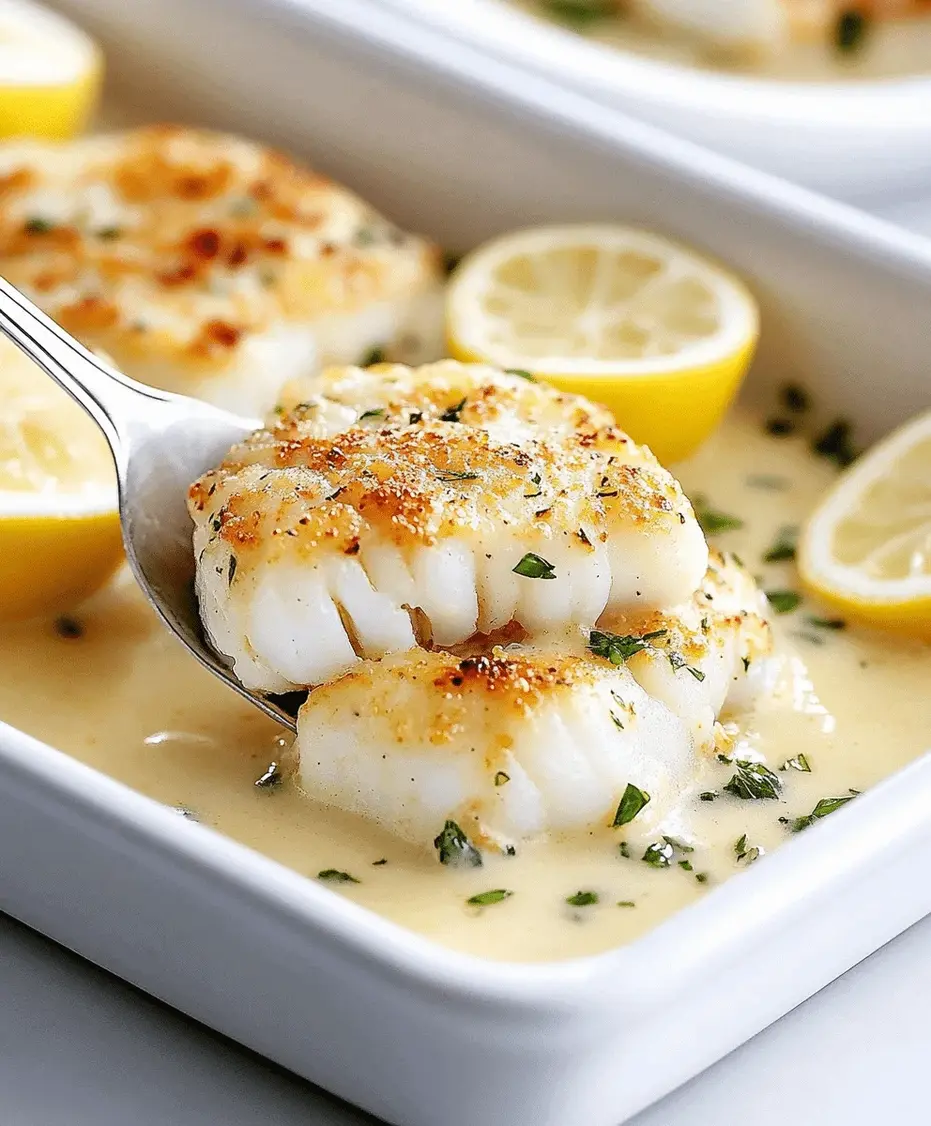
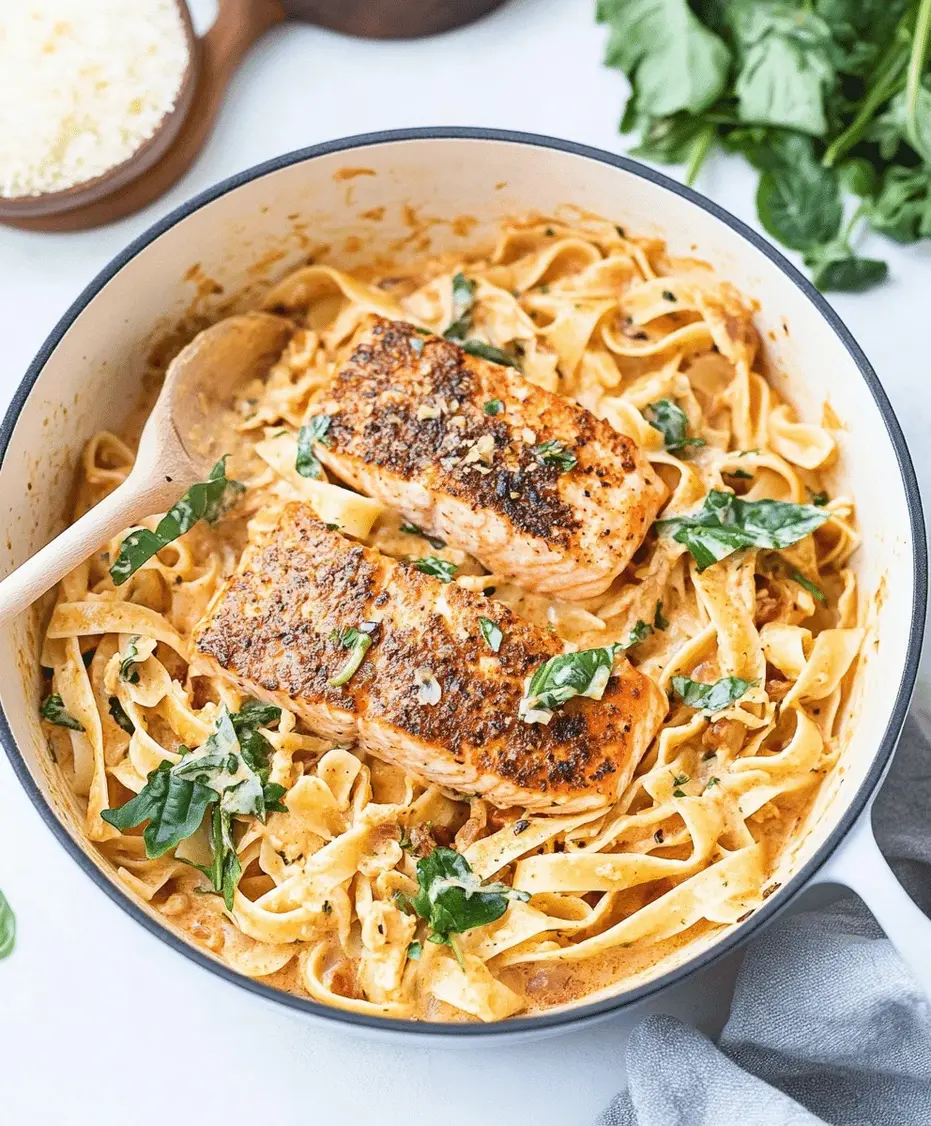
Tender cod fillets bathed in a luscious coconut lemon cream sauce.
Crafting Your Culinary Masterpiece
Let’s get cooking! Follow these simple steps for a dish that’s as rewarding to make as it is to eat.
Step 1: Preheat and Prep
First things first, let’s get your oven ready. Preheat it to 400°F (200°C). While the oven heats up, pat your cod fillets thoroughly dry with paper towels. This is a crucial step for achieving a nice texture and preventing a watery dish. Season both sides generously with salt and freshly ground black pepper. Arrange the seasoned cod fillets in a lightly oiled baking dish or on a parchment-lined baking sheet.
Step 2: Prepare the Coconut Lemon Cream Sauce
In a medium saucepan, heat the olive oil (or coconut oil) over medium heat. Add the minced garlic and grated fresh ginger, and sauté for about 1 minute until fragrant. Be careful not to burn the garlic! Pour in the full-fat coconut milk, fresh lemon juice, lemon zest, and red pepper flakes (if using). Bring the mixture to a gentle simmer, whisking occasionally. Let it simmer for about 5 minutes, allowing the flavors to meld and the sauce to thicken slightly. Taste and adjust seasoning with salt and pepper as needed. The aroma should be intoxicating – creamy, citrusy, and slightly spicy!
Step 3: Assemble for Baking
Now, it’s time to bring it all together. Carefully spoon about half of the warm coconut lemon cream sauce over the seasoned cod fillets in the baking dish, ensuring they are evenly coated. Reserve the remaining sauce for serving.
Step 4: Bake to Perfection
Place the baking dish into the preheated oven. Bake for 15-20 minutes, or until the cod is opaque and flakes easily with a fork. The exact time will depend on the thickness of your fillets. You’ll know it’s done when it easily separates into sections. Avoid overcooking, which can make the fish dry.
Step 5: Rest and Serve
Once baked, carefully remove the dish from the oven. Let the cod rest for a minute or two. To serve, portion the flaky cod onto plates and generously spoon the remaining warm coconut lemon cream sauce over each fillet. Garnish with fresh chopped parsley or cilantro, sliced red chili, and a lime wedge, if desired, for an extra pop of color and flavor.
Nutritional Highlights
This recipe is a fantastic source of lean protein and healthy fats. While exact nutritional values can vary based on portion size and specific ingredients used, a typical serving (without garnishes) is approximately:
- Calories: 350-450 kcal
- Protein: 30-40g
- Fat: 20-30g (primarily from coconut milk and olive oil)
- Carbohydrates: 5-10g
- (Note: This is an estimate and does not include any side dishes.)
Healthier Swaps & Flavor Preservers
We love keeping things delicious and healthy! Here are some ways to make this recipe even more health-conscious without sacrificing taste:
- Use Light Coconut Milk: If you’re watching fat intake, this is the easiest swap. The sauce will be thinner but still flavorful.
- Incorporate More Vegetables: Sauté finely chopped bell peppers or onions with the garlic and ginger, or add a handful of spinach to wilt into the sauce just before serving.
- Reduce Oil: You can get away with using just 1 teaspoon of oil for sautéing aromatics if you’re very careful not to burn them.
- Broiling Option: For a slightly different texture, you can broil the fish for the last few minutes to get a light crisp on top, but watch it closely to prevent burning.
Perfect Pairings: What to Serve With
To make this a complete meal, consider these serving suggestions:
- Quinoa or Brown Rice: The fluffy grains provide a wonderful base to soak up the extra sauce.
- Cauliflower Rice: A low-carb alternative that pairs beautifully with the tropical flavors.
- Steamed or Roasted Asparagus: Its crisp texture and earthy flavor are a delightful contrast.
- Simple Green Salad: A light, refreshing salad with a vinaigrette dressing balances the richness of the sauce.
- Sautéed Greens: Like spinach or kale, wilted with a touch of garlic.
Common Mistakes to Avoid
Even the simplest recipes have pitfalls. Here’s how to ensure your baked cod is perfect:
- Not Patting Fish Dry: This leads to steaming the fish instead of baking, resulting in a less appealing texture.
- Overcooking the Cod: Cod cooks quickly! Overdoing it will make it tough and dry. Keep an eye on it and use fork-tenderness as your guide.
- Using Bottled Lemon Juice: Fresh lemon juice and zest are essential for that vibrant, authentic citrus flavor.
- Skipping the Full-Fat Coconut Milk: While light works for some recipes, for this creamy sauce, full-fat is key to achieving the desired richness and texture.
Storing and Reheating Leftovers
Leftovers of this Tasty Baked Cod in Coconut Lemon Cream Sauce can be stored in an airtight container in the refrigerator for up to 2 days. The sauce might separate slightly upon chilling, which is normal. Reheat gently on the stovetop over low heat or in the microwave, stirring occasionally, until warmed through. Be mindful that fish can become a bit drier and firmer upon reheating, so a gentle approach is best.
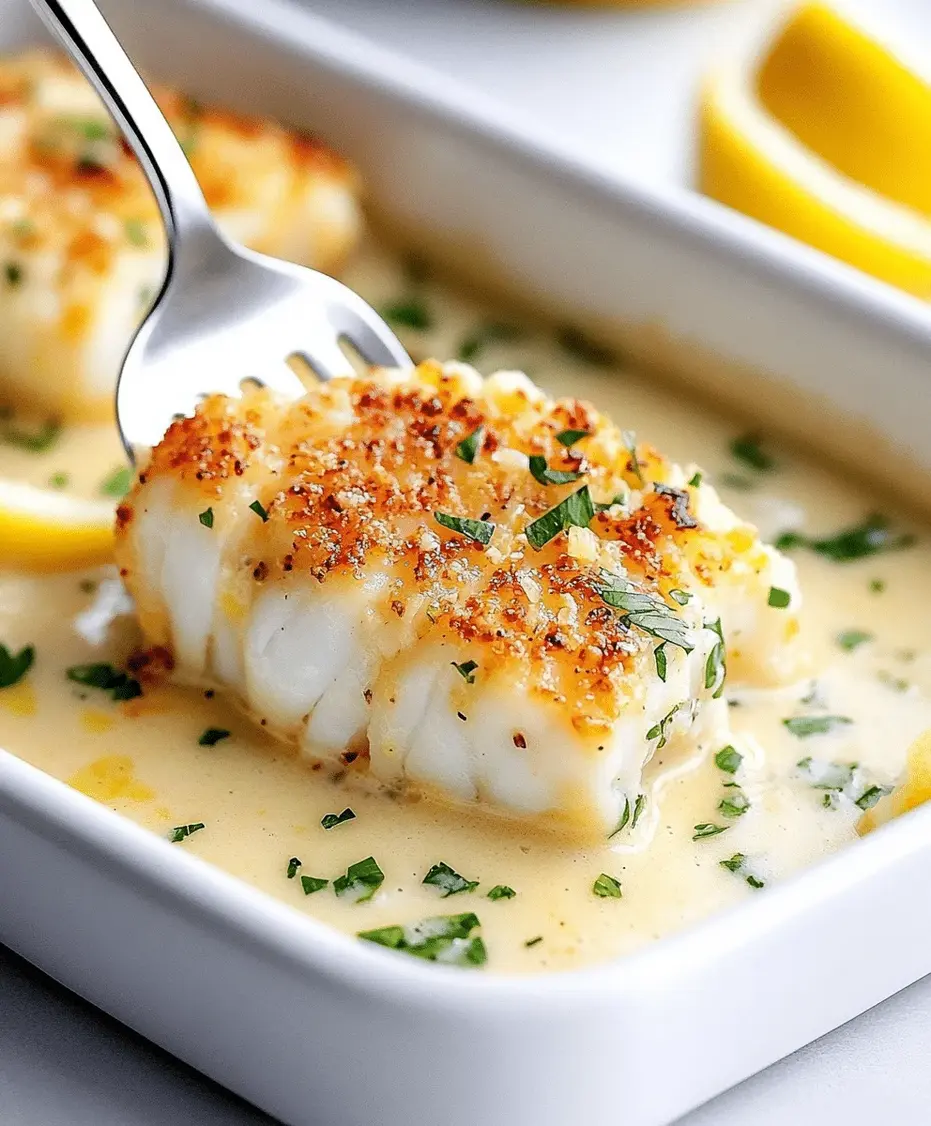
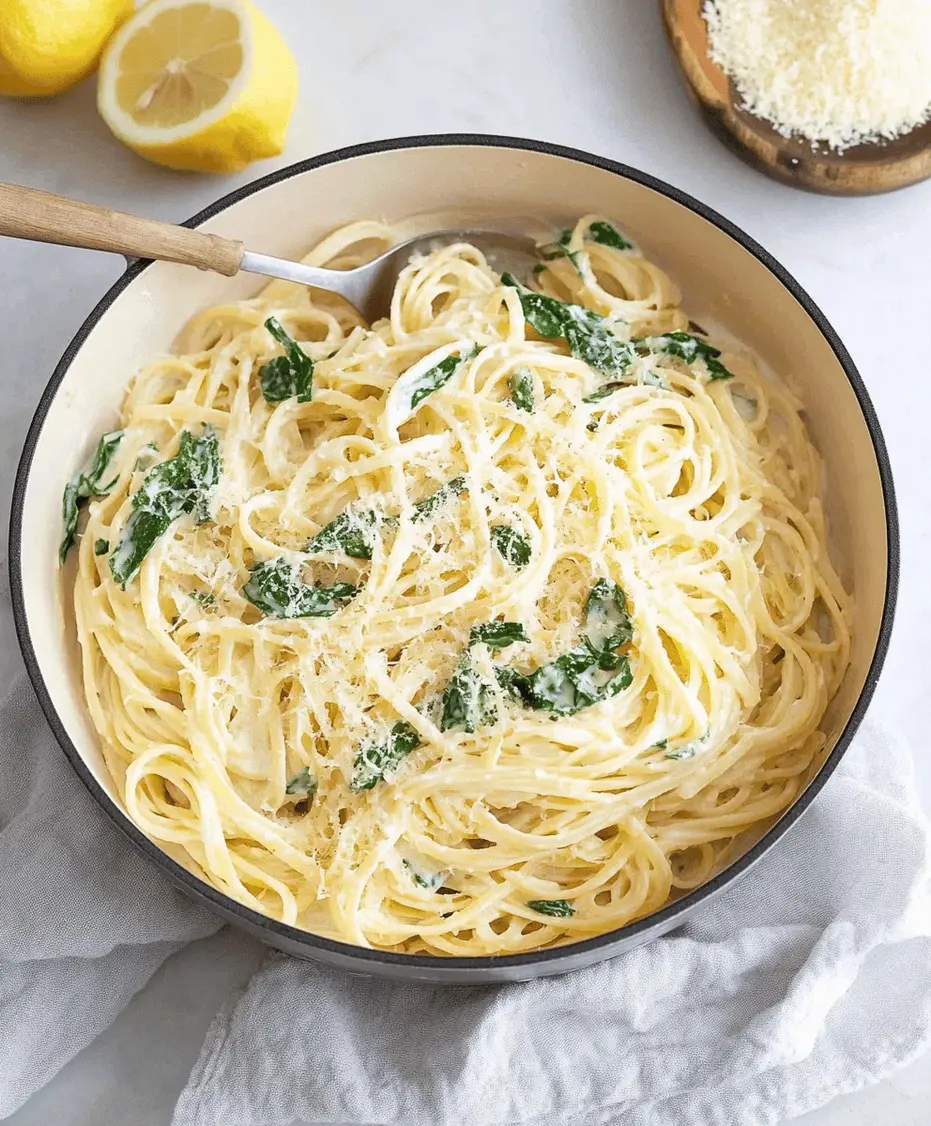
A vibrant and delicious finish to an easy weeknight meal.
Frequently Asked Questions
***What kind of coconut milk is best for this recipe?***
We highly recommend using **full-fat canned coconut milk**. It provides the creamiest, richest texture for the sauce. Light coconut milk can be used, but the sauce will be thinner and less decadent.
***Can I use other types of fish?***
Absolutely! This sauce is versatile. Similar white fish like haddock, halibut, tilapia, or even snapper would work well. Adjust baking time based on the thickness of the fish fillets.
***Is this recipe gluten-free?***
Yes, this recipe is naturally gluten-free!
***How can I make the sauce thicker?***
You can simmer the sauce a bit longer than recommended (10-15 minutes) to allow more liquid to evaporate. Alternatively, you can whisk a teaspoon of cornstarch or arrowroot powder with a tablespoon of water to create a slurry, then stir it into the simmering sauce until thickened.
***Can I prepare the sauce ahead of time?***
Yes, you can prepare the sauce a day in advance and store it in the refrigerator. Gently reheat it on the stovetop before spooning it over the fish for baking and serving.
Dive into Deliciousness!
This Tasty Baked Cod in Coconut Lemon Cream Sauce is more than just a recipe; it’s an invitation to enjoy quick, healthy, and incredibly flavorful meals. The delicate cod, bathed in a creamy, zesty sauce, offers a taste of the tropics that’s perfect for any occasion, especially busy weeknights. Don’t let dinner stress you out – embrace this easy, gluten-free delight that’s sure to become a family favorite. Give it a try and let the delightful flavors transport you!

Tasty Baked Cod In Coconut Lemon Cream Sauce Recipe
Description
This Tasty Baked Cod in Coconut Lemon Cream Sauce recipe combines tender, flaky cod with a rich and zesty coconut lemon cream sauce. It’s a perfect healthy dinner option packed with flavor and ready in no time. Great for weeknights, gluten-free diets, and lovers of tropical-inspired meals.
Ingredients
- 4cod fillets
- 1 tablespoonolive oil
- Salt and pepper to taste
- 1can (13.5 oz) coconut milk
- 2 tablespoonslemon juice
- 1 teaspoonlemon zest
- 2garlic cloves, minced
- 1 tablespoongrated ginger (optional)
- 1 tablespooncornstarch mixed with 2 tablespoons water (slurry)
- Fresh parsley or cilantro for garnish
Instructions
Notes
Use fresh lemon juice for the best flavor.
This dish pairs well with rice, quinoa, or steamed veggies.
For a spicier version, add a pinch of red chili flakes to the sauce.
Nutrition
- Calories: 320
- Sugar: 2g
“`