Combine the rich, velvety flavor of red velvet with the gooey goodness of cinnamon rolls! These Red Velvet Cinnamon Rolls are perfect for brunch, dessert, or any special occasion. Topped with cream cheese frosting for the ultimate indulgence! #RedVelvet #CinnamonRolls #BakingIdeas #BrunchRecipes #DessertLovers #HolidayBaking #ComfortFood #CreamCheeseFrosting #FoodieFaves
Print
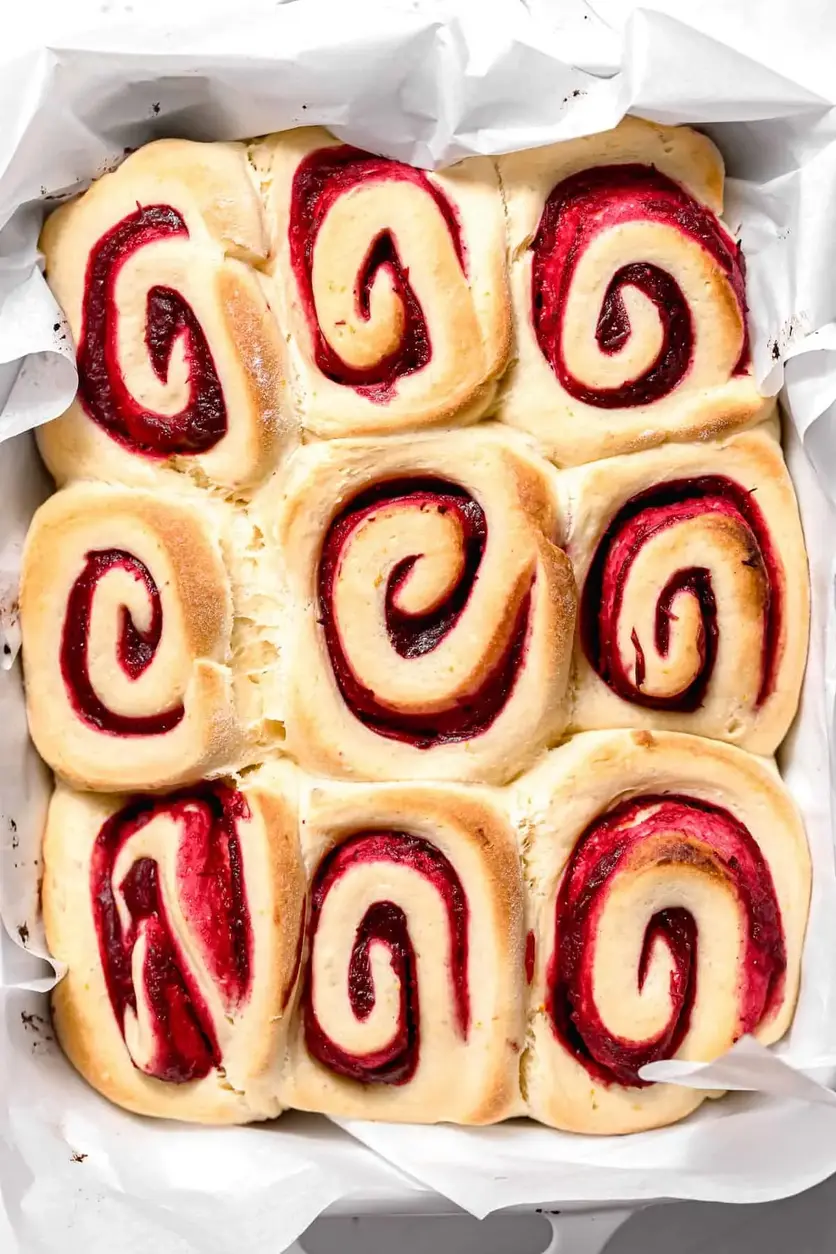
Red Velvet Cinnamon Rolls
Description
These Red Velvet Cinnamon Rolls are a delightful twist on the classic cinnamon roll, combining the rich cocoa flavor of red velvet with swirls of cinnamon sugar and a creamy frosting. Soft, gooey, and irresistibly delicious, theyre perfect for holidays, Valentines Day, or any time you crave a special treat.
Ingredients
- 3 ½ cups all-purpose flour
- ¼ cup unsweetened cocoa powder
- ¼ cup granulated sugar
- 1 packet (2 ¼ tsp) instant yeast
- ½ teaspoon salt
- ¾ cup warm milk (110°F)
- ¼ cup unsalted butter, melted
- 1 large egg
- 1 teaspoon vanilla extract
- 1 tablespoon red food coloring
- ½ cup unsalted butter, softened
- ¾ cup brown sugar
- 2 tablespoons cinnamon
- 4 oz cream cheese, softened
- ¼ cup unsalted butter, softened
- 1 cup powdered sugar
- 1 teaspoon vanilla extract
- 12 tablespoons milk (for consistency)
Instructions
- In a mixing bowl, whisk together the flour, cocoa powder, sugar, yeast, and salt.
- In another bowl, combine warm milk, melted butter, egg, vanilla extract, and red food coloring.
- Gradually add the wet ingredients to the dry ingredients, mixing until a soft dough forms.
- Knead the dough on a floured surface for 810 minutes until smooth and elastic.
- Place the dough in a greased bowl, cover, and let it rise for 1 hour or until doubled in size.
- In a small bowl, mix softened butter, brown sugar, and cinnamon until well combined.
- Roll out the dough into a rectangle (about ¼ inch thick).
- Spread the cinnamon filling evenly over the dough.
- Roll the dough tightly from one end and slice into 12 even rolls.
- Place the rolls in a greased baking dish and let them rise for another 30 minutes.
- Preheat your oven to 350°F (175°C).
- Bake for 2025 minutes or until golden brown.
- Beat cream cheese, butter, powdered sugar, vanilla extract, and milk until smooth.
- Spread the frosting over warm rolls and enjoy!
Notes
Use warm milk (110°F) to activate the yeast properly.
Dont over-knead the doughstop once its smooth and slightly tacky.
Let the rolls rise twice for extra fluffiness.
Spread the filling evenly to ensure every bite is flavorful.
Frost while warm so the glaze melts into the rolls.