Table of Contents
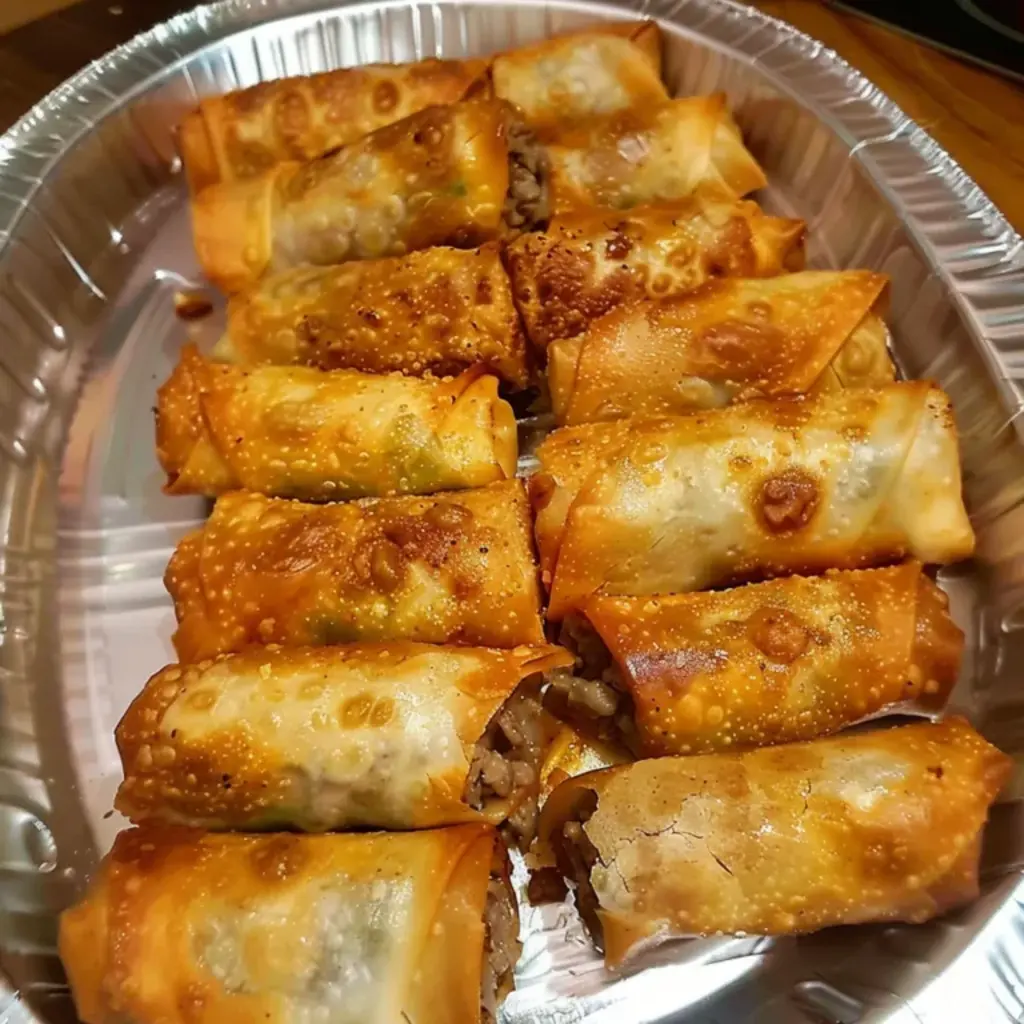
Garlic Parmesan Chicken Skewers Basted with Creamy Garlic Parmesan Sauce – A Hearty NYC Treat
Growing up in Morocco’s fragrant markets, I learned early that the right combination of simple ingredients can turn a humble dish into a passport‑to-joy experience. When I moved to Paris for culinary school, I refined the technique, mastering the art of basting and sauce balance. Now, in my bustling New York kitchen, I bring that heritage to you with Garlic Parmesan Chicken Skewers Basted with Creamy Garlic Parmesan Sauce — a recipe that marries North African boldness, French sauce finesse, and the quick‑prep comfort of an air fryer.
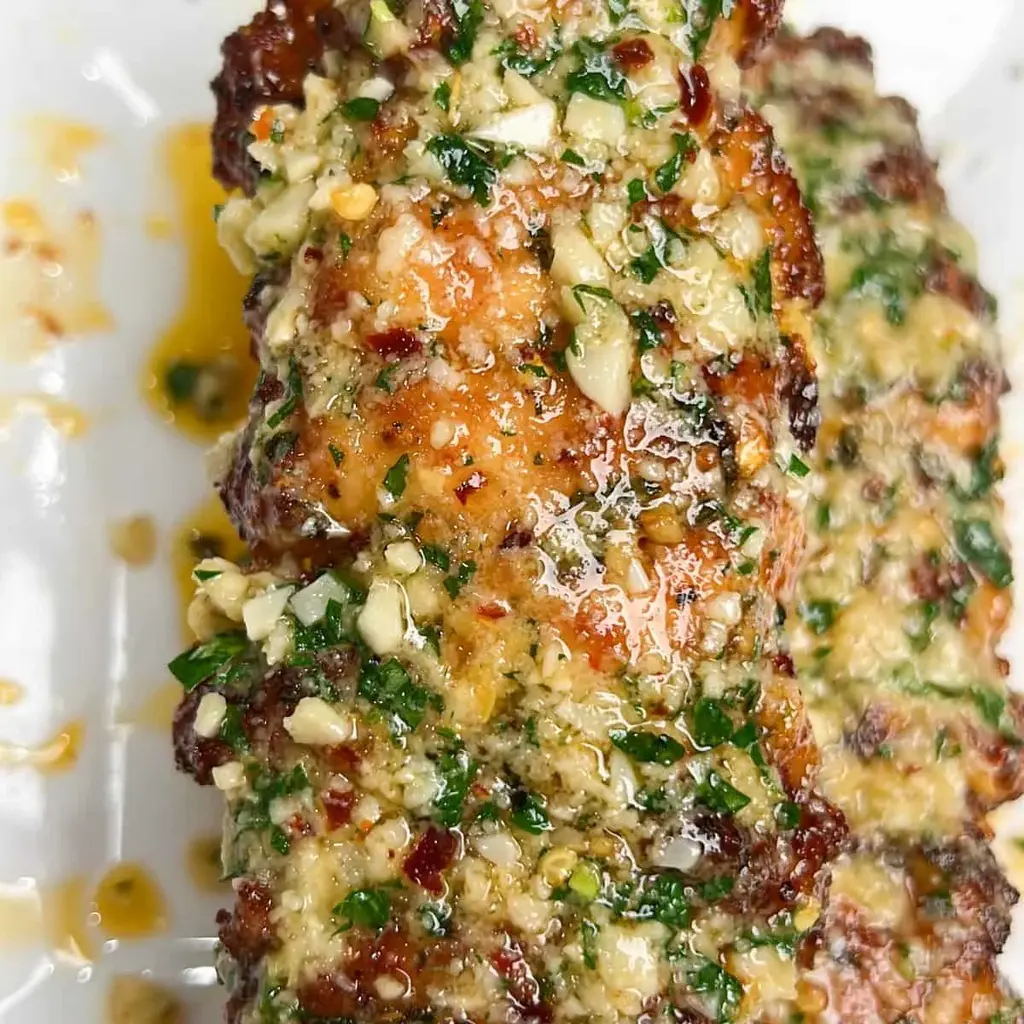
Each bite bursts with smoky, charred edges, while the garlic‑herb butter coats the tender chicken, creating a glossy, melt‑in‑the-mouth coating. The peppery kick of red pepper flakes intertwines with the fresh parsley, and the Parmesan delivers that savory umami signature. The air fryer caramelizes the surface, giving the skewers a golden crust that squeaks when you bite, all while preserving an inside that’s pink‑perfect and moist. The aroma alone makes anyone gather around, turning a simple lunch into a feast.
What sets this version apart is the continuous basting technique: I reserve sauce for final glazing, ensuring no cross‑contamination and a richer flavor. I also use a quick “soak‑then‑skewer” method that guarantees the meats stay moist. A common mistake I see is over‑basting early, which can make the sauce sticky. My pro tip? Use a clean brush for each coat and let the sauce thicken slightly between bastes.
Why This Garlic Parmesan Chicken Skewers Recipe Is the Best
The flavor secret lies in the creamy garlic‑parmesan sauce that coats, cooks, and finishes the skewers. Drawing from my Moroccan roots, I infuse a subtle smoky finish that harmonizes perfectly with fresh parsley, turning a simple skewer into an aromatic highlight.
The perfected texture comes from a two‑step cooking process: a quick sear in the air fryer, followed by a final bake with a rich sauce. The air fryer locks in juices while the Parmesan creates a crisp coating, just like a French beurre blanc turns a steak into velvet.
Foolproof for beginners, this method requires no special equipment beyond an air fryer. Soaked skewers, a single bowl for the sauce, and a quick flip mean even a kitchen novice can deliver restaurant‑quality results in less than 40 minutes.
Garlic Parmesan Chicken Skewers Ingredients
I always shop for these staples at the Union Square Farmers Market. I remember the scent of fresh basil, the bright purple of the onions, and the weight of a new bag of Parmesan that smells like summer in my mother’s kitchen. Bring those same fresh vibes to your table.
Ingredients List
- 2 lbs chicken tenders, thighs or breast
- 2 tbsp olive oil
- 1 stick butter
- 8‑10 cloves garlic, minced
- 1/2 cup grated parmesan
- 1 tbsp hot sauce (more if desired)
- 2 tsp red pepper flakes
- 1/3 cup fresh parsley, minced
- 2 tsp paprika
- 1 tsp garlic powder
- 1 tsp onion powder
- 1/2 tsp salt
- 1/2 tsp pepper
Ingredient Spotlight
Garlic – Choose cloves that feel firm with a bright white interior. For a deeper flavor, use a garlic press to release more essential oils. Substitution: roasted garlic cloves for a sweeter profile.
Parmesan – Opt for a hard, high‑percentaged type like Parmigiano‑Reggiano. This cheese melts beautifully and adds authentic umami. Substitution: Pecorino Romano provides a sharper taste that still complements the sauce.
Hot Sauce – I use Frank’s RedHot for its tangy heat. If you prefer a milder kick, swap for a sweeter sriracha or even a pepper sauce blend. It keeps the sauce from becoming cloying.
| Original Ingredient | Best Substitution | Flavor / Texture Impact |
|---|---|---|
| Butter | Margarine | Creamier sauce but less buttery flavor. |
| Red Pepper Flakes | Grated cayenne pepper | Sharper heat, lighter color. |
How to Make Garlic Parmesan Chicken Skewers — Step-by-Step
Let’s jump straight into the fun part: assembling smoky, garlicky, Parmesan‑brushed wonders that will melt in the mouth.
Step 1: Soak Wooden Skewers
Fill a large bowl with water and add the skewers. Let them steep for at least 30 minutes to prevent scorching in the air fryer.
💡 emy’s Pro Tip: If you’re short on time, a quick 5‑minute soak still stops burning, but longer soak gives best texture.
Step 2: Make the Seasoning Bowl
In a small bowl, combine olive oil, paprika, garlic powder, onion powder, salt, pepper, and hot sauce. Toss the diced chicken pieces to coat uniformly.
⚠️ Common Mistake to Avoid: Skipping the oil step leads to dry chicken. Oil traps moisture and creates a better grill‑like crust.
Step 3: Assemble Skewers
Thread the chicken onto each skewer, packing tightly so pieces slide on but don’t leave gaps. If you find the skewers too long, trim the top few inches.
💡 emy’s Pro Tip: Keeping the pieces straight guarantees even cooking and a cleaner look.
Step 4: Prepare Garlic Parmesan Sauce
Melt butter in a microwave‑safe bowl until partially foamy. Add minced garlic, red pepper flakes, hot sauce, parsley, and grated Parmesan. Whisk till integrated. Reserve a third for initial basting, the rest for final glaze.
⚠️ Common Mistake to Avoid: Allowing sauce to cool too much makes it clumpy. Warm it every few minutes and stir.
Step 5: Cook First 5 Minutes
Place 2‑3 skewers in the air fryer basket and set to 400°F for 5 minutes. Peek to see a light brown edge forming.
💡 emy’s Pro Tip: Use a shallow pan of water nearby; the steam helps crisp the exterior.
Step 6: Flip and Baste
Turn the skewers, brush them with the reserved first‑batch sauce, and cook another 2 minutes at 400°F.
⚠️ Common Mistake to Avoid: Over‑basting can make sauce sticky. Wait until the chicken is nearly cooked before the final coat.
Step 7: Final Bake and Glaze
Return the skewers for another 5‑6 minutes or until the internal temp hits 165°F. Finish with the reserve sauce, then sprinkle extra Parmesan.
💡 emy’s Pro Tip: A quick dust of grated Parmesan after glazing gives instant flavor depth.
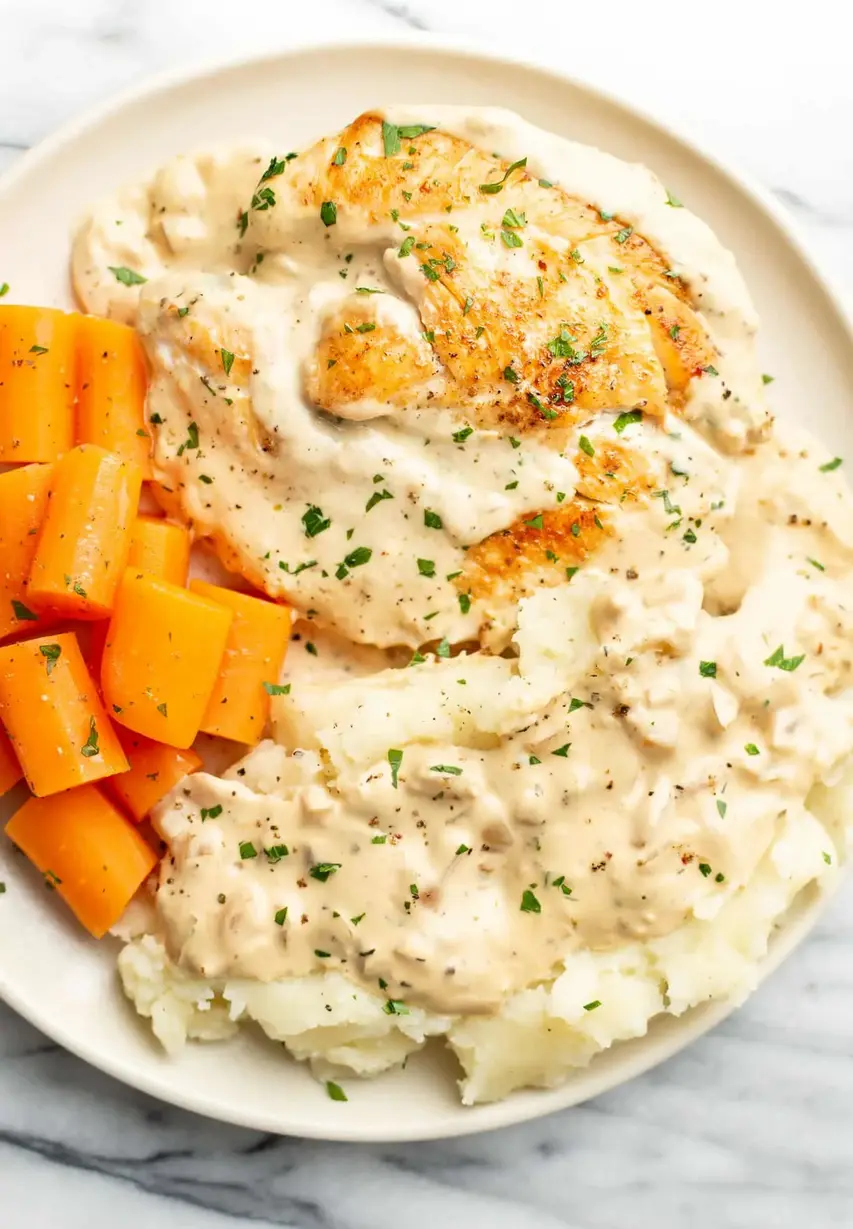
Step 8: Serve and Enjoy
Plate immediately for that warm, crisp edge. A squeeze of lemon juice or fresh cilantro brightens the dish further.
| Step | Action | Duration | Key Visual Cue |
|---|---|---|---|
| 1 | Soak skewers | 30 mins | No flame on skewers |
| 2 | Season chicken | 5 mins | Even coating |
| 3 | Assemble skewers | 5 mins | Tightly packed |
| 4 | Make sauce | 10 mins | Uniform sheen |
| 5 | First cook | 5 mins | Light brown edges |
| 6 | Flip & baste | 2 mins | Bright sheen |
| 7 | Final bake & glaze | 5‑6 mins | Golden crust |
| 8 | Serve | Instant | Smell of garlic |
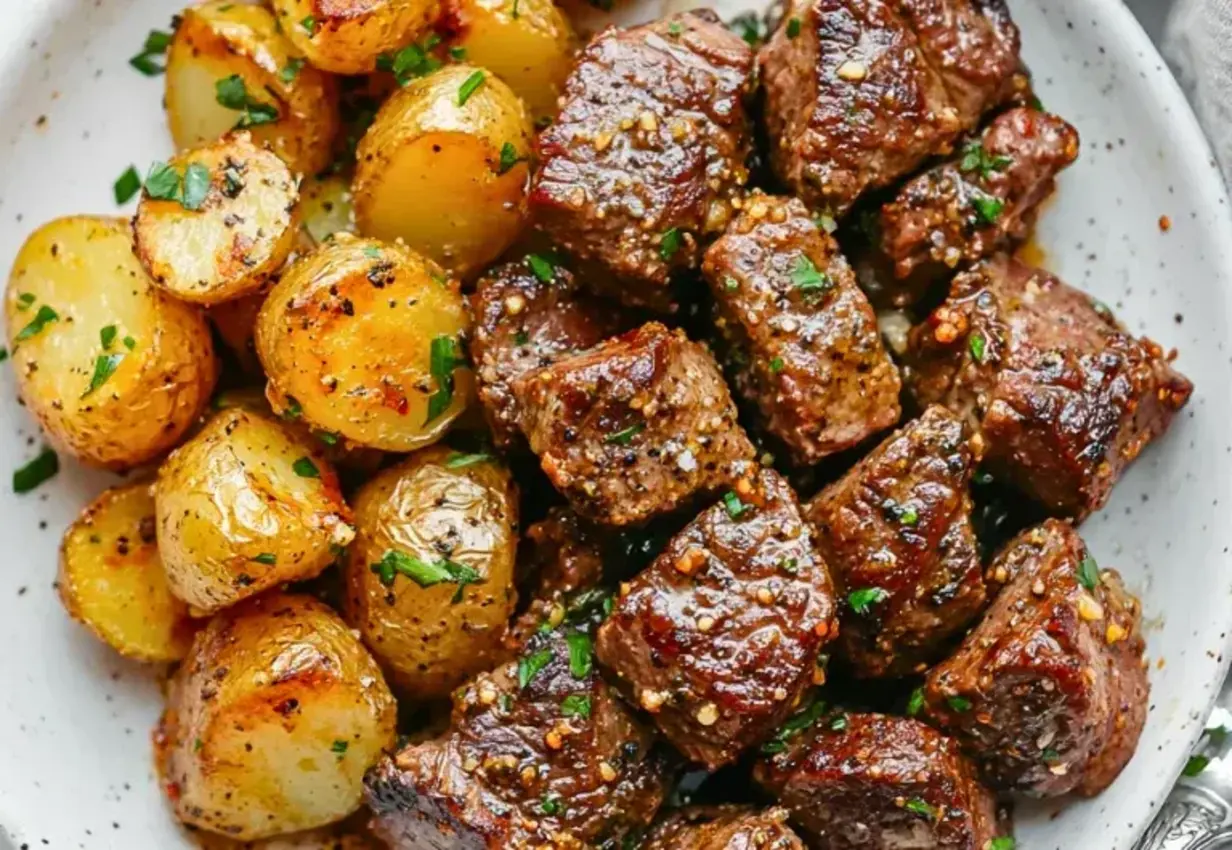
Serving & Presentation
Arrange the skewers on a rustic wooden board with torn basil leaves, a drizzle of extra‑virgin olive oil, and a wedge of lemon. The contrast of golden chicken against green parsley creates a festive plate that’s Instagram‑ready.
Pair these delights with a crisp Sauvignon Blanc or a light sparkling rosé for a sophisticated dinner. A side of charred tomato couscous or a crunchy cucumber salad mirrors the textures. If you crave something more hearty, serve the skewers over saffron‑infused rice for a Moroccan kitchen vibe.
| Pairing Type | Suggestions | Why It Works |
|---|---|---|
| Side Dish | Charred tomato couscous, crisp cucumber salad, roasted Brussels sprouts | Offers cooling or peppery contrast and rounds out the meal. |
| Sauce / Dip | Greek yogurt tzatziki, aioli, fresh salsa | Enhances creaminess or adds a spicy kick. |
| Beverage | Sauvignon Blanc, sparkling rosé, iced tea with mint | Balances the richness with bright acidity. |
| Garnish | Fresh basil leaves, lemon zest, chopped parsley | Adds color, aroma, and freshness. |
Make-Ahead, Storage & Reheating
I layer the skewers on a tray before finishing glaze so that they can set overnight, preserving flavor. This is ideal for weekend meal‑prep or quick get‑tin‑go lunches.
| Method | Container | Duration | Reheating Tip |
|---|---|---|---|
| Refrigerator | Loft‑style container | 3 days | Reheat in air fryer 375°F for 3–4 minutes. |
| Freezer | Vacuum sealed bag | 2 months | Thaw 4 hrs; air fry 400°F for 5 mins. |
| Make‑Ahead | Tightly wrapped skewers | 1 week | Steam in a hot cup for 2 mins before serving. |
When reheating, always keep the sauce separate to avoid sogginess. A quick brush of fresh olive oil before serving restores that golden sheen I’m proud of.
Variations & Easy Swaps
| Variation | Key Change | Best For | Difficulty Impact |
|---|---|---|---|
| Gluten‑Free | Use wooden skewers or corn‑based veggie skewers | Those with celiac disease | Minimal effort |
| Dairy‑Free | Replace butter with coconut oil and vegan Parmesan | Vegan diners | Easy swap |
| Summer Twist | Add diced mango to sauce, glaze with honey | Picnic lovers | Simple addition |
Gluten‑Free
If you need a gluten‑free option, simply swap the aluminum skewers for wooden ones or use corn chips as the base. The marinated chicken still follows the same sauce logic, lending a familiar crunch with a crisp profile.
Dairy‑Free
Replace butter with coconut or extra‑virgin olive oil, and blend in a vegan Parmesan alternative. The sauce keeps its velvety texture while offering the same savory depth that the original Parmesan provides.
Summer Twist
Dice a ripe mango and fold it into the sauce before the final glaze. Sweetness balances the heat, and a drizzle of honey after grilling gives a caramelized finish, perfect for backyard barbecues.
Can I use frozen chicken for these skewers?
Yes, you can use frozen chicken, but first thaw it in the refrigerator for 24 hours or quick‑thaw in cold water for 1‑2 hours. Pat the pieces dry to avoid excess moisture, then coat with the seasoning blend as described. The air‑fryer will still give a crisp exterior; just add an extra minute or two to the cooking time.
Which type of bread is best to serve with these skewers?
A crusty baguette or a warm pita works beautifully. The baguette’s chewy interior captures the sauce, while pita offers a pocket for the juicy chicken. If you want a low‑carb option, try a fresh sourdough roll or a gluten‑free flatbread. Both provide a satisfying bite that complements the smoky aromatics of the skewers.
How long do these skewers stay fresh in the fridge?
You can keep the cooked skewers refrigerated for up to 3 days in a sealed container. Re‑warm them gently in an air fryer or oven at 375°F, just long enough to steam through without drying them out. The Parmesan crust will return to its golden sheen, and the garlic flavor will stay vibrant.
What side dish pairs best with these skewers?
Fresh couscous salad with diced cucumber and lemon zest brings a North African vibe, while roasted Brussels sprouts or a quick coleslaw adds crunchy contrast. For a more indulgent meal, serve them over saffron‑infused rice or a creamy tomato risotto, allowing the sauce to mingle with the grains.
Can I bake these instead of using an air fryer?
Absolutely! Preheat your oven to 400°F and place the skewers on a foil‑lined sheet. Bake for 12‑15 minutes, flipping halfway, until the chicken reaches 165°F. Brush with sauce during the last 2‑3 minutes to mimic the glazing effect of the air fryer.
What’s the best way to store leftover sauce?
Transfer any sauce left after roasting into a glass jar with a tight lid. It’ll keep great in the fridge for up to a week. For longer storage, freeze the sauce in an ice cube tray; once solid, pop the cubes into a freezer bag. Reheat the needed amount in a small saucepan over low heat.
Do the skewers need to be tightly packed to work?
For best results, pack the pieces tightly to preserve moisture and ensure even heat distribution. Loose skewers can result in uneven cooking; the meat may steam instead of sear, giving a softer texture that doesn’t showcase the glaze.
What’s a good substitute for hot sauce if I prefer milder heat?
You can replace hot sauce with a splash of apple cider vinegar and a pinch of cayenne pepper, or simply omit the heating entirely. The paprika and red pepper flakes already contribute enough warmth, and the Parmesan sauce adds richness that balances the flavor without a hot kick.
How do I keep the sauce from separating in the fridge?
Refrigerate the sauce at 35°F and keep it in a tightly sealed container to prevent fat separation. When you’re ready to use it, give it a quick stir or whisk; if it’s still liquid, gently warm it over low heat, stirring constantly until it emulsifies again.
Can I use this recipe for a larger crowd?
Yes, simply multiply the ingredients by the number of servings you need. Keep the same ratio of sauce to chicken so each skewer remains flavorful. If you’re preparing for a large group, consider pre‑basting in a grocery‑store skillet to speed up the final cooking steps.
Share Your Version!
Got creative with the sauce by adding jalapeño or swapping in roasted red pepper? Drop a star rating and comment below—I love hearing what tweaks make your version uniquely yours. Snap a pic, post it on Instagram or Pinterest, and tag @exorecipe so we can share the flavor love with the community. Tell me: what extra spice would transform this dish for your crowd, and why?
From my NYC kitchen to yours — I hope this recipe brings as much warmth to your table as it does to mine. — emy 🧡
Love This Recipe? Save It to Pinterest!
If you enjoyed this Garlic Parmesan Chicken Skewers recipe, don’t let it get lost in your browser tabs! 😄 Pin it now so you can find it again anytime — and explore hundreds more tried‑and‑tested recipes waiting for you on my Pinterest boards.
👉 Follow emy on Pinterest @exorecipe
📌 Pin this recipe · 🔁 Re-pin your favorites · 💬 Tag me when you make it — I love seeing your creations!

Garlic Parmesan Chicken Skewers
Description
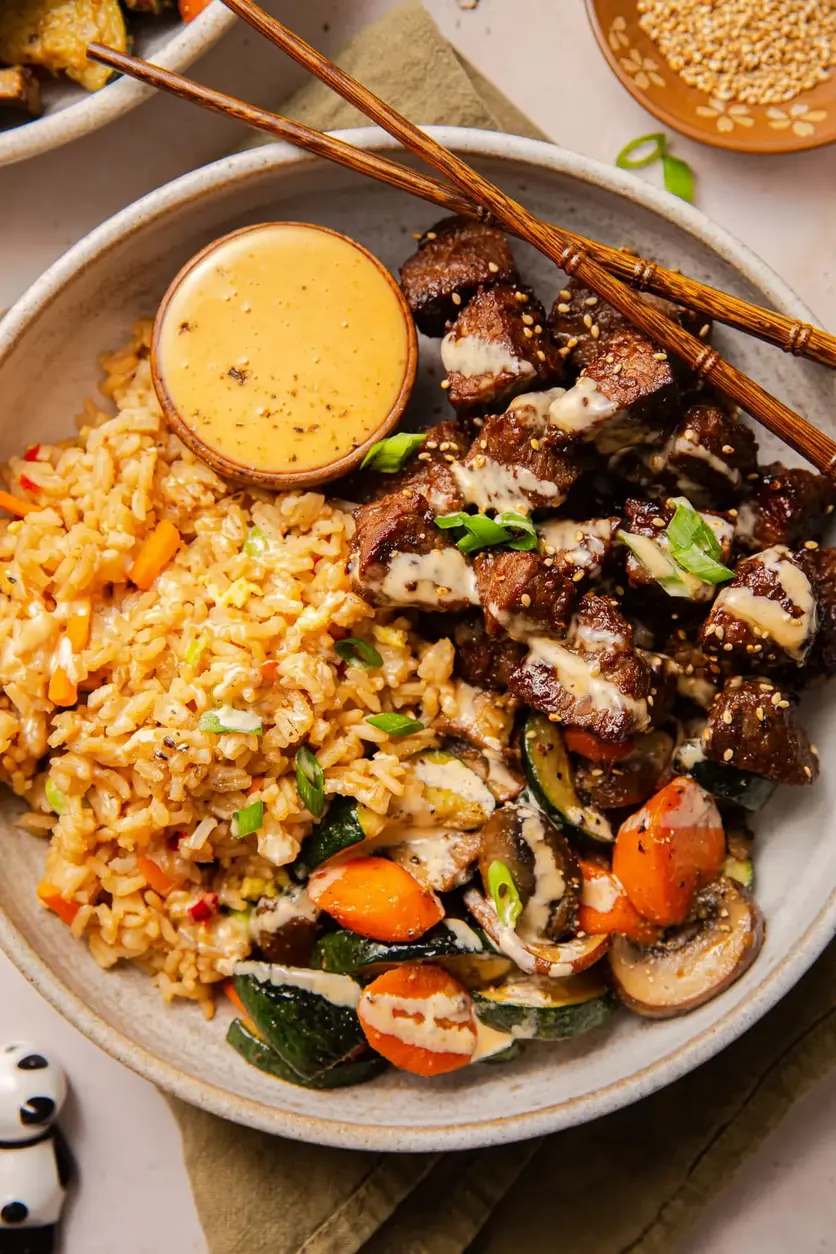
Fall-apart chicken skewers. These are basted with a homemade garlic parmesan sauce throughout the cooking process and easily prepared in an air fryer.Enjoy as an appetizer or serve over a bed of rice and veggies spread with leftover garlic parmesan butter**SEE NOTES for oven or grill instructions**
Ingredients
- 2 lbs chicken tenders, thighs or breast
- 2 tbsp olive oil
- 1 stick butter
- 8–10 cloves garlic, minced
- 1/2 cup parmesan, grated
- 1 tbsp hot sauce (more if desired)
- 2 teaspoons red pepper flakes
- 1/3 cup fresh parsley, minced
- 2 teaspoons paprika
- 1 teaspoon garlic powder
- 1 teaspoon onion powder
- 1/2 teaspoon salt
- 1/2 teaspoon pepper
Instructions
- Before you start, make sure to soak your wooden skewers in water for at least 30 minutes.
- Start by combining your chicken seasoning mixture in a small bowl and set aside. Prep your chicken by cutting in 3" pieces. Place them in a large bowl or ziptop bag and toss in olive oil and the spices, coating well on all sides.
- Pack the chicken onto each skewer, making sure they are tightly packed with no space in between to ensure maximum juiciness. If needed, snip the top few inches of the skewers to fit in the air fryer after the chicken is skewered.
- Add the butter and garlic in a microwave-safe bowl and heat until partially melted. Add in red pepper flakes, hot sauce, parsley, and parmesan. Whisk together until combined. (If sauce separates, add 1-2 tablespoons of softened butter and stir to re-emulsify.)
- Scoop out 1/3 of the sauce and use that for basting the par-cooked chicken. Reserve the remaining sauce for basting the cooked chicken so you don't cross contaminate. Be sure to wash your basting brush in between.
- Cook 2-3 skewers at a time. Place in an air fryer and cook at 400 degrees for 5 minutes. Remove and flip the skewers, baste with sauce, return to cook an additional 2 minutes at 400 degrees.
- Flip them back, baste with more sauce and cook another 5-6 minutes or until the internal temp reaches 165 degrees. Total cook time of 12-14 minutes. This time will vary based on your air fryer.
- Once they are finished cooking, hit them with a final pass of the garlic sauce (the clean reserved sauce) and sprinkle with some extra parmesan and serve.