“`html
Table of Contents
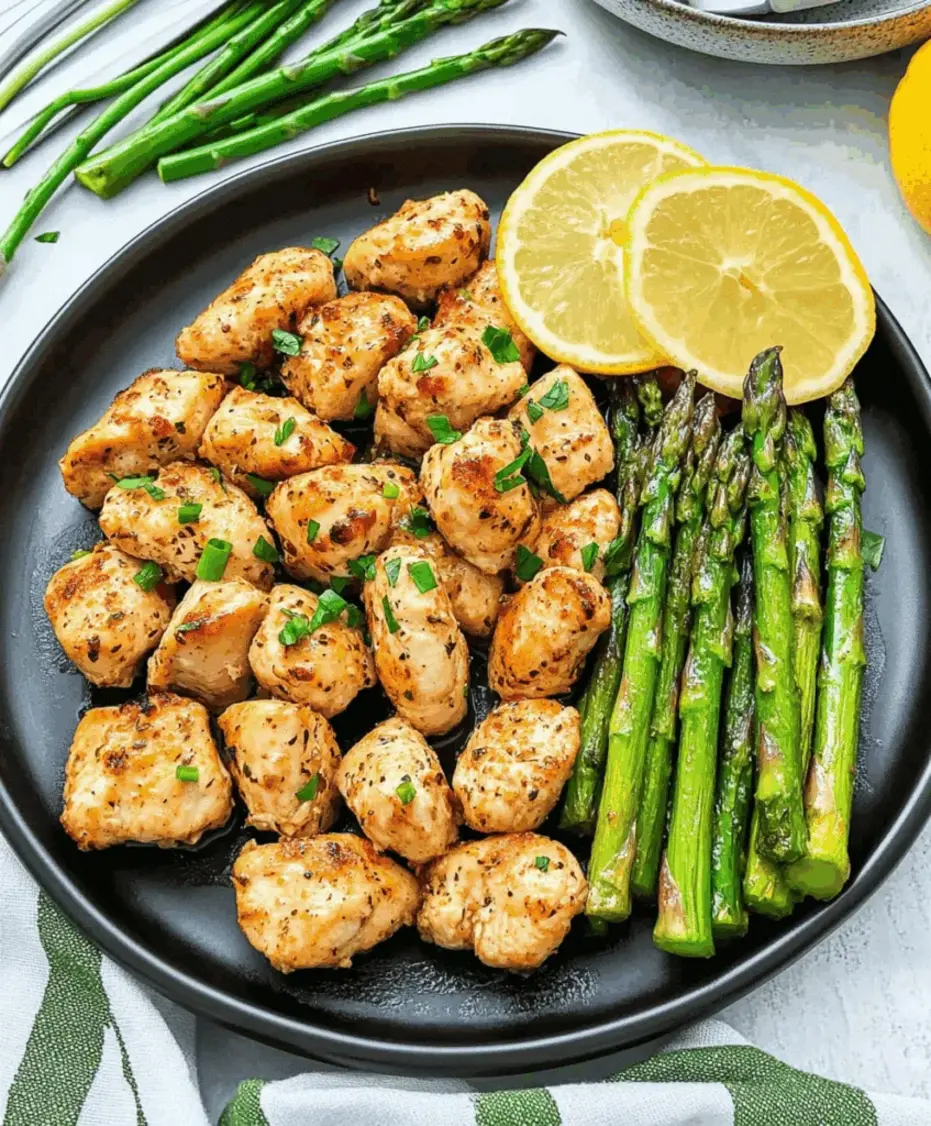
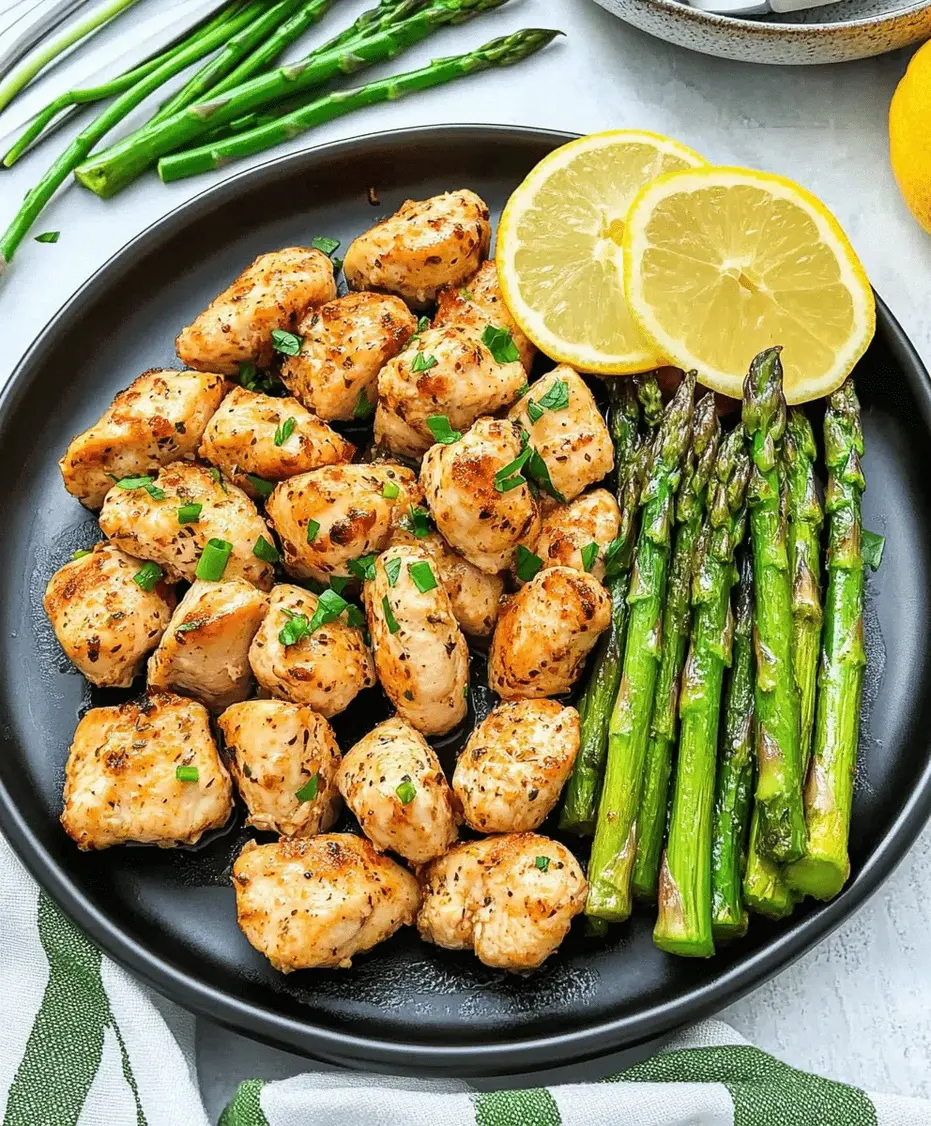
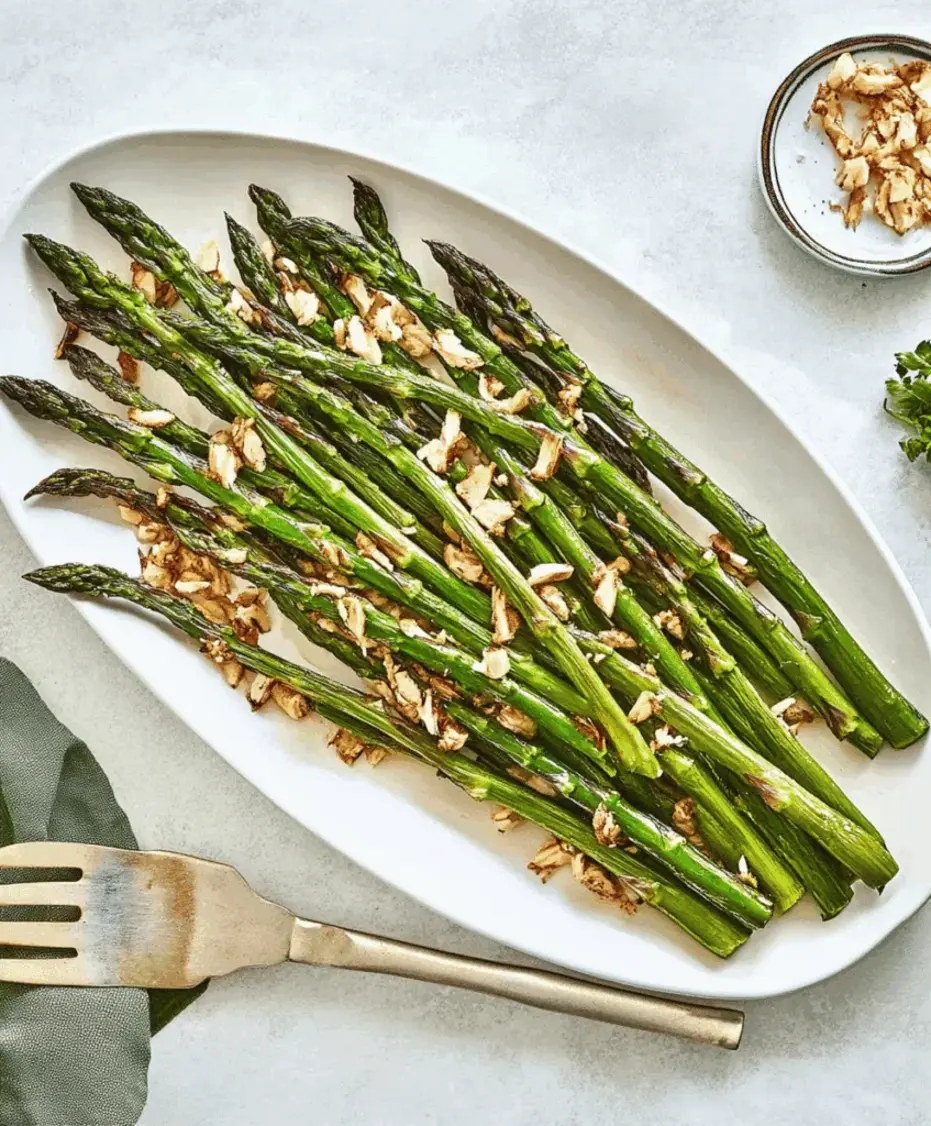
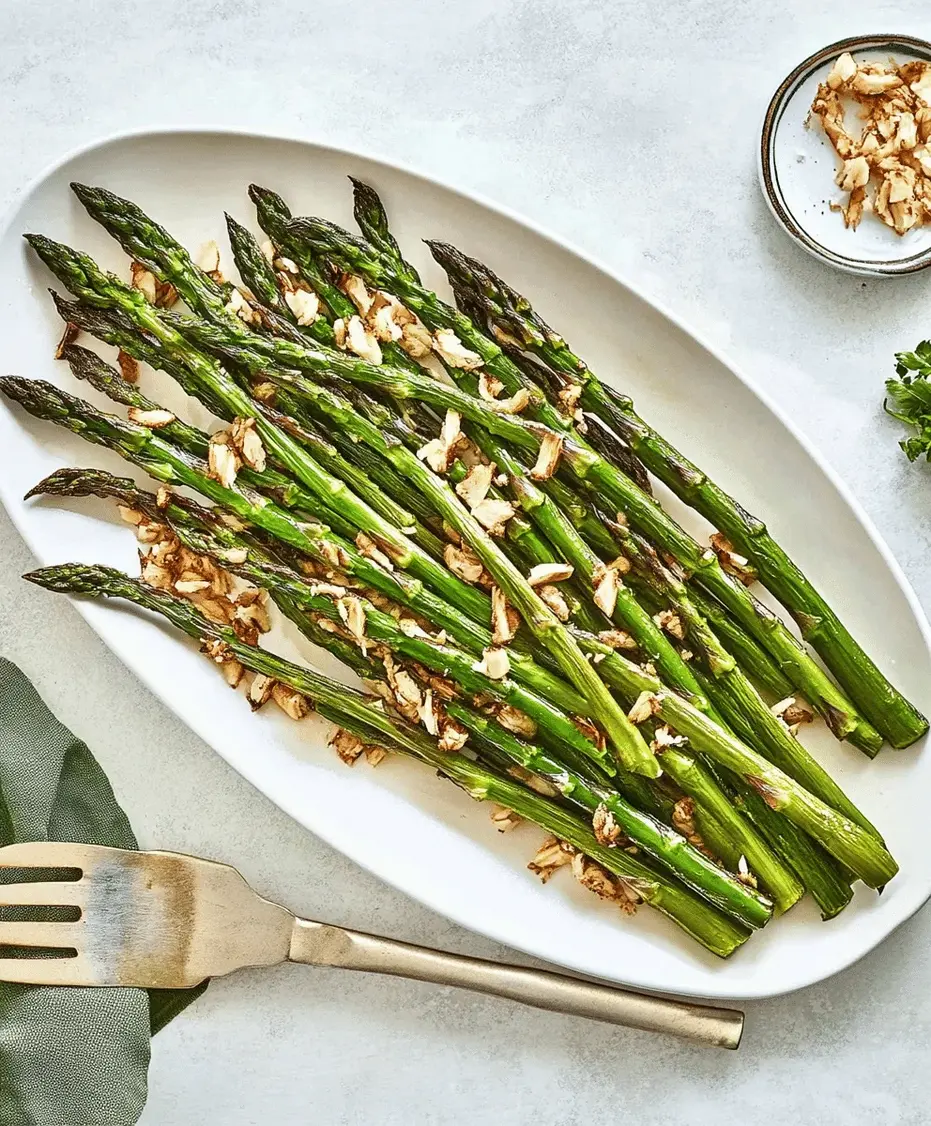
Oven Roasted Asparagus Recipe
Mastering Oven Roasted Asparagus: Your New Go-To Healthy Side Dish
Are you looking for a side dish that’s not only incredibly delicious but also packed with nutrients and lightning-fast to prepare? When it comes to weeknight dinners, we often struggle to balance flavor with health. Many side dishes can be time-consuming or loaded with hidden calories. But what if I told you that you could achieve a vibrant, tender-crisp, and perfectly seasoned vegetable in under 30 minutes with just a few simple ingredients? Oven roasted asparagus is precisely that dish. It transforms humble asparagus spears into a culinary delight, boasting a slightly sweet, earthy flavor enhanced by the magic of high heat. This recipe is a testament to the fact that healthy eating doesn’t have to be complicated or boring. It’s a staple in many kitchens for a reason – it’s versatile, easy, and consistently delivers fantastic results.
Simple Ingredients for Stunning Flavor
The beauty of oven roasted asparagus lies in its simplicity. You don’t need a pantry full of exotic spices to create something truly special. Just a few key players come together to create a symphony of flavors and textures.
- 1 pound fresh asparagus spears: Look for bright green, firm stalks with tightly closed tips. Thicker spears are generally more forgiving and less likely to overcook, while thinner spears cook faster and become more tender.
- 2 tablespoons extra virgin olive oil: This forms the base for roasting, helping to crisp the asparagus and carry the flavors. Choose a good quality oil for the best taste.
- 2-3 cloves garlic, minced: Freshly minced garlic offers a pungent, aromatic kick that beautifully complements the mildness of asparagus.
- Salt, to taste: A fundamental seasoning that enhances all other flavors. Sea salt or kosher salt are excellent choices.
- Freshly ground black pepper, to taste: Adds a subtle warmth and a hint of spice.
Substitutions & Additions:
- Oil: Avocado oil or melted butter can be used in place of olive oil.
- Garlic: If you’re not a fan of fresh garlic, or are in a pinch, garlic powder (about 1/2 teaspoon) can be substituted, though the flavor will be less intense and fresh.
- Herbs: Fresh herbs like thyme, rosemary, or a sprinkle of red pepper flakes for a little heat can elevate this dish. Dried herbs can also be used, but use about half the amount of fresh.
- Citrus: A squeeze of fresh lemon juice over the finished asparagus is a classic and bright addition.
Quick Prep, Delicious Results
10 minutes
10-15 minutes
20-25 minutes
Around 30 minutes
This oven roasted asparagus recipe is a champion of speed and efficiency, often coming in faster than the average preparation time for similar vegetable side dishes. The quick roasting time ensures the asparagus stays vibrant and retains its satisfying “snap.”
Step-by-Step Guide to Perfect Asparagus
Follow these simple steps, and you’ll be enjoying perfectly roasted asparagus in no time. It’s incredibly straightforward, making it perfect for beginners and seasoned cooks alike.
Step 1: Preheat the Oven and Prep the Aspargaus
First things first, let’s get our oven ready. Preheat it to 400°F (200°C). While the oven heats up, it’s time to prepare the asparagus. You need to trim off the tough, woody ends. The easiest way to do this is to hold a spear in each hand and gently bend it. It will naturally snap where the tender part meets the tough part. Discard the woody ends (or save them for making vegetable stock!). You can also line up a bunch of asparagus spears and cut off about 1-2 inches from the bottom with a knife – this is a quicker method if you have a lot to prepare.
Step 2: Season the Asparagus
Now for the flavor! Place your trimmed asparagus spears onto a large baking sheet. Drizzle them generously with the extra virgin olive oil. Then, sprinkle in the minced garlic, salt, and freshly ground black pepper. Use your hands (the best tools for the job!) to toss everything together, ensuring each spear is evenly coated with the oil, garlic, and seasonings. Make sure they’re laid out in a single layer, not piled on top of each other. This is crucial for achieving that perfect, even roast and preventing steaming.
Step 3: Roast to Perfection
Once your asparagus is beautifully seasoned and arranged on the baking sheet, it’s time to roast! Carefully place the baking sheet into your preheated oven. Roast for 10-15 minutes. The exact time will depend on the thickness of your asparagus spears and how tender you like them. Thinner spears will cook on the shorter end of this range, while thicker spears might need the full 15 minutes, or even a few minutes more. You’re looking for spears that are tender-crisp, meaning they have some resistance when bitten but are no longer raw. They should also have a vibrant green color, perhaps with a few slightly caramelized tips.
Step 4: Serve and Enjoy
As soon as the asparagus is cooked to your liking, remove the baking sheet from the oven. Give it a final taste and adjust salt and pepper if needed. For an extra burst of freshness, you can squeeze a little fresh lemon juice over the top. Serve your perfectly roasted asparagus immediately while it’s warm and at its best. It’s a crowd-pleaser that disappears quickly!
Nutritional Snapshot
Oven roasted asparagus is a nutritional powerhouse, low in calories and full of beneficial vitamins and minerals.
- Calories: Approximately 40-60 calories per serving (depending on the amount of oil used).
- Vitamins: Excellent source of Vitamin K, Vitamin A, Vitamin C, and folate.
- Minerals: Good source of potassium, phosphorus, and iron.
- Fiber: Contains dietary fiber, which aids digestion.
Making it Even Healthier (Without Sacrificing Flavor!)
While this recipe is already quite healthy, here are a few ways to adapt it further:
- Reduce Oil: Use just 1 tablespoon of olive oil and mist the asparagus with a little water or broth before roasting.
- Air Fryer Method: Use an air fryer at 400°F (200°C) for 6-8 minutes, shaking the basket halfway through. This often uses less oil.
- Boost Flavor with Herbs: Skip the extra salt and rely on fresh herbs like dill, parsley, or chives added after roasting for maximum flavor without added sodium.
- Add Protein: Toss some chickpeas or edamame with the asparagus before roasting for a more complete, protein-rich side dish.
Elevate Your Meals: Serving Suggestions
Oven roasted asparagus is incredibly versatile. Here are some of our favorite ways to serve it:
- With Grilled Meats: This is a classic pairing. Serve alongside grilled steak, chicken, or fish for a balanced and delicious meal.
- As Part of a Vegetarian Plate: It’s a perfect addition to a plate of roasted vegetables, quinoa, or lentil dishes.
- With Pasta or Risotto: Toss chopped roasted asparagus into your favorite pasta dishes or top creamy risotto with a few spears.
- In Salads: Let it cool slightly and chop it into a hearty grain salad or a spring pasta salad.
- For Brunch: Top with a poached egg or serve alongside a frittata or quiche.
Common Mistakes to Avoid
Even simple recipes can have a few pitfalls. Here’s how to ensure your asparagus is always perfect:
- Overcrowding the Pan: If the asparagus spears are too close together or piled up, they will steam instead of roast, resulting in a mushy texture. Use a large enough baking sheet and ensure all pieces have space.
- Not Trimming Properly: Leaving the woody ends on will result in unpleasant, fibrous bites.
- Overcooking: Asparagus can go from perfectly tender-crisp to mushy very quickly. Keep an eye on it, especially if you have thinner spears.
- Uneven Cutting: If you have a mix of thick and thin spears, consider roasting them separately or taking the thinner ones out a few minutes earlier.
Storing Your Roasted Asparagus
Leftover roasted asparagus can be stored in an airtight container in the refrigerator for 2-3 days. While it’s best enjoyed fresh, you can reheat it gently in a low oven or a skillet. It’s also delicious cold in salads.
Frequently Asked Questions
***How do I know when the asparagus is done?***
The asparagus should be tender when pierced with a fork but still have a slight bite (tender-crisp). The color will be a vibrant green, and the tips might be slightly browned or caramelized.
***Can I roast asparagus on a lower temperature?***
Yes, you can. Roasting at a lower temperature, like 375°F (190°C), will take longer but can yield tender results. High heat (400°F/200°C) is generally preferred for achieving that desirable char and crispiness.
***What kind of asparagus should I use?***
Both thick and thin asparagus spears work well, but their cooking times will differ. Thicker spears are more robust and forgiving, while thinner spears cook faster. Just adjust your roasting time accordingly.
***Can I prepare asparagus ahead of time?***
You can wash and trim the asparagus a day in advance and store it in the refrigerator. However, it’s best to toss it with oil and seasonings right before roasting for the freshest flavor and best texture.
Your New Favorite Side Dish Awaits!
Oven roasted asparagus is more than just a side dish; it’s a simple, elegant way to add vibrant flavor and essential nutrients to any meal. Its ease of preparation, minimal ingredients, and incredible versatility make it a recipe you’ll turn to again and again. Whether you’re a busy home cook or just looking for a healthy and delicious way to enjoy your vegetables, this recipe is a winner. So, preheat your oven, gather your ingredients, and experience the magic of perfectly roasted asparagus. Let us know in the comments how your asparagus turned out and what you paired it with!
Enjoyed this recipe? Share it with your friends and family and let us know your favorite way to serve oven roasted asparagus!

Oven Roasted Asparagus Recipe
Description
Discover how to make the perfectoven roasted asparagus—a quick, healthy side dish seasoned with olive oil, garlic, and salt. Ideal for any meal!
Ingredients
- 1bunch fresh asparagus (about1lb)
- 1–2tablespoon olive oil
- 2cloves garlic, minced (optional)
- Salt, to taste
- Black pepper, to taste
- Fresh lemon juice or zest (optional, for garnish)
- Grated Parmesan cheese (optional)
Instructions
Notes
For extra crispiness, broil for the last 2 minutes.
Use thicker asparagus spears for roasting to avoid overcooking.
Can be served warm or at room temperature.
Nutrition
- Calories: 80
- Sugar: 2g
“`