“`html
Table of Contents
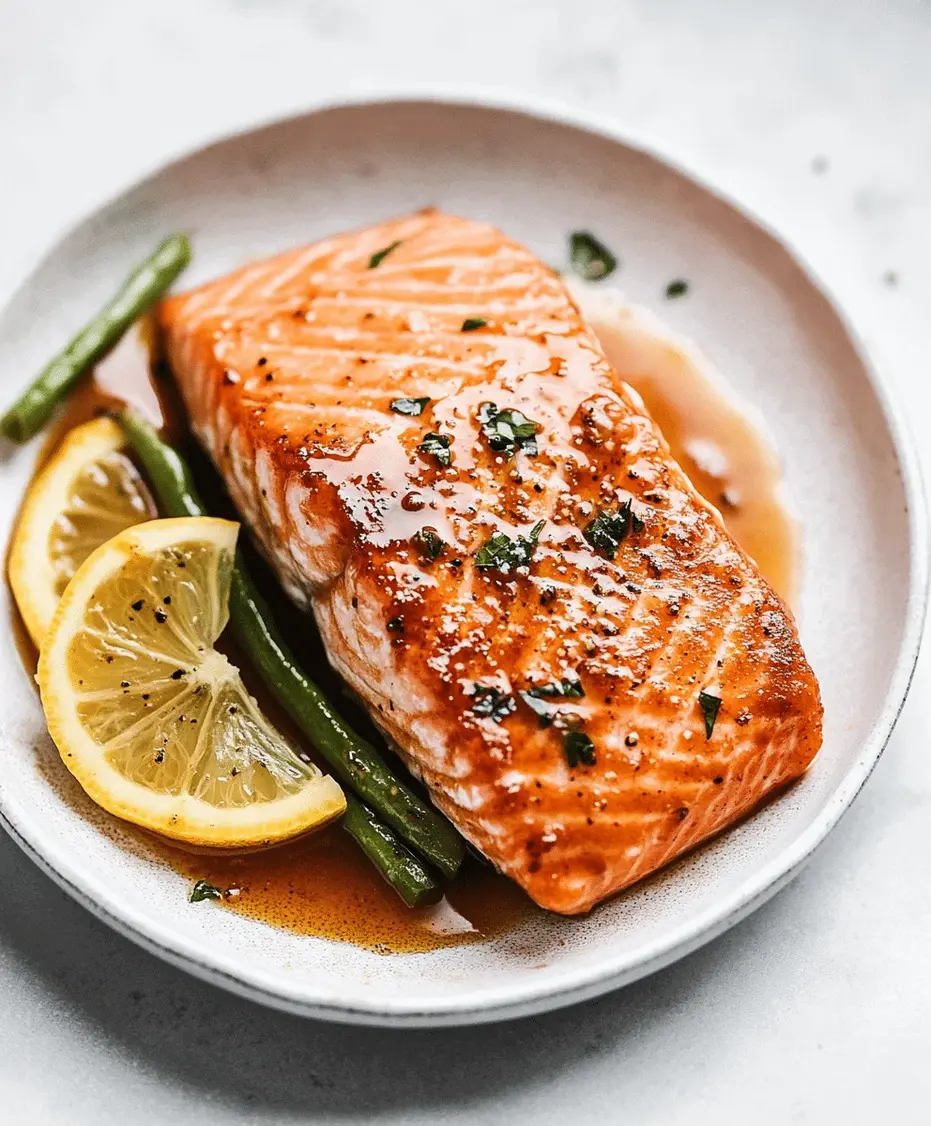
Honey Baked Salmon Recipe
Introduction
Did you know that incorporating salmon into your diet just twice a week can significantly boost your intake of heart-healthy omega-3 fatty acids? This honey baked salmon recipe is not just a delicious answer to that health goal; it’s a masterclass in balancing flavors. In a world where weeknight dinners often feel like a compromise between speed and satisfaction, this dish stands out by delivering restaurant-quality taste with minimal effort. The magic lies in the glaze—a simple blend where the floral sweetness of honey caramelizes against the savory depth of soy sauce and the gentle heat of garlic, creating a glossy, sticky crust that seals in the salmon’s natural moisture. The result is a centerpiece that’s impressively flaky, incredibly tender, and bursting with a sweet and savory harmony that appeals to both adventurous foodies and picky eaters alike. It transforms a humble fillet into a nutrient-packed, flavor-forward meal that’s equally suited for a casual Tuesday or a celebratory Saturday.
Ingredients List
- Salmon Fillets: 4 (6-ounce each), skin-on or skinless. Look for bright, firm flesh with a fresh, oceanic smell. Substitution: Arctic char or steelhead trout work beautifully.
- Honey: 1/4 cup. Use raw, wild honey for a more complex flavor. Substitution: Pure maple syrup or agave nectar for a different sweetness profile.
- Soy Sauce: 3 tablespoons. This provides the essential umami saltiness. Substitution: Tamari (gluten-free) or coconut aminos (lower sodium).
- Olive Oil: 2 tablespoons. A good extra virgin olive oil adds fruitiness.
- Garlic: 3 cloves, minced. Fresh is best for a pungent, aromatic kick.
- Lemon Juice: 2 tablespoons, freshly squeezed. This bright acidity cuts through the richness.
- Dijon Mustard: 1 tablespoon. Adds a subtle tang and helps emulsify the glaze.
- Black Pepper: 1 teaspoon, freshly cracked.
- Optional Garnish: Freshly chopped parsley, dill, or thinly sliced green onions. A final sprinkle of sesame seeds adds wonderful texture.
Timing
10 minutes
12-15 minutes
~25 minutes
Compared to the average salmon recipe that might require marinating for 30+ minutes, this honey baked salmon is remarkably efficient. The quick-prep glaze and fast, high-heat bake mean you can go from fridge to table in well under 30 minutes—a lifesaver on busy weeknights. The active hands-on time is less than 10 minutes, making it significantly faster than pan-searing, which requires more attention and cleanup.
Step-by-Step Instructions
Step 1: Prepare the Honey Glaze
In a medium bowl, whisk together the honey, soy sauce, olive oil, minced garlic, fresh lemon juice, and Dijon mustard until the mixture is completely smooth and emulsified. You’ll notice the mustard helps bind the oil and honey together. Take a moment to smell it—the combination should be fragrant, sweet, and deeply savory. This is your flavor powerhouse.
Step 2: Prep the Salmon
Preheat your oven to 400°F (200°C). Pat the salmon fillets completely dry with paper towels. This crucial step ensures the glaze sticks properly and the skin (if on) gets crispy. Place the fillets in a single layer on a baking sheet lined with parchment paper or in a lightly oiled baking dish. Season both sides lightly with black pepper (hold the salt, as the soy sauce provides plenty).
Step 3: Glaze and Bake
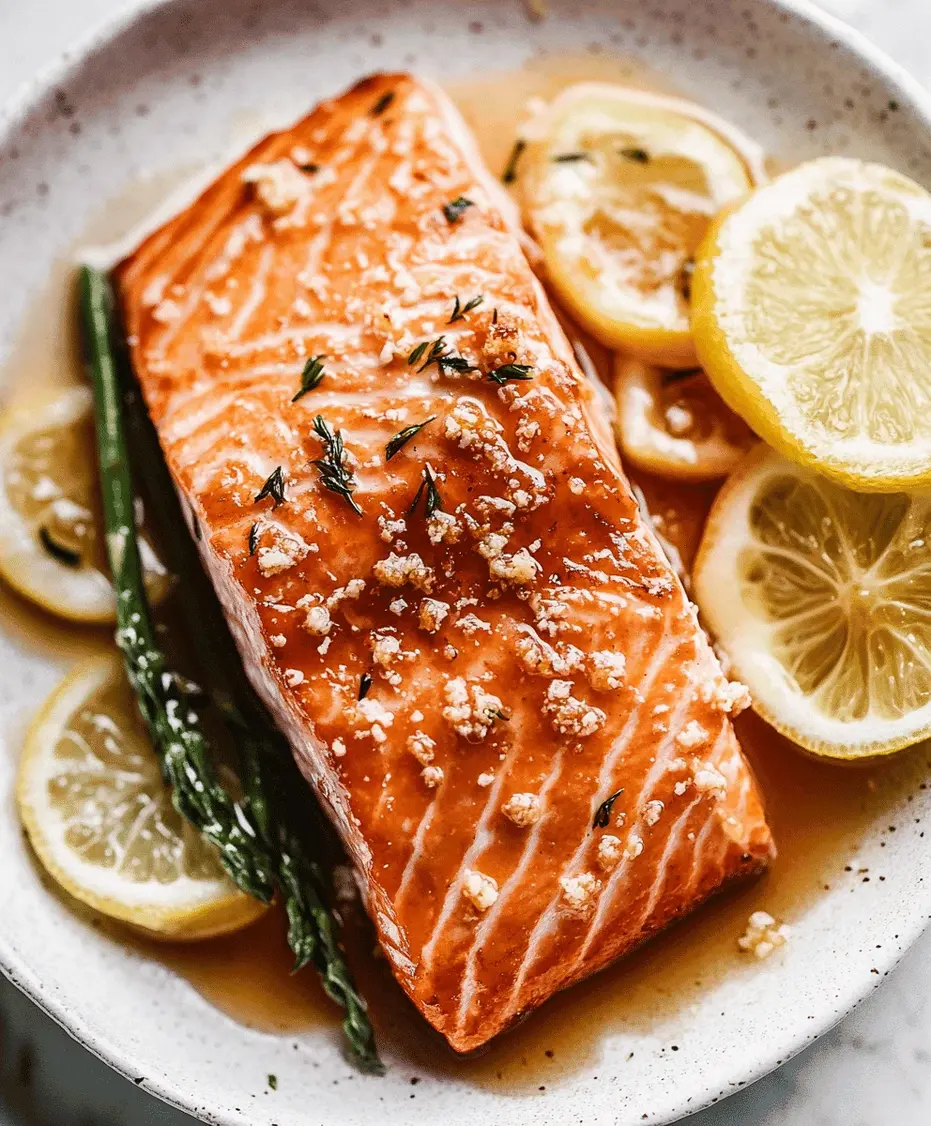
Using a pastry brush or spoon, generously coat the top and sides of each salmon fillet with the honey glaze. Reserve about a quarter of the glaze for basting halfway through. Bake in the preheated oven for 6 minutes. Then, carefully pull the tray out and brush the fillets with the reserved glaze. This double-glazing technique builds incredible layers of flavor and that perfect sticky-sweet crust. Return to the oven and bake for another 6-9 minutes, or until the salmon flakes easily with a fork and the internal temperature reaches 145°F (63°C). The edges should be slightly caramelized.
Step 4: Rest and Serve
Once out of the oven, let the salmon rest on the baking sheet for 3-5 minutes. This allows the juices to redistribute, ensuring every bite is moist. Drizzle with any remaining glaze from the baking sheet for an extra flavor boost. Garnish with fresh herbs or sesame seeds and serve immediately while the glaze is still warm and glossy.
Nutritional Information
Per serving (one 6-oz fillet with glaze):
- Calories: ~320 kcal
- Protein: 34g (Excellent source)
- Total Fat: 14g
- Saturated Fat: 2g
- Omega-3s: ~2g (Outstanding source)
- Carbohydrates: 15g
- Sugars: 13g (primarily from natural honey)
- Sodium: ~600mg (can be reduced with low-sodium soy sauce)
Healthier Alternatives
You can easily tailor this honey baked salmon to various dietary needs without sacrificing the core sweet-savory flavor:
- Lower Sugar: Swap half the honey with sugar-free maple syrup or use a monk fruit-sweetened glaze. The Dijon and soy sauce will maintain the savory depth.
- Reduced Sodium: Use low-sodium soy sauce or coconut aminos. You can also add a teaspoon of rice vinegar to mimic the tang lost from reduced salt.
- Whole30/Paleo: Use coconut aminos instead of soy sauce and ensure your mustard is compliant. The flavor profile remains remarkably similar.
- Spicy Kick: Add 1/2 to 1 teaspoon of sriracha or red pepper flakes to the glaze. The heat beautifully contrasts the honey’s sweetness.
Serving Suggestions
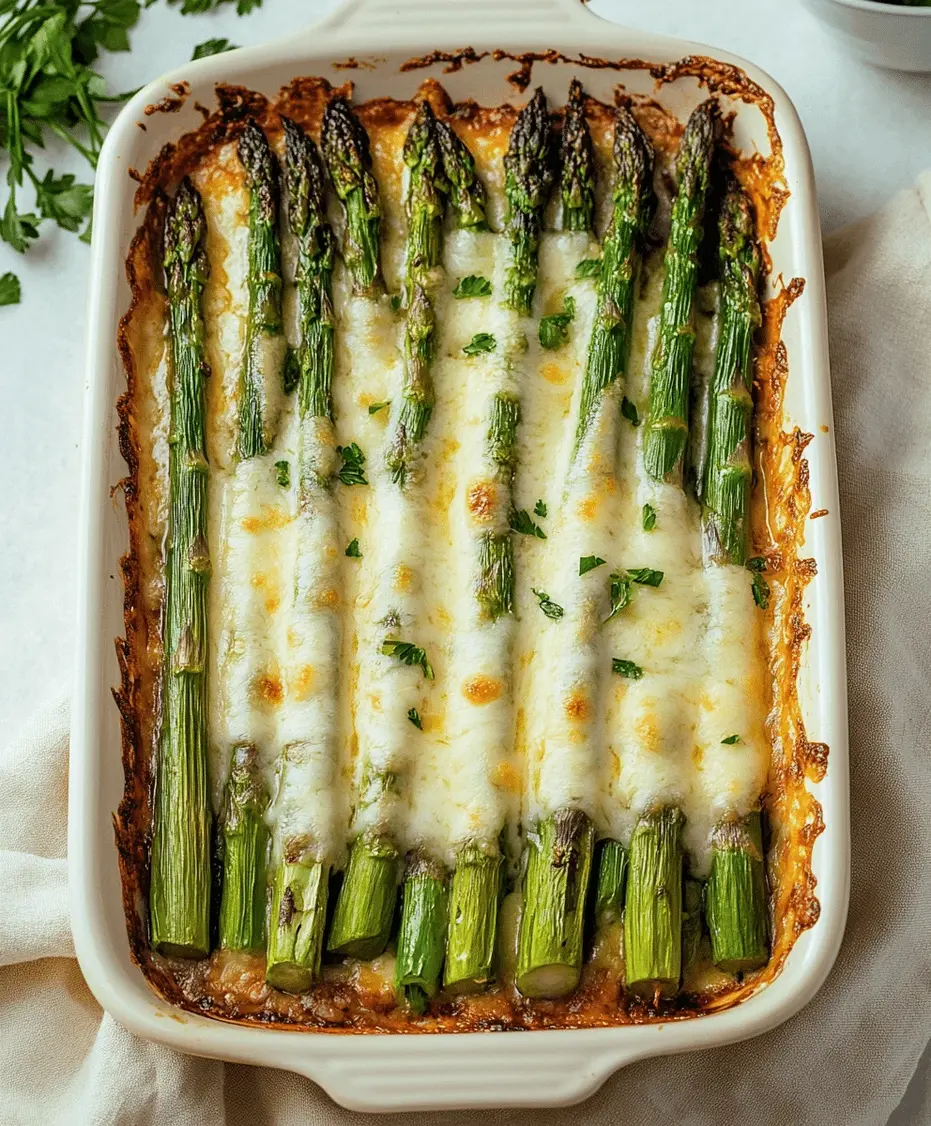
This versatile salmon is the perfect protein anchor for countless meals. For a quick weeknight plate, pair it with garlic sautéed green beans and quinoa to soak up the extra glaze. For a more elegant presentation, serve it atop a lemony orzo pilaf with a side of roasted asparagus. The rich flavor also stands up beautifully to hearty sides like mashed sweet potatoes or a crisp, shaved fennel salad for contrast. Flake any leftovers into a grain bowl the next day with brown rice, avocado, and edamame.
Common Mistakes
- Not Drying the Salmon: A wet fillet steams instead of bakes and the glaze slides off. Always pat it dry.
- Overcooking: Salmon continues to cook as it rests. Remove it from the oven just as it begins to flake. It should be opaque and slightly pink in the very center.
- Using a Cold Baking Sheet: Ensure your oven is fully preheated before baking. A hot start is key for proper caramelization.
- Skipping the Midway Glaze: That second brush of glaze is what creates the signature sticky, lacquered finish. Don’t skip it!
Storing Tips
Allow leftover salmon to cool completely, then store it in an airtight container in the refrigerator for up to 3 days. The glaze will solidify when cold but will become glossy again when gently reheated. To reheat, place it in a covered oven-safe dish with a splash of water or broth at 275°F (135°C) for about 10-15 minutes until warmed through. Avoid the microwave, as it can make the fish rubbery. For longer storage, you can freeze baked and cooled fillets in a single layer on a parchment-lined tray before transferring to a freezer bag for up to 2 months. Thaw overnight in the fridge before reheating.
Conclusion
This honey baked salmon recipe truly is a culinary workhorse—simple enough for a beginner, impressive enough for guests, and packed with the nutrients your body needs. It proves that eating well doesn’t require complicated techniques or hours in the kitchen. The perfect interplay of sweet honey and savory umami creates a dish that feels indulgent yet is fundamentally wholesome. I encourage you to make it your own; tweak the glaze, try a new side, and share your creation. Once you experience how effortlessly it comes together and how spectacular it tastes, it’s bound to become a regular in your dinner rotation.
Made this recipe? We’d love to see your masterpiece! Tag @spicemingle on Instagram or share your photo in the comments below. Your version might inspire our next kitchen experiment!
FAQs
***Can I use frozen salmon for this recipe?***
Absolutely. The key is to thaw it completely in the refrigerator overnight and then pat it extremely dry. Frozen fillets often release more water, so drying is even more critical to ensure proper glazing and browning.
<