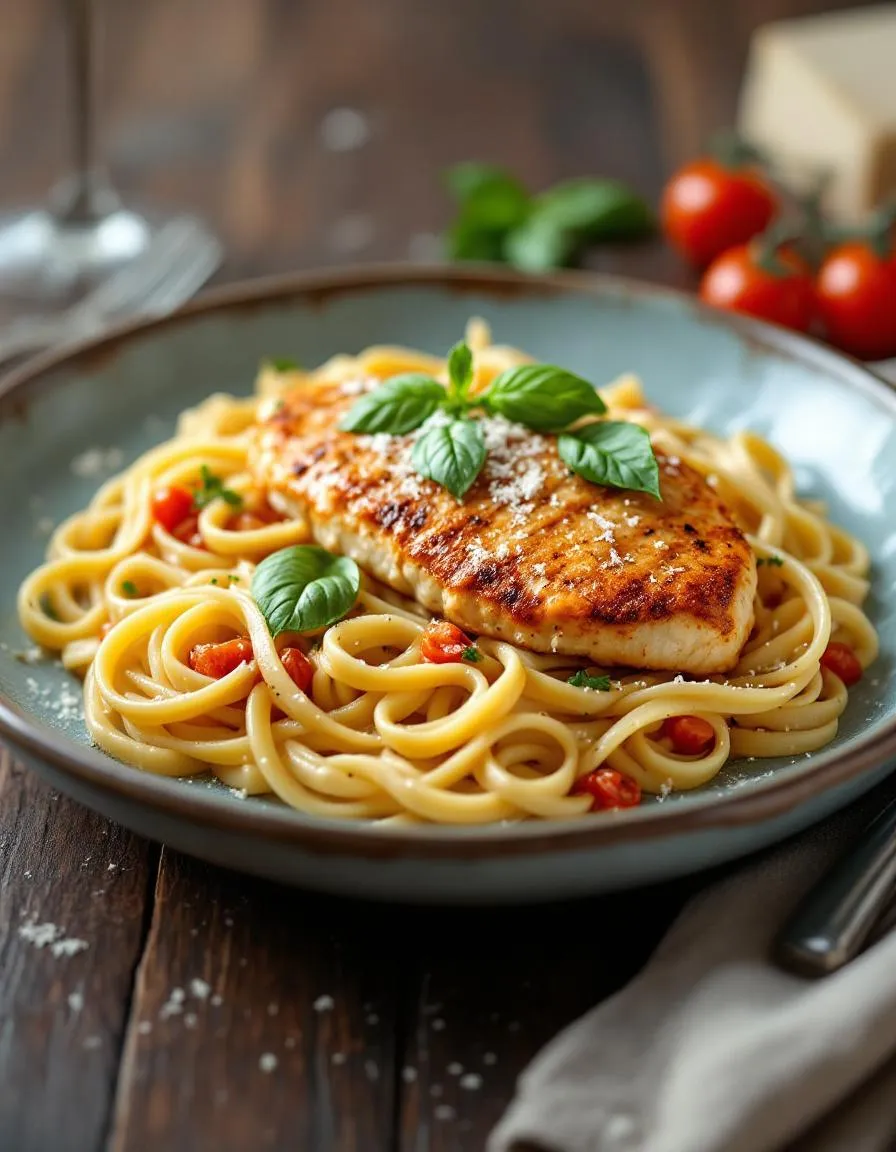
There is something truly magical about the holiday season. It fills the air with anticipation and wraps us in a cozy blanket of cherished memories. However, amidst the joy, the pressure to create a flawless feast can sometimes dim that sparkle. If you are searching for a show-stopping side dish that delivers incredible flavor without the stress, you have found your answer. These Cranberry Turkey Stuffing Balls are the ultimate solution for a busy host. They capture the essence of Thanksgiving in every single, delicious bite.
About This Recipe
Cranberry Turkey Stuffing Balls are a brilliant and portable twist on traditional holiday stuffing. Essentially, we combine savory seasoned breadcrumbs, lean ground turkey, sweet dried cranberries, and aromatic herbs. Then, we shape this mixture into neat balls and bake them until they achieve a perfectly golden-brown exterior. Consequently, this method creates a delightful contrast of textures that everyone adores. This recipe matters because it solves several common holiday cooking dilemmas. For instance, it frees up crucial oven space and can be prepared largely in advance. Moreover, it offers a fantastic way to incorporate protein into your meal, making it a more substantial side or even a fun main course option.
This dish fits the tone of our blog perfectly because we always prioritize approachable, crowd-pleasing recipes that do not compromise on taste. We believe that fantastic food should bring people together, not cause unnecessary anxiety. Our goal is to empower you with recipes that work every time and become new family traditions. If you enjoy creative takes on classic dishes, you will absolutely love our collection of easy Thanksgiving recipes. Furthermore, these stuffing balls pair wonderfully with a variety of sides, especially a classic green bean casserole, for a truly memorable plate.
Why I Love This Recipe
I love this recipe because it reminds me of my grandmother’s kitchen. She always had a knack for creating the most flavorful dishes from simple, humble ingredients. While she never made stuffing balls herself, the combination of savory turkey and tart cranberries instantly transports me back to her holiday table. I appreciate how these Cranberry Turkey Stuffing Balls feel both elegantly special and wonderfully easy to make. They consistently earn rave reviews from my family, and now they are a non-negotiable part of our own Thanksgiving spread. Ultimately, this recipe represents everything I cherish about holiday cooking: tradition, innovation, and sharing incredible food with the people I love most.
Health and Nutrition
Why it’s good for your body
These Cranberry Turkey Stuffing Balls deliver a powerful nutritional punch. For instance, lean turkey provides a fantastic source of high-quality protein, which actively supports muscle repair and keeps you feeling full. Furthermore, the addition of tart cranberries offers a wealth of antioxidants that help combat oxidative stress in your body.
Ultimately, this dish combines complex carbohydrates and fiber from whole-grain bread. Consequently, this macronutrient blend promotes steady energy release and aids in healthy digestion. Moreover, herbs like sage and thyme not only add incredible flavor but also contain beneficial compounds that can support your immune system.
You will find that enjoying these Cranberry Turkey Stuffing Balls contributes to a strong and healthy body. Additionally, this meal provides essential vitamins and minerals like iron and B vitamins. Therefore, you can feel great about serving a dish that is as nutritious as it is delicious.
How it fits in a healthy lifestyle
These stuffing balls fit beautifully into a balanced eating plan. You can easily tailor them to meet specific dietary needs, making them a versatile choice for almost any table. For a gluten-free version, simply swap the bread for your favorite gluten-free alternative.
If you are focusing on heart-healthy choices, you will appreciate the lean protein from turkey and the healthy fats from ingredients like olive oil. This approach to cooking aligns perfectly with a lifestyle that prioritizes wellness without sacrificing flavor. Pairing your Cranberry Turkey Stuffing Balls with a light side salad creates a complete and satisfying meal.
We love how this recipe supports practical, everyday healthy habits. It’s a fantastic make-ahead option for busy weeknights, ensuring you have a wholesome dinner ready to go. For more inspiration on building nutritious meals, explore our guide on easy meal prep ideas. And if you’re looking for other ways to incorporate lean protein into your diet, our roundup of healthy dinner recipes offers plenty of delicious options.
PrintCranberry Turkey Stuffing Balls
Description
Savory stuffing balls with ground turkey and sweet cranberries, baked to perfection for a festive side dish.
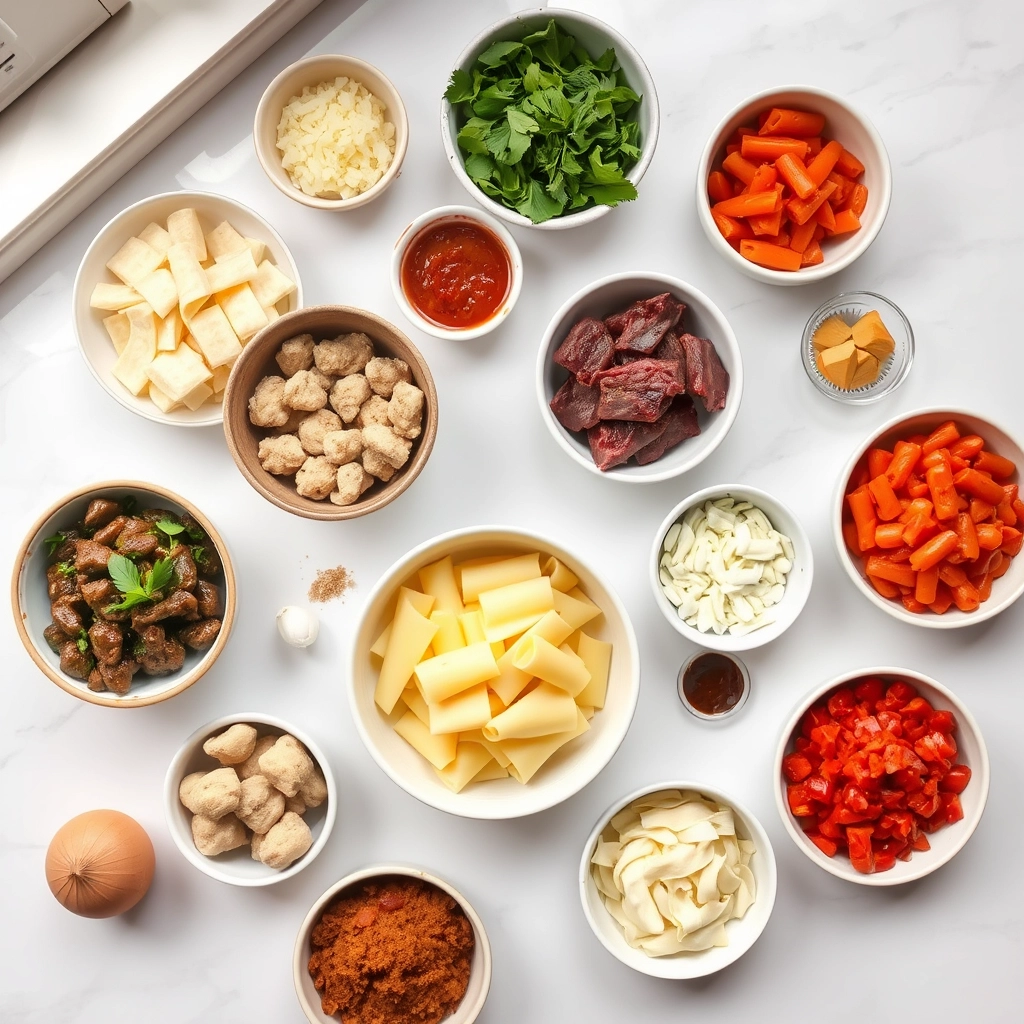
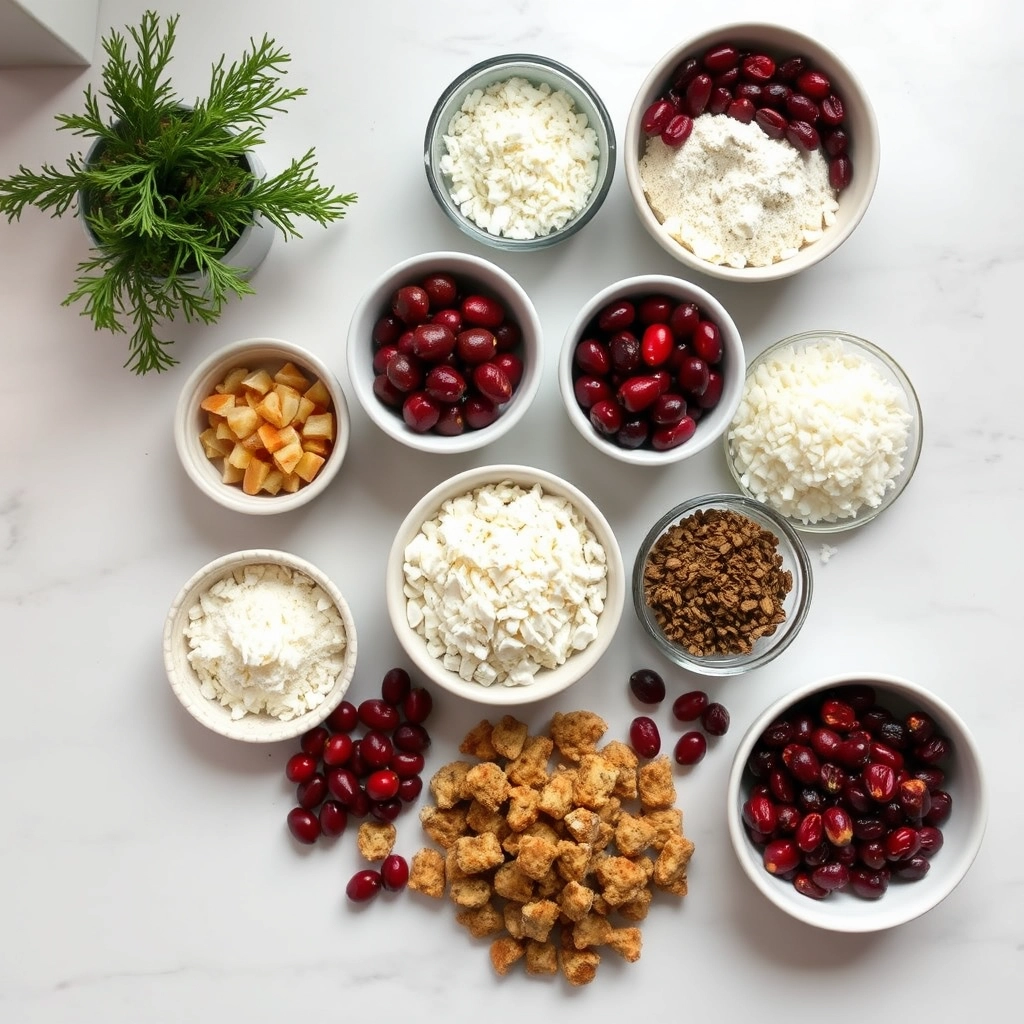
Ingredients
For the Crust:
- 1 lb ground turkey
- 2 cups bread cubes
- 1/2 cup dried cranberries
- 1/4 cup chopped onion
- 1/4 cup chopped celery
- 1 egg
- 1 tsp poultry seasoning
- 1/2 tsp salt
- 1/4 tsp black pepper
- 1/4 cup chicken broth
Instructions
1. Prepare the Crust:
- Preheat oven to 375°F and line a baking sheet with parchment paper.
- In a large bowl, combine ground turkey, bread cubes, cranberries, onion, celery, egg, poultry seasoning, salt, and pepper. Mix well.
- Add chicken broth and mix until ingredients are evenly moistened.
- Form mixture into 12 equal-sized balls and place on prepared baking sheet.
- Bake for 25-30 minutes until golden brown and cooked through.
Notes
You can customize the seasonings to taste.
How to Prepare This Dish
Steps and time-saving tips
First, grab a large mixing bowl and combine your dry stuffing mix with the dried cranberries, finely chopped onion, and celery. Next, in a separate smaller bowl, whisk together your beaten eggs, melted butter, and turkey or chicken stock until the mixture looks perfectly smooth. Now, pour this wet mixture over your dry ingredients and use a large fork to gently combine everything. Importantly, do not overmix; just stir until the bread is evenly moistened. Let this sit for about ten minutes so the bread can fully absorb all that delicious liquid. Meanwhile, preheat your oven to 375°F and line a large baking sheet with parchment paper. Using a standard ice cream scoop or your hands, firmly pack the mixture and form it into tight, uniform balls. Place each one on your prepared baking sheet, giving them a little room to breathe. Bake for 25-30 minutes until they turn a beautiful golden brown and feel firm to the touch. For a fantastic time-saving tip, you can easily prepare the mixture a full day ahead and keep it covered in the refrigerator. Simply form and bake the Cranberry Turkey Stuffing Balls right before your big meal, saving you precious time and effort.
Mistakes I’ve made and learned from
I have definitely learned a few lessons the hard way with these stuffing balls. My biggest mistake was rushing the process and not letting the bread mixture soak up the stock for long enough. The result was a crumbly mess that fell apart in the oven, which was so frustrating! Now I always set a timer for that ten-minute rest, no exceptions. Another common error I made was packing the balls too loosely. You really need to press the mixture firmly together in your hands to create a cohesive ball that holds its shape during baking. I also learned that accurate oven temperature is non-negotiable for the perfect texture. If your oven runs hot or cold, it can throw off the entire cooking time. I finally invested in a simple oven thermometer to eliminate all the guesswork, and it made a world of difference for all my recipes, especially this one. Getting your liquid ratios right is another key to success, something I perfected after reading more about the science of baking.
Cultural Connection and Variations
Where this recipe comes from
Every family seems to have that one cherished holiday side dish. For many, Cranberry Turkey Stuffing Balls hold that special title. They represent a beautiful fusion of classic Thanksgiving flavors, all rolled into a single, convenient bite. My own grandmother always argued that these savory morsels originated from a need to use up leftover turkey and cranberry sauce creatively. Consequently, she would proudly serve them the day after our big feast. However, their roots likely stretch back to traditional English forcemeat balls, which early colonists adapted with New World ingredients like cranberries.
Around the globe, people prepare similar dishes with their own unique twists. For instance, in some European regions, cooks might use chestnuts and sausage instead of turkey. Meanwhile, other variations incorporate apples or even a dash of maple syrup for sweetness. Ultimately, the beauty of Cranberry Turkey Stuffing Balls lies in their adaptability. Every kitchen, and every culture, can make them its own.
How it fits in today’s cooking
This dish absolutely thrives in modern kitchens. Today’s home cooks love Cranberry Turkey Stuffing Balls because they perfectly balance tradition with convenience. They are a fantastic make-ahead option for busy hosts, and they freeze beautifully for later. Furthermore, they fit right into our current love for finger foods and appetizers, not just holiday feasts.
Many people now adapt the recipe to suit different dietary needs. For example, they might use gluten-free bread or a fantastic gluten-free cornbread as the base. Others might add a spicy kick with jalapeños or use a plant-based ground meat. This versatility ensures the dish remains a crowd-pleaser. It’s the perfect starter to lead into a larger meal, much like a warm butternut squash soup sets a comforting tone. Ultimately, these stuffing balls continue to connect generations around the table, proving that some traditions only get better with time.
Taste and Texture
What makes it delicious
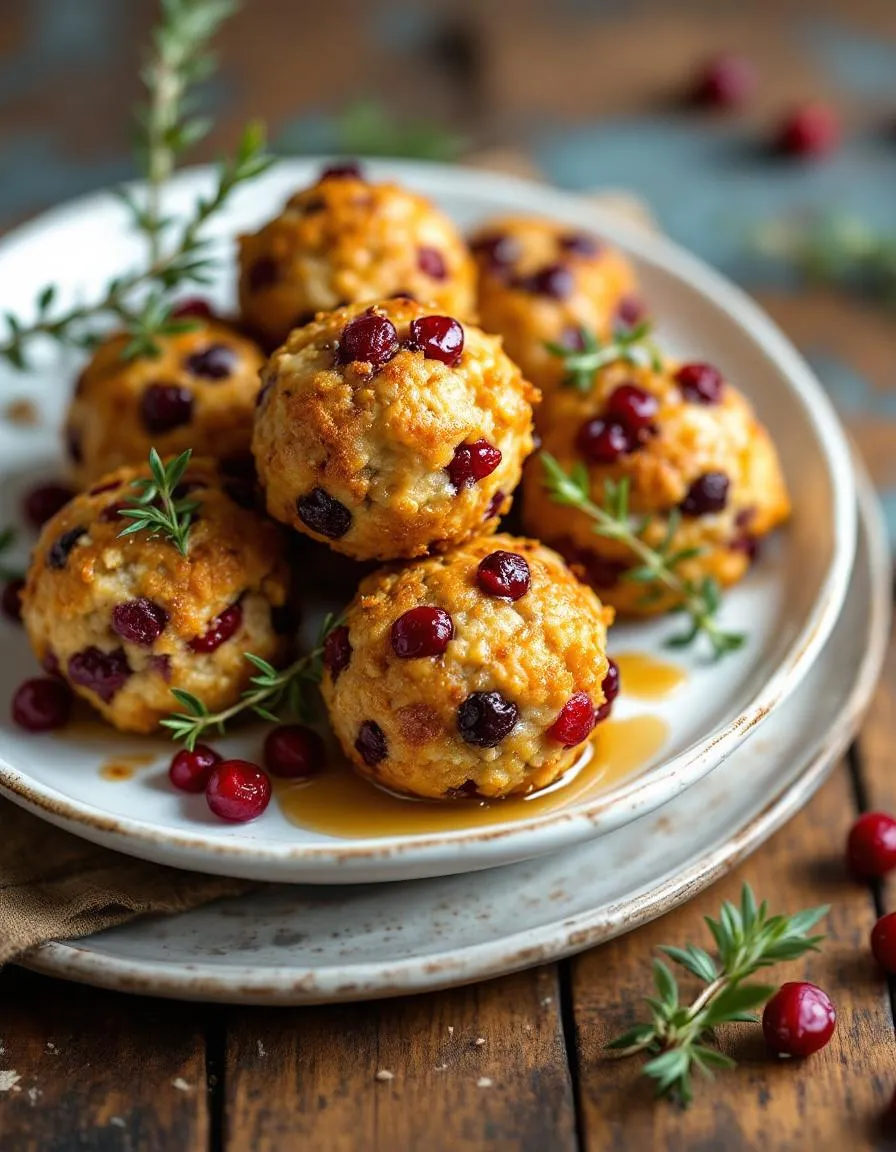
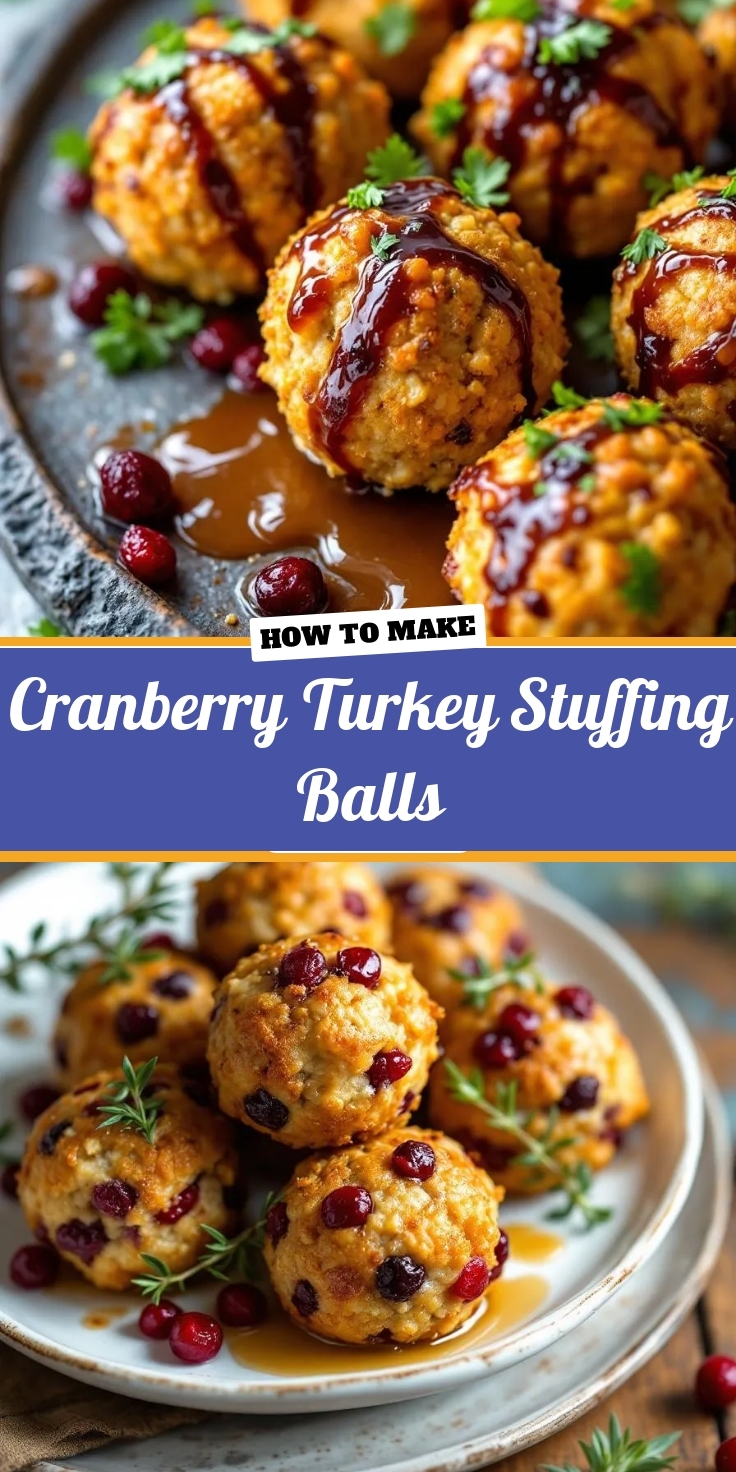
These Cranberry Turkey Stuffing Balls deliver a symphony of cozy, savory flavors. First, you get the familiar, herby comfort of classic stuffing, which is perfectly savory and fragrant with sage and thyme. Then, a delightful pop of sweet-tart juiciness from the cranberries cuts through the richness. Ultimately, the texture is a wonderful contrast; the crispy, golden-brown exterior gives way to a surprisingly moist and tender interior. Every single bite of these Cranberry Turkey Stuffing Bells feels like a complete holiday celebration in your mouth.
Boosting the flavor
For an extra flavor boost, consider a few simple tweaks. Firstly, stir a tablespoon of orange zest into your mixture to make the cranberry flavor even brighter and more vibrant. Alternatively, a drizzle of our simple honey balsamic glaze right before serving adds a gorgeous sweet and tangy finish. If you love a bit of heat, a pinch of red pepper flakes will introduce a warm, subtle kick. Finally, serving them alongside a creamy sauce truly takes them over the top; our garlic herb aioli creates a cool, creamy contrast that is absolutely irresistible.

Tips for Success
Best practices for results
Always use day old, slightly dry bread for your Cranberry Turkey Stuffing Balls because it soaks up the stock beautifully without becoming mushy. Furthermore, thoroughly chill your mixture before shaping to guarantee the balls hold their form perfectly in the oven. For a golden and crisp exterior, generously brush each one with melted butter right before baking. Finally, use a sturdy baking sheet lined with parchment paper to prevent any sticking and to promote even browning on all sides.
Mistakes to avoid
A common error involves packing the mixture too tightly, which unfortunately results in dense and heavy stuffing balls. Instead, gently form them with your hands to keep the texture light and airy. Additionally, do not skip the chilling step, as the cold helps the balls bind together and maintain their shape. If you find your mixture is too wet, simply refer to our guide on how to fix wet stuffing for a quick solution. Moreover, for the most flavorful Cranberry Turkey Stuffing Balls, always use a high quality stock; our article on choosing the right stock makes this decision incredibly easy.
Serving and Pairing Suggestions
How to serve this dish
Present your Cranberry Turkey Stuffing Balls in a truly inviting way. For instance, arrange them on a rustic wooden board or a elegant white platter to make the colors pop. Furthermore, garnish the entire arrangement with a few fresh rosemary sprigs and a scattering of extra dried cranberries. This simple touch instantly elevates your presentation for any holiday table. These bite-sized delights also shine as a fantastic passed appetizer during a festive brunch. Ultimately, their convenient shape and incredible flavor make Cranberry Turkey Stuffing Balls a versatile crowd-pleaser.
What goes well with it
A rich, savory gravy is the ultimate partner for Cranberry Turkey Stuffing Balls. The gravy’s deep flavor beautifully complements the herby notes and the sweet, tart cranberries. Alternatively, a lighter, creamy dip like our Herb Yogurt Dip offers a refreshing contrast. For a complete and satisfying meal, simply serve these stuffing balls alongside a fresh, crisp salad. We highly recommend our classic Autumn Salad with a tangy vinaigrette to balance the dish’s richness. Finally, a chilled glass of sparkling apple cider or a crisp white wine rounds out this perfect pairing experience.
Yes, you can prepare cranberry turkey stuffing balls in advance for easy holiday cooking. Assemble them, place on a baking sheet, cover tightly, and refrigerate for up to 24 hours before baking. You may need to add a few extra minutes to the baking time if they go into the oven cold.
The best binder for cranberry turkey stuffing balls is typically a combination of eggs and broth. The eggs act as the primary binding agent to hold the bread and turkey together, while the broth adds necessary moisture. For a firmer hold, some recipes also recommend a small amount of melted butter.
To prevent your cranberry turkey stuffing balls from falling apart, ensure your mixture has the right moisture level—it should be damp but not soggy. Chilling the formed balls for 15-20 minutes before baking helps them firm up. Also, avoid overhandling the mixture when shaping them to maintain their structure.
Absolutely, cooked cranberry turkey stuffing balls freeze very well. Let them cool completely after baking, then arrange them in a single layer on a parchment-lined baking sheet to freeze solid before transferring to a freezer-safe bag. They can be reheated directly from frozen in a 350°F oven until hot throughout.