“`html
Table of Contents
- Introduction: Why Smash Burgers?
- Ingredients for Smash Burgers with Baconnaise Sauce
- Timing is Everything
- How to Make Smash Burgers with Baconnaise Sauce
- Nutritional Information
- Healthier Alternatives Without Sacrificing Flavor
- Serving Suggestions
- Common Mistakes to Avoid
- Storing Leftovers
- Frequently Asked Questions
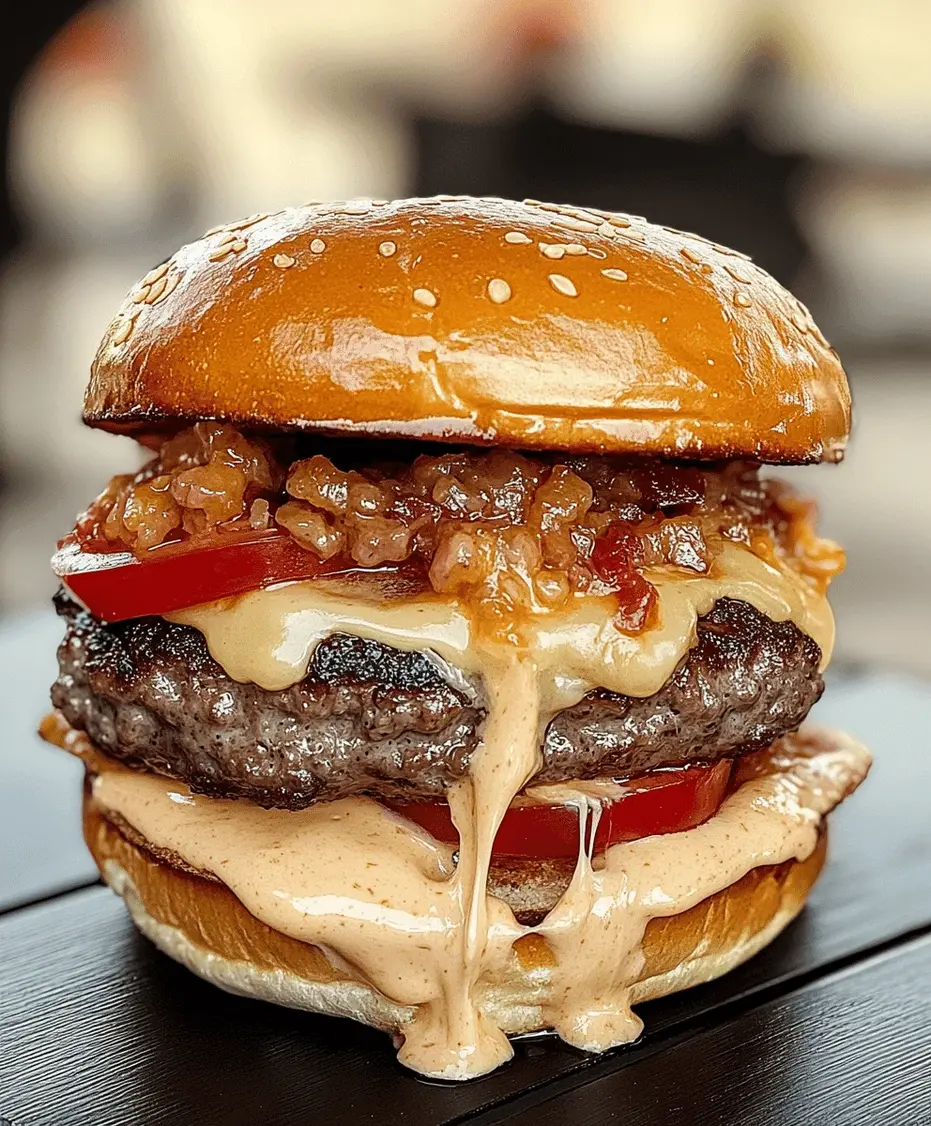
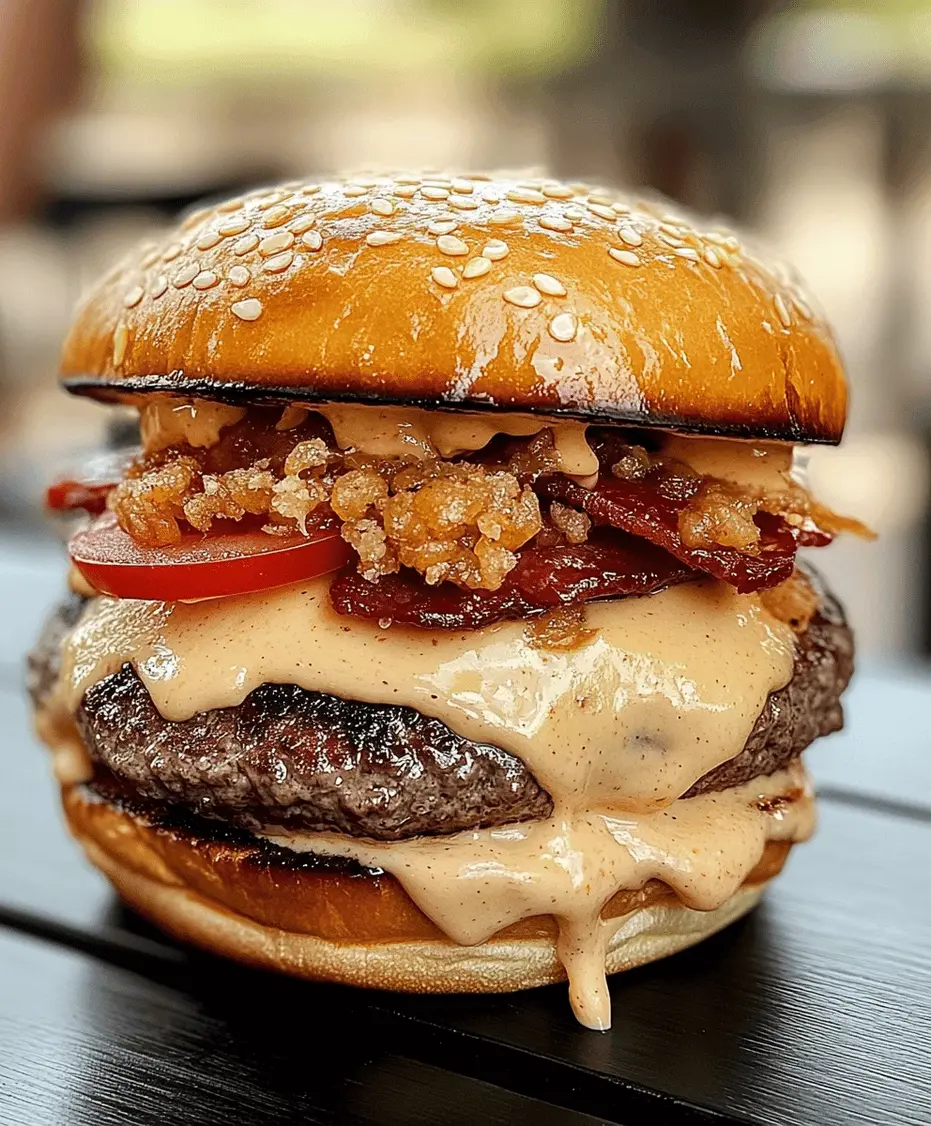
Smash Burgers With Baconnaise Sauce Recipe
Introduction: Why Smash Burgers?
Are you craving a burger experience that’s a step above the rest? In a world of ever-evolving culinary trends, the humble burger, especially the “smash burger,” continues to reign supreme, with searches for “smash burger recipe” and “best burger sauce” seeing consistent year-over-year growth. This isn’t just about a patty; it’s about texture, flavor, and that irresistible char. The beauty of a smash burger lies in its simplicity and the incredible crust you achieve by pressing a ball of ground beef onto a screaming hot surface. But what truly elevates a good smash burger to an unforgettable one? A killer sauce! And that’s where our star player comes in: the Baconnaise Sauce. This recipe isn’t just about making burgers; it’s about creating a symphony of smoky, savory, and cheesy perfection that will have you rethinking everything you thought you knew about comfort food.
Ingredients for Smash Burgers with Baconnaise Sauce
For the Smash Burger Patties
- 1 lb ground beef (80/20 or 85/15 fat ratio is ideal for moisture and flavor)
- 1 teaspoon salt (fine sea salt or kosher salt)
- ½ teaspoon black pepper (freshly ground for best aroma)
For the Baconnaise Sauce
- 4 slices bacon, cooked until crispy and finely crumbled
- ½ cup mayonnaise (a good quality, full-fat mayo provides the best creamy base)
- 2 tablespoons ketchup (adds a touch of sweetness and tang)
- 1 tablespoon Dijon mustard (for a subtle spicy kick)
- 1 teaspoon Worcestershire sauce (adds umami depth)
- ½ teaspoon smoked paprika (enhances the smoky bacon flavor)
- ¼ teaspoon garlic powder (optional, for an extra layer of savory flavor)
- Pinch of cayenne pepper (optional, for a hint of heat)
For Assembly
- 4 burger buns (brioche or potato buns work wonderfully for their soft texture)
- 4 slices of your favorite cheese (cheddar, American, or Gruyere melt beautifully)
- Butter or oil for toasting buns and cooking patties
- Optional toppings: finely chopped onions, lettuce, pickles
Timing is Everything
This recipe is remarkably quick, making it perfect for a weeknight dinner or a spontaneous craving. Compared to an average complex meal that can take over an hour, these smash burgers are ready in under 30 minutes, proving that incredible flavor doesn’t always require a long commitment.
How to Make Smash Burgers with Baconnaise Sauce
Step 1: Prepare the Baconnaise Sauce
In a medium bowl, combine the mayonnaise, ketchup, Dijon mustard, Worcestershire sauce, crumbled crispy bacon, smoked paprika, garlic powder (if using), and cayenne pepper (if using). Stir everything together until well combined. Taste and adjust seasonings as needed. For the best flavor, cover and refrigerate the sauce while you prepare the burgers. This allows the flavors to meld beautifully.
Step 2: Form and Chill the Patties
Gently divide the ground beef into four equal portions. *Do not overwork the meat.* This is crucial for tender burgers. Lightly roll each portion into a ball. Place the beef balls on a plate lined with parchment paper and refrigerate for at least 15 minutes. Chilling the meat helps it hold its shape and makes it easier to smash without falling apart.
Step 3: Prep Your Burger Buns and Toppings
While the patties are chilling, lightly butter the cut sides of your burger buns and toast them in a skillet over medium heat until golden brown. Set aside. Prepare any other toppings you desire, such as thinly sliced onions, crisp lettuce, or tangy pickles.
Step 4: Smash Those Burgers!
Heat a cast-iron skillet or griddle over medium-high heat. Add a touch of oil or butter. Once shimmering hot, place the chilled beef balls onto the hot surface, leaving some space between them. Immediately using a sturdy metal spatula or a burger press, firmly and quickly smash each ball down into a thin patty, about ¼ inch thick. You want to create as much surface area as possible for that amazing crust.
Step 5: Cook the Patties
Season the smashes patties generously with salt and pepper. Cook for about 1-2 minutes per side, or until a deep brown crust forms and the edges are crispy. Flip the patties carefully. If you like cheese, place a slice of cheese on top of each patty during the last minute of cooking. Cover the skillet briefly to help the cheese melt beautifully.
Step 6: Assemble Your Masterpiece
Spread a generous amount of the prepared Baconnaise sauce on the bottom half of each toasted bun. Place a cheesy smash patty on top of the sauce. Add your preferred toppings, then crown with the top bun. Serve immediately and prepare for burger bliss!
Nutritional Information
While precise nutritional values can vary based on ingredient brands and portion sizes, a typical serving of these Smash Burgers with Baconnaise Sauce would provide approximately:
- Calories: 500-700 kcal
- Protein: 30-40g
- Fat: 35-50g (includes saturated fat from beef and bacon)
- Carbohydrates: 20-30g (depending on bun and sauce ingredients)
- Sodium: Varies significantly based on bacon and added salt.
Healthier Alternatives Without Sacrificing Flavor
Looking to lighten things up without compromising on taste? Here are some adaptable swaps:
- Leaner Beef: Opt for 90/10 or even 93/7 ground beef. While it won’t have the same classic richness, it’s a significant reduction in saturated fat.
- Bacon Alternatives: For the sauce, use turkey bacon for a leaner smoky flavor, or omit the bacon and add a dash more smoked paprika and a tiny amount of liquid smoke for an intense smoky note without the fat.
- Lighter Mayo: Use a light or avocado-oil based mayonnaise. The flavor profile might change slightly, but it’s a good way to cut down on calories and fat.
- Whole Wheat Buns: Swap regular buns for whole wheat or artisanal sourdough buns.
- Load up on Veggies: Add extra lettuce, tomato, onion, or avocado slices for volume and nutrients.
Serving Suggestions
These smash burgers are a meal in themselves, but they pair wonderfully with classic sides. Consider:
- Crisp French fries or sweet potato fries
- A light, fresh coleslaw
- A simple green salad with a zesty vinaigrette
- Onion rings for an extra indulgence
- A cold craft beer or a refreshing soda
Common Mistakes to Avoid
- Overworking the Meat: This leads to tough, dense patties. Handle the beef as little as possible.
- Not Hot Enough Pan: A screaming hot surface is essential for that signature crust. If your pan isn’t hot enough, you’ll end up steaming the burgers instead of searing them.
- Overcrowding the Pan: This lowers the pan’s temperature and results in steamed, grayish burgers. Cook in batches if necessary.
- Pressing Too Early or Too Hard: Wait a moment after placing the beef ball before smashing. Smashing too hard initially can push out juices. Aim for a firm, quick press.
- Not Seasoning Enough: Smash burgers need salt and pepper applied liberally right before cooking for maximum flavor impact.
Storing Leftovers
For the best experience, these burgers are meant to be enjoyed fresh off the grill. However, if you have leftovers:
- Cooked Patties: Allow cooked patties to cool completely. Store them in an airtight container in the refrigerator for up to 2 days. Reheat gently in a skillet or oven to prevent drying out.
- Baconnaise Sauce: The sauce can be stored in an airtight container in the refrigerator for up to 5 days. The flavors may intensify over time.
- Assembled Burgers: It’s not recommended to store fully assembled burgers, as the bun will become soggy and the ingredients will lose their texture.
Frequently Asked Questions
***What kind of ground beef is best for smash burgers?***
An 80/20 or 85/15 lean-to-fat ratio is ideal. The fat content is crucial for keeping the burgers juicy, tender, and flavorful while helping to achieve that coveted crispy crust.
***Can I make the Baconnaise sauce ahead of time?***
Yes, absolutely! In fact, making the sauce a few hours or even a day in advance allows the flavors to meld and deepen, resulting in an even more delicious sauce. Store it covered in the refrigerator.
***How do I get the crispy edges on my smash burgers?***
The key is using a very hot pan (cast iron is best) and smashing the beef balls quickly and firmly into a thin patty. This maximizes surface contact with the hot pan, encouraging caramelization and crispy edges.
***What if I don’t have bacon for the sauce?***
You can omit the bacon and still achieve a delicious smoky sauce. Increase the smoked paprika slightly, or add a tiny drop of liquid smoke if you have it. You can also use crispy fried onions for a similar savory crunch.
***Can I make smash burgers on a regular stovetop pan?***
Yes, a heavy-bottomed skillet or even a sturdy griddle will work. Cast iron is preferred for its heat retention but isn’t strictly necessary. Ensure the pan is well-seasoned and gets very hot.
Conclusion: Enjoy Your Ultimate Burger!
There you have it – a recipe for smash burgers that are not only a joy to make but an absolute triumph to eat. The crispy, caramelized edges, the juicy interior, the melty cheese, and that undeniably addictive Baconnaise Sauce create a burger experience that’s truly next-level. So, gather your ingredients, turn up the heat, and get ready to smash your way to burger perfection. We promise, your taste buds will thank you!

Smash Burgers With Baconnaise Sauce Recipe
Description
This smash burgers recipe with baconnaise sauce is a must-try for burger lovers. Crispy-edged patties, melty cheese, and a rich, smoky bacon-infused sauce come together for the ultimate burger experience.
Ingredients
- For the Smash Burgers:
- For the Baconnaise Sauce:
Instructions
Notes
For extra smoky flavor, use smoked bacon in the sauce.
Freeze the bacon before chopping to make crumbling easier.
Serve with crispy fries or a fresh side salad for a complete meal.
Nutrition
- Calories: 520
- Sugar: 2g
“`