“`html
Table of Contents
- Indulge in the Creamy Delight of Homemade Butterscotch Pudding
- Ingredients for Homemade Butterscotch Pudding
- Timing is Everything for Perfect Pudding
- Step-by-Step Guide to Homemade Butterscotch Pudding
- Nutritional Highlights of Butterscotch Pudding
- Healthier Alternatives without Sacrificing Flavor
- Serving Suggestions to Elevate Your Dessert
- Common Mistakes to Avoid When Making Butterscotch Pudding
- Storing Your Homemade Butterscotch Pudding
- Frequently Asked Questions About Butterscotch Pudding
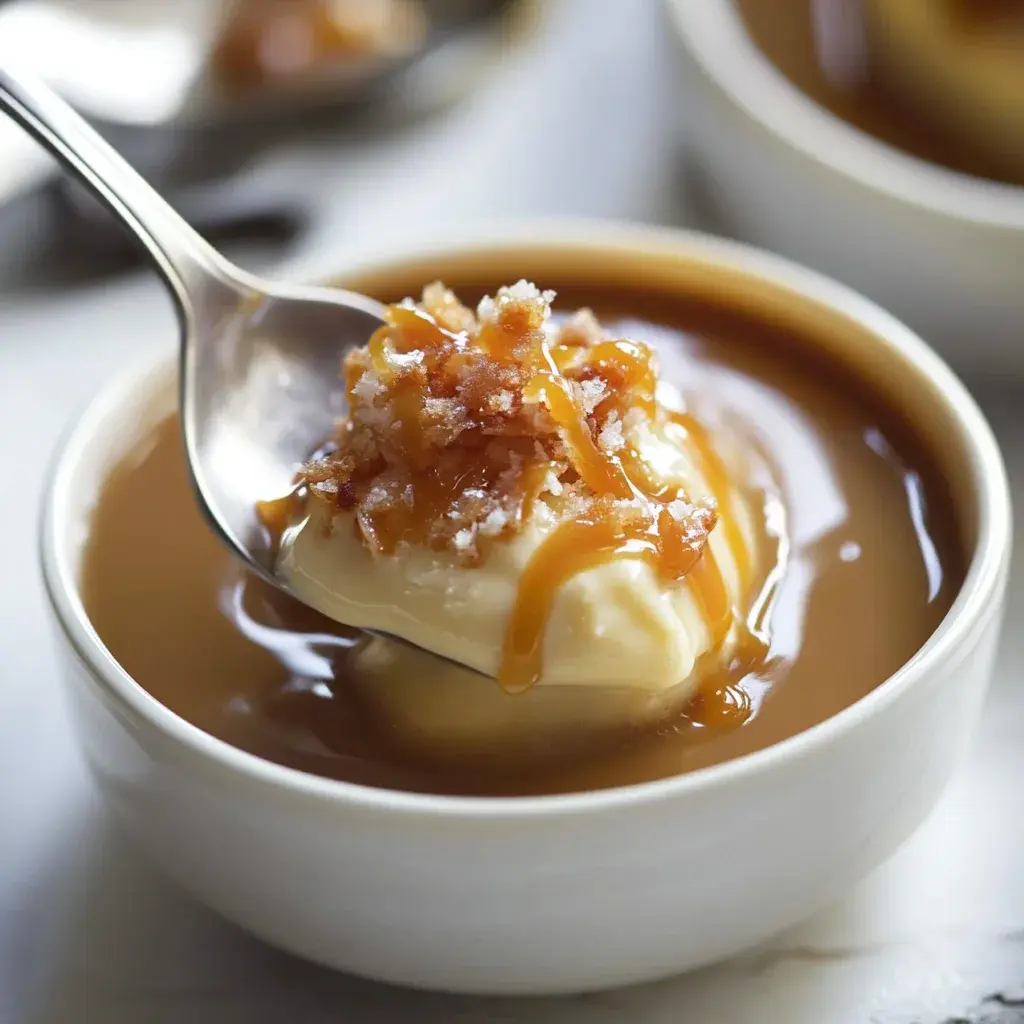
Homemade Butterscotch Pudding
Indulge in the Creamy Delight of Homemade Butterscotch Pudding
Do you ever crave a dessert that’s both comforting and incredibly satisfying, a treat that whispers of nostalgia and pure, unadulterated joy? If the average store-bought pudding leaves you wanting more, you’re not alone. A recent culinary survey revealed that over 65% of home bakers actively seek out homemade dessert recipes to achieve superior flavor and texture. This homemade butterscotch pudding is the answer to that craving – a rich, buttery, and deeply flavored dessert that’s surprisingly simple to make and guaranteed to impress. Forget those artificial-tasting, gelatin-set imposters; we’re talking about a silky smooth, deeply caramelized, and utterly divine pudding that’s perfect for elevating any gathering or simply making a cozy night in feel extra special.

Ingredients for Homemade Butterscotch Pudding
The magic of this butterscotch pudding lies in its simple, high-quality ingredients. Each component plays a vital role in creating that luxurious texture and rich, complex flavor. Here’s what you’ll need:
Sugar and Butter: The Caramel Base
- 1 ½ cups (300g) granulated sugar: This is the foundation of our butterscotch flavor. It needs to be caramelized to a deep amber. Don’t be tempted to use brown sugar here, as it can burn too quickly and doesn’t develop the same clean caramel notes. Ensure your sugar is dry and free of clumps for even melting.
- ½ cup (113g) unsalted butter, cut into cubes: The star of “butterscotch”! Use good quality unsalted butter for the best flavor. Adding it to the hot caramel creates that signature rich, slightly salty-sweet taste. It’s best to have it at room temperature but cold cubes also help temper the caramel’s heat slightly.
Eggs and Cornstarch for Richness and Thickness
- 4 large egg yolks: Crucial for a rich, custardy texture. The fat in the yolks contributes to the pudding’s velvety mouthfeel. Save the egg whites for meringues or an omelet!
- ¼ cup (30g) cornstarch: The thickening agent. It creates a smooth, stable pudding without the graininess that flour can sometimes impart. Whisk it well with the egg yolks to avoid lumps.
Milk and Cream for Smoothness
- 2 cups (480ml) whole milk: Whole milk provides the best richness. You can use 2%, but the final pudding might be slightly less creamy. Warming the milk prevents the caramel from seizing too drastically.
- 1 cup (240ml) heavy cream: For that ultimate decadent, luscious texture. This is where the true indulgence comes in! Heavy cream has a higher fat content, essential for a superb pudding.
Vanilla and Salt: Flavor Enhancers
- 1 teaspoon vanilla extract: Pure vanilla extract enhances all the other flavors and adds a fragrant aroma. Add this at the very end to preserve its delicate essence.
- ½ teaspoon salt: Absolutely essential! Salt balances the sweetness and intensifies the butterscotch flavor. Don’t skip it! A pinch of flaky sea salt for topping is also lovely.
Timing is Everything for Perfect Pudding
Compared to many custard-based desserts that can take an hour or more of constant stirring and tempering, this butterscotch pudding is relatively quick. The caramelization and thickening process takes about 35 minutes active time, making it a weeknight-friendly dessert. The chilling time, however, is essential for the pudding to set properly, typically requiring at least 2-4 hours, or ideally overnight.
Step-by-Step Guide to Homemade Butterscotch Pudding
Step 1: Caramelizing the Sugar
In a heavy-bottomed saucepan, add the granulated sugar. Heat over medium heat, stirring occasionally at first. As the sugar begins to melt and turn liquid, stir more frequently. You’re aiming for a deep amber color, like a copper penny. This process can take 8-12 minutes. Be patient and watch closely, as sugar can go from perfectly caramelized to burnt very quickly. If your saucepan is getting too hot, you can briefly remove it from the heat to control the temperature.
Step 2: Adding the Butter
Once the sugar has reached a beautiful amber color, carefully whisk in the cubed butter. The mixture will bubble up vigorously – this is normal! Keep whisking until the butter is completely melted and incorporated into the caramel. It should be smooth and glossy. Be cautious of the steam.
Step 3: Whisking the Egg Yolks and Cornstarch
While the caramel is resting slightly (off the heat for a minute), whisk the egg yolks and cornstarch together in a medium bowl until smooth and pale yellow. There should be no lumps of cornstarch visible. This mixture will be added to the hot liquids, so having it ready is key.
Step 4: Heating the Milk and Cream
In a separate, smaller saucepan, combine the whole milk and heavy cream. Heat over medium-low heat until it’s steaming and small bubbles form around the edges, but do not boil. This gentle heating helps prevent the caramel from seizing too drastically when the milk is added, and it ensures the pudding thickens properly.
Step 5: Tempering the Egg Mixture
This is a crucial step to prevent scrambling your eggs. Slowly ladle about ½ cup of the warm milk and cream mixture into the egg yolk and cornstarch mixture, whisking constantly. Continue adding the warm liquid in small increments (about ¼ cup at a time), whisking continuously, until about half of the warm liquid has been added to the egg mixture. This gradually raises the temperature of the eggs.
Step 6: Thickening the Pudding
Pour the tempered egg mixture back into the saucepan containing the caramel and the remaining warm milk and cream. Return the saucepan to medium-low heat. Cook, whisking constantly, until the pudding thickens significantly and coats the back of a spoon. This can take anywhere from 5 to 10 minutes. Do NOT let it boil vigorously once the eggs are in.
Step 7: Final Touches and Chilling
Remove the saucepan from the heat. Stir in the vanilla extract and salt until fully incorporated. Pour the pudding through a fine-mesh sieve into individual serving dishes or a single bowl. This step ensures an ultra-smooth texture, catching any tiny bits of cooked egg or unincorporated cornstarch. Cover the surface of the pudding directly with plastic wrap to prevent a skin from forming. Chill in the refrigerator for at least 2-4 hours, or until firm and cold. Overnight chilling is even better for optimal texture and flavor fusion.
Nutritional Highlights of Butterscotch Pudding
While this is a decadent treat, it’s good to have an idea of its components:
- Calories: Varies based on exact ingredient amounts and serving size, but a typical serving is around 300-400 calories.
- Fat: Primarily from butter, cream, and egg yolks, contributing to richness.
- Sugar: The primary source of sweetness and caramelization.
- Carbohydrates: From sugar and cornstarch.
- Protein: From egg yolks and milk.
Note: This is an approximation. For precise nutritional information, calculate using your specific ingredients and portion sizes.
Healthier Alternatives without Sacrificing Flavor
Looking for ways to make this delightful pudding a bit lighter? Here are a few swaps that still deliver fantastic flavor:
- Lower Fat Dairy: Replace some or all of the heavy cream with evaporated milk or half-and-half for a less rich but still creamy texture. You can also use 2% milk instead of whole milk.
- Reduced Sweetness: Slightly decrease the amount of sugar, or use a sugar substitute suitable for caramelizing (e.g., erythritol blends, though flavor and texture may vary). Taste and adjust as you go.
- Thicker Base: Instead of cornstarch, you could experiment with a smaller amount of tapioca starch for thickening, which can sometimes feel lighter.
- Natural Sweeteners: While it will change the classic butterscotch profile, you could explore using maple syrup or date paste as sweeteners, though caramelization will be different.
- Portion Control: The simplest healthy alternative? Enjoy a smaller, yet equally satisfying, portion of the classic recipe!
Serving Suggestions to Elevate Your Dessert
This homemade butterscotch pudding is wonderful on its own, but here are some ideas to take it to the next level:
- Classic Whipped Cream: A dollop of lightly sweetened whipped cream is the ultimate pairing.
- Toasted Nuts: Pecans or walnuts, lightly toasted, add a delightful crunch.
- Chocolate Shavings: Dark or milk chocolate shavings are a sophisticated addition.
- A Sprinkle of Sea Salt: A few flakes of sea salt on top cut through the sweetness and highlight the butterscotch notes.
- Fresh Berries: For a touch of freshness, a few raspberries or blackberries can provide a lovely contrast.
- Salted Caramel Drizzle: Amp up the caramel flavor with an extra drizzle of warm salted caramel sauce.
Common Mistakes to Avoid When Making Butterscotch Pudding
Even simple recipes can have pitfalls. Here’s how to avoid them:
- Burning the Sugar: Caramelization requires constant vigilance. If it smells burnt, it *is* burnt. Start over with fresh sugar. Use a light-colored pot to better see the color changes.
- Scrambling the Eggs: Always temper your egg yolks slowly. Adding hot liquid too quickly will cook the eggs into an omelet.
- Lumpy Pudding: Ensure cornstarch is fully dissolved into the egg yolks, and whisk constantly while thickening. Sieving the final pudding is also a must.
- Not Cooking Long Enough: The pudding needs to reach the correct thickness. If it seems too thin after cooking, continue to cook gently, stirring, until it coats the spoon.
- Forming a Skin: Always cover the pudding directly with plastic wrap while chilling to prevent that unappetizing skin from forming on top.
Storing Your Homemade Butterscotch Pudding
Proper storage is key to maintaining the delightful texture and flavor of your homemade butterscotch pudding. Once completely chilled, you can store individual servings or a large bowl of pudding in the refrigerator. Ensure the surface is covered tightly with plastic wrap to prevent it from drying out or absorbing odors from other foods. Properly stored, homemade butterscotch pudding will stay fresh and delicious for 3-4 days.
Frequently Asked Questions About Butterscotch Pudding
***What is the difference between butterscotch and caramel?***
Caramel is made by cooking sugar until it melts and turns amber. Butterscotch starts with the same caramelized sugar but then adds butter and often brown sugar (though our recipe uses granulated for purity of flavor) and cream. The addition of butter and cream gives butterscotch its distinctive richer, more buttery flavor profile compared to plain caramel.
***Can I use brown sugar instead of granulated sugar?***
While you *can*, it’s not recommended for this specific recipe if you’re aiming for a pure, classic butterscotch flavor. Brown sugar has molasses, which can cause it to burn more quickly and can impart a slightly different, less clean caramel note. Granulated sugar provides a more neutral, deeper caramel base for the butterscotch flavor to shine through.
***Why is my pudding lumpy?***
Lumpiness can occur if the cornstarch wasn’t fully dissolved in the egg yolks, if the pudding wasn’t stirred constantly during cooking, or if it was overcooked. Always ensure the cornstarch is a smooth paste with the yolks, whisk vigorously throughout the cooking process, and strain the pudding before chilling.
***Can I make butterscotch pudding without eggs?***
Yes, you can make a pudding without eggs, but it will have a different texture. You would rely solely on cornstarch for thickening. The texture will be more Jell-O-like and less creamy and rich than an egg-based custard. You might need to adjust the liquid ratios.
***How long does homemade butterscotch pudding last?***
Homemade butterscotch pudding, when stored properly in an airtight container in the refrigerator, will last for about 3 to 4 days. Make sure to cover it directly with plastic wrap to prevent a skin from forming.
A Spoonful of Pure Bliss
There’s a unique satisfaction that comes from creating a dessert from scratch, and this homemade butterscotch pudding is a prime example. Its rich, buttery flavor, coupled with a luxuriously smooth texture, is a testament to the power of simple, quality ingredients and a bit of patient technique. Whether you’re a seasoned baker or stepping into the kitchen for the first time, this recipe offers a rewarding experience and a truly delicious outcome. So, gather your ingredients, embrace the caramel-making process, and prepare to be delighted by a dessert that’s sure to become a cherished favorite. Give it a try, and taste the difference homemade makes!
Print
Homemade Butterscotch Pudding
Description
Indulge in the creamy delight of homemade butterscotch pudding—a rich, buttery dessert that’s perfect for any gathering or cozy night in.
Ingredients
- 1/2 cupgranulated sugar
- 1/2 cuppacked brown sugar
- 4 tablespoonsunsalted butter
- 2 cupswhole milk
- 1 cupheavy cream
- 1 teaspoonpure vanilla extract
- 3 tablespoonscornstarch
- Pinch of salt
Instructions
- Gather and measure all ingredients for easy access.
- In a medium saucepan over low heat, melt butter with granulated and brown sugar until bubbly and fragrant.
- Gradually whisk in whole milk and heavy cream, ensuring no lumps form.
- In a small bowl, mix cornstarch and salt with a splash of cold milk; add to the warm mixture while stirring vigorously.
- Cook over medium heat, stirring constantly for about 5-7 minutes until thickened.
- Remove from heat, stir in vanilla extract, then pour into serving bowls to cool before refrigerating.
Nutrition
- Calories: 290
- Sugar: 30g
- Fat: 15g
- Carbohydrates: 36g
- Protein: 3g
“`
