“`html
Table of Contents
- Introduction: The Ultimate Midnight Fudge Cake
- Ingredients for the Perfect Fudge Cake
- Timing is Everything for This Fudge Cake
- Step-by-Step Instructions for Midnight Fudge Cake
- Nutritional Highlights of This Chocolate Cake
- Healthier Alternatives for Your Fudge Cake
- Serving Suggestions for a Decadent Treat
- Common Mistakes to Avoid
- Storing Your Midnight Fudge Cake
- Frequently Asked Questions About Fudge Cake
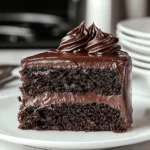
Midnight Fudge Cake Recipe
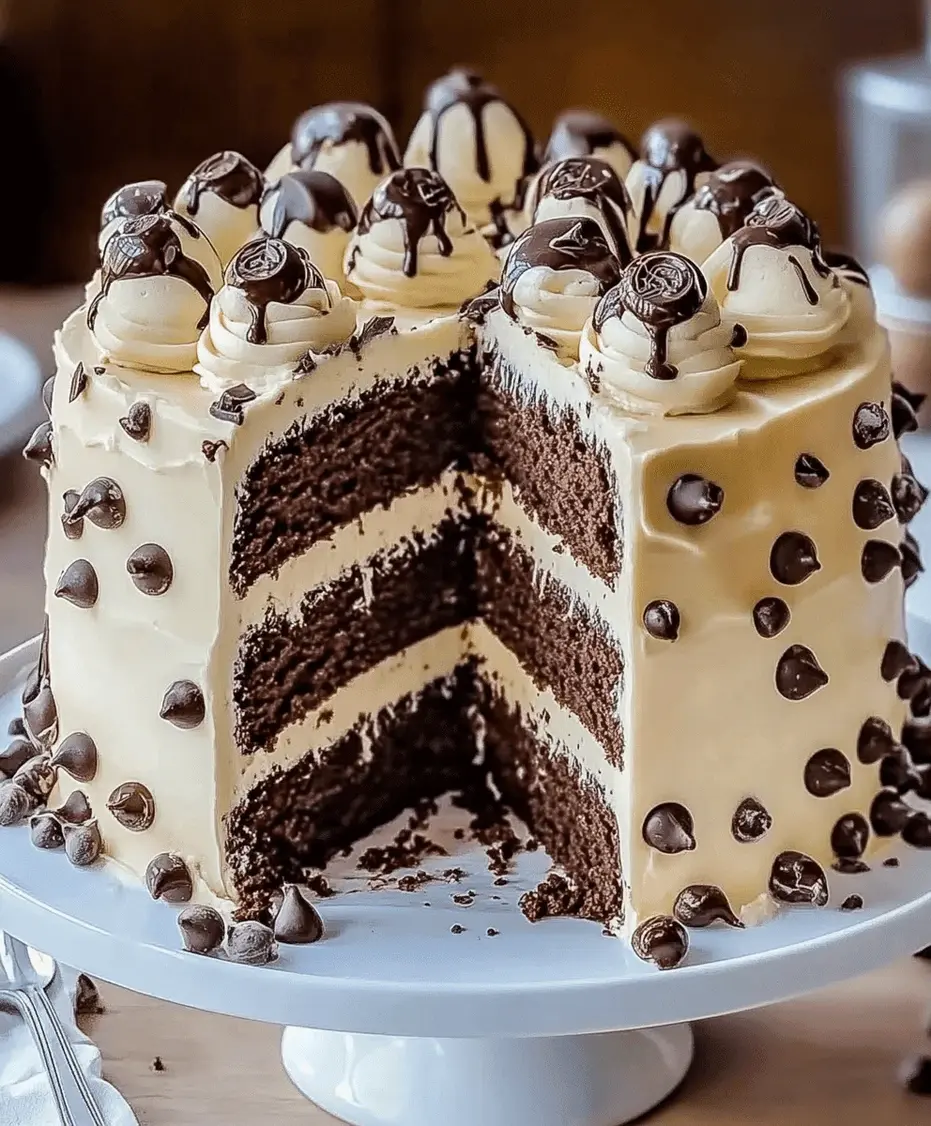
Introduction: The Ultimate Midnight Fudge Cake
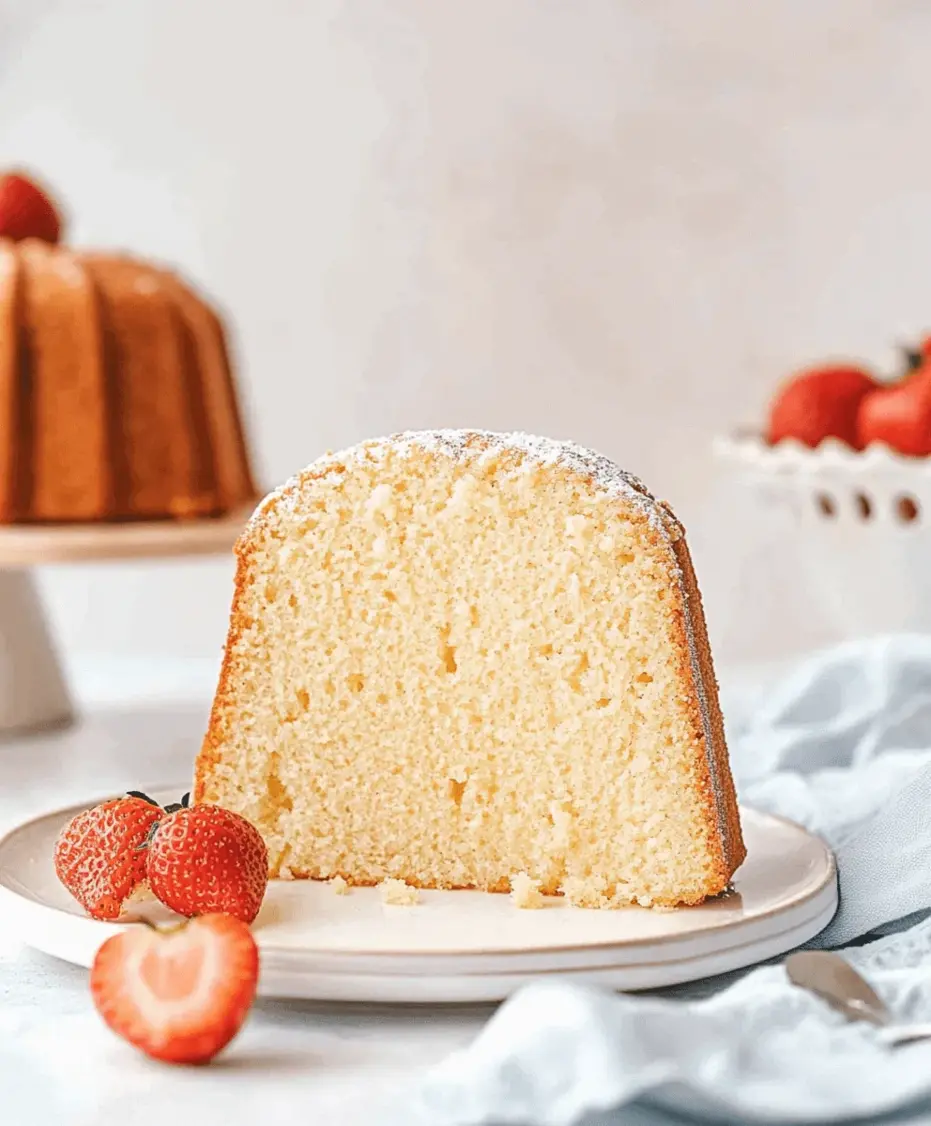
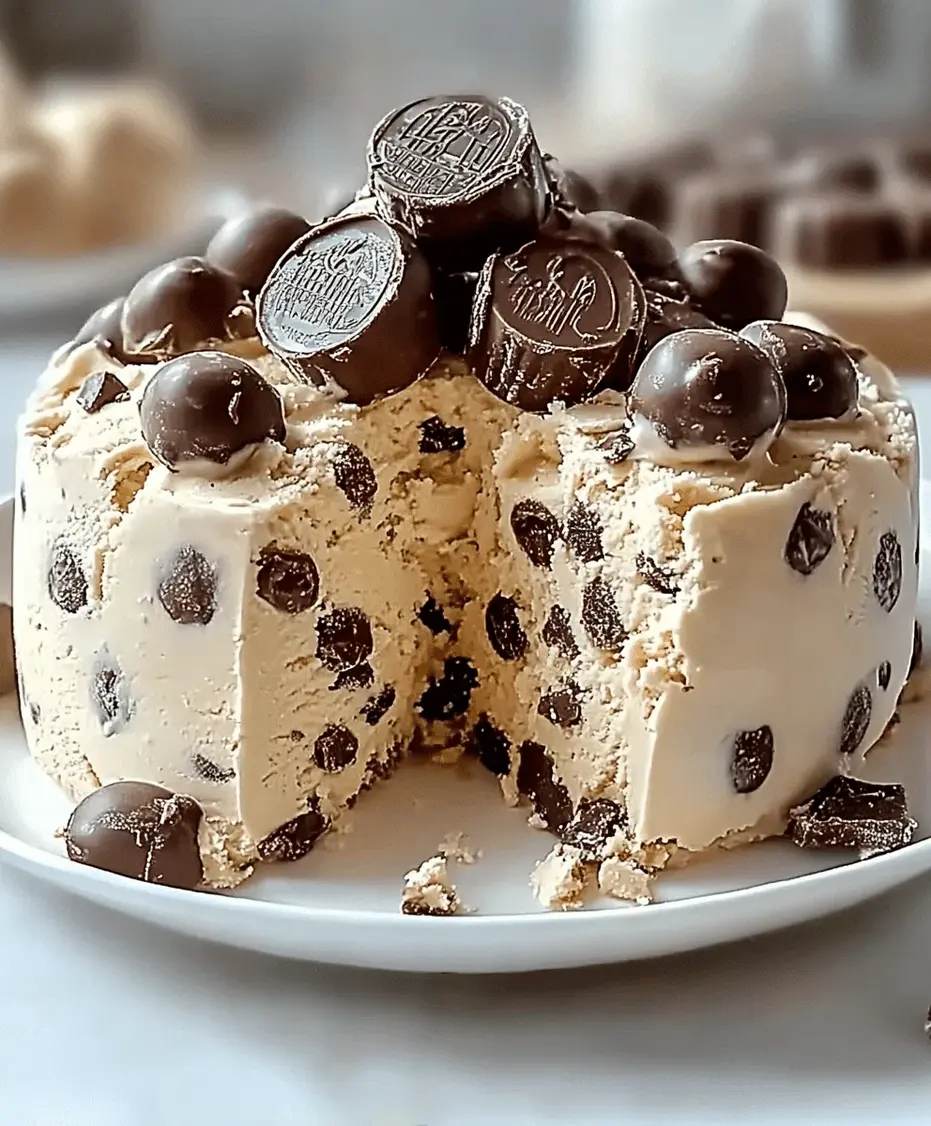
Do you crave a chocolate dessert so intensely rich, so impossibly moist, that it feels like a luxurious indulgence? If you’re searching for that perfect recipe that delivers deep cocoa flavors and a melt-in-your-mouth texture, look no further! This Midnight Fudge Cake is meticulously crafted to be the ultimate chocolate experience. Forget dry, crumbly cakes; this recipe uses high-quality cocoa and a generous amount of butter to create a decadent foundation, all crowned with a luscious, smooth fudge frosting. It’s the kind of cake that makes any occasion feel special, and serving it warm will elevate its indulgence to new heights. Prepare to impress yourself and your guests with this show-stopping chocolate masterpiece.
Ingredients for the Perfect Fudge Cake
The secret to an extraordinary Midnight Fudge Cake lies in the quality of its ingredients. We’re aiming for depth of flavor and an unbelievably moist crumb. Gather these essentials:
For the Cake:
- All-Purpose Flour: 2 cups, sifted. Provides the structure. For a tender crumb, use cake flour, but all-purpose is perfect for a robust chocolate cake.
- Granulated Sugar: 2 cups. Sweetness and moisture.
- Unsweetened Cocoa Powder: ¾ cup, high-quality like Dutch-processed. This is key for that deep, dark “midnight” color and flavor. Don’t skimp here!
- Baking Soda: 2 teaspoons. Our primary leavening agent, reacting with acidic ingredients for lift.
- Baking Powder: 1 teaspoon. For an extra boost of tenderness and rise.
- Salt: 1 teaspoon. Balances the sweetness and enhances the chocolate flavor.
- Eggs: 2 large, room temperature. They bind, enrich, and add structure.
- Vegetable Oil: ½ cup. Ensures incredible moisture and a tender crumb. Can substitute with canola oil or melted unsalted butter for a slight flavor variation.
- Buttermilk: 1 cup, room temperature. The acidity in buttermilk tenderizes the gluten and reacts beautifully with baking soda, creating a super moist cake. If you don’t have buttermilk, add 1 tablespoon of lemon juice or white vinegar to 1 cup of milk and let it sit for 5-10 minutes.
- Vanilla Extract: 2 teaspoons. Enhances all the flavors, especially chocolate.
- Hot Water or Hot Brewed Coffee: 1 cup. This is the magic ingredient! It blooms the cocoa powder, intensifying its flavor and creating an incredibly moist cake. Coffee deepens the chocolate flavor without making it taste like coffee.
For the Fudge Frosting:
- Unsalted Butter: 1 cup (2 sticks), softened. The creamy base of our frosting.
- Confectioners’ Sugar: 3 cups, sifted. For sweetness and smooth texture.
- Unsweetened Cocoa Powder: ½ cup, sifted. Deepens the chocolate flavor.
- Milk or Heavy Cream: ¼ cup, or more as needed. To achieve the perfect, spreadable consistency.
- Vanilla Extract: 1 teaspoon. A flavor enhancer.
- Salt: Pinch. Balances sweetness.
Timing is Everything for This Fudge Cake
Compared to many other elaborate chocolate cakes, this Midnight Fudge Cake is relatively quick to assemble. The prep time is around 25 minutes, with about 30-35 minutes needed for baking. The total time, including cooling and frosting, is about an hour, making it an achievable yet impressive dessert for any weeknight or last-minute gathering. This is faster than the average complex layer cake, offering maximum decadence with efficient timing.
Step-by-Step Instructions for Midnight Fudge Cake
Step 1: Preheat and Prepare
Begin by preheating your oven to 350°F (175°C). Grease and flour a 9×13 inch baking pan, or two 8-inch round cake pans. For extra insurance against sticking, you can line the bottom of the pans with parchment paper after greasing.
Step 2: Combine Dry Ingredients
In a large mixing bowl, whisk together the sifted all-purpose flour, granulated sugar, unsweetened cocoa powder, baking soda, baking powder, and salt. Whisking ensures these dry ingredients are well combined and aerated, preventing clumps and streaks of cocoa in your final cake.
Step 3: Cream Butter and Sugar (If using butter for oil substitution)
If you opted for melted butter instead of oil, you’d typically cream it with the sugar first. However, for this recipe’s moistness, we’ll incorporate the oil later. So, for now, we just ensure the dry ingredients are evenly distributed.
Step 4: Add Wet Ingredients (Except Hot Liquid)
Add the eggs, vegetable oil (or melted butter), buttermilk, and vanilla extract to the bowl with the dry ingredients. Mix on low speed with an electric mixer until just combined. The batter will be thick and might seem a bit lumpy at this stage, which is perfectly normal.
Step 5: Gradually Incorporate Hot Liquid
With the mixer on low speed, carefully and slowly pour in the hot water or hot brewed coffee. Be cautious as this is hot! Continue mixing until the batter is smooth and pourable. It will be quite thin – don’t worry, this thinness is what contributes to the cake’s incredible moistness. Pour the batter evenly into your prepared pan(s).
Step 6: Prepare the Luscious Fudge Frosting
While the cake is baking or cooling, prepare the frosting. In a large bowl, use an electric mixer to beat the softened unsalted butter until creamy and smooth. Gradually add the sifted confectioners’ sugar and sifted cocoa powder, alternating with the milk or heavy cream. Begin with about half the sugar and cocoa, then add a splash of milk, followed by the rest of the sugar and cocoa, and more milk as needed. Beat until the frosting is light, fluffy, and spreadable. Stir in the vanilla extract and a pinch of salt. If the frosting is too thick, add more milk (a teaspoon at a time); if too thin, add more confectioners’ sugar.
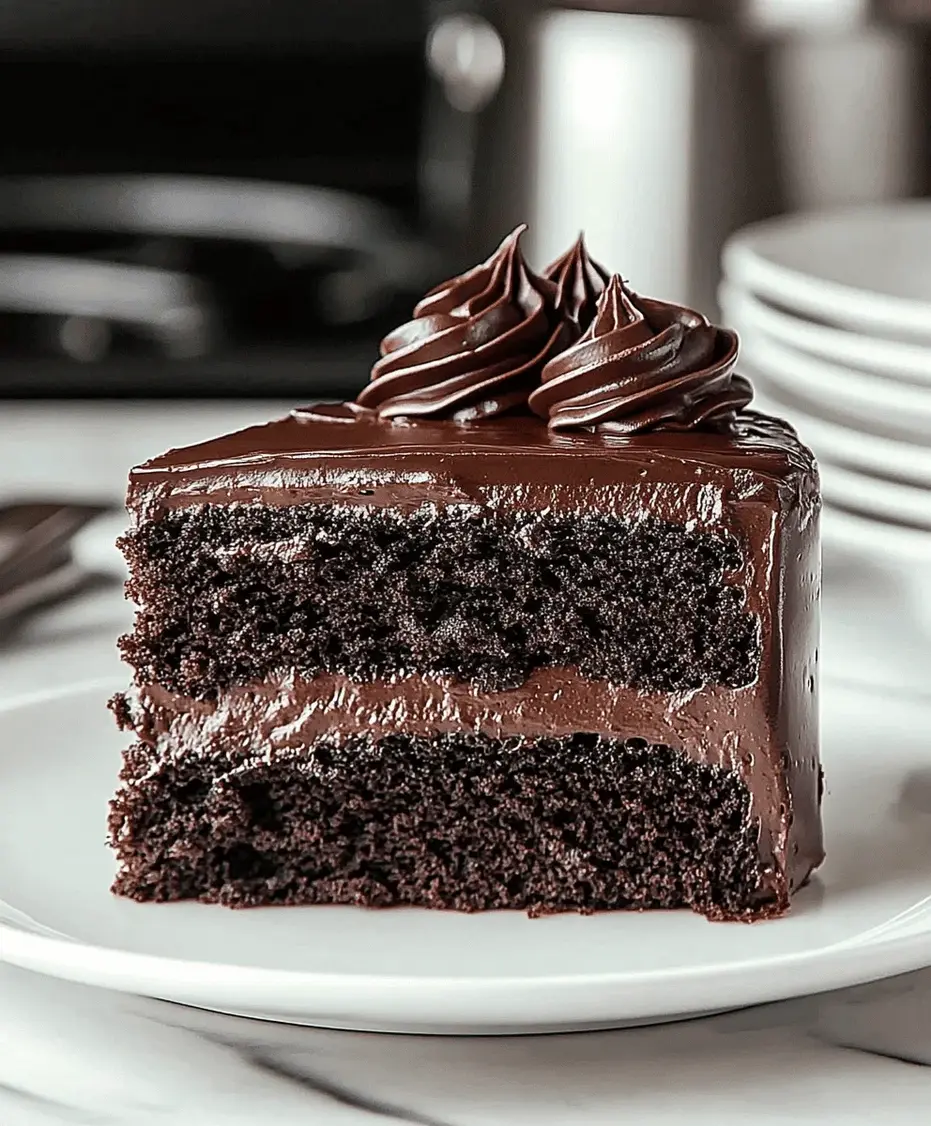
Step 7: Frost and Finish
Once the cake has cooled completely (crucial for frosting not to melt!), spread the rich fudge frosting evenly over the top. For a truly decadent experience, serve slices slightly warmed.
Nutritional Highlights of This Chocolate Cake
While this is a decadent dessert, here’s a general idea of what you can expect. Specific values depend on exact ingredients and portion sizes.
- Calories: Approximately 400-500 per serving (this can vary significantly based on frosting amount and serving size).
- Fat: Rich in fats from butter and oil, contributing to moistness and flavor.
- Carbohydrates: Primarily from sugar and flour.
- Protein: Moderate, from eggs, flour, and dairy.
- Fiber: A small amount from cocoa powder and flour.
For precise nutritional information, it’s best to use a recipe calculator with your specific ingredients.
Healthier Alternatives for Your Fudge Cake
You can make mindful adjustments to this recipe without sacrificing too much flavor or texture:
- Sugar Swap: Reduce sugar by ¼ cup and add unsweetened applesauce or mashed banana (about ½ cup total) for moisture and natural sweetness. Keep in mind this may alter the texture slightly.
- Flour Power: Substitute half of the all-purpose flour with whole wheat pastry flour or oat flour for added fiber and nutrients.
- Fat Choice: Use Greek yogurt or unsweetened applesauce in place of some of the oil (e.g., 1:1 replacement for half the oil) for reduced fat content, though this can make the cake denser.
- Frosting Lighten-Up: For a lighter frosting, try a cream cheese frosting with reduced sugar or a whipped ganache made with dark chocolate and light coconut milk.
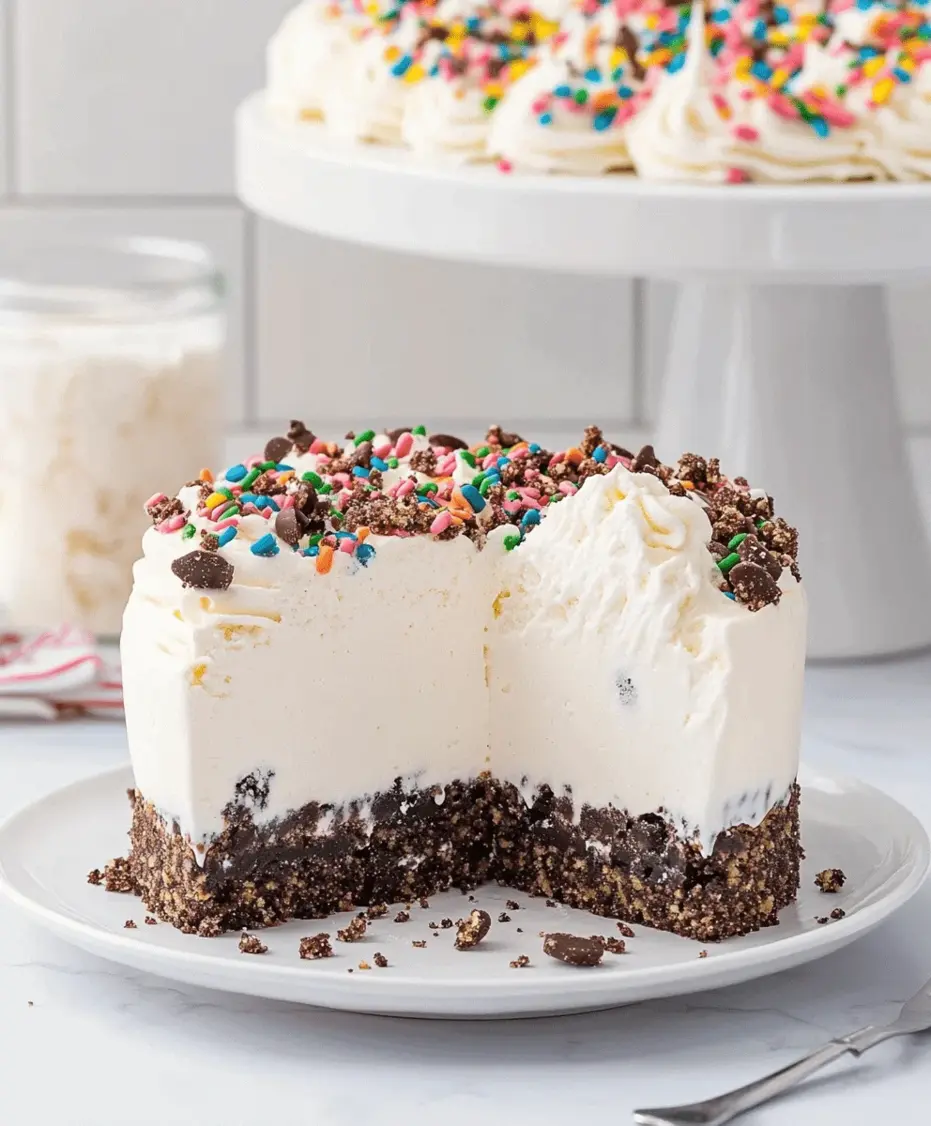
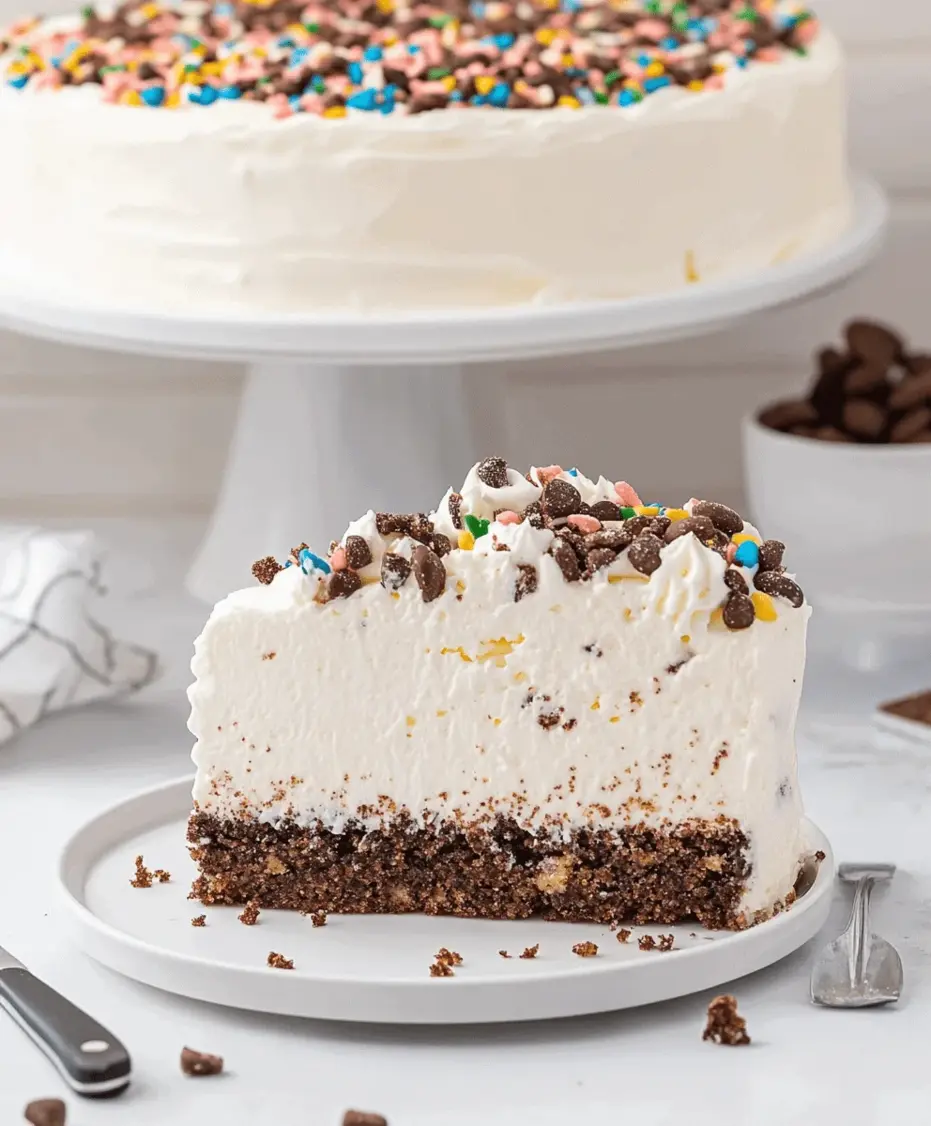
Serving Suggestions for a Decadent Treat
This Midnight Fudge Cake is a star on its own, but here are ways to make it even more special:
- Warm It Up: A microwave for 10-15 seconds per slice truly enhances the fudgey texture and aroma.
- A la Mode: Serve with a scoop of vanilla bean ice cream or your favorite gelato.
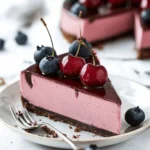
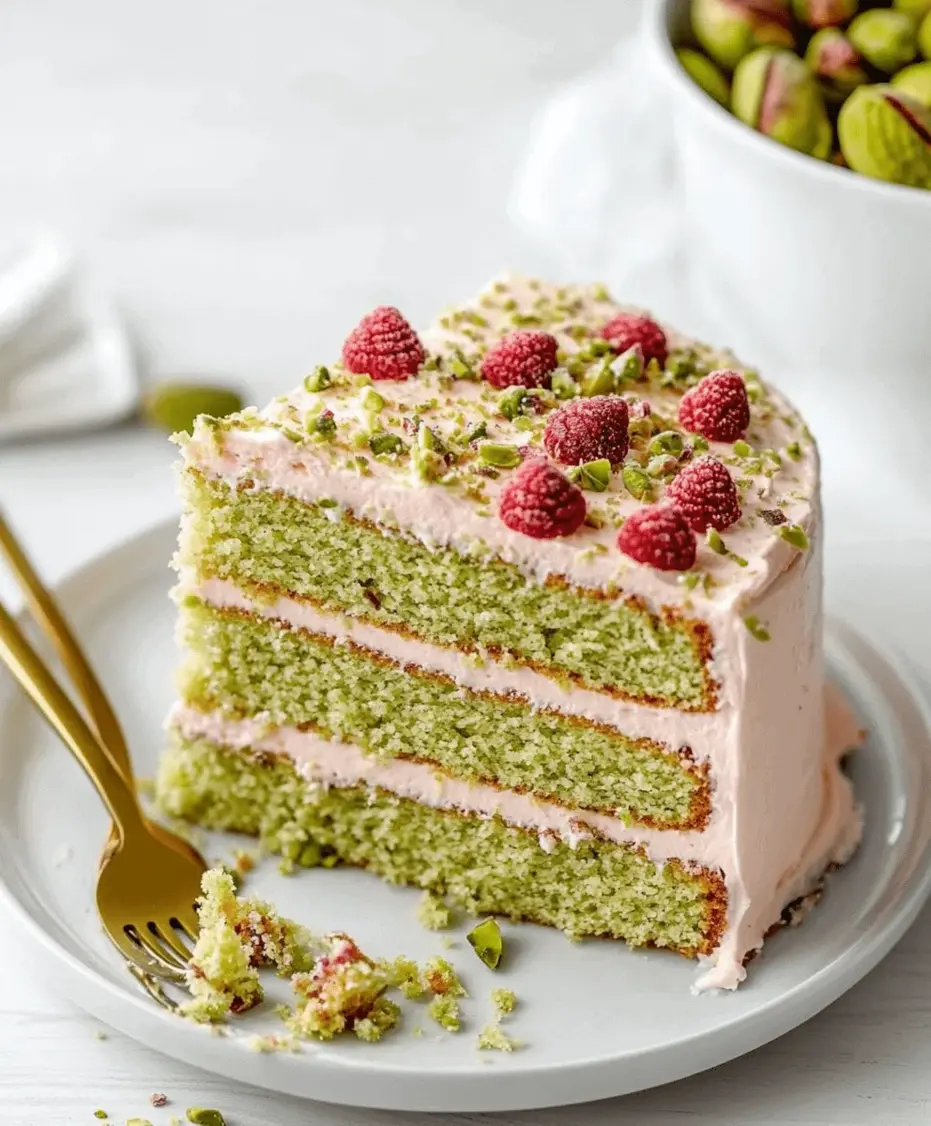
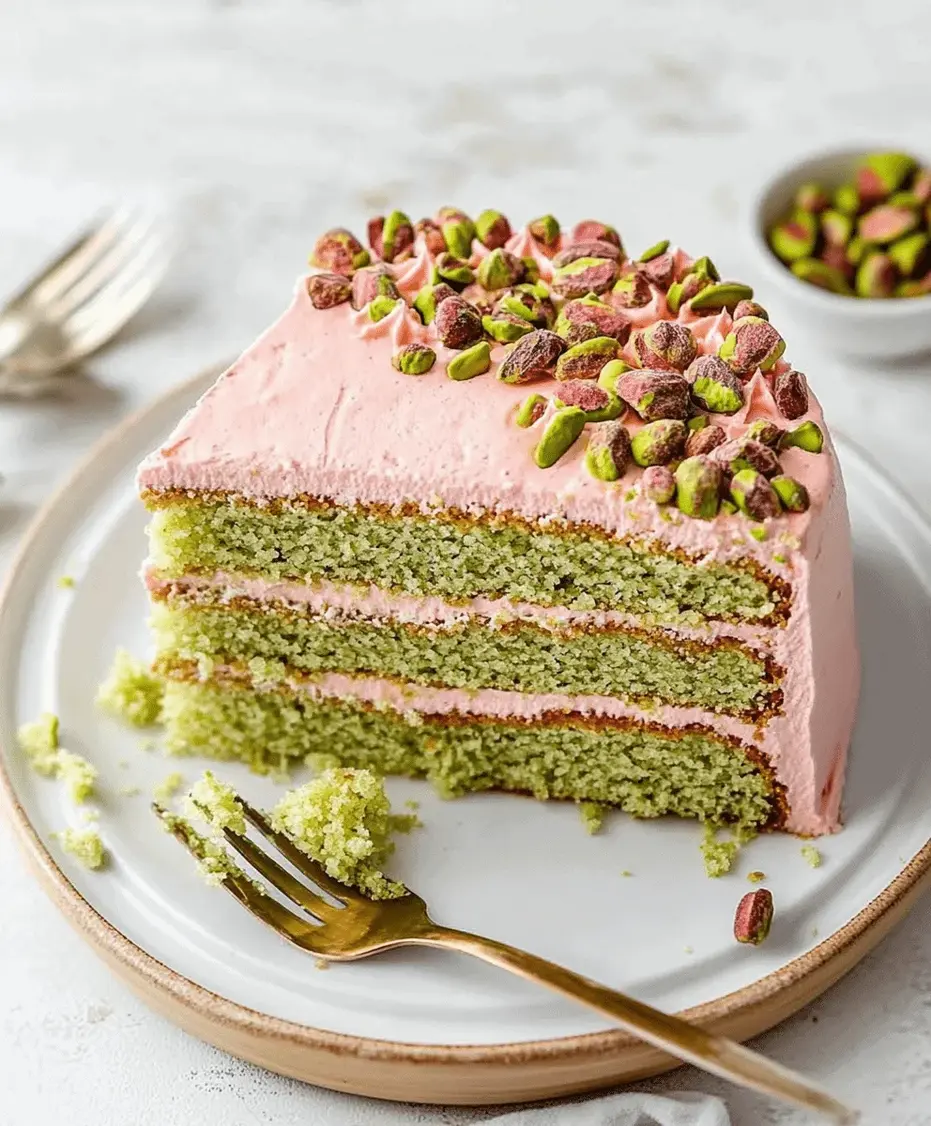
- Berry Beautiful: A handful of fresh raspberries or strawberries cuts through the richness beautifully.
- Whipped Cream Dream: A dollop of homemade whipped cream adds a lighter, airy contrast.
- Drizzle Delight: A warm caramel or raspberry sauce drizzle is pure decadence.
Common Mistakes to Avoid
Even experienced bakers can make common cake-making errors. Keep these in mind:
- Overmixing: Mixing the batter too much after adding flour develops gluten, leading to a tough cake. Mix until just combined.
- Incorrect Oven Temperature: Use an oven thermometer to ensure accurate temperature. Too hot burns the outside; too cool results in a dense cake.
- Opening Oven Door Too Soon: This can cause the cake to sink. Wait until at least ¾ of the baking time has passed before checking.
- Frosting a Warm Cake: Always let the cake cool completely before frosting. Otherwise, the frosting will melt into a gooey mess.
- Using Cold Ingredients: Room temperature eggs and buttermilk incorporate much better, leading to a smoother batter and a lighter cake.
Storing Your Midnight Fudge Cake
To keep your cake wonderfully moist and delicious:
- Room Temperature: If unfrosted, it can be stored at room temperature in an airtight container for up to 2 days. Once frosted, it’s best kept at room temperature for about 24 hours if your kitchen is cool.
- Refrigeration: For longer storage (up to 4-5 days), cover the frosted cake tightly with plastic wrap or store in an airtight container in the refrigerator. Bring to room temperature for about 30 minutes before serving for best texture and flavor.
- Freezing: The unfrosted cake layers can be wrapped tightly in plastic wrap and then foil and frozen for up to 2-3 months. Thaw overnight in the refrigerator before frosting.
Frequently Asked Questions About Fudge Cake
Can I use regular milk instead of buttermilk?
Yes, you can! Add 1 tablespoon of white vinegar or lemon juice to 1 cup of regular milk, stir, and let it sit for 5-10 minutes. It will curdle slightly and mimic the effect of buttermilk.
Why is my cake batter so thin?
The thinness of the batter is intentional, especially after adding the hot liquid. This is crucial for achieving the ultra-moist texture of this fudge cake.
Can I bake this in different pan sizes?
Yes, but you’ll need to adjust baking time. Cupcakes typically bake in 18-22 minutes. Muffins will be similar.
How do I get a glossy fudge frosting?
Ensure your butter is truly softened but not melted, and sift your dry ingredients thoroughly. Beating until light and fluffy also helps. For an even glossier finish, you can gently warm the frosting by placing it over a double boiler for a few minutes, stirring constantly, then re-whipping.
Can I make this cake dairy-free?
Yes! Substitute the butter with vegan butter or coconut oil. Use a dairy-free milk (like almond or soy) for the buttermilk and frosting. Ensure your chocolate chips (if adding) are dairy-free.
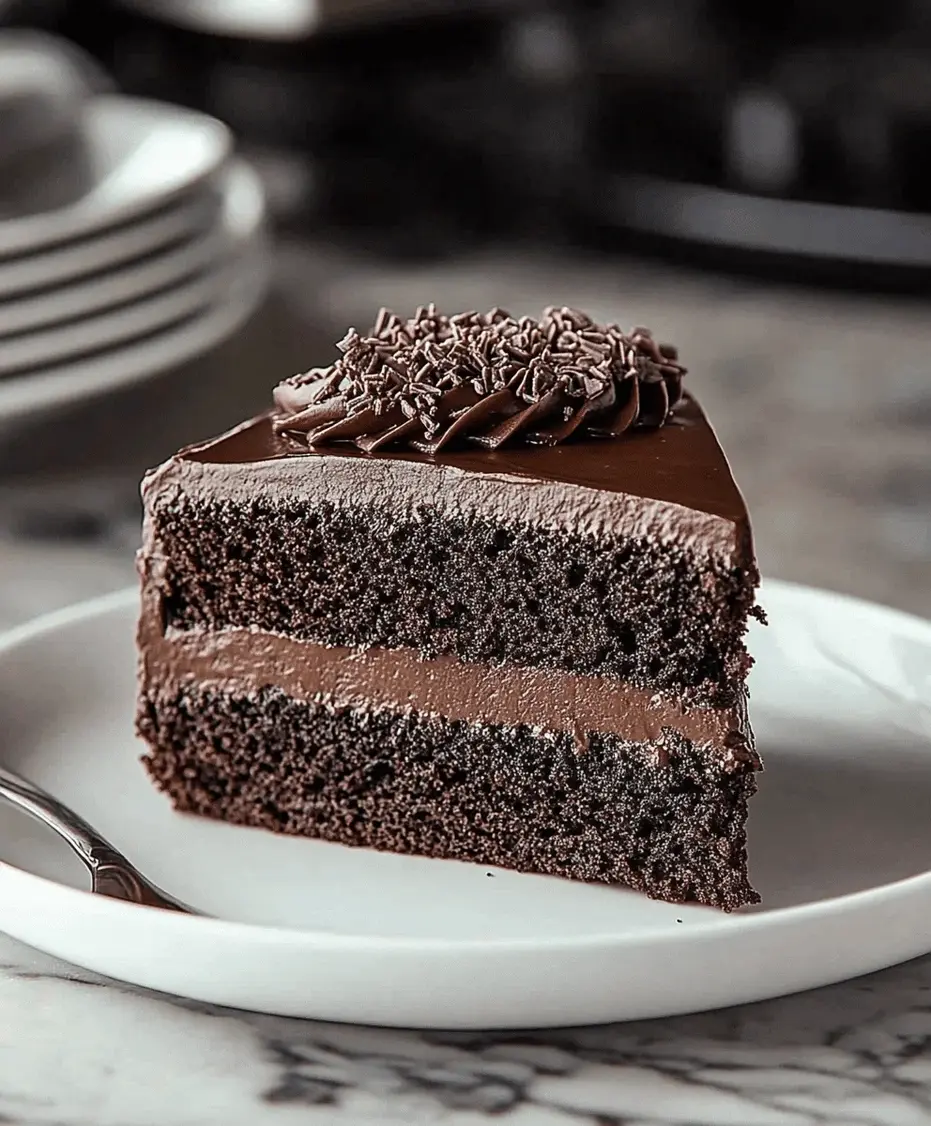
Conclusion: Enjoy Your Midnight Fudge Cake
This Midnight Fudge Cake is more than just a dessert; it’s an experience. Its deep chocolate flavor, incredibly moist crumb, and luscious fudge frosting come together to create a truly unforgettable treat. Whether you’re celebrating a special occasion or simply indulging in a moment of pure chocolate bliss, this recipe is sure to become a favorite. Don’t hesitate to serve it warm for that extra layer of decadence! What are you waiting for? Gather your ingredients and bake this masterpiece today!
Midnight Fudge Cake Recipe
Description
This Midnight Fudge Cake is the ultimate chocolate dessert, featuring a rich and moist texture with deep cocoa flavors. Perfect for any occasion, this decadent cake is made with high-quality cocoa, butter, and a luscious fudge frosting. Serve it warm for an extra indulgent treat!
Ingredients
- 1 cupall-purpose flour
- ½ cupunsweetened cocoa powder
- 1 tspbaking soda
- ¼ tspsalt
- ½ cupunsalted butter, softened
- 1 cupgranulated sugar
- 2large eggs
- 1 tspvanilla extract
- ½ cupbuttermilk
- ½ cuphot brewed coffee
- ½ cupunsalted butter
- ¼ cupcocoa powder
- 2 cupspowdered sugar
- ¼ cupmilk
- 1 tspvanilla extract
Instructions
Notes
Use high-quality cocoa for a richer flavor.
Let the cake cool completely before frosting to prevent melting.
Store in an airtight container for up to 3 days.
Nutrition
- Calories: 380
- Sugar: 36g
“`