“`html
Table of Contents
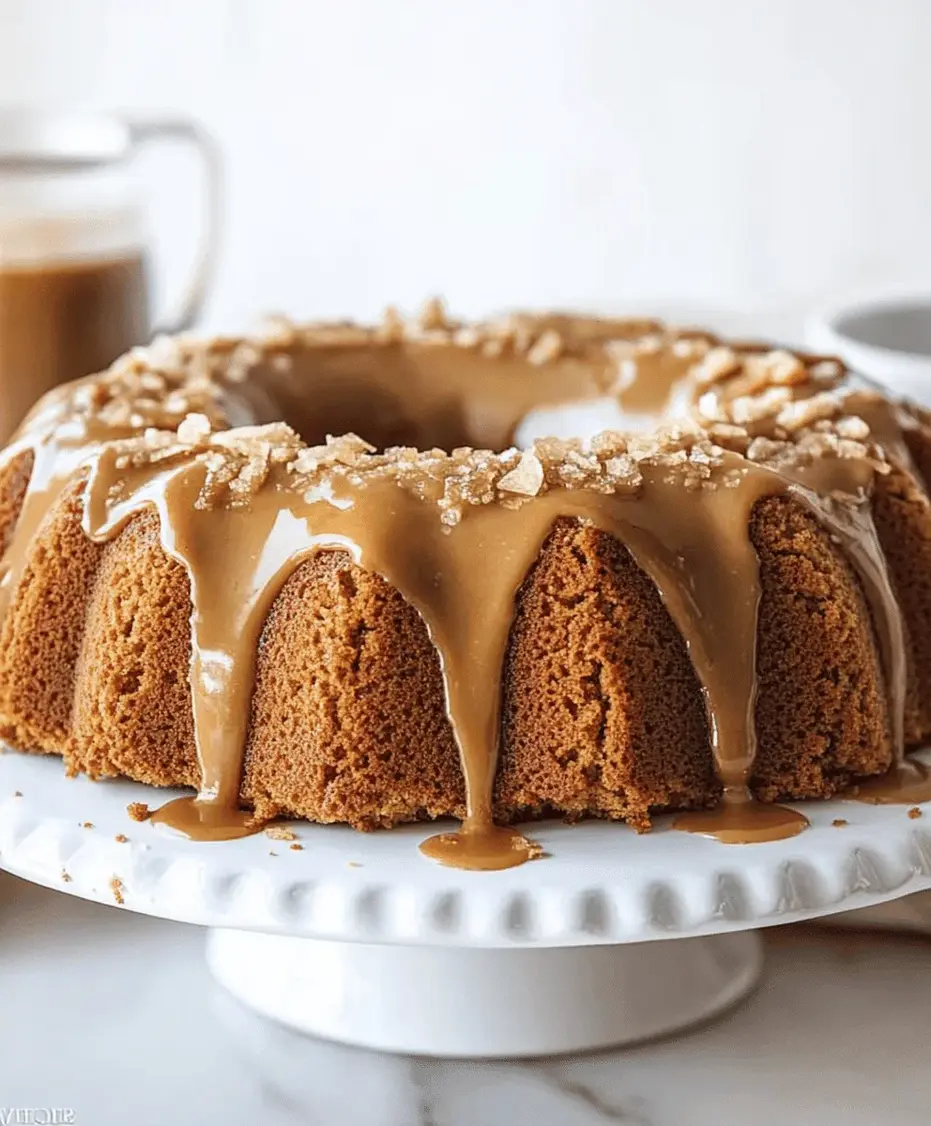
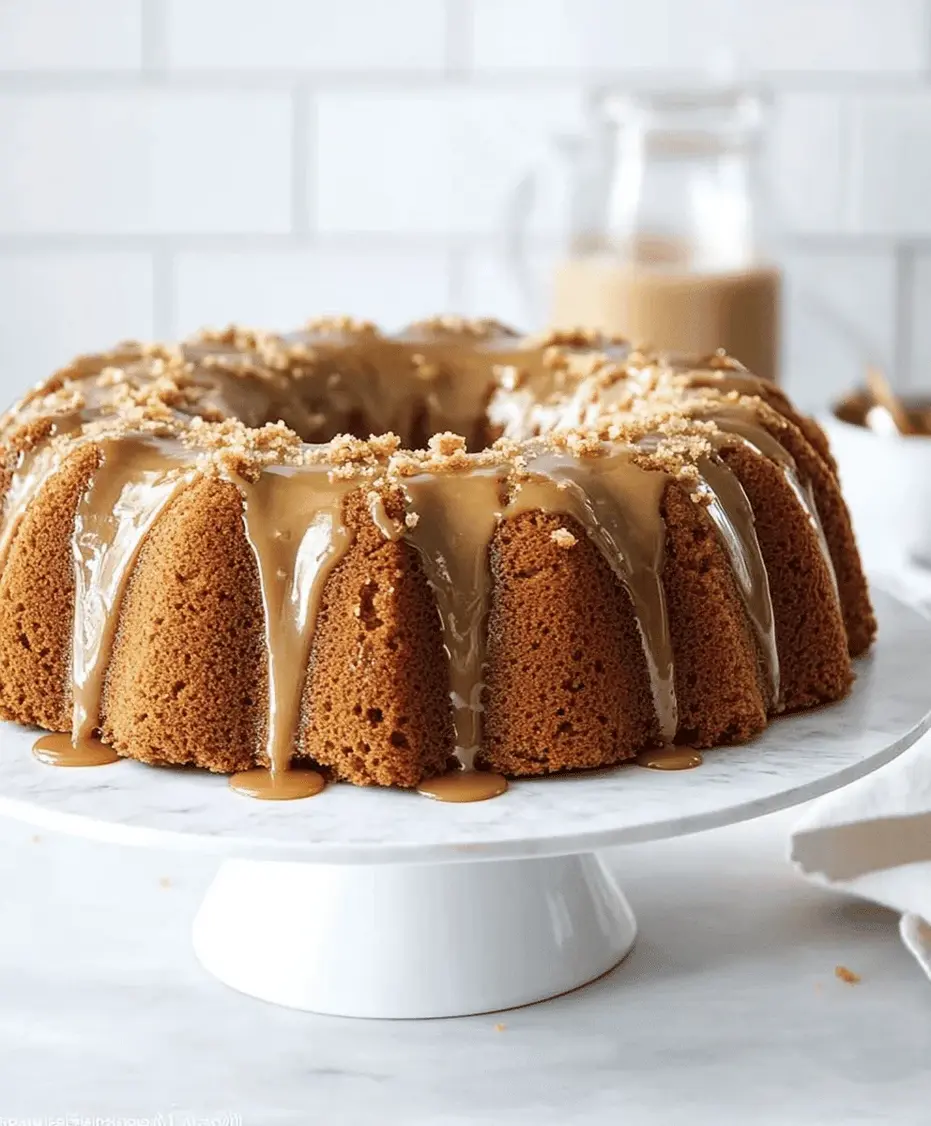
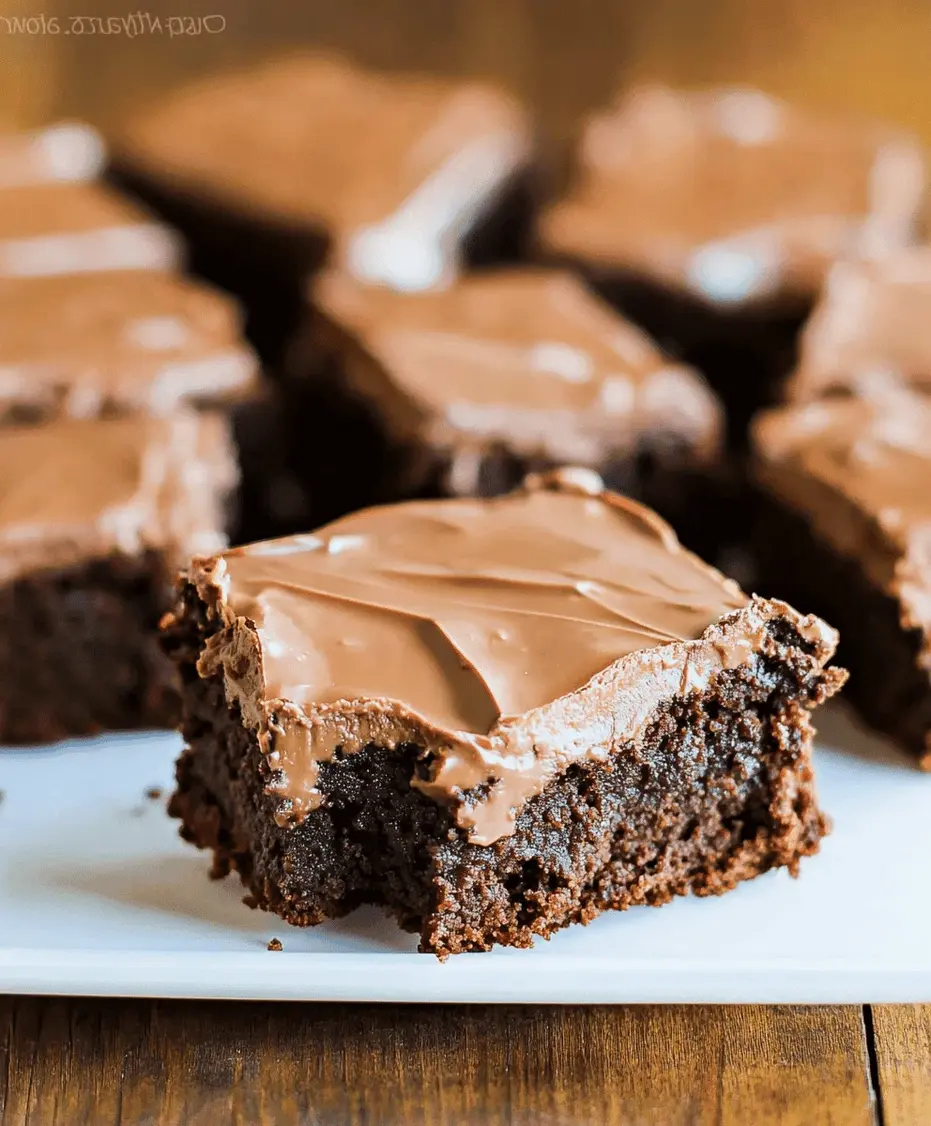
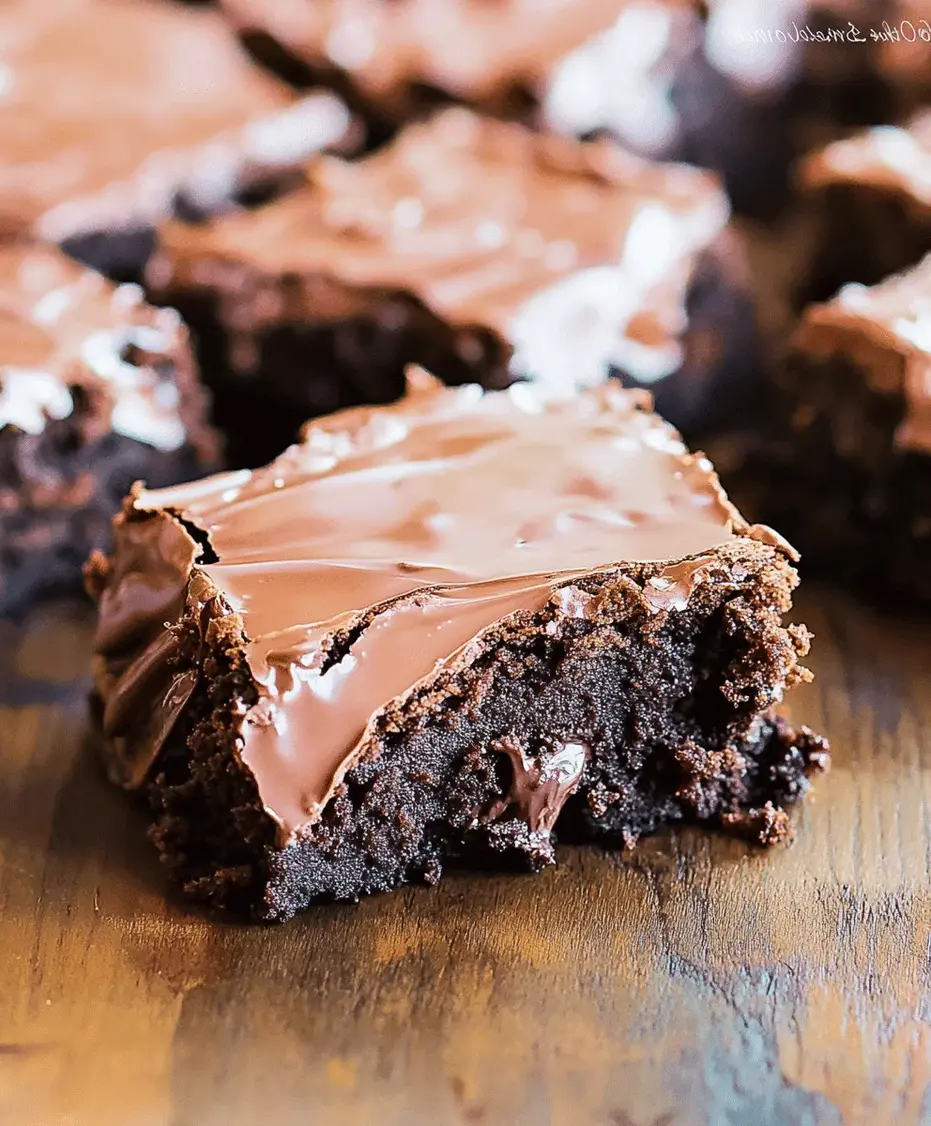
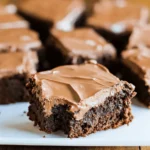
Lunchroom Ladies Brownies-50 Year Old Recipe
A Taste of Nostalgia: Are You Craving the Fudgy, Chewy Brownies of Your School Days?
In a world of trendy desserts and complicated recipes, there’s a unique comfort in returning to the classics. Do you find yourself reminiscing about those moments when a simple, perfectly baked brownie was the highlight of your day? For many, the memory of “Lunchroom Ladies Brownies” evokes a powerful sense of nostalgia, a taste of simpler times. These aren’t just any brownies; they are a treasure, passed down through generations, perfected over five decades. This 50-year-old recipe promises that rich, fudgy goodness and the ideal chewy texture that has captured hearts for half a century. Get ready to recreate that beloved flavor and texture right in your own kitchen. It’s time to bake memories!
Ingredients: The Heart of Your Fudgy Brownies
The magic of these Lunchroom Ladies Brownies lies in its straightforward, yet effective ingredient list. Each component plays a crucial role in achieving that signature fudgy texture and deep chocolate flavor. We’ve added sensory descriptions to help you visualize and anticipate the delicious outcome!
- 1 cup (2 sticks) unsalted butter: This forms the rich, moist base. Look for a creamy, golden hue.
- 2 cups granulated sugar: For that classic sweetness and delicate crisp on top. It should feel fine and glisten.
- 4 large eggs: They bind everything together, adding richness and structure. They should be fresh, with smooth, firm yolks.
- 1 teaspoon vanilla extract: The unsung hero, enhancing all that glorious chocolate flavor. It should have a potent, sweet aroma.
- 1 cup all-purpose flour: The backbone, providing just enough structure without making the brownies cakey. It should be light and fluffy.
- 1/2 cup unsweetened cocoa powder: This is where the deep, dark chocolate flavor comes from. Opt for a good quality Dutch-processed cocoa for an even richer taste. It should be dark and fragrant.
- 1/2 teaspoon baking powder: Just a touch to give them a slight lift, ensuring they aren’t too dense.
- 1/4 teaspoon salt: Balances the sweetness and intensifies the chocolate.
- 1 cup (about 6 ounces) semi-sweet chocolate chips (optional): For an extra burst of molten chocolate goodness. Look for chips that look shiny and firm.
Substitutions:
- Butter: You can use salted butter, but omit the 1/4 teaspoon salt from the recipe. Margarine can be used, but the flavor and texture might be slightly altered.
- Granulated Sugar: Light brown sugar can be used as a partial or full substitute for granulated sugar to add a subtle caramel note and extra chewiness.
- All-purpose Flour: Gluten-free all-purpose flour blends can be substituted 1:1, though results may vary slightly in texture.
- Semi-sweet Chocolate Chips: Dark chocolate chips, milk chocolate chips, or even chopped chocolate bars can be used depending on your preference. For a richer flavor, consider using high-quality bittersweet chocolate.
Timing: A Quick Path to Brownie Bliss
Compared to many elaborate dessert recipes, these Lunchroom Ladies Brownies are remarkably quick to prepare, making them perfect for a weeknight treat or a last-minute gathering. The average brownie recipe often takes around 50-60 minutes total, so this recipe shaves off valuable time without compromising on that nostalgic flavor!
Instructions: Crafting Your Perfect Brownie
Follow these simple steps to bring the magic of Lunchroom Ladies Brownies into your home. We’ve kept it straightforward, just like Grandma would have wanted!
Step 1: Heat and Melt
Preheat your oven to 350°F (175°C). Grease and flour a 9×13 inch baking pan. In a large saucepan over low heat, melt the butter. You want it fully liquid but not browned or sizzling. The aroma should be rich and buttery.
Step 2: Whisk in Sugar
Once the butter is melted, remove the saucepan from the heat. Stir in the granulated sugar until the mixture is smooth and well combined. It should look glossy and slightly thickened.
Step 3: Add Eggs and Vanilla
Let the butter-sugar mixture cool slightly for a minute or two (you don’t want to scramble the eggs!). Then, one at a time, beat in the eggs until each is fully incorporated. Stir in the vanilla extract. The mixture will become thicker and have a lovely sheen.
Step 4: Combine Dry Ingredients
In a separate medium bowl, whisk together the all-purpose flour, cocoa powder, baking powder, and salt. This ensures that all the dry ingredients are evenly distributed, preventing pockets of leavening or salt in your finished brownies.
Step 5: Mix and Pour
Gradually add the dry ingredients to the wet ingredients, mixing until just combined. Be careful not to overmix! Overmixing can develop the gluten in the flour, leading to tougher brownies. If you’re adding chocolate chips, gently fold them in now. The batter should be thick and fudgy.
Step 6: Bake to Perfection
Pour the batter into your prepared baking pan and spread it evenly. Bake in the preheated oven for 25-30 minutes. A toothpick inserted into the center should come out with moist crumbs attached, not wet batter. This is key to achieving that perfect chewy texture. Overbaking will result in dry, cakey brownies.
Step 7: Cool and Cut
This is perhaps the hardest step: letting them cool! Let the brownies cool completely in the pan on a wire rack. This allows them to set properly, making them easier to cut and intensifying their fudgy texture. Once cooled, cut them into squares. The aroma will be irresistible!
Nutritional Information
While specific nutritional values can vary based on exact ingredients and portion sizes, a typical serving of these classic fudgy brownies (cut into 12 squares) generally contains:
- Calories: Approximately 250-300 kcal
- Fat: 12-15g
- Carbohydrates: 35-40g
- Sugar: 25-30g
- Protein: 3-4g
- Fiber: 1-2g
Note: These are estimates. Incorporating chocolate chips will increase sugar and calorie content.
Healthier Alternatives & Flavor-Preserving Swaps
While the classic recipe is hard to beat, you can make some thoughtful adjustments to lighten them up without sacrificing too much flavor:
- Reduce Sugar: Substitute half of the granulated sugar with a sugar substitute like erythritol or a monk fruit blend. You might notice a slight change in texture.
- Whole Wheat Flour: Replace half of the all-purpose flour with whole wheat pastry flour for added fiber.
- Less Butter: You can attempt to reduce the butter by 25% and replace it with unsweetened applesauce or mashed banana, but this will significantly alter the texture, making them cakeier.
- Darker Chocolate: Use high-quality dark chocolate chips (70% cacao or higher) for a more intense chocolate flavor that might allow you to feel satisfied with less sweetness.
- Avocado: Some recipes use pureed avocado as a fat substitute. It can add moisture and healthy fats but will impact the color and flavor subtly.
Serving Suggestions
These brownies are a dream on their own, but here are some ways to elevate your experience:
- Classic Pairing: Serve warm with a scoop of vanilla ice cream. The contrast of warm brownie and cold ice cream is divine.
- Dusting: A light dusting of powdered sugar or a swirl of chocolate ganache can add a touch of elegance.
- Fruity Companions: A side of fresh berries, like raspberries or strawberries, cuts through the richness beautifully.
- With Coffee or Milk: Perfect for an afternoon pick-me-up with your favorite hot beverage or a cold glass of milk.
Common Mistakes to Avoid
Even with a simple recipe, a few common pitfalls can prevent you from achieving brownie perfection:
- Overmixing the Batter: This is the number one culprit for tough, cakey brownies. Mix until the dry ingredients are just incorporated.
- Overbaking: Brownies continue to cook slightly as they cool. Pull them out when a toothpick has moist crumbs attached, not clean. This ensures fudgy, not dry, results.
- Not Letting Them Cool: Resist the urge to cut them while hot! They need to set for easier slicing and to develop their signature chewy texture.
- Using Old Cocoa Powder: Stale cocoa powder will result in a dull chocolate flavor. Give your cocoa a sniff – it should smell rich and chocolatey.
Storing Tips
To keep your Lunchroom Ladies Brownies tasting their best:
- Room Temperature: Store cooled brownies in an airtight container at room temperature for up to 3-4 days. They often taste even better the next day!
- Refrigeration: For longer storage (up to a week), keep them in an airtight container in the refrigerator. The texture might become firmer, so let them come to room temperature before serving.
- Freezing: Wrap individual brownies tightly in plastic wrap, then place them in a freezer-safe bag or container. They can be frozen for up to 2-3 months. Thaw overnight at room temperature.
Conclusion: Bake a Piece of History
The Lunchroom Ladies Brownies recipe, nearly 50 years old, isn’t just about making a dessert; it’s about preserving a memory, a taste of childhood, and a simpler era. This recipe delivers that irresistible combination of rich, fudgy interior and a perfectly chewy texture that has stood the test of time. Whether you’re baking these for the first time or revisiting a cherished favorite, you’re sure to create delicious moments and lasting memories. So, gather your ingredients, preheat that oven, and get ready to enjoy a true classic. Happy baking!
Frequently Asked Questions (FAQs)
***What makes these brownies ‘fudgy’?***
The high ratio of butter and eggs to flour, along with careful baking (not overbaking), contributes to a dense, moist, and fudgy center rather than a cake-like texture.
***Can I use a different type of chocolate?***
Absolutely! While semi-sweet is classic, you can use milk chocolate for a sweeter result, dark chocolate for a more intense flavor, or even chunks of your favorite chocolate bar. Adding chips is optional but highly recommended for extra gooeyness.
***Why is my brownie top crackly?***
A crackly top is often a sign of a good brownie! It’s typically achieved by the sugar dissolving completely in the wet ingredients and then forming a meringue-like structure as it bakes. Ensuring you whisk well after adding sugar and eggs helps with this.
***How do I know when my brownies are done?***
The best test is the toothpick method. Insert a toothpick into the center of the brownies. If it comes out with moist crumbs attached, they’re ready. If it comes out with wet batter, bake for a few more minutes. If it comes out completely clean, they might be slightly overbaked.
***Can I make these vegan?***
Adapting this specific recipe to be fully vegan would require significant ingredient changes (e.g., egg replacers, plant-based butter, dairy-free chocolate chips), and the texture would likely differ. It might be easier to find a recipe specifically designed to be vegan.
***Why are my brownies too cakey?***
This is usually due to overmixing the batter once the flour is added, or overbaking the brownies. Be gentle when mixing the dry ingredients, and pull them out of the oven when a toothpick has moist crumbs.
Lunchroom Ladies Brownies-50 Year Old Recipe
Description
Enjoy the rich, fudgy goodness of Lunchroom Ladies Brownies, a 50-year-old recipe that delivers the perfect chewy texture and chocolate flavor.
Ingredients
- For the Frosting:
Instructions
Notes
For extra fudgy brownies, slightly underbake them.
Add chopped nuts for texture.
Store in an airtight container for up to 4 days.
Nutrition
- Calories: 320
- Sugar: 35g
“`