“`html
Table of Contents
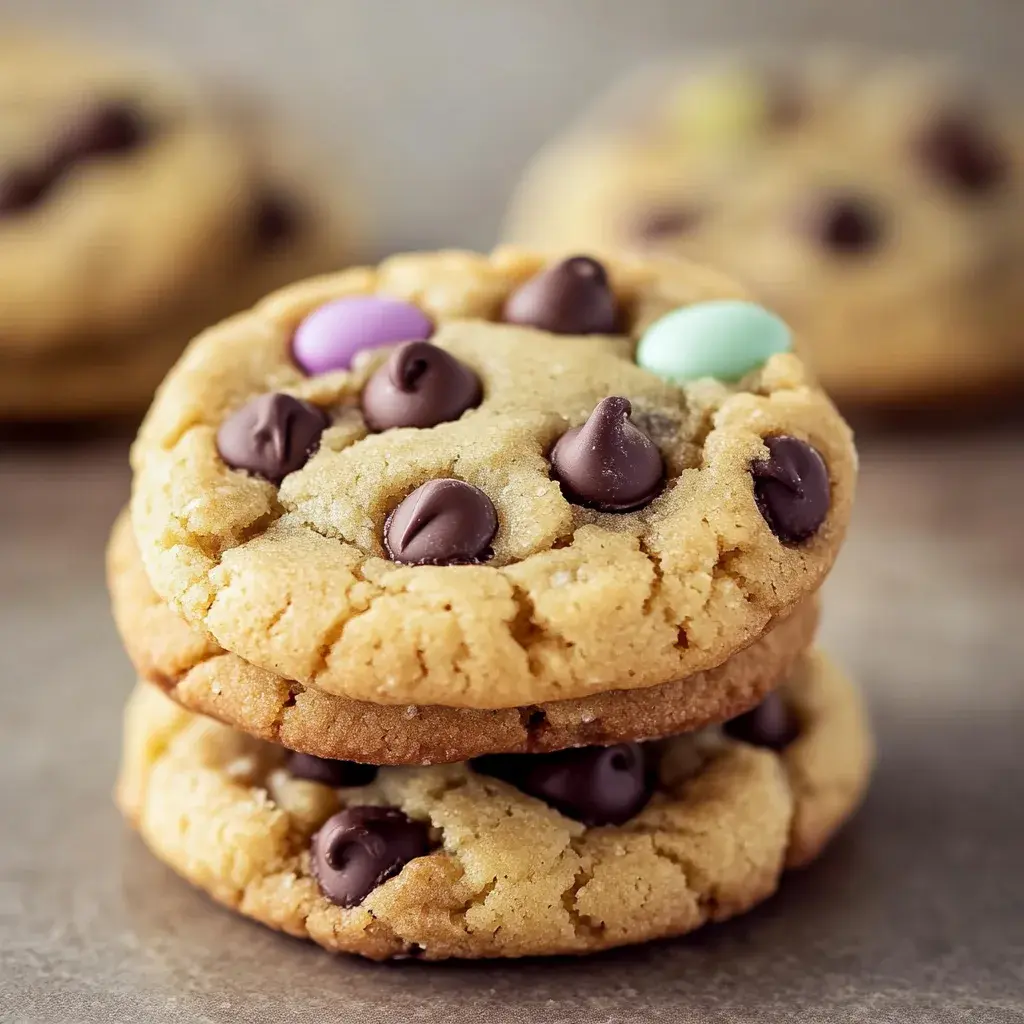
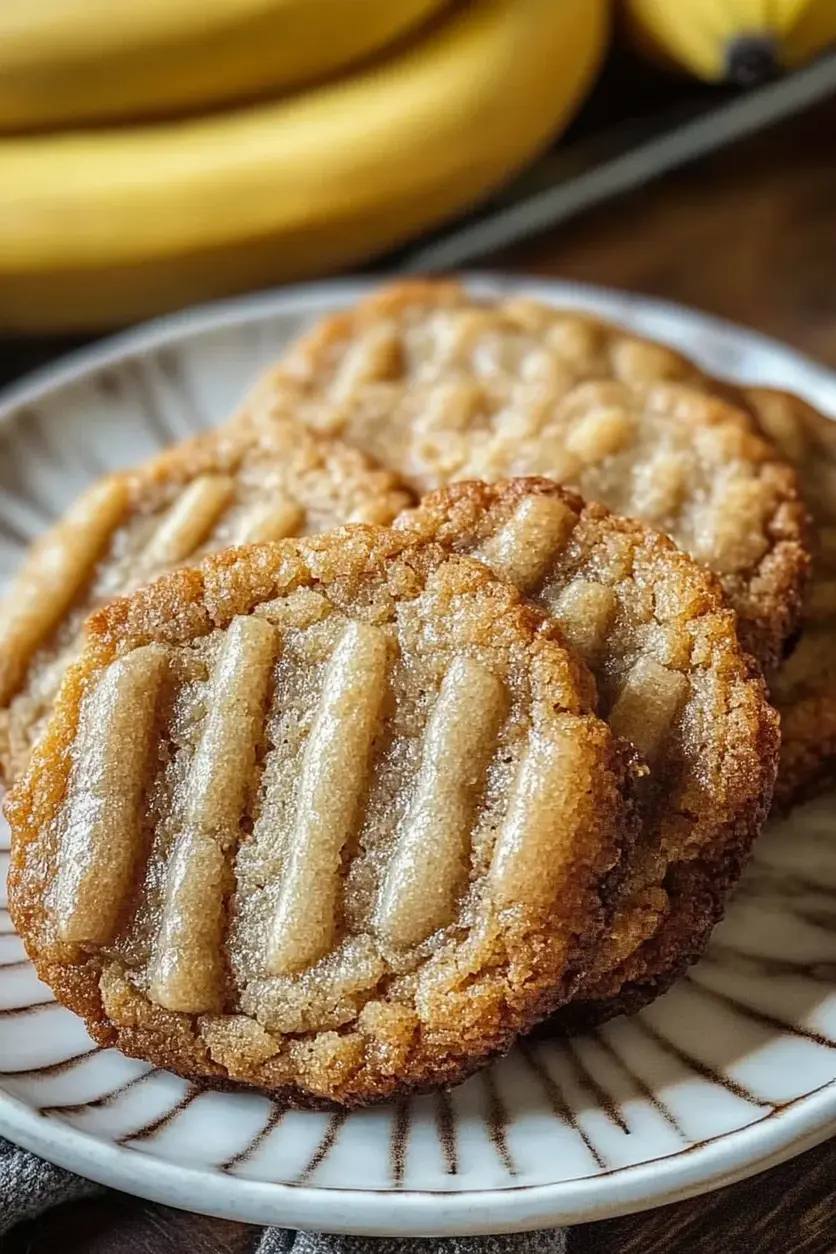
Delightful Banana Bread Cookies
Introduction
Are you looking for a way to use up those overripe bananas while satisfying your sweet tooth? Did you know that the average American household wastes over 350 pounds of food per year, with fruits and vegetables being a significant portion? If you’re anything like me, you often find yourself with a few browning bananas on the counter, begging for a delicious transformation. What if I told you there’s a way to capture the comforting essence of banana bread in a portable, chewy cookie form? These delightful banana bread cookies are exactly that—a perfect marriage of your favorite quick bread and a beloved classic cookie. They’re soft, incredibly flavorful, and surprisingly easy to make, promising to become a staple in your baking repertoire.
Ingredients
Gather these simple ingredients to create your batch of delightful banana bread cookies:
- 1 cup (226g) unsalted butter, softened: This is the creamy foundation, providing richness and helping the cookies spread. For a dairy-free option, use a good quality vegan butter.
- 1 cup (200g) granulated sugar: For that classic sweetness and a slightly crisp edge. You can use a mix of granulated and brown sugar for deeper molasses notes.
- 2 large eggs: These bind everything together and add moisture. Ensure they are at room temperature for better incorporation.
- 1 teaspoon vanilla extract: A flavor enhancer that complements the banana beautifully.
- 2 cups (250g) all-purpose flour: The structure of our cookie. Spoon and level your flour to ensure accuracy.
- 1 teaspoon baking soda: This leavening agent will give our cookies a slight lift and chewy texture.
- ½ teaspoon salt: Balances the sweetness and enhances all the other flavors.
- 1 ½ cups (about 3 ripe bananas) mashed ripe bananas: The star of the show! The riper, the sweeter and more flavorful. Aim for brown spots for maximum flavor.
- ½ cup chopped walnuts or pecans (optional): For a delightful crunch and nutty flavor, reminiscent of traditional banana bread.
- ½ cup chocolate chips (optional): Because who doesn’t love chocolate? Milk, dark, or semi-sweet all work wonderfully.
Timing
Here’s a breakdown of the time commitment for these cookies, compared to a typical banana bread recipe:
Quicker than gathering ingredients for a whole loaf!
Much faster than baking a loaf of banana bread.
Significantly less than baking banana bread, which can take 50-60 minutes.

Instructions
Step 1: Prepare the Base
First, let’s get your oven ready. Preheat it to 375°F (190°C). Line baking sheets with parchment paper or silicone baking mats. This is crucial to prevent sticking and ensure even baking, giving you perfectly shaped cookies every time.
Step 2: Add the Wet Ingredients
In a large mixing bowl, cream together the softened butter and granulated sugar until light and fluffy. This usually takes about 2-3 minutes with an electric mixer. Next, beat in the eggs one at a time, ensuring each is fully incorporated before adding the next. Stir in the vanilla extract. This combination creates a smooth, creamy base that will hold all the delicious banana goodness.
Step 3: Incorporate the Dry Elements
In a separate medium bowl, whisk together the all-purpose flour, baking soda, and salt. Gradually add this dry mixture to the wet ingredients, mixing on low speed (or by hand) until *just* combined. Be careful not to overmix at this stage, as it can lead to tougher cookies.
Step 4: Form the Cookies
Now for the star ingredient! Fold in the mashed ripe bananas until they are evenly distributed throughout the dough. The dough will be soft and a bit sticky, which is exactly what we want. If you’re using optional additions, gently fold in the chopped nuts and/or chocolate chips at this point. Don’t overmix!
Step 5: Bake to Perfection
Drop rounded tablespoons of dough onto the prepared baking sheets, leaving about 2 inches between each cookie to allow for spreading. They won’t spread as much as a traditional chocolate chip cookie, but they still need a little room. Bake for 12 to 15 minutes, or until the edges are lightly golden brown and the centers are set but still look slightly soft. The key to chewy cookies is not to overbake them!
Step 6: Cool and Enjoy
Let the cookies cool on the baking sheets for 5-10 minutes before transferring them to a wire rack to cool completely. This resting period is important for them to firm up. Enjoy these warm or at room temperature!
Nutritional Information
While exact nutritional values can vary based on ingredient brands and specific measurements, here’s an approximate breakdown per cookie (assuming 24 cookies, without additions):
- Calories: ~150-180 kcal
- Carbohydrates: ~20-25g
- Fat: ~8-10g
- Protein: ~2-3g
- Sugar: ~12-15g
Note: Adding nuts or chocolate chips will increase calorie and macronutrient counts.
Healthier Alternatives
Looking to make these even more guilt-free without sacrificing flavor? Try these swaps:
- Reduce Sugar: Decrease the granulated sugar by ¼ cup. The bananas provide ample sweetness.
- Whole Wheat Flour: Substitute half of the all-purpose flour with whole wheat flour for added fiber.
- Coconut Sugar: Use coconut sugar instead of granulated sugar for a slightly lower glycemic index option and a hint of caramel flavor.
- Maple Syrup or Honey: For a different flavor profile and liquid sweetener, reduce the butter slightly and add a couple of tablespoons of maple syrup or honey, adjusting flour as needed.
Serving Suggestions
These cookies are wonderfully versatile! Enjoy them:
- With a glass of milk (dairy or non-dairy) for a classic snack.
- As a breakfast treat alongside your morning coffee or tea.
- Warm from the oven, perhaps with a drizzle of honey or a dollop of whipped cream.
- Crumbled over yogurt or ice cream for an extra layer of texture and flavor.
Common Mistakes
Avoid these pitfalls for the best banana bread cookies:
- Underripe Bananas: They won’t provide enough sweetness or flavor. Always use spotty, brown bananas.
- Overmixing the Dough: This develops the gluten too much, resulting in tough, dense cookies instead of soft and chewy ones.
- Overbaking: This is the biggest culprit for dry, hard cookies. Pull them out when the edges are golden but the centers still look a little soft.
- Not Measuring Flour Correctly: Scooping flour directly from the bag can lead to too much flour. Spoon it into your measuring cup and level it off.
Storing Tips
To keep your delightful banana bread cookies fresh:
- Room Temperature: Store completely cooled cookies in an airtight container at room temperature for up to 3-4 days.
- Refrigerator: For slightly longer storage (up to a week), keep them in an airtight container in the refrigerator. They might become a bit firmer, so let them come to room temperature before enjoying.
- Freezing: You can freeze baked cookies (well-wrapped) for up to 3 months. For longer storage, spoon raw dough balls onto a baking sheet, freeze until firm, then transfer to a freezer bag. Bake from frozen, adding a minute or two to the baking time.
Frequently Asked Questions
Can I use yellow bananas instead of overripe ones?
While you can, you’ll lose out on a lot of flavor and sweetness. Overripe bananas are essential for that classic banana bread taste. If you only have yellow bananas, you can try ripening them faster by placing them in a brown paper bag for a day or two.
Why are my cookies flat?
This could be due to overmixing the dough, your butter being too soft or melted (instead of just softened), or the oven temperature being too low. Ensure your butter is softened, not melted, and be careful not to overmix after adding the flour.
Can I make these vegan?
Yes! Substitute the unsalted butter with a good quality vegan butter and use a flax egg (1 tablespoon flaxseed meal + 3 tablespoons water, let sit for 5 minutes) or commercial egg replacer instead of regular eggs.
How do I get that soft, chewy texture?
The key is in the moisture from the bananas and not overbaking. Bake them just until the edges are set and lightly golden, but the centers still look slightly underdone. They will continue to cook and firm up as they cool.
Conclusion
There you have it – a simple yet utterly satisfying recipe for Delightful Banana Bread Cookies. They’re the perfect way to transform those overripe bananas into a treat that’s reminiscent of warm, comforting banana bread, but in a convenient, chewy cookie form. Whether you’re a seasoned baker or a beginner, these cookies are a guaranteed hit for any occasion. Don’t let those bananas go to waste; bake up a batch today and share the deliciousness!
Found this recipe helpful? Share your thoughts in the comments below or tag us in your cookie creations on social media! We love to see your baking successes!
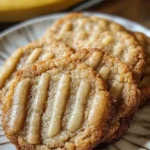
Delightful Banana Bread Cookies
Description
These soft and chewy banana bread cookies are packed with banana flavor, making them the perfect combination of banana bread and cookies in one delightful treat.
Ingredients
- 1 cupmashed ripe bananas (about2medium bananas)
- 1 ½ cupsall-purpose flour
- ½ cupunsalted butter, softened
- ½ cupbrown sugar, packed
- 1 tspvanilla extract
- 1 tspbaking soda
- ½ tspsalt
- 1 tspcinnamon
- 1egg
- ½ cupchocolate chips (optional)
- ½ cupchopped walnuts (optional)
Instructions
- Preheat the Oven:Preheat the oven to 350°F (175°C). Line a baking sheet with parchment paper or lightly grease it.
- Preheat the oven to 350°F (175°C). Line a baking sheet with parchment paper or lightly grease it.
- Make the Dough:In a medium bowl, cream together butter and brown sugar until light and fluffy. Add the mashed bananas, egg, and vanilla extract, mixing until smooth.In a separate bowl, whisk together flour, baking soda, salt, and cinnamon. Gradually add the dry ingredients to the wet ingredients, mixing until just combined. If desired, fold in chocolate chips and walnuts.
- In a medium bowl, cream together butter and brown sugar until light and fluffy. Add the mashed bananas, egg, and vanilla extract, mixing until smooth.
- In a separate bowl, whisk together flour, baking soda, salt, and cinnamon. Gradually add the dry ingredients to the wet ingredients, mixing until just combined. If desired, fold in chocolate chips and walnuts.
- Form the Cookies:Drop spoonfuls of dough (about 1½ tablespoons each) onto the prepared baking sheet, spacing them about 2 inches apart.
- Drop spoonfuls of dough (about 1½ tablespoons each) onto the prepared baking sheet, spacing them about 2 inches apart.
- Bake the Cookies:Bake for 10-12 minutes or until the edges are golden brown. Let the cookies cool on the baking sheet for a few minutes before transferring them to a wire rack to cool completely.
- Bake for 10-12 minutes or until the edges are golden brown. Let the cookies cool on the baking sheet for a few minutes before transferring them to a wire rack to cool completely.
Notes
For a softer cookie, reduce the baking time by 1-2 minutes.
Add a drizzle of melted chocolate on top for extra sweetness!
Store cookies in an airtight container for up to 3 days.
Nutrition
- Calories: 160
- Sugar: 12g
- Fat: 7g
- Carbohydrates: 23g
- Protein: 2g
“`