Table of Contents
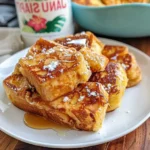
🍎 Irresistible Apple Fritter Bites: The Ultimate Easy Fall Treat
There’s something magical about the aroma of cinnamon and apples baking in the oven — it instantly makes your kitchen feel like a cozy autumn day. These Apple Fritter Bites are the perfect little morsels of joy: soft, tender, loaded with fresh apple chunks, and topped with a caramelized glaze that will have you reaching for “just one more” every time you walk by. Whether you’re hosting a fall brunch, packing lunchbox surprises, or simply craving a sweet snack that feels like a warm hug, these bite-sized fritters deliver big on flavor with minimal effort.
Why These Apple Fritter Bites Are the Best
- Perfectly Portioned: No deep frying required! These baked bites give you all the fritter goodness without the mess or extra oil.
- Loaded with Real Apples: We use fresh Honeycrisp or Gala apples for natural sweetness and a juicy texture in every bite.
- Caramelized Glaze Magic: A quick broil transforms a simple powdered sugar glaze into a golden, bubbly, almost-caramel topping that’s absolutely addictive.
- Super Simple Ingredients: You probably have everything in your pantry right now — no obscure ingredients needed.
- Ready in Under 30 Minutes: From mixing bowl to table in about half an hour, these are perfect for last-minute cravings.
Ingredients
Makes about 24 bite-sized fritters
- Nonstick cooking spray (for greasing)
- 1½ cups (190g) all-purpose flour
- 2 teaspoons baking powder
- ½ teaspoon kosher salt
- 2 teaspoons ground cinnamon
- ¼ cup (½ stick / 56g) unsalted butter, melted
- ¼ cup (50g) granulated sugar
- 1 large egg, at room temperature
- ½ teaspoon vanilla extract
- ½ cup (120g) unsweetened applesauce
- 1½ cups finely diced Honeycrisp or Gala apples (about 2 medium apples)
- For the glaze:
- 1 cup (120g) powdered sugar, sifted
- 2–3 tablespoons apple cider or apple juice
Instructions
Preheat your oven to 400°F (200°C). Lightly grease a large baking sheet with nonstick cooking spray or line with parchment paper for easy cleanup.
In a medium bowl, whisk together the all-purpose flour, baking powder, kosher salt, and ground cinnamon until evenly combined. Set aside.
In a large bowl, whisk the melted butter and granulated sugar together until smooth and slightly pale. Add the egg, vanilla extract, and unsweetened applesauce, whisking until fully incorporated and creamy.
Pour the dry ingredients into the wet mixture. Stir gently with a spatula or wooden spoon just until no streaks of flour remain — be careful not to overmix. The batter will be thick and slightly sticky.
Gently fold the finely diced apples into the batter until evenly distributed. The batter should be studded with apple pieces throughout.
Using a tablespoon or small cookie scoop, drop rounded portions of batter (about 1 tablespoon each) onto the prepared baking sheet, spacing them about 2 inches apart. Bake for 10 minutes, until the bottoms are lightly golden and the tops look set.
While the fritters bake, prepare the glaze: In a small bowl, whisk together the sifted powdered sugar and apple cider (or apple juice) until smooth. The glaze should be thin enough to drizzle — add more liquid 1 teaspoon at a time if needed.
Remove the baking sheet from the oven. Turn your oven to broil (high heat). Using a pastry brush, lightly coat the warm fritter bites with a thin layer of glaze, letting it drip down the sides. Return to the oven and broil for 2–4 minutes, rotating the pan halfway through, until the glaze bubbles and begins to caramelize. Watch carefully — it can burn quickly!
Remove from the oven and immediately brush the remaining glaze over the tops of the fritters. Let them rest on the baking sheet for about 15 minutes — the glaze will set into a beautiful, glossy finish.
Serving Suggestions
These apple fritter bites are wonderful warm or at room temperature. Serve them as a:
- Cozy weekend breakfast alongside a hot cup of coffee or spiced chai
- Fun after-school snack for kids (and adults!)
- Dessert with a scoop of vanilla ice cream and a drizzle of caramel sauce
- Brunch centerpiece — arrange on a platter with fresh apple slices and a dusting of cinnamon
Storage Tips
Room Temperature: Store in an airtight container for up to 2 days. The glaze may soften slightly, but they’ll still taste amazing.
Refrigerator: Keep in a sealed container for up to 5 days. Reheat in a 300°F oven for 5–7 minutes to revive the crispness.
Freezer: Freeze unglazed fritters in a single layer, then transfer to a freezer bag for up to 2 months. Glaze after thawing and reheating.
Delicious Variations
- Spiced Apple: Add ¼ teaspoon nutmeg and ¼ teaspoon allspice to the dry ingredients for a warm, aromatic twist.
- Caramel Apple: Drizzle with store-bought or homemade caramel sauce before serving.
- Cranberry-Apple: Fold in ¼ cup dried cranberries along with the apples for tart bursts of flavor.
- Gluten-Free: Substitute the all-purpose flour with a 1:1 gluten-free baking flour blend. Texture may be slightly more tender.
- Vegan Option: Use a flax egg (1 tbsp ground flax + 3 tbsp water) and melted coconut oil instead of butter. Applesauce keeps them moist!
Frequently Asked Questions
Pin This Recipe!
Save these Apple Fritter Bites to your favorite fall baking board on Pinterest.

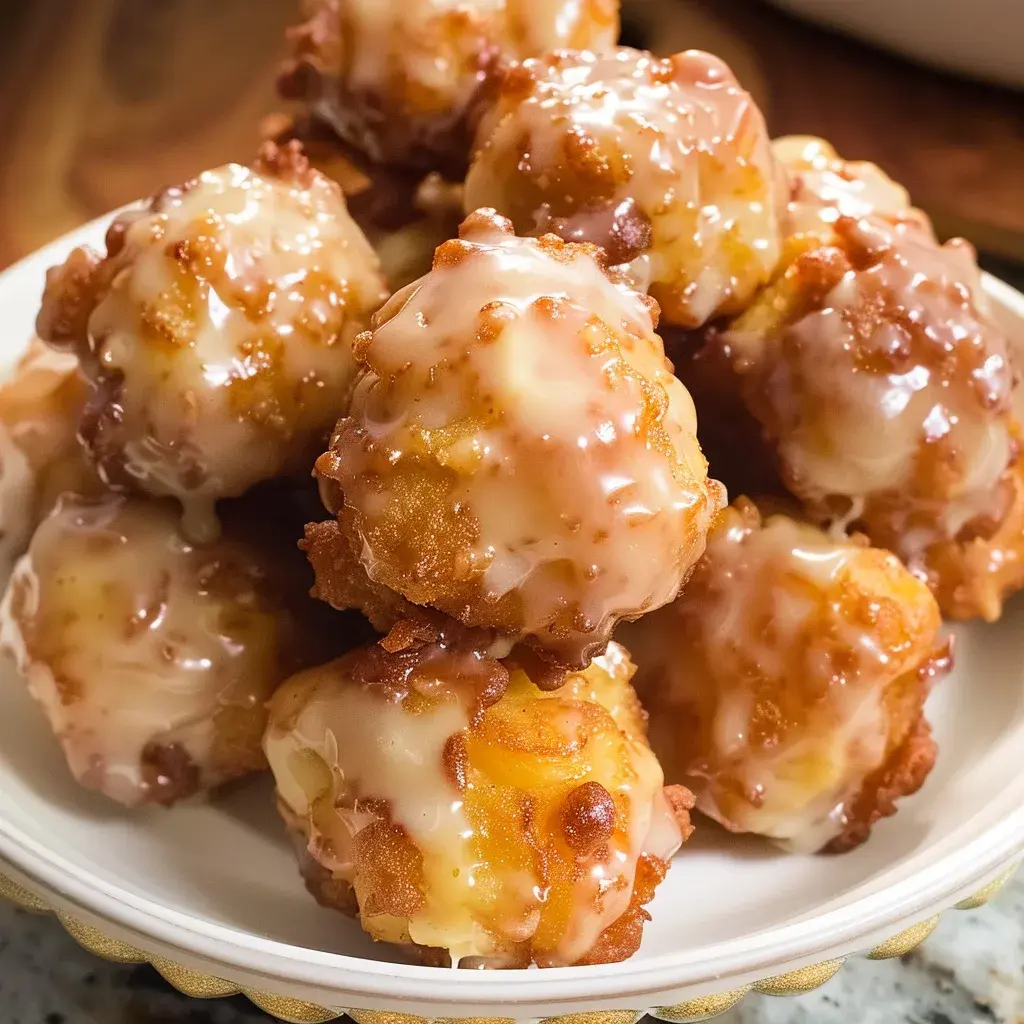
Apple Fritter Bites
Description
These Apple Fritter Bites are downright addictive little bites of doughy, apple-studded bliss that you won’t be able to stop munching on.
Ingredients
Scale
- Nonstick cooking spray
- 1 1/2 cups all-purpose flour
- 2 tsp baking powder
- 1/2 tsp kosher salt
- 2 tsp ground cinnamon
- 1/4 cup unsalted butter melted
- 1/4 cup granulated sugar
- 1 large egg
- 1/2 tsp vanilla extract
- 1/2 cup unsweetened applesauce
- 1 1/2 cups finely diced Honeycrisp or Gala apples about 2 medium
Instructions
- Preheat oven to 400°F and grease a baking sheet with nonstick spray.
- In a medium bowl, whisk together the flour, baking powder, salt, and cinnamon.
- In a large bowl, whisk the melted butter and sugar until combined. Then whisk in the egg, vanilla, and applesauce until smooth.
- Add the dry ingredients to the wet ingredients and stir just until combined. Gently fold in the diced apples.
- Scoop out 1 tbsp portions of batter and drop them a few inches apart onto the prepared baking sheet.
- Bake for 10 minutes, then remove from oven and turn on broiler to high.
- Make the glaze by whisking together the powdered sugar and apple cider/juice until thin and pourable.
- Brush some of the glaze over the warm fritter bites, letting it drip down the sides. Broil for 2-4 minutes, rotating the pan frequently, until the glaze starts to caramelize and bubble up.
- Remove from oven and brush the remaining glaze evenly over the tops of the fritters.
- Let sit for 15 minutes to allow the glaze to set before serving.