Table of Contents
Teriyaki Chicken Burger: The Only Recipe You’ll Ever Need
Imagine transforming your ordinary weeknight dinner into a flavorful adventure that your family will rave about for days. The Teriyaki Chicken Burger is more than just a meal—it’s a burst of sweet and savory perfection, featuring juicy grilled chicken marinated in a rich teriyaki sauce that locks in moisture and elevates every bite. As the go-to recipe for home cooks seeking an easy yet impressive dish, this Teriyaki Chicken Burger stands out with its infused authentic teriyaki marinade, ensuring unmatched juiciness that sets it apart from standard burgers. Whether you’re grilling for a backyard barbecue or a quick family dinner, this recipe promises to deliver restaurant-quality results right in your kitchen.
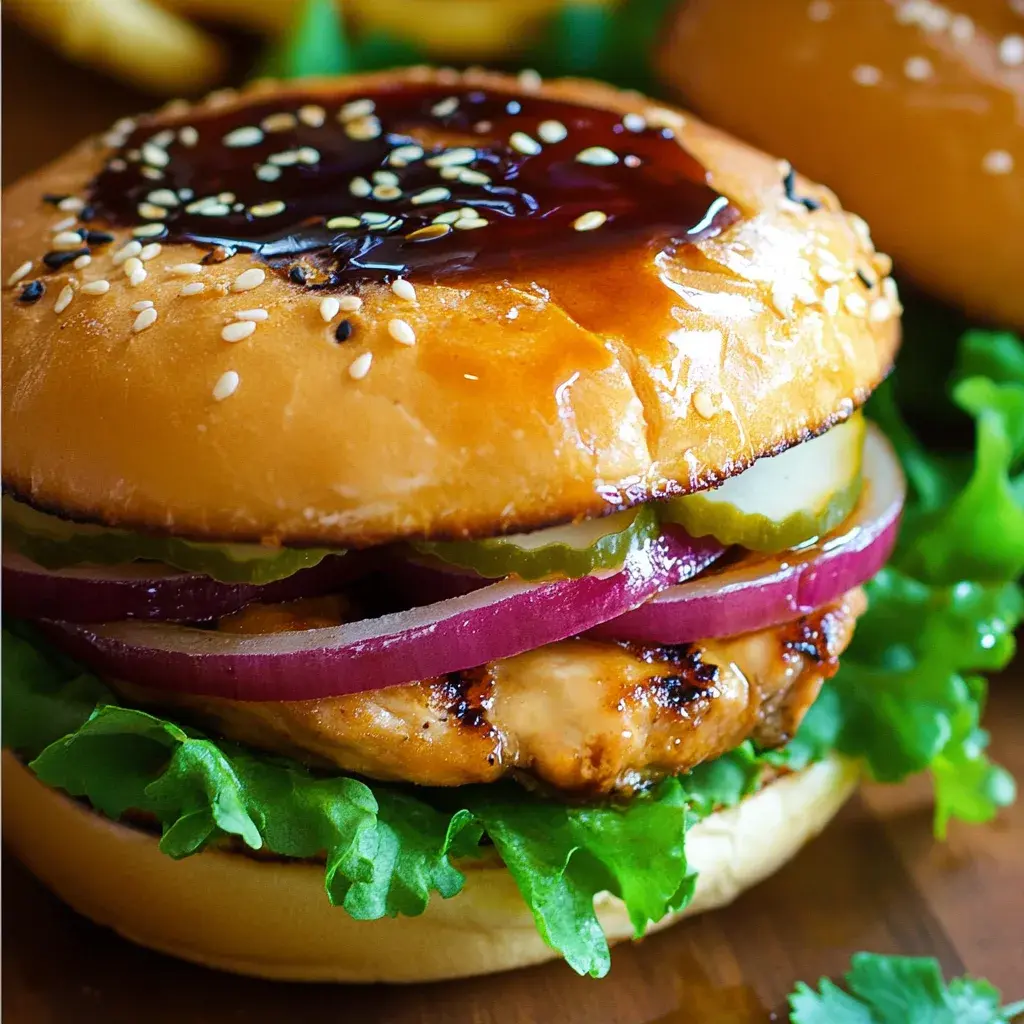
The allure of the Teriyaki Chicken Burger lies in its irresistible sensory appeal. Picture the caramelized glaze of teriyaki sauce creating a glossy sheen on tender chicken breasts, releasing an aromatic blend of soy, ginger, and a hint of sweetness that fills the air as it grills. Each bite offers a delightful contrast of textures: the succulent, moist chicken yielding to a satisfying crunch from fresh toppings like crisp lettuce, juicy tomato slices, and cool cucumbers, all cradled in a soft, toasted bun. The flavors meld harmoniously—sweet notes from the marinade balancing the savory depth of the grilled meat—making this burger not just food, but an experience that tantalizes the taste buds and leaves you craving more.
What makes this Teriyaki Chicken Burger recipe from cookingwithemy.com the ultimate guide? We’ve perfected it through rigorous testing to ensure it’s foolproof, incorporating a Chef’s Secret that amplifies the flavors while keeping things simple for beginners and pros alike. You’ll discover insider tips on marination, grilling techniques, and creative twists that make this version superior to any other online. By the end, you’ll feel empowered to whip up this crowd-pleaser with confidence, turning everyday ingredients into a masterpiece that impresses at any occasion. Dive in and learn how to master this recipe step by step, from prep to plate.
Why This Teriyaki Chicken Burger Recipe is a Game-Changer
The Chef’s Secret: The key to this Teriyaki Chicken Burger’s unparalleled success lies in extending the marination time with an authentic teriyaki sauce base, infused with low-sodium soy sauce for balanced flavors. This technique allows the chicken to absorb deep, savory notes while retaining its natural juices, creating a burger that’s extraordinarily moist and flavorful. Unlike basic recipes, our method ensures the marinade penetrates evenly, elevating the dish from good to gourmet by preventing dryness and amplifying the sweet-savory profile that defines a true Teriyaki Chicken Burger.
Unbeatable Texture: The science behind the juicy texture comes from the marinade’s composition, which includes teriyaki sauce’s sugars and soy elements that caramelize on the grill. This process forms a protective barrier on the chicken, locking in moisture and resulting in a tender interior with a slight char on the outside. Grilling at the precise medium-high heat (375°F/190°C) ensures even cooking without over-drying, making every Teriyaki Chicken Burger bite consistently perfect.
Foolproof for a Reason: This recipe has been tested multiple times in real home kitchens to guarantee reliability, accounting for common variables like grill types or ingredient variations. It’s designed for success, with clear steps that minimize errors, ensuring even novice cooks can achieve professional results every time with this Teriyaki Chicken Burger.
Ingredient Spotlight: Quality Makes the Difference
Starting with the boneless, skinless chicken breasts, these serve as the hearty foundation of your Teriyaki Chicken Burger, providing a lean protein that’s easy to grill and absorb flavors. Opt for fresh, high-quality chicken from reputable sources to ensure tenderness and food safety; fresher meat means better marinade absorption, resulting in that signature juiciness. If you’re looking for a substitution, turkey breasts can work, but they may dry out faster, so reduce grilling time by a minute per side to maintain moisture.
Teriaki sauce is the star flavor enhancer in this Teriyaki Chicken Burger, delivering a perfect blend of sweet and savory that coats the chicken beautifully. Choose a high-quality, authentic version with real ingredients like soy sauce, ginger, and sugar for maximum taste impact—avoid watered-down store brands. For a healthier twist, substitute with a homemade mix of low-sodium soy sauce and a touch of honey, which reduces sodium while keeping the glaze glossy and flavorful.
Hamburger buns provide the soft, supportive base for your Teriyaki Chicken Burger, ensuring the toppings and chicken stay intact. Go for freshly baked or whole-grain buns for added texture and nutrition; they hold up better under grilled heat. If you’re gluten-free, swap with sturdy gluten-free buns, but lightly toast them longer to prevent sogginess from the juicy chicken and toppings.
Fresh lettuce, tomato slices, and cucumbers add a refreshing crunch and balance to your Teriyaki Chicken Burger. Use vibrant, crisp varieties like romaine for lettuce and ripe beefsteak tomatoes for juiciness; their freshness cuts through the richness of the teriyaki marinade. For substitutions, swap cucumbers with thinly sliced radishes for a peppery kick, or use arugula for a more peppery, nutrient-packed alternative that enhances the overall burger experience.
Low-sodium soy sauce plays a crucial role in the marinade for this Teriyaki Chicken Burger, adding umami without overwhelming saltiness. Selecting a reputable brand ensures purity and flavor depth; it’s essential for controlling sodium intake while maintaining taste. A good substitute is tamari, which is naturally gluten-free and offers a similar depth, making it ideal for dietary adjustments without compromising the recipe’s integrity.
Step-by-Step Instructions
Step 1: Preparing the Chicken Marinade
Start by placing 3-4 boneless, skinless chicken breasts in a shallow dish or resealable plastic bag. Pour 1/2 cup of teriyaki sauce and a splash of low-sodium soy sauce over the chicken, ensuring each piece is fully coated. Seal the bag or cover the dish, then refrigerate for at least 30 minutes, gently massaging the marinade into the meat every 10 minutes for even distribution.
Pro Tip: For deeper flavor penetration, marinate the chicken overnight in the fridge, as this allows the teriyaki sauce to tenderize the meat naturally, resulting in a more succulent Teriyaki Chicken Burger.
Step 2: Preheating the Grill
Once the chicken is marinated, preheat your grill to medium-high heat, aiming for 375°F/190°C. Clean the grates thoroughly and lightly oil them to prevent sticking, which ensures easy flipping and even cooking.
Common Mistake to Avoid: Don’t rush the preheating process; an inadequately heated grill can lead to uneven cooking and a less juicy Teriyaki Chicken Burger, so use a thermometer to verify the temperature.
Step 3: Grilling the Chicken
Remove the chicken from the marinade, letting any excess drip off, and place it directly on the preheated grill. Grill for 6-7 minutes per side, flipping once, until the internal temperature reaches 165°F/75°C. Use a meat thermometer for accuracy to ensure the chicken is cooked through without drying out.
Pro Tip: Resist the urge to press down on the chicken with a spatula, as this squeezes out juices and diminishes the moist texture that makes this Teriyaki Chicken Burger exceptional.
Step 4: Toasting the Buns
While the chicken rests for a few minutes after grilling, place the 4 hamburger bun halves cut-side down on the grill. Toast for 1-2 minutes until golden brown, watching closely to avoid burning.
Common Mistake to Avoid: Over-toasting the buns can make them too hard, so remove them as soon as they’re lightly browned to keep your Teriyaki Chicken Burger assembly easy and enjoyable.
Step 5: Assembling the Burgers
Layer the grilled chicken onto the toasted bun bottoms, then add fresh lettuce, tomato slices, and cucumber slices as desired for a refreshing contrast. Top with the bun lids and gently press to hold everything together.
Pro Tip: Arrange the toppings in a specific order—start with lettuce to create a barrier against moisture from the chicken, ensuring your Teriyaki Chicken Burger stays crisp until the last bite.
Step 6: Serving the Burgers
Serve the assembled Teriyaki Chicken Burgers immediately while they’re hot, pairing them with sides for a complete meal. This step ensures the flavors are at their peak and the chicken remains juicy.
Common Mistake to Avoid: Letting the burgers sit too long before serving can cause the buns to sog from the teriyaki glaze, so plate them right away for the best Teriyaki Chicken Burger experience.
Serving & Presentation
Elevate your Teriyaki Chicken Burger with creative plating that turns it into a feast for the eyes. Arrange the burgers on a rustic wooden board, garnished with a sprinkle of sesame seeds for added crunch and visual appeal, or add a side of pickled ginger for an authentic twist. Complement this dish with fresh sides like a quinoa salad or sweet potato fries to balance the savory notes, making it ideal for summer barbecues. For special occasions, serve on colorful plates with a light drizzle of extra teriyaki sauce on the side, encouraging guests to customize their burgers.
Make-Ahead & Storage Solutions
Make-Ahead Strategy: Prepare the marinade and chicken up to 24 hours in advance by following the marination step and storing the sealed bag in the refrigerator. You can also chop and prep toppings like lettuce, tomatoes, and cucumbers up to 3 days ahead, keeping them in airtight containers to maintain freshness, so assembly is quick when you’re ready to grill.
Storing Leftovers: If you have leftover Teriyaki Chicken Burgers, cool them completely before wrapping individually in plastic wrap or placing in an airtight container. Refrigerate for up to 2 days or freeze for up to 2 months to preserve flavor and texture—be sure to separate components like buns and toppings to avoid sogginess.
The Best Way to Reheat: To restore the original juiciness, reheat grilled chicken in a skillet over medium heat for 2-3 minutes per side, adding a splash of teriyaki sauce to refresh the flavors. For the full burger, warm in a 350°F oven for 5-7 minutes, ensuring the buns don’t over-crisp, so your Teriyaki Chicken Burger tastes nearly as fresh as when first made.
Frequently Asked Questions (FAQ)
How long should I marinate the Teriyaki Chicken Burger?
Marinating for at least 30 minutes is recommended for basic flavor, but for the best results in this Teriyaki Chicken Burger recipe, aim for 1-2 hours or overnight in the fridge. Longer marination allows the teriyaki sauce to deeply infuse the chicken, enhancing juiciness without overpowering the meat.
Can I substitute oil for butter in this recipe?
This Teriyaki Chicken Burger recipe doesn’t use butter at all, relying on teriyaki sauce for moisture and flavor. If you’re adapting for grilling, you can lightly brush the grill with oil to prevent sticking, but it’s not a direct substitute. Stick to the sauce for authentic results.
What are some tips for making a juicy Teriyaki Chicken Burger?
To ensure juiciness, always marinate the chicken properly, grill at the right temperature (375°F/190°C), and avoid overcooking. Use a meat thermometer to hit 165°F/75°C exactly, and let the chicken rest for 5 minutes before assembling— these steps lock in flavors and prevent dryness in your Teriyaki Chicken Burger.
How should I serve Teriyaki Chicken Burger for a special occasion?
For special occasions, present your Teriyaki Chicken Burger on a platter with elegant sides like grilled vegetables or a fresh slaw, and offer custom toppings such as avocado or spicy mayo. Pair with a chilled beverage like iced tea, and consider mini versions for appetizers to make it more festive.
Can I make this recipe gluten-free?
Yes, you can easily make this Teriyaki Chicken Burger gluten-free by using gluten-free teriyaki sauce and buns. Check labels for hidden gluten in soy sauce, and opt for tamari as a substitute; this keeps the flavors intact while accommodating dietary needs.
Is this recipe suitable for meal prepping?
Absolutely, the Teriyaki Chicken Burger is great for meal prepping. Grill the chicken ahead and store it separately from the buns and toppings, then assemble fresh when eating to maintain texture and flavor throughout the week.
Tried This Recipe? Leave a Comment!
Did you make this recipe? I’d love to hear how it turned out! Please leave a comment and a rating below. Your feedback helps other home cooks and supports cookingwithemy!
For more delicious inspiration, follow me on Pinterest!

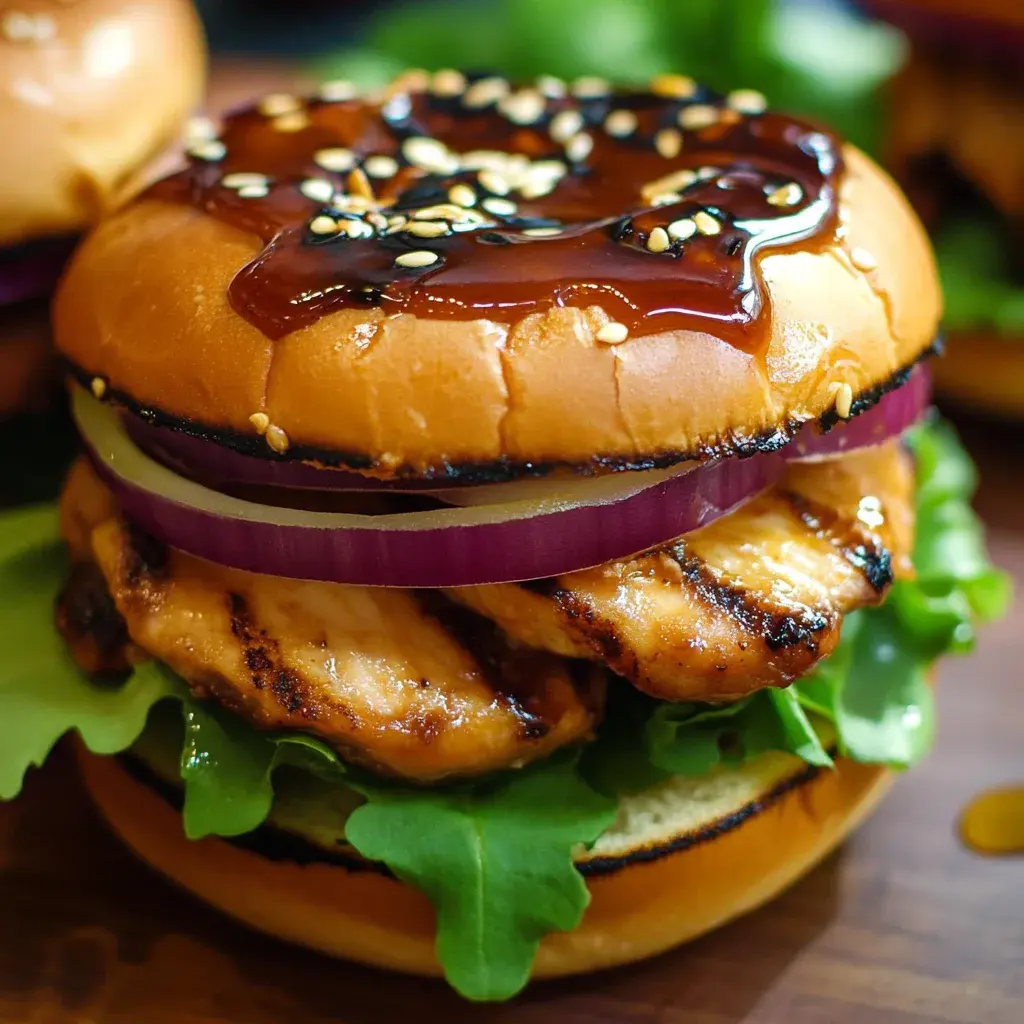
Teriyaki Chicken Burger
Description
Elevate your burger experience with the Teriyaki Chicken Burger, where sweet and savory flavors come together in perfect harmony. This mouthwatering dish features tender, marinated chicken grilled to juicy perfection, nestled between soft, fluffy buns. Topped with fresh lettuce, tomatoes, and cucumbers, this burger is not only satisfying but also a hit at any gathering. Perfect for summer barbecues or casual weeknight dinners, the Teriyaki Chicken Burger promises an unforgettable culinary experience that delights every palate.
Ingredients
- 3–4boneless, skinless chicken breasts
- 1/2 cupteriyaki sauce
- 4hamburger buns
- Fresh lettuce, tomato slices, and cucumbers for toppings
- Low-sodium soy sauce (for marinade)
Instructions
- Marinate the chicken in teriyaki sauce for at least 30 minutes.
- Preheat your grill to medium-high heat (375°F/190°C).
- Grill the marinated chicken for about 6-7 minutes on each side until cooked through (internal temp should reach 165°F/75°C).
- Toast the bun halves on the grill until golden brown.
- Assemble the burgers by placing grilled chicken on toasted buns and adding desired toppings.
- Serve immediately for maximum flavor.
Notes
For enhanced flavor, marinate the chicken overnight. Feel free to experiment with toppings such as avocado or spicy mayo for added richness.
Nutritional Information per Serving (based on one burger):
Nutrition
- Calories: 390
- Sugar: 8g
- Fat: 11g
- Carbohydrates: 45g
- Protein: 30g
Conclusion
This flavorful recipe delivers a perfect balance of sweet and savory notes, making it an ideal quick meal for busy weeknights or family gatherings. With its tender chicken and easy preparation, it’s sure to become a staple in your kitchen routine. For a fun variation, try swapping the protein for ground turkey and exploring our Easy Ground Turkey Teriyaki Stir Fry for a lighter twist, or pair it with the bold flavors in our Best Char Siu Chicken Roast to elevate your Asian-inspired dinners.