“`html
Table of Contents
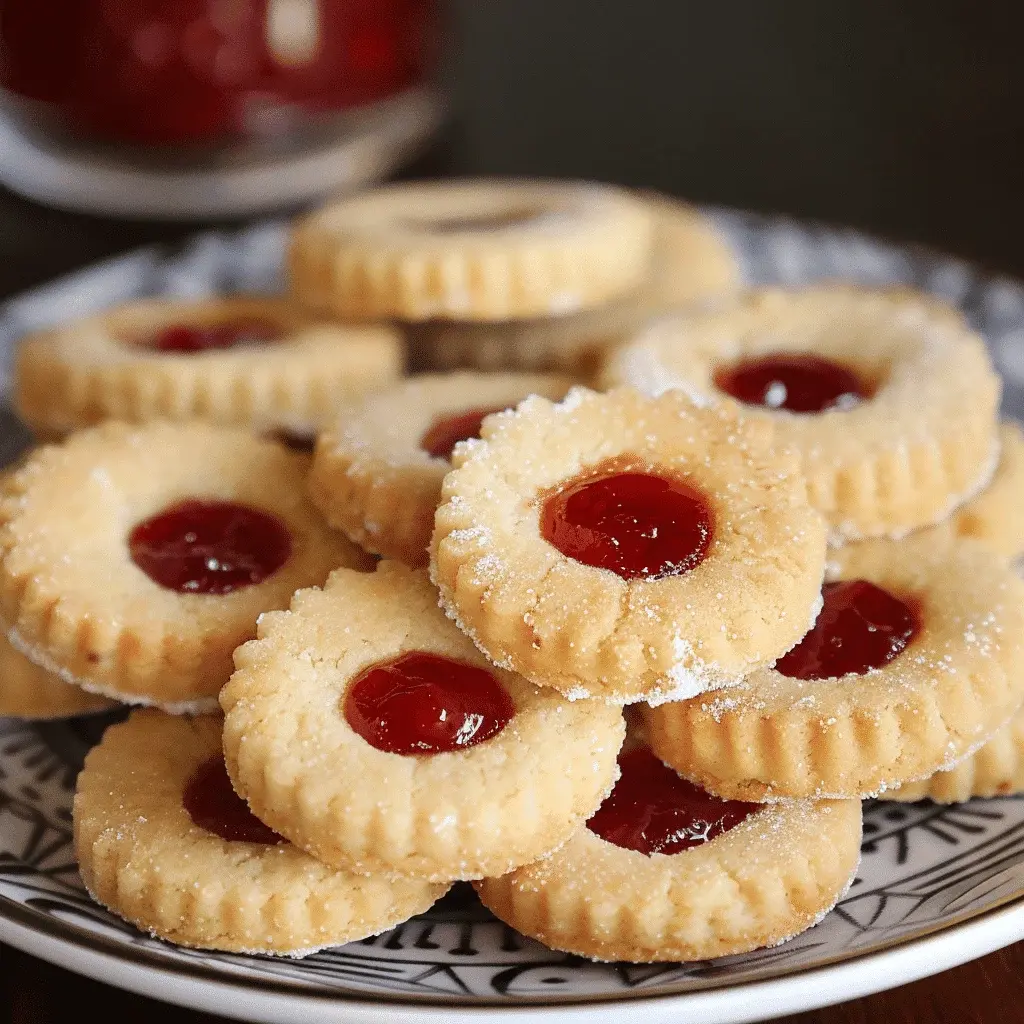
Homemade Jammie Dodgers Recipe
Introduction
Did you know that over 2 billion Jammie Dodgers are consumed annually in the UK alone? This iconic biscuit, with its buttery shortbread and sweet jam heart, is a national treasure. But why settle for store-bought when you can create a superior, melt-in-your-mouth version in your own kitchen? This ultimate Homemade Jammie Dodgers recipe unlocks the secret to that perfect crumbly texture and vibrant jam filling. Forget the mass-produced version; we’re crafting a treat with real butter, quality flour, and the jam of your choice for a flavor that’s nostalgic yet distinctly gourmet. Perfect for elevenses, afternoon tea, or a lunchbox surprise, these cookies are a guaranteed crowd-pleaser.
Ingredients List
For the perfect shortbread cookie base and luscious filling, you’ll need:
- Unsalted Butter (200g / ¾ cup + 2 tbsp), softened: The star of the show. Use high-fat European-style butter for an incomparably rich, tender crumb and that signature melt-on-the-tongue feel. Substitution: For a dairy-free version, use a high-quality vegan butter block (not spread).
- Caster Sugar (100g / ½ cup): Fine-textured sugar that creams beautifully with butter, creating a light and airy dough without grittiness. Substitution: Granulated sugar pulsed in a food processor for 30 seconds works in a pinch.
- Vanilla Extract (1 tsp): Pure extract, not essence, for a warm, aromatic backbone that complements the butter.
- Plain Flour (300g / 2 ½ cups), plus extra for dusting: All-purpose flour provides the ideal structure. Sift it for a lighter, more uniform cookie. Substitution: For a slightly nuttier flavor, replace 50g of plain flour with fine rice flour.
- Salt (¼ tsp): A pinch of fine sea salt is crucial to balance the sweetness and enhance all flavors.
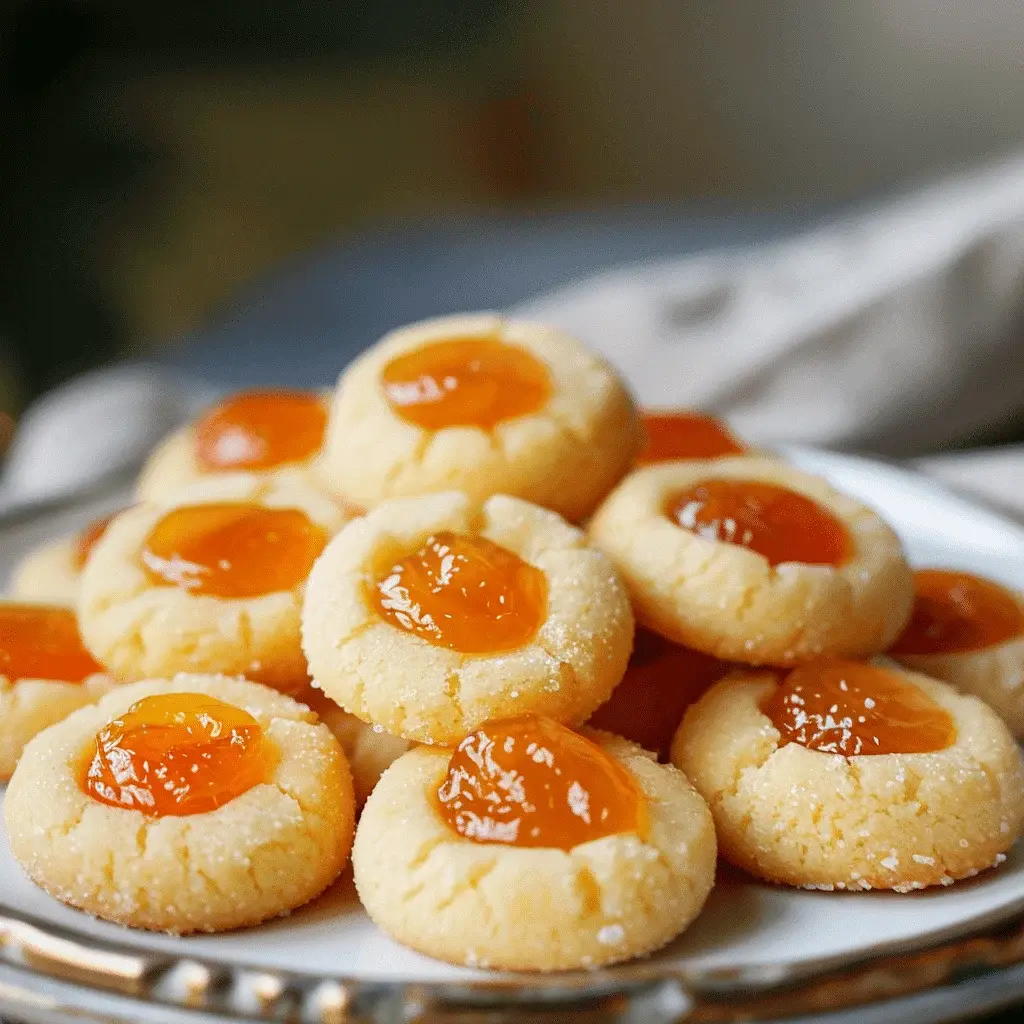
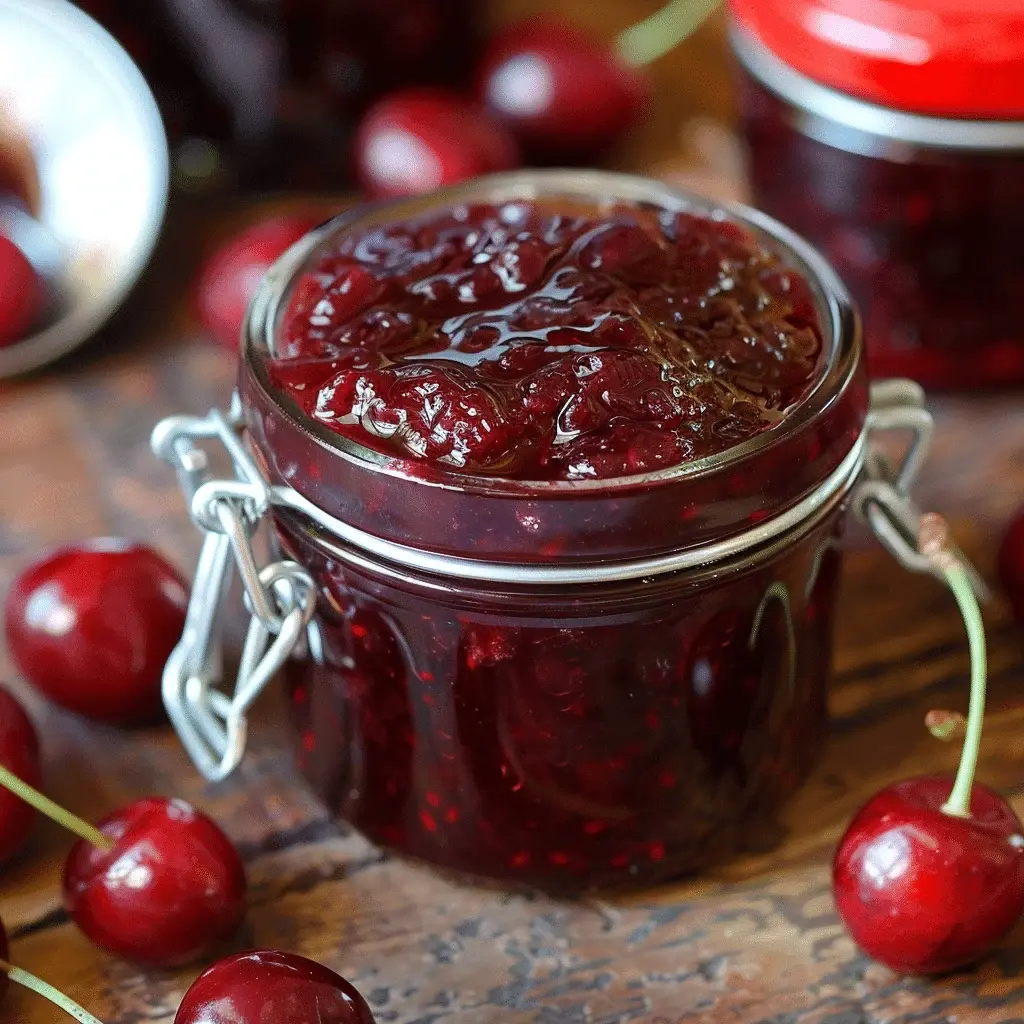
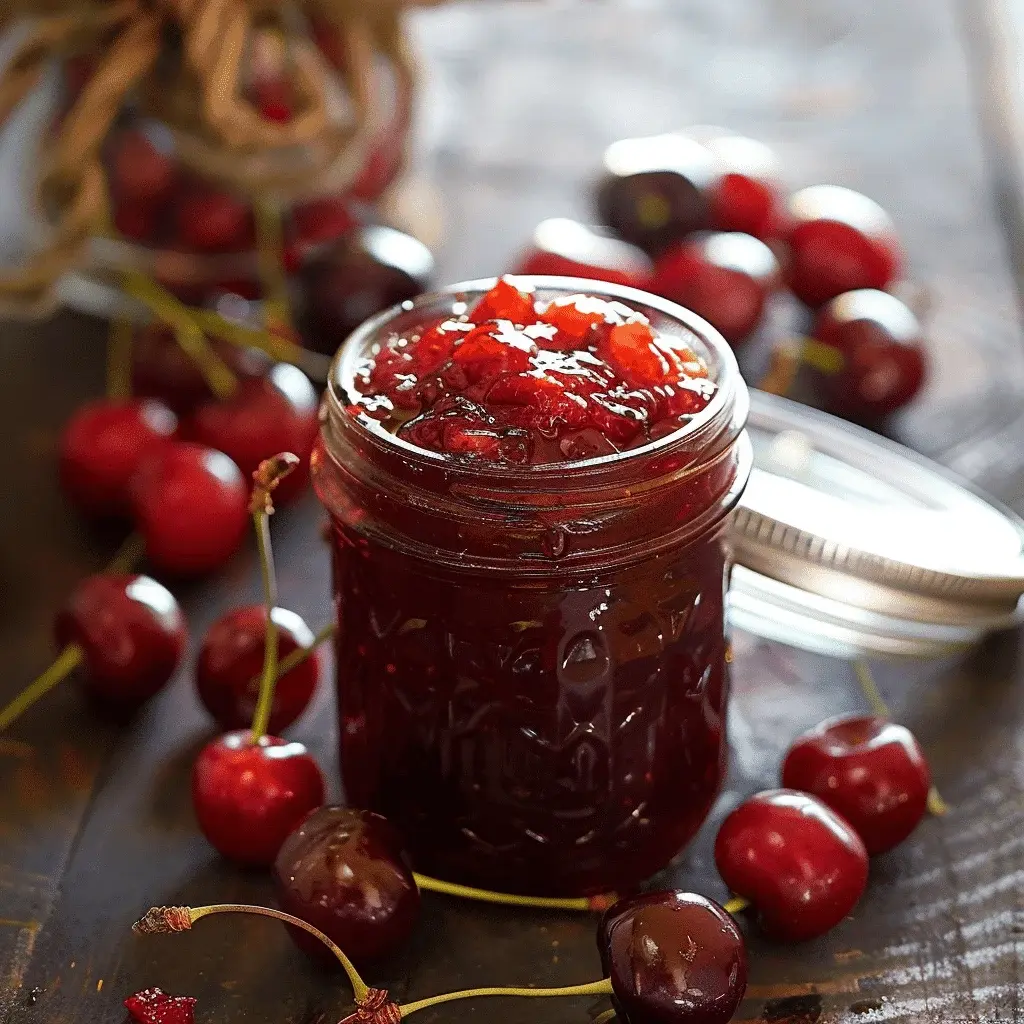
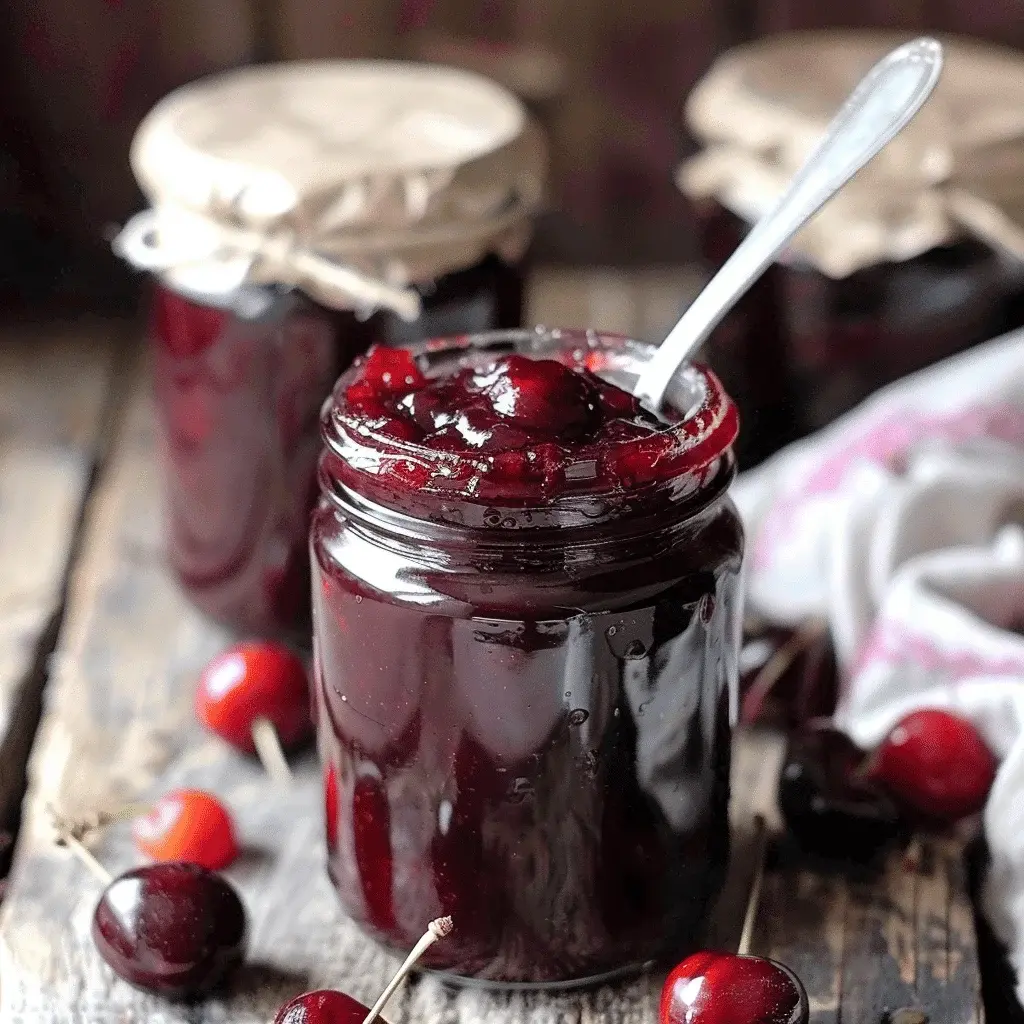
- Strawberry or Raspberry Jam (approx. 150g / ½ cup): The “jammie” heart! Use a thick, high-fruit-content jam or conserve. The flavor should be bright and tangy to cut through the buttery cookie. Seedless is traditional, but seeded adds lovely texture.
- Icing Sugar (for dusting, optional): A snowy finish that makes them look professionally baked and adds a hint of extra sweetness.
Timing
Compared to the average cookie recipe, this one requires a crucial chilling step (1 hour). This non-negotiable rest prevents the cookies from spreading too much in the oven, ensuring they hold their shape and the classic “window” design. The active hands-on time is surprisingly short, making it a perfect weekend project. Most recipes skip emphasizing this chill, leading to flat cookies—ours guarantees the perfect structure.

Step-by-Step Instructions
Step 1: Make the Dough
In a large mixing bowl, beat the softened butter and caster sugar together for a good 3-4 minutes until the mixture is very pale, fluffy, and almost whipped. This step incorporates air, which is your ticket to a light, crumbly texture. Don’t rush it! Beat in the vanilla extract. Now, add the sifted flour and salt. Use a wooden spoon or spatula to mix until the flour is just incorporated and a soft dough begins to form. Finish by bringing it together with your hands—it should be pliable but not sticky.
Step 2: Chill and Roll
Divide the dough in half. Shape each half into a disc, wrap tightly in cling film, and refrigerate for at least 1 hour. This firms up the butter, making the dough easy to roll and preventing spread. When ready, lightly flour your surface and rolling pin. Roll one disc out to a thickness of about 4mm (just under ¼ inch). Aim for an even thickness for consistent baking.
Step 3: Cut and Create Windows
Using a 6-7cm (2.5-inch) round fluted cutter, cut out as many circles as you can. For half of these circles, use a smaller cutter (about 2cm / ¾ inch) or the wide end of a piping tip to cut a smaller circle or heart shape from the center—these will be your tops. Re-roll the scraps (chilling again if they become too soft) and repeat until all dough is used. You should have an equal number of solid bases and windowed tops.
Step 4: Bake to Perfection
Preheat your oven to 180°C (160°C fan) / 350°F. Line two baking sheets with parchment paper. Carefully transfer your cookie bases and tops to the sheets, leaving about 2cm space between them as they won’t spread much. Bake for 10-12 minutes, or until the edges are just beginning to turn a very light golden brown. The centers should remain pale. Over-baking is the enemy of tender shortbread! Let them cool on the sheets for 5 minutes before transferring to a wire rack to cool completely.
Step 5: Assemble the Dodgers
Once completely cool, it’s assembly time! Place all the solid base cookies on your work surface. Spoon about ½ to 1 teaspoon of jam onto the center of each base. Gently place a windowed top cookie over the jam and press down lightly so the jam spreads just to the edges of the window. If desired, dust the tops lightly with icing sugar using a fine sieve. The jam will set slightly as it sits.
Nutritional Information
(Approximate values per cookie, recipe makes ~18)
- Calories: ~180 kcal
- Total Fat: 10g (Saturated Fat: 6g)
- Carbohydrates: 22g (Sugars: 10g, Fiber: 0.5g)
- Protein: 2g
- Sodium: 40mg
Healthier Alternatives
You can tweak this classic without sacrificing the soul-satisfying flavor:
- Flour: Swap 50% of the plain flour for wholemeal spelt flour. It adds a nutty depth and extra fiber while maintaining a tender bite.
- Sugar: Reduce the caster sugar by 20% (to 80g). The jam provides ample sweetness, and you’ll be surprised how little you miss it.
- Jam: Opt for a no-added-sugar jam or a homemade chia seed jam using blended berries for a lower-sugar, higher-fiber filling.
- Butter: While it changes the flavor profile, using a light olive oil-based spread can reduce saturated fat, but expect a less rich, classic shortbread texture.
Serving Suggestions
- The Classic: Serve alongside a pot of Earl Grey or English Breakfast tea for the ultimate afternoon tea experience.
- Dessert Upgrade: Crumble a Jammie Dodger over a bowl of vanilla bean ice cream or lemon sorbet for a delightful textural contrast.
- Kids’ Party: Use different shaped small cutters (hearts, stars) for the windows to make them extra fun.
- Gifting: Stack them in a clear cellophane bag tied with a ribbon for a heartfelt, homemade gift that beats any store-bought tin.
Common Mistakes
- Soft Butter, Not Melted: Butter should be soft enough to indent easily but still hold its shape. Melted butter will create a greasy, flat cookie.
- Skipping the Chill: This is the #1 reason for failure. Warm dough spreads, losing the defined shape and window.
- Over-mixing the Flour: Mix until just combined. Overworking develops gluten, leading to tough cookies instead of tender, crumbly ones.
- Using Runny Jam: Thin jam will leak out during baking or assembly. If your jam is runny, simmer it in a pan for 5 minutes to thicken it before use.
Storing Tips
- Airtight is Key: Store assembled Jammie Dodgers in a single layer in an airtight container at room temperature for up to 5 days. Place parchment paper between layers if stacking is necessary.
- Freeze for Later: You can freeze the un-baked, cut-out cookie dough shapes on a tray, then transfer to a freezer bag for up to 3 months. Bake from frozen, adding 1-2 minutes to the baking time. Do not freeze assembled cookies as the jam will make the shortbread soggy upon thawing.
- Assemble Just Before Serving: For maximum crispness, store baked bases and tops separately and assemble with jam an hour before serving.
Conclusion
Mastering this Homemade Jammie Dodgers recipe means you’ll never look at the packaged version the same way again. The process is a joyful baking project with a spectacularly delicious payoff: buttery, crumbly shortbread that shatters delicately with each bite, giving way to a vibrant, sweet-tart jam heart. It’s a taste of pure nostalgia, crafted with love and superior ingredients. So, preheat your oven, roll up your sleeves, and get ready to bake a batch of Britain’s most beloved biscuit. Don’t forget to share your creations with us