Do you ever crave a sweet, satisfying snack that actually fuels your body instead of leaving you in a slump? Honestly, we all face that afternoon energy crash or need a quick bite before a workout. Fortunately, these no-bake Pumpkin Protein Balls are the perfect solution. They combine the warm, comforting flavor of pumpkin spice with a powerful protein punch. Moreover, they come together in just minutes with simple ingredients. This recipe delivers a delicious treat that feels indulgent yet aligns perfectly with your health goals. Ultimately, you get a grab-and-go snack that keeps you energized and happy.
About This Recipe
Pumpkin Protein Balls are a simple, no-bake energy bite that harnesses the wholesome goodness of pumpkin puree, protein powder, and oats. Essentially, they are a nutrient-dense snack designed to provide sustained energy. This recipe matters because it solves a common problem: finding a quick, healthy, and portable snack that actually tastes incredible. Furthermore, it utilizes the beloved flavor of pumpkin spice in a way that benefits your body, making healthy eating feel like a treat rather than a chore. For instance, the protein supports muscle repair, while the fiber from the oats and pumpkin promotes digestive health and keeps you full.
This approach to snacking fits our blog’s tone perfectly, as we consistently focus on creating recipes that are both decadent and nutritious. We believe that healthy food should never be boring or bland. Consequently, we develop recipes that excite your taste buds while nourishing your body from the inside out. These Pumpkin Protein Balls are a prime example of that philosophy in action. They are ideal for meal prep, a post-workout refuel, or even a sneaky healthy dessert. Additionally, if you enjoy the convenience of make-ahead snacks, you will absolutely love our popular guide to healthy meal prep strategies. Similarly, the use of pure pumpkin puree makes these balls incredibly moist and flavorful, much like the star ingredient in our classic healthy pumpkin bread.
Why I Love This Recipe
I genuinely love this recipe because it has become my secret weapon during the busy fall season. As a content creator, I often find myself glued to my desk, and these Pumpkin Protein Balls are my go-to for a quick burst of energy that doesn’t lead to a sugar crash. I specifically remember developing this recipe on a crisp autumn afternoon, and the entire kitchen smelled like happiness. The process is incredibly therapeutic, and I always feel a sense of accomplishment knowing I have a healthy snack ready for the week. Ultimately, they remind me that taking care of myself can be both simple and delicious.
Health and Nutrition
Why it’s good for your body
Pumpkin Protein Balls deliver a powerful nutritional punch in every single bite. First, they harness the incredible benefits of real pumpkin puree. Consequently, your body gets a fantastic dose of vitamin A, which actively supports healthy vision and a strong immune system. Moreover, pumpkin provides a wealth of antioxidants that help combat oxidative stress in your body.
These delicious bites also pack a serious protein punch from their core ingredients. Therefore, they effectively promote muscle repair and keep you feeling full and satisfied for longer. Furthermore, the natural fiber from the oats and pumpkin aids in smooth digestion and helps maintain steady blood sugar levels. Additionally, the healthy fats from ingredients like nut butter support brain health and nutrient absorption.
Ultimately, choosing Pumpkin Protein Balls means you are choosing a snack that fuels your body with clean, wholesome energy. You can absolutely feel good about enjoying them anytime.
How it fits in a healthy lifestyle
Pumpkin Protein Balls seamlessly fit into almost any healthy eating plan. They naturally align with gluten-free and dairy-free lifestyles when you use certified oats, making them a fantastic choice for many. If you follow a high-protein diet, these little powerhouses provide a convenient and portable option to help you hit your daily goals without any fuss.
For a heart-healthy approach, the ingredients work together beautifully. The oats contribute soluble fiber, which actively helps manage cholesterol levels. You can easily enjoy one or two as a pre-workout boost for sustained energy or as a post-workout recovery snack to help those muscles rebuild.
Keeping a batch in your fridge makes resisting unhealthy vending machine temptations a breeze. They are the perfect answer for that afternoon slump when you need something substantial. For more ideas on incorporating wholesome snacks into your routine, explore our guide on healthy meal prep. And if you’re looking for other nutrient-dense options, our vegan breakfast ideas offer plenty of inspiration to start your day right.
PrintPumpkin Protein Balls
Description
Healthy, no-bake pumpkin protein balls packed with nutrients and perfect for a quick snack or post-workout boost.
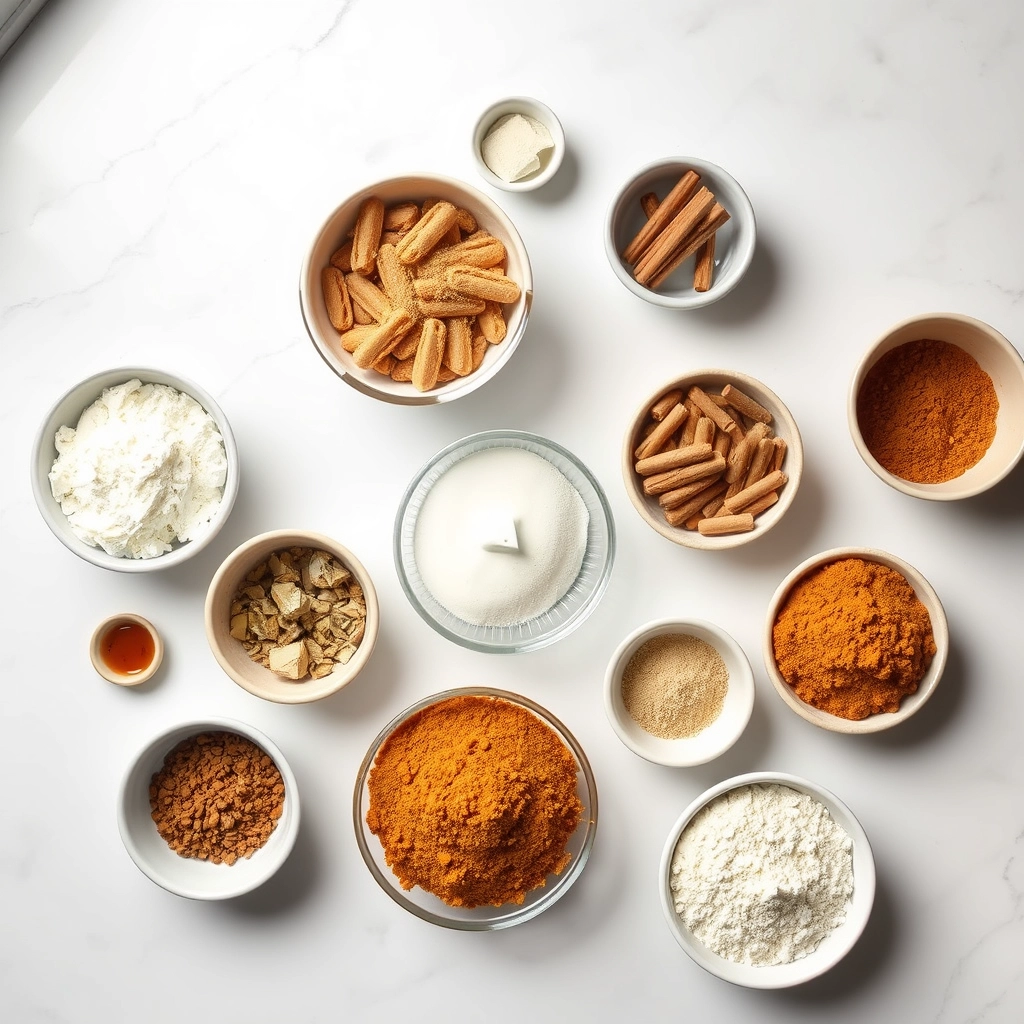
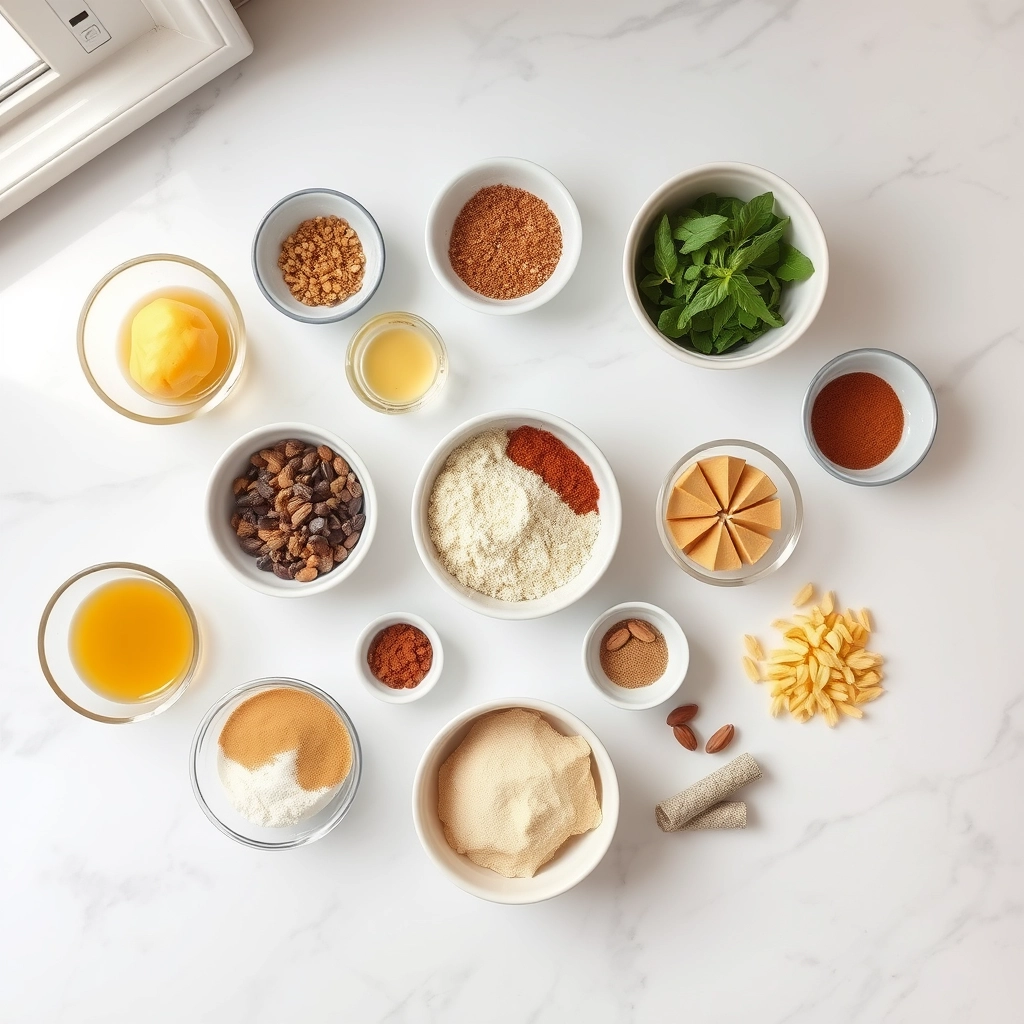
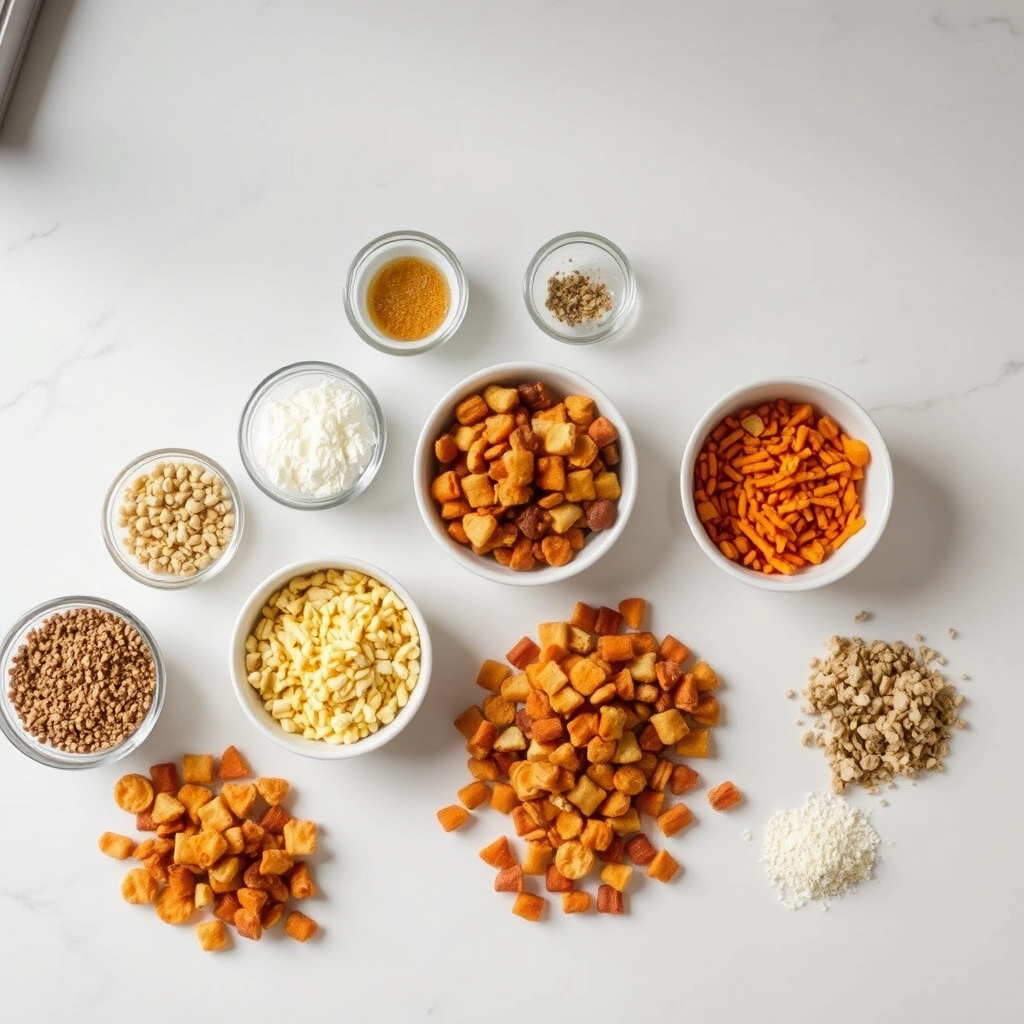
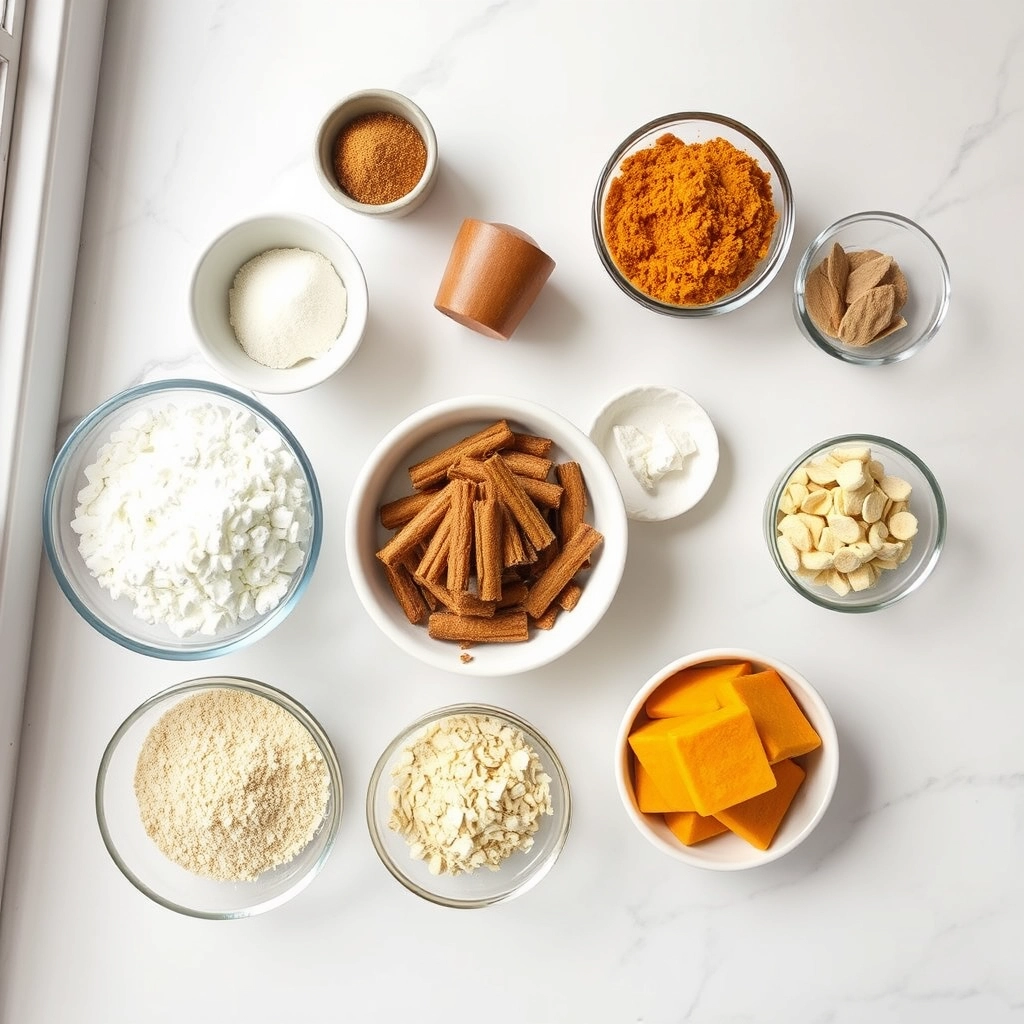
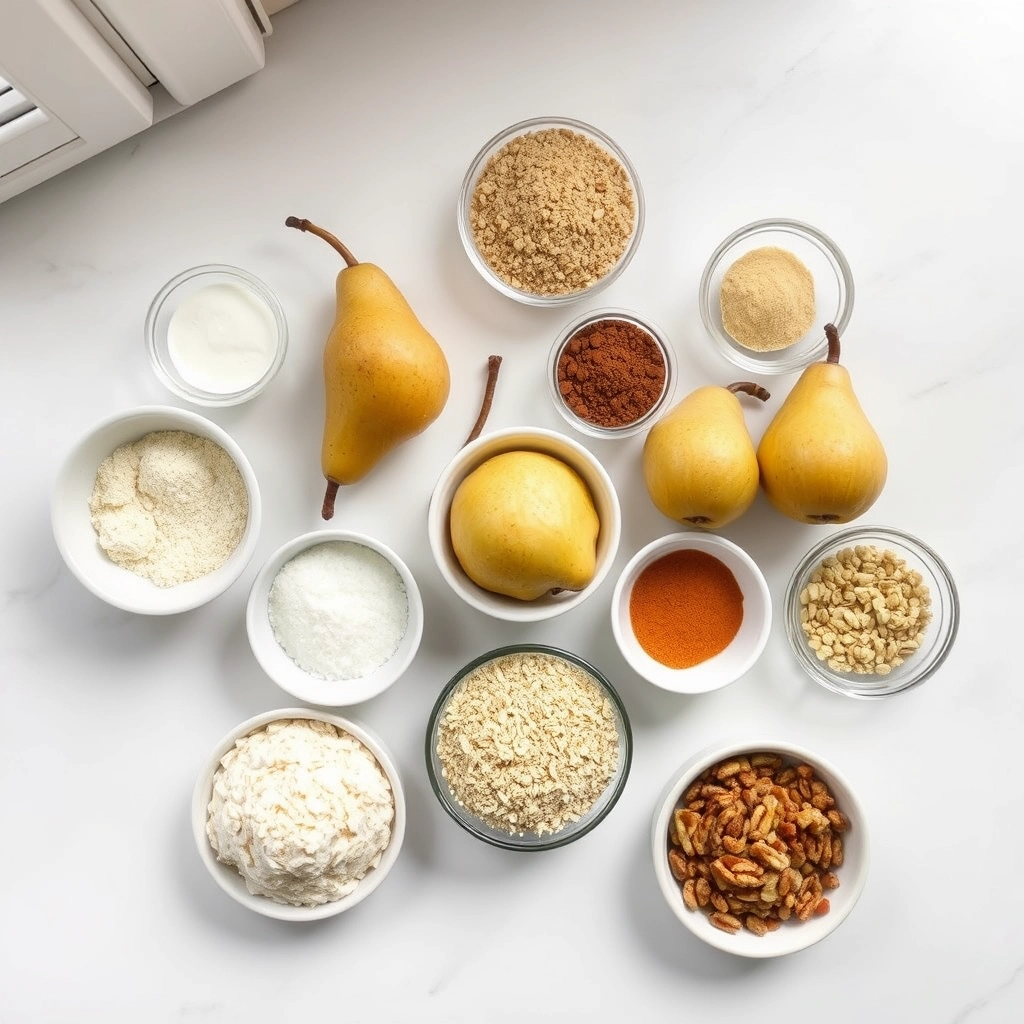
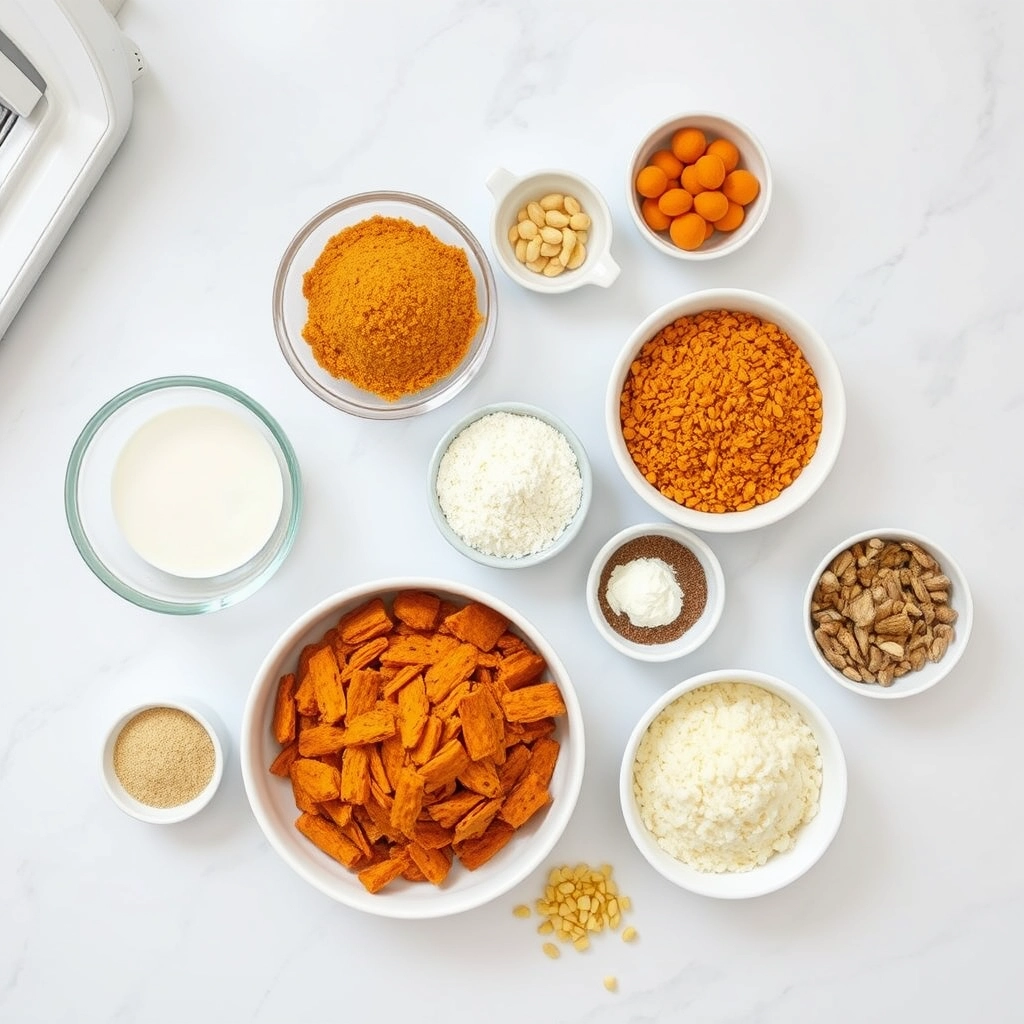
Ingredients
For the Crust:
- 1 cup rolled oats
- 1/2 cup vanilla protein powder
- 1/2 cup pumpkin puree
- 1/4 cup almond butter
- 2 tablespoons maple syrup
- 1 teaspoon pumpkin pie spice
- 1/4 teaspoon cinnamon
- Pinch of salt
Instructions
1. Prepare the Crust:
- In a medium bowl, combine all ingredients and mix until well incorporated.
- Chill the mixture in the refrigerator for 20-30 minutes to firm up.
- Roll into 1-inch balls and store in an airtight container in the refrigerator.
Notes
You can customize the seasonings to taste.
How to Prepare This Dish
Steps and time-saving tips
First, grab a large mixing bowl and combine your dry ingredients. Consequently, this means adding the oat flour, vanilla protein powder, pumpkin pie spice, and a pinch of salt. Meanwhile, whisk them together thoroughly to ensure no clumps remain. Next, incorporate the wet ingredients; specifically, add the pumpkin puree, maple syrup or honey, and a splash of vanilla extract. Use a sturdy spatula to mix everything into a thick, uniform dough. If the mixture feels too wet, add a bit more oat flour. Conversely, if it seems too dry and crumbly, add another tablespoon of puree. Then, cover the bowl and chill the dough for about 20 minutes. This crucial step makes the mixture far less sticky and much easier to handle. After chilling, use a small cookie scoop to portion the dough. Finally, roll each portion firmly between your palms to form a tight, smooth ball. Place your finished Pumpkin Protein Balls on a parchment-lined tray. For the best texture and flavor, you must refrigerate them for at least one hour before serving.
Mistakes I’ve made and learned from
I learned the hard way that not all protein powders behave the same in no-bake recipes. Initially, I used a whey-based vanilla protein, and my Pumpkin Protein Balls turned out weirdly gritty and never held their shape. After some frustrating batches, I discovered that a plant-based vegan protein powder blends much more smoothly and gives a perfect, fudgy texture. Another classic blunder was skipping the chilling step for the dough. Honestly, I was always too impatient. The result was a sticky mess that coated my hands instead of forming neat balls. Now, I never skip it. This simple act of patience makes the entire process smoother, much like when you properly prepare a pan for baking a coffee cake. Trust me, a brief rest in the fridge is the ultimate game-changer for creating perfect, no-fuss snacks.
Cultural Connection and Variations
Where this recipe comes from
Honestly, we can trace the spirit of this recipe back to thrifty home cooks who never wasted a thing. After carving jack-o’-lanterns or baking pies, they found clever ways to use every bit of pumpkin. Consequently, they blended the puree with oats and spices for quick, energy-boosting treats. My own grandmother, for instance, always made something similar with sweet potato after Thanksgiving. Her version was less about protein and more about using what was on hand, a practice so many cultures share.
Globally, people shape energy into portable bites. In the Middle East, for example, dates and nuts form sticky, sweet energy balls. Meanwhile, in India, ladoo often combines lentils, ghee, and sugar for a protein-packed festival sweet. Our Pumpkin Protein Balls simply follow this brilliant, universal idea of compact nutrition. Ultimately, they put a seasonal, American twist on a global tradition of no-bake, handheld goodness. Every culture seems to have its own version of a power-packed snack.
How it fits in today’s cooking
Today, these little powerhouses perfectly fit our fast-paced lives. They bridge the gap between health-conscious eating and the need for quick convenience. Furthermore, they capture the cozy essence of fall in a single, grab-and-go bite, making them a modern seasonal staple. Busy parents often stash a batch in the fridge for after-school snacks, and fitness enthusiasts rely on them for a perfect post-workout refuel.
Modern cooks constantly adapt the base recipe to fit their dietary needs. Some, for instance, swap in different nut butters or a scoop of their favorite vanilla protein powder to tweak the flavor profile. Others might roll them in shredded coconut or crushed pecans for extra texture. This flexibility makes them a fantastic fit for any routine. Ultimately, you can easily incorporate a batch of Pumpkin Protein Balls into your weekly meal prep ideas for a guaranteed healthy snack all week long.
Taste and Texture
What makes it delicious
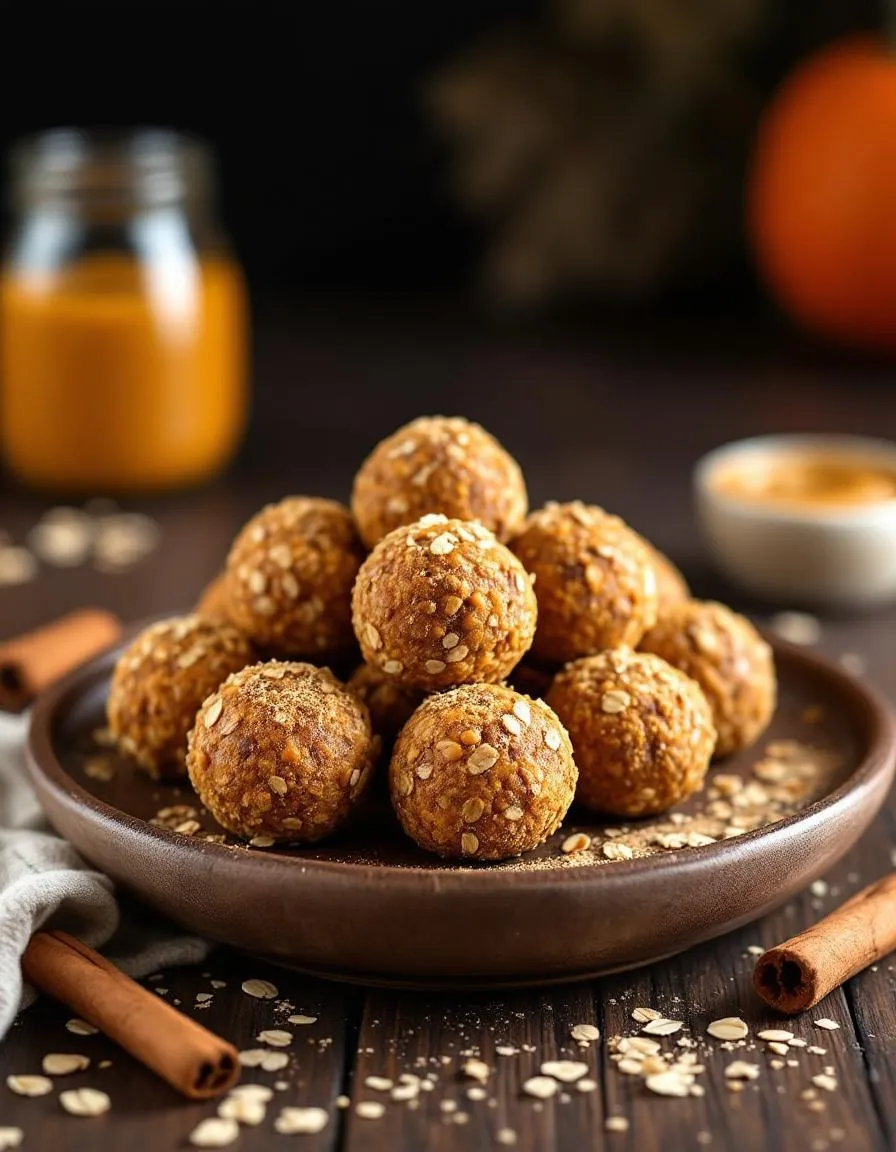
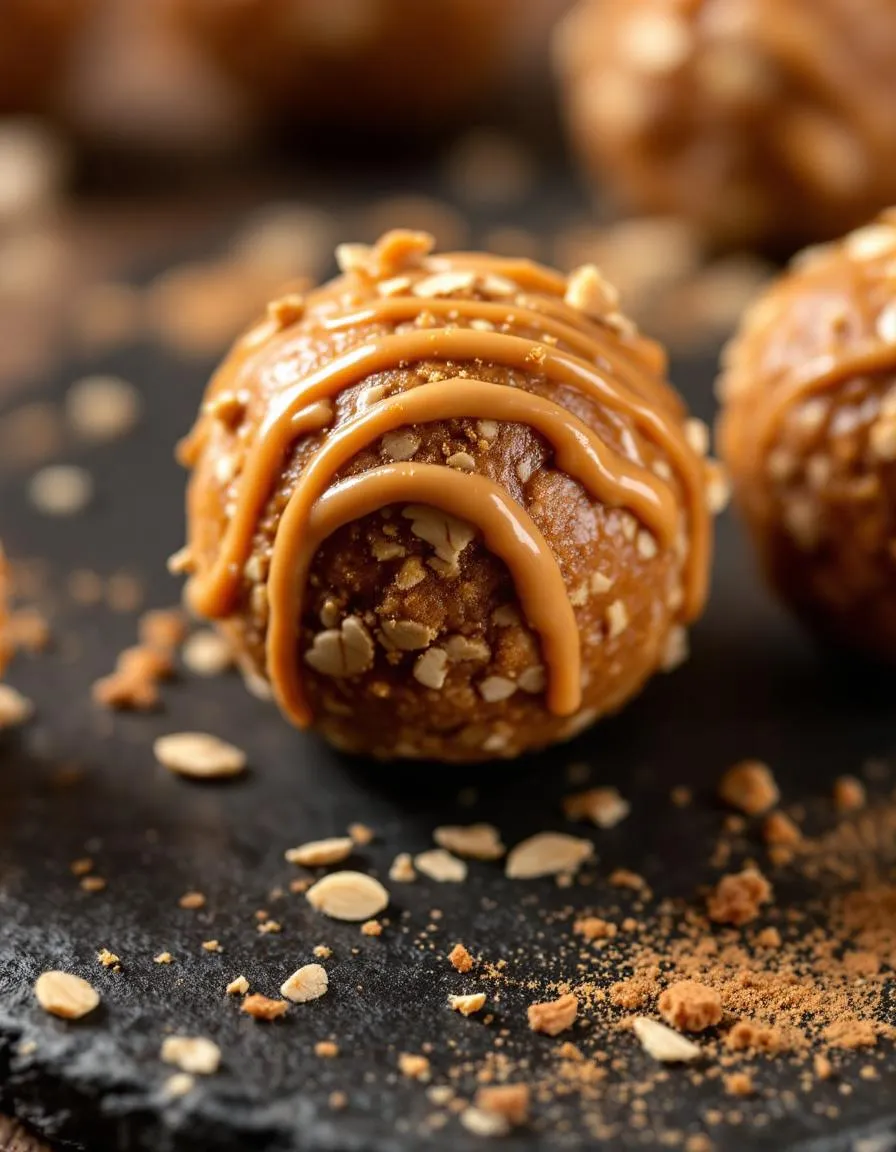
These Pumpkin Protein Balls deliver a wonderfully soft and chewy bite that melts in your mouth. You immediately taste the warm, fragrant spices like cinnamon and nutmeg, which perfectly complement the earthy sweetness of real pumpkin puree. Furthermore, the rich, creamy notes from the almond butter create a decadent base. Each bite of these no-bake Pumpkin Protein Balls offers a satisfying texture, thanks to the gentle crunch of rolled oats and the occasional sweet surprise of a chocolate chip. Ultimately, the experience is cozy and indulgent, reminiscent of your favorite autumn treats but packed with wholesome energy.
Boosting the flavor
Feel free to get creative and amplify these tasty bites. For a deeper flavor, try rolling the finished balls in crushed pecans or shredded coconut, which adds a delightful contrasting crunch. Alternatively, a drizzle of melted dark chocolate or a light sprinkle of sea salt on top elevates them to a gourmet-level snack. If you love extra spice, a pinch of ginger or clove will intensify that classic pumpkin pie warmth. For a complementary dipping sauce, consider pairing them with a side of our simple vanilla protein frosting. Consequently, you can easily customize this recipe to match your mood and satisfy every craving.
Tips for Success
Best practices for results
Always chill your dough for at least thirty minutes before rolling it into balls, as this step prevents a sticky mess and ensures a perfect texture. Use a small cookie scoop for uniformly sized Pumpkin Protein Balls, which then helps them set evenly. Furthermore, press any add-ins like chocolate chips firmly into the mixture so they do not fall out later. For the best flavor, let your finished treats sit in the fridge overnight so the spices fully meld together.
Mistakes to avoid
Avoid using liquid sweeteners in excess, as they can make your mixture far too wet and prevent your balls from holding their shape. If your dough feels too sticky, simply add a bit more oat flour one tablespoon at a time until it becomes manageable. Additionally, do not skip the chilling step, otherwise your Pumpkin Protein Balls might not firm up correctly. For more guidance on getting the right consistency, check out our guide on how to make energy balls. Moreover, always store them in a sealed container; leaving them out can cause them to dry out or become too soft. For the best storage solutions that keep them fresh, read our tips for meal prep containers.
Serving and Pairing Suggestions
How to serve this dish
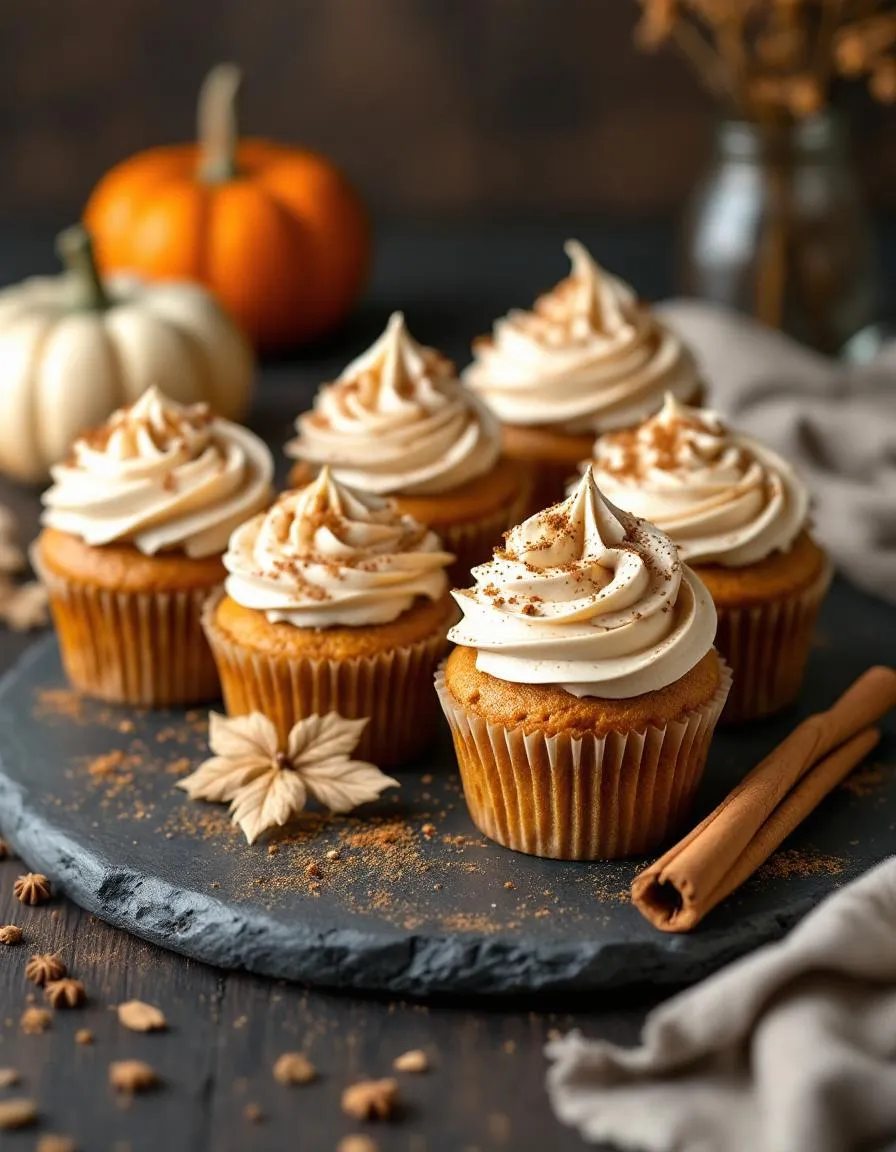
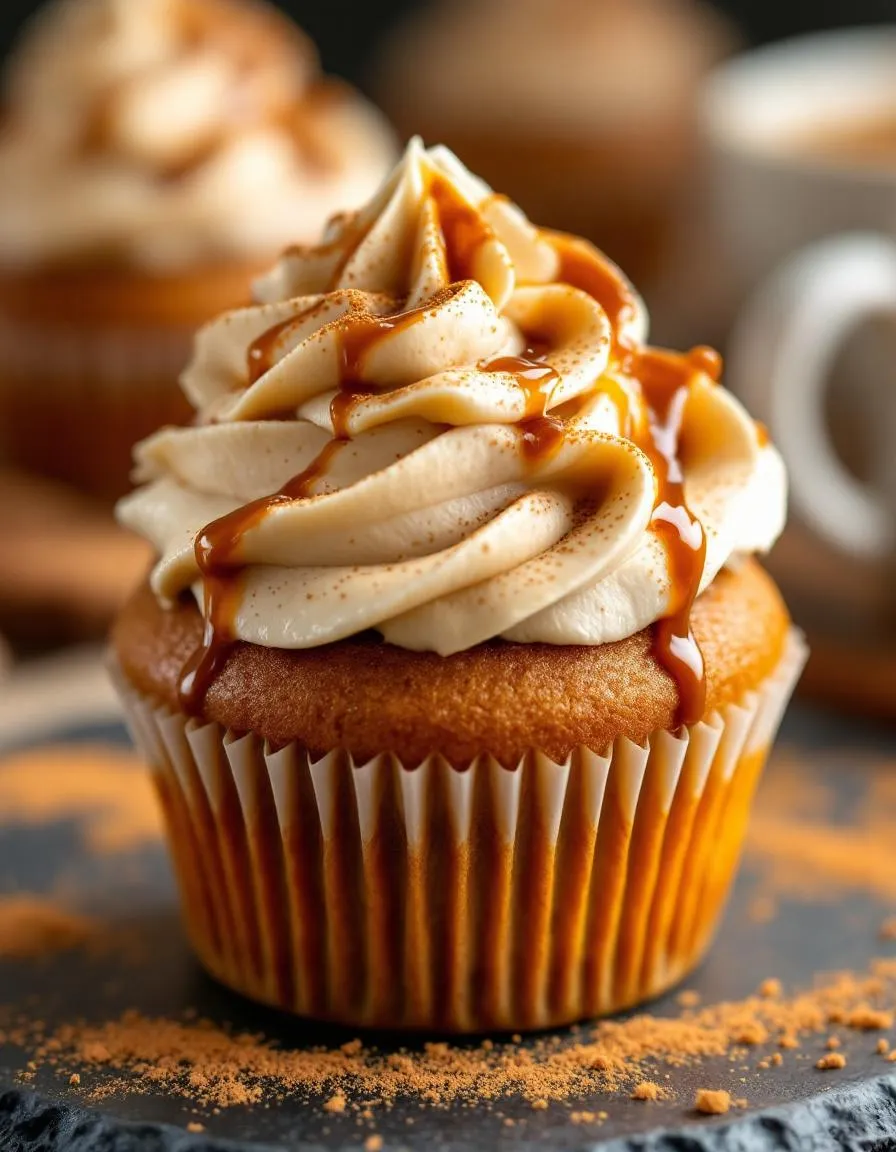
Serve your Pumpkin Protein Balls with style for any occasion. For instance, arrange them on a rustic wooden board for a charming autumn brunch spread. Alternatively, place them in petite paper cups for a festive holiday party. A light dusting of cinnamon or a drizzle of maple syrup makes a beautiful and tasty garnish. These little bites also pack wonderfully for a post-hike energy boost. Ultimately, their versatility makes them a perfect grab-and-go snack or a thoughtful homemade gift.
What goes well with it
A warm cup of coffee perfectly complements the cozy spices in these Pumpkin Protein Balls. The robust flavor of the brew creates a delightful contrast with the sweet, earthy notes of the snack. For a creamy and delicious pairing, try dunking them in a glass of cold almond milk. Furthermore, if you want to create a full wellness-focused spread, serve them alongside our popular Healthy Breakfast Bowl. Finally, a scoop of our Vanilla Chia Pudding offers a wonderfully smooth and protein-rich companion that enhances the overall experience.

Yes, you can use fresh pumpkin puree, but it must be cooked and drained thoroughly to remove excess moisture. Canned pumpkin puree is often preferred for its consistent texture and convenience, ensuring your Pumpkin Protein Balls hold together well without becoming soggy.
Yes, when made with wholesome ingredients, these balls can be a great weight-loss snack. They are high in fiber from the pumpkin and oats, which helps keep you full, and the protein provides sustained energy, helping to curb cravings between meals.
The key to preventing crumbly Pumpkin Protein Balls is ensuring the mixture is sticky enough. If your dough is too dry, add a bit more nut butter or a tablespoon of maple syrup. Chilling the mixture for 30 minutes before rolling also makes it much easier to form into perfect balls.
Store your Pumpkin Protein Balls in an airtight container in the refrigerator for up to two weeks. For longer storage, you can freeze them for up to 3 months; just thaw in the fridge for a few hours before enjoying a cool, protein-packed treat.