“`html
Table of Contents
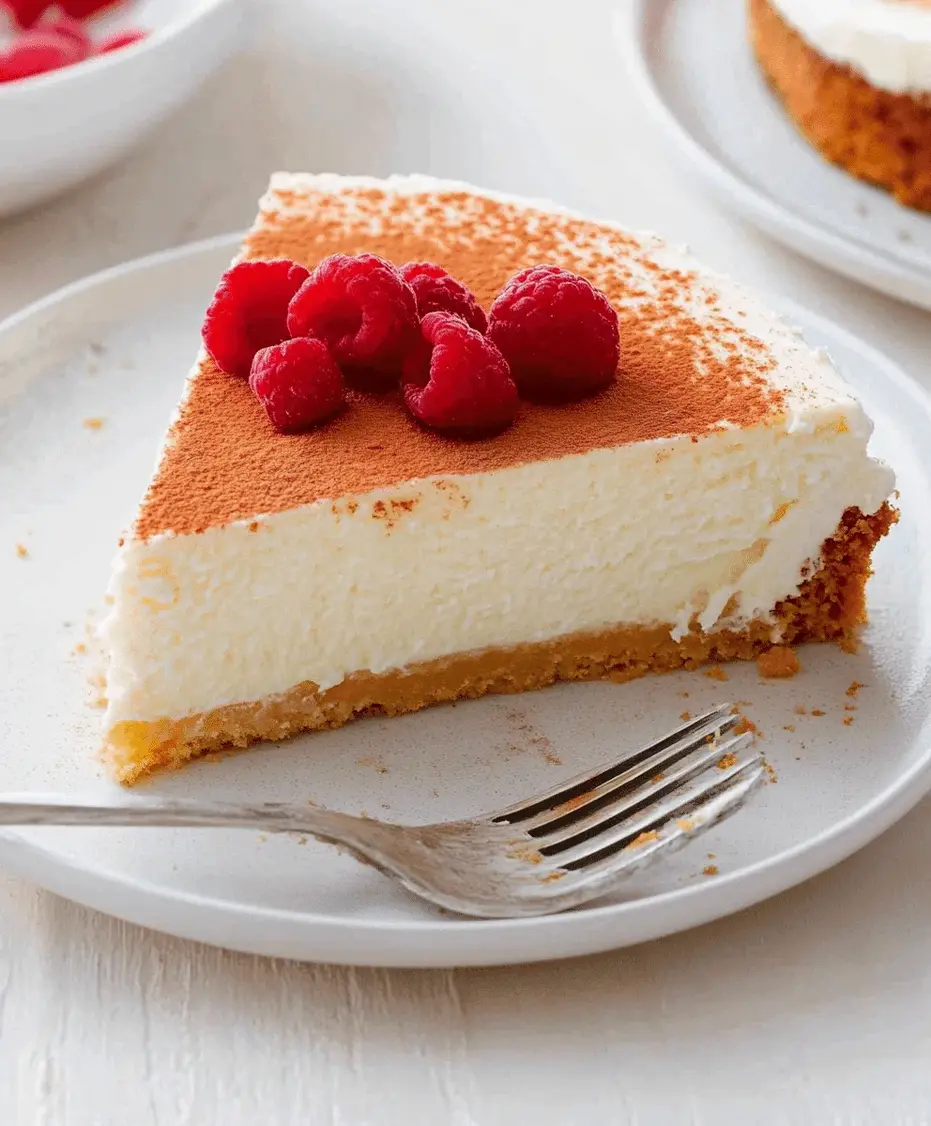
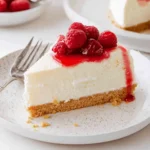
Cream Cheese Cake Recipe
Craving a Dessert That’s Decadently Rich and Supremely Satisfying?
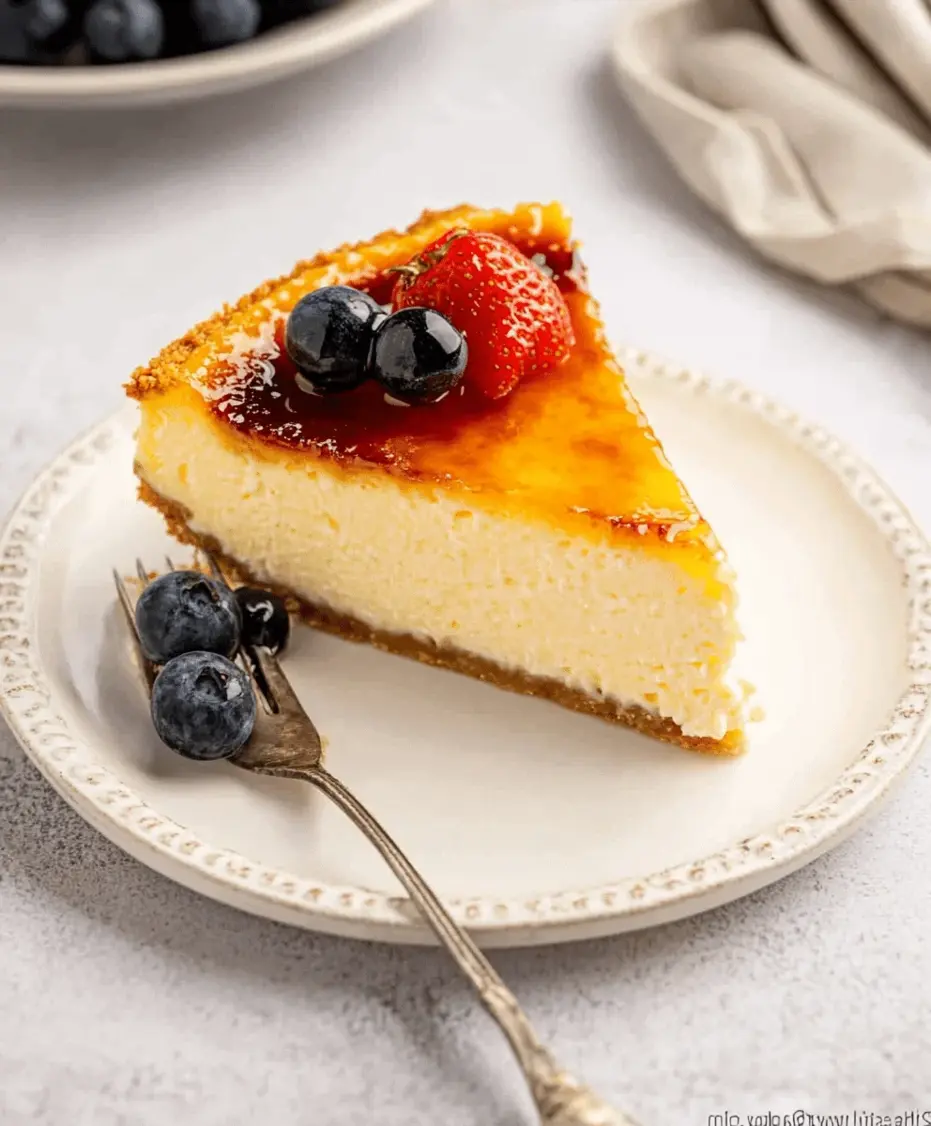
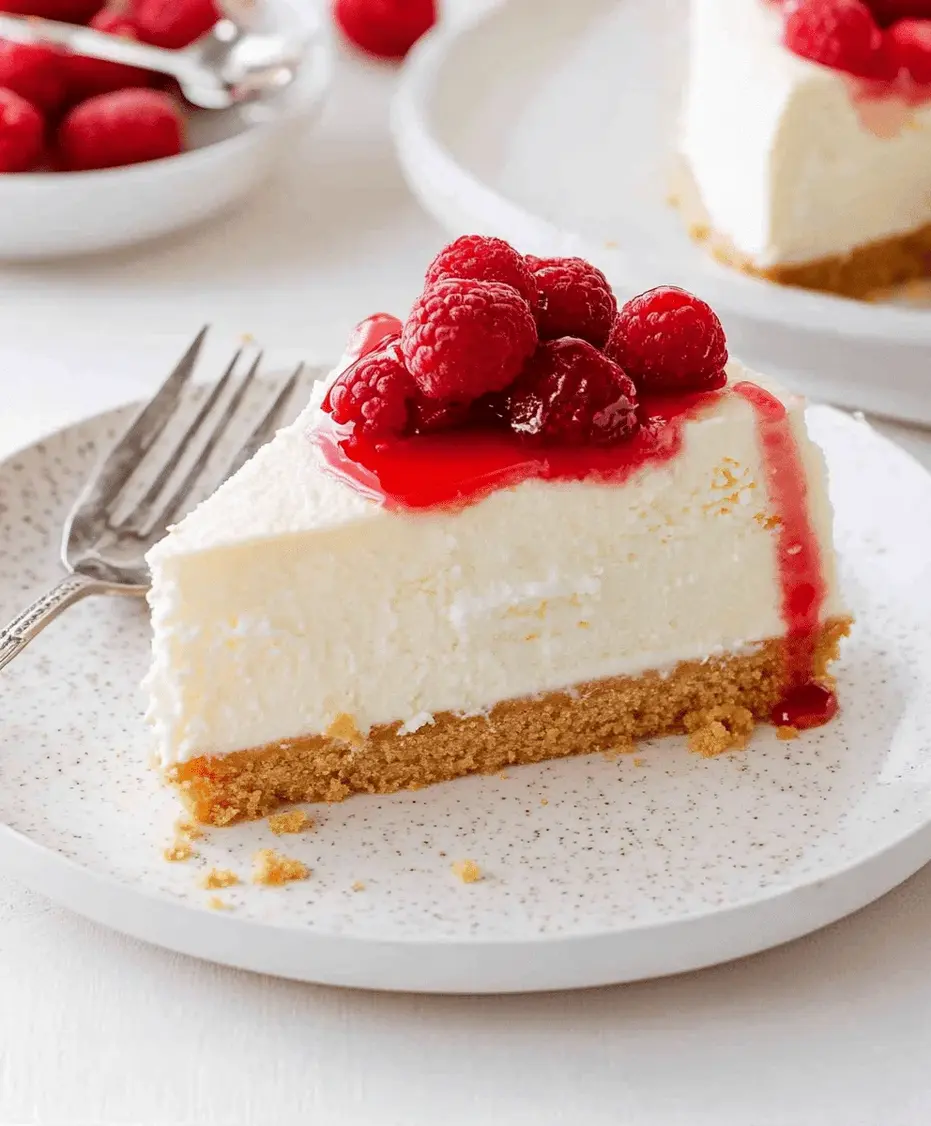
Do you ever find yourself dreaming of a dessert that’s incredibly smooth, wonderfully tangy, and utterly melt-in-your-mouth delicious? If you’re like many home bakers, the pursuit of the perfect Cream Cheese Cake recipe is a noble quest. This isn’t just any cheesecake; it’s a masterpiece of creamy texture and classic flavor, meticulously crafted to be rich, smooth, and oh-so-satisfying. Made with simple, readily available ingredients, this recipe is your golden ticket to impressing guests at any holiday gathering, or simply indulging in a decadent treat whenever the mood strikes. The luxurious, creamy interior paired with a buttery, crumbly crust creates a mouthwatering experience that’s truly unforgettable. Forget complicated techniques; this recipe is designed to deliver professional-level results with surprising ease.
The Star Ingredients for Your Cream Cheese Cake
The magic of this Cream Cheese Cake recipe lies in its straightforward yet luxurious ingredients. We’re focusing on quality to ensure that classic, delightful flavor shines through. Here’s what you’ll need:
For the Buttery Graham Cracker Crust:
- 2 cups graham cracker crumbs (about 10-12 full sheets) – for that essential sweet crunch. If you don’t have graham crackers, digestive biscuits or even shortbread cookies can work, offering a slightly different but equally delightful crumb.
- 1/4 cup granulated sugar – to sweeten and help bind the crumbs.
- 1/2 cup unsalted butter, melted – the glue that holds our glorious crust together, adding richness.
For the Rich Cream Cheese Filling:
- 4 (8-ounce) packages cream cheese, softened to room temperature – the undisputed heart of our cake, yielding that signature creamy, tangy profile. Full-fat cream cheese is key for the best texture.
- 1 1/2 cups granulated sugar – balancing the tang of the cream cheese, ensuring a pleasant sweetness.
- 1/4 cup all-purpose flour – a touch to provide structure and prevent cracking.
- 1 cup sour cream, at room temperature – adds extra creaminess and a subtle tangy note. If unavailable, full-fat plain Greek yogurt is a good substitute.
- 1 teaspoon vanilla extract – essential for that warm, comforting aroma and flavor.
- 4 large eggs, at room temperature – bind everything together and contribute to the rich, dense texture.
Perfecting the Timeline: Prep, Cook, and Savor
30 minutes
75-90 minutes
Minimum 4 hours
Approx. 6 hours 45 minutes
While the total time might seem lengthy, most of it is hands-off chilling time. Typically, cream cheese cakes require around 20-30 minutes of active preparation, followed by 60-90 minutes of baking, and a crucial chilling period of at least 4 hours, often overnight, to allow the flavors to meld and the texture to set perfectly. This recipe aligns well within those average timings, ensuring a reliably delicious outcome.
Crafting Your Masterpiece: Step-by-Step Instructions
Step 1: Prepare the Crust
Let’s begin by creating that irresistible foundation. Preheat your oven to 350°F (175°C). In a medium bowl, combine the graham cracker crumbs and granulated sugar. Pour in the melted butter and stir until all the crumbs are evenly moistened. This mixture should resemble wet sand. Press this mixture firmly and evenly into the bottom of a 9-inch springform pan. You can use the bottom of a glass or measuring cup to get a nice compact layer. Bake the crust for about 8-10 minutes, until it’s lightly golden and fragrant. Once baked, remove it from the oven and set it aside to cool while you prepare the filling.
Step 2: Mix the Cream Cheese Filling
Now for the star of the show! In a large bowl, using an electric mixer (stand mixer or hand mixer), beat the softened cream cheese on medium speed until it’s completely smooth and creamy, with no lumps. This is a crucial step for a silky texture, so don’t rush it. Gradually add the granulated sugar and flour, beating until well combined and smooth. Scrape down the sides and bottom of the bowl as needed. Don’t forget to add the room-temperature sour cream and vanilla extract, mixing until just incorporated. Finally, add the room-temperature eggs, one at a time, beating on low speed after each addition just until the yolk disappears. Overmixing at this stage can incorporate too much air, leading to cracks.
Step 3: Assemble and Bake
Pour the velvety cream cheese filling over the cooled crust in the springform pan. Gently tap the pan on the counter a couple of times to release any air bubbles. To prevent cracks and ensure even baking, you can use a water bath. Wrap the outside of the springform pan tightly with a double layer of heavy-duty aluminum foil. Place the foil-wrapped pan inside a larger roasting pan. Carefully pour hot water into the roasting pan, about halfway up the sides of the springform pan. Bake in the preheated oven for 75-90 minutes. The edges should be set, but the center should still have a slight wobble when gently shaken. It will continue to cook as it cools.
Step 4: Cool and Chill
Once baked, turn off the oven, crack open the oven door slightly, and let the cake cool in the oven for about an hour. This gradual cooling helps further prevent cracking. Carefully remove the cake from the water bath (if used) and discard the foil. Let the cake cool completely on a wire rack at room temperature. Once it’s at room temperature, cover the springform pan loosely with plastic wrap and refrigerate it for at least 4 hours, or preferably overnight. This chilling period is essential for the cake to firm up and for the flavors to fully develop. Before serving, run a thin knife around the edge of the pan to loosen the cake, then carefully release the springform ring.
Nutritional Snapshot
While specific nutritional values can vary based on exact ingredients and portion sizes, a typical slice of rich cream cheese cake, when serving 12-16 people, generally contains:
- Calories: 350-500 kcal
- Fat: 25-40g
- Carbohydrates: 25-40g
- Protein: 5-8g
- Sugar: 20-35g
(Note: These are estimates and do not include toppings.)
Making it Healthier Without Sacrificing Flavor
Looking for ways to make this decadent dessert a bit lighter? You can introduce some healthier swaps while still preserving that delightful creamy taste and texture:
- Crust: Swap graham crackers for crushed whole-wheat biscuits or even a mix of oats and nuts for added fiber and healthier fats. Reduce the sugar in the crust slightly, or omit it if your biscuits are sweet enough.
- Cream Cheese: Use a combination of regular cream cheese and a lighter version, or even low-fat cream cheese. The texture might be slightly less dense, but the flavor will still be there.
- Sour Cream: Opt for plain Greek yogurt (full-fat or low-fat) which also adds protein.
- Sweetener: While sugar is traditional, you can experiment with natural sweeteners like maple syrup or a sugar substitute, but be mindful of how they affect the texture and moisture content. Reduce the overall sugar quantity.
- Portion Control: The simplest “healthier alternative” is often just enjoying a smaller, more mindful slice!
Elevate Your Cream Cheese Cake Experience
This Cream Cheese Cake is a star on its own, but here are a few ways to enhance its appeal:
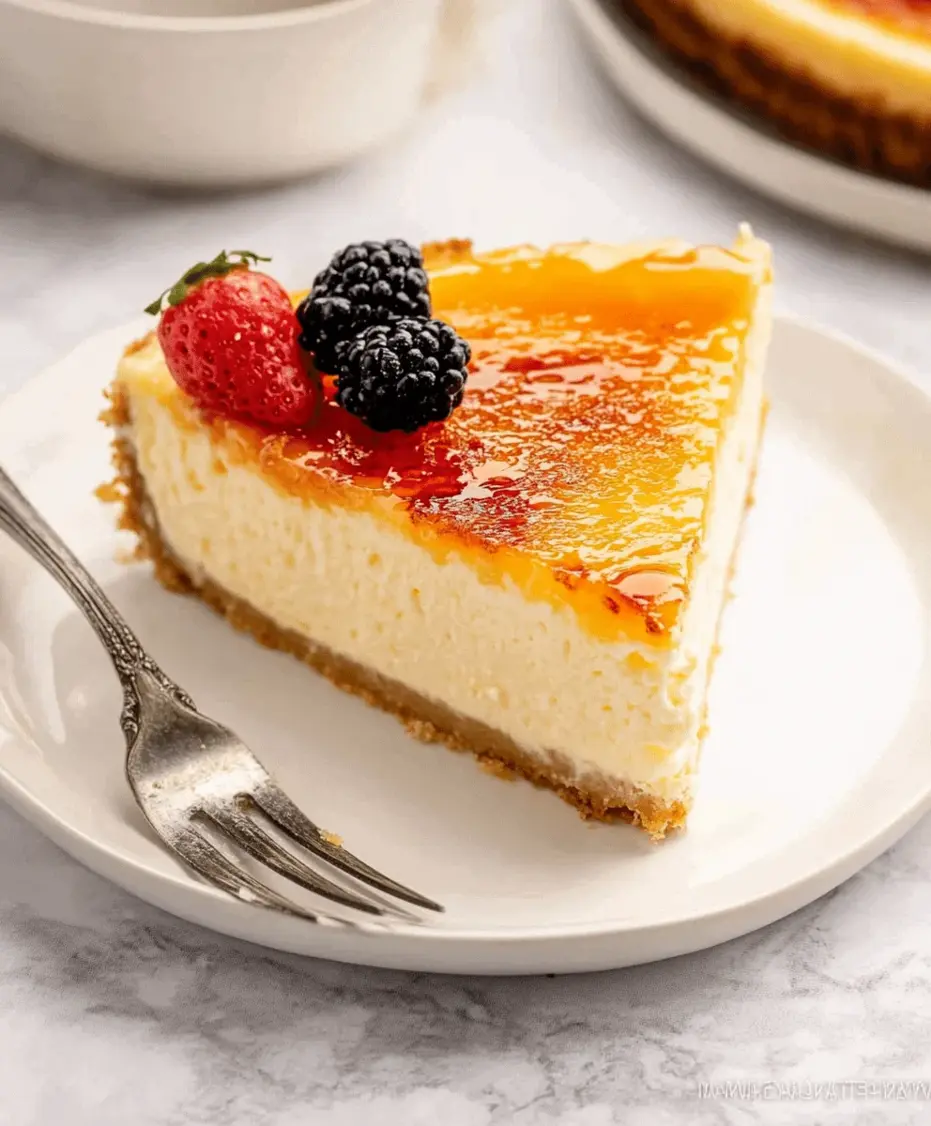
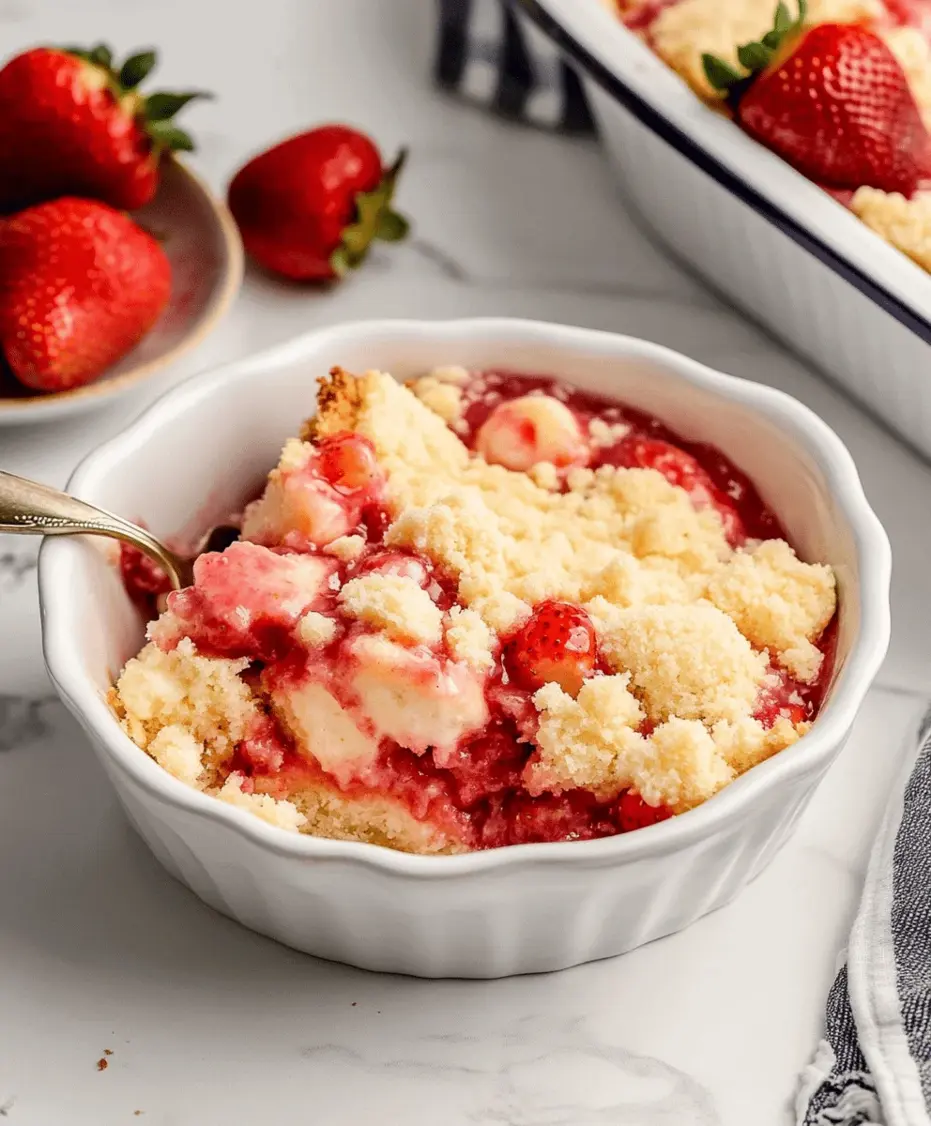
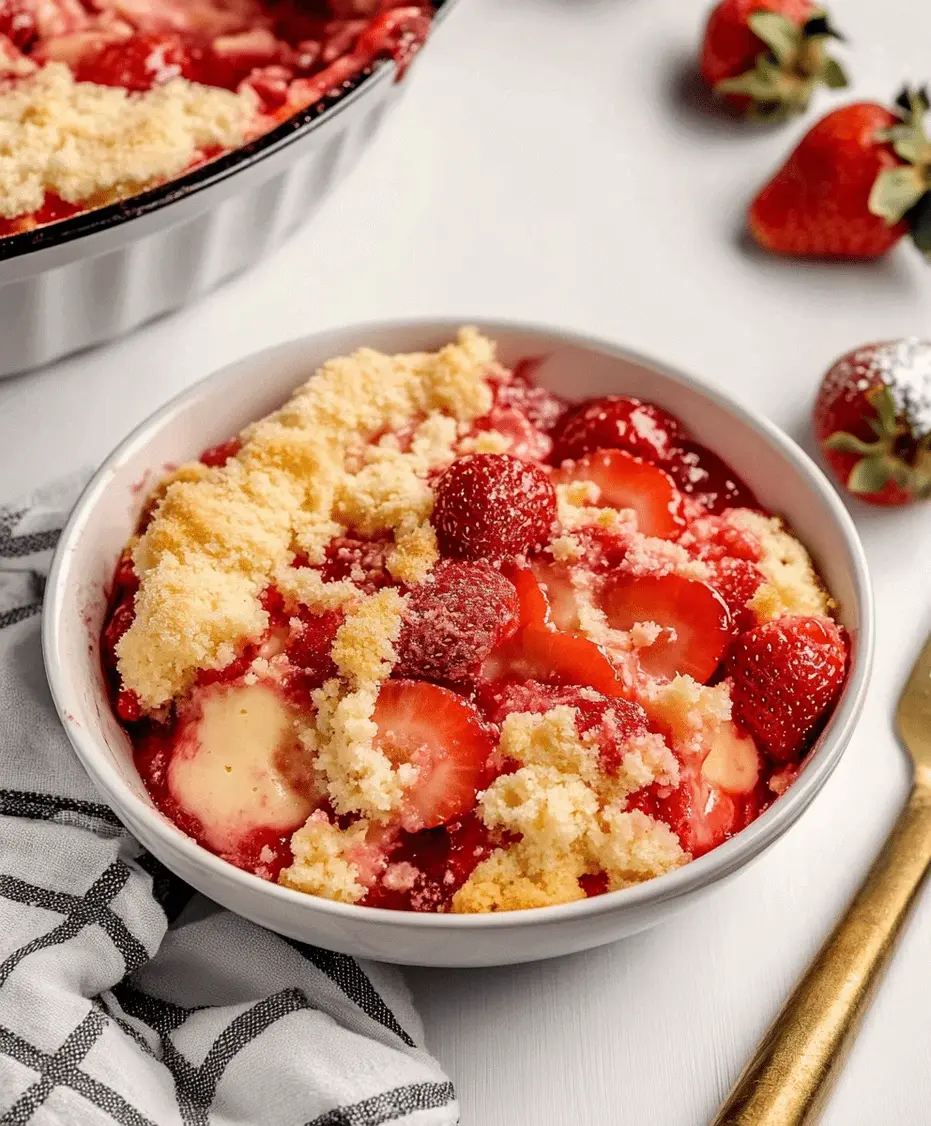
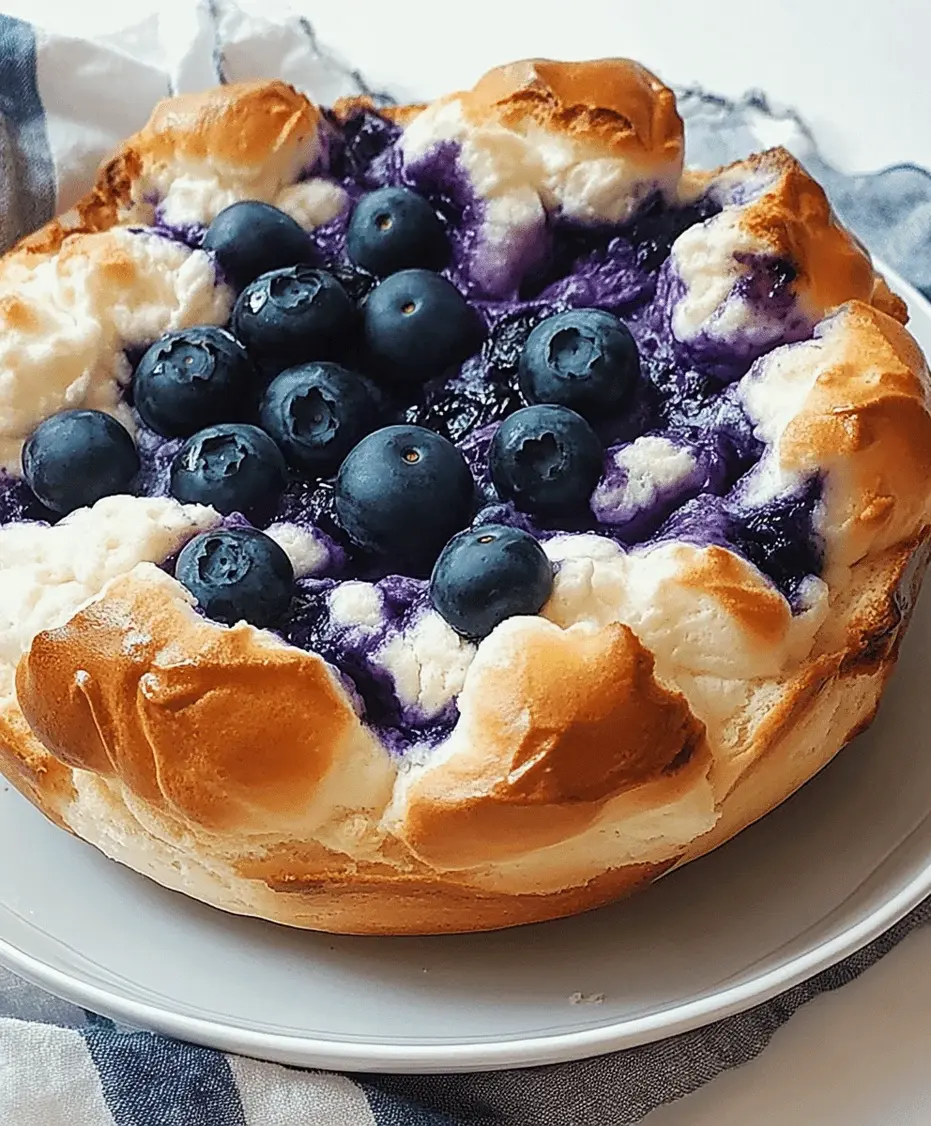
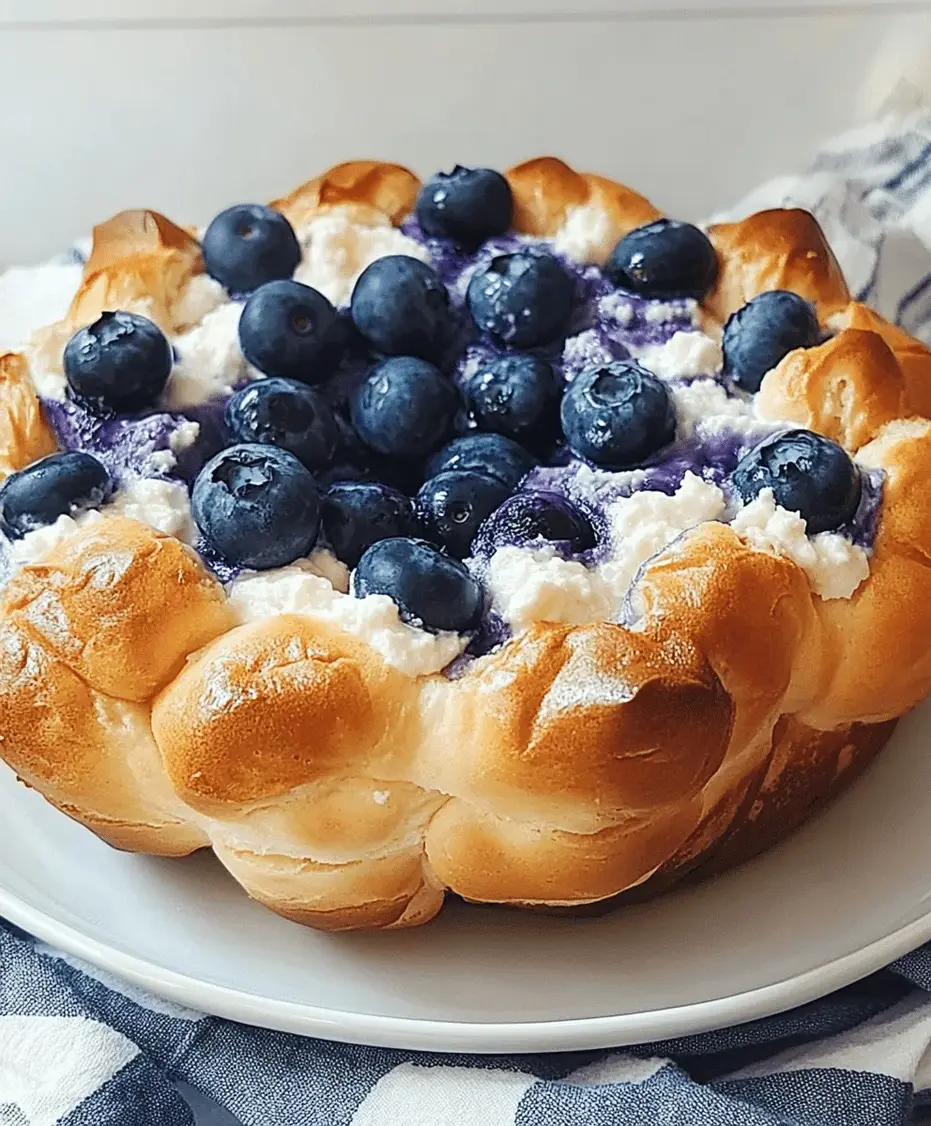
- Fresh Berries: A simple topping of fresh strawberries, blueberries, or raspberries adds a burst of color and a refreshing tartness that beautifully contrasts the richness of the cake.
- Fruit Compote: A homemade or store-bought cherry, blueberry, or mixed berry compote is a classic and delicious pairing.
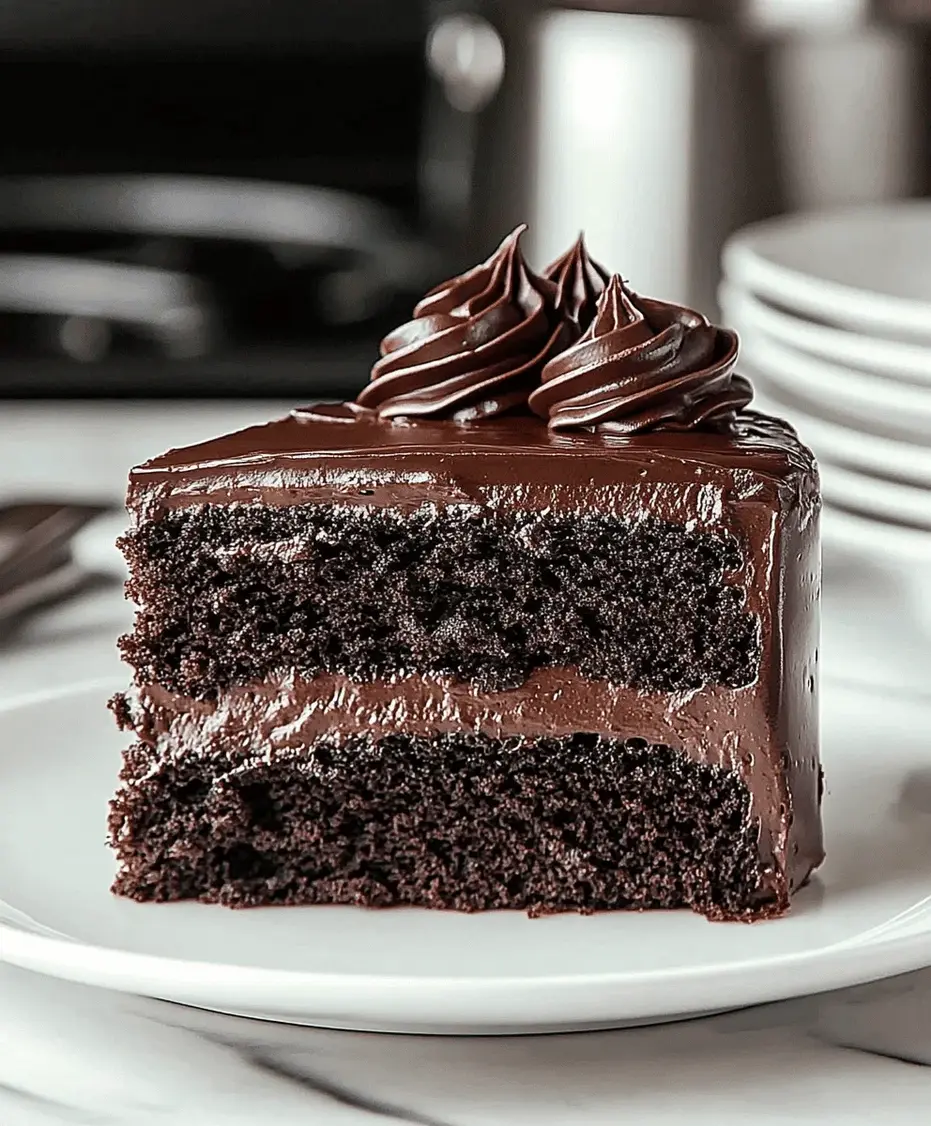
- Chocolate Drizzle: For the chocolate lovers, a drizzle of melted dark chocolate or a rich chocolate ganache is pure indulgence.
- Whipped Cream: A dollop of lightly sweetened fresh whipped cream is always a welcome addition.
- Caramel Sauce: A drizzle of salted caramel sauce adds a sophisticated sweet and salty dimension.
Common Mistakes to Avoid for the Perfect Bake
Even the most experienced bakers can encounter issues. Here are common pitfalls to sidestep for a flawless Cream Cheese Cake:
- Using Cold Ingredients: Ensure cream cheese, sour cream, and eggs are at room temperature. Cold ingredients won’t emulsify properly, leading to a lumpy batter and potential cracking.
- Overmixing the Batter: Especially after adding eggs. Overmixing incorporates too much air, which expands and then collapses during baking, causing cracks and a dense texture.
- Not Baking It Long Enough: The center should still have a slight wobble. If it’s completely firm while baking, it might be overbaked.
- Sudden Temperature Changes: Cooling the cake too rapidly (e.g., taking it straight from the hot oven to a cold counter) can cause it to crack. Use the gradual cooling method.
- Not Chilling Enough: This is vital for texture. A warm or improperly chilled cake will be soft and likely fall apart when sliced.
Storing Your Cream Cheese Cake
Proper storage is key to maintaining the delightful texture and flavor of your cream cheese cake:
- Refrigeration is Essential: Once cooled completely, cover the cake (in its pan or transferred to an airtight container) and refrigerate. This is the best way to keep it fresh and firm.
- How Long it Lasts: Stored properly in the refrigerator, your cream cheese cake should remain delicious for up to 4-5 days.
- Freezing: While not ideal for the absolute best texture, you can freeze cream cheese cake. Wrap individual slices or the entire (unfrosted) cake tightly in plastic wrap and then in foil. Freeze for up to 1-2 months. Thaw overnight in the refrigerator before serving.
Frequently Asked Questions
Why did my cream cheese cake crack?
Cracking is often due to overmixing (incorporating too much air), oven temperature being too high, or the cake cooling too rapidly. Using a water bath and gradual cooling can help prevent this.
Can I use a different type of crust?
Absolutely! While graham crackers are classic, you can use crushed Oreos, shortbread cookies, digestive biscuits, or even a nut-based crust. Just ensure you have enough melted butter to bind the crumbs.
What’s the best way to ensure a smooth filling?
Make sure your cream cheese and other dairy ingredients (like sour cream) are at room temperature. Beat the cream cheese until it’s completely smooth *before* adding other ingredients. Avoid overmixing once the eggs are added.
Why does the recipe call for room temperature eggs and dairy?
Room temperature ingredients emulsify better, creating a smoother, more homogenous batter. This leads to a better texture and helps prevent lumps and cracks in your finished cake.
Can I make this cheesecake without a springform pan?
It’s much harder to remove the cake cleanly without a springform pan. If you don’t have one, you could try a deep-dish pie plate lined with parchment paper, leaving generous overhangs to help lift it out. However, the sides won’t be as neat.
There you have it – a foolproof method for creating a truly exceptional Cream Cheese Cake that will become a staple in your dessert repertoire. Its creamy, rich texture and perfect balance of sweetness and tang make it an irresistible treat for any occasion. Don’t wait to bake this showstopper; gather your ingredients and prepare to delight your taste buds!
Cream Cheese Cake Recipe
Description
This Cream Cheese Cake recipe delivers a rich, smooth dessert packed with classic flavor. Made with simple ingredients, it’s perfect for holidays, gatherings, or whenever you crave a decadent treat. The creamy texture and buttery crust create a mouthwatering experience everyone will love.
Ingredients
- 2 cupsgraham cracker crumbs
- ½ cupunsalted butter, melted
- 3(8 oz) packages cream cheese, softened
- 1 cupgranulated sugar
- 1 tspvanilla extract
- 3large eggs
- ½ cupsour cream
- 2 tbspall-purpose flour
Instructions
Notes
Ensure all ingredients are at room temperature for a smoother batter. Use a water bath for an even bake and to prevent cracking.
Nutrition
- Calories: 420
- Sugar: 26g
“`