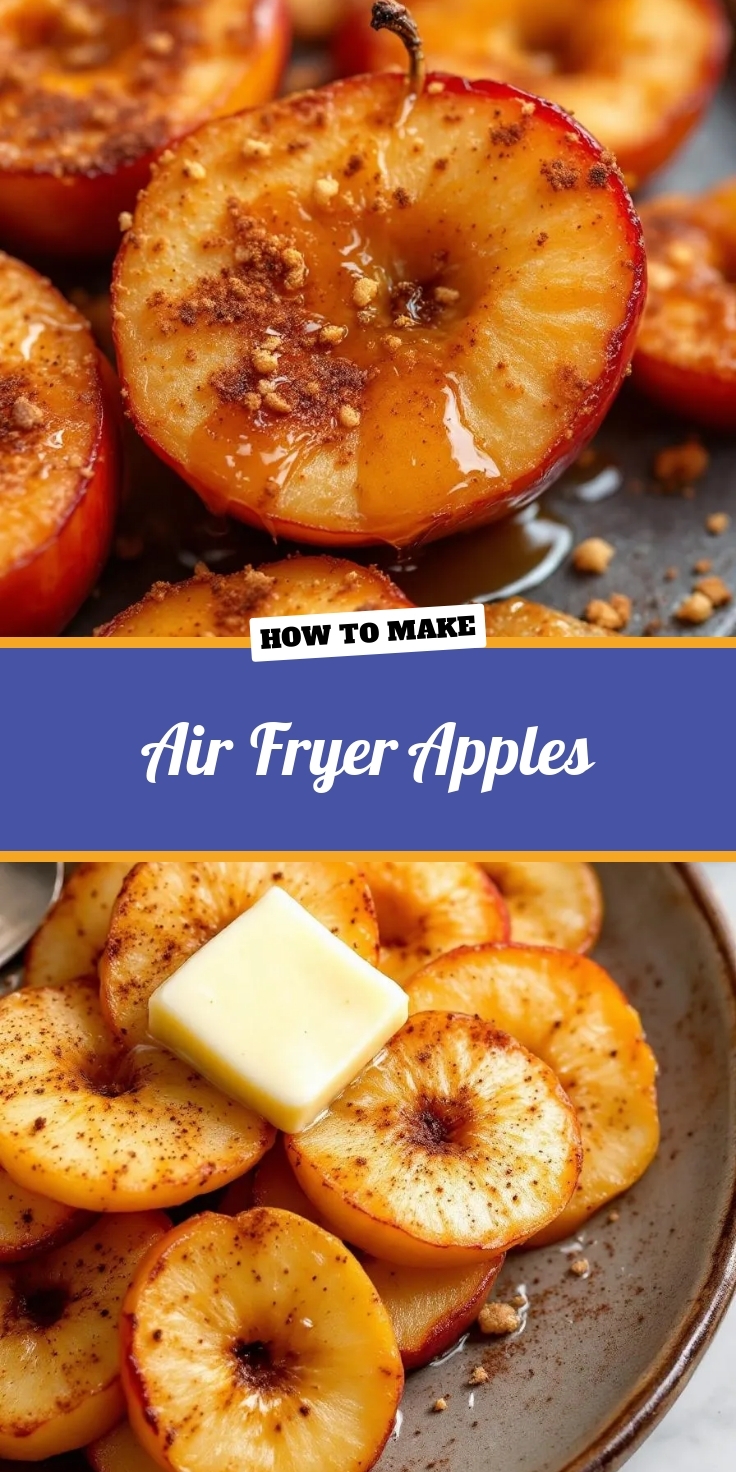
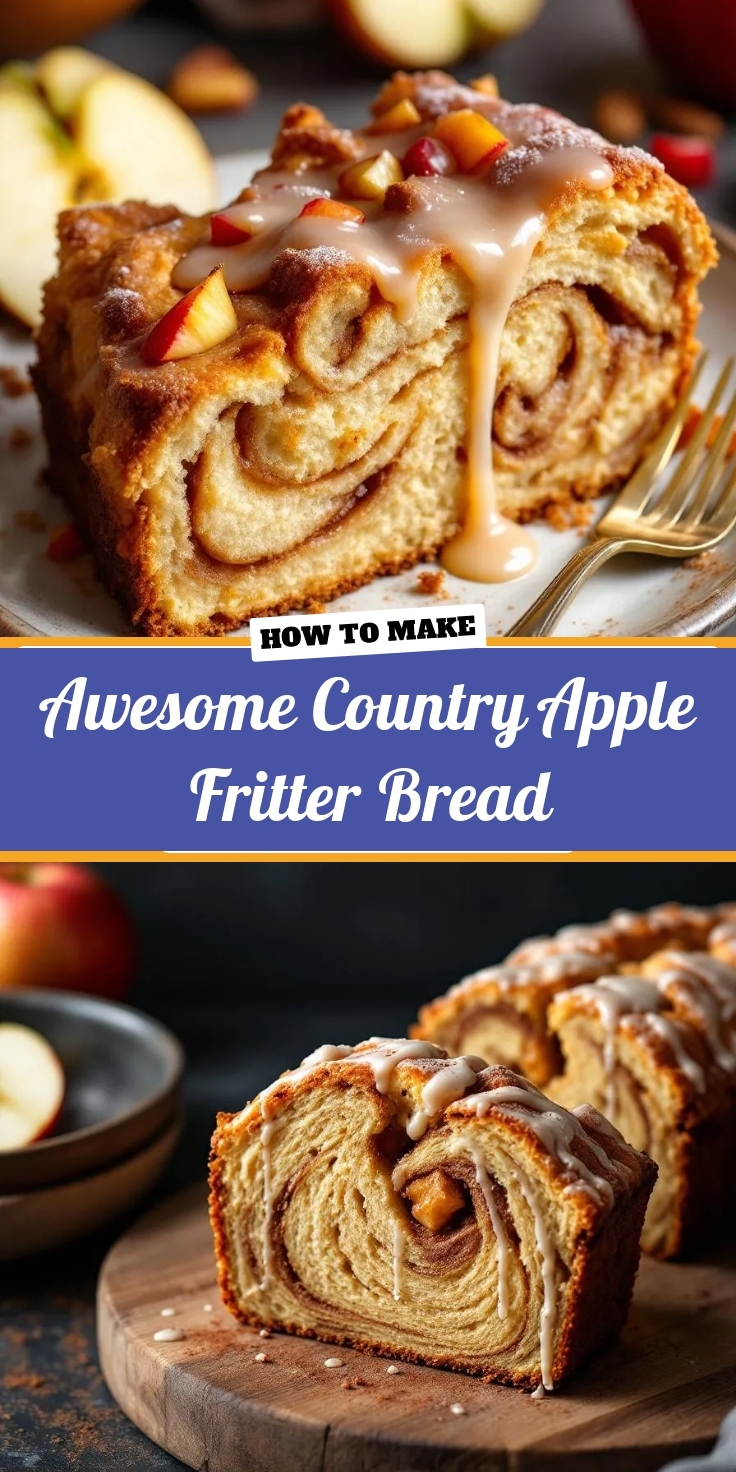
Is there anything more comforting than the smell of warm apples and cinnamon wafting through your kitchen? Honestly, I think not. That incredible aroma instantly transports me to a cozy autumn morning, wrapped in a flannel blanket with a hot cup of coffee. This feeling, this pure comfort, is exactly what I want to share with you today. We are diving headfirst into the most incredible loaf of Awesome Country Apple Fritter Bread you will ever bake. Furthermore, it perfectly captures the essence of your favorite fairground treat but in a simple, foolproof quick bread form that fills your home with unbelievable fragrance and joy.
About This Recipe
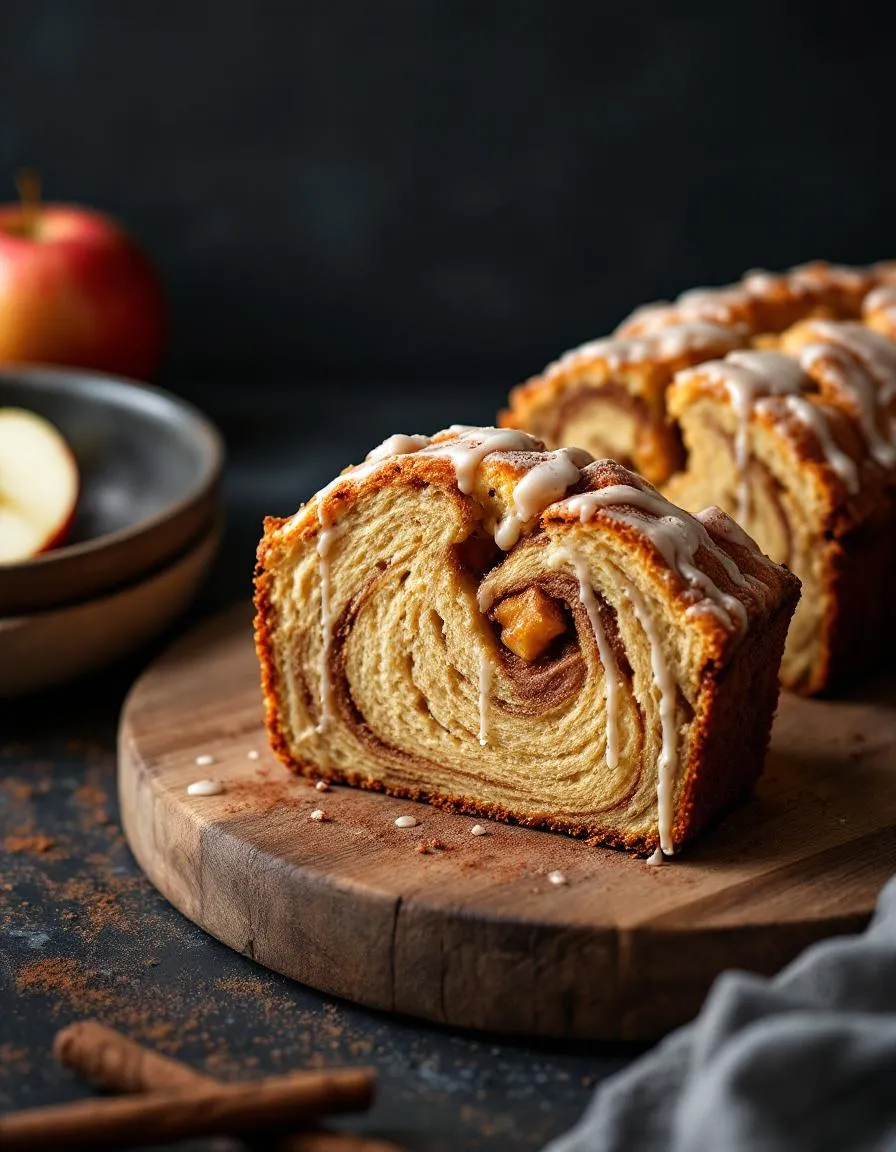
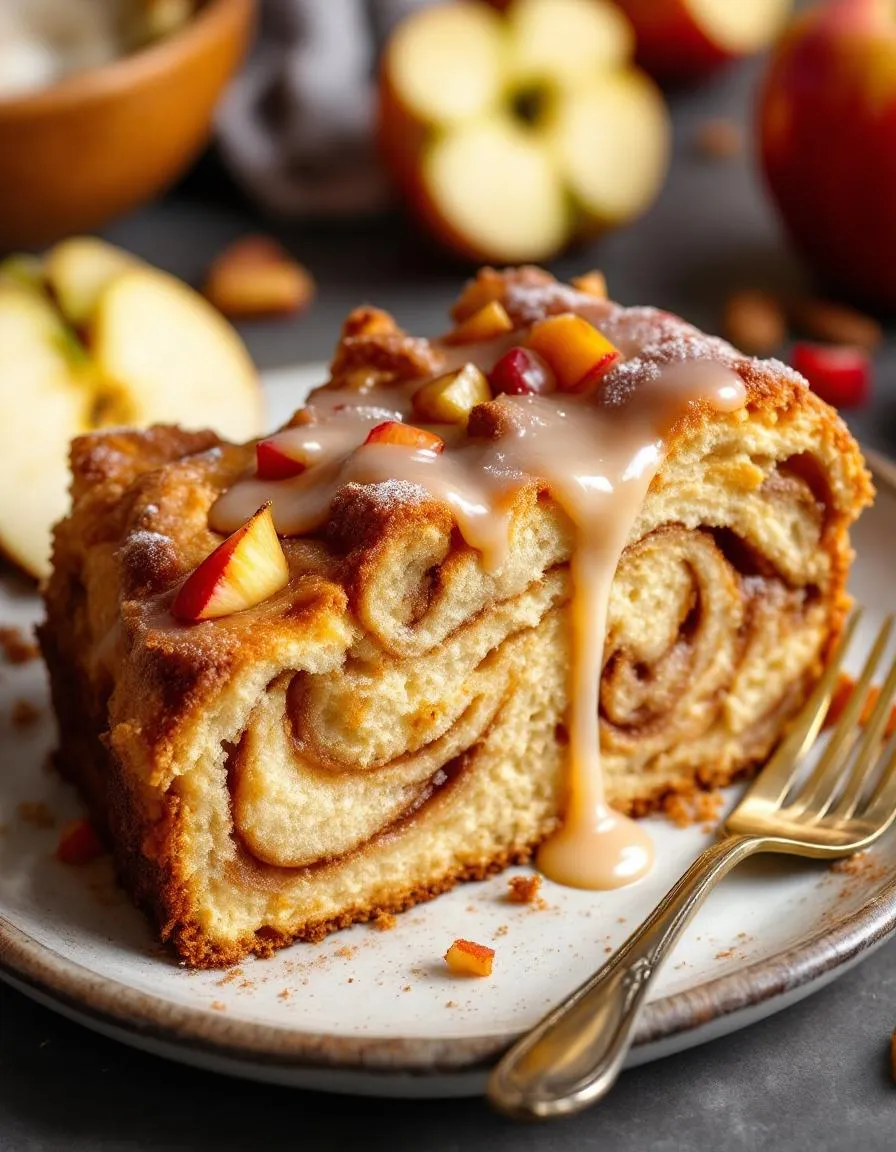
So what exactly is this Awesome Country Apple Fritter Bread? Essentially, it is a moist, tender cinnamon-spiced cake absolutely loaded with fresh, soft apple chunks. Moreover, a buttery cinnamon swirl ribbons through the center, and a generous blanket of crunchy cinnamon streusel tops it all off. Finally, we crown the entire warm loaf with a simple vanilla glaze that seeps into every nook and cranny, exactly like the glaze on a classic apple fritter. This recipe matters because it delivers that deep-fried, doughnut-shop flavor and texture without any of the fuss or mess of a pot of hot oil. Consequently, it becomes the perfect project for a leisurely weekend bake, a stunning gift for a neighbor, or a show-stopping centerpiece for your brunch table.
This recipe fits the Brek Cakes tone perfectly because we celebrate approachable baking that delivers maximum reward. We focus on clear instructions and reliable results, whether you are making a classic vanilla cake or something more decadent. Additionally, this Awesome Country Apple Fritter Bread uses simple ingredients you likely already have in your pantry, transforming them into something truly spectacular. It is the kind of bake that feels both nostalgic and excitingly new. For instance, the process of layering the batter and swirl is incredibly satisfying, much like assembling a beautiful berry chantilly cake, but with a wonderfully rustic, country-style charm. Ultimately, every single bite promises a perfect harmony of soft cake, sweet fruit, warming spice, and delightful crunch.
Why I Love This Recipe
I have a profound personal connection to this Awesome Country Apple Fritter Bread because it directly links to my childhood. My grandmother would always buy us apple fritters from a specific roadside stand on our way to go apple picking each fall. The taste was pure magic. When I finally developed this recipe, I knew I had captured that same magic the moment the scent hit me. I love how this bread makes my entire house smell like a bakery and how it brings everyone running to the kitchen. Most importantly, it is my go-to recipe for creating new memories with my own family, proving that the simplest bakes often hold the most powerful emotional weight.
Health and Nutrition
Why it’s good for your body
Awesome Country Apple Fritter Bread offers more than just incredible flavor. For instance, it packs a wholesome punch from its real apple content. Apples provide essential soluble fiber, which actively supports healthy digestion and helps you feel full longer. Furthermore, this fiber, specifically pectin, can contribute to maintaining healthy cholesterol levels.
Moreover, this delicious bread delivers important micronutrients. Apples bring a dose of vitamin C, a powerful antioxidant that protects your cells. Additionally, cinnamon, a key spice, boasts anti-inflammatory properties and may help regulate blood sugar. Consequently, each slice does more than satisfy your sweet tooth; it also delivers genuine nutritional value.
Ultimately, choosing Awesome Country Apple Fritter Bread means you choose a treat with benefits. Unlike many empty-calorie snacks, it provides sustained energy from complex carbohydrates and natural sugars. Therefore, you can enjoy this comforting bake knowing it fuels your body thoughtfully. Finally, the inclusion of whole ingredients makes every bite of Awesome Country Apple Fritter Bread a step toward mindful indulgence.
How it fits in a healthy lifestyle
Awesome Country Apple Fritter Bread fits beautifully into a balanced diet when you enjoy it mindfully. Think of it as a satisfying snack or a special breakfast treat rather than an everyday staple. Pair a slice with a source of protein like Greek yogurt or a handful of nuts to create a more complete and sustaining meal that keeps your energy levels steady throughout the morning.
If you are exploring more wholesome baking options, you can easily find ways to adapt this recipe to suit your needs. For those managing sugar intake, try reducing the brown sugar slightly and relying on the natural sweetness of the apples. You can discover more tips for creating healthier versions of your favorite baked goods in our guide on healthy baking substitutes. Remember, balance is key, so enjoy your Awesome Country Apple Fritter Bread alongside a variety of nutrient-dense foods.
This approach to eating allows you to relish the flavors you love without guilt. Planning your meals and snacks intentionally is a cornerstone of maintaining a healthy lifestyle. For more inspiration on building a nutritious weekly plan that includes room for homemade treats, check out our collection of healthy meal prep ideas.
PrintAwesome Country Apple Fritter Bread
Description
A moist, spiced quick bread swirled with cinnamon-sugar coated apples and topped with a sweet glaze, reminiscent of classic apple fritters.
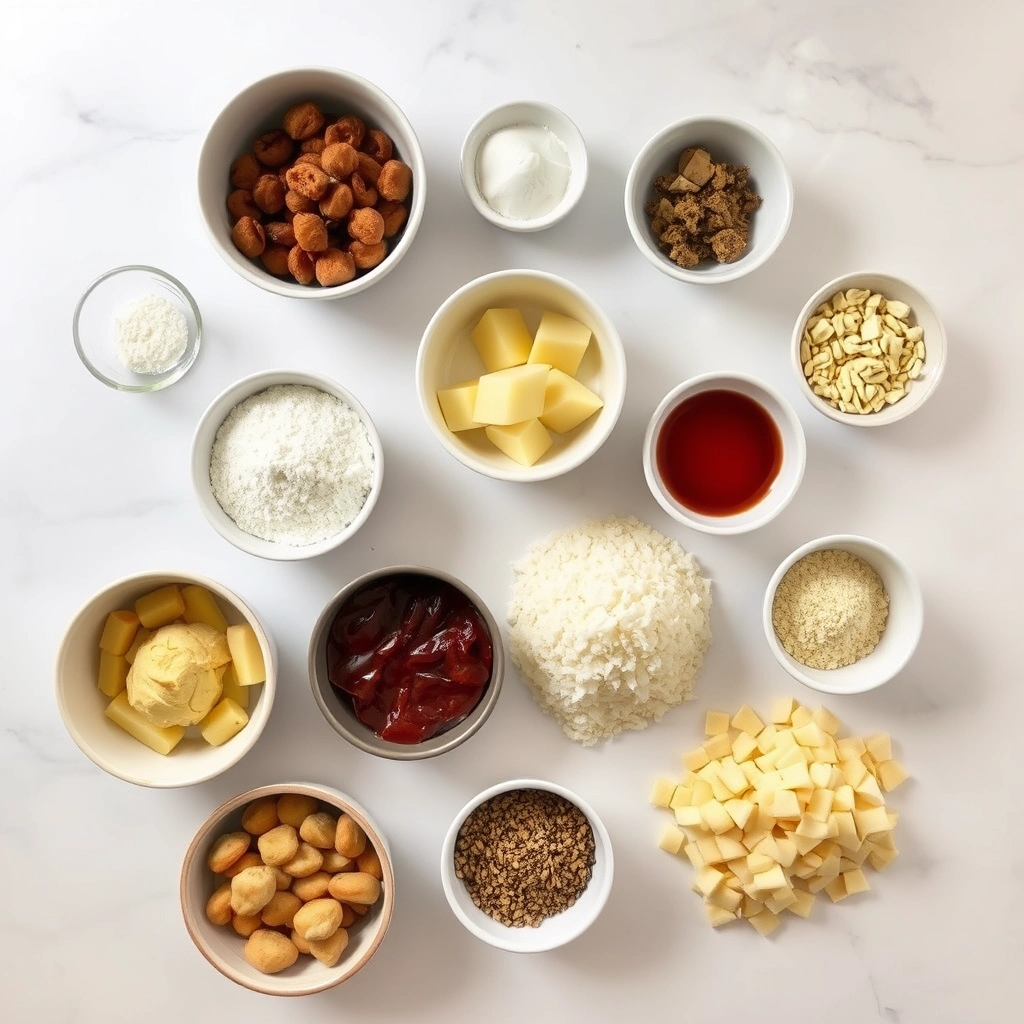
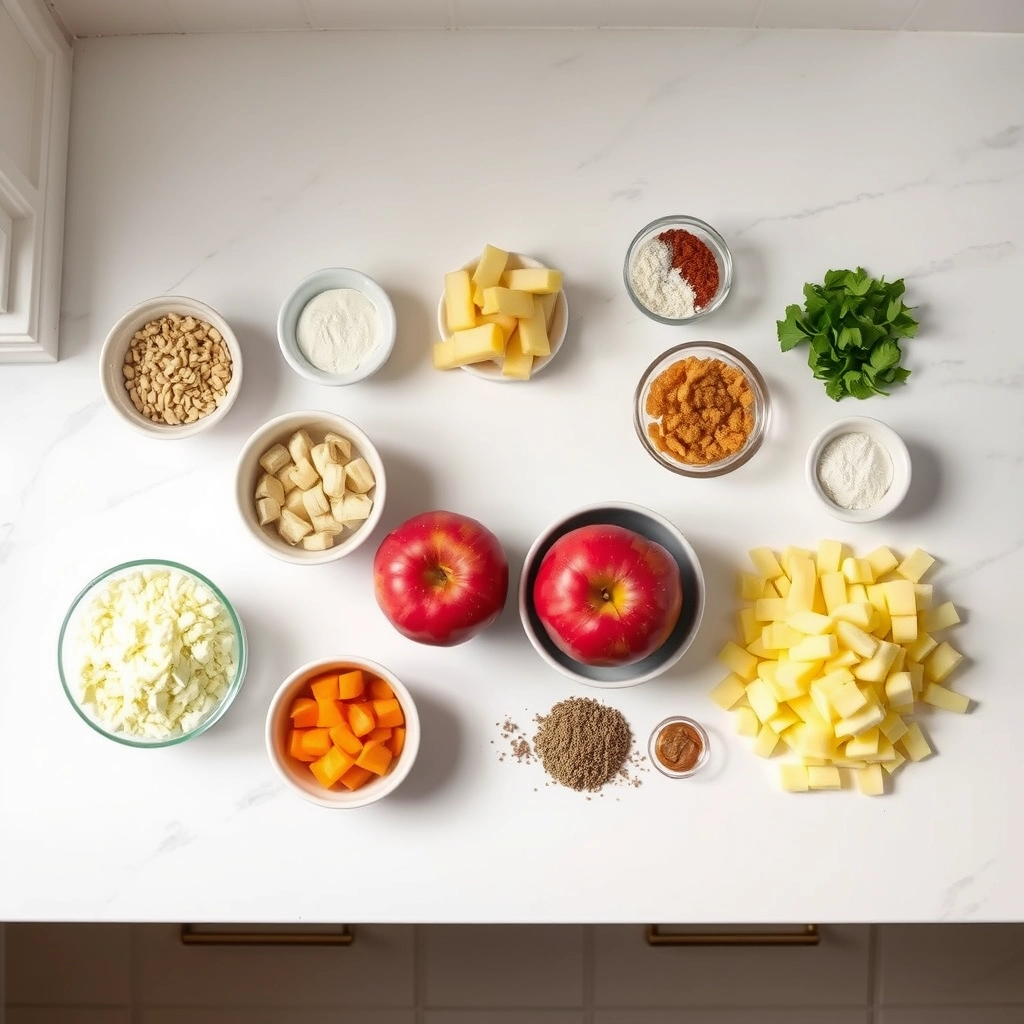
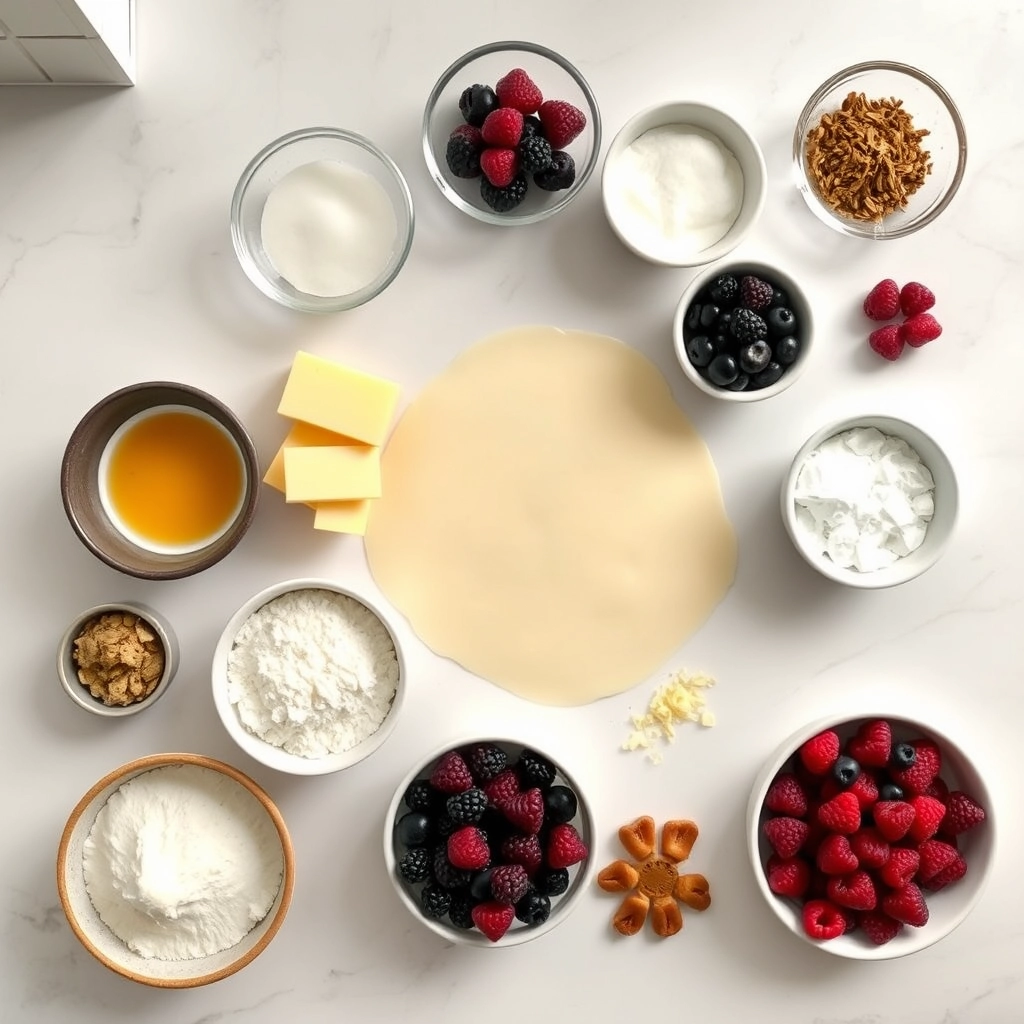
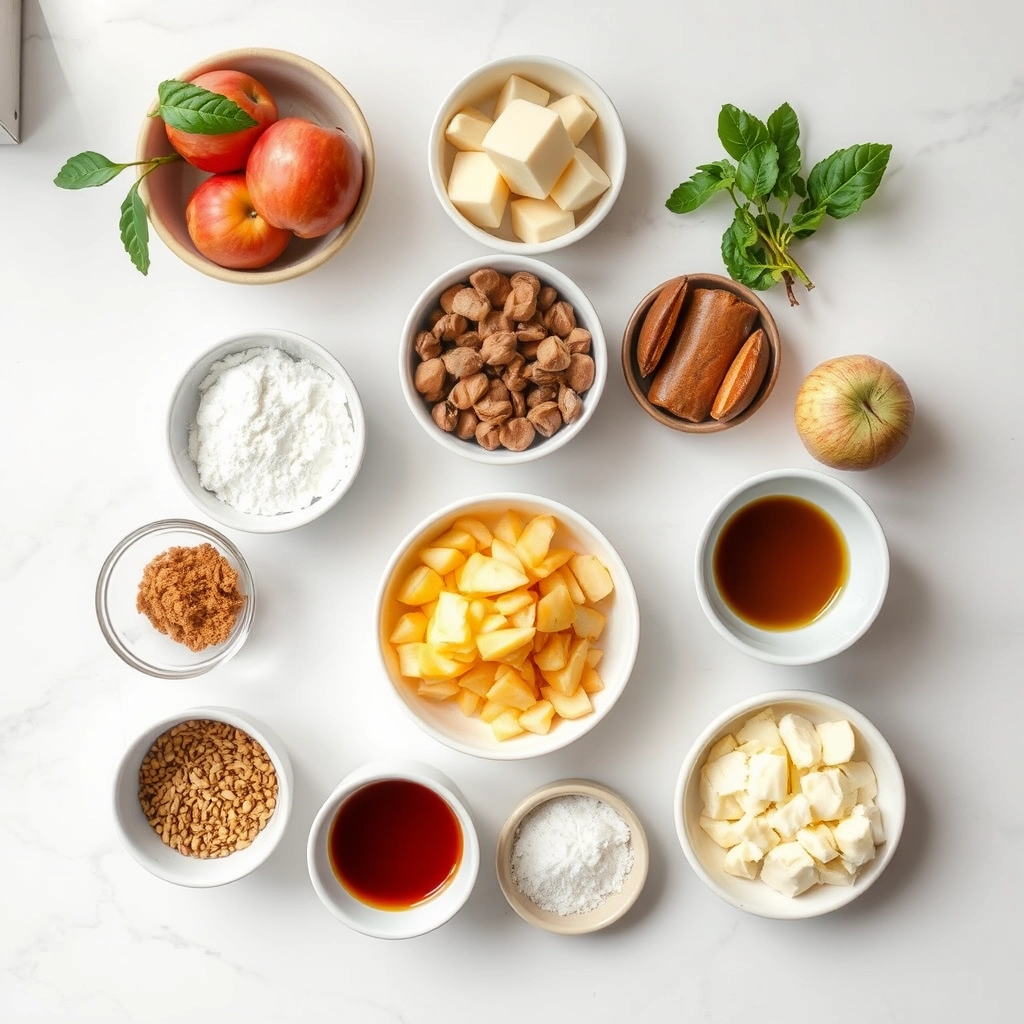
Ingredients
For the Crust:
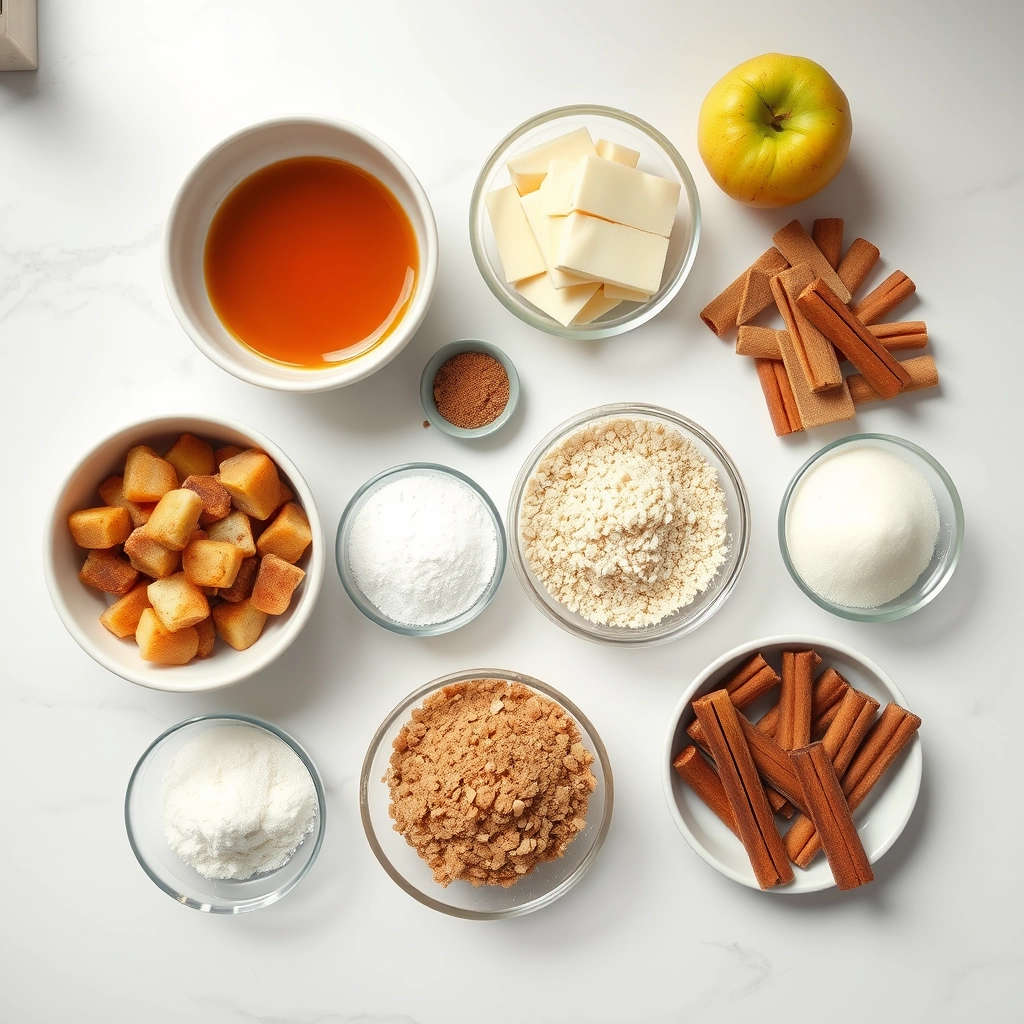
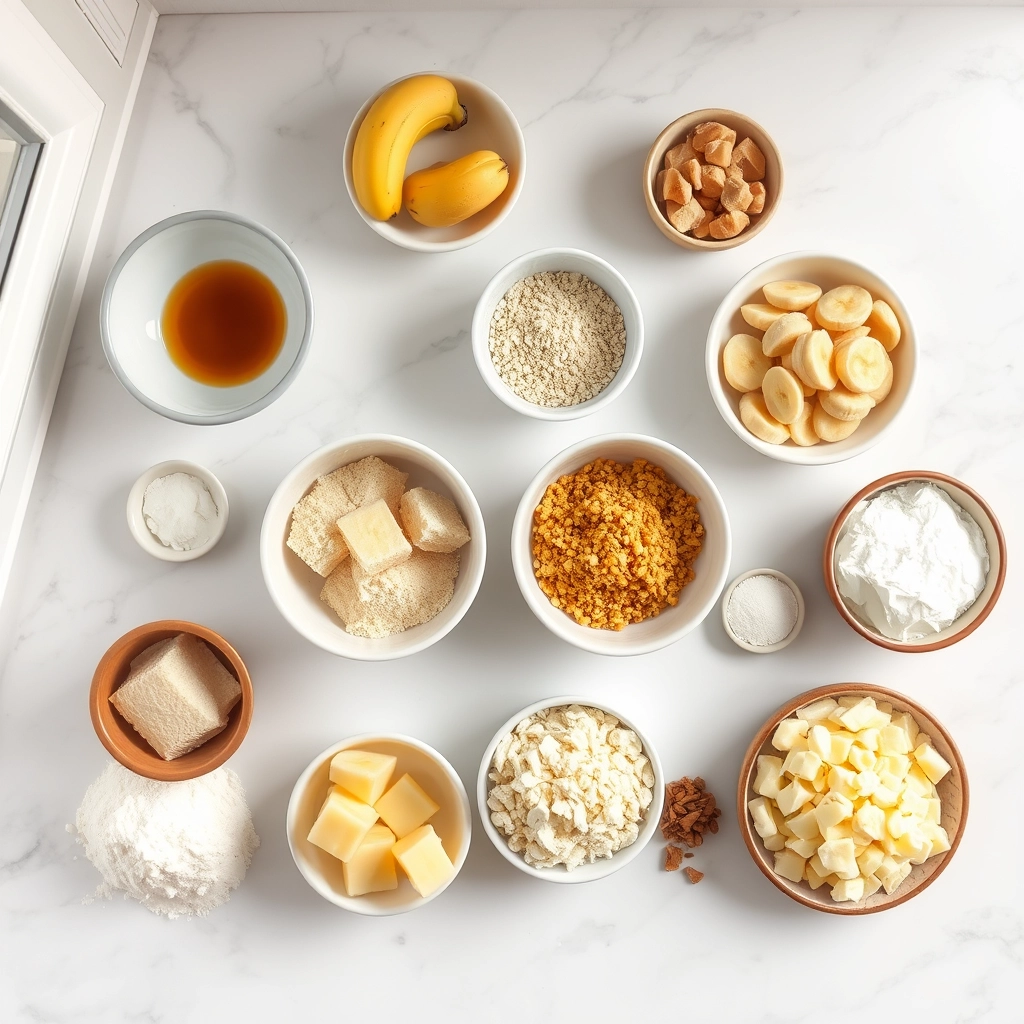
- 2 cups all-purpose flour
- 1 1/2 teaspoons baking powder
- 1/2 teaspoon baking soda
- 1/2 teaspoon salt
- 2 teaspoons ground cinnamon
- 1/2 cup unsalted butter, softened
- 3/4 cup granulated sugar
- 2 large eggs
- 1 teaspoon vanilla extract
- 1 cup sour cream
- 2 medium apples, peeled and diced (such as Granny Smith)
- 1/3 cup brown sugar
- 1 cup powdered sugar
- 2–3 tablespoons milk
Instructions
1. Prepare the Crust:
- Preheat oven to 350°F (175°C). Grease a 9×5 inch loaf pan.
- In a medium bowl, whisk together flour, baking powder, baking soda, salt, and 1 teaspoon cinnamon.
- In a large bowl, cream butter and granulated sugar until light and fluffy. Beat in eggs one at a time, then vanilla. Mix in sour cream.
- Gradually add dry ingredients to wet ingredients, mixing until just combined. Fold in diced apples.
- In a small bowl, mix brown sugar and remaining 1 teaspoon cinnamon. Pour half the batter into the prepared pan. Sprinkle half the cinnamon-sugar mixture over batter. Top with remaining batter, then remaining cinnamon-sugar. Swirl gently with a knife.
- Bake for 50-60 minutes, or until a toothpick inserted comes out clean. Cool in pan 15 minutes, then transfer to a wire rack.
- Whisk powdered sugar and milk until smooth to make glaze. Drizzle over cooled bread before serving.
Notes
You can customize the seasonings to taste.
How to Prepare This Dish
Steps and time-saving tips
First, preheat your oven and generously grease a standard loaf pan. Next, whisk together all your dry ingredients in a large bowl. In a separate bowl, vigorously cream the softened butter and sugars until the mixture is light and fluffy. Then, beat in the eggs one at a time, followed by the vanilla. Gradually add your dry ingredients to this wet mixture, alternating with splashes of milk, and stir just until the batter comes together. For the crowning glory, toss your diced apples with cinnamon and sugar in a small bowl. Now, pour half of your batter into the prepared pan. Sprinkle a generous layer of the apple mixture over it. Carefully spread the remaining batter on top, and finally, finish with the rest of your spiced apples. A quick swirl with a knife creates those beautiful marbled streaks. Meanwhile, whisk the simple glaze until it’s perfectly smooth. Bake your Awesome Country Apple Fritter Bread until a toothpick inserted in the center comes out clean. Let the loaf cool slightly before you drizzle that sweet glaze over the top. For a fantastic time-saving tip, measure your dry ingredients the night before. Furthermore, use a cookie scoop to easily distribute the batter and apple layers evenly.
Mistakes I’ve made and learned from
I used to overmix the batter in a rush, which resulted in a disappointingly tough loaf instead of the tender crumb this Awesome Country Apple Fritter Bread deserves. I learned that a few gentle folds are all you need once the flour is incorporated. Another classic error was using the wrong apples; a mushy variety practically vanished during baking. Now I always choose a firm, tart apple that holds its shape and provides a perfect texture. Getting the glaze right was another hurdle. I once made it far too thin, and it just pooled around the bread instead of creating that beautiful, crackly white topping. My solution was to add the liquid gradually until it reached a thick but pourable consistency. For more guidance on selecting the best fruit, my post on choosing the right apples breaks it all down. And if your baking results are sometimes inconsistent, check out my tips for managing your oven’s temperature; it made a world of difference for me.
Cultural Connection and Variations
Where this recipe comes from
This recipe pulls its cozy charm straight from the heart of American farmhouse kitchens. Generations of home bakers perfected the art of turning a simple apple harvest into something spectacular. They essentially captured the soul of a hot, sugary apple fritter and baked it into a comforting loaf. Consequently, every slice delivers that irresistible fried-dough flavor without any of the fuss. My own grandmother always made her version with a sharp tart apple, claiming it stood up better to the sweet glaze. Meanwhile, other families might add a handful of raisins or chopped walnuts to the batter for extra texture. Travel to Europe, however, and you will find a different approach altogether. German bakers often incorporate yeast for a lighter, brioche-like crumb, while the Dutch might serve their appeltaart with a thick layer of almond paste. Regardless of the method, the goal remains the same: celebrating the humble apple. Ultimately, this Awesome Country Apple Fritter Bread carries on that wonderful tradition of resourceful and heartfelt baking.
How it fits in today’s cooking
This bread absolutely earns its place in modern cooking as the ultimate comfort food. It seamlessly fits into our busy lives, offering a taste of nostalgia without requiring a whole day in the kitchen. Furthermore, contemporary bakers constantly find new ways to make it their own. Many now use gluten-free flour blends or swap in coconut sugar for a different depth of flavor. You can easily turn this treat into a spectacular weekend brunch centerpiece, especially when paired with a creamy drink. For a truly unforgettable spread, consider serving it next to a pitcher of homemade salted caramel white chocolate cold foam for coffee. Its cozy, spiced aroma also makes it a staple for holiday mornings and autumn gatherings. In fact, its welcoming flavor profile makes it a perfect partner for other seasonal bakes. For instance, it pairs beautifully with the rich, spiced notes of a pumpkin cinnamon roll cake. This Awesome Country Apple Fritter Bread, therefore, is more than a recipe; it is a versatile and beloved part of our current food story.
Taste and Texture
What makes it delicious
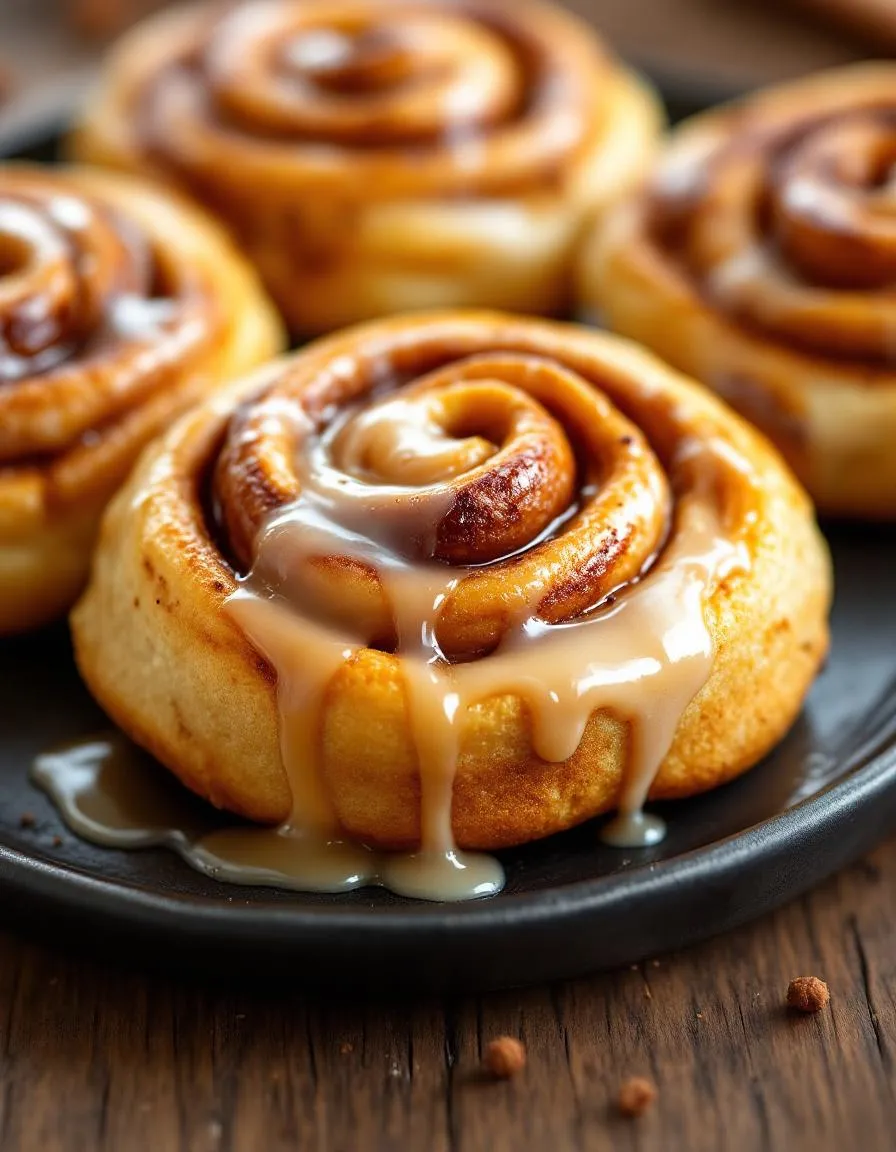
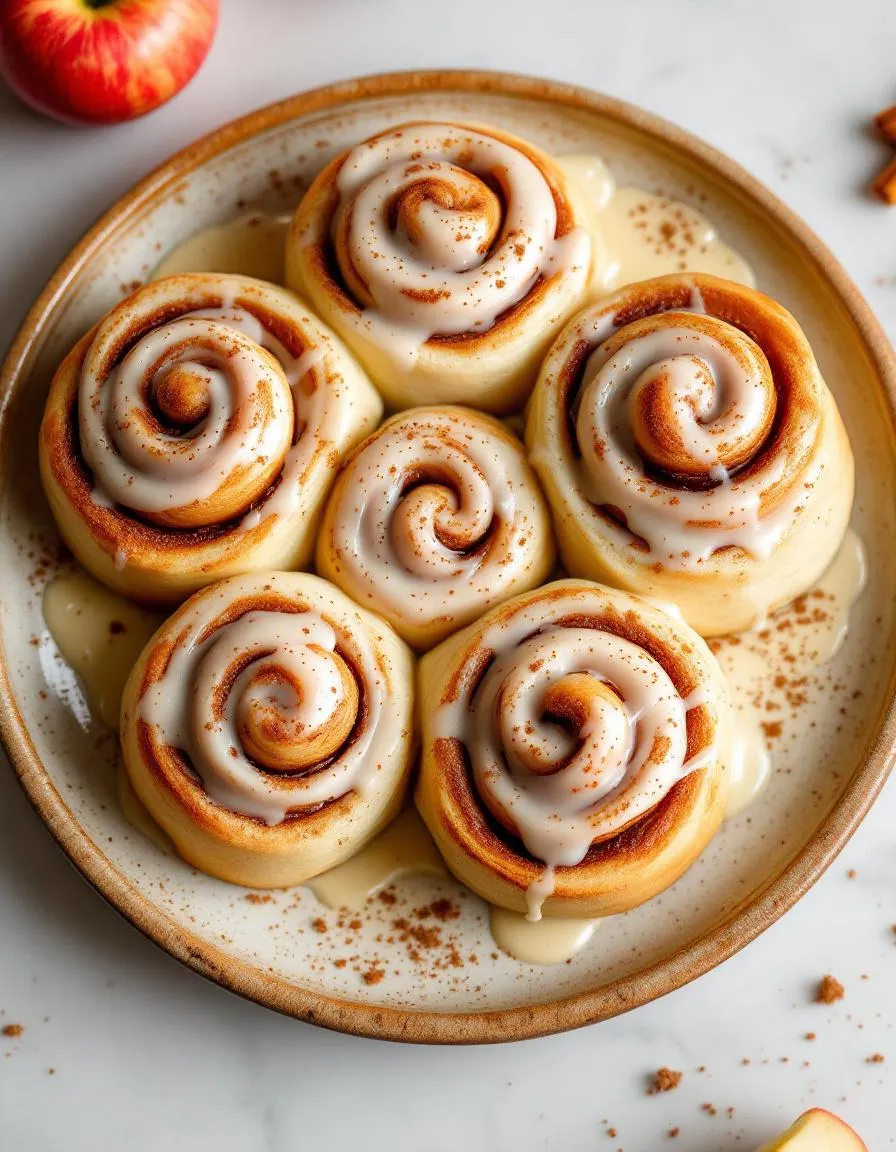
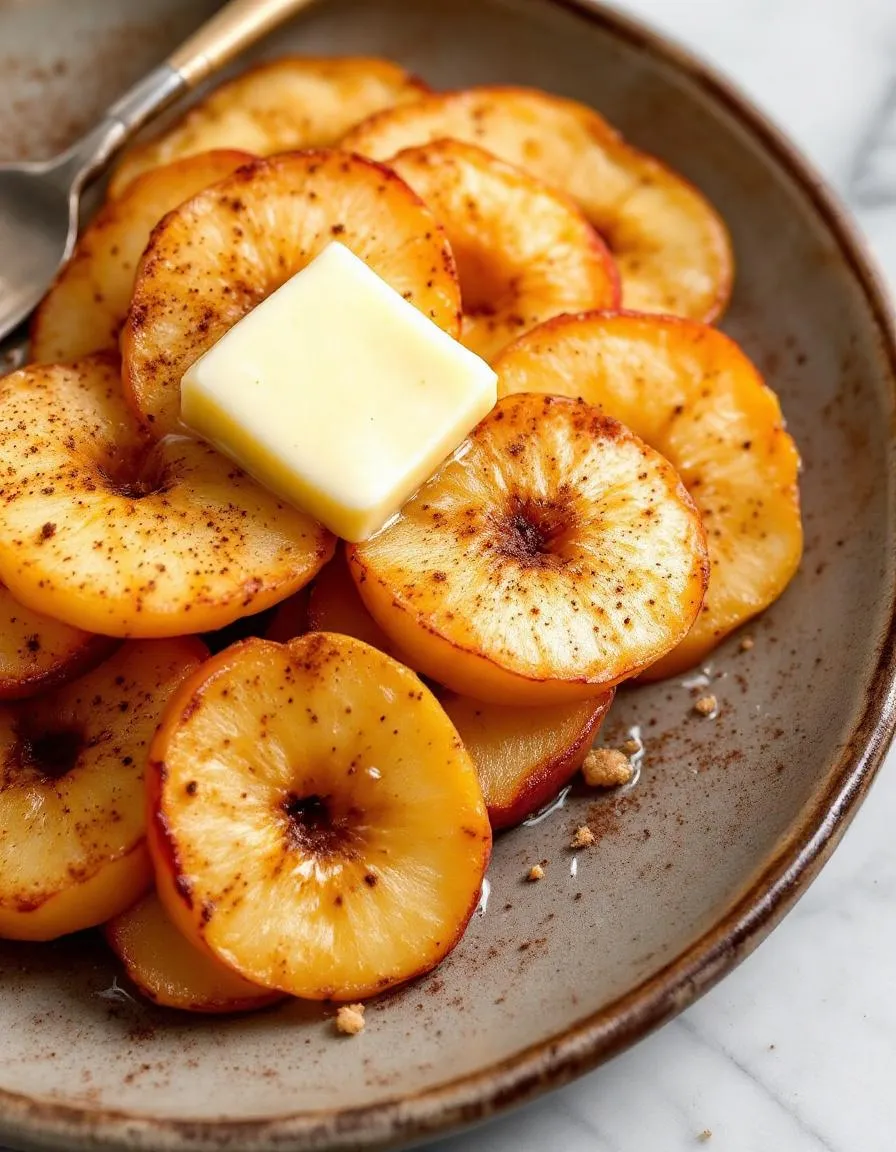
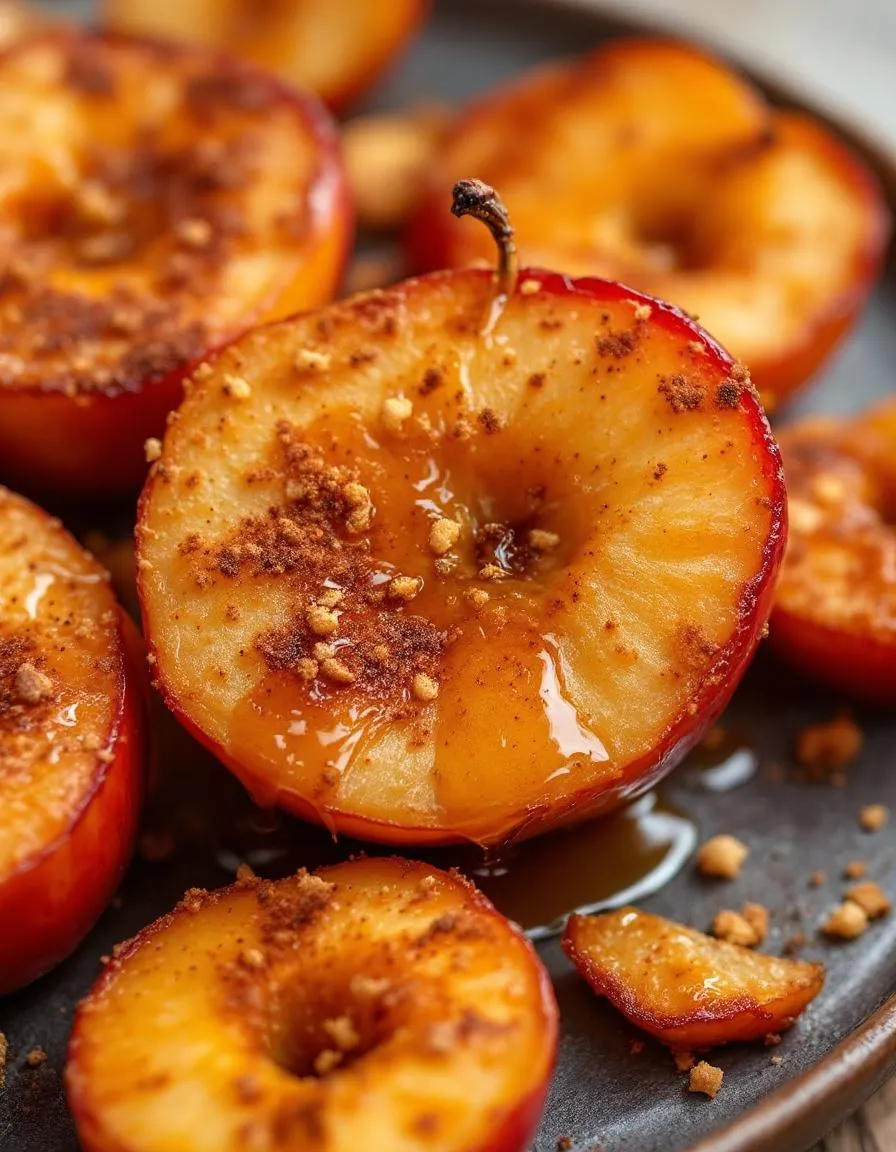
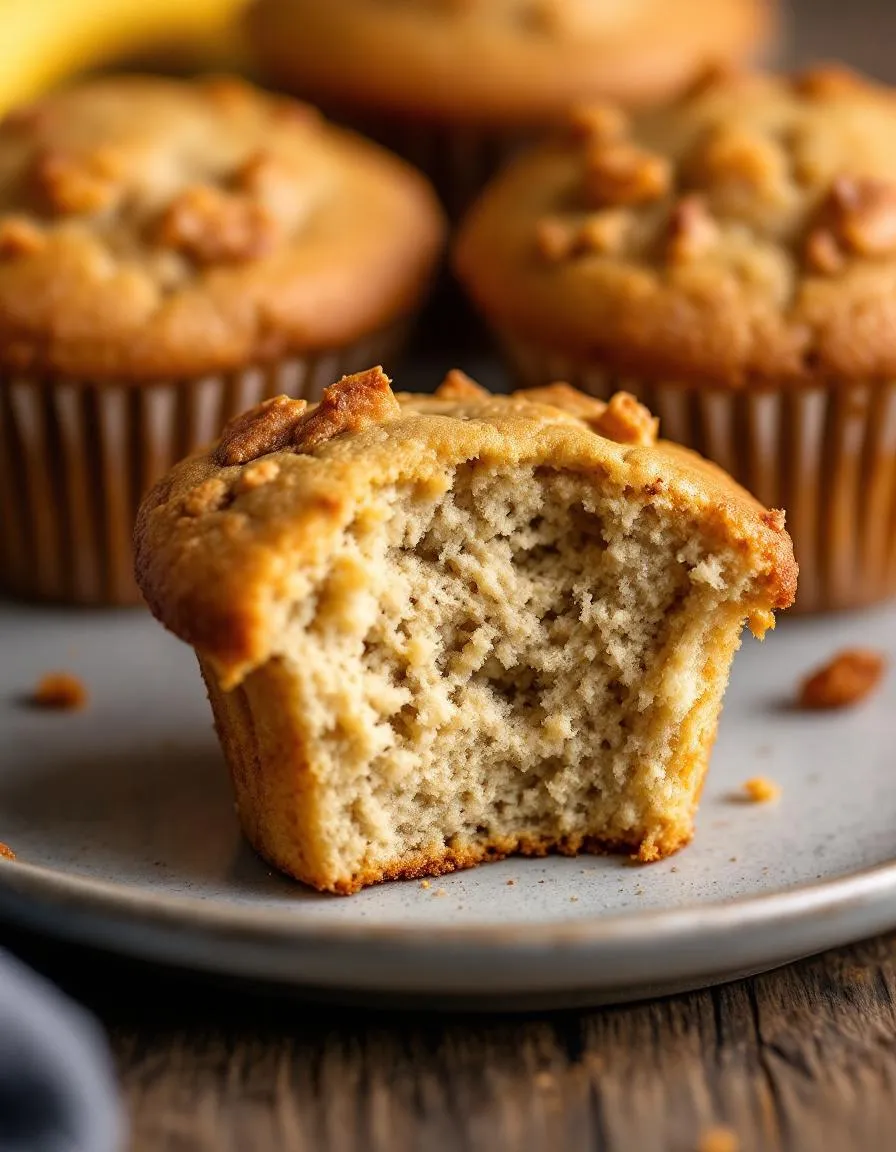
This Awesome Country Apple Fritter Bread greets you with a warm, cinnamon-spiced fragrance that fills your kitchen. Each moist, tender slice delivers a delightful contrast; meanwhile, the soft, cakey crumb gives way to pockets of sweet, tender apples. A buttery, crisp cinnamon-swirl ribbon and a sweet glaze crackle with every single bite. Ultimately, the experience is deeply comforting and nostalgically sweet, much like a classic apple fritter but in a wonderfully convenient loaf form. You will absolutely adore the cozy, spiced aroma and the satisfyingly soft yet crisp texture of this Awesome Country Apple Fritter Bread.
Boosting the flavor
For an even more decadent treat, consider drizzling a simple vanilla glaze over the warm loaf. Additionally, a handful of toasted walnuts or pecans introduces a wonderful crunchy contrast to the soft apples. You can also amplify the warm spices; for instance, a pinch of cardamom or nutmeg alongside the cinnamon creates a more complex flavor profile. Furthermore, serving a warm slice with a scoop of cinnamon ice cream transforms this bread into an unforgettable dessert. Ultimately, a small dollop of whipped cream makes each bite exceptionally luxurious.
Tips for Success
Best practices for results
First, always use room temperature ingredients for your Awesome Country Apple Fritter Bread because they emulsify much more easily. Furthermore, do not overmix the batter after you add the flour; simply stir until the last streaks disappear. For the best texture and to prevent a soggy bottom, let the loaf cool in the pan for at least 15 minutes before transferring it. Consequently, you will achieve a perfect crumb every time. Finally, use an ice cream scoop to evenly distribute the cinnamon swirl layers throughout your Awesome Country Apple Fritter Bread.
Mistakes to avoid
A common error involves packing the flour into the measuring cup, which unfortunately leads to a dense and dry loaf. Instead, always spoon and level your flour for accurate measurement. Moreover, avoid slicing your bread while it is still hot, as this causes it to crumble and fall apart. For more guidance on this, our article on how to store quick bread covers proper cooling techniques. Additionally, do not skip the step of tossing the apples in flour, since this prevents them from sinking straight to the bottom during baking. If your baked goods often turn out dense, you might find our tips on common baking mistakes incredibly helpful for troubleshooting other issues.
Serving and Pairing Suggestions
How to serve this dish
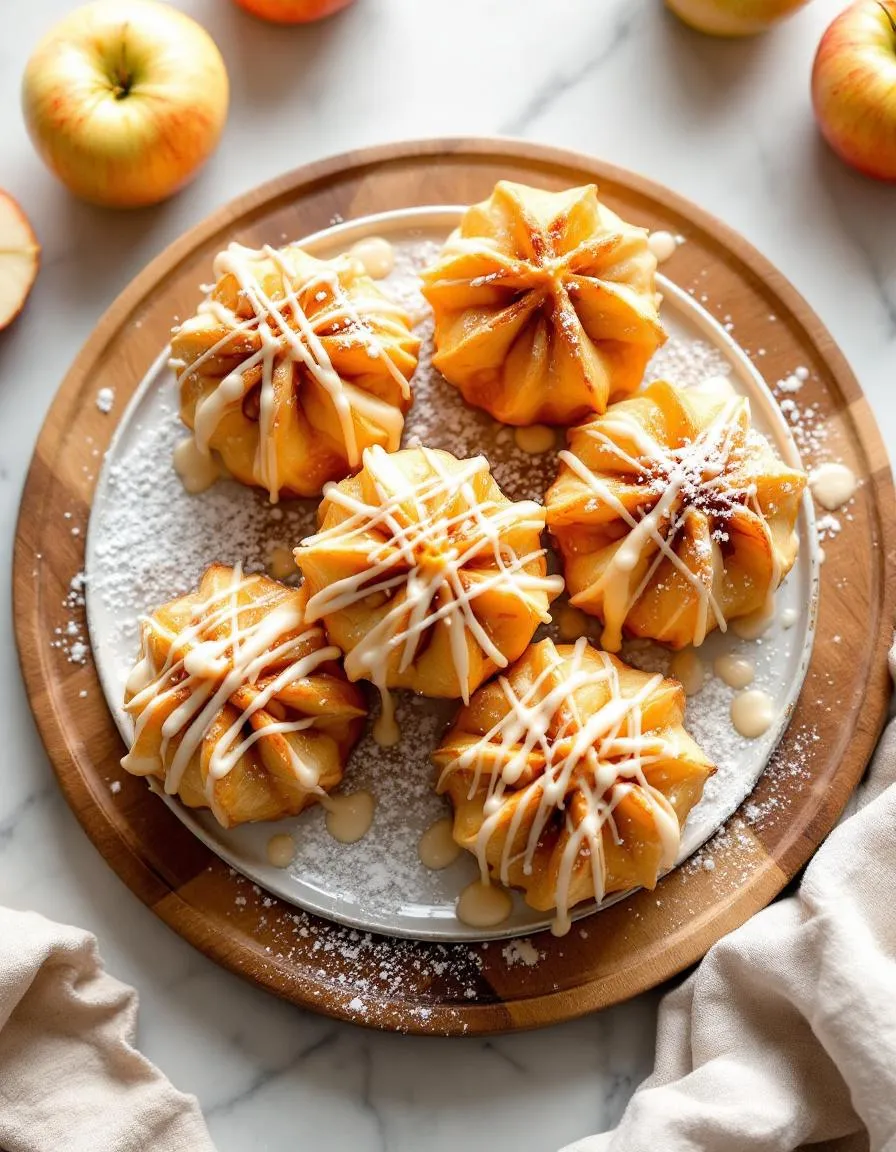
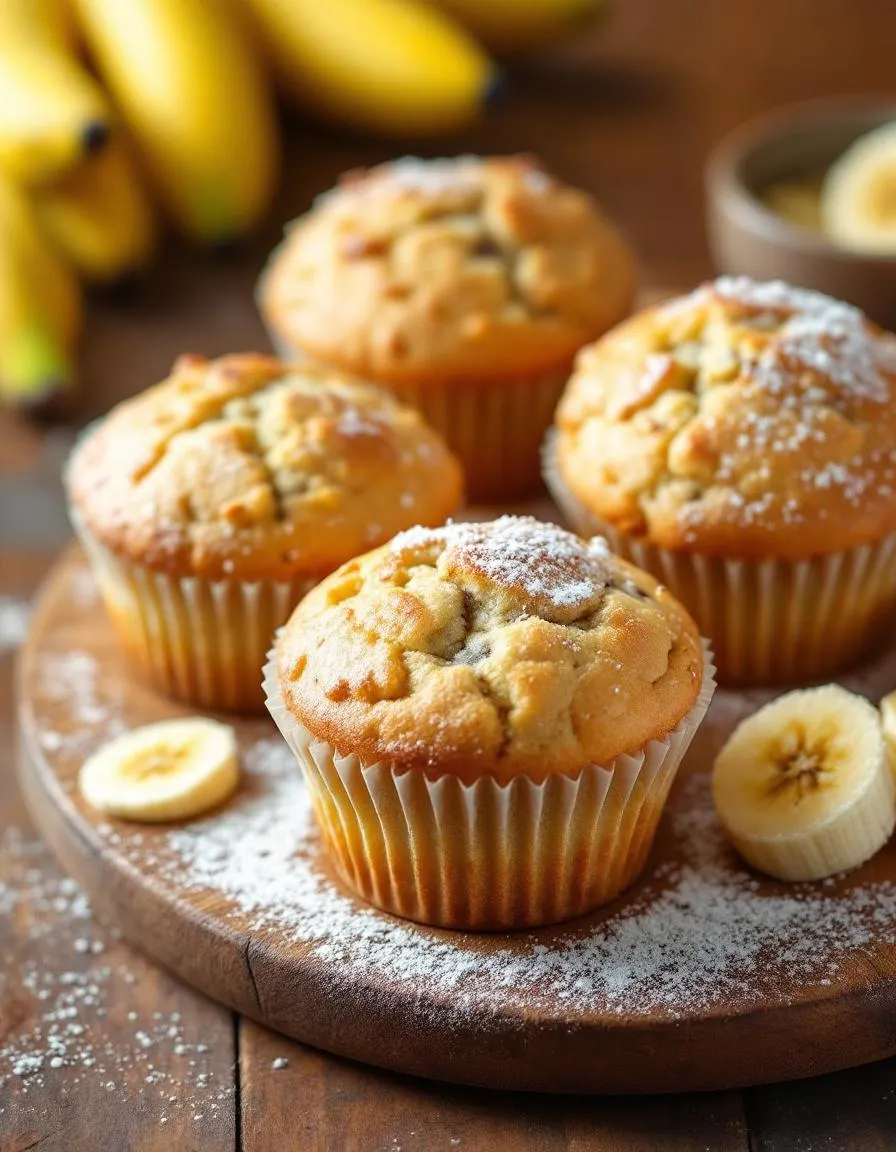
Present your Awesome Country Apple Fritter Bread warm for the ultimate experience. Consequently, the aroma will enchant everyone at the table. For a beautiful brunch centerpiece, dust the top with a final snowfall of powdered sugar. Alternatively, drizzle a simple vanilla glaze over each slice for extra decadence. Moreover, a dollop of freshly whipped cream turns it into a dessert worthy of any holiday gathering. Serve this stunning bread on a rustic wooden board to enhance its cozy, country charm.
What goes well with it
A hot mug of coffee perfectly cuts through the sweetness of Awesome Country Apple Fritter Bread. Meanwhile, a glass of cold milk provides a classic, comforting pairing that everyone loves. For a truly special brunch, serve it alongside a savory option like our Easy Breakfast Casserole to balance the meal. Furthermore, a scoop of vanilla bean ice cream transforms it into an unforgettable dessert. Finally, consider a warm, spiced beverage like our Homemade Pumpkin Spice Latte for a perfect autumn flavor combination.
For the best Awesome Country Apple Fritter Bread, use firm, tart apples that hold their shape during baking. Granny Smith apples are a top choice for their bright flavor that cuts through the sweetness, but Honeycrisp or Braeburn also work wonderfully. These varieties provide the perfect texture and taste for this delicious bread.
Yes, you can absolutely freeze Awesome Country Apple Fritter Bread for later enjoyment. Allow the bread to cool completely, then wrap it tightly in plastic wrap and aluminum foil before placing it in a freezer-safe bag. It will keep well for up to 3 months; just thaw it at room temperature when you’re ready to serve.
The key to preventing a soggy loaf is to properly prepare your apples. Toss the diced apple pieces in a little flour from the recipe before folding them into the batter; this helps absorb excess moisture. Also, ensure your Awesome Country Apple Fritter Bread is baked through by testing with a toothpick before removing it from the oven.
Awesome Country Apple Fritter Bread is delicious both ways! It’s fantastic served warm from the oven when the cinnamon swirl is gooey and the glaze is melty. However, many people also enjoy it at room temperature or even cold, as the flavors have more time to meld together beautifully.