“`html
Table of Contents
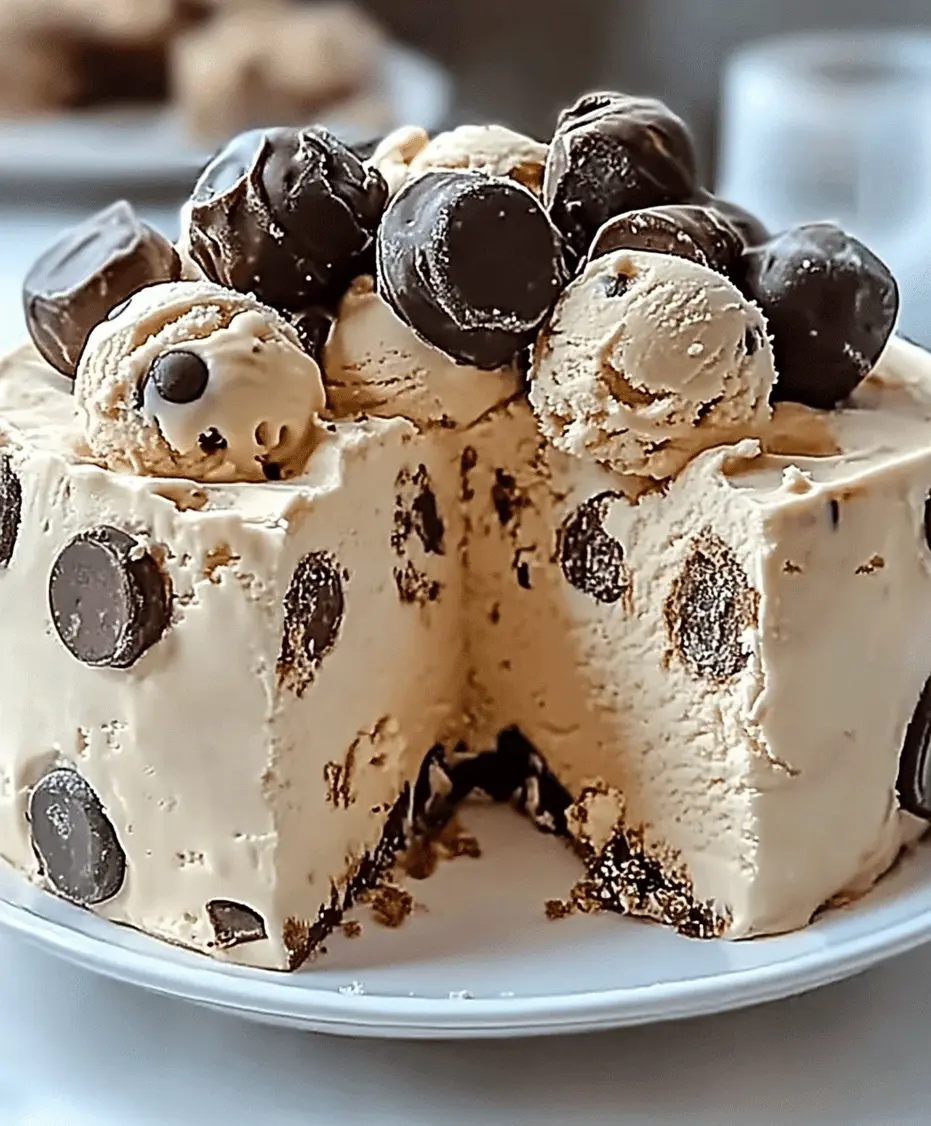
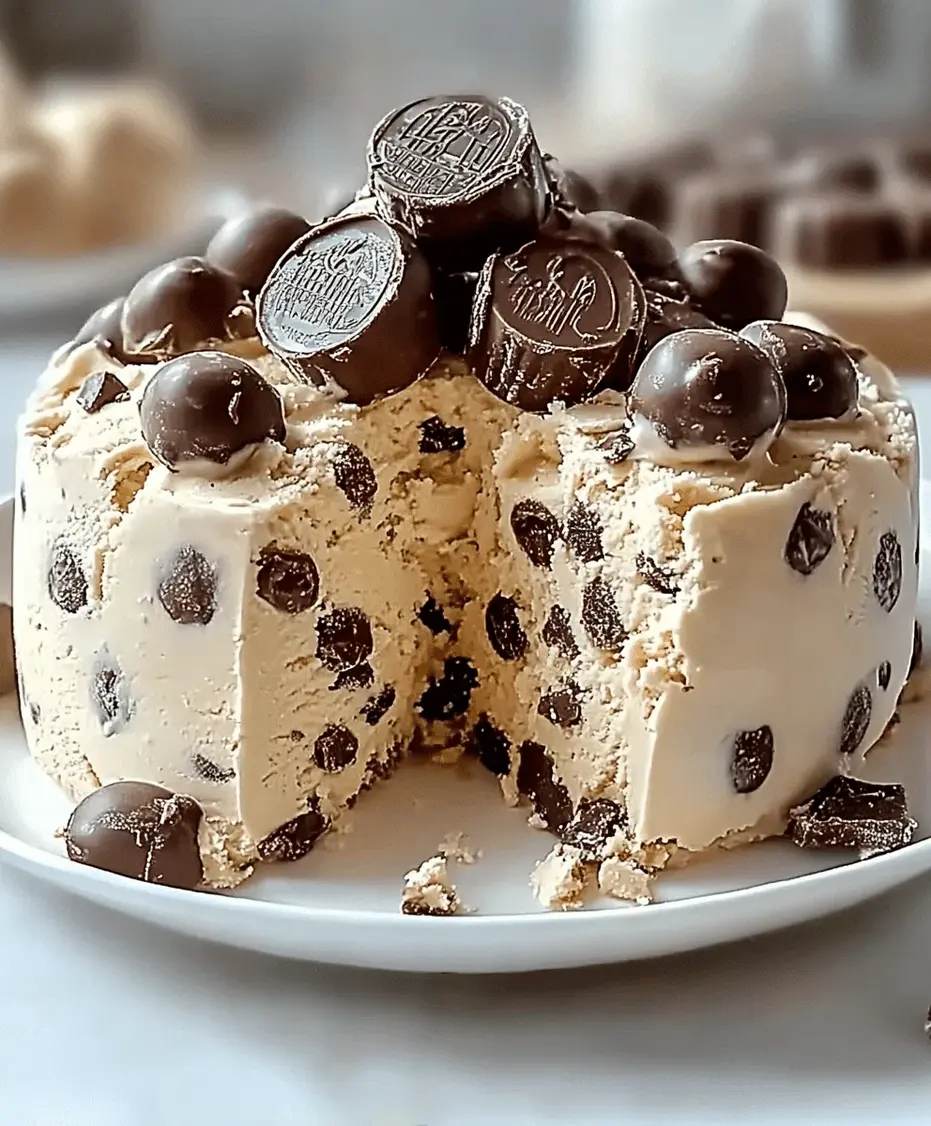
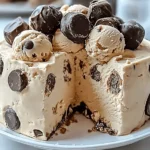
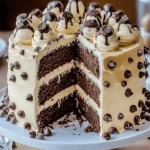
Ice Cream Cake With Cookie Crunch Recipe
Dreaming of the Ultimate Dessert? You Need This Ice Cream Cake With Cookie Crunch!
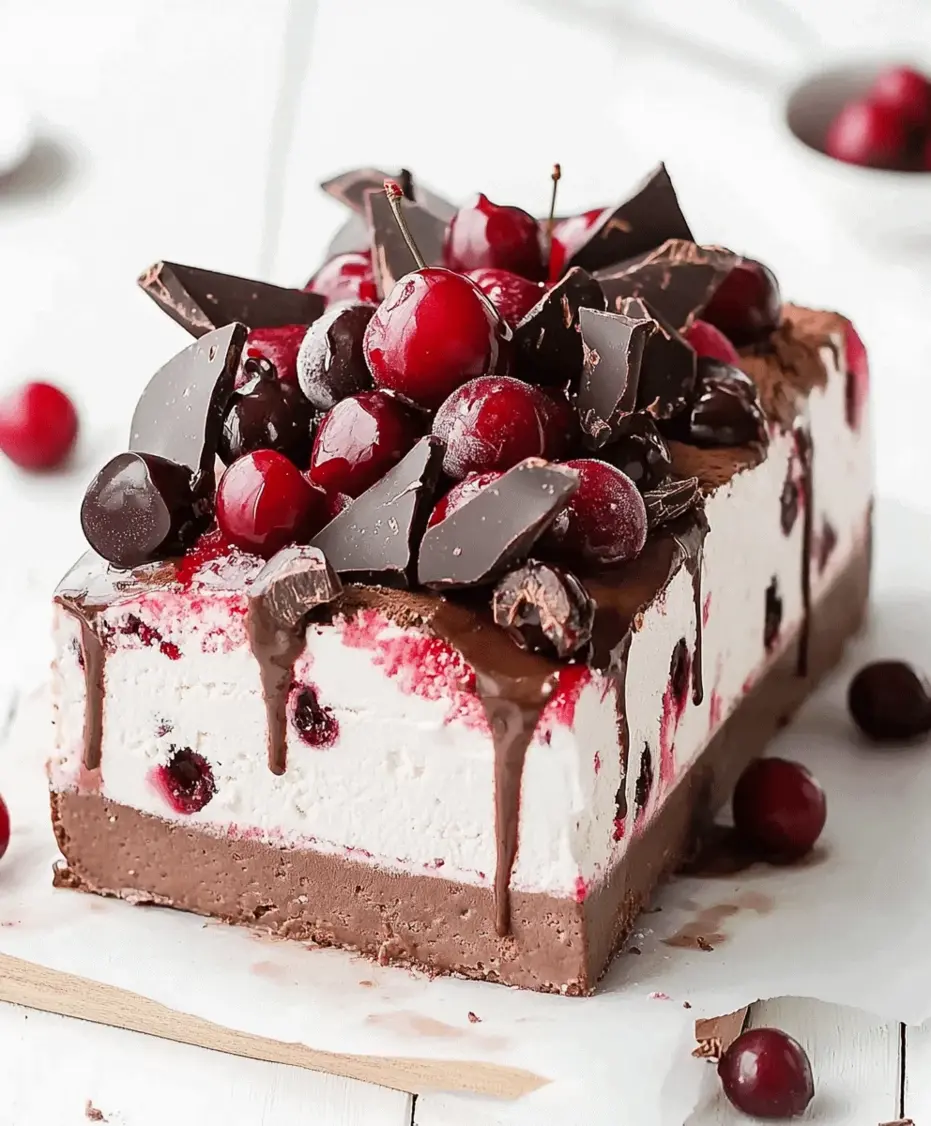
Are you looking for a show-stopping dessert that’s surprisingly simple to make and guaranteed to delight every single guest? In a world saturated with complicated dessert recipes, the desire for something that’s both impressive and accessible is stronger than ever. This Ice Cream Cake with Cookie Crunch delivers precisely that! Imagine decadent layers of creamy ice cream, a delightful crunch from your favorite cookies, all bound together by a rich chocolate drizzle. It’s the perfect centerpiece for birthdays, anniversaries, summer parties, or simply a Tuesday that needs a little extra sparkle. This homemade ice cream cake isn’t just a dessert; it’s an experience, and one you’ll want to recreate again and again. Let’s dive into how you can create this masterpiece in your own kitchen!
Ingredients: The Building Blocks of Bliss
Gathering your ingredients is the first step towards dessert perfection. For this Ice Cream Cake with Cookie Crunch, we’re focusing on quality and flavor to ensure a truly exceptional result. Think about the textures and tastes that come together: the smooth, cold ice cream, the satisfying snap of cookies, and the deep, luscious chocolate.
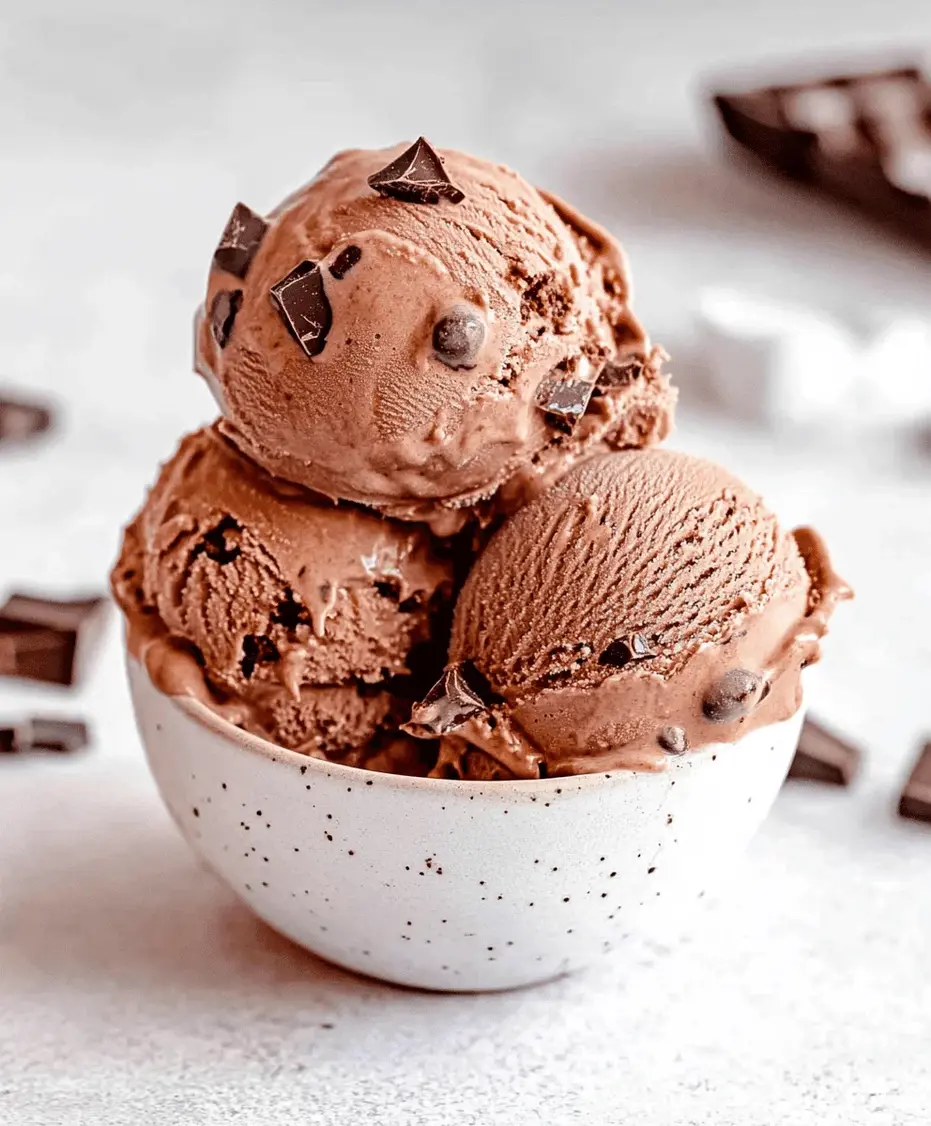
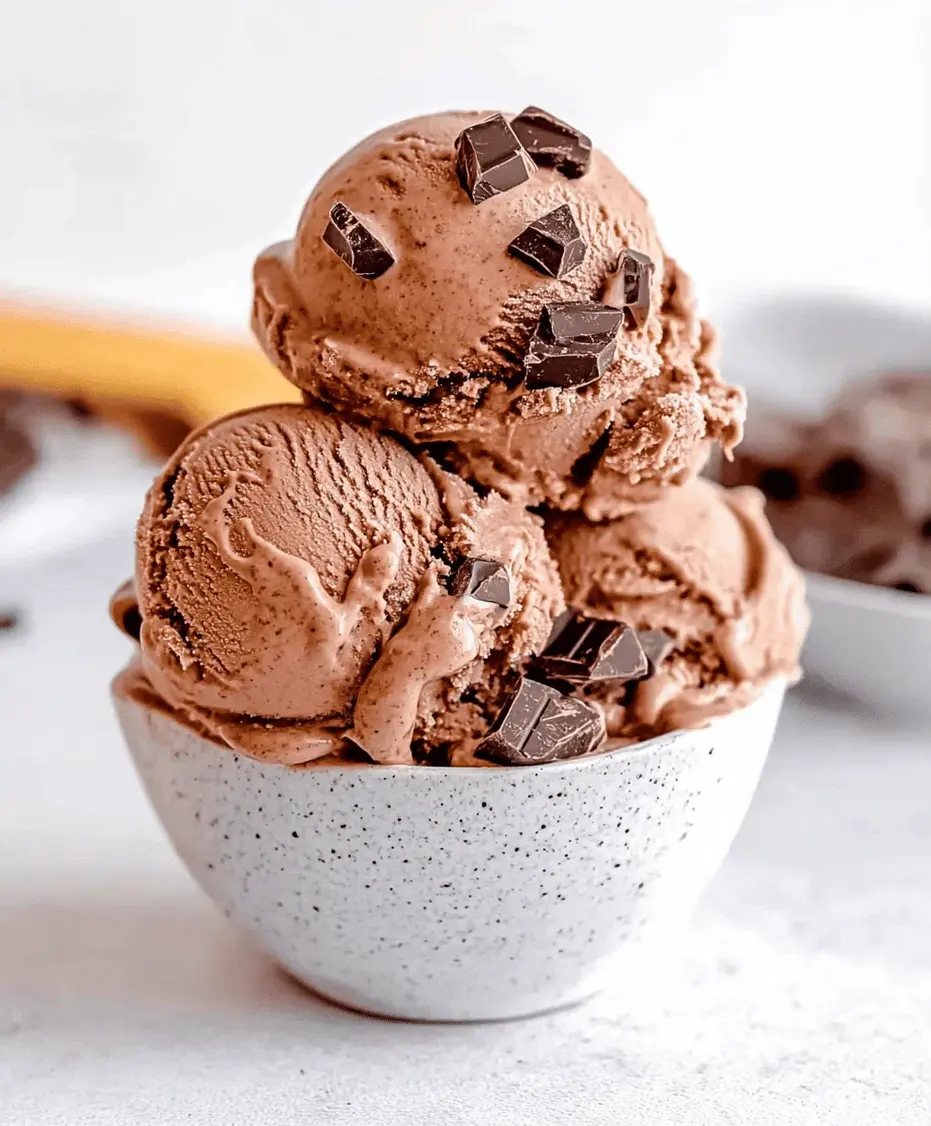
- Ice Cream: 2 quarts (about 1.9 liters) your favorite ice cream, softened. Vanilla bean or chocolate is a classic choice, but feel free to get creative with mint chocolate chip, cookies and cream, or strawberry. The base of your cake!
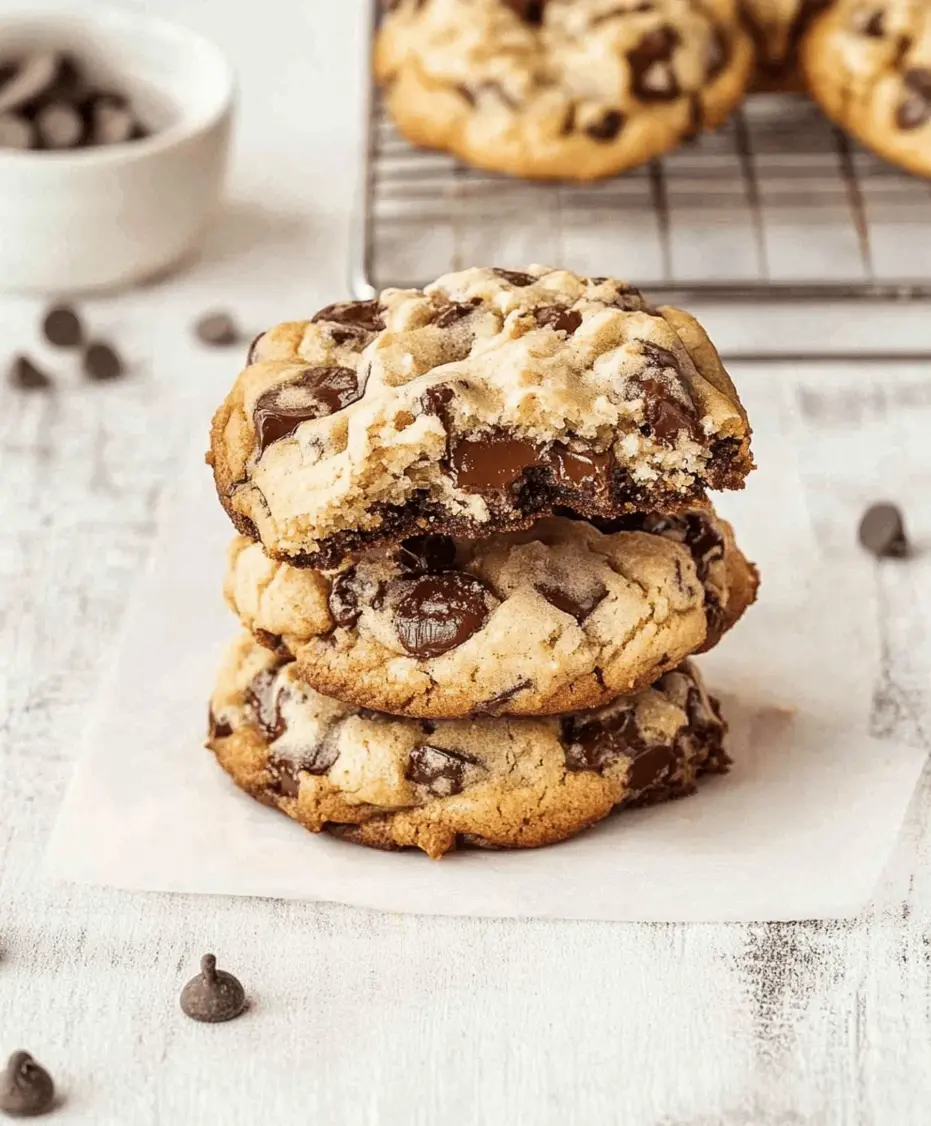
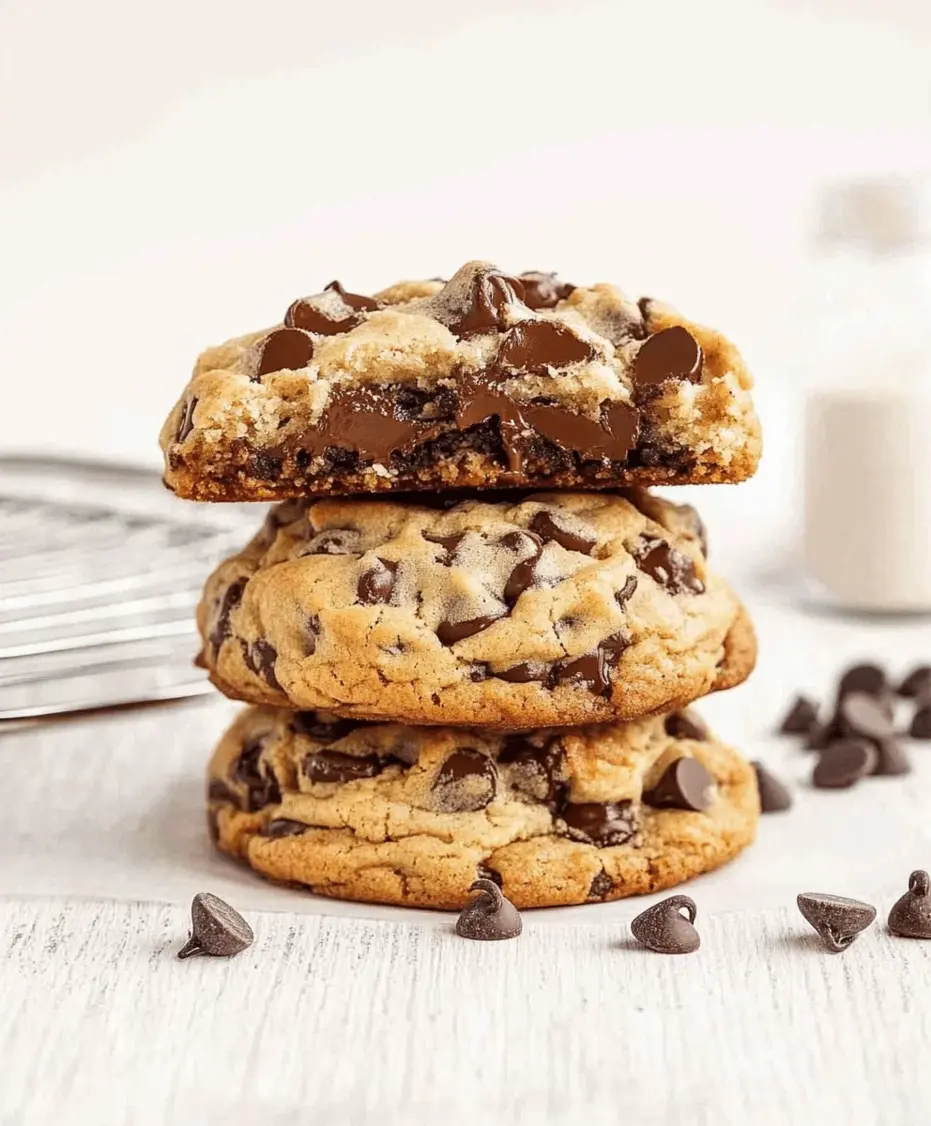
- Crushed Cookies: 2 cups (about 200g) your favorite cookies, crushed. Oreos (cream removed for extra crunch, or keep it in for sweetness!), chocolate chip cookies, or even graham crackers work wonderfully. Ensure they’re crushed to a coarse crumb for the best texture – not too fine, not too chunky.
- Butter (for cookie base): 1/2 cup (113g) unsalted butter, melted. This acts as the binder, holding your cookie crumbs together like a delicious, edible mosaic.
- Optional Chocolate Drizzle/Ganache:
- 1/2 cup (85g) bittersweet or semi-sweet chocolate chips
- 1/4 cup (60ml) heavy cream
This adds a final touch of decadence, a glossy finish that’s as beautiful as it is delicious. The slight bitterness of dark chocolate beautifully contrasts the sweetness of the ice cream.
Substitutions:
- Ice Cream: Dairy-free ice cream alternatives are readily available and work just as well.
- Cookies: If you don’t have a specific cookie in mind, a mix of graham crackers and chocolate wafers offers a fantastic flavor profile.
- Butter: Non-dairy butter substitutes can be used for a dairy-free option.
- Chocolate Drizzle: A store-bought chocolate syrup can be a quicker alternative, though the flavor won’t be as rich. You could also use a caramel sauce for a different flavor profile.
Kitchen Time: A Breeze for a Big Reward
15 minutes
Minimum 4 hours (for best results, overnight)
Approximately 4 hours 15 minutes (plus chilling time)
Compared to traditional cakes that require baking, this ice cream cake is a dream for busy bakers. The prep time is minimal, allowing you to focus on other things. The primary “cooking” is done by your freezer, making it an ideal make-ahead dessert. Most conventional cakes take anywhere from 30 minutes to an hour of active prep, plus baking and cooling time, often exceeding 2 hours total. This ice cream cake shines with its efficiency.
Crafting Your Masterpiece: Step-by-Step
Let’s get started on creating this beautiful and delicious Ice Cream Cake with Cookie Crunch. Follow these simple steps for a perfect outcome every time.
Step 1: Prepare the Pan
Start by lining a 9-inch springform pan with plastic wrap, leaving some overhang. This is crucial for easy removal later. If you don’t have a springform pan, a regular 9-inch round cake pan or even a loaf pan will work, but removal will be trickier. You might need to gently warm the sides or invert it carefully onto a serving plate.
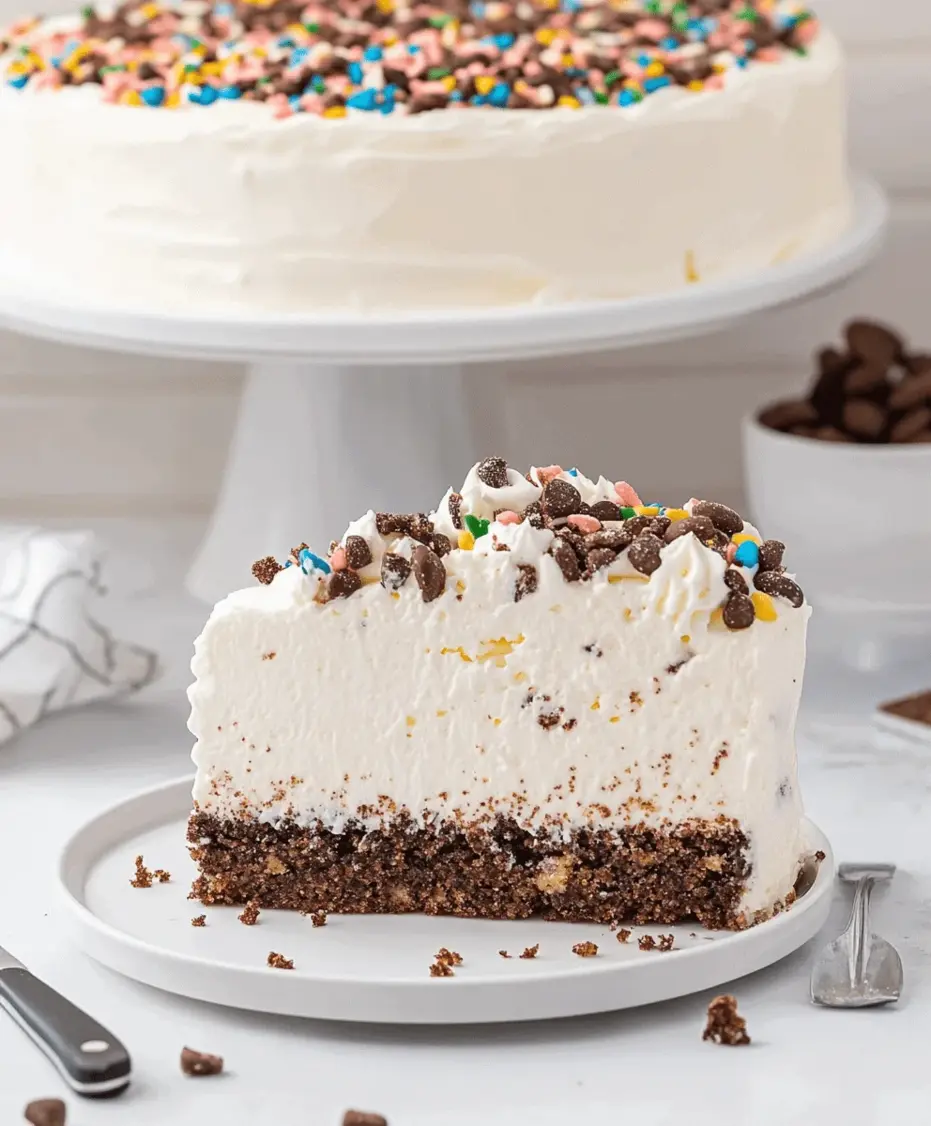
Step 2: Create the Cookie Base
In a medium bowl, combine the crushed cookies and melted butter. Stir until the crumbs are evenly moistened, resembling wet sand. This mixture will form the delicious crust of your ice cream cake. Press this mixture firmly and evenly into the bottom of the prepared springform pan. Use the bottom of a glass or a flat measuring cup to ensure it’s compact and level. This base provides a fantastic textural contrast to the creamy ice cream.
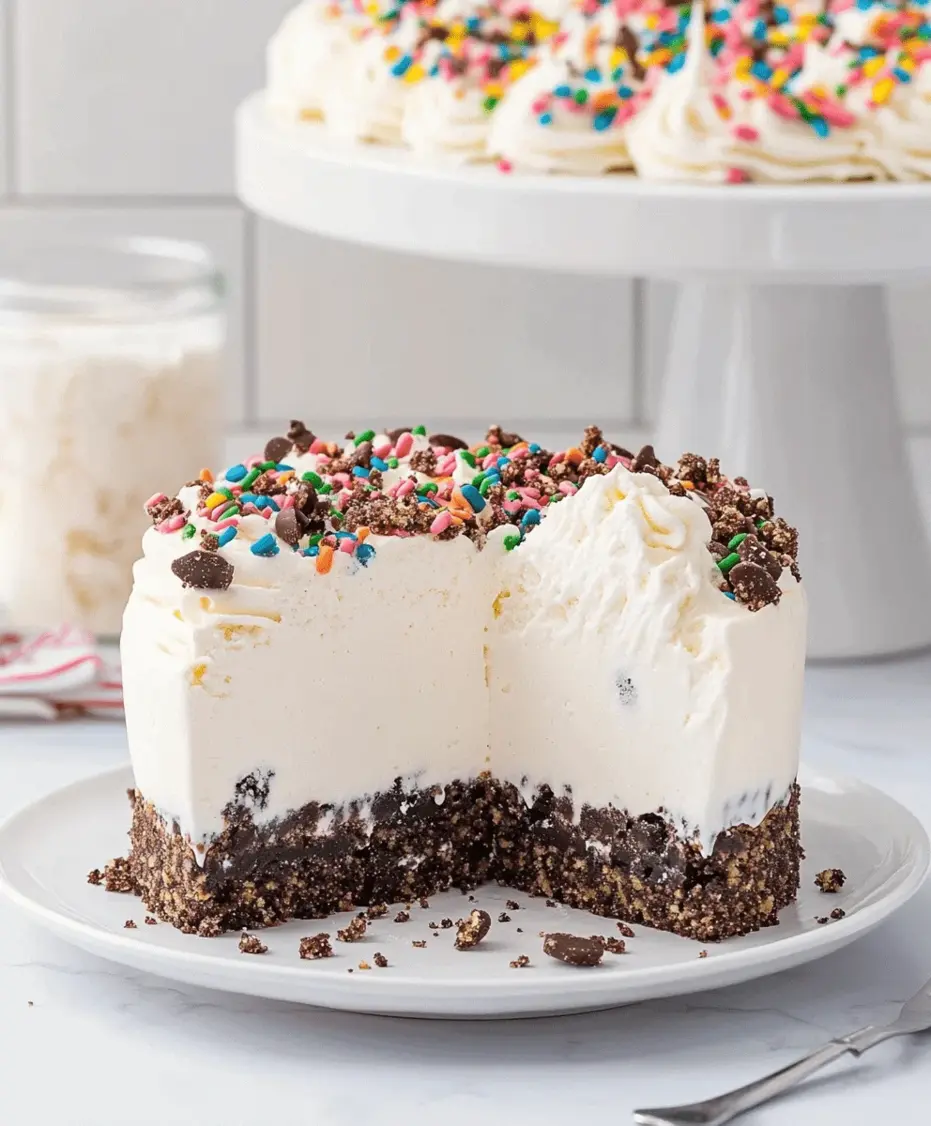
Step 3: Layer the Ice Cream
Remove your ice cream from the freezer about 10-15 minutes before you plan to use it. You want it softened, but not melted – scoopable but not soupy. Spread about half of the softened ice cream evenly over the cookie base. Use a spatula or the back of a spoon to create a smooth, even layer. Make sure to push it gently to the edges to avoid gaps.
Step 4: Add the Cookie Crunch
Generously sprinkle about half of your crushed cookies evenly over the first layer of ice cream. This is where the “crunch” in our Ice Cream Cake with Cookie Crunch truly comes alive! You can gently press them in slightly, but they should mostly sit on top of the ice cream layer.
Step 5: Final Ice Cream Layer
Add the remaining softened ice cream on top of the cookie crunch layer. Spread this final layer of ice cream evenly, smoothing the top as much as possible. For an extra beautiful finish, you can try to make the top as level as you can with a spatula.
Step 6: Freeze Until Firm
Cover the springform pan tightly with plastic wrap, then with aluminum foil. Place it in the freezer and let it freeze for at least 4 hours, or preferably overnight, until completely firm. The longer it freezes, the easier it will be to slice.
Step 7: Prepare the Ganache Drizzle
When you’re ready to serve, prepare the chocolate drizzle. Place the chocolate chips in a heatproof bowl. Heat the heavy cream in a small saucepan or microwave until it just begins to simmer (do not boil). Pour the hot cream over the chocolate chips and let it sit for 5 minutes. Whisk gently until smooth and glossy. If it’s too thick, add a splash more cream; if too thin, let it cool slightly.
Step 8: Decorate and Serve
Carefully remove the ice cream cake from the freezer. Remove the plastic wrap and foil. If using a springform pan, release the sides. If using a regular pan, you might need to carefully invert it onto a serving platter. Drizzle the chocolate ganache (or your chosen topping) over the top of the cake, letting it drip down the sides. You can also sprinkle the remaining cookie crumbs on top for extra visual appeal and texture. Let the cake sit at room temperature for about 5-10 minutes before slicing to make it easier to cut clean slices. Use a sharp knife dipped in hot water for the cleanest cuts.
Nutritional Information (Estimated Per Serving)
Please note: This is an estimation and will vary based on the specific ice cream and cookies used.
- Calories: 400-600 kcal
- Fat: 25-40g (Saturated Fat: 15-25g)
- Carbohydrates: 40-60g
- Sugar: 30-50g
- Protein: 5-10g
- Fiber: 2-5g
Healthier Alternatives & Flavor-Preserving Swaps
Craving this dessert but looking to make it a bit lighter? You can make smart swaps without sacrificing too much flavor:
- Lighter Ice Cream: Opt for a “light” or “low-fat” vanilla or cookie-dough ice cream. Alternatively, use a vegan ice cream made from coconut milk or almond milk, as these can sometimes be lower in calories and fat.
- Cookie Choice: Use low-sugar cookies, whole wheat digestive biscuits, or even crushed graham crackers (check for sugar content). For a significant carb reduction, consider a base made from almonds, dates, and a touch of coconut oil, pressed into the pan.
- Reduced Sugar Drizzle: Use dark chocolate with a high cocoa percentage (70% or more) because it contains less sugar. You can also use sugar-free chocolate chips or a drizzle of pureed fruit like raspberry or strawberry for a naturally sweet topping.
- No Butter Base: For a dairy-free and slightly lighter base, you can mix crushed cookies with melted coconut oil or a nut butter.
Serving Suggestions: Elevate the Experience
Complement your Ice Cream Cake with Cookie Crunch with these fantastic ideas:
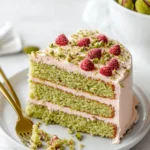
- Fresh Berries: A handful of fresh raspberries, strawberries, or blueberries can add a refreshing tartness and beautiful color contrast.
- Whipped Cream: A dollop of homemade or store-bought whipped cream is always a welcome addition.
- Extra Cookie Crumbs: Reserve some cookie crumbs to sprinkle around the base of the cake on the serving platter or on top of individual slices.
- Chocolate Shavings or Sprinkles: For an extra festive touch, top with chocolate shavings or colorful sprinkles.
- Sauces: A drizzle of caramel or strawberry sauce alongside the chocolate can offer a flavor adventure.
Serve immediately after decorating for the best texture. The cake will start to melt quickly once it’s out of the freezer!
Common Mistakes to Avoid
Even with simple recipes, a few common pitfalls can be easily avoided:
- Ice Cream Too Soft: Using ice cream that has melted too much will result in an uneven, messy layer that won’t freeze properly. Soften just enough to be workable.
- Not Pressing the Base Firmly: A loose cookie base will crumble when you try to slice the cake. Press it down with purpose!
- Not Freezing Long Enough: Patience is key! Under-frozen cake will be difficult to slice and might fall apart. Aim for overnight if possible.
- Using a Pan Too Small: If your pan is too small for the amount of ice cream, it could overflow or result in very thin layers.
- Forgetting to Line the Pan: This is the most common mistake leading to a stuck cake. Ensure adequate lining with plastic wrap.
Storing Your Ice Cream Cake
This ice cream cake is best enjoyed fresh. However, if you have leftovers, proper storage is key:
- In the Pan: If you made it in a springform pan, once frozen solid, you can re-wrap it very tightly with plastic wrap and foil and keep it in the freezer.
- Cut Slices: For easier serving later, cut the cake into individual slices while it’s still quite firm. Wrap each slice individually in plastic wrap, then place them in an airtight container or freezer bag.
- Duration: Properly stored, your ice cream cake should last for up to 2 weeks, though the texture might degrade slightly over time. Always check for ice crystals or freezer burn before serving.
Remember to let slices sit for a few minutes at room temperature before serving for optimal slicing.
Frequently Asked Questions
How do I get clean slices of ice cream cake?
Run a sharp knife under hot water, dry it quickly, and then slice. Repeat for each slice. Allowing the cake to sit at room temperature for 5-10 minutes before slicing also helps.
Can I use store-bought ice cream?
Absolutely! In fact, it’s highly recommended for ease. Just let it soften slightly before using.
What kind of cookies work best?
Oreo cookies are a perennial favorite, but chocolate chip, shortbread, or even graham crackers offer delicious alternatives. Choose cookies you genuinely enjoy!
Can I make this cake ahead of time?
Yes! This ice cream cake is a perfect make-ahead dessert. It needs to freeze for at least 4 hours, but making it the day before is ideal.
What if I don’t have a springform pan?
You can use a regular 9-inch round cake pan or even a loaf pan. However, removing the cake will be more challenging. Line the pan well with plastic wrap, leaving enough to hang over the sides, to help lift it out.
Conclusion: Your New Favorite Dessert Awaits!
There you have it – a show-stopping, utterly delicious Ice Cream Cake with Cookie Crunch that’s far easier to make than it looks. This recipe is versatile, customizable, and guaranteed to be a hit at any gathering. The combination of creamy ice cream, crunchy cookie bits, and rich chocolate is simply irresistible. So, what are you waiting for? Gather your ingredients, unleash your inner dessert artist, and prepare to impress. Your friends and family will be raving about this creation long after the last bite!
Ice Cream Cake With Cookie Crunch Recipe
Description
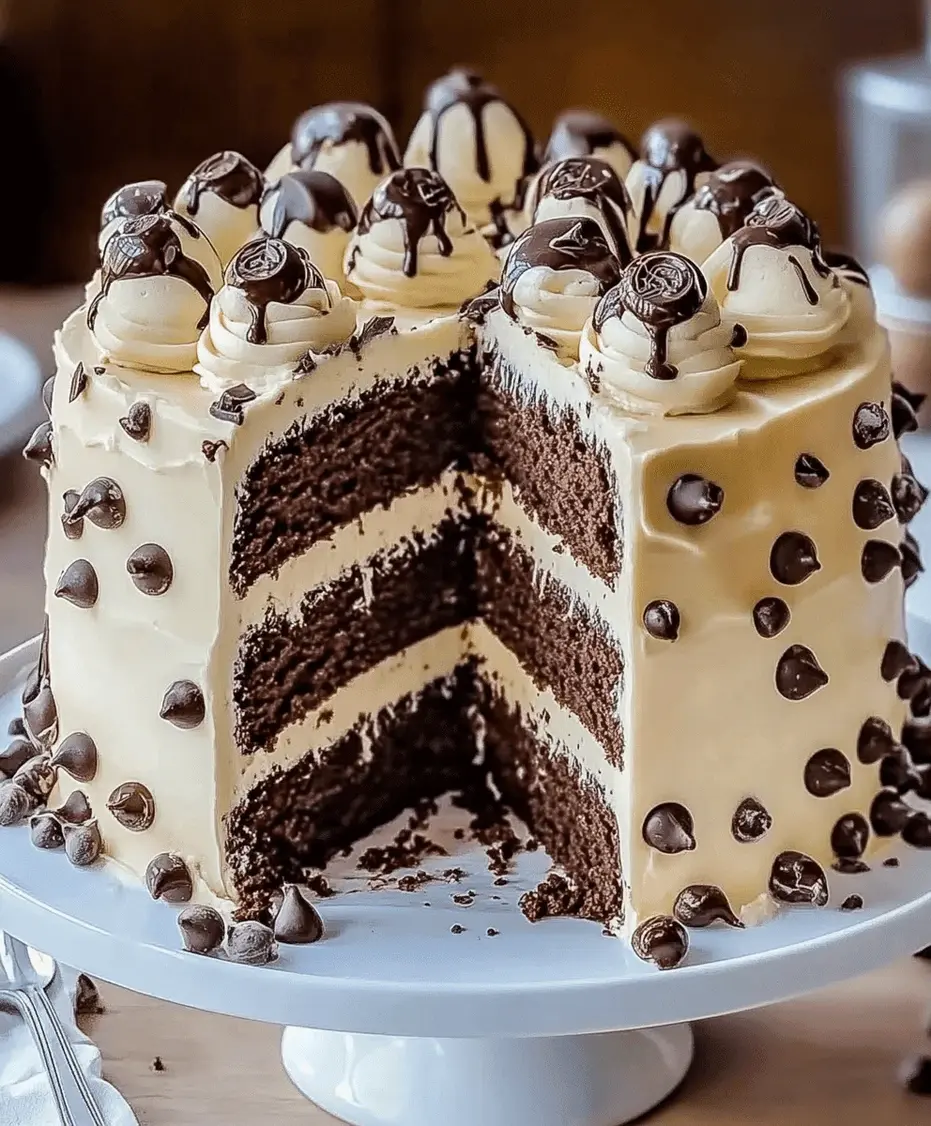
This Ice Cream Cake with Cookie Crunch is the ultimate dessert for any occasion. Featuring layers of creamy ice cream, crunchy cookie crumbles, and a rich chocolate drizzle, this homemade treat is a showstopper. Whether for birthdays or special gatherings, this easy-to-make ice cream cake is sure to impress!
Ingredients
- 2 cupscrushed chocolate cookies
- ¼ cupmelted butter
- ½ gallonvanilla ice cream, softened
- ½ gallonchocolate ice cream, softened
- 1 cuphot fudge sauce
- 1 cupwhipped topping
- ¼ cupchocolate chips (optional)
Instructions
Notes
For easier serving, let the cake sit at room temperature for 5 minutes before slicing.
Use any ice cream flavors for variation.
Nutrition
- Calories: 380
- Sugar: 32g
“`