Introduction
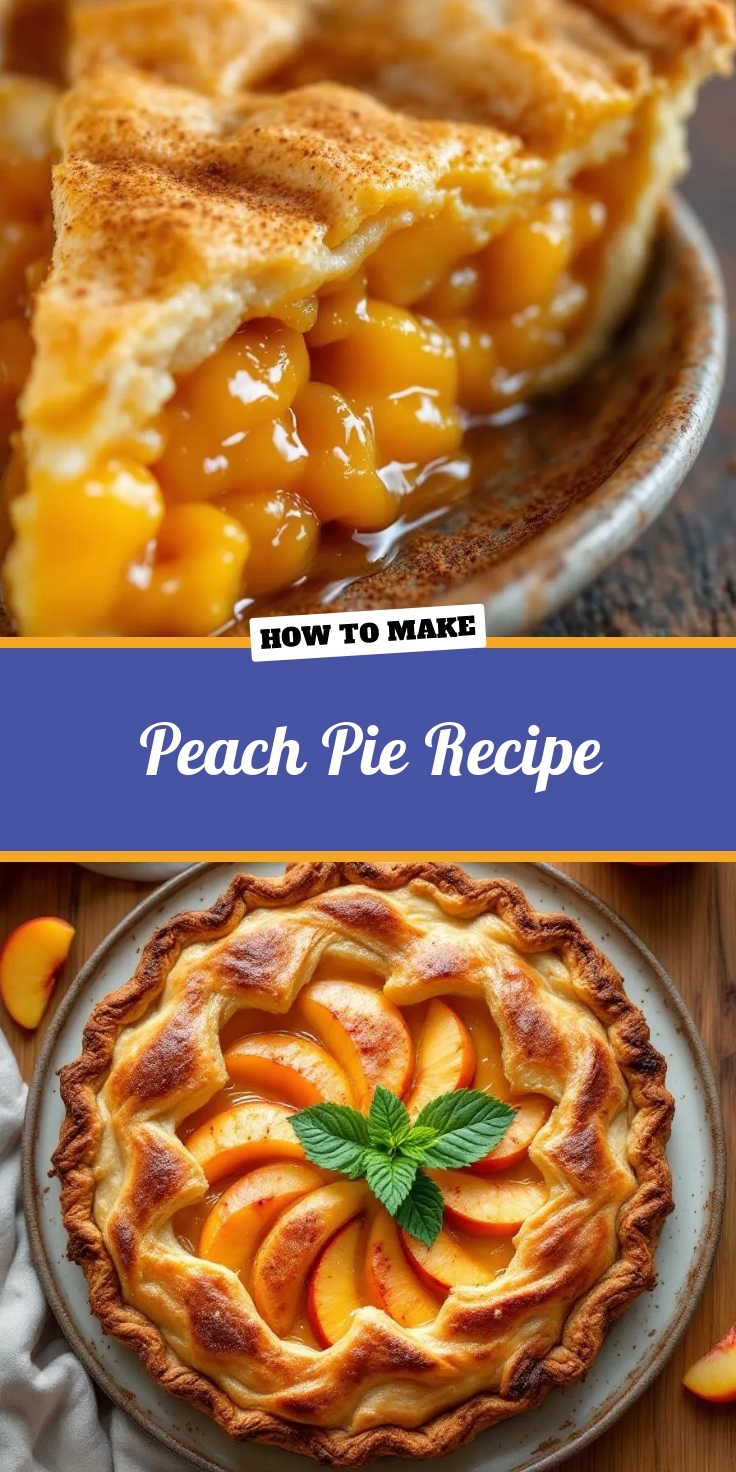
There’s something magical about the aroma of a freshly baked Peach Pie Recipe wafting through the kitchen. Whether it reminds you of summer picnics, family gatherings, or just the simple joy of biting into a sweet, juicy peach encased in flaky crust, this dessert holds a special place in many hearts. If you’ve ever craved that perfect balance of tender fruit and buttery pastry, you’re in the right place. Today, we’re diving into a foolproof Peach Pie Recipe that delivers nostalgia and flavor in every slice. Plus, with a few pro tips, you’ll master this classic dessert like a seasoned baker.
About This Recipe
A Peach Pie Recipe isn’t just a dessert—it’s a celebration of seasonal fruit at its peak. Juicy peaches, lightly spiced and nestled in a golden crust, create a timeless treat that’s equally fitting for a weeknight indulgence or a holiday centerpiece. What makes this recipe stand out? First, we focus on simplicity without sacrificing flavor. Second, we embrace techniques that ensure a crisp bottom crust and perfectly thickened filling, so your pie slices hold their shape beautifully. If you’ve struggled with soggy crusts or runny fillings before, our method will change your baking game. Meanwhile, the blog’s friendly, approachable tone keeps things stress-free, whether you’re a beginner or a pie enthusiast. For more baking inspiration, explore our guide to essential baking tools or discover how to perfect your pie crust with pro tips.
Why I Love This Recipe
Peach pie takes me straight back to my grandmother’s kitchen, where she’d pile slices high with vanilla ice cream and tell stories of her own mother’s baking secrets. Every time I make this Peach Pie Recipe, I remember her hands guiding mine as I rolled out the dough for the first time. It’s more than a dessert—it’s a connection to love, tradition, and the kind of joy that comes from sharing something made with care. That’s why I’m passionate about helping you create the same warmth in your home, one perfect slice at a time.
Health and Nutrition
Why it’s good for your body
Peach Pie Recipe delivers a delicious way to enjoy essential nutrients while satisfying your sweet tooth. First, fresh peaches pack a punch of vitamins A and C, which support immune health and glowing skin. Additionally, the natural sugars in peaches provide quick energy, making Peach Pie Recipe a smarter choice than processed desserts. Moreover, the fiber in peaches aids digestion, helping you feel fuller longer.
Beyond peaches, the crust in Peach Pie Recipe can offer whole-grain benefits if you opt for a healthier flour alternative. For instance, almond flour adds protein and healthy fats, balancing the dessert’s nutritional profile. Furthermore, cinnamon, a common spice in Peach Pie Recipe, boasts anti-inflammatory properties that may help regulate blood sugar. Together, these ingredients create a treat that’s as nourishing as it is indulgent.
Finally, homemade Peach Pie Recipe lets you control added sugars, reducing empty calories. By using ripe peaches, you enhance natural sweetness without overloading on refined sugar. Whether you enjoy it warm or chilled, this dessert proves that wholesome ingredients can make every bite both tasty and beneficial.
How it fits in a healthy lifestyle
Peach Pie Recipe fits seamlessly into a balanced diet when enjoyed mindfully. For a heart-healthy twist, swap butter for avocado oil in the crust, boosting monounsaturated fats. If you’re gluten-free, try our gluten-free pie crust to keep the recipe celiac-friendly without sacrificing flavor.
Pairing Peach Pie Recipe with protein-rich toppings like Greek yogurt or a sprinkle of nuts adds staying power. It’s also a great way to celebrate seasonal produce, aligning with clean-eating goals. For more ideas on balancing treats with nutrition, explore our guide to healthy dessert swaps. With simple tweaks, this classic dessert becomes a guilt-free pleasure that supports your wellness journey.
PrintClassic Peach Pie
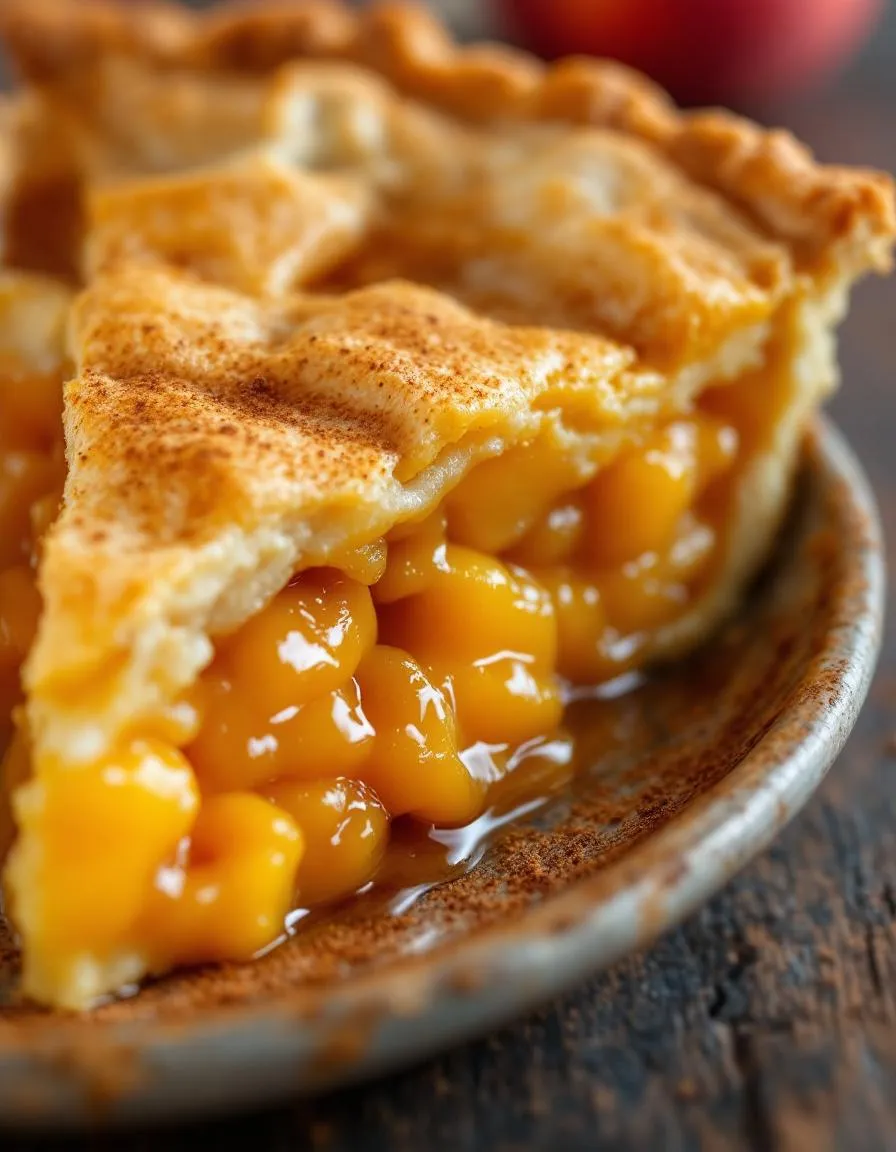
Description
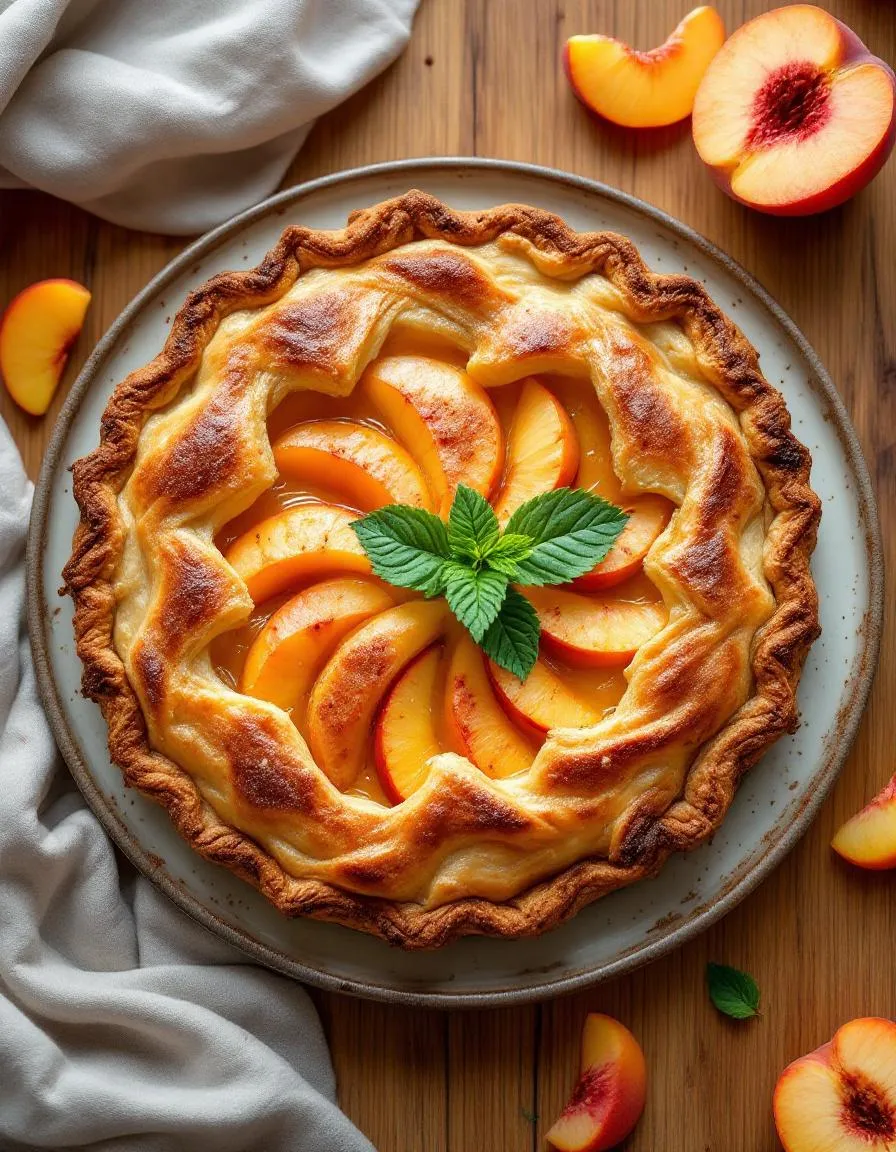
A sweet and juicy peach pie with a flaky crust, perfect for summer desserts.
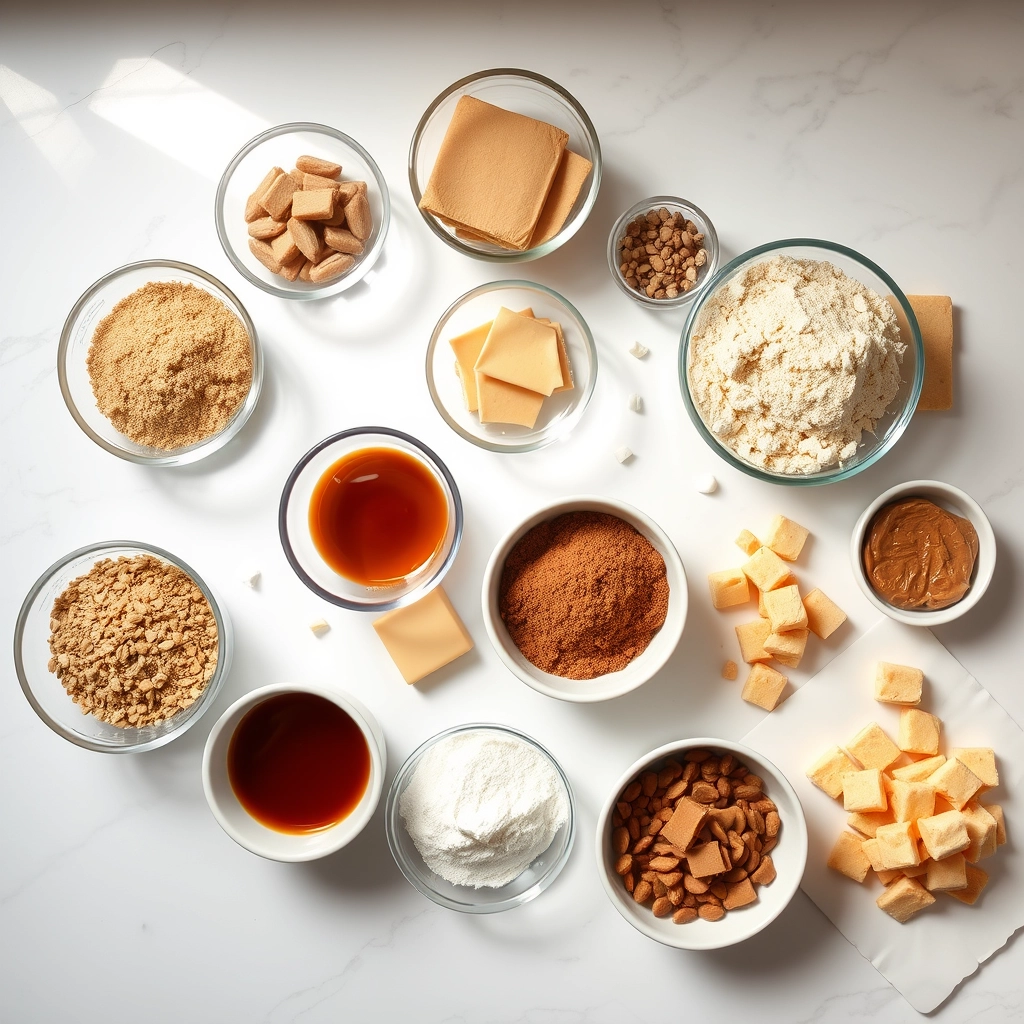
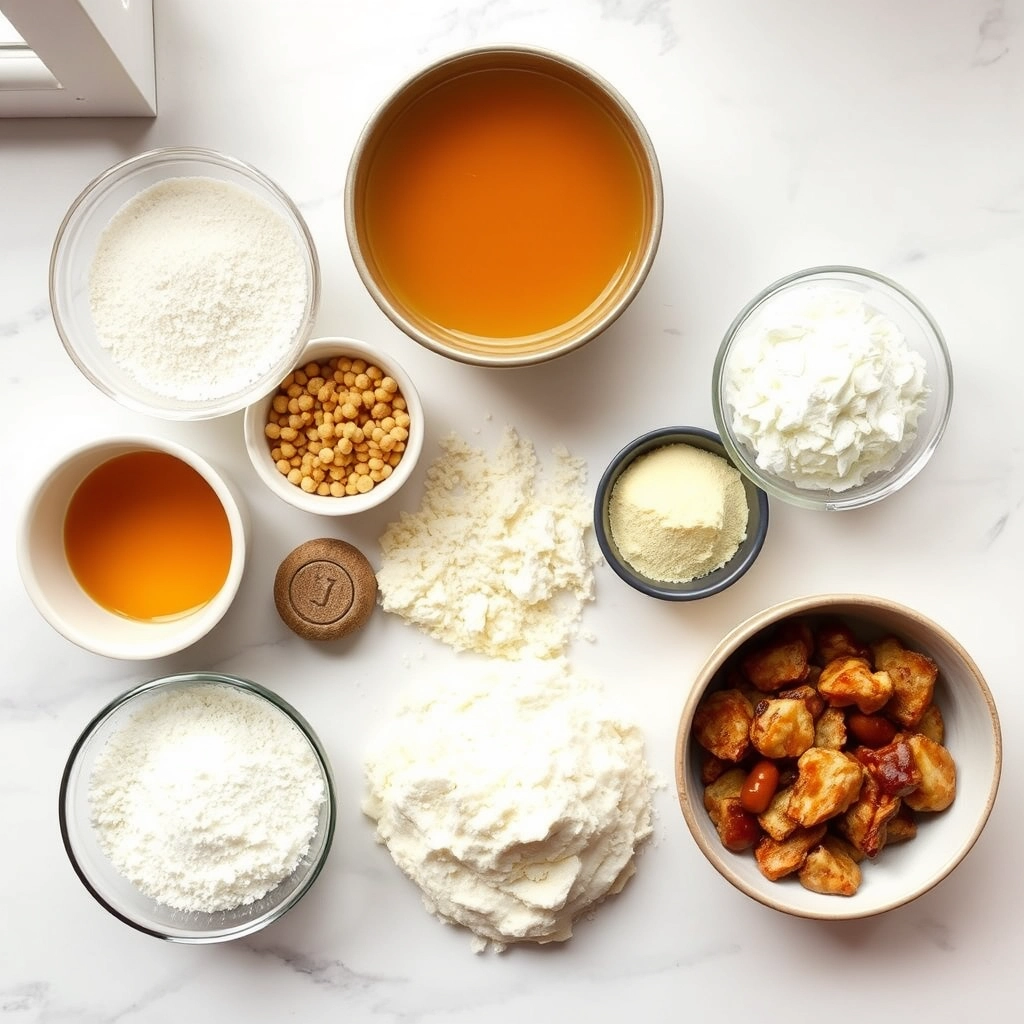
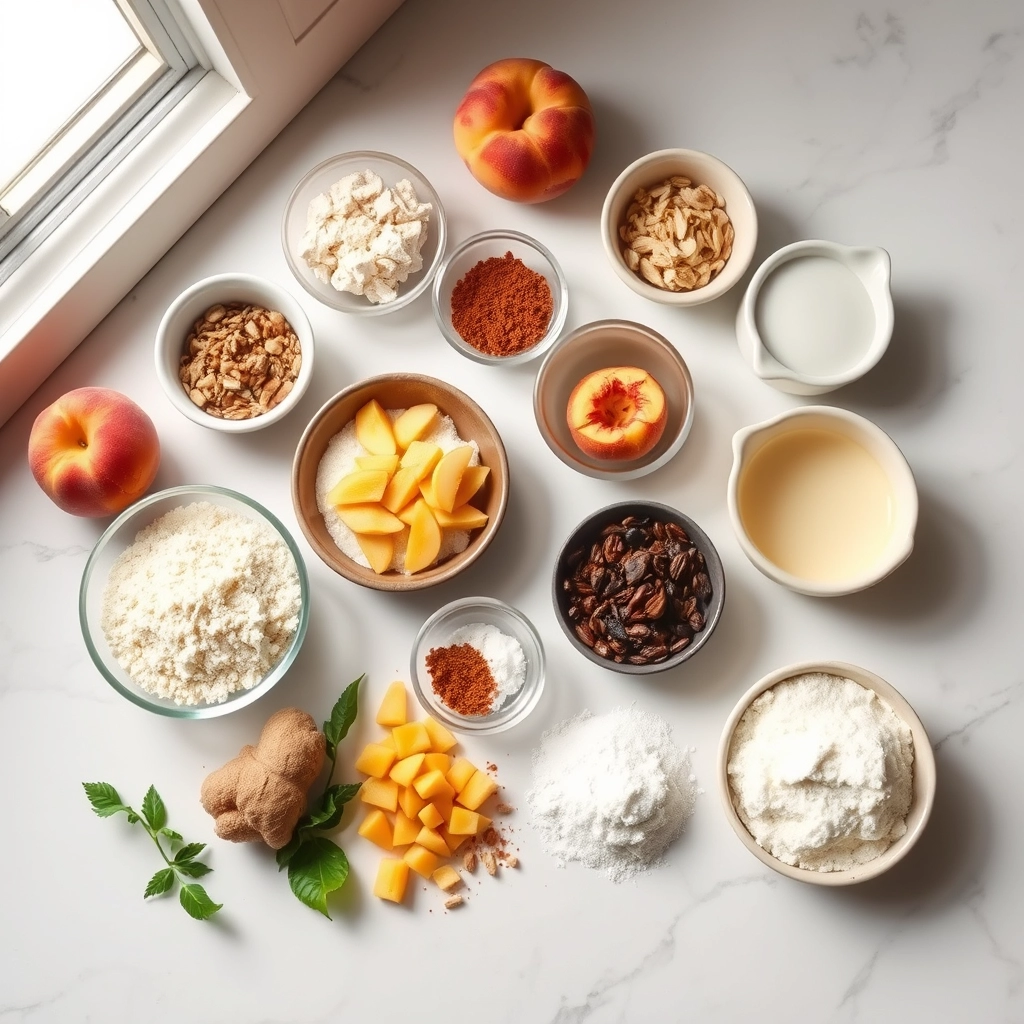
Ingredients
For the Crust:
- 6 cups fresh peaches, peeled and sliced
- 1 cup granulated sugar
- 1/4 cup all-purpose flour
- 1/2 teaspoon ground cinnamon
- 1/4 teaspoon ground nutmeg
- 1 tablespoon lemon juice
- 2 tablespoons unsalted butter, cut into small pieces
- 2 pie crusts (homemade or store-bought)
- 1 egg, beaten (for egg wash)
Instructions
1. Prepare the Crust:
- Preheat oven to 425°F (220°C).
- In a large bowl, mix peaches, sugar, flour, cinnamon, nutmeg, and lemon juice until well combined.
- Roll out one pie crust and place it in a 9-inch pie dish. Pour the peach filling into the crust and dot with butter.
- Roll out the second pie crust and place it over the filling. Crimp the edges to seal and cut slits in the top for ventilation.
- Brush the top crust with beaten egg for a golden finish.
- Bake for 45-50 minutes or until the crust is golden and the filling is bubbly. Let cool before serving.
Notes
You can customize the seasonings to taste.
How to Prepare This Dish
Steps and time-saving tips
Start by preheating your oven to 375°F so it’s ready when you need it. While it heats, roll out your pie crust and gently press it into a 9-inch pie dish, trimming any excess edges. Next, whisk together sugar, cornstarch, cinnamon, and a pinch of salt in a large bowl. Add sliced peaches and lemon juice, then toss everything until the peaches are evenly coated. Pour the filling into the crust, dot with small pieces of butter, and cover with the top crust. Crimp the edges to seal, then cut a few slits in the top to let steam escape. For a golden finish, brush the crust with an egg wash and sprinkle with coarse sugar. Bake for 45-50 minutes until the crust is crisp and the filling bubbles. Let the pie cool for at least an hour before slicing—this helps the filling set. If you’re short on time, use pre-made crust or frozen peaches, but pat them dry to avoid a soggy bottom.
Mistakes I’ve made and learned from
I once rushed the cooling process and ended up with a runny Peach Pie Recipe that fell apart when sliced. Now I always let it rest, even if it’s tempting to dig in early. Another mistake? Overloading the filling, which caused spills in the oven. I learned to leave a little space at the rim for bubbling. If you’re new to pie-making, check out my guide on perfecting pie crust for foolproof tips. And if your peaches aren’t ripe enough, try my quick ripening trick to avoid a bland filling. Trust me, a little patience goes a long way with this dessert.
Cultural Connection and Variations
Where this recipe comes from
Peach Pie Recipe carries a sweet slice of American nostalgia, especially in the South where peaches thrive under the summer sun. Families in Georgia, the Peach State, often pass down their versions with a buttery crust or a hint of cinnamon. Meanwhile, in the Midwest, bakers might add a splash of bourbon for warmth. Across the pond, the French twist it into a tarte aux pêches, layering fruit over frangipane.
In my grandma’s kitchen, Peach Pie Recipe meant sticky fingers and laughter. She’d toss in extra nutmeg, claiming it “woke up the fruit.” Some cultures skip the top crust entirely, like the Italian crostata, where lattice work shows off the peaches. Whether you prefer it deep-dish or free-form, this dessert bridges generations. After all, nothing says summer like the first bite of a just-baked Peach Pie Recipe.
How it fits in today’s cooking
Today, Peach Pie Recipe still stars at picnics and Fourth of July spreads, but it’s also sneaking into brunch menus. Modern bakers swap sugar for honey or fold in berries for color. Some even try gluten-free crusts, proving tradition can bend. For busy cooks, pre-made dough saves time without sacrificing flavor.
Why does it endure? Maybe because it’s versatile. You can serve it warm with ice cream or pack slices in lunchboxes. It’s also a gateway to seasonal baking, reminding us to savor fruit at its peak. Whether you’re reviving family recipes or experimenting with vegan butter, Peach Pie Recipe keeps carving out its place in our kitchens—and our hearts.
Taste and Texture
What makes it delicious
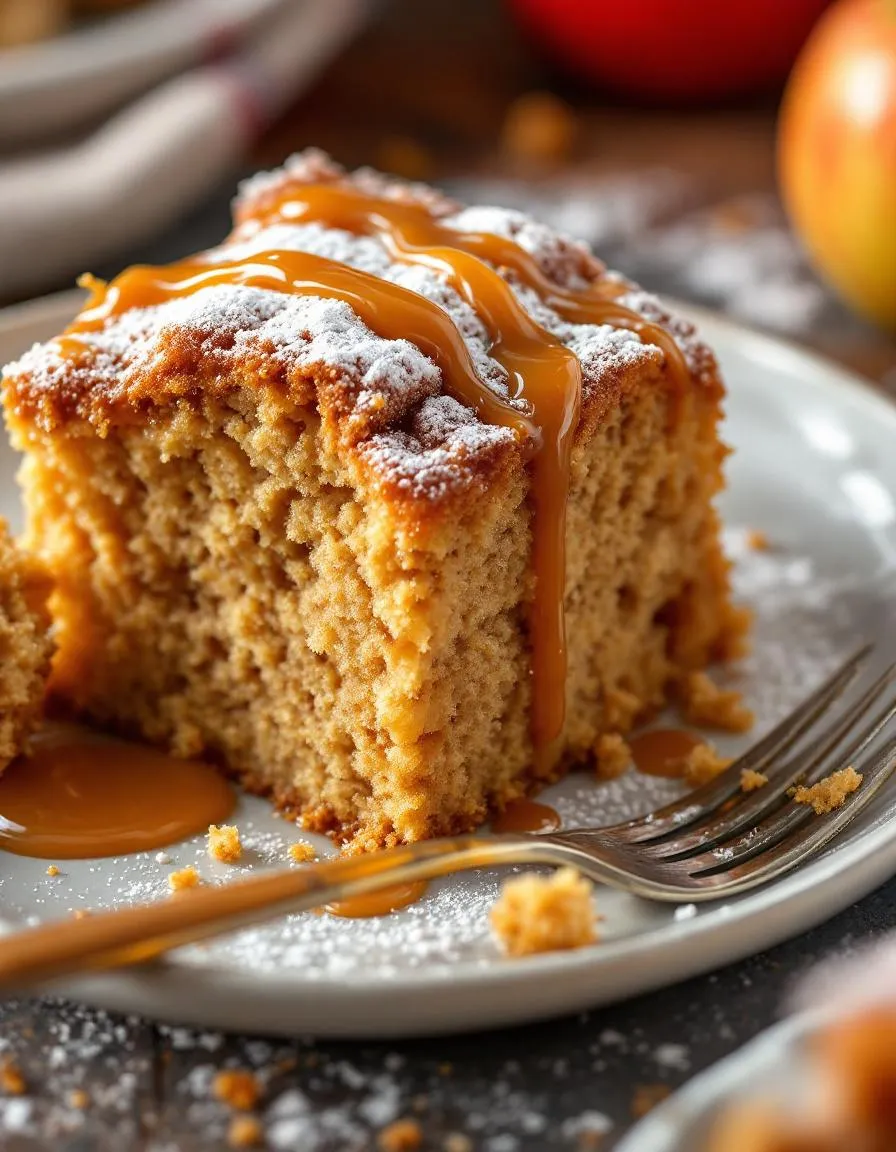
This Peach Pie Recipe delivers a symphony of sweet, juicy flavors with every bite. Ripe peaches burst with natural sweetness, while a hint of cinnamon and vanilla adds warmth and depth. The buttery, flaky crust crumbles just right, creating a perfect contrast to the tender, slightly caramelized fruit filling. As it bakes, the aroma of cinnamon and golden peaches fills the kitchen, making it impossible to resist. Whether served warm or chilled, this Peach Pie Recipe offers a comforting balance of textures—soft fruit, crisp edges, and a melt-in-your-mouth crust.
Boosting the flavor
For an extra flavor boost, try tossing the peaches with a splash of bourbon or almond extract before baking—it enhances their natural richness. A dollop of homemade whipped cream or a scoop of vanilla bean ice cream adds creamy contrast. If you love spice, a pinch of cardamom or nutmeg pairs beautifully with the peaches. For more inspiration, explore our guide to perfect pie crust techniques to elevate your Peach Pie Recipe even further.

Tips for Success
Best practices for results
Always chill your pie dough before rolling it out to prevent shrinking during baking. For the best Peach Pie Recipe, use ripe but firm peaches so they hold their shape. Meanwhile, preheat your oven fully to ensure an even bake. Brush the crust with an egg wash for a golden finish, and let the pie cool completely before slicing to set the filling. Finally, serve it slightly warm with vanilla ice cream for the ultimate treat.
Mistakes to avoid
Avoid overworking the dough, as this can make the crust tough instead of flaky. If your peaches release too much juice, thicken the filling with a bit of cornstarch to prevent a soggy bottom. Additionally, never skip blind baking if your recipe calls for it—this step ensures a crisp crust. For more crust tips, check out our guide on perfect pie crust. Also, if your peaches aren’t sweet enough, balance the tartness with honey instead of overloading on sugar, which can make the filling too watery. Learn more about adjusting sweetness in our fruit pie fillings post.
Serving and Pairing Suggestions
How to serve this dish
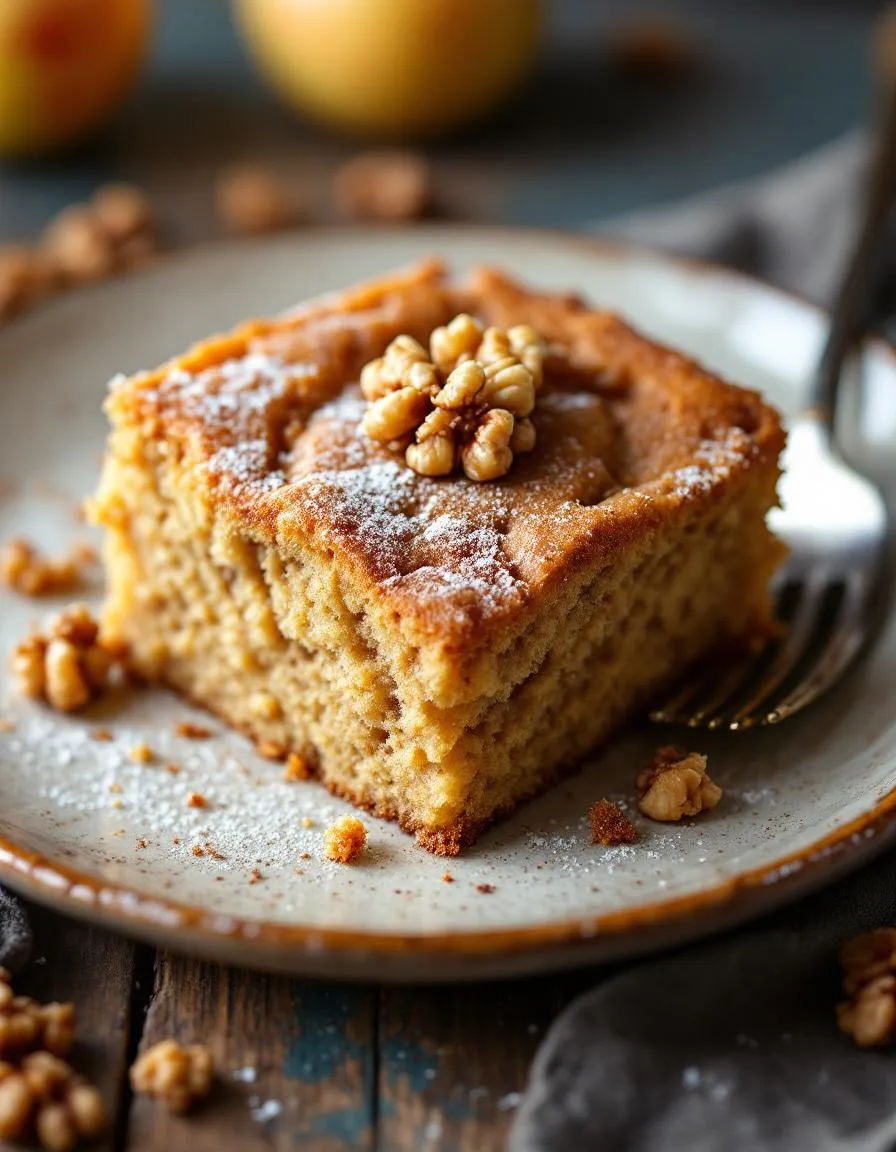
Serve this Peach Pie Recipe warm for the ultimate comfort food experience, or let it cool slightly for a firmer slice. For a stunning presentation, top each piece with a dollop of freshly whipped cream or a scoop of vanilla ice cream. Meanwhile, a sprinkle of cinnamon or a drizzle of caramel sauce adds both flavor and visual appeal. Perfect for summer picnics or holiday gatherings, this pie also shines as a showstopping dessert at brunch. To make it extra special, pair individual slices with a sprig of fresh mint or edible flowers for a touch of elegance.
What goes well with it
Enhance your Peach Pie Recipe with a cold glass of homemade lemonade for a refreshing contrast to its sweet, juicy filling. Alternatively, a warm cup of spiced chai tea balances the pie’s richness beautifully. If you’re serving it as part of a larger spread, try pairing it with our creamy vanilla bean ice cream or a light fruit salad for a delightful mix of textures. For more inspiration, check out our guide to perfect summer desserts or explore easy brunch ideas to complete your meal.
To prevent a soggy peach pie recipe, toss the peach slices with a bit of flour or cornstarch to absorb excess juices. Pre-baking the bottom crust for 10-15 minutes (blind baking) also helps create a barrier against moisture.
Yes, peeling peaches is recommended for peach pie recipes because the skins can become tough during baking. To easily peel peaches, blanch them in boiling water for 30 seconds, then transfer to ice water—the skins will slide right off.
For peach pie recipes, cornstarch is the preferred thickener as it creates a clear, glossy filling without cloudiness. Tapioca flour and instant ClearJel also work well, especially if you want a firmer set for juicy summer peaches.
Absolutely! Frozen peaches work great in peach pie recipes—just thaw and drain them thoroughly to remove excess liquid. You may need to adjust the thickener slightly since frozen peaches release more juice than fresh ones during baking.