“`html
Introduction
There’s something magical about baking cookies that carry love in every bite. Whether you’re surprising a loved one or treating yourself, Heartfelt Slice and Bake Heart Cookies bring warmth and joy to any occasion. These buttery, tender cookies shaped like hearts are not just a dessert—they’re a little edible hug. Perfect for Valentine’s Day, anniversaries, or just because, they remind us that the simplest gestures often mean the most. Plus, with their easy slice-and-bake method, you can whip up a batch whenever the mood strikes.
About This Recipe
Heartfelt Slice and Bake Heart Cookies are a nostalgic twist on classic shortbread, designed to melt in your mouth while warming your heart. The dough comes together quickly with pantry staples like butter, sugar, and flour, but the real magic happens when you shape it into a log, chill, and slice it into perfect heart-shaped rounds. After baking, they turn golden and crisp with a delicate crumb that pairs beautifully with a cup of tea or coffee. What makes these cookies special isn’t just their taste—it’s the intention behind them. They’re ideal for gifting, sharing, or savoring solo, making them a versatile addition to your baking repertoire.
This recipe fits perfectly with the cozy, approachable vibe of our blog, where we celebrate homemade treats that bring people together. If you love easy yet impressive desserts, you’ll also adore our Vanilla Bean Sugar Cookies or our Chocolate-Dipped Shortbread. Heartfelt Slice and Bake Heart Cookies embody that same spirit of simplicity and joy, proving that baking doesn’t need to be complicated to feel meaningful.
Why I Love This Recipe
These cookies hold a special place in my heart because they remind me of baking with my grandmother. She always had a tin of homemade shortbread tucked away, ready to share with anyone who stopped by. When I make Heartfelt Slice and Bake Heart Cookies, I channel her generosity and the comfort of those moments. The process feels like a tribute to her, and now I get to pass that same warmth on to my own family and friends. Every time I pull a batch from the oven, I’m reminded that food isn’t just about flavor—it’s about connection.
“`
Health and Nutrition
Why it’s good for your body
Heartfelt Slice and Bake Heart Cookies offer more than just delicious flavor—they pack a surprising nutritional punch. First, these cookies often include wholesome ingredients like whole wheat flour or oats, which provide fiber to support digestion. Additionally, the recipe may incorporate heart-healthy fats, such as those from nuts or seeds, to promote cardiovascular wellness.
Moreover, Heartfelt Slice and Bake Heart Cookies can be a great source of energy. With balanced amounts of carbohydrates and healthy fats, they help sustain your energy levels without causing drastic blood sugar spikes. If the recipe includes dark chocolate or dried fruit, you also benefit from antioxidants that combat oxidative stress.
Finally, these cookies can be customized to fit dietary preferences. For instance, using almond flour instead of traditional flour boosts protein content while keeping them gluten-free. Whether you enjoy them as an occasional treat or a mindful snack, Heartfelt Slice and Bake Heart Cookies deliver both taste and nutrition in every bite.
How it fits in a healthy lifestyle
Heartfelt Slice and Bake Heart Cookies fit seamlessly into a balanced diet when enjoyed in moderation. They work well as a satisfying dessert or a midday pick-me-up, especially when paired with a protein-rich snack like Greek yogurt. For those following gluten-free diets, simply swapping in alternative flours keeps these cookies just as delicious.
If you’re focused on heart health, these cookies can align with your goals by using ingredients like olive oil or flaxseeds. For more tips on maintaining a nutritious diet without sacrificing flavor, check out our guide on healthy baking substitutes. And if you’re looking for other wholesome dessert ideas, explore our low-sugar treats for inspiration. With mindful choices, Heartfelt Slice and Bake Heart Cookies can be part of a vibrant, health-conscious lifestyle.
PrintHeartfelt Slice and Bake Heart Cookies
Description
Delightful heart-shaped cookies perfect for sharing love on any occasion.
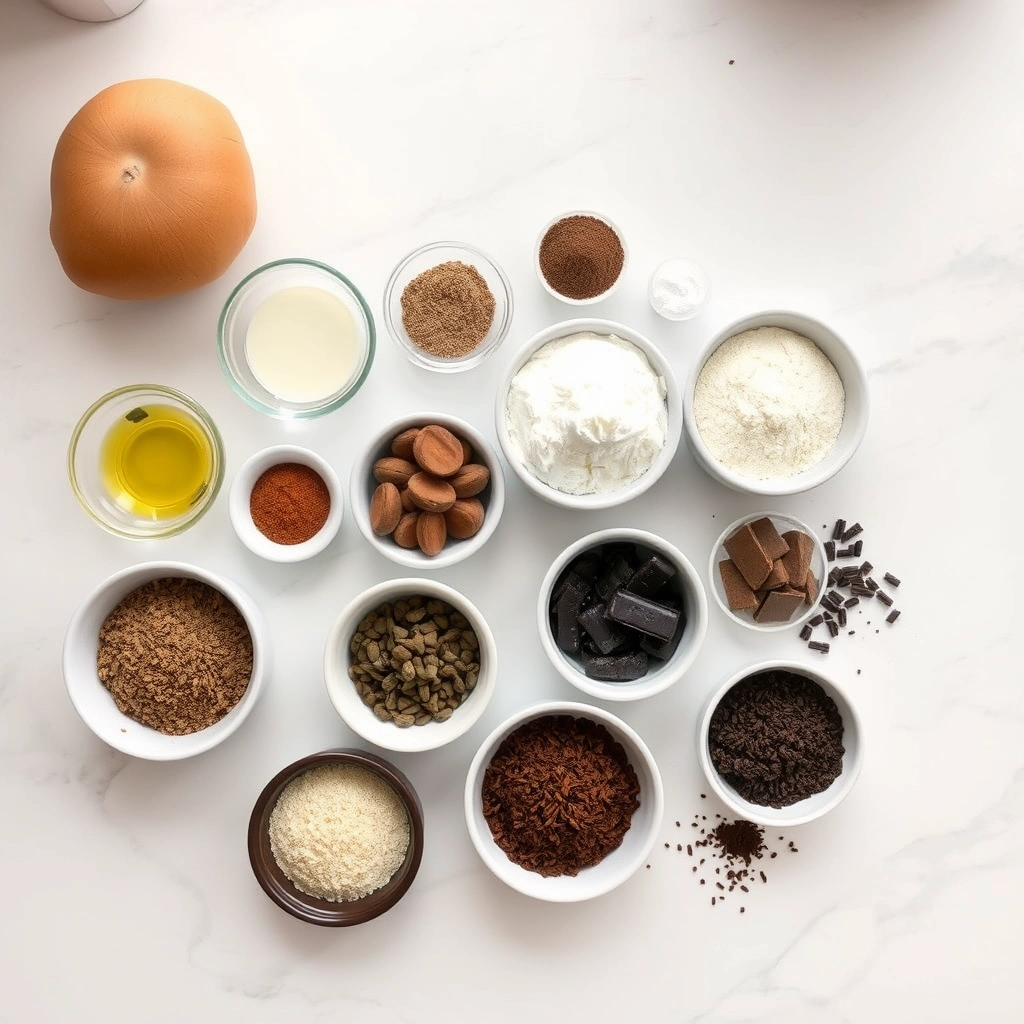
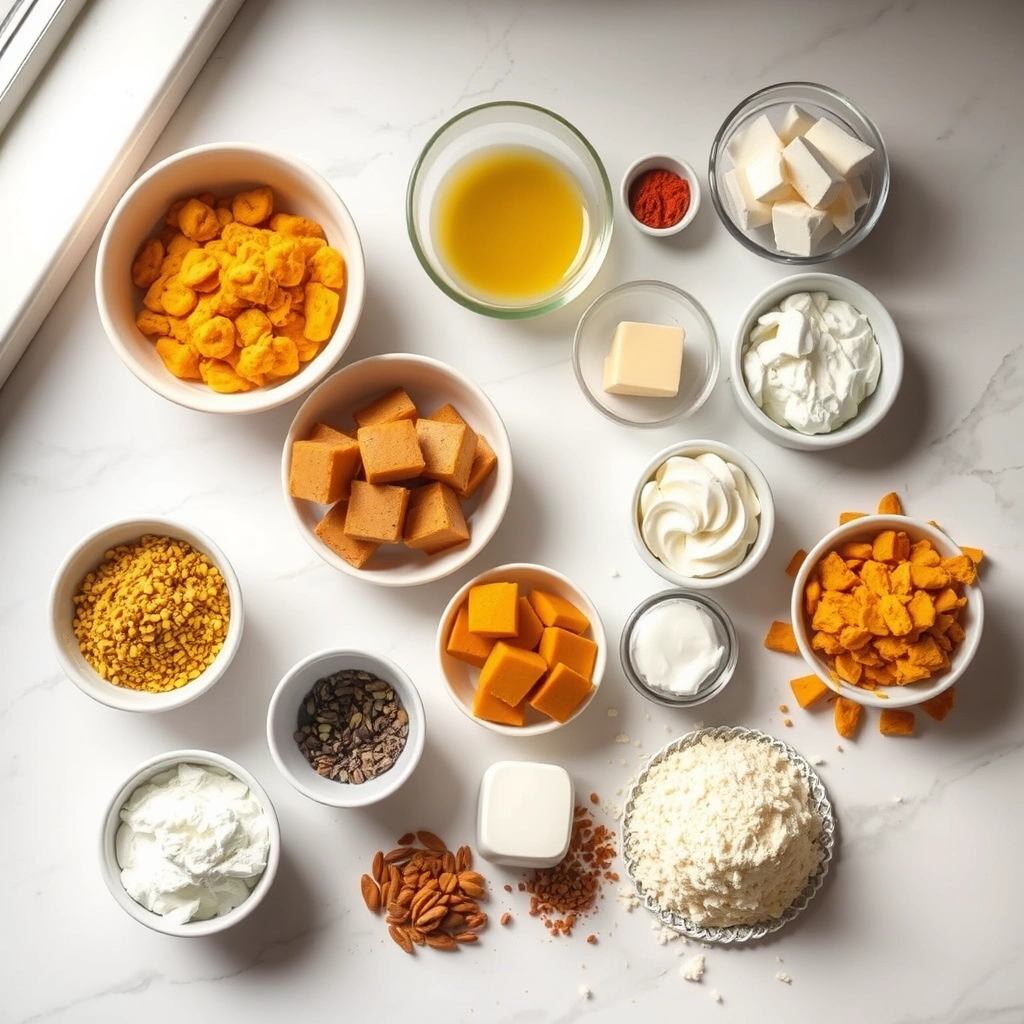
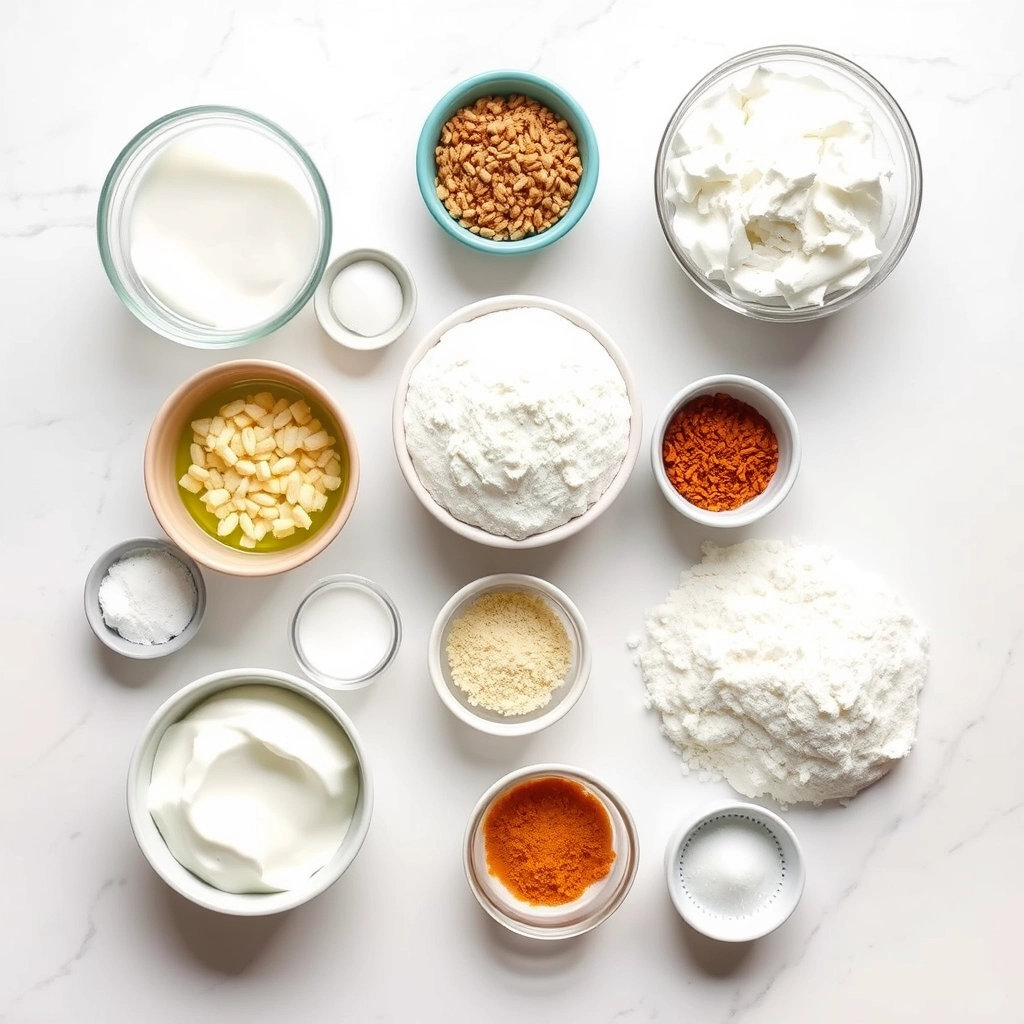
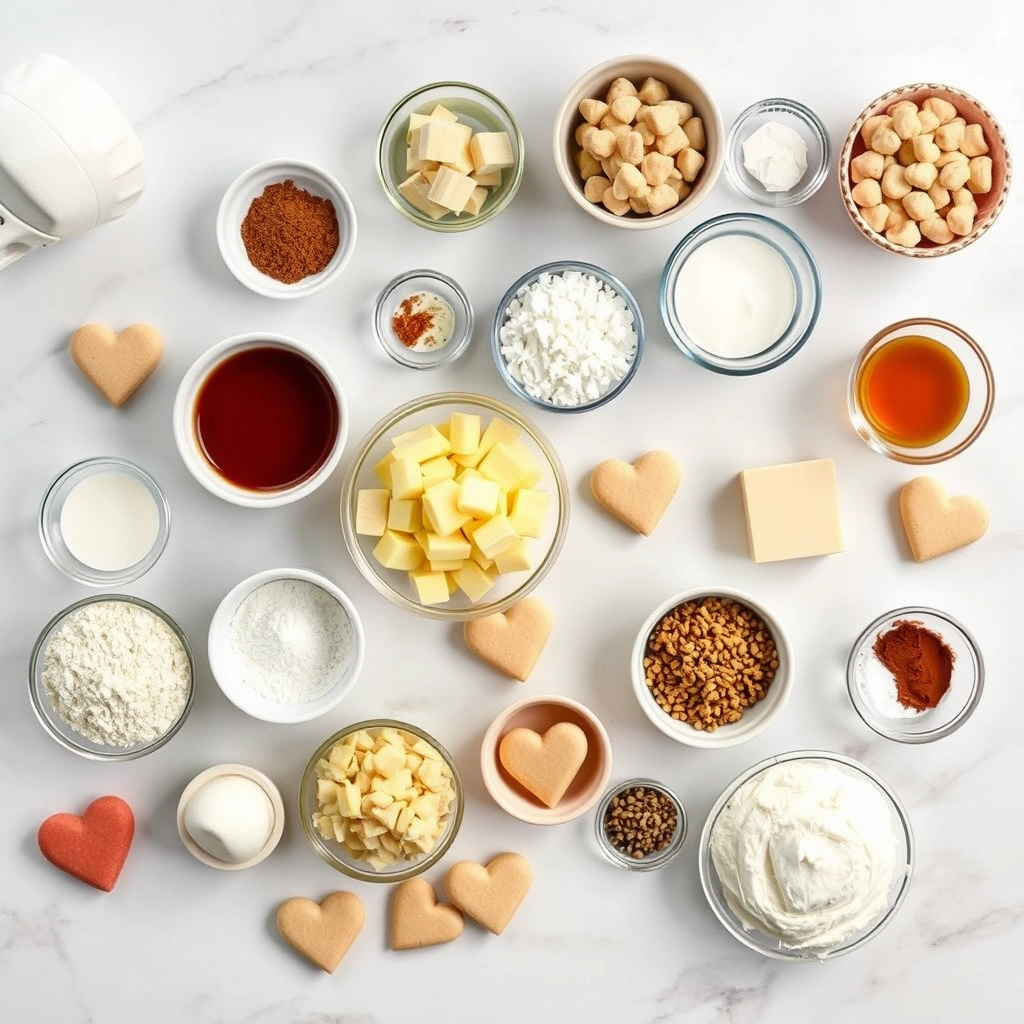
Ingredients
For the Crust:
- 1 cup unsalted butter, softened
- 3/4 cup granulated sugar
- 1 large egg
- 1 teaspoon vanilla extract
- 2 1/2 cups all-purpose flour
- 1/4 teaspoon salt
- Red food coloring (optional)
- Sprinkles or decorating sugar (optional)
Instructions
1. Prepare the Crust:
- In a large bowl, cream together butter and sugar until light and fluffy. Beat in egg and vanilla extract.
- Gradually mix in flour and salt until dough comes together. If desired, add red food coloring for a pink or red hue.
- Divide dough in half. Shape each half into a log, then flatten one side to form a heart shape. Wrap in plastic and chill for at least 2 hours.
- Preheat oven to 350°F (175°C). Slice chilled dough into 1/4-inch thick slices and place on baking sheets. Decorate with sprinkles if desired.
- Bake for 10-12 minutes or until edges are lightly golden. Cool on wire racks before serving.
Notes
You can customize the seasonings to taste.
“`html
How to Prepare This Dish
Steps and time-saving tips
Start by preheating your oven to 350°F to ensure it’s ready when your dough is prepared. In a large bowl, whisk together the dry ingredients—flour, sugar, and a pinch of salt—until fully combined. Next, cut cold butter into small cubes and work it into the flour mixture using your fingers or a pastry cutter until the texture resembles coarse crumbs. Gradually add cold milk, stirring just until the dough comes together. Overmixing can make the Heartfelt Slice and Bake Heart Cookies tough, so stop as soon as the dough forms. Roll the dough into a log, wrap it tightly in plastic, and chill for at least 30 minutes. This step ensures clean slices and prevents spreading during baking. While the dough chills, line your baking sheets with parchment paper for easy cleanup. Once chilled, slice the log into even rounds, arrange them on the sheets, and bake for 12-15 minutes until the edges turn golden. Let the cookies cool completely before decorating with royal icing or sprinkles for a festive touch. To save time, prepare the dough a day ahead and refrigerate it overnight—slicing and baking will take just minutes the next day.
Mistakes I’ve made and learned from
When I first made Heartfelt Slice and Bake Heart Cookies, I skipped chilling the dough, eager to get them in the oven. The result? Misshapen, flat cookies that spread too much. Now I never rush this step—it’s key for perfect shapes. Another lesson came from overworking the dough, which made the cookies dense instead of tender. I’ve since learned to mix just until combined, and it’s made all the difference. If you’re new to slice-and-bake cookies, check out my guide on avoiding common baking mistakes for more tips. Also, if your butter is too soft, the dough won’t hold its shape. For foolproof results, use chilled butter straight from the fridge, as I explain in my perfect cookie texture post. Trust me, these small adjustments turn good cookies into great ones.
“`

Cultural Connection and Variations
Where this recipe comes from
Heartfelt Slice and Bake Heart Cookies trace their roots to European butter cookie traditions, where bakers crafted simple yet elegant treats for special occasions. Over time, the recipe traveled across borders, picking up local twists along the way. In Scandinavia, for instance, they often add cardamom for warmth, while French bakers might layer them with jam for a delicate sandwich effect. My grandmother, however, swore by a splash of almond extract, turning each Heartfelt Slice and Bake Heart Cookie into a fragrant little love note.
These cookies also carry seasonal charm. Many cultures bake them for Valentine’s Day or weddings, but in my family, we roll the dough year-round, shaping hearts for birthdays or just-because moments. Some bakers even dye the dough pink or dip finished cookies in chocolate, proving how versatile this recipe truly is. Whether served with tea in England or as a lunchbox surprise in America, Heartfelt Slice and Bake Heart Cookies always deliver nostalgia in every bite.
How it fits in today’s cooking
Today, Heartfelt Slice and Bake Heart Cookies thrive as a fuss-free classic for busy bakers. Modern twists like gluten-free flour or vegan butter keep them inclusive, while their make-ahead dough fits perfectly with meal-prepping routines. They’ve also found a home in holiday cookie swaps, often sharing the spotlight with chocolate chip cookies or vanilla cupcakes on dessert tables.
What makes them timeless? Their adaptability. Home cooks now experiment with matcha, citrus zest, or even edible glitter, yet the heart shape stays constant—a sweet symbol of connection. Whether you’re baking them for a Galentine’s party or a rainy afternoon, these cookies remind us that some traditions only get better with time.
Taste and Texture
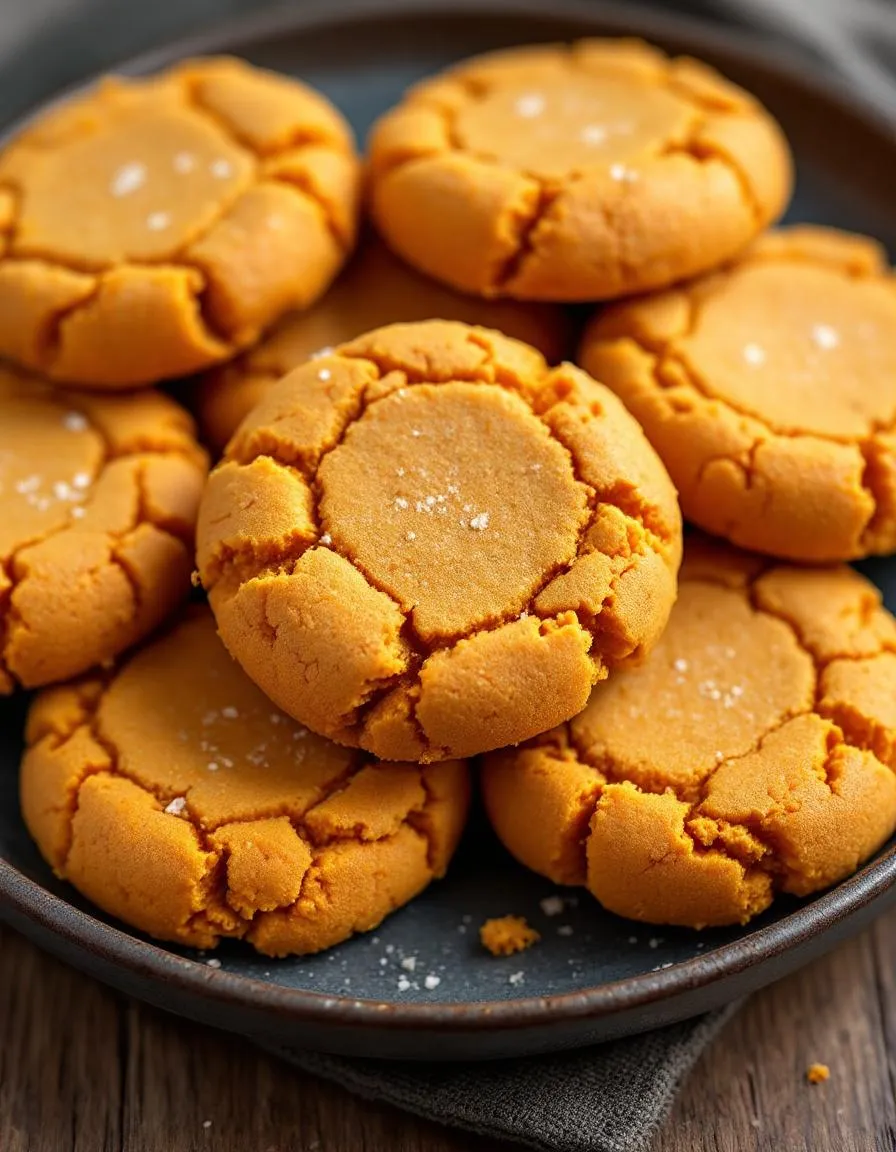
What makes it delicious
Heartfelt Slice and Bake Heart Cookies deliver a buttery, melt-in-your-mouth experience with just the right balance of sweetness. The tender crumb practically dissolves on your tongue, while the edges offer a delicate crispness for contrast. Fragrant vanilla and a hint of almond extract weave through each bite, creating a cozy, nostalgic aroma that fills the kitchen as they bake. Meanwhile, the subtle richness of real butter and a touch of brown sugar deepen the flavor, making Heartfelt Slice and Bake Heart Cookies irresistible. For an extra layer of indulgence, the dough often includes finely chopped nuts or a dusting of sparkling sugar, adding playful texture.
Boosting the flavor
Elevate your Heartfelt Slice and Bake Heart Cookies by rolling the dough in crushed freeze-dried strawberries or citrus zest before slicing for a fruity twist. Alternatively, drizzle cooled cookies with a glossy vanilla glaze or dip half in melted dark chocolate for decadence. Spice lovers can mix cinnamon or cardamom into the dough, while nut enthusiasts might swap almond extract for hazelnut. For more inspiration, explore our guide to creative cookie decorating to turn these treats into edible gifts. Every small tweak lets you personalize the flavor while keeping the charm of the original recipe.

Tips for Success
Best practices for results
Always chill the dough for at least 30 minutes before slicing to prevent spreading during baking. Use parchment paper on your baking sheets for even heat distribution and the best texture in your Heartfelt Slice and Bake Heart Cookies. For uniform shapes, roll the dough into a tight log before chilling, and rotate it occasionally to maintain a round shape. Additionally, slice the cookies with a sharp knife and wipe it clean between cuts for smooth edges. Finally, let the cookies cool completely on the baking sheet to set properly.
Mistakes to avoid
Avoid overmixing the dough, as this can make your Heartfelt Slice and Bake Heart Cookies tough instead of tender. For the right consistency, stop mixing as soon as the ingredients combine. Also, don’t skip the chilling step—soft dough spreads too much and loses its heart shape. If your cookies still spread, check your oven temperature with a thermometer, as an inaccurate setting often causes this issue. For more troubleshooting, see our guide on how to fix spreading cookies. Another common mistake is slicing unevenly, which leads to uneven baking. For perfect slices every time, review our tips on slice-and-bake techniques.
Serving and Pairing Suggestions
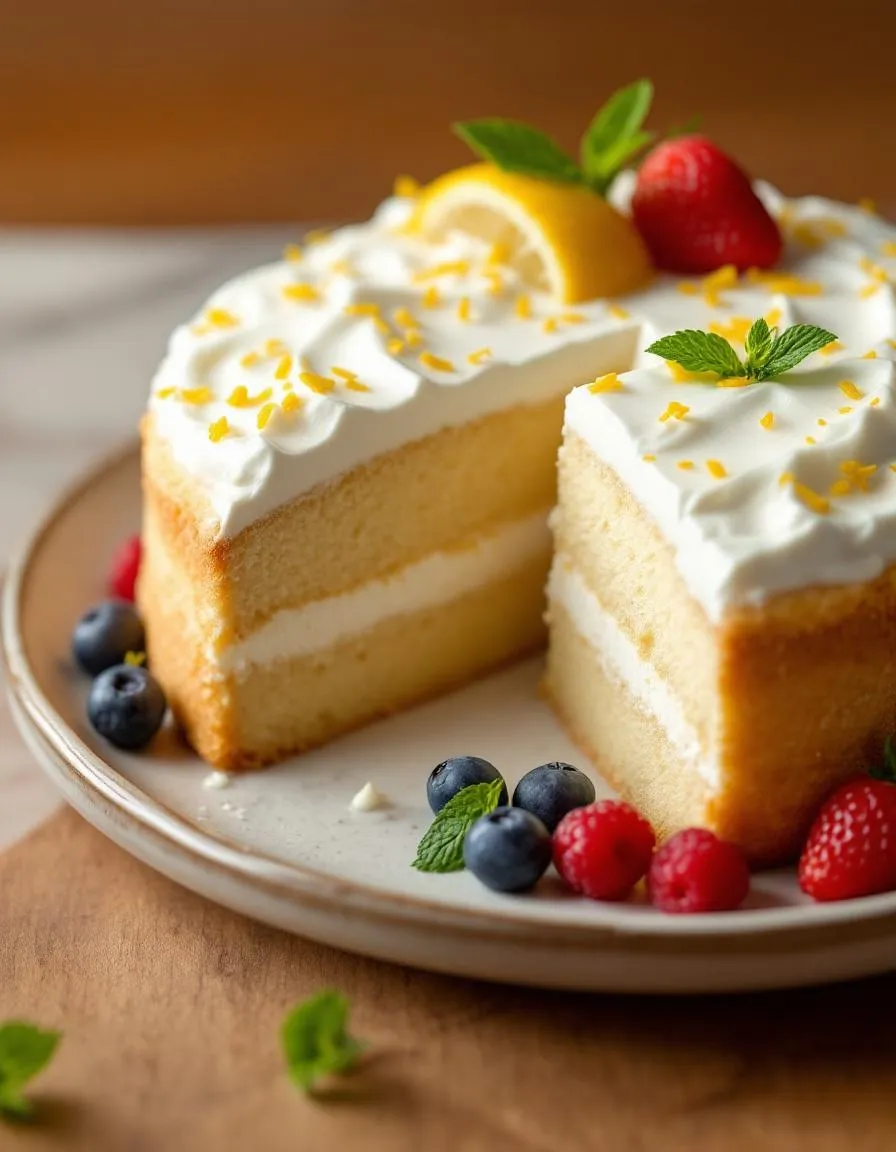
How to serve this dish
Heartfelt Slice and Bake Heart Cookies shine when you arrange them on a rustic wooden board or a pastel-colored platter for a charming touch. Meanwhile, sprinkle edible rose petals or dust them with powdered sugar to enhance their visual appeal. These cookies make a delightful addition to Valentine’s Day gatherings, bridal showers, or even as a sweet surprise for afternoon tea. For a cozy touch, stack them in a glass jar with a ribbon tied around it—perfect for gifting or displaying on your kitchen counter.
What goes well with it
Pair Heartfelt Slice and Bake Heart Cookies with a warm cup of lavender-infused tea for a floral contrast that balances their buttery richness. Alternatively, serve them alongside a scoop of vanilla bean ice cream for a simple yet indulgent dessert. If you love pairing baked goods with fresh flavors, try our berry chia jam for a fruity twist. For a heartwarming combo, enjoy these cookies with our homemade lavender latte, which adds a soothing aromatic note to every bite.

Store Heartfelt Slice and Bake Heart Cookies in an airtight container at room temperature for up to 5 days. For longer freshness, freeze the dough logs or baked cookies for up to 3 months—just thaw and slice or enjoy straight from the freezer.
Yes! Heartfelt Slice and Bake Heart Cookies are perfect for prepping ahead. Wrap the dough logs tightly in plastic and refrigerate for up to 3 days or freeze for later use—slice and bake whenever you’re ready for fresh, heartwarming treats.
For festive Heartfelt Slice and Bake Heart Cookies, drizzle melted chocolate or sprinkle colored sugar before baking. After cooling, add royal icing or edible glitter for extra charm—these simple touches make them perfect for Valentine’s Day or special occasions.
Absolutely! Substitute all-purpose flour with a 1:1 gluten-free blend for Heartfelt Slice and Bake Heart Cookies. Just ensure the dough is well-chilled before slicing, as gluten-free doughs can be more delicate—bake times may vary slightly.