“`html
Introduction
There’s something magical about the aroma of warm cinnamon and pumpkin wafting through your kitchen on a crisp morning. Whether you’re craving a cozy breakfast or a sweet afternoon treat, these Fluffy Pumpkin Cinnamon Rolls to Spice Up Your Day! deliver comfort in every bite. Soft, pillowy dough swirled with a spiced pumpkin filling and topped with a creamy glaze—this recipe is your ticket to a little slice of happiness. Perfect for fall gatherings or a quiet moment with your coffee, these rolls promise to turn any ordinary day into something special.
About This Recipe
Fluffy Pumpkin Cinnamon Rolls to Spice Up Your Day! combines the warmth of pumpkin spice with the irresistible pull of homemade cinnamon rolls. Unlike traditional versions, this recipe infuses the dough with pumpkin puree, adding moisture and a subtle earthy sweetness. The result? Rolls so tender they practically melt in your mouth. Moreover, the filling packs a flavorful punch with cinnamon, nutmeg, and a hint of brown sugar, creating a balance that’s neither too sweet nor too spicy. Whether you’re a seasoned baker or a beginner, this recipe guides you step by step to ensure success.
This dish fits perfectly with the cozy, approachable vibe of BrekCakes, where we celebrate homemade goodness without the fuss. If you love pumpkin desserts, you’ll adore our Pumpkin Spice Cupcakes, another fall favorite. And if you’re new to baking with yeast, don’t worry—our Yeast Baking Tips will help you master the basics. From the first knead to the final drizzle of glaze, these rolls invite you to slow down and savor the process. After all, baking isn’t just about the end result—it’s about the joy of creating something delicious from scratch.
Why I Love This Recipe
Fluffy Pumpkin Cinnamon Rolls to Spice Up Your Day! holds a special place in my heart because it reminds me of lazy Sunday mornings with my family. My grandmother used to make a similar version, and the scent of pumpkin and cinnamon instantly transports me back to her kitchen. I love how this recipe bridges tradition and innovation, offering a modern twist on a classic comfort food. Every time I pull a batch out of the oven, I’m reminded that the simplest pleasures—like sharing warm rolls with loved ones—are often the most meaningful. That’s why I keep coming back to this recipe, year after year.
“`
Health and Nutrition
Why it’s good for your body
Fluffy Pumpkin Cinnamon Rolls to Spice Up Your Day! pack a nutritious punch while satisfying your sweet cravings. First, pumpkin puree delivers a hefty dose of vitamin A, which supports vision and immune health. Additionally, cinnamon adds antioxidants that help reduce inflammation and stabilize blood sugar. Together, these ingredients make Fluffy Pumpkin Cinnamon Rolls to Spice Up Your Day! a smarter indulgence than traditional pastries.
Moreover, pumpkin contributes fiber, which aids digestion and keeps you feeling full longer. Since fiber slows sugar absorption, you won’t experience the energy crash that comes with overly sugary treats. Meanwhile, the warming spices in Fluffy Pumpkin Cinnamon Rolls to Spice Up Your Day! boost metabolism and add flavor without extra calories. For a comforting treat, these rolls strike a balance between wholesome and decadent.
Finally, if you use whole-grain flour or almond flour, you’ll add even more nutrients like protein and healthy fats. Whether you enjoy them for breakfast or dessert, Fluffy Pumpkin Cinnamon Rolls to Spice Up Your Day! offer a delicious way to nourish your body. With every bite, you’re treating yourself to more than just flavor—you’re fueling your day with goodness.
How it fits in a healthy lifestyle
Fluffy Pumpkin Cinnamon Rolls to Spice Up Your Day! fit perfectly into a balanced diet when enjoyed mindfully. For a heart-healthy twist, try swapping butter for avocado oil or Greek yogurt in the recipe. These small changes reduce saturated fat while keeping the rolls irresistibly tender. If you’re watching sugar intake, you can also cut the sweetener by half—the natural sweetness of pumpkin and cinnamon still shines through.
Pairing these rolls with a protein-rich side, like a high-protein breakfast, creates a satisfying meal that keeps energy levels steady. Alternatively, if you follow a gluten-free diet, simply use a gluten-free flour blend to make Fluffy Pumpkin Cinnamon Rolls to Spice Up Your Day! accessible. For more tips on balancing treats with nutrition, explore our guide to healthy dessert swaps. Remember, moderation is key—enjoy these rolls as part of a varied, nutrient-rich eating plan.
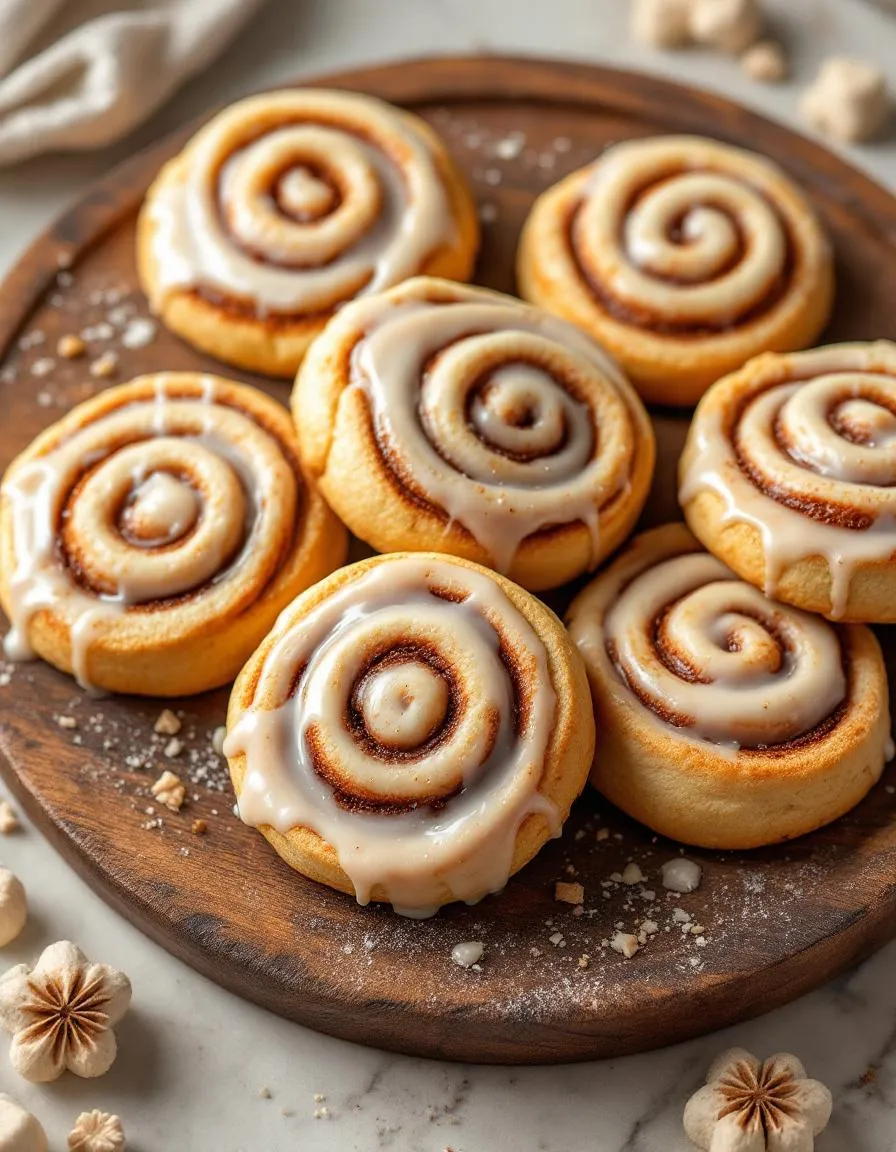
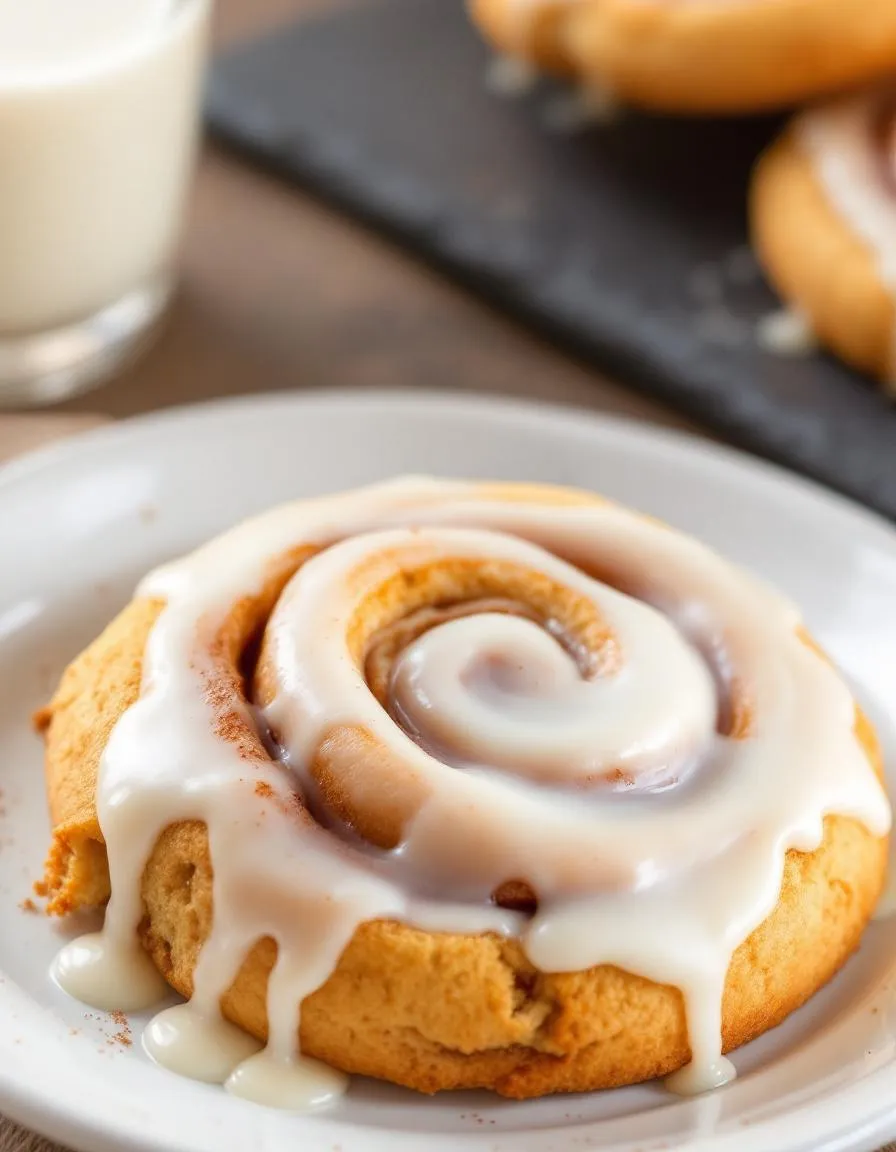
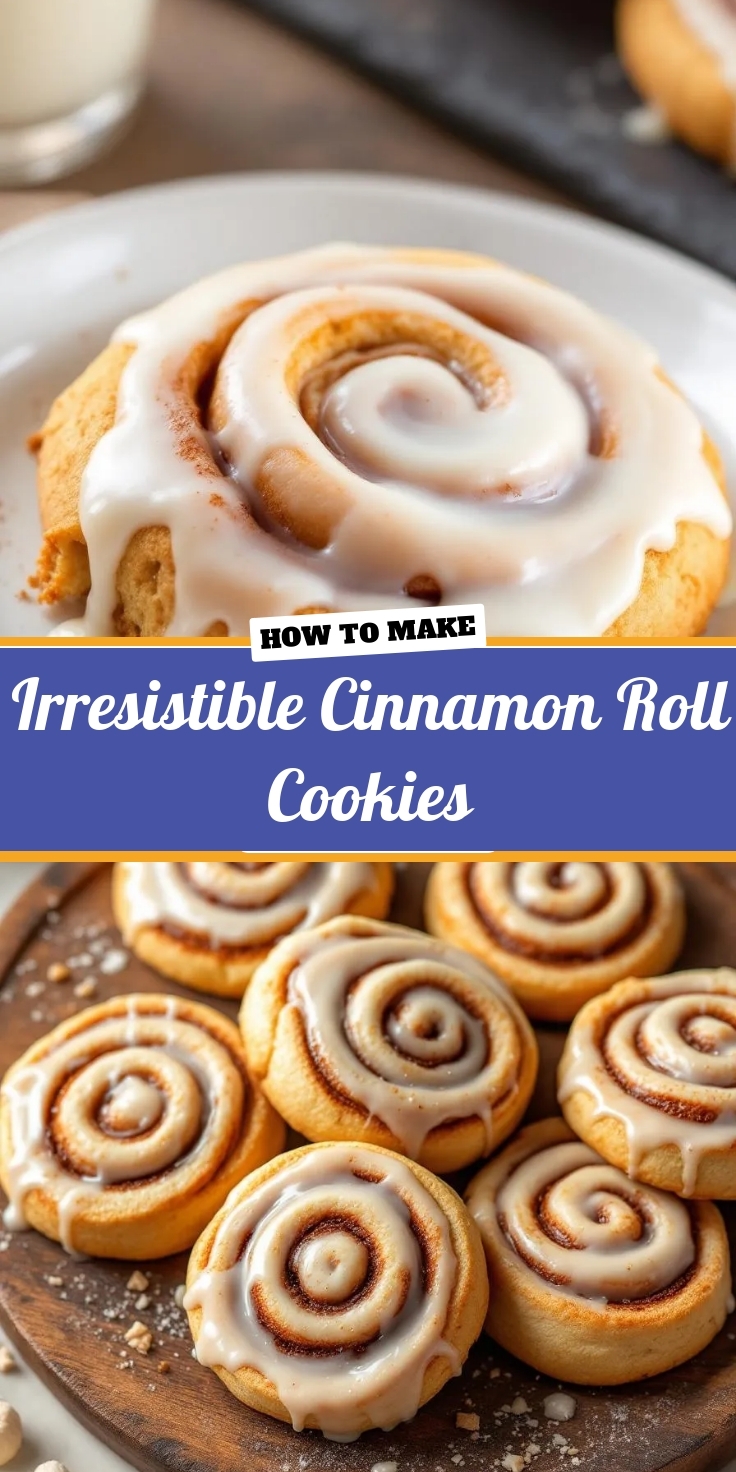
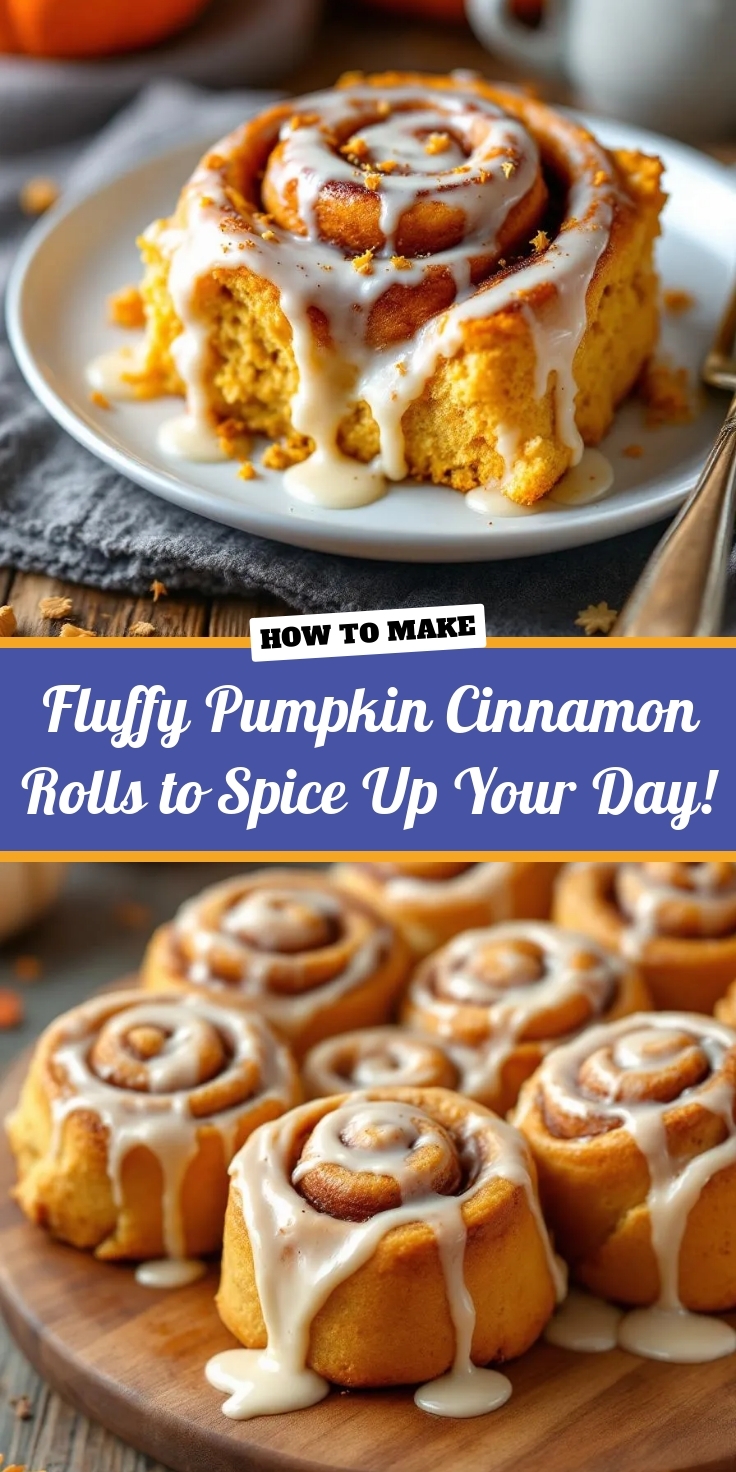
PrintFluffy Pumpkin Cinnamon Rolls to Spice Up Your Day!
Description
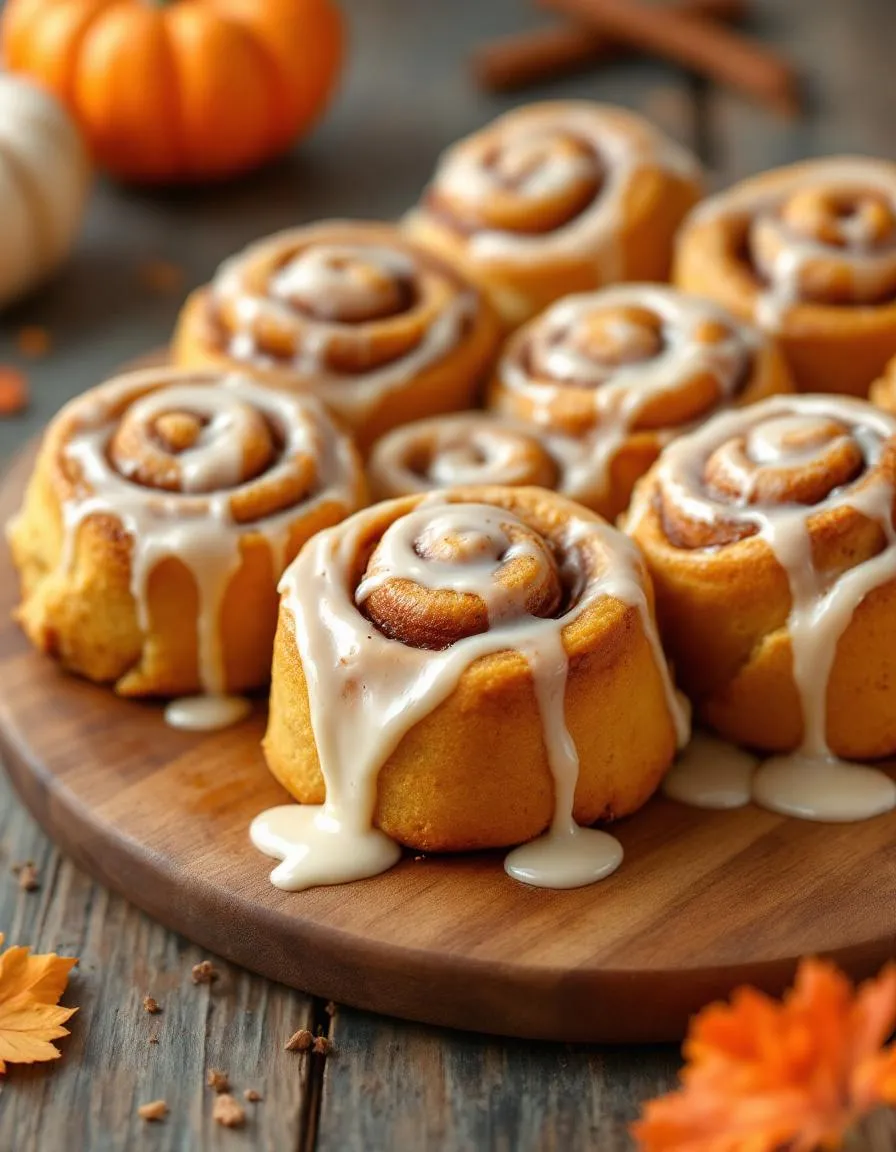
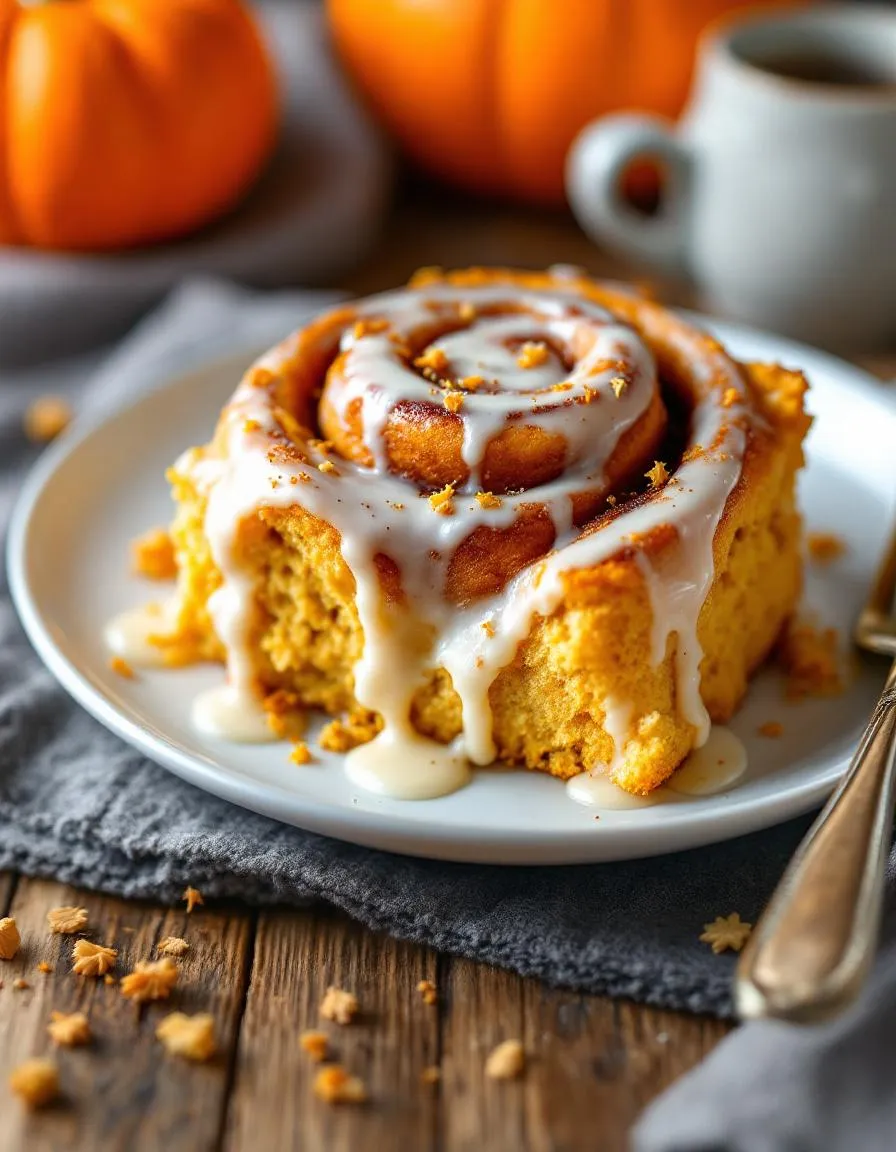
Soft and fluffy pumpkin cinnamon rolls with a sweet cinnamon filling and creamy glaze, perfect for fall mornings.
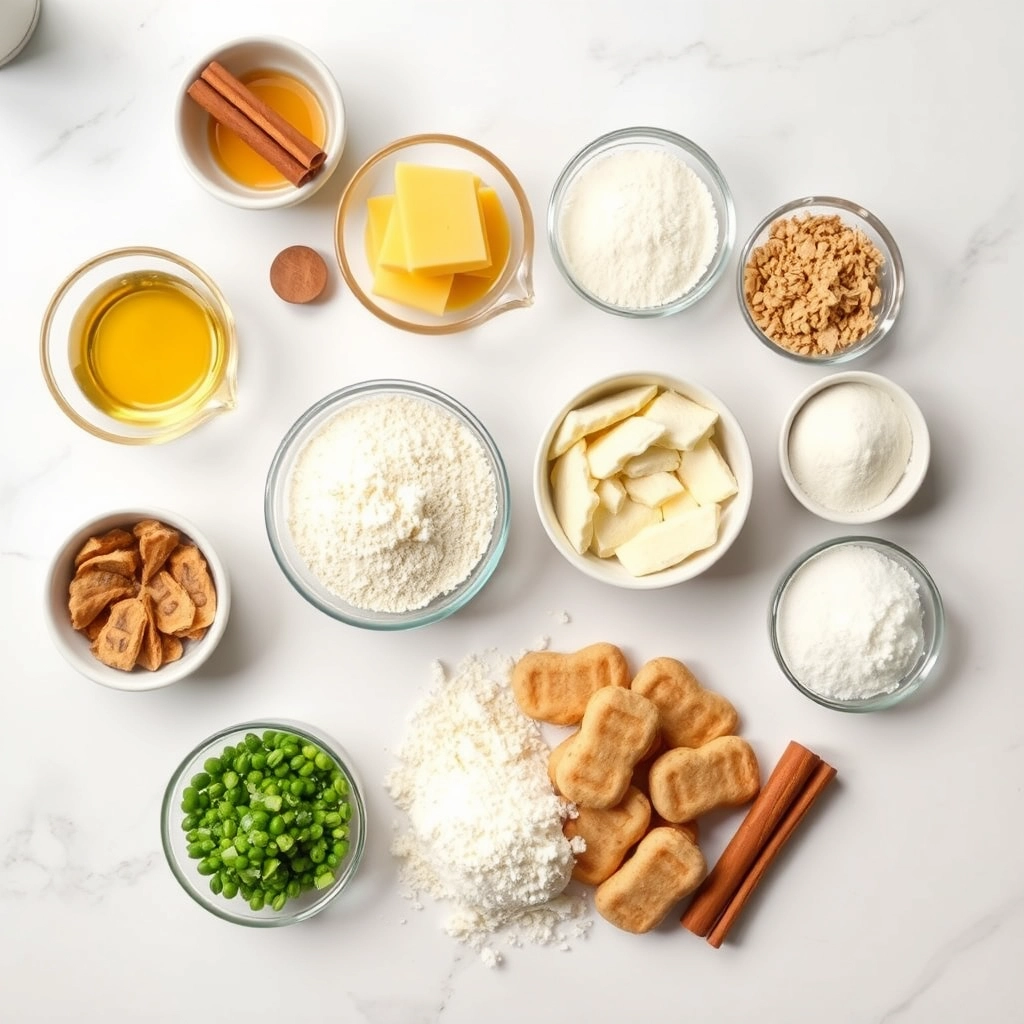
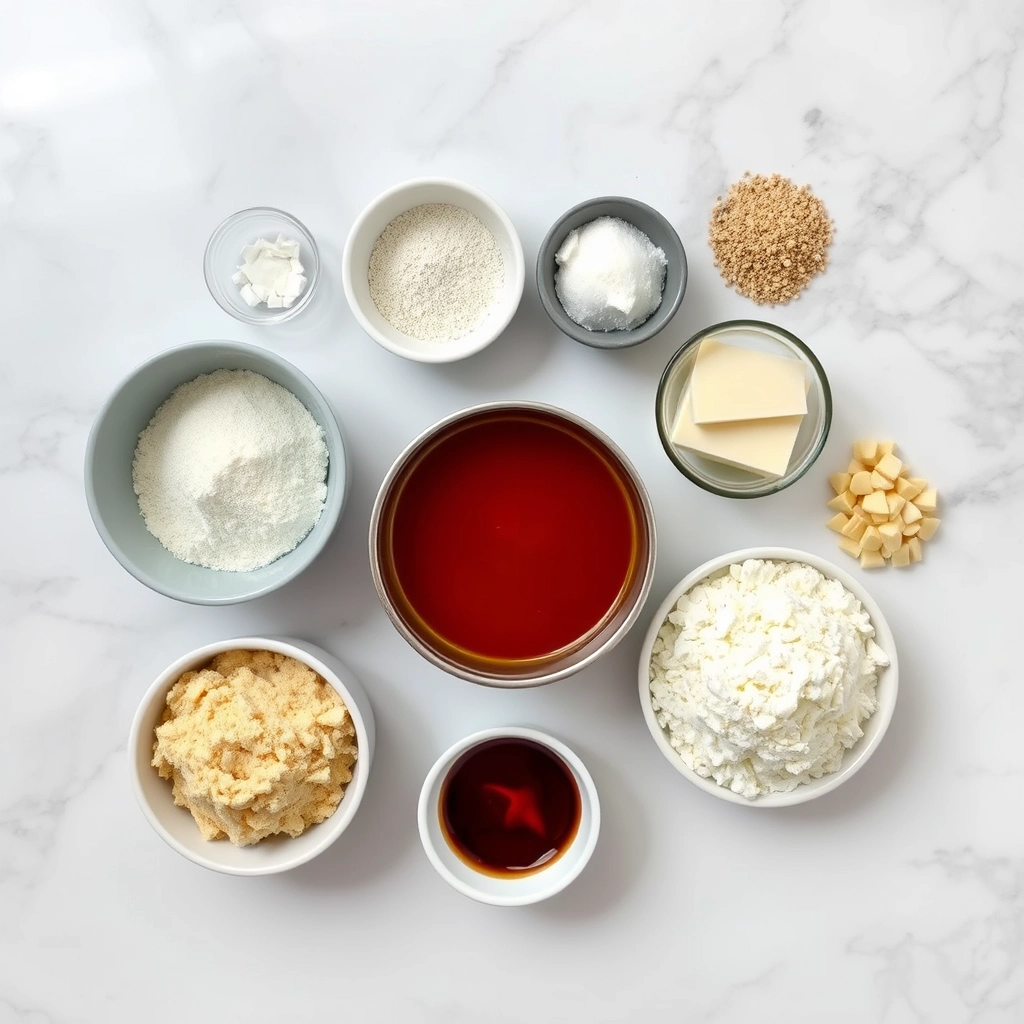
Ingredients
For the Crust:
- 3 1/2 cups all-purpose flour
- 1/4 cup granulated sugar
- 1 packet instant yeast
- 1/2 cup pumpkin puree
- 1/2 cup warm milk
- 1/4 cup melted butter
- 1 egg
- 1 tsp pumpkin pie spice
- 1/2 tsp salt
- 1/2 cup brown sugar
- 2 tsp ground cinnamon
- 1/4 cup softened butter (for filling)
- 1 cup powdered sugar
- 2 tbsp milk (for glaze)
- 1/2 tsp vanilla extract (for glaze)
Instructions
1. Prepare the Crust:
- In a large bowl, mix flour, sugar, yeast, pumpkin pie spice, and salt. Add pumpkin puree, warm milk, melted butter, and egg. Knead until smooth.
- Cover and let rise in a warm place for 1 hour or until doubled in size.
- Roll dough into a rectangle. Spread softened butter, then sprinkle brown sugar and cinnamon evenly.
- Roll tightly into a log and slice into 12 rolls. Place in a greased baking dish and let rise for 30 minutes.
- Bake at 375°F (190°C) for 20-25 minutes until golden.
- Whisk powdered sugar, milk, and vanilla for glaze. Drizzle over warm rolls.
Notes
You can customize the seasonings to taste.
How to Prepare This Dish
Steps and time-saving tips
Start by whisking together warm milk, sugar, and yeast in a large bowl, then let it sit for 5 minutes until frothy. Meanwhile, mix flour, pumpkin puree, melted butter, and a pinch of salt in another bowl. Combine the wet and dry ingredients, then knead the dough for 8-10 minutes until smooth. If you’re short on time, use a stand mixer with a dough hook to speed things up. Let the dough rise in a warm spot for about an hour, or until it doubles in size. While waiting, prepare the cinnamon-sugar filling by blending brown sugar, softened butter, and a generous sprinkle of cinnamon. Once the dough has risen, roll it out into a rectangle, spread the filling evenly, and tightly roll it into a log. Slice into even pieces using unflavored dental floss for clean cuts. Arrange the rolls in a greased baking dish, cover, and let them rise again for 30 minutes. Bake at 375°F for 20-25 minutes until golden. For a quick cream cheese glaze, whisk powdered sugar, cream cheese, and a splash of vanilla, then drizzle over the warm rolls. Serve immediately for the fluffiest texture.
Mistakes I’ve made and learned from
I once rushed the first rise and ended up with dense Fluffy Pumpkin Cinnamon Rolls to Spice Up Your Day!—patience truly makes a difference. Now, I always check if the dough has doubled in size, not just the clock. Another mishap? Overbaking. The rolls dried out because I relied solely on timer instead of visual cues. Now, I pull them out when they’re just lightly golden. If you’re new to baking with yeast, my guide on common yeast mistakes can help avoid frustration. Also, uneven slicing led to some rolls baking faster than others. Using the dental floss trick from my perfect cinnamon roll slices post ensures uniformity. Trust me, these small tweaks save time and guarantee bakery-worthy results every time.
Cultural Connection and Variations
Where this recipe comes from
Fluffy Pumpkin Cinnamon Rolls to Spice Up Your Day! blend the cozy warmth of autumn with the universal love of sweet, spiced pastries. While cinnamon rolls trace their roots to Sweden, where they’re known as “kanelbullar,” adding pumpkin puree and seasonal spices gives them a distinctly American twist. Many families, especially in the Midwest and New England, bake these rolls during fall harvests or Thanksgiving mornings, turning them into a cherished tradition. Some even sneak in a dash of nutmeg or cardamom for extra depth.
Around the world, bakers put their own spin on similar treats. In Germany, “zimtschnecken” feature a tighter swirl and often include marzipan. Meanwhile, Mexican “conchas” swap the filling for a crumbly sugar topping but keep the same comforting essence. Even in my own kitchen, Fluffy Pumpkin Cinnamon Rolls to Spice Up Your Day! evolve yearly—sometimes with a cream cheese glaze, other times with a sprinkle of toasted pecans for crunch. No matter the variation, they always bring people together.
How it fits in today’s cooking
Today, Fluffy Pumpkin Cinnamon Rolls to Spice Up Your Day! bridge nostalgia and modern convenience. Busy bakers streamline the process with overnight rises or quick-rise yeast, while health-conscious tweaks like whole wheat flour or coconut sugar keep them guilt-free. They’ve also become a star of holiday brunches, pairing perfectly with a cup of spiced chai or pumpkin latte. For those who love seasonal baking, our pumpkin spice latte cupcakes make another great fall treat.
Social media fuels their popularity too, with home cooks sharing swirl-perfect rolls topped with decadent glazes. Whether you bake them for a cozy weekend breakfast or as part of a festive spread, these rolls adapt effortlessly. And if you’re craving more autumn-inspired desserts, our apple cider donuts offer another delicious way to celebrate the season. After all, some flavors never go out of style.
Taste and Texture
What makes it delicious
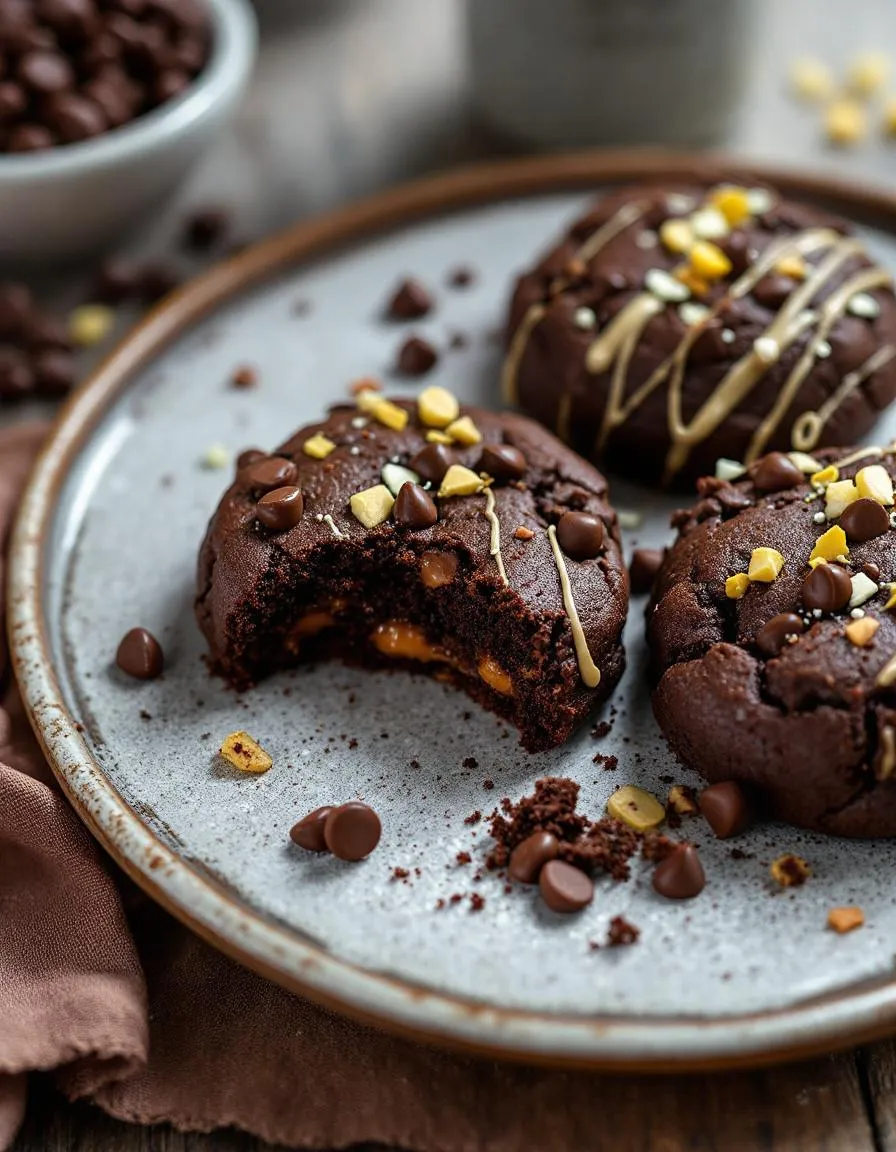
Fluffy Pumpkin Cinnamon Rolls to Spice Up Your Day! deliver a warm, cozy experience with every bite. The dough bakes up irresistibly soft and pillowy, while the pumpkin puree adds a subtle sweetness and moist crumb. A fragrant blend of cinnamon, nutmeg, and cloves wraps around each swirl, creating a spiced aroma that fills your kitchen. Meanwhile, the gooey brown sugar filling melts into caramel-like pockets, contrasting perfectly with the tender texture. Topped with a velvety cream cheese glaze, these rolls balance rich, tangy, and warmly spiced flavors—making Fluffy Pumpkin Cinnamon Rolls to Spice Up Your Day! a fall favorite you’ll crave.
Boosting the flavor
Elevate your Fluffy Pumpkin Cinnamon Rolls to Spice Up Your Day! with a few easy tweaks. For extra depth, swap the cinnamon with homemade chai spice blend, adding cardamom and ginger for a fragrant kick. Drizzle with salted caramel sauce or sprinkle toasted pecans for crunch. Prefer a citrusy twist? Stir orange zest into the cream cheese glaze. Pair them with spiced mocha for a cozy breakfast combo. Whether you tweak the spices or toppings, these rolls adapt beautifully to your taste.
Tips for Success
Best practices for results
Always use room-temperature ingredients for your Fluffy Pumpkin Cinnamon Rolls to Spice Up Your Day! because cold butter or eggs can make the dough uneven. Meanwhile, measure your flour correctly by spooning it into the cup and leveling it off—packing it down leads to dense rolls. Additionally, let the dough rise in a warm spot to ensure it doubles in size properly. For extra flavor, brush the rolls with melted butter right after baking. Finally, don’t skip the parchment paper—it prevents sticking and keeps the texture perfect.
Mistakes to avoid
Avoid overmixing the dough for Fluffy Pumpkin Cinnamon Rolls to Spice Up Your Day! since this can make them tough instead of tender. If your rolls spread too much, check your oven temperature with a thermometer—an inaccurate setting often causes this issue. Also, resist cutting the rolls while they’re hot; let them cool slightly first to maintain their shape. For more troubleshooting, check our guides on common baking mistakes and perfect dough consistency to nail the technique every time.
Serving and Pairing Suggestions
How to serve this dish
Fluffy Pumpkin Cinnamon Rolls to Spice Up Your Day! deserve a spot at the center of your table. For a cozy brunch, arrange them on a rustic wooden board with a drizzle of cream cheese glaze cascading down the sides. Alternatively, stack them high on a cake stand for a festive holiday spread, garnished with a sprinkle of cinnamon or toasted pecans. These rolls also shine as a sweet afternoon pick-me-up when served warm with a pat of butter melting into their soft layers. No matter the occasion, their golden hue and inviting aroma will instantly elevate the mood.
What goes well with it
Pair Fluffy Pumpkin Cinnamon Rolls to Spice Up Your Day! with a steaming mug of spiced chai latte for a comforting autumn treat. The warm spices in both the rolls and the drink create a harmonious flavor experience. For a refreshing contrast, try them alongside a cold glass of vanilla almond milk or our creamy Homemade Pumpkin Spice Latte. If you’re serving these rolls as part of a larger brunch, balance their sweetness with savory dishes like our Eggs Benedict Casserole, which adds a rich, hearty element to the meal.
For ultra-soft Fluffy Pumpkin Cinnamon Rolls to Spice Up Your Day!, use warm milk in the dough and let it rise twice. Adding pumpkin puree keeps them moist, while a touch of cornstarch in the flour blend creates a tender texture. Don’t overbake—pull them out when they’re golden but still slightly springy.
Absolutely! Assemble your Fluffy Pumpkin Cinnamon Rolls to Spice Up Your Day! the night before, cover tightly, and refrigerate. Let them sit at room temperature for 30 minutes before baking. For longer storage, freeze unbaked rolls for up to 1 month—thaw overnight before baking as usual.
Cream cheese frosting is a classic pairing for Fluffy Pumpkin Cinnamon Rolls to Spice Up Your Day!, but maple glaze or brown butter icing work beautifully too. For a lighter option, drizzle with vanilla glaze or dust with powdered sugar. Warm frosting slightly before spreading for easy application.
Boost the pumpkin taste in your Fluffy Pumpkin Cinnamon Rolls by using 100% pure pumpkin puree (not pie filling) and adding pumpkin pie spice to both the dough and filling. For an extra punch, brush the rolls with melted butter mixed with pumpkin spice right after baking. The aroma will make your kitchen smell like autumn!