Table of Contents
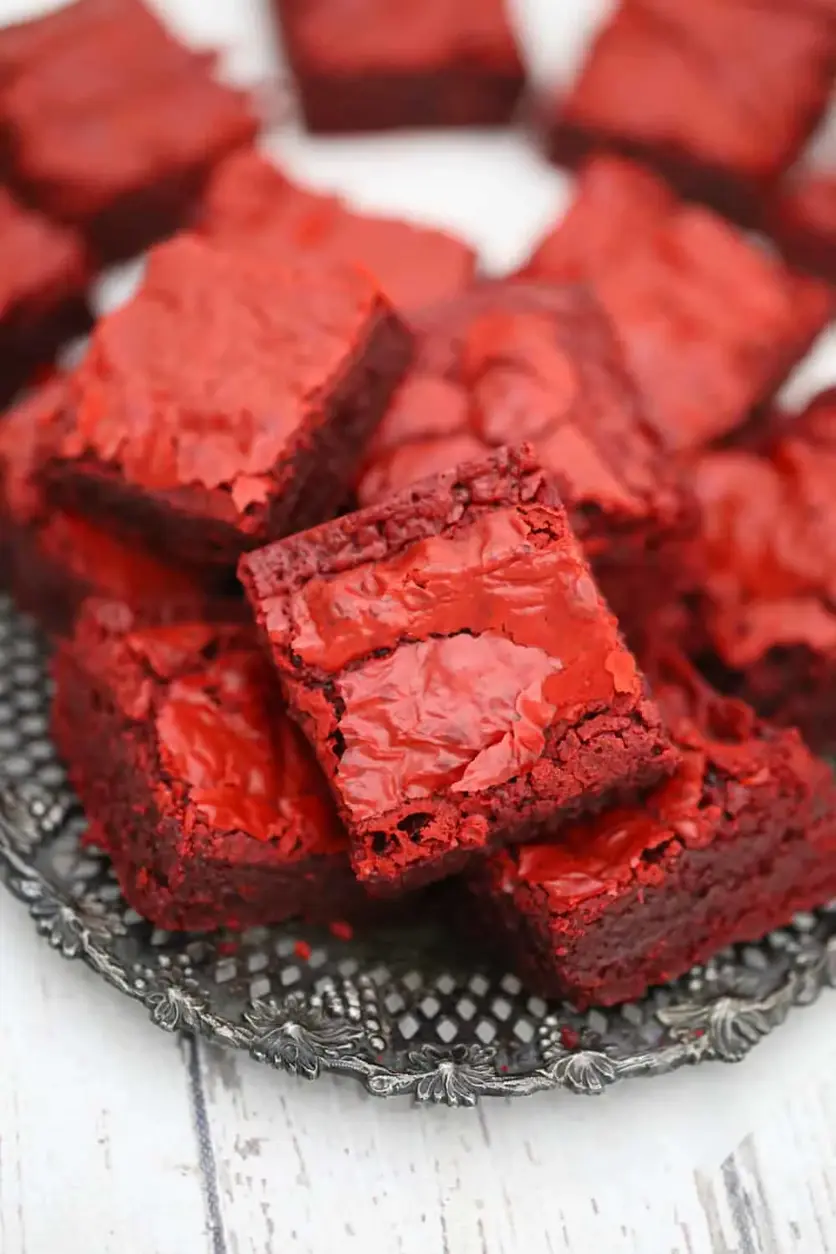
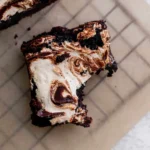
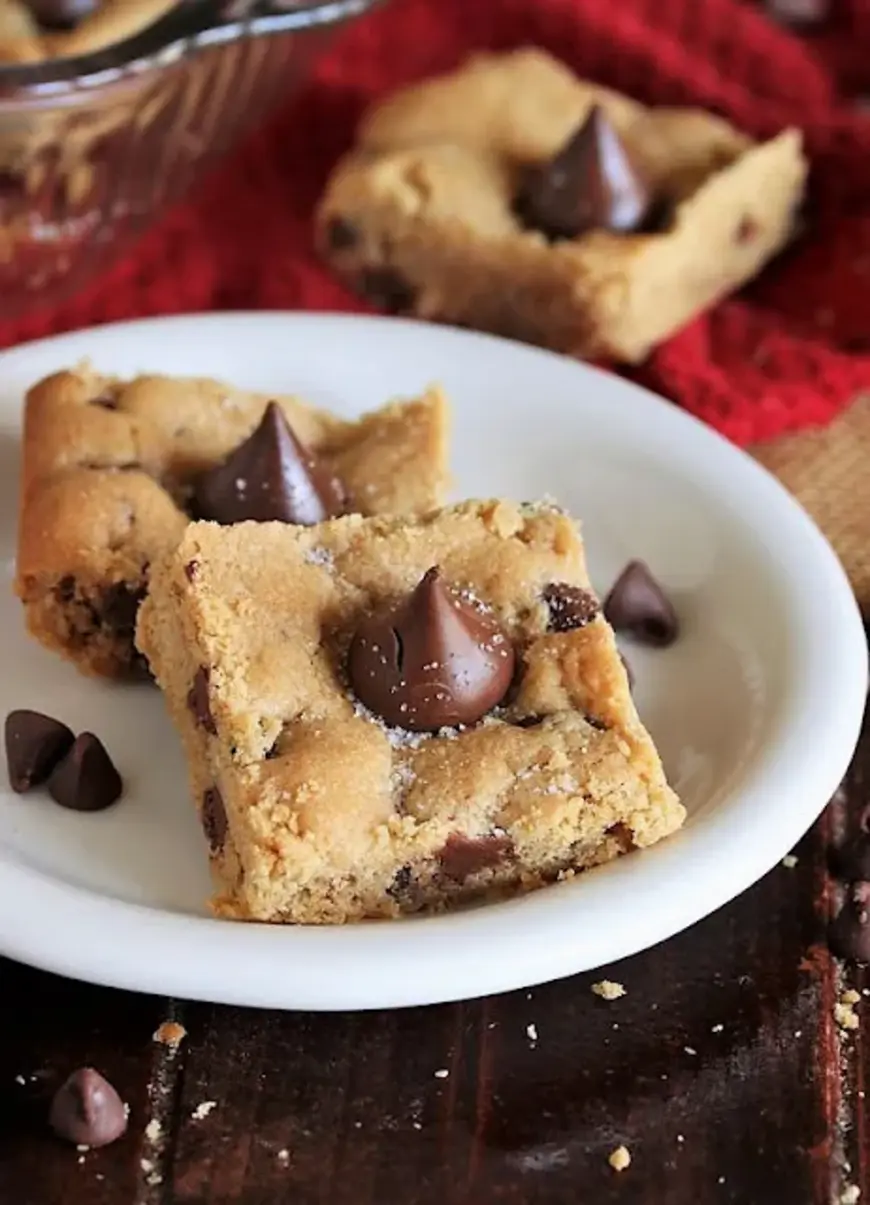
Peanut Butter Blossom Bars – Bar-Form Snack Perfection
I grew up in Marrakesh smelling espresso and cinnamon, but after my culinary studies in Paris I moved to New York where I learned that a good snack can tie cultures together. The first time I saw a tray of peanut butter blossom cookies at a bakery in Brooklyn, I thought, “I’ll turn this into a bar so I can share it on the go.” So here’s my Peanut Butter Blossom Bars—bar form for quick snack lovers, packed with the same creamy peanut butter and Hershey’s kiss hit that you love, but with a crunchy caramelized sugar edge.
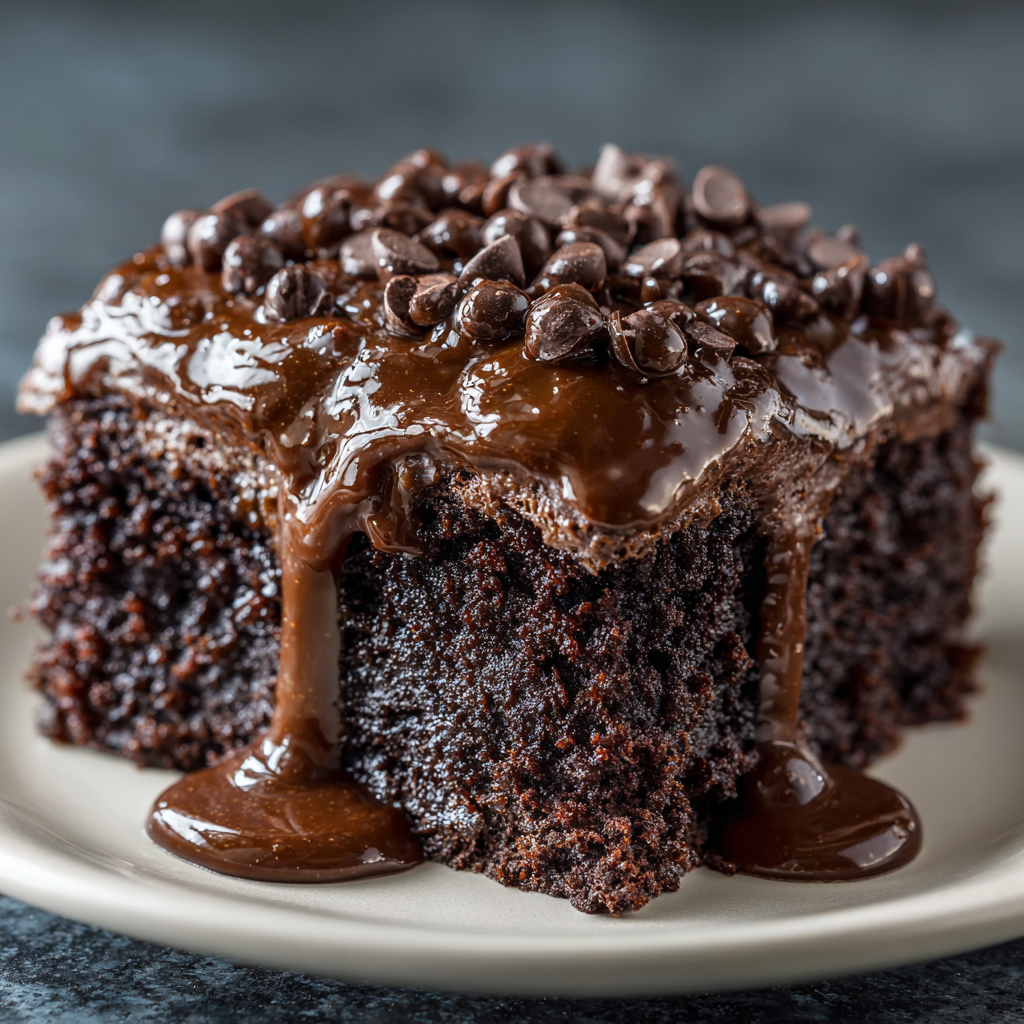
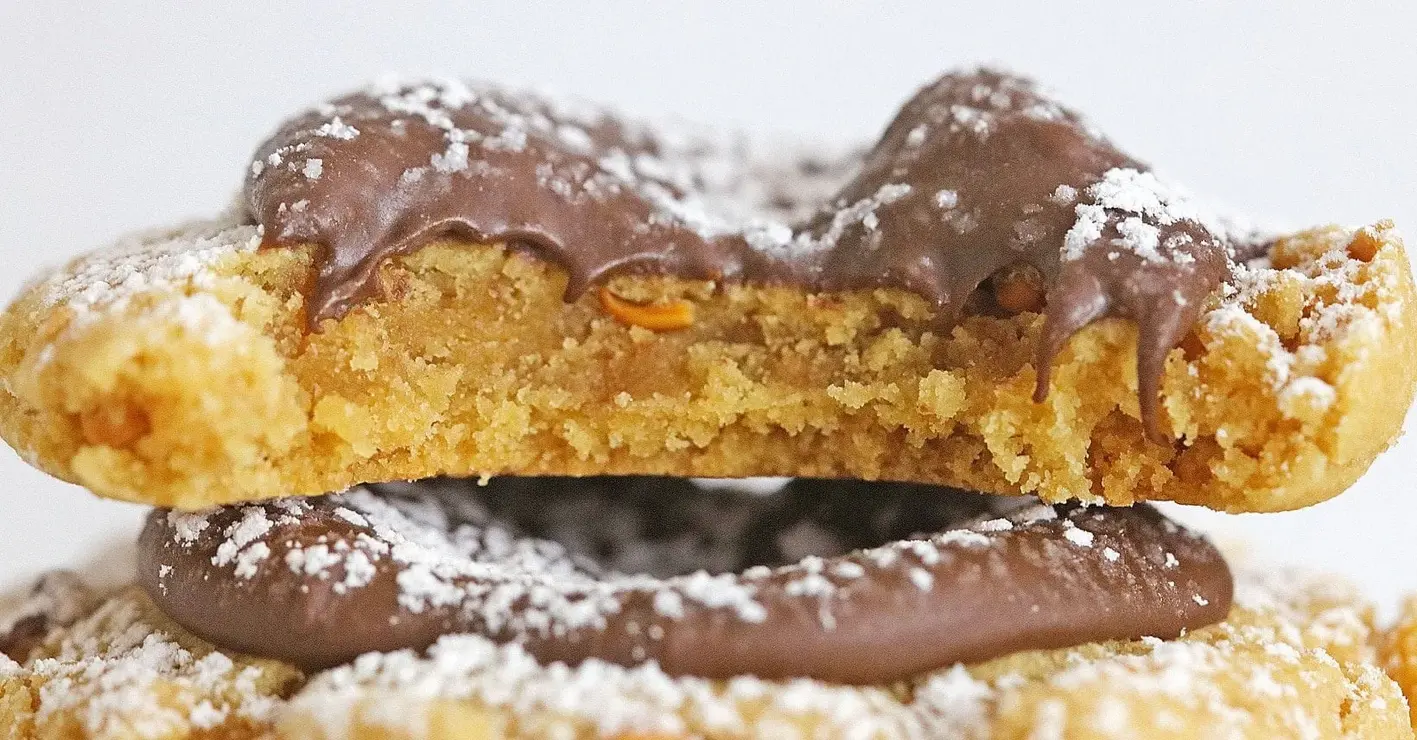
The taste that lands in your mouth is a gentle swirl of salty butter balanced by a harmonious sweetness from the brown and granulated sugars, while the peanut butter infuses an earthy nuttiness that drips into the crispy texture of the grated sugar left to brown just beyond the edge. The Hershey’s kisses melt faintly, forming a glossy halo that flickers like a small starburst on the top of each bite—an aroma reminiscent of a Parisian patisserie baked fresh in the heart of NYC’s Flatiron District.
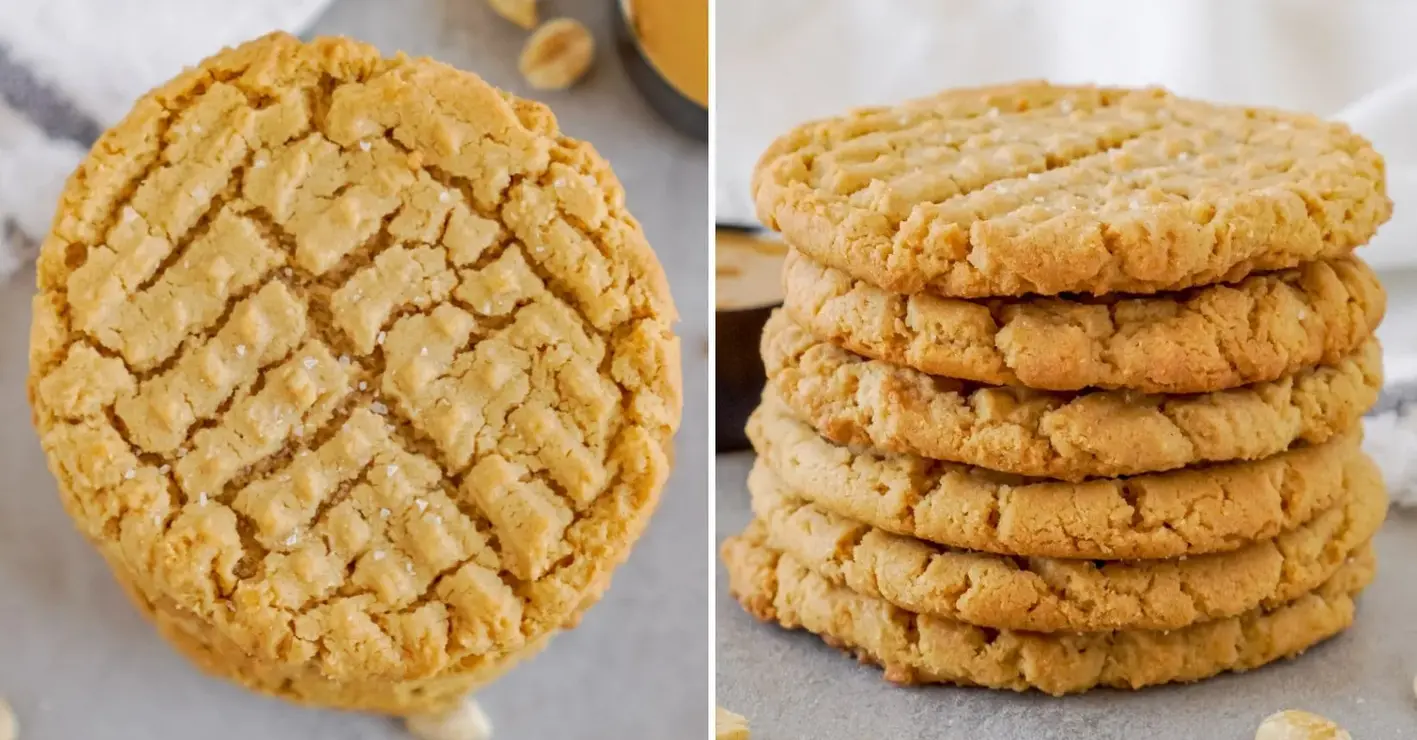
I swore this formula was the best version when I tested it against the supermarket cookies, and you’ll see why. Keep an eye out for my pro tip on the balance of sugar to prevent the bars from drying out – a little extra sanding of fine sugar before baking makes them crispier. If you skip that step you’ll end up with a chewy center that’s too soft to hold the kisses securely.
Why This Peanut Butter Blossom Bars Recipe Is the Best
The secret to this bar‑form snack is the marriage of the classic “block‑boiled” cookie batter with a caramelized coating of sparkling sugar that gives a crunch reminiscent of my mother’s Moroccan tagine glaze. That caramelization locks in peanut butter’s earthy aroma, which I learned when I worked in a mid‑town bakery refining sugared butter techniques in Lyon.
Texture matters, and I perfected it by using a two‑stage baking process: first a gentle bake that sets the interior, then a short, high‑heat blast to crisp the sugar ring. This creates a contrast between a soft, chewy crumb that melts on the tongue and a crisp, golden rim that snaps under your teeth—just like the beloved cookies you love from the 1990s.
I’ve made this recipe many times in Friday night preps for grannies in my New York apartment, and it’s foolproof for beginners. All you need is a hand mixer, a parchment‑lined pan, and the habit of aromatically knocking on the oven door a handful of times, and you’ll have a snack that tastes like a hug.
Peanut Butter Blossom Bars Ingredients
I carry these ingredients from the vintage spice shop on the Lower East Side, and I have to confess, I still keep a jar of Algerian honey that I sometimes drizzle over the finished bars for an extra zing. Here’s what you’ll need.
Ingredients List
- 1/2 cup unsalted butter, softened (1 stick)
- 1/2 cup granulated sugar
- 1/2 cup brown sugar
- 1/2 cup creamy peanut butter
- 1 large egg
- 1 1/2 cups all-purpose flour
- 3/4 tsp baking soda
- 1/2 tsp baking powder
- 1/8 tsp salt
- 2/3 cup milk chocolate chips
- 24 Hershey’s Kisses, unwrapped
- 3 tsp white sparkling sugar (or granulated sugar)
Ingredient Spotlight
All-Purpose Flour – It gives the bars structure while keeping them tender. In the pantry of a NYC mom, you’ll find the finest “0000” flour that gives a silky crumb. If you’re gluten‑free, try 1 1/2 cups of a 1:1 gluten-free blend; the texture is almost identical but you might need a pinch more baking powder.
Milk Chocolate Chips – These are the “real” chocolate bursts that contrast with the caramelized sugar rim. Swap them for dark chocolate chips if you want a more dramatic bitterness; the bars will stay moist but the taste sharpens.
Peanut Butter – The creamy peanut butter keeps the bar’s moistness and gives its signature flavor. Prefer a natural butter – no added sugar – to keep the bars from becoming overly sweet; just add a teaspoon of honey to balance.
| Original Ingredient | Best Substitution | Flavor / Texture Impact |
|---|---|---|
| All-Purpose Flour | Gluten-Free Blend | Mildly denser, slightly tangy note |
| Milk Chocolate Chips | Dark Chocolate Chips | Less sweet, richer flavor |
| Granulated Sugar | Honey or Agave | Adds moisture, subtle floral note |
How to Make Peanut Butter Blossom Bars — Step-by-Step
Gather your tools: a stand mixer, a 9×13-inch pan, parchment paper, and a spoon for sprinkling sugar.
Step 1: Beat the Base
In a large bowl, whip the butter, granulated sugar, brown sugar, peanut butter, and egg together on medium speed until the mixture is pale and fluffy, about 3 minutes.
💡 emy’s Pro Tip: Whipping the butter first helps incorporate air, giving the bars a lighter crumb.
Step 2: Add Dry Ingredients
Fold in the flour, baking soda, baking powder, and salt by hand until just combined; a lump of flour is fine as it will melt during baking.
⚠️ Common Mistake to Avoid: Overmixing the dough will develop gluten and result in chewy bars.
Step 3: Stir in Chips
Gently stir in the chocolate chips, allowing them to sit evenly in the dough so each bite has a chocolate bite.
💡 emy’s Pro Tip: Roughly chop the chips with your fingers so they break up slightly, preventing hotspots.
Step 4: Press and Sugar
Press the dough firmly into a greased 9×13-inch pan. Sprinkle 2 teaspoons of sparkling sugar evenly across the surface.
⚠️ Common Mistake to Avoid: Letting the sugar settle in one place creates uneven browning.
Step 5: Bake
Bake at 350°F for 22–24 minutes, or until the sugar ring is golden and the bars have puffed up.
💡 emy’s Pro Tip: A quick turn of the pan mid-bake helps prevent the sugar from caramelizing too unevenly.
Step 6: Apply Kisses
Remove from oven and immediately press the unwrapped Hershey’s Kisses into the dough in a 4×6 grid. Sprinkle the remaining teaspoon of sparkling sugar.
⚠️ Common Mistake to Avoid: Touching the kisses after baking will smush them; wait until the bars are fully cooled.
Step 7: Cool and Cut
Cool the pan at room temperature for 30 minutes, then cut into squares, making sure each bar centers a Hershey’s Kiss.
💡 emy’s Pro Tip: Use a pizza cutter with a crisscross pattern for clean cuts.
Step 8: Store
Transfer bars to an airtight container; they stay fresh for 3–5 days. Store in the fridge if you want them crunchy.
⚠️ Common Mistake to Avoid: Storing in a damp area can soften the sugar ring.
| Step | Action | Duration | Key Visual Cue |
|---|---|---|---|
| 1 | Beat the base | 3 min | Pale and fluffy |
| 2 | Add dry ingredients | 2 min | Lumps acceptable |
| 3 | Stir in chips | 1 min | Even dispersion |
| 4 | Press & sprinkle sugar | 30 sec | Even coat |
| 5 | Bake | 22‑24 min | Golden ring |
| 6 | Apply kisses | 2 min | Spotting evenly |
| 7 | Cool & cut | 30 min | Bars set |
| 8 | Store | As needed | Airtight container |
Serving & Presentation
Once your bars are ready, serve them at room temperature for a molten center, or chill them for a fresh crunch that’s perfect for a corporate break room. Play with visual appeal by arranging the Hershey’s kisses like a constellation on a midnight blue platter—think a light drizzle of sea salt for contrast.
I find that pairing the bars with a crisp green salad or a slice of fresh orange brings out the sweet notes, while steaming a cup of Earl Grey with a splash of almond milk mirrors the chocolatey undertone.
| Pairing Type | Suggestions | Why It Works |
|---|---|---|
| Side Dish | Plain quinoa salad or crisp cucumber sticks | Salty, neutral crunch balances sweetness |
| Sauce / Dip | Honey‑yogurt dip, crunchy pistachio crumble, or vanilla ganache drizzle | Enhances peanut butter with complementary flavors |
| Beverage | Cold brew coffee, sparkling water with lemon, or blackberry iced tea | Cool beverages cut through the richness |
| Garnish | Chopped pistachios, sea salt crystals, or a dust of cocoa powder | Provides texture and visual contrast |
Make-Ahead, Storage & Reheating
In my own kitchen, I prep these bars on Sunday evenings so I can grab a quick snack amid a week‑long theater break‑out. The key is timing—baking then cooling is quick, but the kisses must sit on the bars until they’re cool enough.
| Method | Container | Duration | Reheating Tip |
|---|---|---|---|
| Refrigerator | Air‑tight ziplock | 3‑5 days | Reheat in a 350°F oven 5 minutes |
| Freezer | Foam box | 2‑3 months | Thaw in fridge, bake 25 minutes at 350°F |
| Make‑Ahead | Pre‑cut bars, Kiss top, no sugar | 1 day in advance | Re‑arrange kisses before serving |
When reheating, I spread the bars on parchment for even heat distribution. If you want the sugar ring crisp, a quick pass in the oven is all you need; no microwaving because it dissolves the chocolate.
Variations & Easy Swaps
| Variation | Key Change | Best For | Difficulty Impact |
|---|---|---|---|
| Chocolate Peanut Butter Bars | Replace cream peanut butter with dark chocolate‑infused paste | Caffeine lovers | Minimal |
| Gluten‑Free & Dairy‑Free Bars | Use gluten‑free flour, oat milk, and store‑brand peanut butter | Allergies | Slight |
| Almond‑Milk Infused Bars | Substitute milk butter with almond milk for a subtle nutty tone | Weight‑loss seekers | Minimal |
Chocolate Peanut Butter Bars
Swapping creamy peanut butter for a dark chocolate‑infused peanut butter adds a bolder contrast; the chocolate smell lingers long after the last bite, reminding me of the French patisserie I visited in Lyon where caramelized chocolate sunsets over the city.
Gluten‑Free & Dairy‑Free Bars
Using a 1:1 gluten‑free blend and oat milk keeps the bars tender while eliminating allergens. The texture stays smooth, and the flavor profile can even enhance the peanut butter’s nuttiness because the buttery milk is richer.
Almond‑Milk Infused Bars
Replacing butter partially with almond milk – about half a cup – lightens the bars and adds a subtle almond aroma that echoes my favorite Mediterranean brunch spots in the East Village. The bars remain chewy but the sugar ring tastes slightly sweeter.
How long do Peanut Butter Blossom Bars last?
These bars stay fresh for about 3 to 5 days when stored in a sealed airtight container at room temperature, and up to a week in the refrigerator. If you’re planning ahead, you can freeze them for up to three months; just wrap each bar individually before placing them in a freezer bag to preserve texture and prevent freezer burn.
Can I use almond butter instead of peanut butter?
Almond butter can replace peanut butter at a 1:1 ratio, but the flavor profile will shift to a milder nutty taste. Because almond butter is drier, you might want to increase the butter by a tablespoon or add a splash of milk to keep the texture moist and ensure the bars set properly.
Why do the Hershey’s Kisses melt into the bars?
When placed on a hot, freshly baked bar, the heat of the dough melts the surface of the kisses just enough to create a glossy ring, yet the core stays solid because the bars cool quickly. Technique-wise, placing the kisses immediately after removal from the oven ensures the kiss retains shape; waiting lets it collapse.
How can I make these bars vegan?
Switch to a plant‑based butter (such as Earth Balance) and replace the egg with a flax egg (1 tablespoon ground flaxseed mixed with 3 tablespoons water). Use vegan peanut butter and dairy‑free chocolate chips. The dough will still set, but you might need a few extra minutes in the oven to reach the desired baking zone.
Can I use store‑bought cookie dough instead?
Store‑bought cookie dough can give a baseline flavor, but it usually lacks the caramelized sugar ring and the precise sweetness of Hershey’s kisses. If you want a shortcut, press the dough from a refrigerated cookie dough into a 9×13 pan, sprinkle sugar on top, then bake at 350°F for 20 minutes. The texture will feel thicker and maybe denser.
What is the best way to cool the bars?
Letting the bars cool on a wire rack is essential; it allows steam to escape and prevents condensation that softens the outer crust. After about ten minutes, first step of cutting, the dust of sugar on the surface should feel crisp, and the interior should still be warm and slightly soft.
Can I add spices like cinnamon or nutmeg?
Absolutely – a pinch of cinnamon or a dash of natural nutmeg can add warmth and depth to the batter. Sprinkle the spices into the dry mixture in step 2; you’ll notice the flavor healing a bit more from the aromas of my own grandmother’s spice rack back in Marrakesh.
How many Kisses should I put on each bar?
For a balanced bite, place one Hershey’s Kiss at the center of each bar, with the edges of the Kiss sitting within the caramelized sugar ring. The size of each kiss ensures that the chocolate slightly melts into the butter while the sugar remains crisp, offering a mid‑journey sweet burst without drowning the flavor.
Share Your Version!
Feel free to drop a star rating and comment below so I can hear what you think of these bars. If you snap a pic on Instagram or Pinterest, tag me @cookingwithemi – I love seeing your kitchen hacks and how you play with flavors.
What twist would you add to the Peanut Butter Blossom Bars to make them your signature snack? I’m all ears for new flavor combos and your creative takes on the classic.
From my NYC kitchen to yours — I hope this recipe brings as much warmth to your table as it does to mine. — emy 🧡
Love This Recipe? Save It to Pinterest!
If you enjoyed this Peanut Butter Blossom Bars recipe, don’t let it get lost in your browser tabs! 😄 Pin it now so you can find it again anytime — and explore hundreds more tried-and-tested recipes waiting for you on my Pinterest boards.
👉 Follow emy on Pinterest @exorecipe
📌 Pin this recipe · 🔁 Re-pin your favorites · 💬 Tag me when you make it — I love seeing your creations!
Peanut Butter Blossom Bars
Description
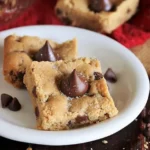
We all know and love iconic Peanut Butter Blossom cookies — but why not enjoy this classic treat in easy bar form? Just like their classic cookie inspiration, Peanut Butter Blossom Bars are rich in peanut butter flavor with that signature Hershey’s Kiss perched deliciously on top. And they’re super easy to make, too.
Ingredients
- 1/2 c. unsalted butter, softened
- 1/2 c. granulated sugar
- 1/2 c. brown sugar
- 1/2 c. creamy peanut butter
- 1 egg
- 1 1/2 c. all-purpose flour
- 3/4 tsp. baking soda
- 1/2 tsp. baking powder
- 1/8 tsp. salt
- 2/3 c. milk chocolate chips
- 24 Hershey's Kisses, unwrapped
- 3 tsp. white sparkling sugar OR granulated sugar
Instructions
- In large mixing bowl, combine the butter, 1/2 cup granulated sugar, brown sugar, peanut butter, and egg. Beat with an electric mixer on medium speed until well mixed.
- By hand, stir in flour, baking soda, baking powder, and salt until just combined and a dough forms. Stir in milk chocolate chips.
- Press dough into the bottom of a greased 9×13-inch baking pan. Sprinkle evenly with 2 teaspoons of the white sparkling sugar (or granulated sugar).
- Bake at 350x for 22-24 minutes, or until puffed up all over and golden brown.
- Remove from oven and immediately top with unwrapped Hershey's Kisses in a 4 rows by 6 rows pattern. Sprinkle with remaining teaspoon of the white sparkling sugar (or granulated sugar).
- Cool completely. Cut into squares with one of the Hershey's Kisses in the center of each bar.
- Store in an airtight container.
- The dough will be a stiff, almost crumbly dough.
- After placing the Hershey's Kisses on the baked bars, don't touch the Kisses again until the bars are completely cooled. The Kisses do melt (and glisten) from the heat of the baked bars, but do keep their shape. If you touch the Kisses at this point, they will smush and their shape will warp.