“`html
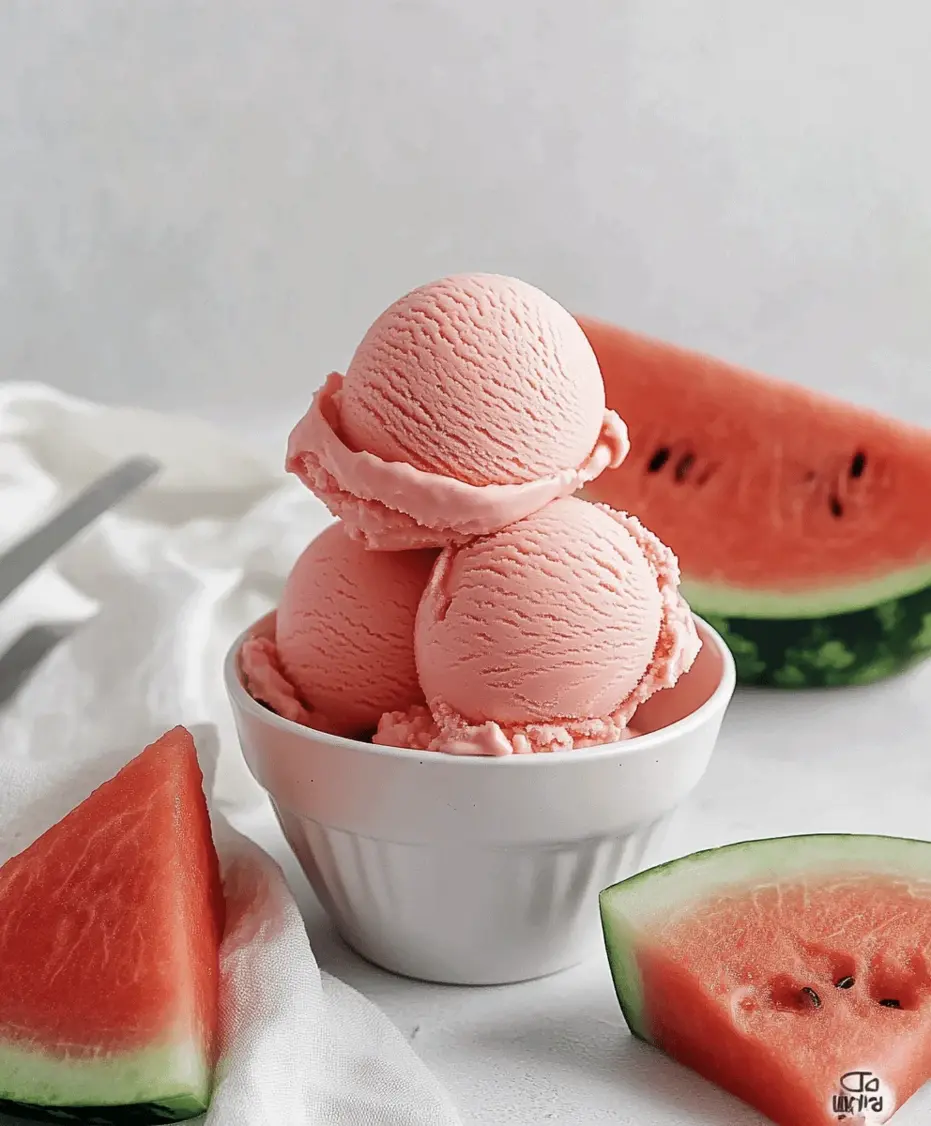
5-minute Watermelon Sorbet Recipe
Table of Contents
Introduction
Did you know that watermelon is 92% water, making it one of the most hydrating fruits perfect for a 5-minute watermelon sorbet? In the sweltering heat of summer, when the craving for a cold, sweet treat hits, the last thing you want is to spend hours in the kitchen or run to the store for an overpriced, sugar-loaded dessert. That’s where this revolutionary recipe comes in. This quick and easy 5-minute watermelon sorbet recipe is the ultimate solution for a healthy, refreshing, and instant frozen delight. It’s not just a dessert; it’s a hydrating, vitamin-packed experience that celebrates the pure, juicy essence of summer in every spoonful. Perfect for vegans, those avoiding dairy, and anyone seeking a naturally sweetened treat, this sorbet proves that the best things in life—and in the kitchen—can indeed be simple, fast, and incredibly delicious.
Ingredients List
The beauty of this sorbet lies in its simplicity. You only need a few core ingredients to create magic. Here’s what you’ll need for about 4 servings:
- 4 cups of fresh, seedless watermelon chunks (about ½ a medium watermelon) – Look for a melon that feels heavy for its size with a creamy yellow spot (the “field spot”), indicating perfect ripeness and maximum sweetness. The flesh should be a vibrant, deep pink-red.
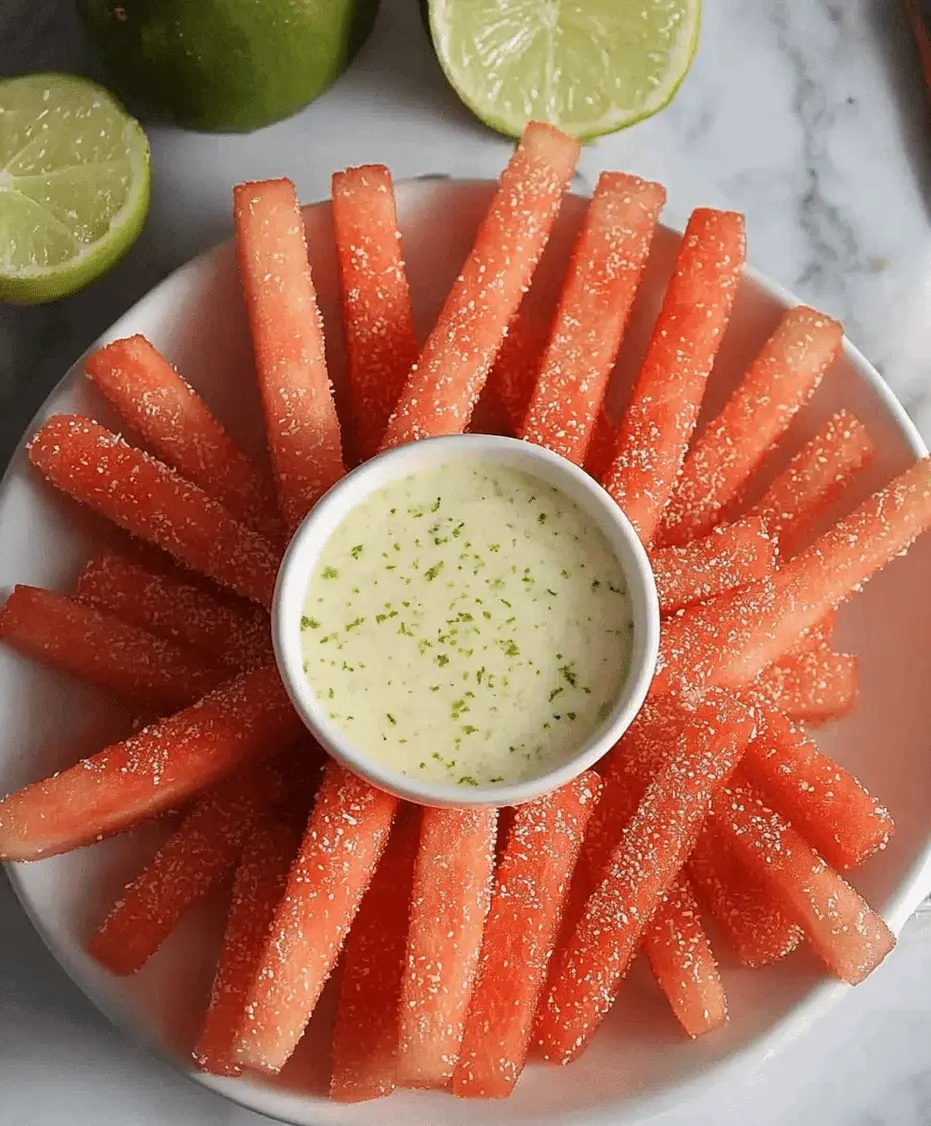
- 2-3 tablespoons of fresh lime juice (from about 1 large lime) – This is the secret weapon! The acidity brightens the watermelon’s flavor, prevents ice crystals, and adds a subtle tang that makes the sorbet taste more complex and less one-dimensionally sweet.
- 1-2 tablespoons of pure maple syrup, agave nectar, or honey* (optional) – Start with 1 tablespoon. The need for this depends entirely on the natural sweetness of your watermelon. Taste your blended mixture before freezing. *Use agave or maple syrup to keep it vegan.
- A tiny pinch of salt – Don’t skip this! Salt is a flavor enhancer that makes the sweet watermelon taste even sweeter and more pronounced.
Substitutions & Add-Ins:
- Lemon Juice: Can replace lime for a slightly different, sharper citrus note.
- Fresh Mint (5-6 leaves): Blend with the watermelon for a refreshing, spa-like twist.
- Basil or Rosemary: A few leaves add an unexpectedly sophisticated herbal aroma.
- Chili Powder or Tajín: A sprinkle on top before serving for a sweet, spicy, and tangy kick.
- Coconut Water: Replace ½ cup of watermelon with coconut water for enhanced tropical flavor and electrolytes.
Timing
*The revolutionary “no-churn, instant-freeze” method of this recipe is what sets it apart. Traditional sorbet recipes require an ice cream maker and 4+ hours of churning and freezing time. Our method leverages the power of your freezer and a food processor to achieve a perfect, scoopable texture in the time it takes to wash the blender—literally 5 minutes of active work. You’re trading hours of waiting for instant gratification without compromising on quality.

Step-by-Step Instructions
Step 1: Prepare Your Watermelon
Start by cutting your watermelon. Remove the rind and chop the bright pink flesh into roughly 1-inch cubes. Crucially, spread these cubes in a single layer on a parchment-lined baking sheet or a large plate. Place this tray in your freezer for a minimum of 4 hours, or ideally overnight. This step is non-negotiable for the “5-minute” magic—you need rock-solid frozen watermelon chunks. Pro tip: Do this in batches and keep a bag of frozen watermelon chunks in your freezer for sorbet emergencies!
Step 2: Blend to Perfection
Add your deeply frozen watermelon chunks to a high-powered blender or food processor. Pour in the fresh lime juice, your chosen sweetener (if using), and that all-important pinch of salt. Now, blend! You may need to stop and scrape down the sides a few times. The mixture will first look like snowy watermelon shards, then begin to clump, and finally transform into a smooth, thick, and creamy pink puree that resembles soft-serve ice cream. This process should take about 60-90 seconds.
Step 3: Freeze and Scrape
Once the mixture is smooth, you have two options. For a “soft-serve” style sorbet, you can serve it immediately—it will be perfectly scoopable and delicious. For a firmer, more traditional sorbet texture, quickly transfer the puree to a loaf pan or airtight container. Using a spatula, smooth the top. Place it in the freezer for just 15-20 minutes to set further. This brief rest allows it to firm up perfectly for scooping into beautiful rounds.
Step 4: Serve and Enjoy
Use an ice cream scoop to dish your sorbet into bowls or glasses. Garnish immediately with a small wedge of watermelon, a mint sprig, or a sprinkle of lime zest. Enjoy it the moment it’s ready—this sorbet is at its peak of flavor and texture when freshly made.
Nutritional Information
(Per serving, approximately 1 cup, recipe makes 4 servings)
- Calories: ~70 kcal
- Total Fat: 0.3g
- Sodium: 5mg
- Total Carbohydrates: 18g
- Dietary Fiber: 1g
- Sugars: 15g (All naturally occurring from watermelon)
- Protein: 1g
- Vitamin C: 25% of the Daily Value (DV)
- Vitamin A: 15% of the DV
- Hydration: Excellent source of electrolytes and water.
Healthier Alternatives
This recipe is already a health superstar, but you can tweak it for specific dietary goals without losing the fantastic flavor:
- Zero-Added-Sugar Version: Omit the maple syrup/agave entirely. Choose the sweetest, ripest watermelon you can find and rely on the lime juice to enhance the perceived sweetness.
- Lower Glycemic Index: Swap the optional liquid sweetener for 1-2 pitted Medjool dates blended with the watermelon. They add fiber and a caramel-like depth.
- Added Protein & Creaminess: Add ¼ cup of plain, unsweetened Greek yogurt or silken tofu to the blender. This creates a creamier, more filling sorbet-soft-serve hybrid with extra protein.
- Superfood Boost: Blend in a handful of spinach (you won’t taste it!) for iron and folate, or a tablespoon of chia seeds after blending for omega-3s and texture.
Serving Suggestions
- As a Palate Cleanser: Serve small scoops between courses at a summer dinner party.
- Adult Float: Place a scoop in a glass and top with Prosecco, sparkling rosé, or ginger beer for a stunning cocktail.
- Fruit Salad Topper: Use it to crown a bowl of mixed berries and stone fruits.
- With Texture: Serve with a side of crushed pistachios, toasted coconut flakes, or cacao nibs for a crunchy contrast.
- Popsicle Form: Pour any extra puree into popsicle molds for a grab-and-go frozen treat.
Common Mistakes
- Using Unfrozen or Partially Frozen Watermelon: This is the #1 mistake. If the fruit isn’t solidly frozen, you’ll end up with a watery smoothie, not a sorbet. Ensure chunks are frozen rock-hard.
- Skipping the Acid: Forgetting the lime/lemon juice results in a flat-tasting sorbet that freezes into a solid ice block. The acid is crucial for flavor and texture.
- Over-blending: Once the mixture is smooth and creamy, stop. Over-blending can warm the puree, causing it to melt and become soupy.
- Not Tasting Before Freezing: Always taste the puree after blending. Adjust sweetness or tartness with more sweetener or lime juice while it’s still in liquid form.
Storing Tips
- Short-Term (1-2 days): Store in an airtight container in the freezer. Place a piece of parchment paper directly on the surface before sealing to prevent ice crystals.
- For Longer Storage: This sorbet is best enjoyed within 48 hours. After that, it will remain safe to eat but will become very hard.
- To Re-scoop: If it freezes solid, let it sit at room temperature for 10-15 minutes to soften, or break it into chunks and pulse in the food processor again for 30 seconds to restore the creamy texture.

Conclusion
This 5-minute watermelon sorbet is more than just a recipe; it’s a testament to how simple, whole ingredients can create something extraordinary with minimal effort. It captures the very essence of summer—hydration, vibrancy, and pure joy—in a bowl. It’s a treat you can feel good about serving to family and friends, a lifesaver when unexpected guests arrive, and a personal reward after a long, hot day. So, grab that watermelon, fire up your blender, and in less time than it takes to decide what to watch on