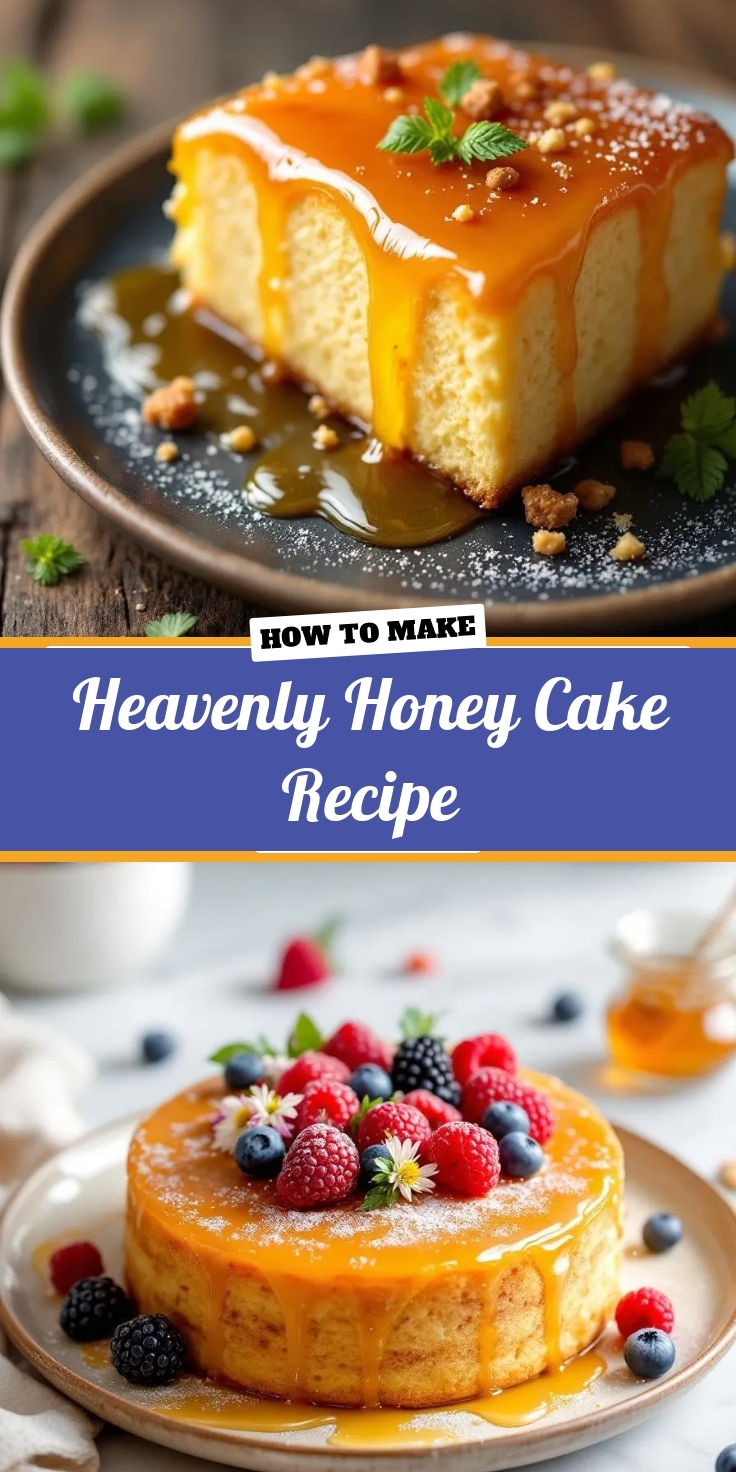
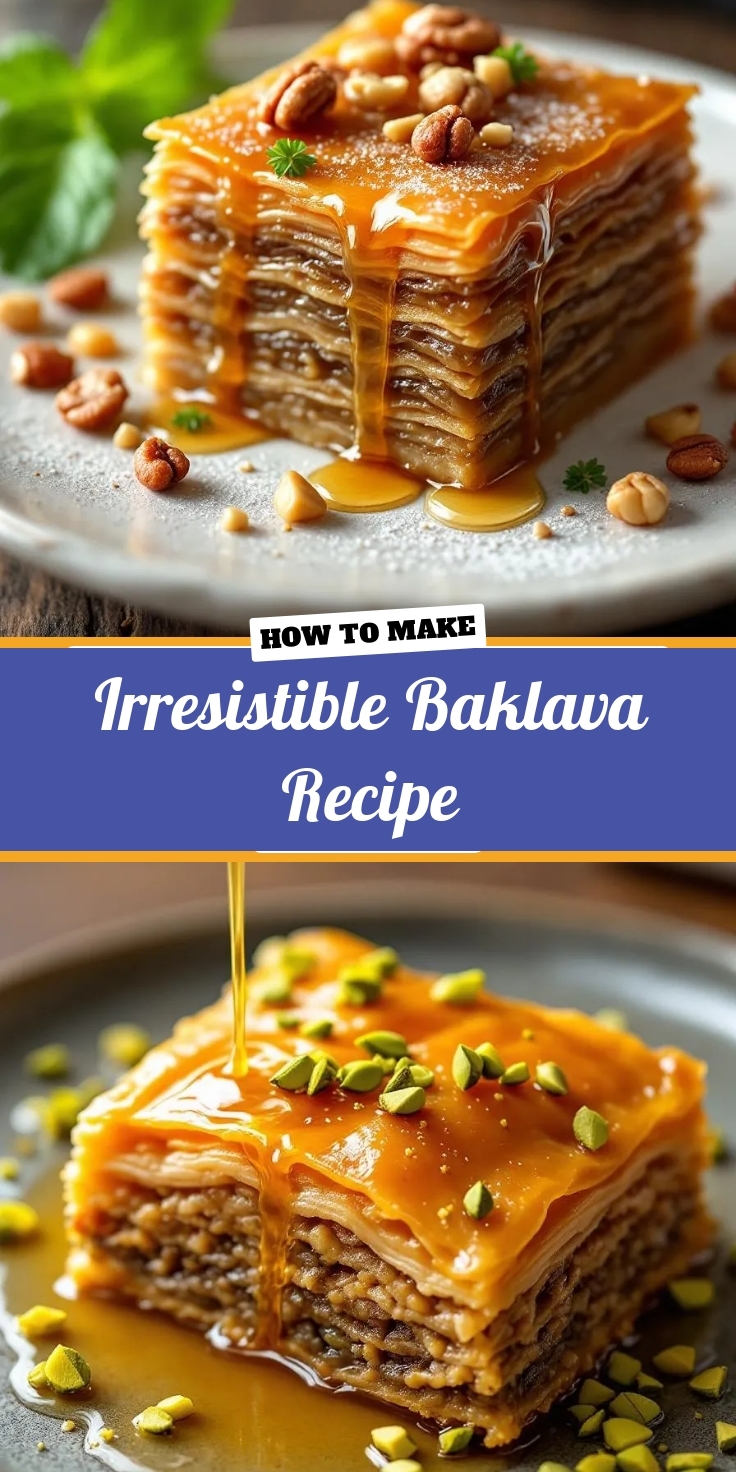
Introduction
There’s something undeniably special about sharing a dessert that feels like a hug from the inside. That’s exactly what my Irresistible Baklava Recipe delivers—a perfect balance of crisp, buttery layers, sweet honey, and fragrant nuts. Whether you’re celebrating a special occasion or simply craving a taste of tradition, this recipe brings people together. Plus, it’s easier to make than you might think, even if you’re new to Middle Eastern desserts.
Baklava has a rich history, dating back centuries as a beloved treat across cultures. My Irresistible Baklava Recipe stays true to its roots while keeping the process approachable for home bakers. The key lies in layering delicate phyllo dough with a spiced nut filling, then soaking it all in a fragrant honey syrup. The result? A dessert that’s crispy, sticky, and utterly addictive. If you’ve ever hesitated to try making baklava, let this be your sign to dive in. After all, some of the best moments in life happen over a plate of sweets, just like the ones I share in my holiday desserts collection. And if you’re looking for more Middle Eastern-inspired treats, don’t miss my easy Middle Eastern recipes.
Why I Love This Recipe
This Irresistible Baklava Recipe holds a special place in my heart because it reminds me of my grandmother’s kitchen. She taught me that patience and attention to detail transform simple ingredients into something extraordinary. Every time I make it, I’m transported back to those moments—the smell of toasted nuts, the sound of crackling phyllo, and the joy of sharing it with loved ones. It’s more than just a dessert; it’s a connection to heritage, love, and the magic of baking.
Health and Nutrition
Why it’s good for your body
Irresistible Baklava Recipe packs a surprising mix of nutrients while satisfying your sweet tooth. First, walnuts and pistachios provide heart-healthy fats, protein, and antioxidants. These ingredients support brain function and reduce inflammation. Additionally, honey offers natural sweetness along with antibacterial properties, making it a better alternative to refined sugar. Meanwhile, phyllo dough keeps the dessert light and flaky without excessive heaviness.
Moreover, Irresistible Baklava Recipe includes cinnamon, which helps regulate blood sugar levels and adds warmth to every bite. The layers of nuts and honey also deliver sustained energy, preventing the crash that comes with processed sweets. Furthermore, the recipe balances indulgence with wholesome ingredients, so you enjoy flavor without guilt. Finally, the fiber from nuts aids digestion, ensuring this treat does more than just taste amazing.
How it fits in a healthy lifestyle
Irresistible Baklava Recipe fits perfectly into a balanced diet when enjoyed mindfully. Pair a small portion with fresh fruit or yogurt for a satisfying dessert that won’t derail your goals. If you follow a gluten-free diet, try substituting phyllo dough with a gluten-free alternative for the same crispy texture.
For those focusing on heart health, the nuts in Irresistible Baklava Recipe provide omega-3s and unsaturated fats. You can also explore our healthier dessert swaps to keep your meals exciting and nutritious. Remember, moderation is key. A single piece of baklava makes a delightful treat that complements an active, wholesome lifestyle.
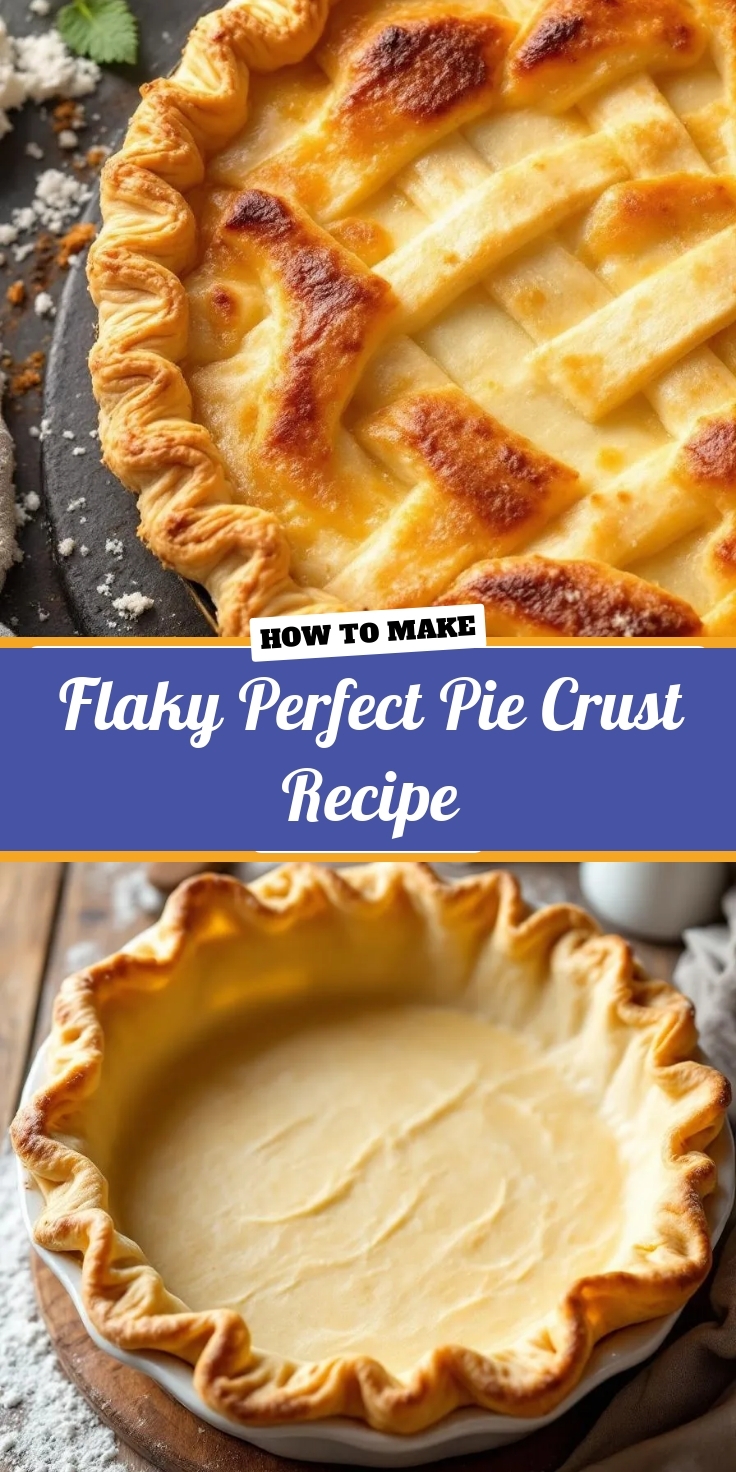
Irresistible Baklava
Description
A sweet, flaky, and nutty pastry layered with honey syrup that melts in your mouth.
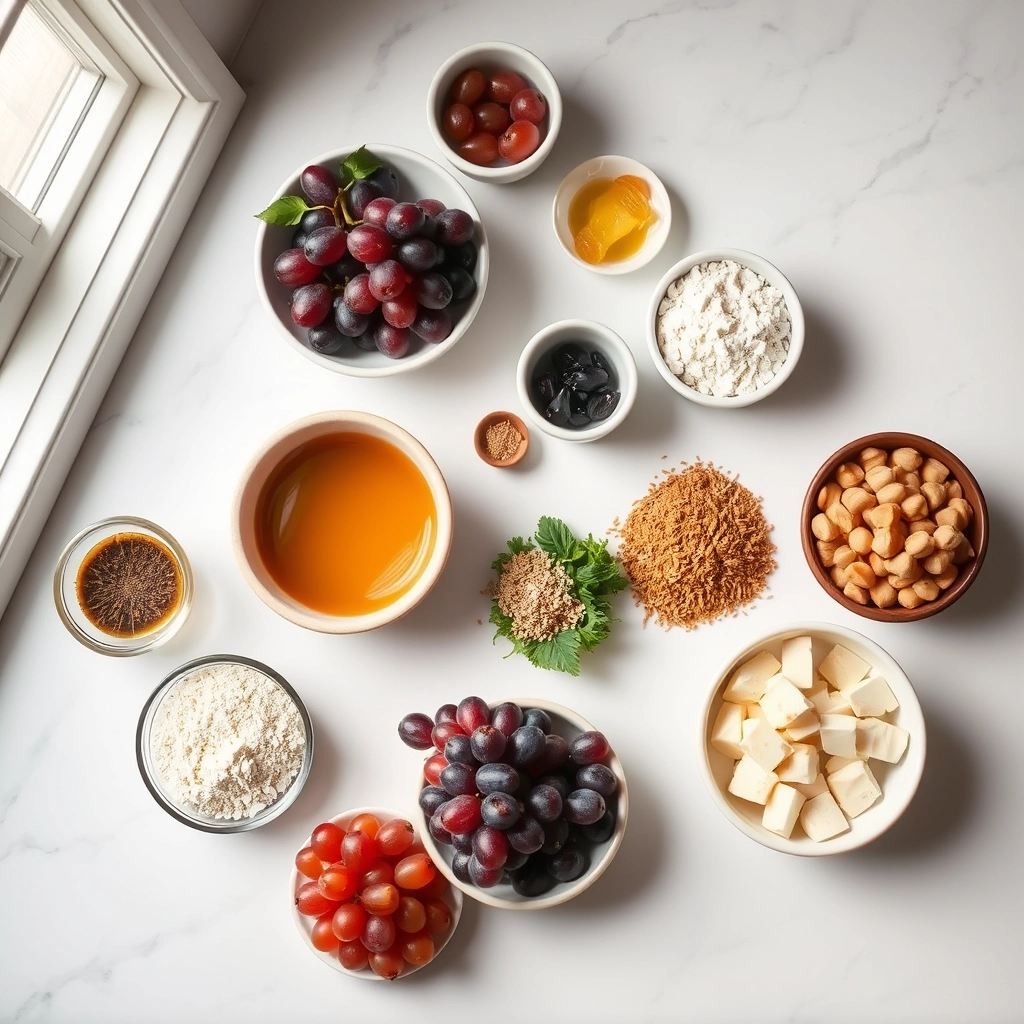
Ingredients
Scale
For the Crust:
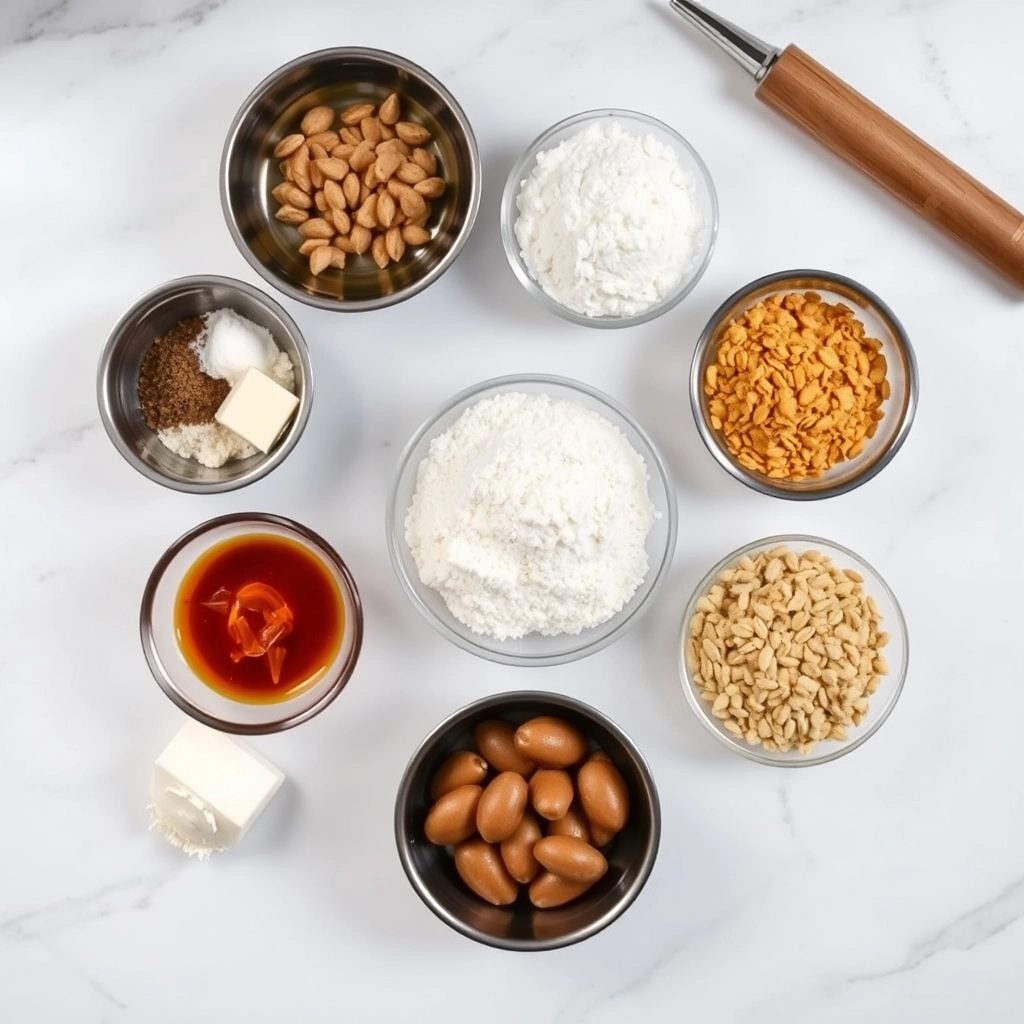
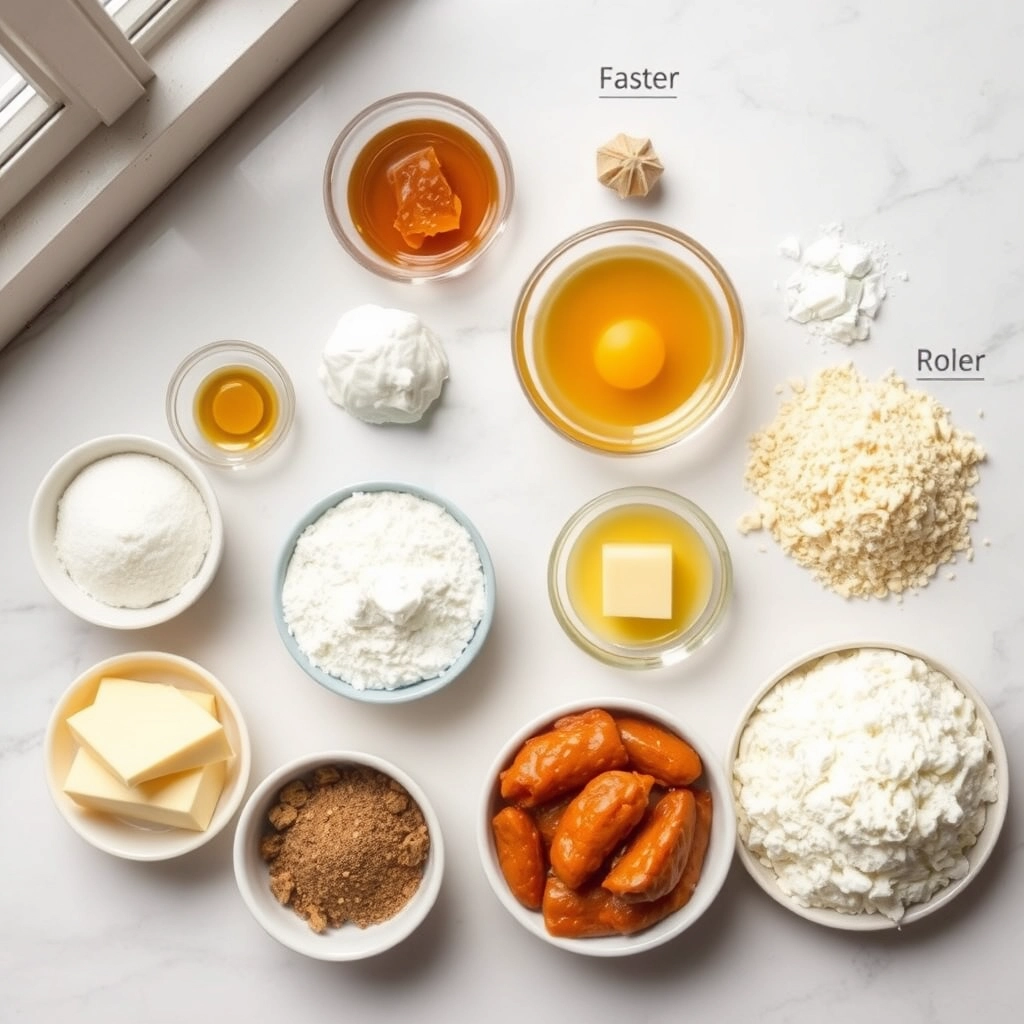
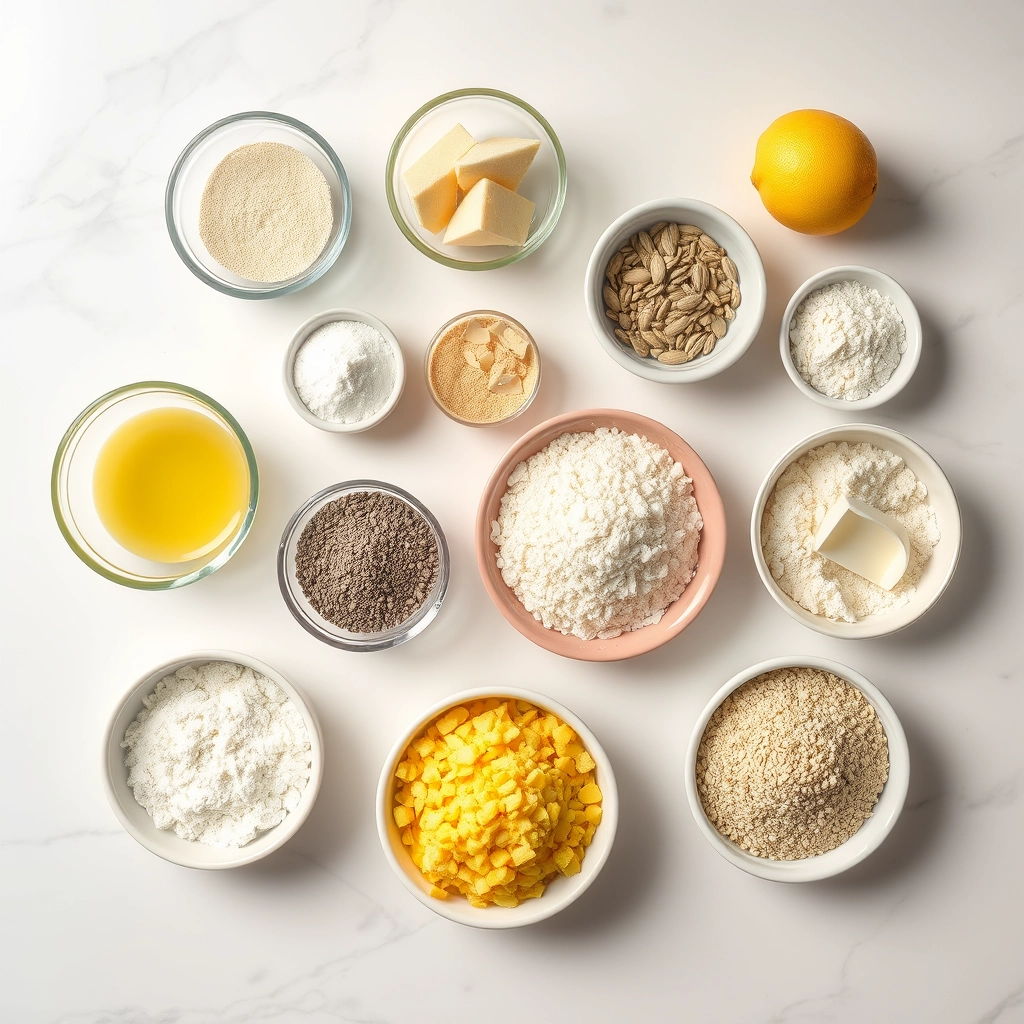
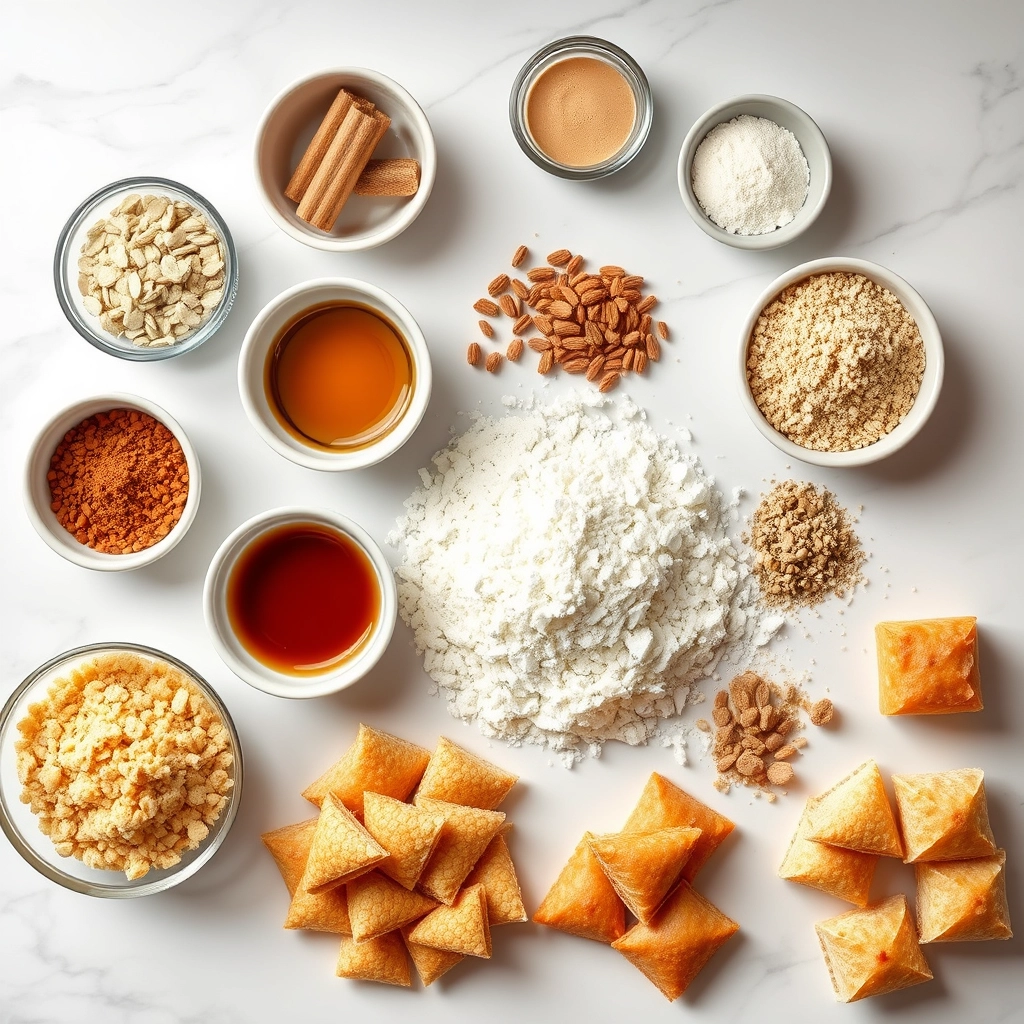
- 1 package (16 oz) phyllo dough
- 1 1/2 cups unsalted butter, melted
- 4 cups mixed nuts (walnuts, pistachios, almonds), finely chopped
- 1 teaspoon ground cinnamon
- 1/4 teaspoon ground cloves
- 1 cup granulated sugar
- 1 cup water
- 1 cup honey
- 1 teaspoon vanilla extract
- 1 tablespoon lemon juice
Instructions
1. Prepare the Crust:
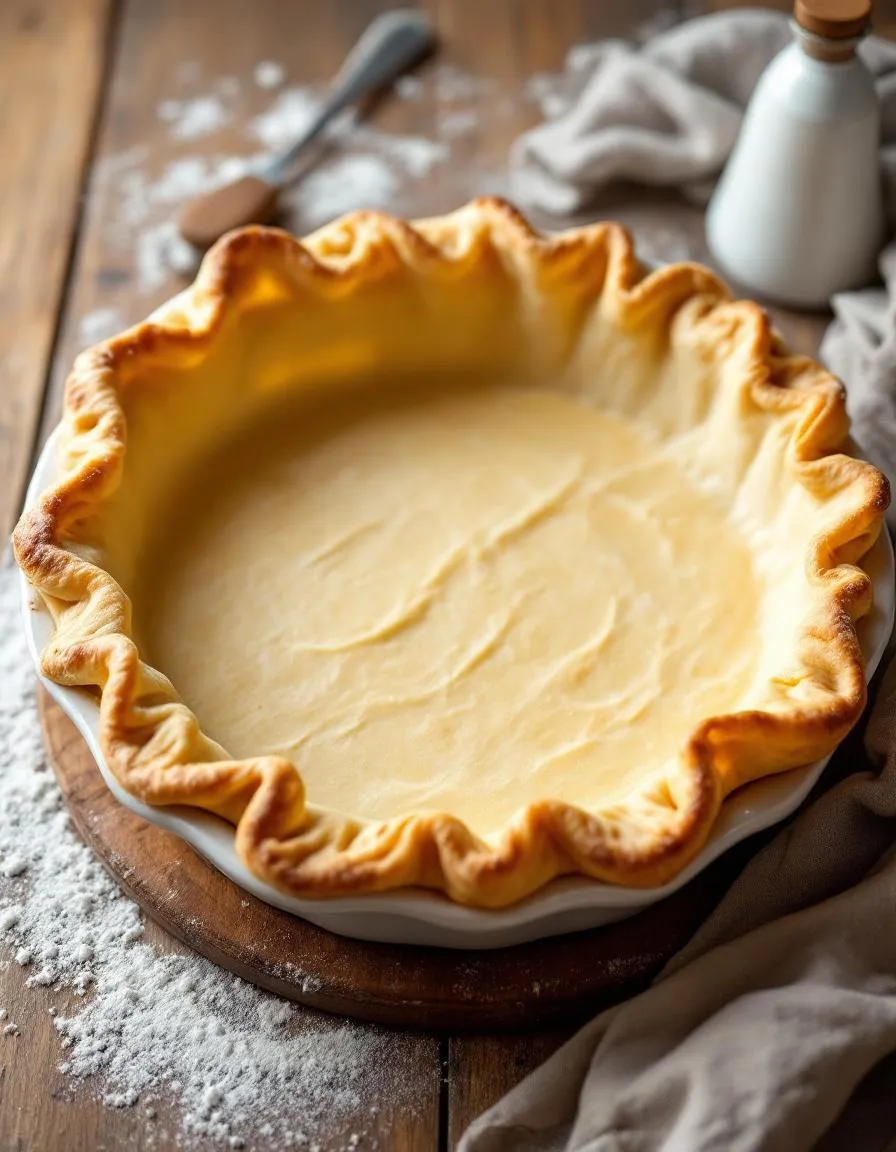
- Preheat oven to 350°F (175°C). Butter a 9×13-inch baking dish.
- Mix chopped nuts with cinnamon and cloves in a bowl.
- Layer 8 sheets of phyllo dough in the dish, brushing each with melted butter. Sprinkle 2-3 tablespoons of nut mixture on top.
- Repeat layering phyllo and nuts, ending with a top layer of about 6-8 phyllo sheets. Brush the top with butter.
- Cut baklava into diamond or square shapes before baking.
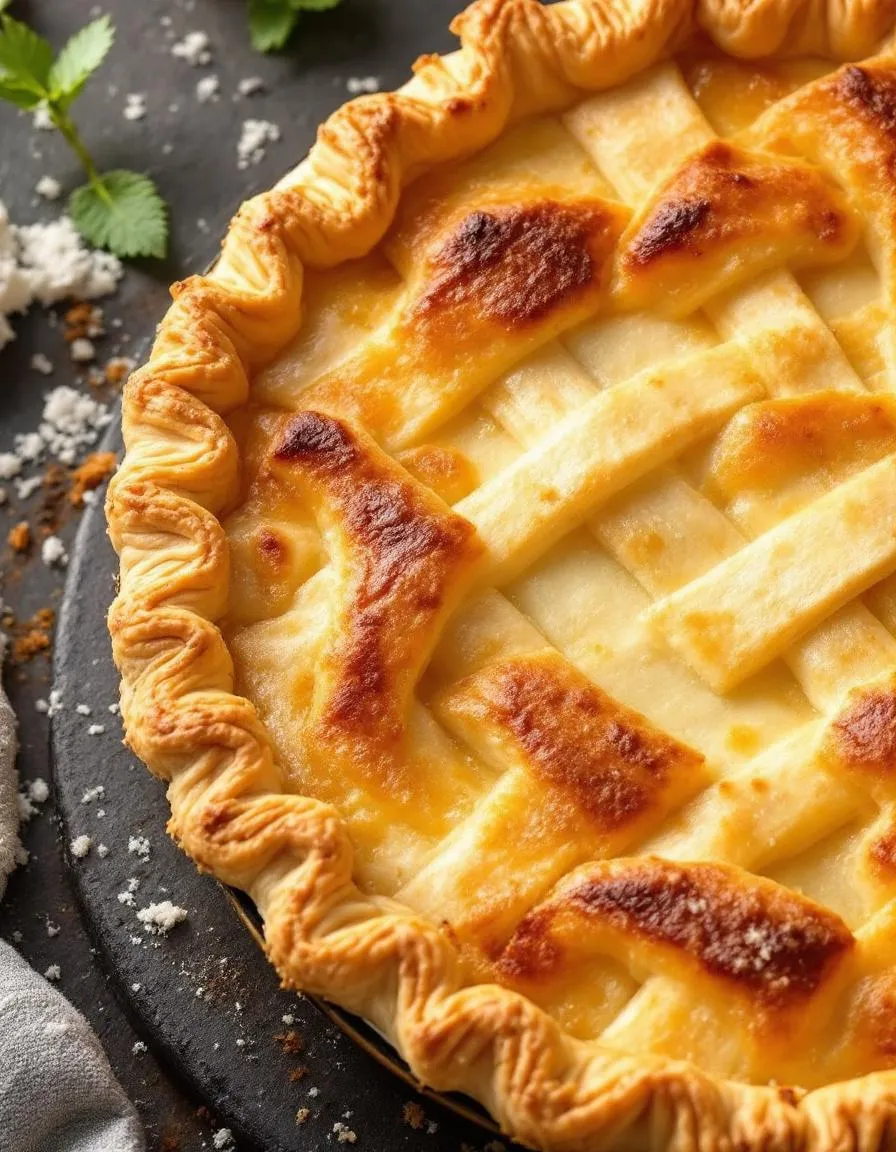
- Bake for 50 minutes or until golden and crisp.
- While baking, combine sugar, water, honey, vanilla, and lemon juice in a saucepan. Bring to a boil, then simmer for 20 minutes.
- Pour hot syrup over baked baklava immediately after removing from the oven. Let cool completely before serving.
Notes
You can customize the seasonings to taste.
“`html
How to Prepare This Dish
Steps and time-saving tips
Start by preheating your oven to 350°F and greasing a 9×13-inch baking dish. Next, mix the finely chopped nuts with cinnamon and a pinch of sugar in a bowl. Then, carefully unroll the phyllo dough and cover it with a damp towel to prevent drying. Layer half the phyllo sheets in the dish, brushing each one generously with melted butter. Sprinkle the nut mixture evenly over the phyllo, then repeat the layering process with the remaining sheets, buttering each one. Use a sharp knife to cut the baklava into diamond or square shapes before baking—this makes serving easier later. Bake for 45-50 minutes until golden and crisp. Meanwhile, whisk together the honey, water, and lemon juice in a saucepan and simmer for 10 minutes. Once the baklava is out of the oven, drizzle the warm syrup over the top, letting it soak into every layer. For best results, let it cool completely before serving. To save time, chop the nuts in a food processor and prepare the syrup while the baklava bakes.
Mistakes I’ve made and learned from
When I first made this Irresistible Baklava Recipe, I rushed the syrup step and poured it cold over the hot baklava—resulting in a soggy mess. Now, I always warm the syrup first so it absorbs perfectly. Another mistake? Skipping the damp towel over the phyllo dough, which left me with brittle, unworkable sheets. Trust me, keeping them covered makes all the difference. If you’re new to working with phyllo, check out my phyllo dough guide for foolproof handling. Also, don’t skimp on butter between layers—dry spots lead to uneven baking. For more dessert troubleshooting, my baking mistakes post covers fixes for sticky syrups and overbaked treats. Every misstep taught me something, and now my baklava turns out flaky and sweet every time.
“`
Cultural Connection and Variations
Where this recipe comes from
Few desserts carry as much history and global charm as the Irresistible Baklava Recipe. This sweet, flaky treat traces its roots back to the Ottoman Empire, where layers of phyllo dough, nuts, and syrup became a symbol of celebration. However, every region puts its own spin on it. Greeks often add honey and cinnamon, while Turks favor pistachios and a lighter syrup. In the Middle East, you might find rosewater or orange blossom water giving it a floral twist.
My family’s version of the Irresistible Baklava Recipe leans toward the Lebanese style—extra crunchy with a mix of walnuts and almonds. My grandmother always made it for Eid, filling the house with the scent of butter and sugar. Meanwhile, in the Balkans, they sometimes skip the syrup altogether and dust the pastry with powdered sugar. No matter the variation, one thing stays the same: baklava brings people together, whether for holidays, weddings, or just a sweet afternoon pick-me-up.
How it fits in today’s cooking
Today, the Irresistible Baklava Recipe still shines as a crowd-pleaser, especially during festive seasons like Christmas or Ramadan. Modern cooks love adapting it—some swap traditional nuts for pecans or even go gluten-free with alternative flours. Others pair it with unexpected flavors, like dark chocolate or cardamom-infused syrup. For a quicker version, many use store-bought phyllo dough, making it easier to whip up for last-minute gatherings.
You’ll often find baklava featured in dessert spreads alongside classics like Homemade Tiramisu or Classic Cheesecake, proving its timeless appeal. Whether you’re baking it for a special occasion or just craving something indulgent, this dessert bridges tradition and modern tastes effortlessly. After all, who can resist those buttery, honey-drenched layers?
Taste and Texture
What makes it delicious
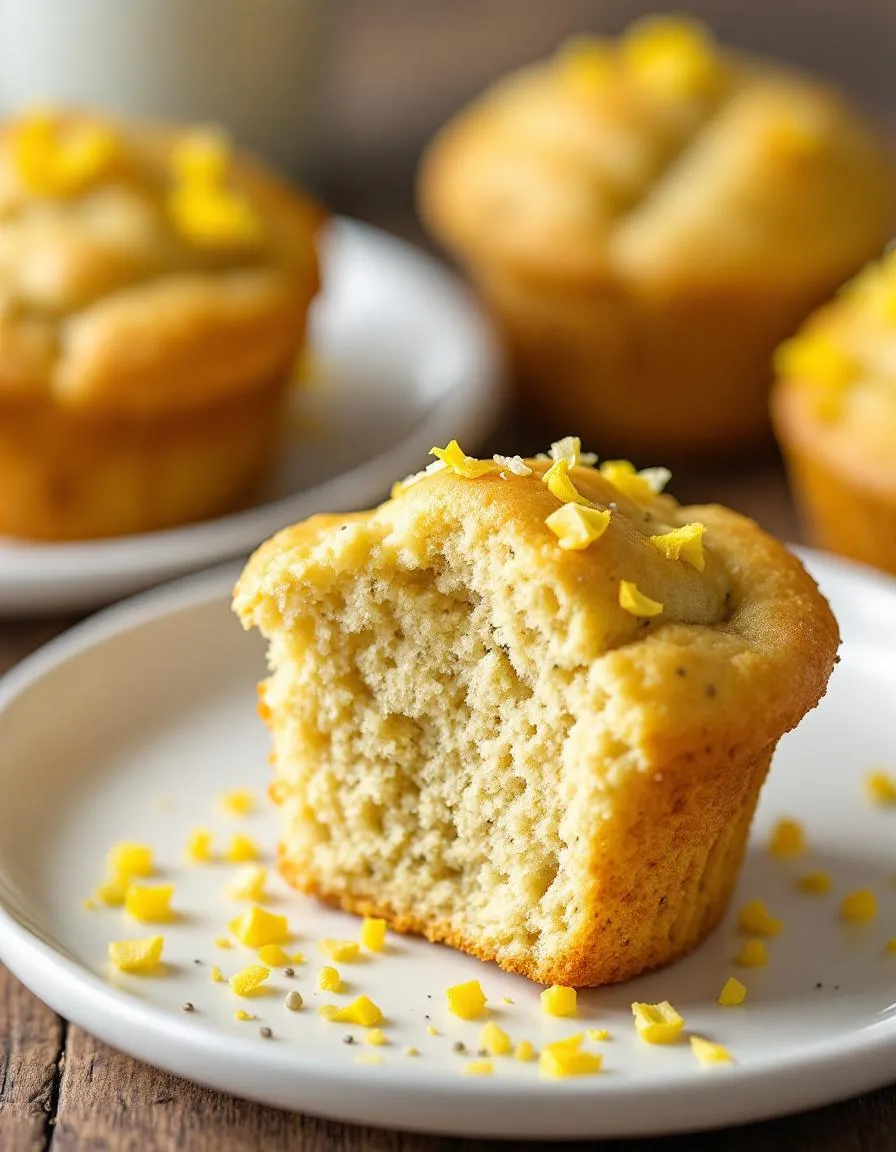
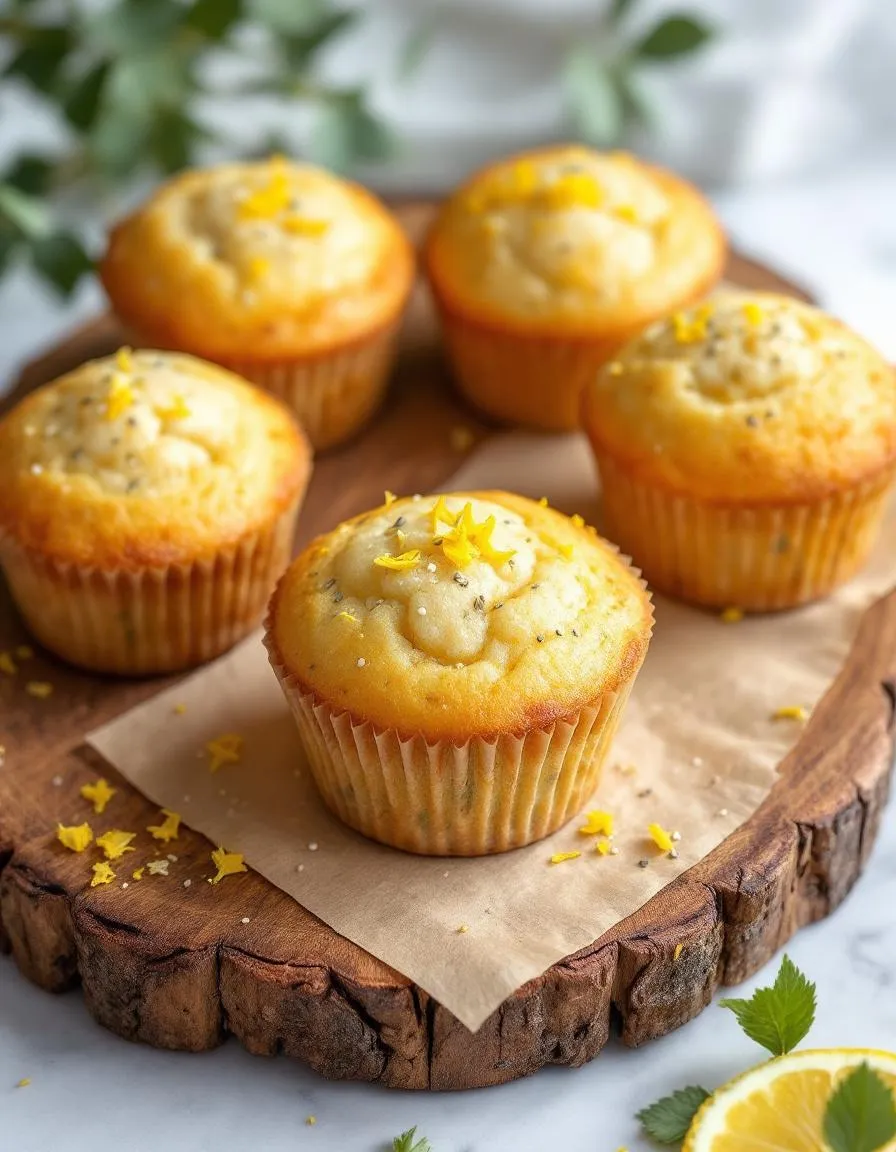
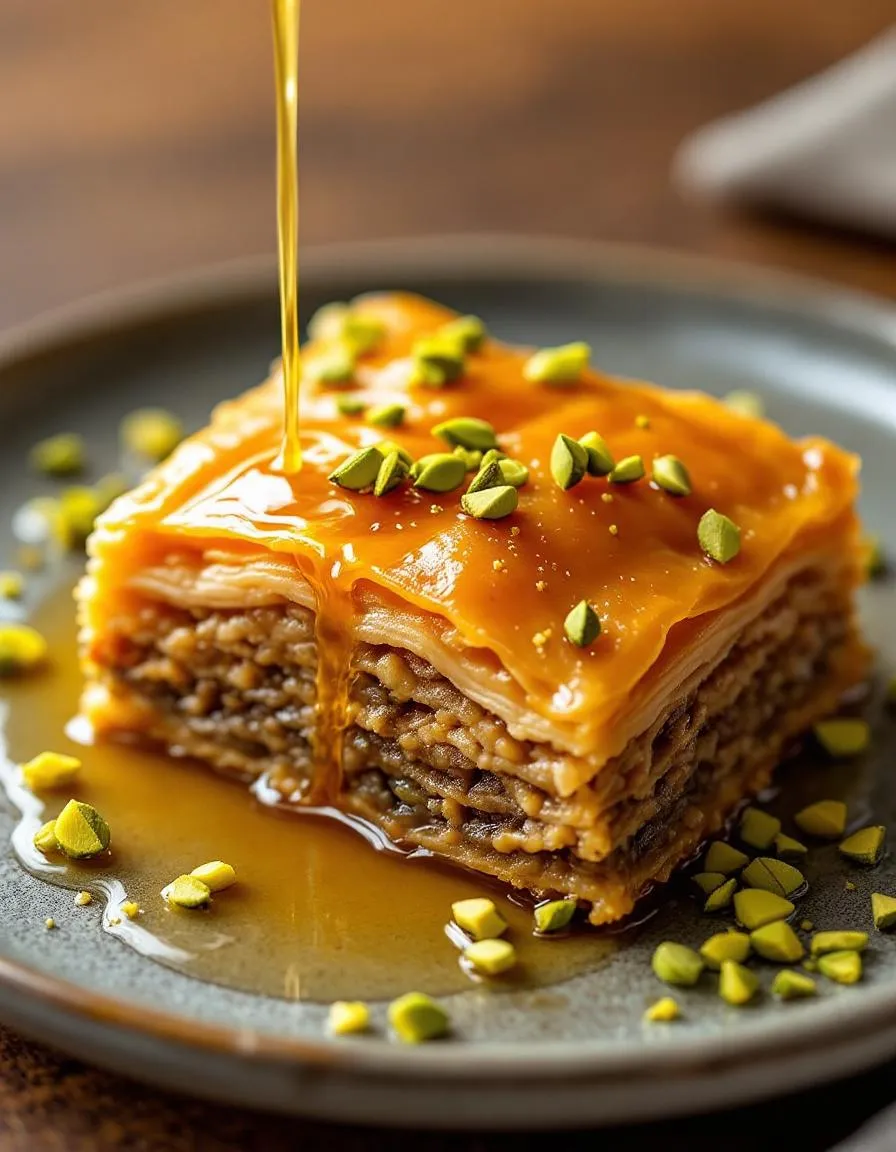
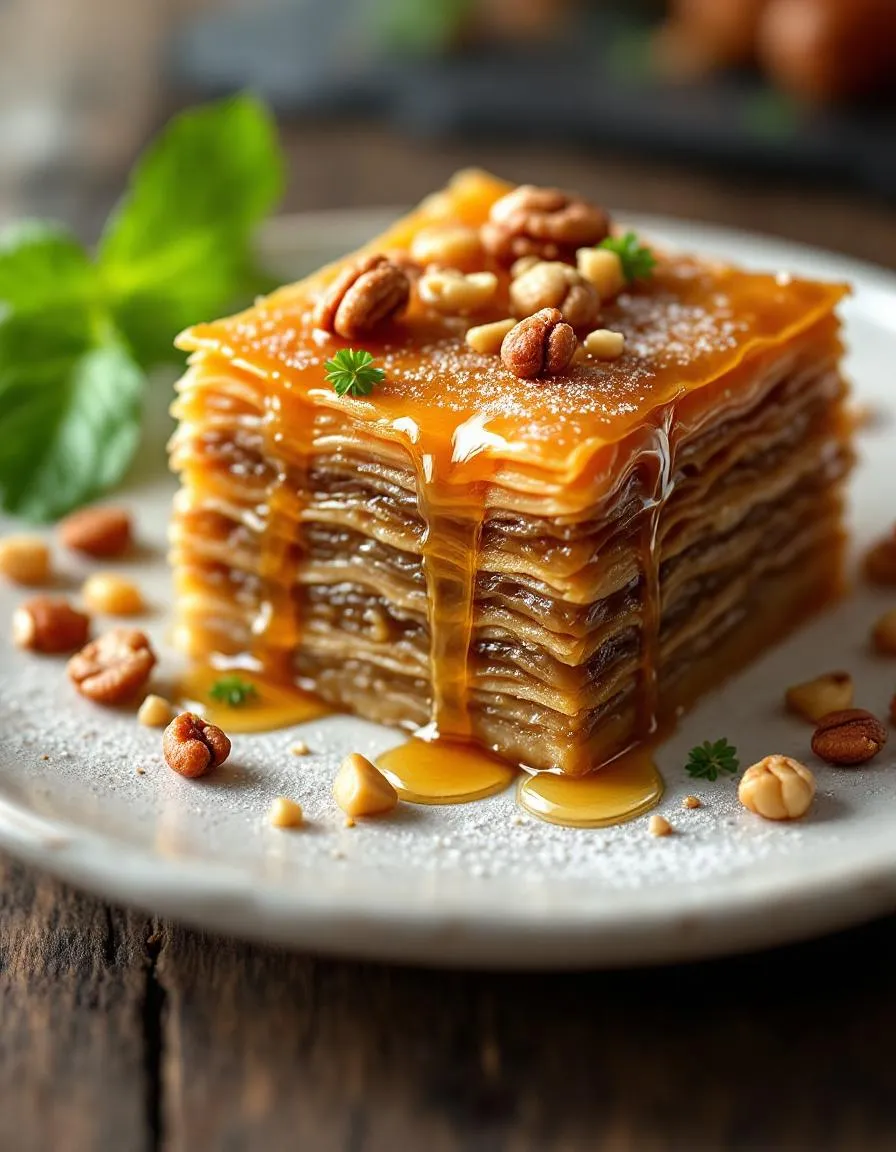
Every bite of Irresistible Baklava Recipe delivers a symphony of textures and flavors. The crisp, golden layers of phyllo dough shatter delicately, giving way to a chewy, nutty filling soaked in fragrant honey syrup. Warm spices like cinnamon and cardamom mingle with the buttery richness, while toasted pistachios or walnuts add a satisfying crunch. The aroma alone—sweet, floral, and slightly earthy—will draw everyone to the kitchen. Irresistible Baklava Recipe strikes the perfect balance between sticky-sweet and nutty depth, making it impossible to stop at just one piece.
Boosting the flavor
Elevate your Irresistible Baklava Recipe with a few creative tweaks. For a floral twist, drizzle rosewater or orange blossom water into the syrup. Alternatively, sprinkle crushed cardamom or clove into the nut mixture for extra warmth. Pair it with a scoop of homemade vanilla ice cream to contrast the baklava’s sweetness, or serve it alongside a cup of spiced chai latte for a cozy flavor combination. A pinch of sea salt on top can also heighten the honey’s richness, making each bite even more memorable.
Tips for Success
Best practices for results
First, always use fresh phyllo dough for your Irresistible Baklava Recipe, as stale dough can crumble and ruin the layers. Next, brush each sheet generously with melted butter to ensure a crisp, golden finish. Additionally, finely chop the nuts for an even texture, and don’t skip the syrup soak—this step keeps the baklava moist and flavorful. Finally, let it cool completely before slicing to maintain clean edges.
Mistakes to avoid
Avoid overbaking the Irresistible Baklava Recipe, as this can dry out the layers. Instead, pull it from the oven when golden brown. Many also forget to score the baklava before baking, which leads to messy cuts later. For more precision, check out our guide on perfect layering techniques. Another common error is pouring cold syrup over hot baklava, which creates a soggy texture. For the right syrup consistency, refer to our syrup secrets tutorial.
Serving and Pairing Suggestions
How to serve this dish
For a stunning presentation, arrange your Irresistible Baklava Recipe on a decorative platter with a dusting of powdered sugar and a sprinkle of crushed pistachios. Meanwhile, drizzle warm honey over the top just before serving to add shine and extra sweetness. Serve it at room temperature for the perfect texture, whether you’re hosting a holiday gathering or a cozy brunch with friends. Additionally, pair individual pieces with small forks or dessert spoons for easy enjoyment. Finally, elevate the experience by adding edible rose petals or a scoop of vanilla ice cream for a luxurious touch.
What goes well with it
Complement your Irresistible Baklava Recipe with a cup of strong Turkish coffee, as its bold flavor balances the dessert’s sweetness perfectly. Alternatively, try serving it alongside a refreshing mint tea, which cleanses the palate between bites. For a richer pairing, offer a scoop of our Homemade Vanilla Bean Ice Cream to create a delightful contrast of temperatures and textures. If you’re planning a larger spread, consider adding our Mediterranean Charcuterie Board for a savory balance to the meal. Each pairing enhances the flavors of the baklava while keeping the experience memorable.
An irresistible baklava recipe stands out with perfectly balanced flavors, using high-quality honey, fresh nuts, and just the right amount of butter. The layers should be crisp yet tender, and the syrup must soak in evenly without making the pastry soggy. This irresistible baklava recipe achieves that ideal texture and taste.
Yes! This irresistible baklava recipe actually tastes better after resting for 24 hours, allowing the flavors to meld. Store it at room temperature in an airtight container, and it stays fresh for up to a week. The syrup fully absorbs into the layers, enhancing the texture.
Pistachios and walnuts are classic choices for an irresistible baklava recipe, offering a rich, buttery flavor and satisfying crunch. Some bakers blend them with almonds for extra depth. Freshness is key—always use recently purchased nuts for the best results in this irresistible baklava recipe.
The secret lies in pouring cooled syrup over hot baklava (or vice versa) to maintain crispness. This irresistible baklava recipe ensures perfect absorption without sogginess by controlling the syrup temperature and thickness. Also, avoid over-buttering the phyllo layers—just a light brush is enough.