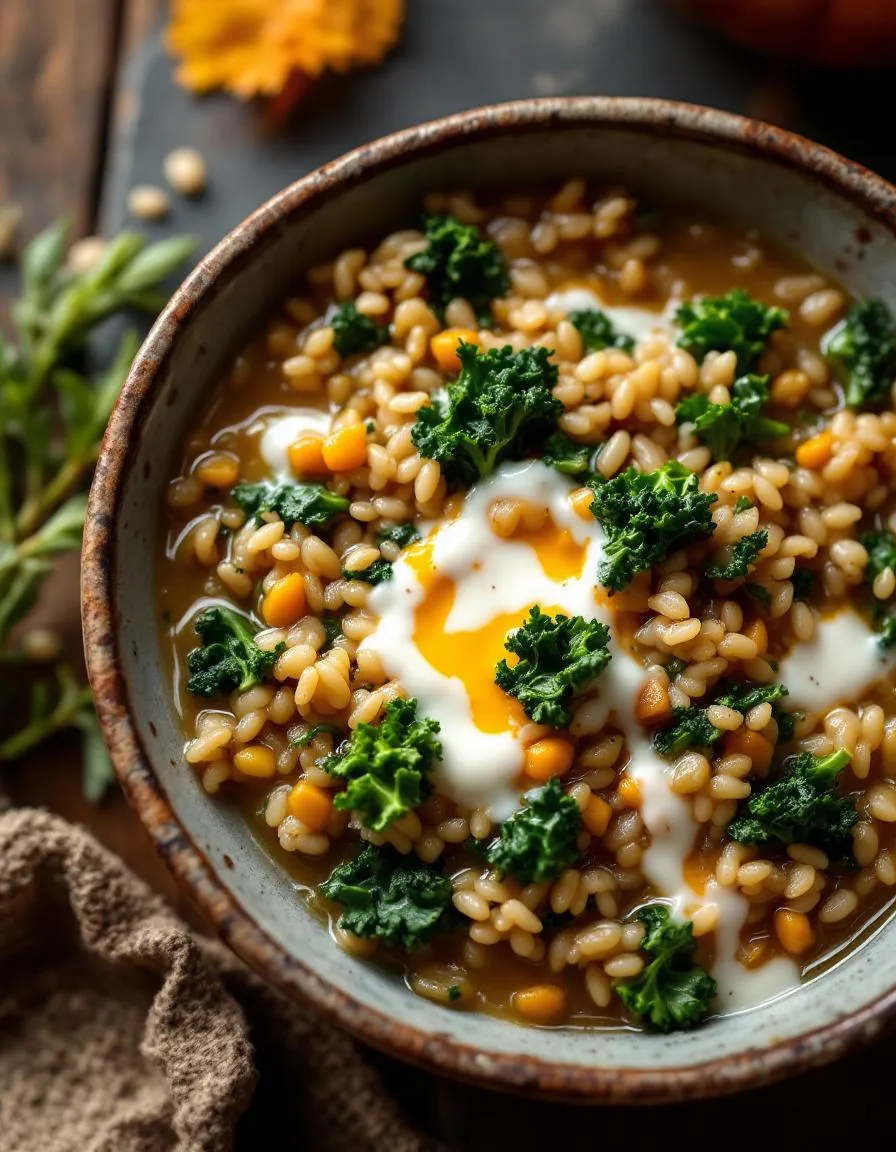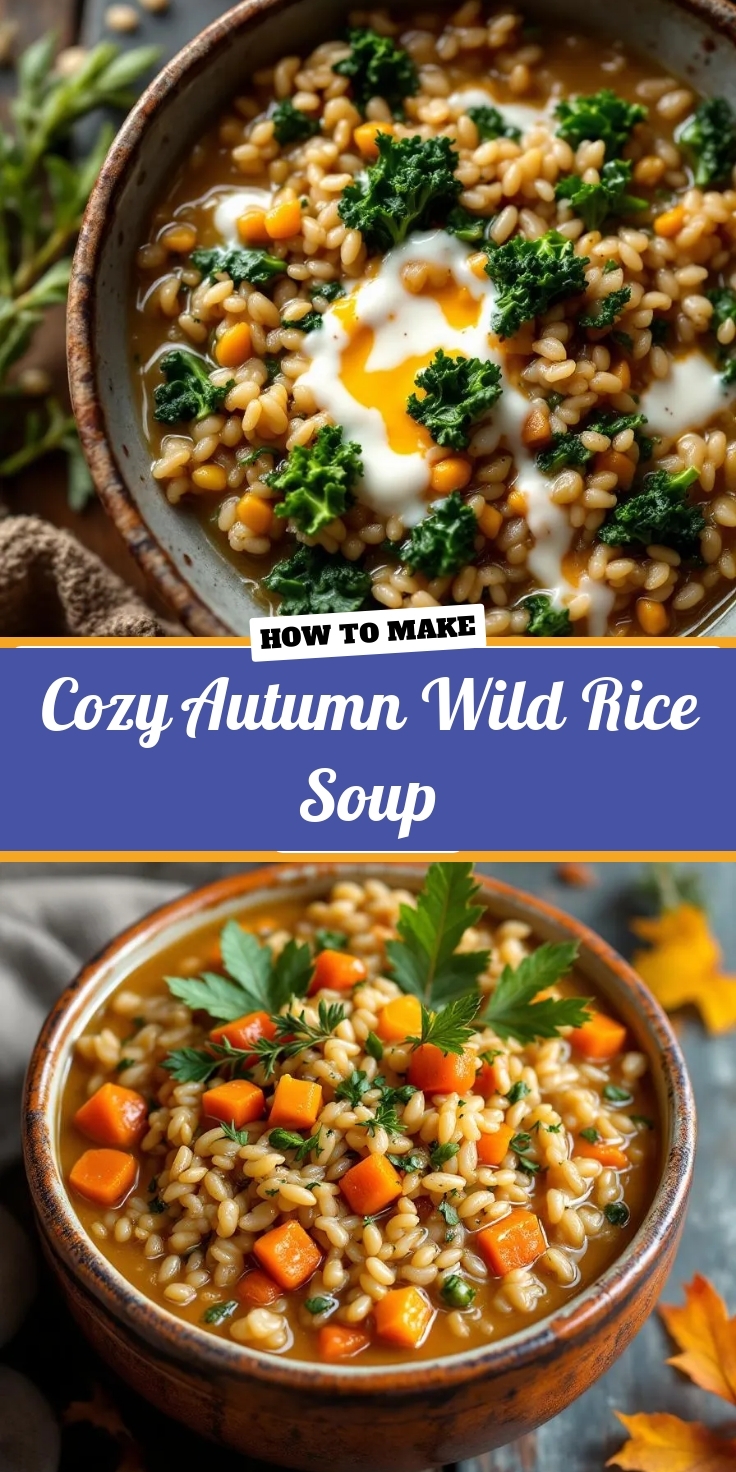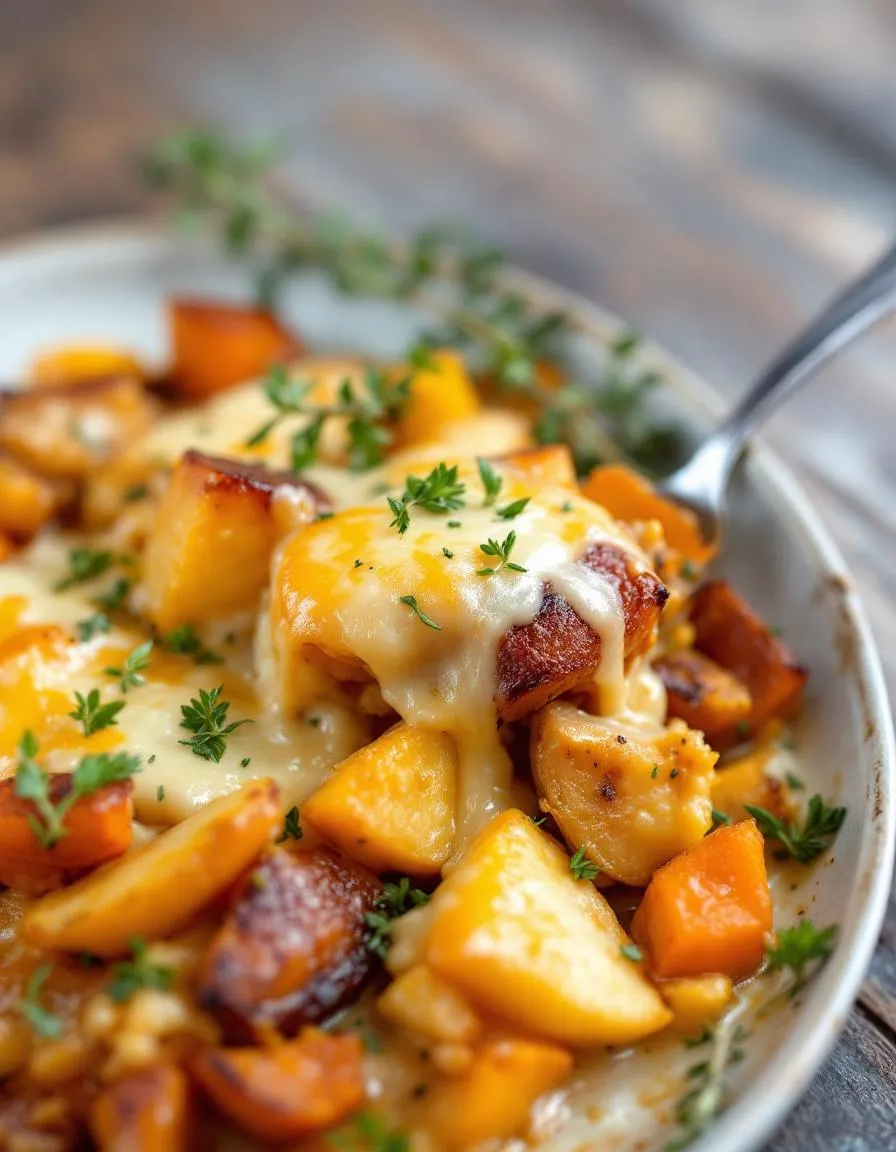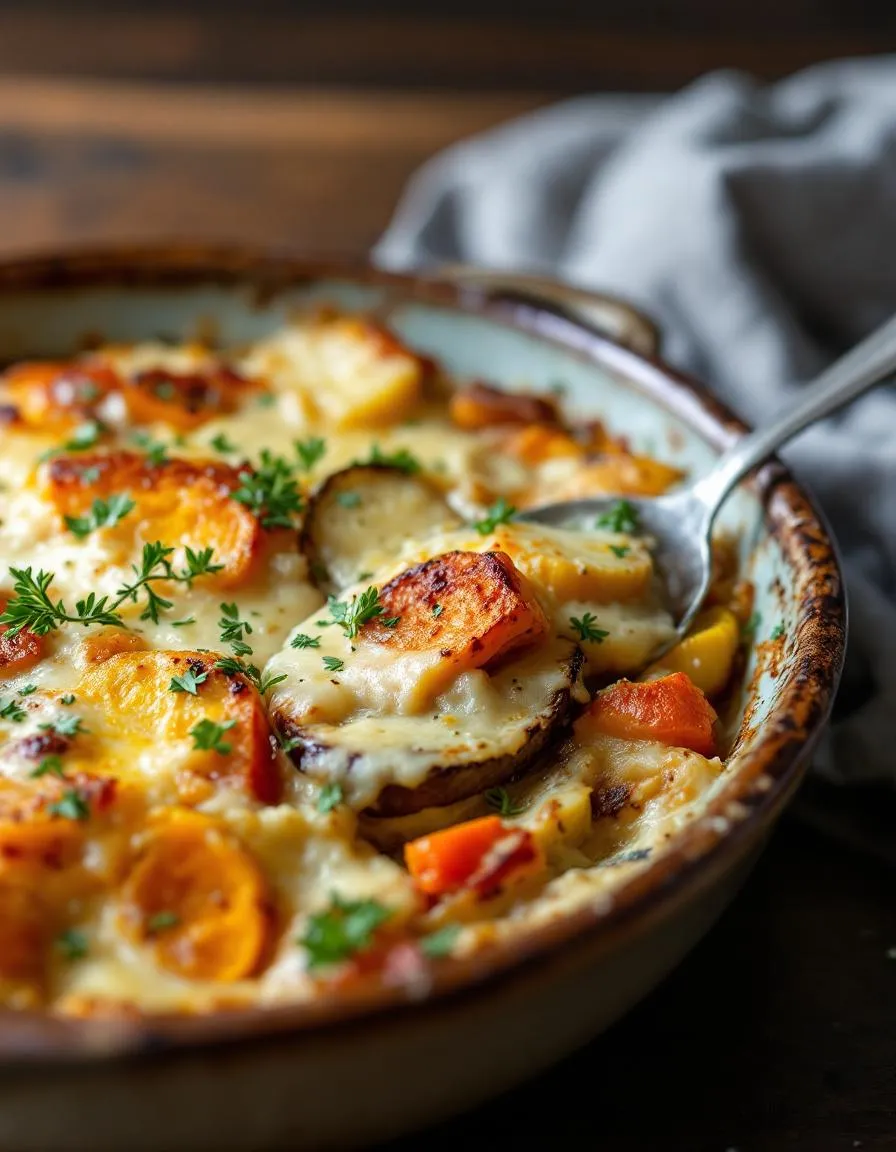
There is something incredibly comforting about a bowl of pasta that truly satisfies. You know the feeling, when you crave something hearty and rich, yet secretly hope it packs a few redeeming nutrients. This particular dish, a Creamy Butternut Squash Pasta with Sausage and Spinach, answers that call perfectly. It wraps you in a warm, savory embrace, transforming simple ingredients into a luxurious weeknight dinner that feels far more special than the effort required. Moreover, it’s the ultimate solution for those evenings when you need a guaranteed crowd-pleaser that comes together in one pan.
About This Recipe
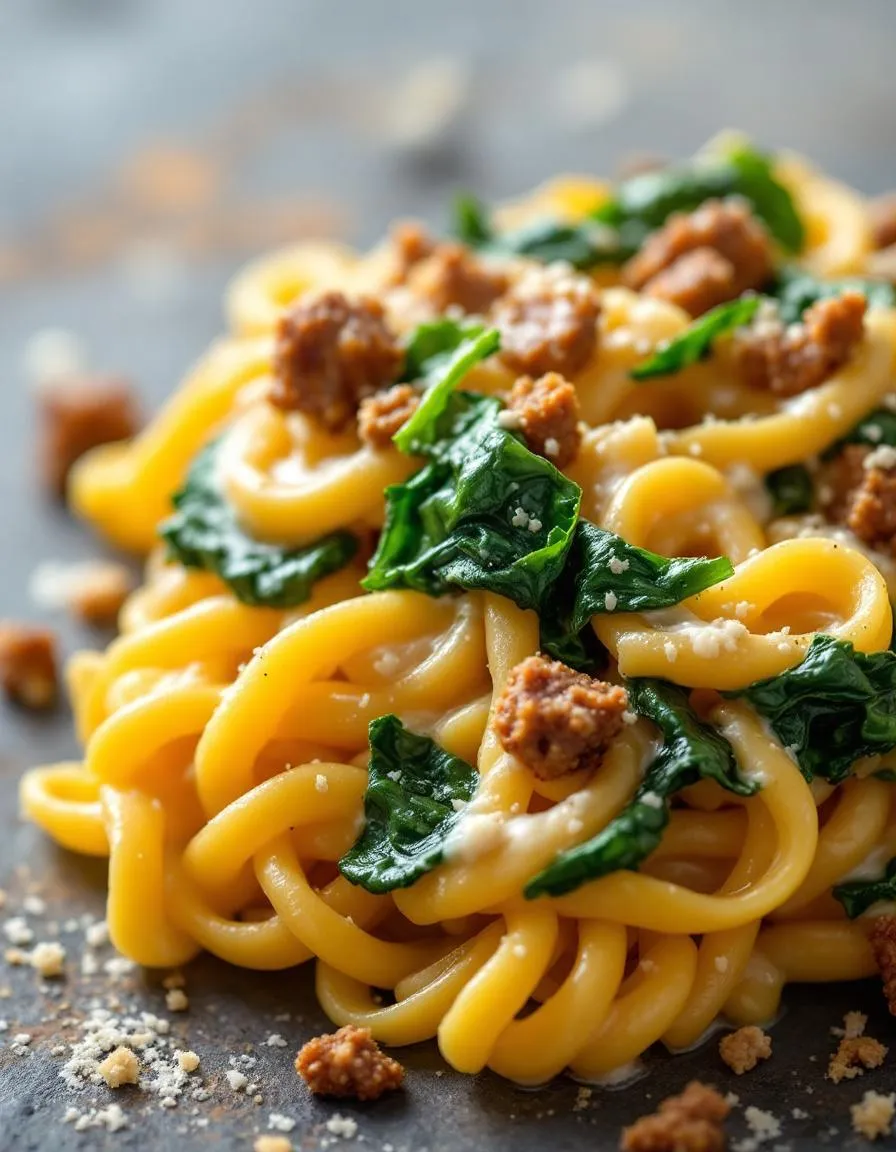
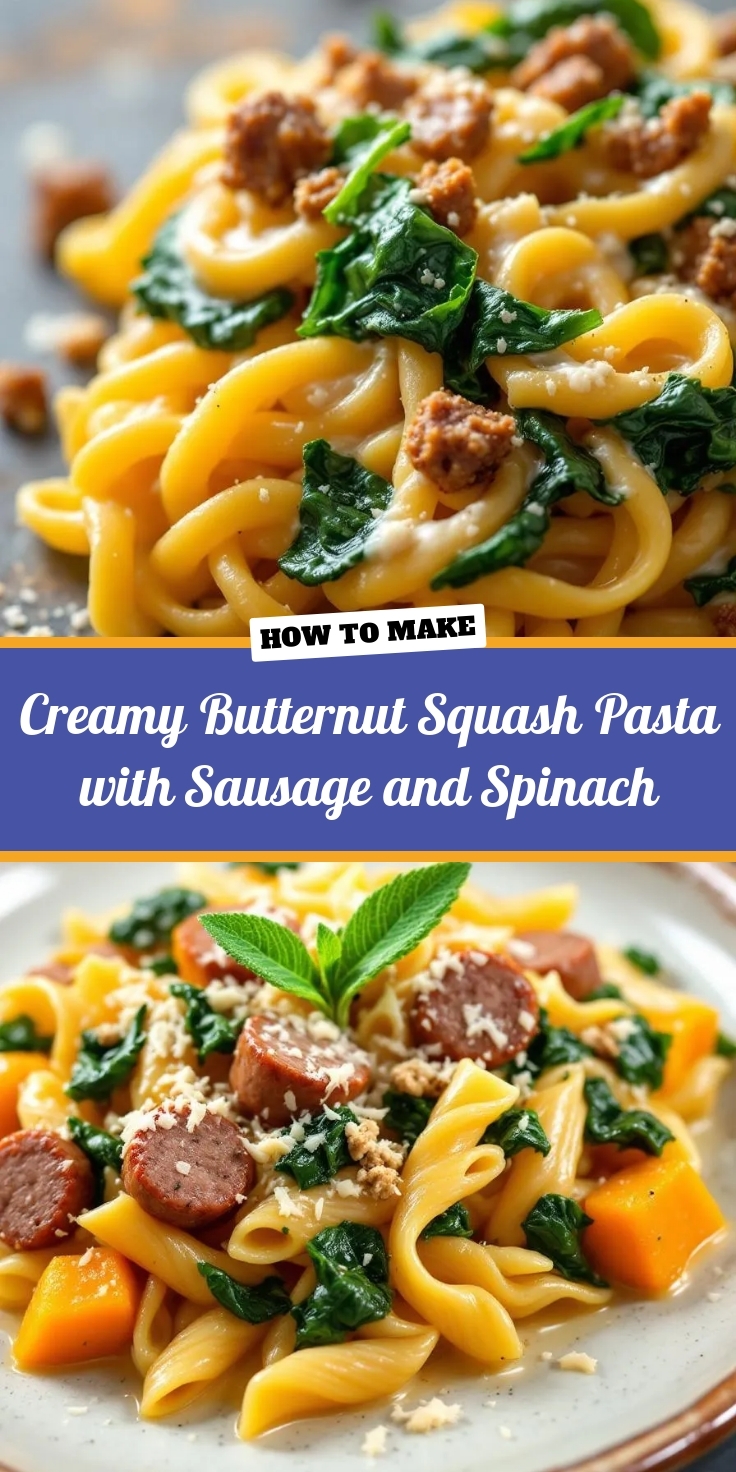
This Creamy Butternut Squash Pasta with Sausage and Spinach is a masterclass in balancing flavor and texture. Essentially, we combine sweet, roasted butternut squash with savory Italian sausage and tender pasta, all swirled in a velvety, cheese-infused sauce. Fresh spinach wilts into the mix at the last minute, adding a pop of color and a nutritional boost. Consequently, every forkful delivers a harmonious blend of sweet, savory, and creamy elements that will have everyone asking for seconds.
This recipe matters because it proves that a decadent-tasting meal can also be approachable and relatively quick. Unlike many complicated pasta dishes, this one utilizes a single skillet, meaning you minimize cleanup while maximizing flavor. Furthermore, it fits the cozy, practical ethos of our blog, where we celebrate food that brings people together without demanding a full day in the kitchen. It is the ideal dinner for a busy family or for impressing guests with minimal fuss. For instance, if you enjoy the process of making a show-stopping dessert like our Salted Caramel Apple Cheesecake, you will appreciate how this pasta delivers a similar “wow” factor with savory, weekday ease.
Ultimately, this Creamy Butternut Squash Pasta with Sausage and Spinach is more than just a meal. It is a versatile template for creativity. You can easily swap the sausage for a plant-based alternative or chicken, and you can use any short pasta shape you have on hand. Therefore, it empowers you to create a magnificent dinner with what you have available. This philosophy of flexible, feel-good cooking is central to everything we do, whether we’re crafting a perfect weeknight pasta or a stunning celebration cake like this Chocolate Raspberry Layer Cake.
Why I Love This Recipe
I have a deep personal connection to this Creamy Butternut Squash Pasta with Sausage and Spinach because it was the first meal I successfully made for my now-husband’s family. I was incredibly nervous, wanting to make something that felt special but wasn’t overly fussy. This dish was the unanimous winner, and it instantly became our go-to celebration for small victories and cozy Sunday nights alike. The way the creamy sauce clings to the pasta and the savory sausage makes me feel like I am giving my family a huge hug in a bowl, and that is a feeling I love to share.
Health and Nutrition
Why it’s good for your body
This Creamy Butternut Squash Pasta with Sausage and Spinach actively fuels your body with powerful nutrients. For instance, the star ingredient, butternut squash, delivers a massive dose of vitamin A. Consequently, this single serving supports your immune system and promotes excellent eye health. Moreover, the vibrant orange flesh provides substantial antioxidants which fight inflammation.
Additionally, the fresh spinach wilts perfectly into the sauce, secretly boosting your meal. As a result, you get a healthy serving of iron and vitamin K without even trying. The lean sausage, meanwhile, offers high-quality protein to help rebuild muscle and keep you feeling full for hours. Therefore, this dish creates a truly satisfying and balanced experience.
Furthermore, the creamy sauce achieves its richness from the squash itself, not just heavy dairy. Ultimately, you enjoy a decadent texture with far less saturated fat than a traditional Alfredo. Every element in this Creamy Butternut Squash Pasta with Sausage and Spinach works together to benefit your well-being. Finally, you can feel great about serving a meal that tastes indulgent but is packed with wholesome goodness.
How it fits in a healthy lifestyle
This pasta dish fits beautifully into a balanced eating plan. You can easily tailor it to meet specific goals, like using a whole-grain or legume-based pasta to add fiber and make it more heart-healthy. The combination of protein from the sausage and complex carbs from the squash provides sustained energy, making it an ideal dinner after a busy day. It’s a fantastic way to enjoy a comforting meal while still nourishing your body properly.
If you are tracking your nutrition, this recipe offers a great framework for a high-protein meal. For more ideas on crafting meals that support your fitness goals, explore our guide on high-protein meal prep. We also know that eating well shouldn’t be complicated. This one-pan wonder comes together quickly, supporting those practical everyday habits that make healthy living sustainable. For more simple, nutritious recipes the whole family will love, check out our collection of easy family dinners.
PrintCreamy Butternut Squash Pasta with Sausage and Spinach
Description
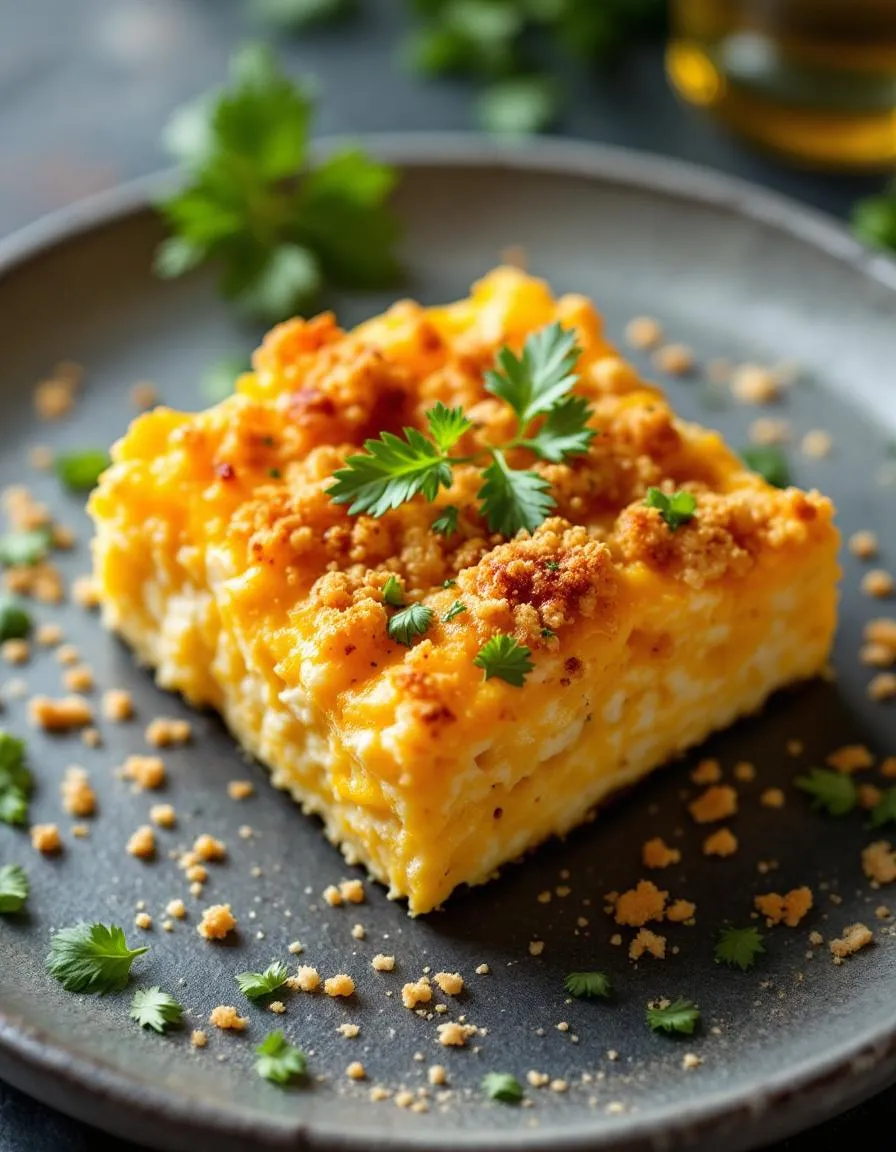
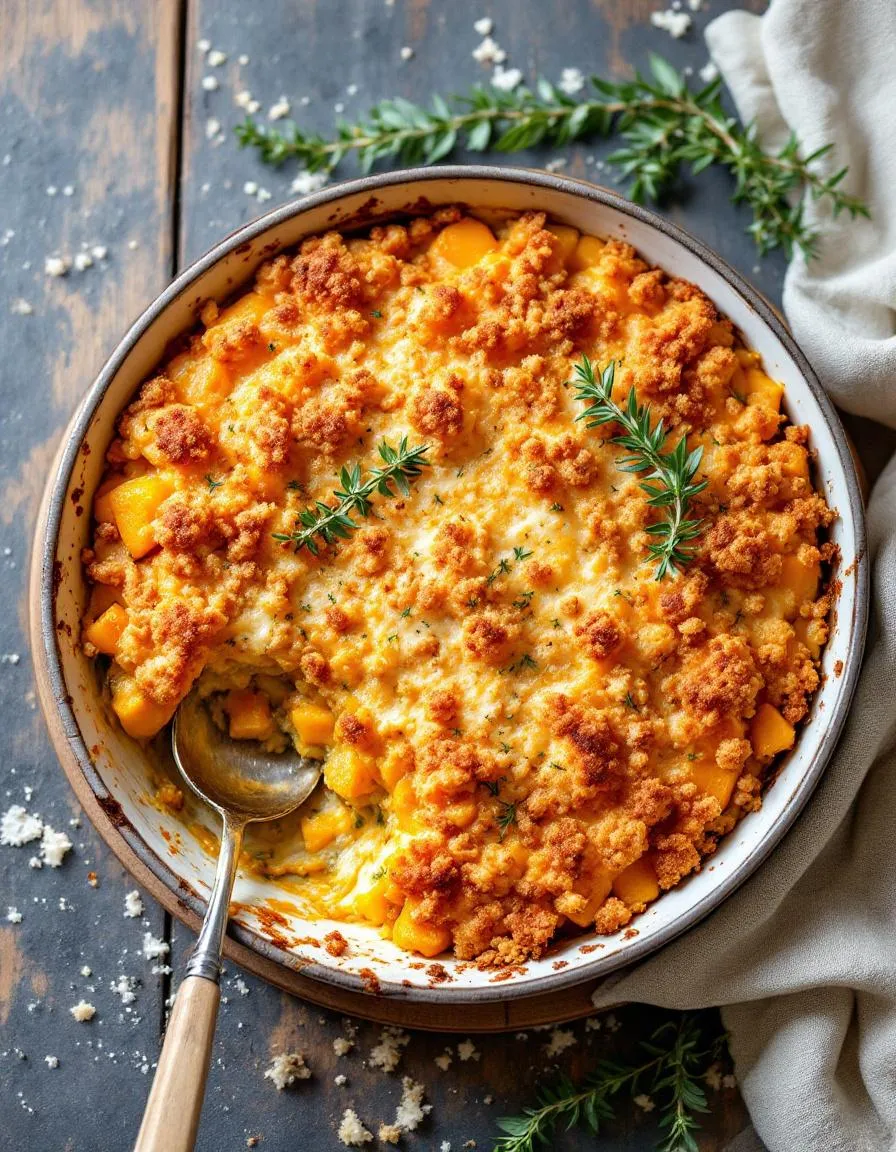
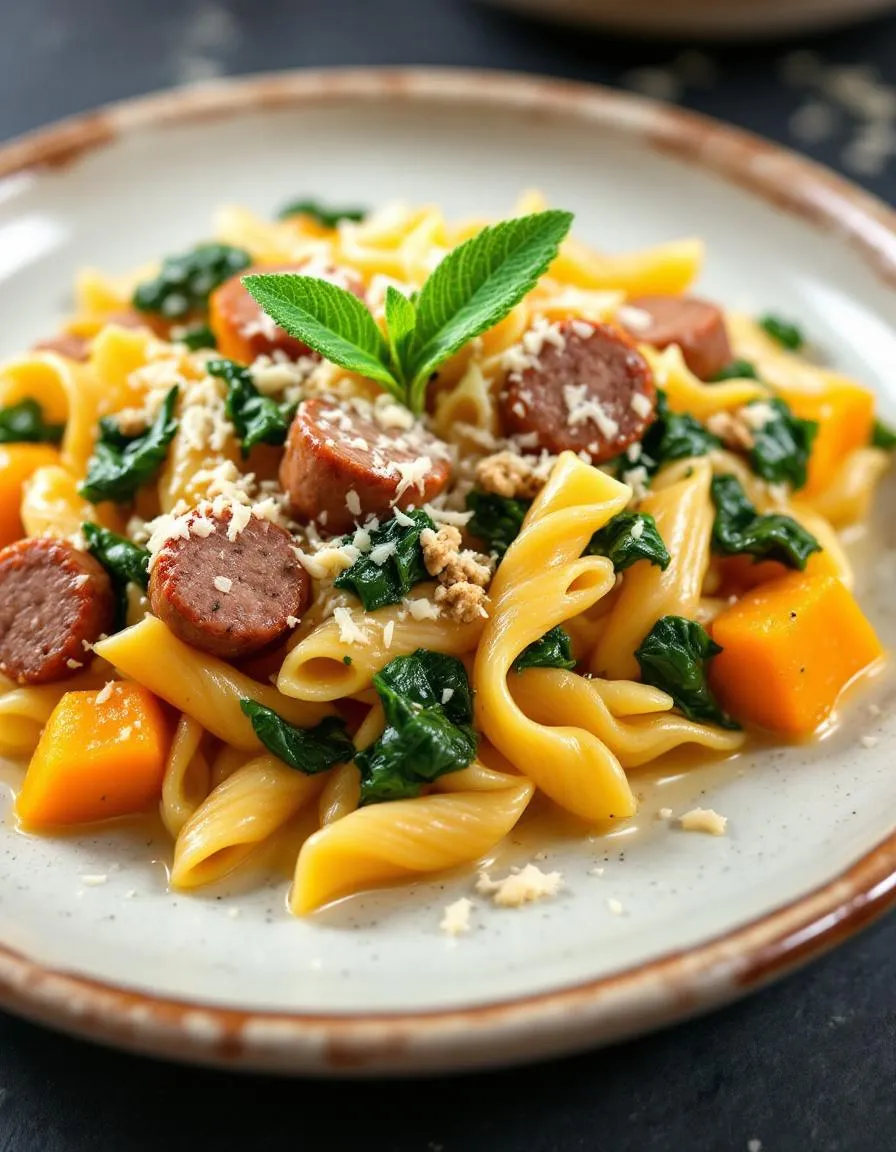
A comforting fall pasta dish featuring creamy butternut squash sauce, savory sausage, and fresh spinach.
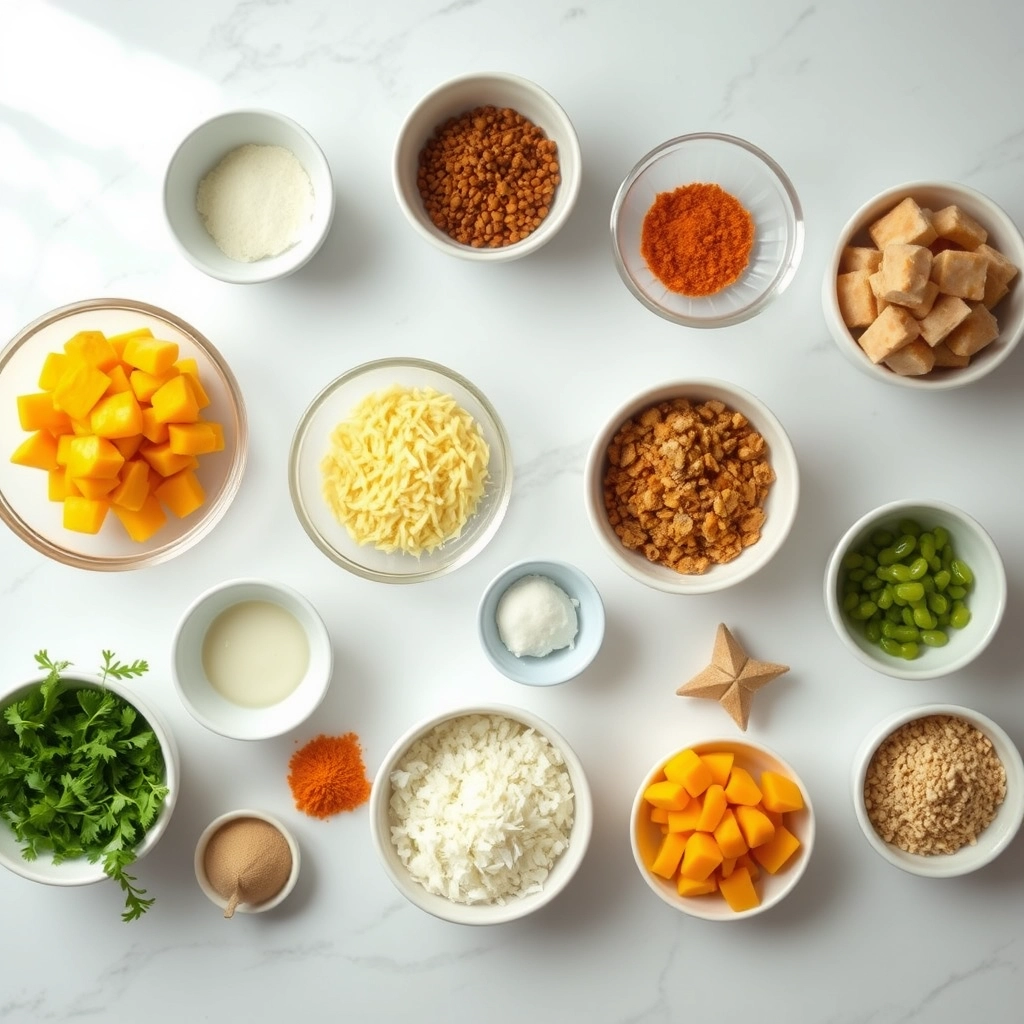
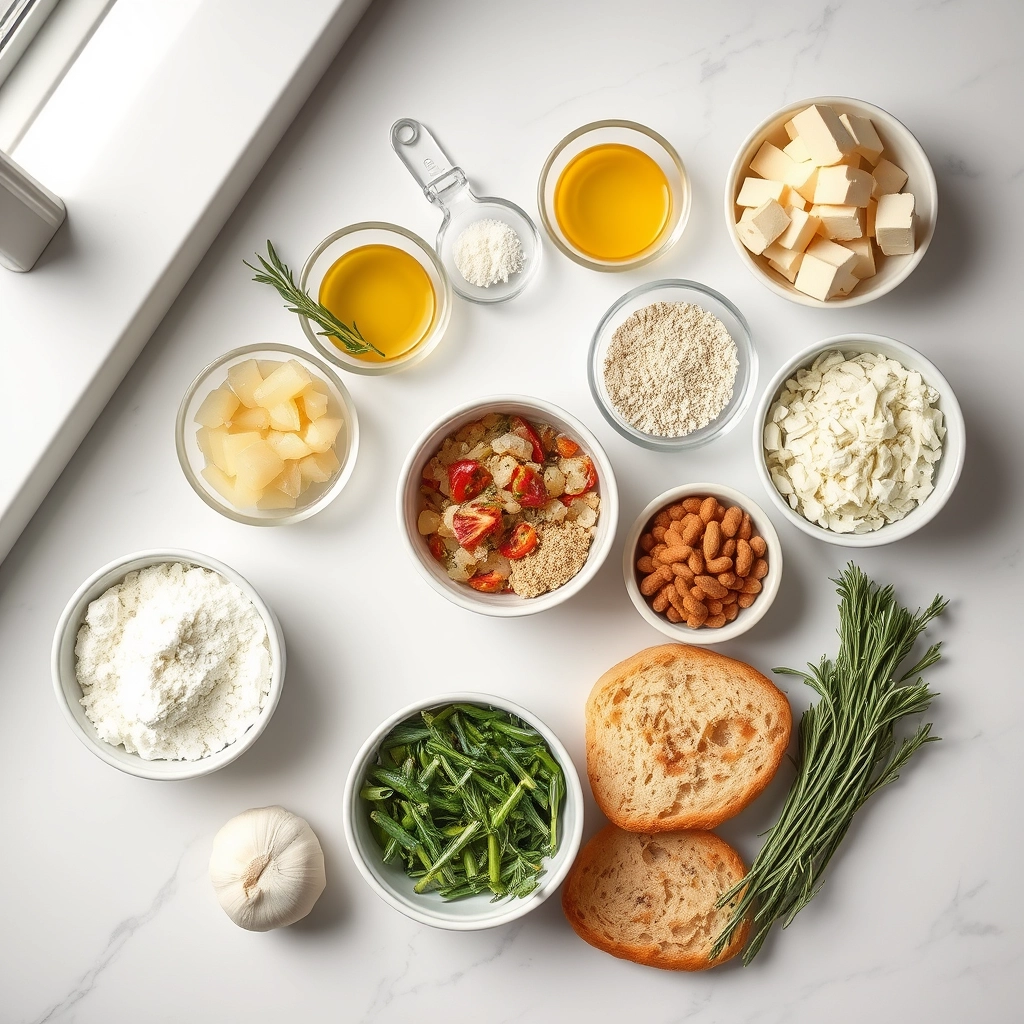
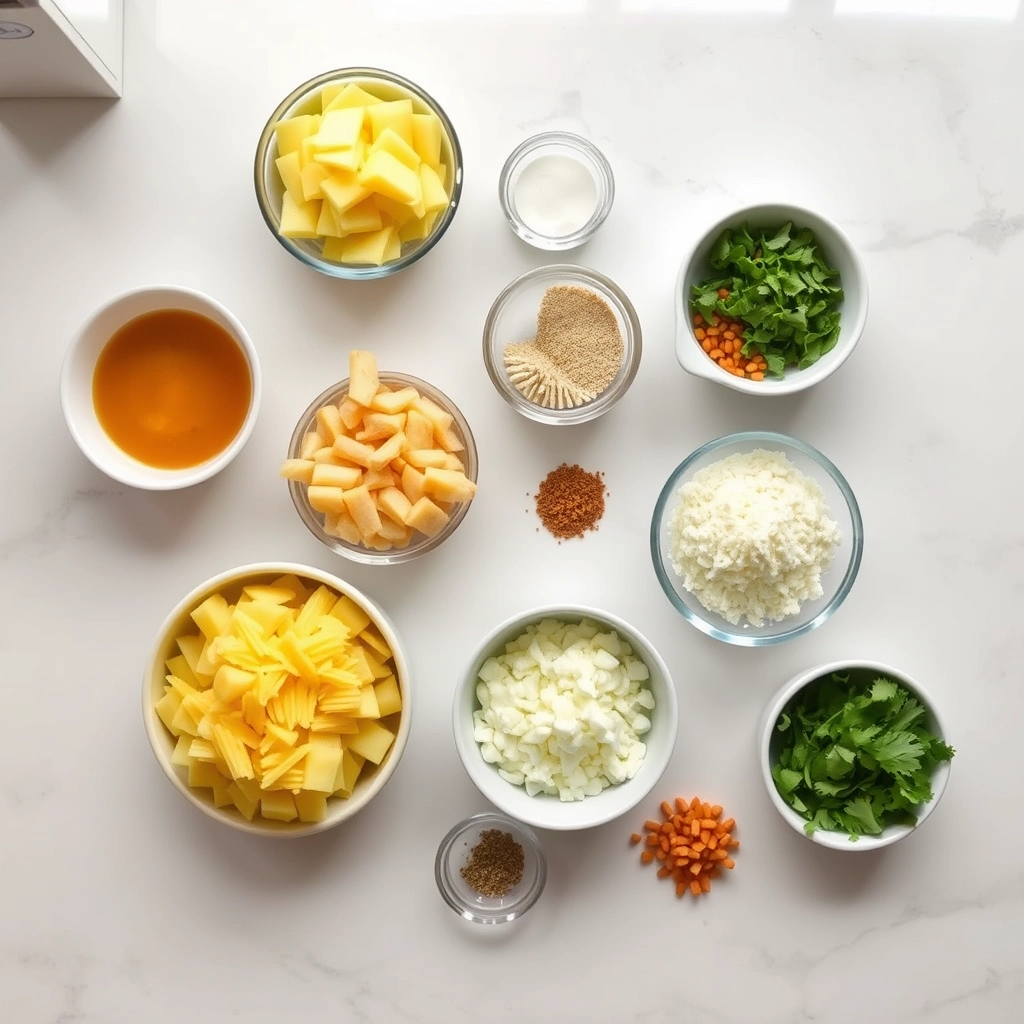
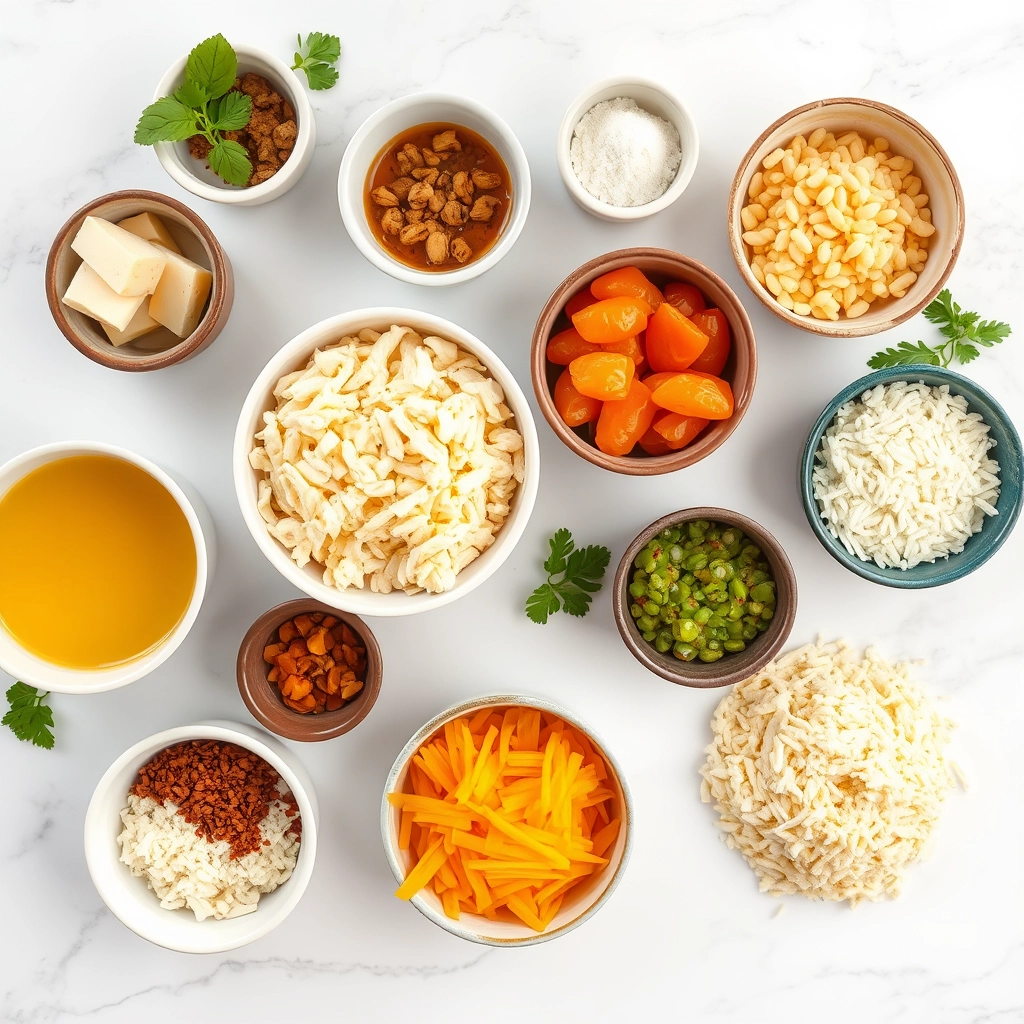
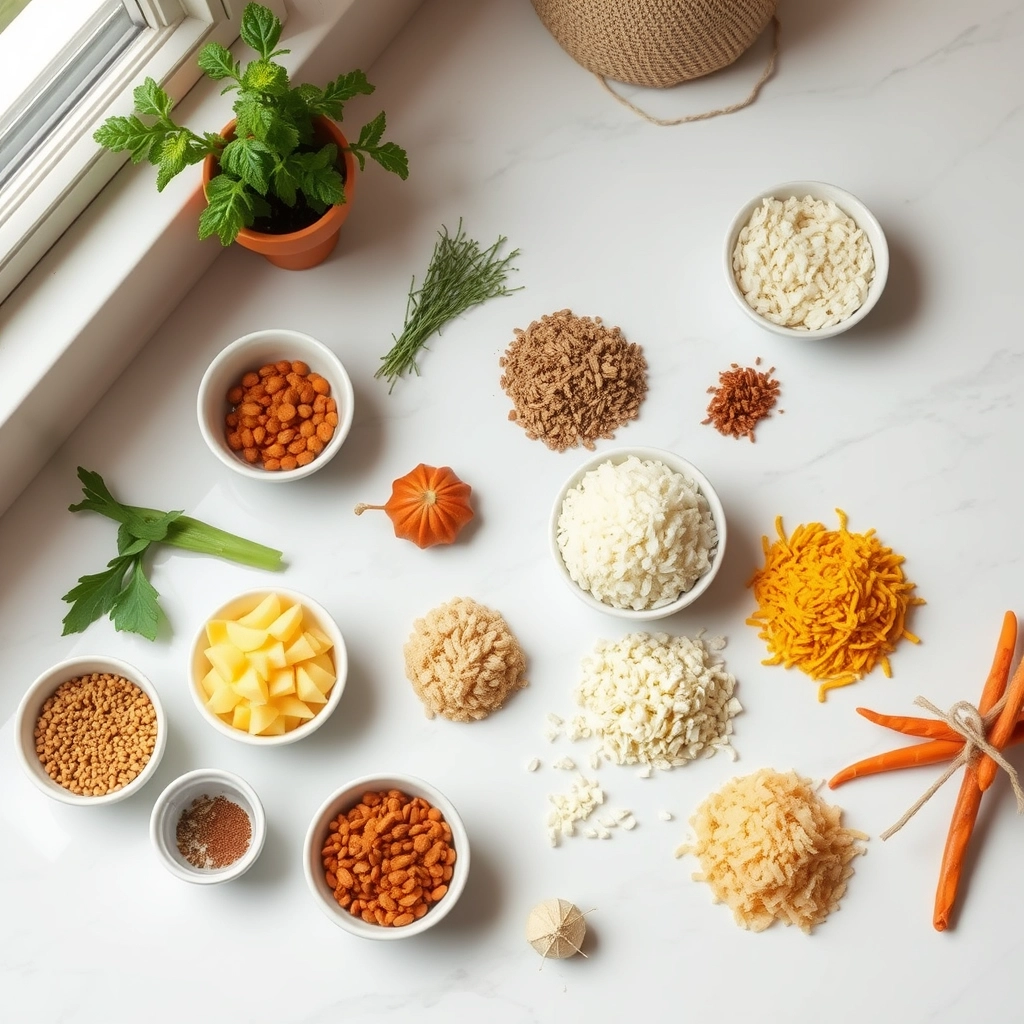
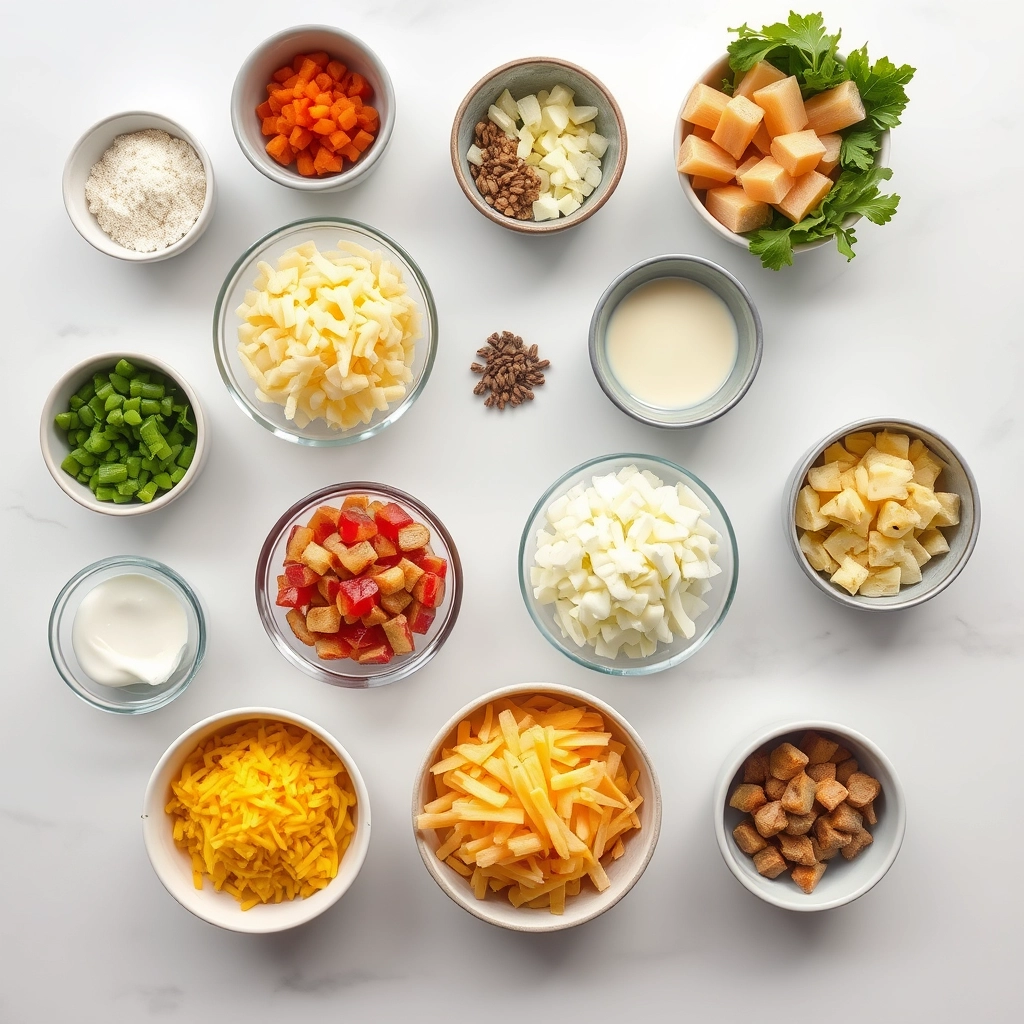
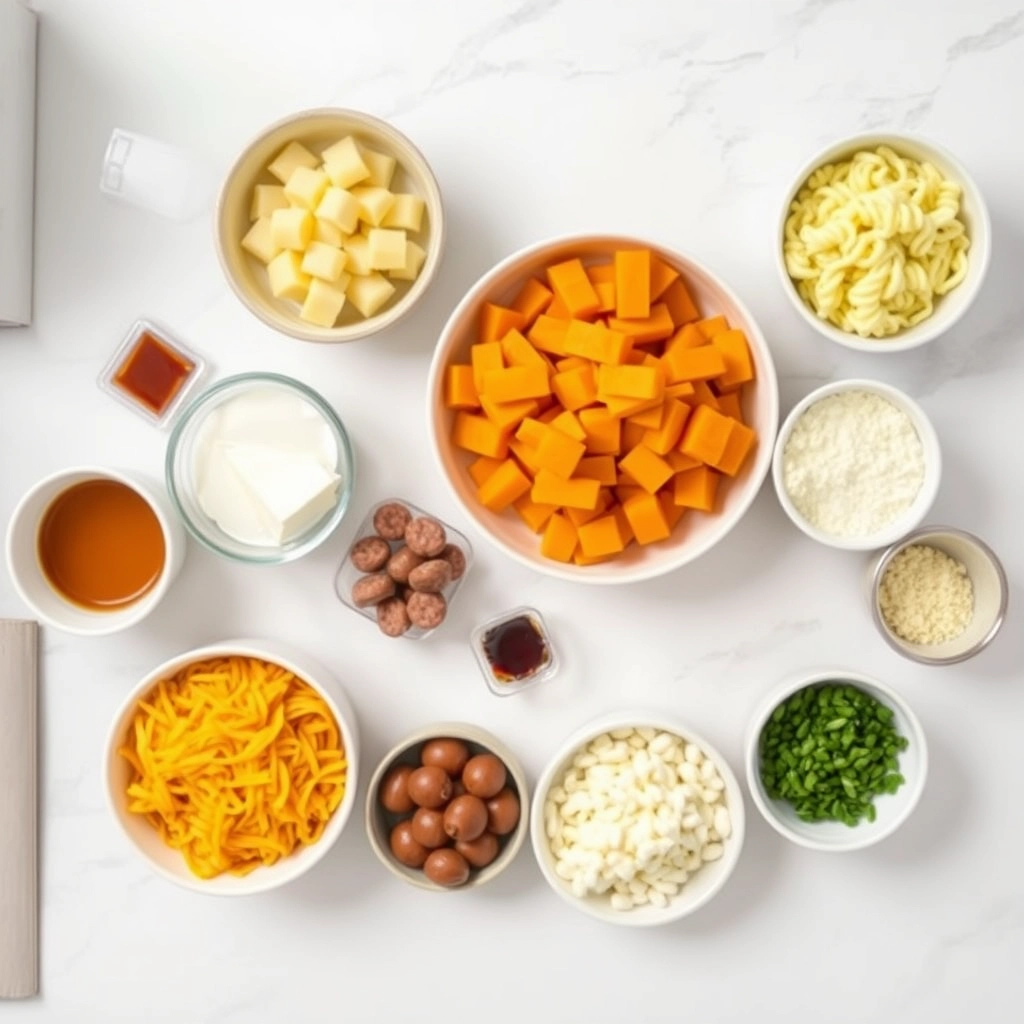
Ingredients
For the Crust:
- 1 lb Italian sausage, casings removed
- 12 oz pasta (penne or rigatoni)
- 3 cups cubed butternut squash
- 2 cups fresh spinach
- 1 cup heavy cream
- 1/2 cup grated Parmesan cheese
- 3 cloves garlic, minced
- 1 small onion, diced
- 2 tbsp olive oil
- 1 tsp dried sage
- Salt and pepper to taste
Instructions
1. Prepare the Crust:
- Cook pasta according to package directions, reserving 1/2 cup pasta water before draining.
- Heat olive oil in large skillet over medium heat. Add sausage and cook until browned, breaking into crumbles.
- Add onion and garlic, cook until softened (3-4 minutes). Add butternut squash and sage, cook 5 minutes.
- Pour in heavy cream and bring to simmer. Cook until squash is tender (8-10 minutes).
- Add cooked pasta, spinach, and Parmesan to skillet. Toss until spinach wilts and sauce coats pasta.
- Add reserved pasta water as needed to reach desired consistency. Season with salt and pepper.
Notes
You can customize the seasonings to taste.
How to Prepare This Dish
Steps and time-saving tips
First, get your ingredients prepped. This simple step makes the entire process flow smoothly and prevents any frantic rushing later. Dice your onion and mince the garlic. Then, cook the sausage in a large, deep skillet over medium-high heat until it’s beautifully browned and crumbled. Use a slotted spoon to transfer the sausage to a plate, but leave that flavorful drippings in the pan. Next, sauté the onion in the sausage fat until it turns soft and translucent. Add the garlic and cook it for just one more minute until its aroma fills your kitchen. Now, stir in the cubed butternut squash, chicken broth, and a pinch of salt and pepper. Bring this mixture to a lively boil, then reduce the heat, cover the skillet, and let it simmer for about 15 minutes. The squash should become perfectly tender when pierced with a fork.
Meanwhile, boil a large pot of salted water and cook your pasta until it is al dente. Reserve at least one cup of the starchy pasta water before you drain it. This liquid gold is key for creating a luxuriously smooth sauce. Once the squash is soft, use a potato masher or the back of a fork to mash it directly in the skillet until it forms a rustic, creamy base. Stir in the heavy cream and grated Parmesan cheese, letting everything melt together into a velvety sauce. Fold the cooked sausage and fresh spinach back into the skillet, stirring until the spinach wilts into the sauce. Finally, add the drained pasta and toss everything thoroughly, adding splashes of the reserved pasta water until the sauce coats every noodle beautifully. Serve immediately with an extra sprinkle of Parmesan on top.
Mistakes I’ve made and learned from
I’ve definitely had my share of kitchen mishaps with this Creamy Butternut Squash Pasta with Sausage and Spinach. My biggest mistake was rushing the squash cooking process. I didn’t let the cubes simmer long enough, which resulted in a chunky, gritty sauce instead of that dreamy, smooth consistency we all love. I learned that patience is key; let that squash get completely fork-tender before you even think about mashing it. Another error was draining all of my pasta water. Without that starchy liquid, the sauce seized up and became too thick once it hit the hot pasta, almost like a glue. Now, I always save a generous cup of water, and I add it slowly until the sauce is perfectly loose and silky. For more tips on getting your textures just right, check out my guide on perfecting pasta sauces. And if you’re nervous about cooking squash, my post on choosing and prepping winter squash breaks it down into foolproof steps.
Cultural Connection and Variations
Where this recipe comes from
This dish feels like a warm hug from an Italian grandmother, yet it tells a uniquely American story. Honestly, we can trace its roots to the rustic farmhouses of Northern Italy, where cooks often pair sweet squash with hearty sausage and pasta. However, they typically use pumpkin or ricotta for creaminess. My version, on the other hand, takes a modern shortcut with a creamy butternut squash sauce that feels both luxurious and wholesome. Consequently, this Creamy Butternut Squash Pasta with Sausage and Spinach becomes a perfect bridge between old-world tradition and new-world convenience.
Families across different regions put their own spin on it. For instance, in the American South, you might find a version with a pinch of cayenne pepper for heat. Alternatively, a vegetarian household might swap the sausage for mushrooms and use a rich vegetable broth. My own family always adds a little extra nutmeg around the holidays, a tradition my aunt started. Ultimately, this flexibility is what makes the dish so special. It welcomes you to make it your own.
How it fits in today’s cooking
This recipe absolutely thrives in our modern cooking routines. It seamlessly fits into a busy weeknight because it delivers incredible, comfort-food flavor without requiring hours of simmering. Furthermore, it celebrates seasonal, whole ingredients, which so many of us actively seek out today. You can easily adapt this Creamy Butternut Squash Pasta with Sausage and Spinach to be gluten-free by using your favorite alternative pasta. Many health-conscious cooks also love to sneak in extra spinach for a nutrient boost.
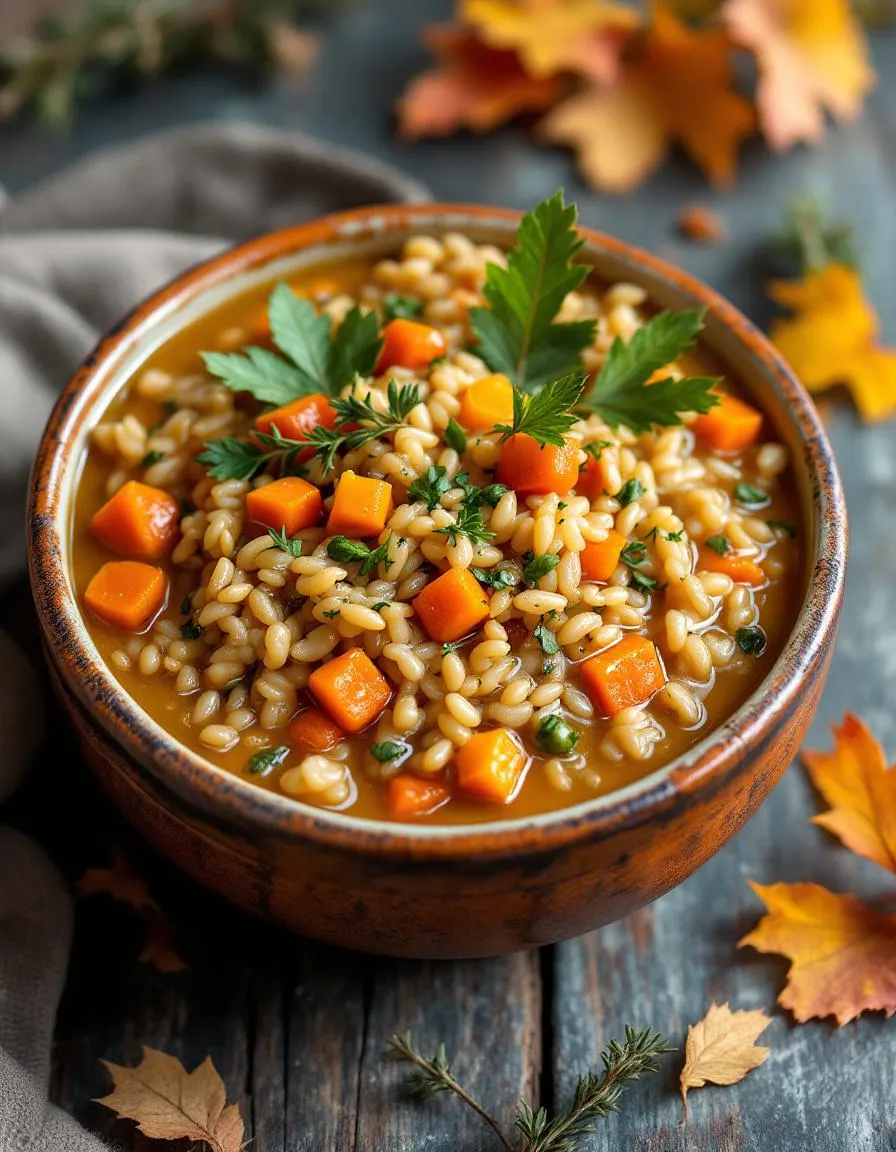
It has also become a star of autumn and holiday tables. For example, its warm, vibrant colors make it a stunning centerpiece for a festive Friendsgiving spread. If you are looking for more seasonal inspiration, our guide to the best fall desserts pairs wonderfully with this savory main. Moreover, its comforting nature makes it an ideal dish for cozy family dinners after a day of pumpkin picking or apple harvesting. It truly is a versatile classic that belongs in every cook’s repertoire, especially if you need a show-stopping yet simple holiday main course.
Taste and Texture
What makes it delicious
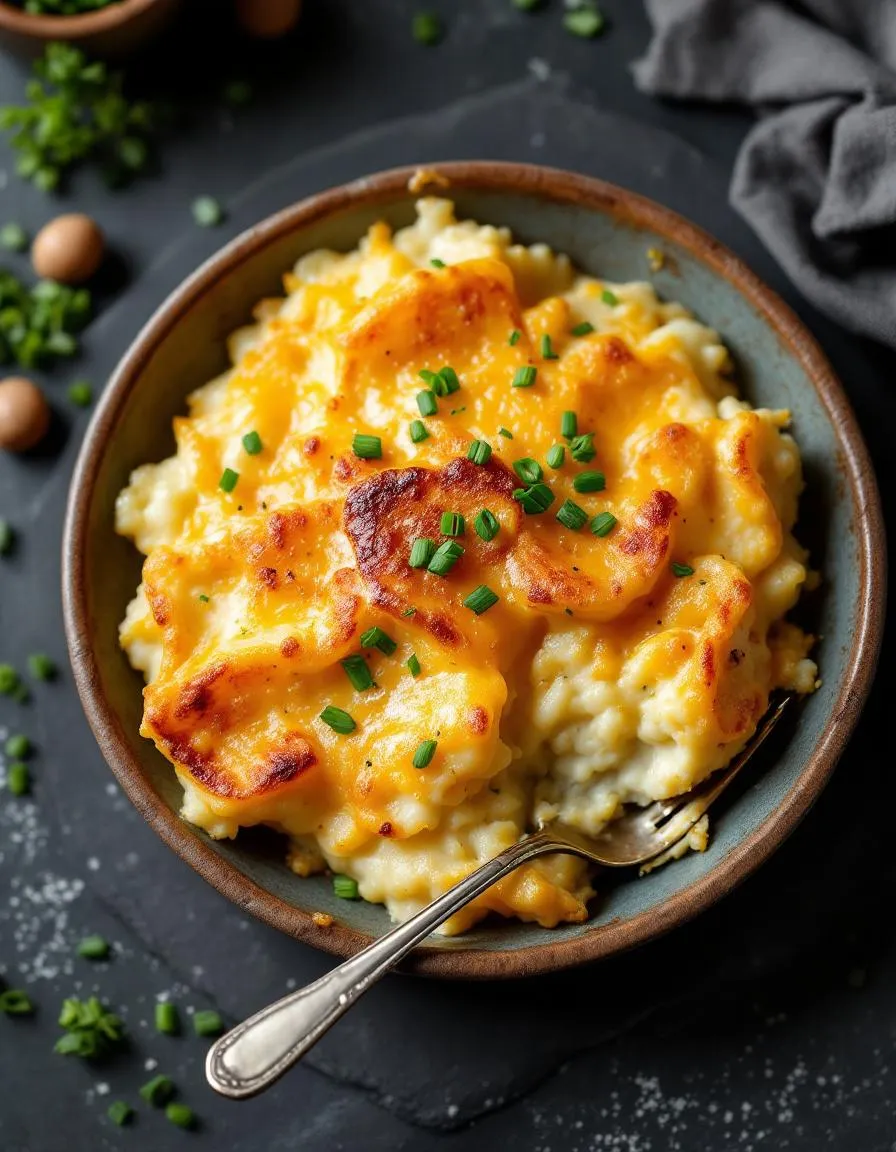
This Creamy Butternut Squash Pasta with Sausage and Spinach delivers a wonderfully cozy and savory experience. Firstly, the sauce coats every noodle in a velvety, rich blanket that feels incredibly luxurious in your mouth. Meanwhile, the Italian sausage provides juicy, savory bursts of flavor and a satisfyingly chewy texture that contrasts the smooth sauce. Furthermore, the roasted butternut squash melts into the sauce, adding a subtle natural sweetness that perfectly balances the savory elements. Finally, fresh spinach wilts into the mix, contributing a slight earthy note and a tender bite. Every forkful of this Creamy Butternut Squash Pasta with Sausage and Spinach is a perfect harmony of creamy, savory, and sweet, making it an unforgettable comfort food dish.
Boosting the flavor
You can easily elevate this dish with a few simple tweaks. For instance, try stirring in a tablespoon of lemon zest to cut through the richness and add a bright, fresh note. Alternatively, a sprinkle of hot red pepper flakes will introduce a welcome kick of heat that complements the sausage beautifully. For a crunchy texture contrast, top your bowl with toasted pine nuts or crispy breadcrumbs. If you want to explore more ways to build flavor, consider our guide on how to balance flavors in your cooking. Moreover, a splash of high-quality olive oil right before serving can amplify the fragrant, herbal notes; discover the best options in our review of the best olive oils for cooking. Ultimately, get creative and make it your own.

Tips for Success
Best practices for results
Always use a high-quality, heavy-bottomed pot or Dutch oven to prepare your sauce; this prevents scorching and ensures even, gentle heating. Furthermore, brown the sausage thoroughly before adding other ingredients because this crucial step builds a deep, savory flavor foundation for your entire dish. Reserve a full cup of starchy pasta water before draining, as this liquid is the secret to achieving a luxuriously creamy, restaurant-quality sauce that clings to every noodle. For the best texture and flavor, gently wilt the fresh spinach into the hot sauce just before serving your Creamy Butternut Squash Pasta with Sausage and Spinach.
Mistakes to avoid
A common error is overcooking the squash, which can make it watery and dilute your sauce; instead, cook it just until it is fork-tender for the perfect creamy consistency when blended. Additionally, avoid adding cold cream or cheese directly into the hot pan, as this can cause the sauce to break and become greasy; always temper dairy by stirring in a small amount of hot sauce first to warm it gradually. Many cooks also forget to season in layers, so remember to taste and adjust your seasoning after browning the meat, again after adding the squash puree, and finally before serving. For more guidance on building flavor, explore our guide on how to balance spices. Finally, do not skip toasting your pine nuts or walnuts if using a garnish, as this simple step unlocks their nutty flavor and adds a wonderful textural contrast, a technique we detail in our post on toasting nuts perfectly every time.
Serving and Pairing Suggestions
How to serve this dish
For a truly stunning presentation, immediately serve this Creamy Butternut Squash Pasta with Sausage and Spinach in warm, shallow bowls. Consequently, the sauce will stay luxuriously fluid. Furthermore, garnish each plate with an extra crack of black pepper, a sprinkle of fresh parsley or sage, and a generous dusting of Parmesan cheese. This cozy dish absolutely shines at a casual family dinner. Alternatively, it makes a fantastic centerpiece for a festive autumn gathering or holiday potluck.
What goes well with it
First, a crisp, acidic side salad perfectly cuts through the richness of the pasta. For instance, our classic Arugula Salad with Lemon Vinaigrette offers a bright, peppery contrast that truly elevates every bite. Next, consider a crusty, warm loaf of bread to complete the meal. Specifically, a slice of our favorite Garlic Herb Focaccia is ideal for soaking up every last bit of the creamy sauce. Finally, for a drink pairing, a chilled glass of Pinot Grigio or a crisp hard cider beautifully complements the savory sausage and sweet squash notes.
Yes, you can prepare this dish ahead of time. Assemble the entire creamy butternut squash pasta with sausage and spinach, let it cool completely, and store it in an airtight container in the refrigerator for up to 3 days. Reheat it gently on the stovetop with a splash of milk or cream to loosen the sauce.
Italian sausage, either sweet or spicy, is the most popular choice for this recipe. The fennel and herbs in Italian sausage complement the sweetness of the squash beautifully. For a lighter option, you can also use chicken or turkey sausage in your creamy butternut squash pasta with sausage and spinach.
The best way to thicken the sauce is by pureeing the cooked butternut squash itself, which creates a naturally creamy and thick base. If your sauce is too thin after blending, you can simmer it for a few more minutes to reduce and concentrate it, or stir in a tablespoon of grated Parmesan cheese to help it bind.
Absolutely. Using frozen cubed butternut squash is a fantastic time-saver and works perfectly in this recipe. There’s no need to thaw it; just roast or simmer the frozen cubes until they are very tender before pureeing them into the creamy sauce for your pasta.