“`html
Introduction
There’s something deeply comforting about a hearty bowl of Cowboy Stew—the kind of meal that warms you from the inside out and brings back memories of campfires and shared stories. Whether you’re feeding a crowd or just craving a cozy night in, this rustic dish delivers bold flavors and satisfying simplicity. Packed with tender meat, smoky beans, and a rich tomato base, Cowboy Stew is the ultimate one-pot wonder. Plus, it’s incredibly forgiving, making it perfect for busy weeknights or lazy weekends. If you love easy, flavorful recipes that feel like a hug in a bowl, you’re in the right place.
What Is Cowboy Stew?
Cowboy Stew is a hearty, no-fuss dish rooted in tradition, blending smoky, savory, and slightly sweet flavors into one irresistible pot. Originally inspired by chuckwagon cooking, it typically features ground beef or sausage, beans, tomatoes, and a mix of vegetables—all simmered together until deeply flavorful. What makes it special is its versatility. You can tweak the ingredients based on what you have on hand, making it a go-to for clearing out the pantry. For example, if you’re a fan of easy, adaptable meals, you’ll love our one-pot meals collection, which celebrates fuss-free cooking just like this recipe.
Beyond its practicality, Cowboy Stew carries a sense of nostalgia. It’s the kind of dish that reminds you of family gatherings, tailgates, or even summer cookouts. The smoky undertones from ingredients like bacon or smoked paprika give it a distinct depth, while the beans and tomatoes keep it hearty without feeling heavy. If you’re looking for more crowd-pleasing recipes, check out our comfort food favorites, where you’ll find dishes that share the same soul-warming appeal. Whether you serve it with cornbread or over rice, Cowboy Stew always hits the spot.
Why I Love This Recipe
Cowboy Stew holds a special place in my heart because it’s the first meal I ever cooked for my family after moving out on my own. I remember nervously stirring the pot, hoping I wouldn’t burn it—but the moment we all took that first bite, I knew it was a keeper. There’s something magical about how such simple ingredients come together to create something so satisfying. Even now, whenever I make it, the smell alone transports me back to those early days of learning to cook. It’s more than just a recipe; it’s a reminder of growth, comfort, and the joy of sharing good food with the people you love.
“`
Health and Nutrition
Why it’s good for your body
Cowboy Stew packs a hearty mix of nutrients that fuel your body and keep you satisfied. First, the lean protein from ingredients like beef or beans helps build muscle and repair tissues. Meanwhile, the fiber-rich vegetables, such as carrots and bell peppers, support digestion and keep your gut healthy. Additionally, the tomatoes in Cowboy Stew provide a boost of antioxidants, which fight inflammation and protect your cells.
Beyond its nutritional punch, Cowboy Stew delivers slow-burning energy thanks to its balanced macronutrients. The complex carbs from potatoes or corn give you steady fuel, while the healthy fats from olive oil or avocado help absorb fat-soluble vitamins. Plus, the spices often used in Cowboy Stew, like cumin and garlic, offer immune-boosting properties. As a result, this dish not only tastes great but also strengthens your body from the inside out.
Finally, Cowboy Stew is a fantastic way to stay hydrated since its broth-based nature contributes to your daily fluid intake. Whether you enjoy it on a chilly evening or after a long day, this stew keeps you nourished and energized. With every spoonful, you get a wholesome combination of vitamins, minerals, and protein that your body craves.
How it fits in a healthy lifestyle
Cowboy Stew fits seamlessly into a balanced diet, whether you’re aiming for high-protein meals or heart-healthy choices. For gluten-free eaters, it’s naturally safe when made with clean ingredients, and you can easily swap in quinoa or gluten-free broth for extra customization. If you’re watching your sodium, simply reduce added salt and let the herbs and spices shine.
This stew also pairs well with meal prep, as it stores beautifully and tastes even better the next day. For more high-protein meal ideas, check out our guide to easy meal prep recipes. Plus, if you’re looking for ways to incorporate more veggies into your diet, Cowboy Stew makes it effortless. You can even sneak in extras like spinach or zucchini without sacrificing flavor. For more tips on balancing comfort food with nutrition, explore our healthy eating tips.
Whether you’re fueling up after a workout or need a cozy weeknight dinner, Cowboy Stew keeps your health goals on track without skimping on taste.
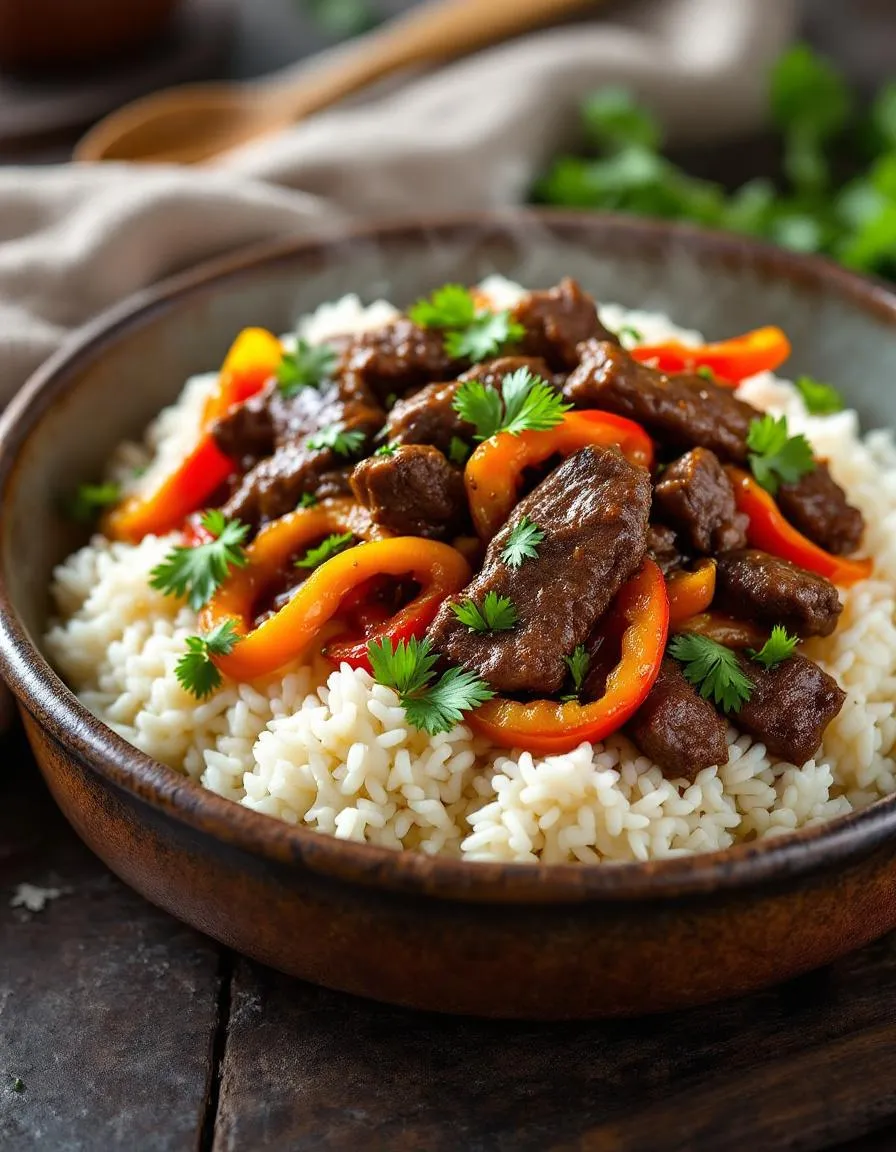
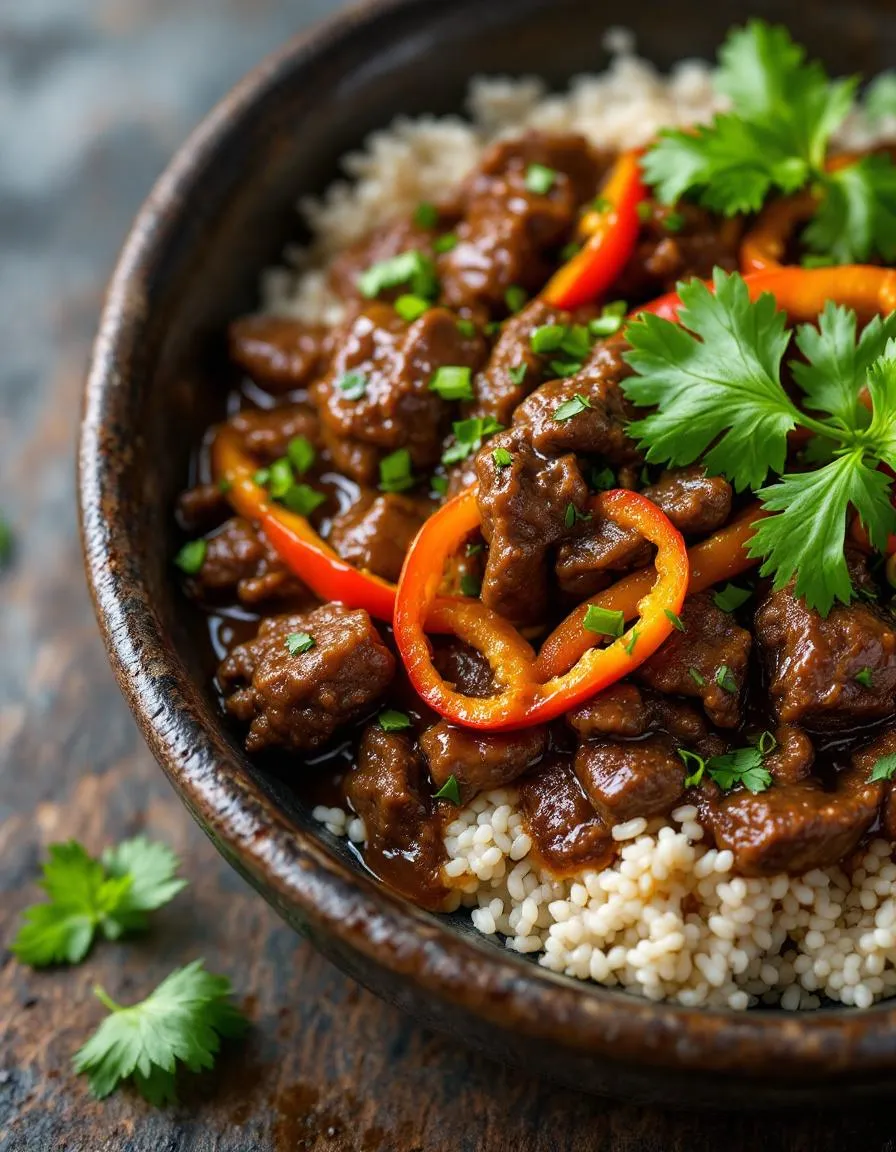
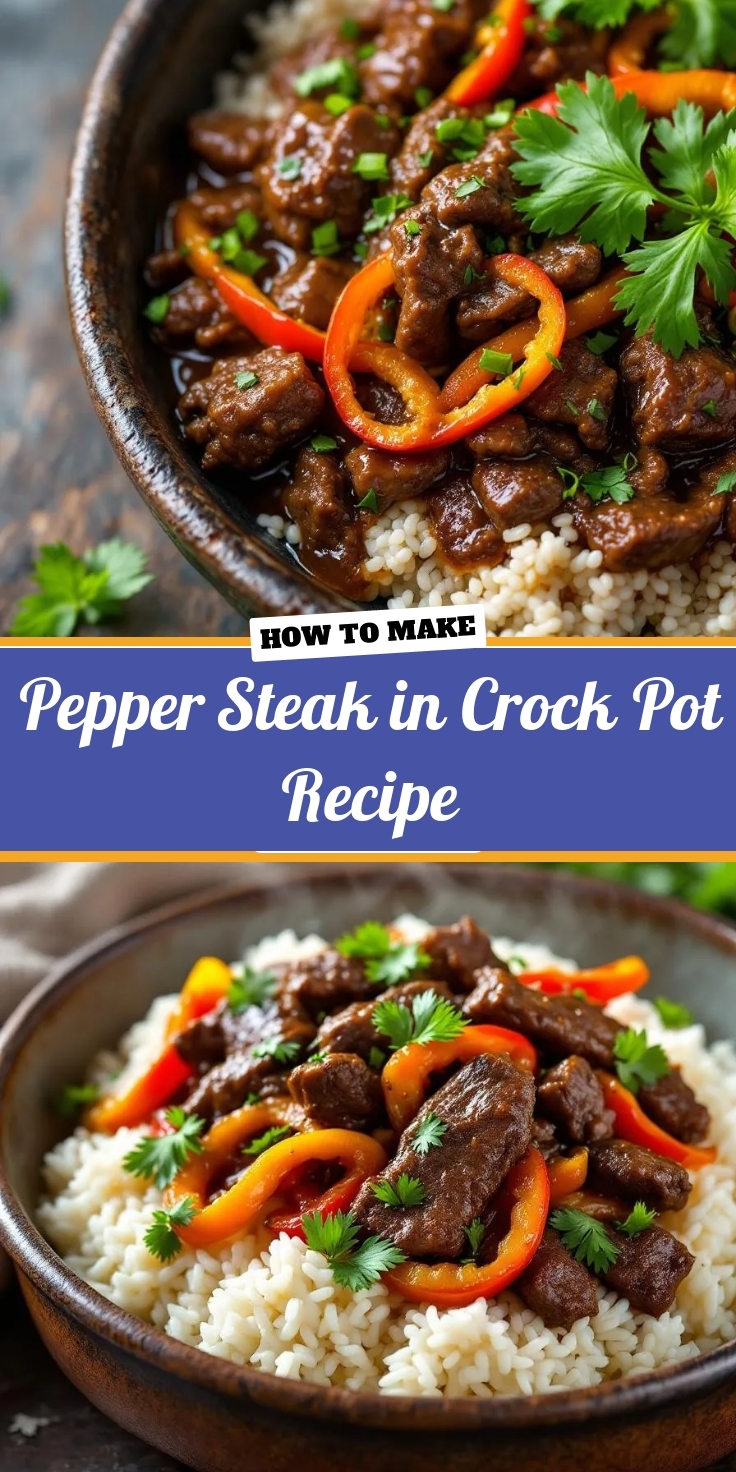
PrintCowboy Stew
Description
A hearty and flavorful stew packed with meat, beans, and vegetables, perfect for a comforting meal.
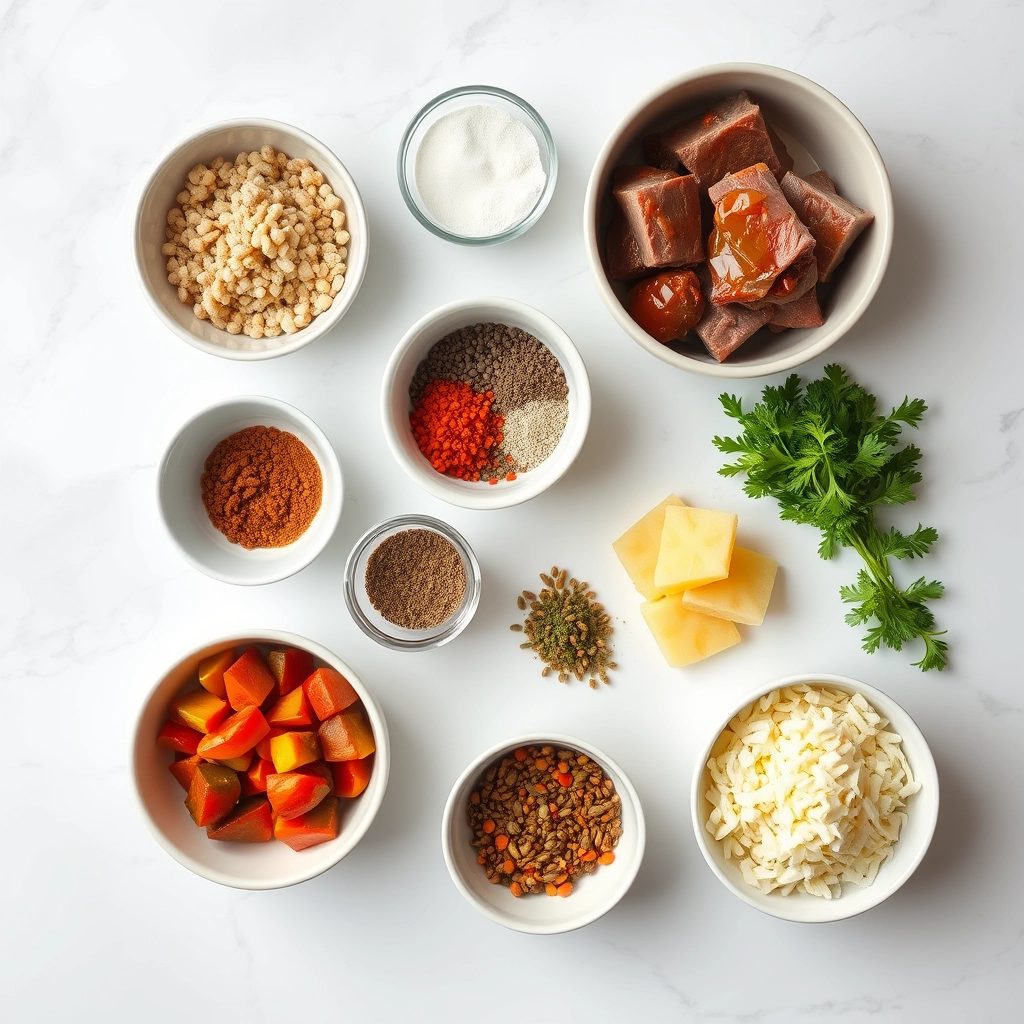
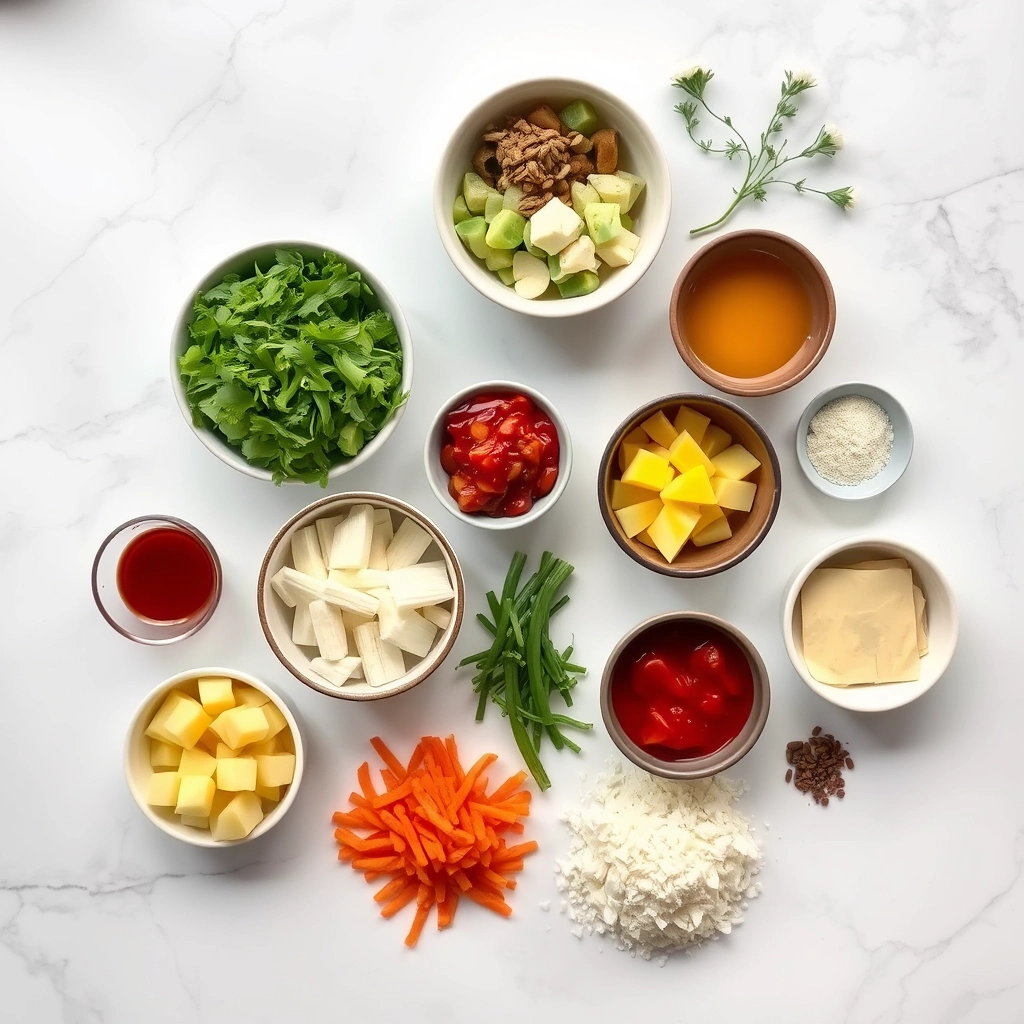
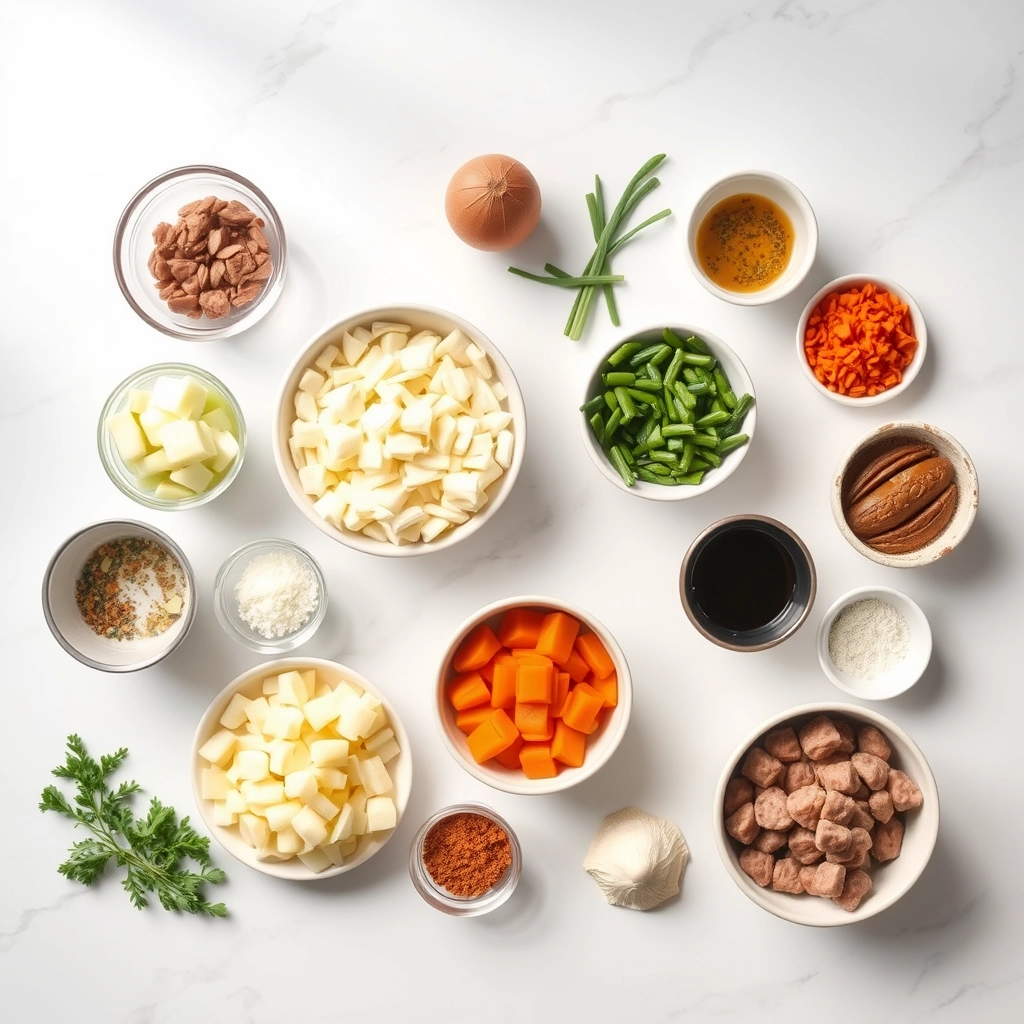
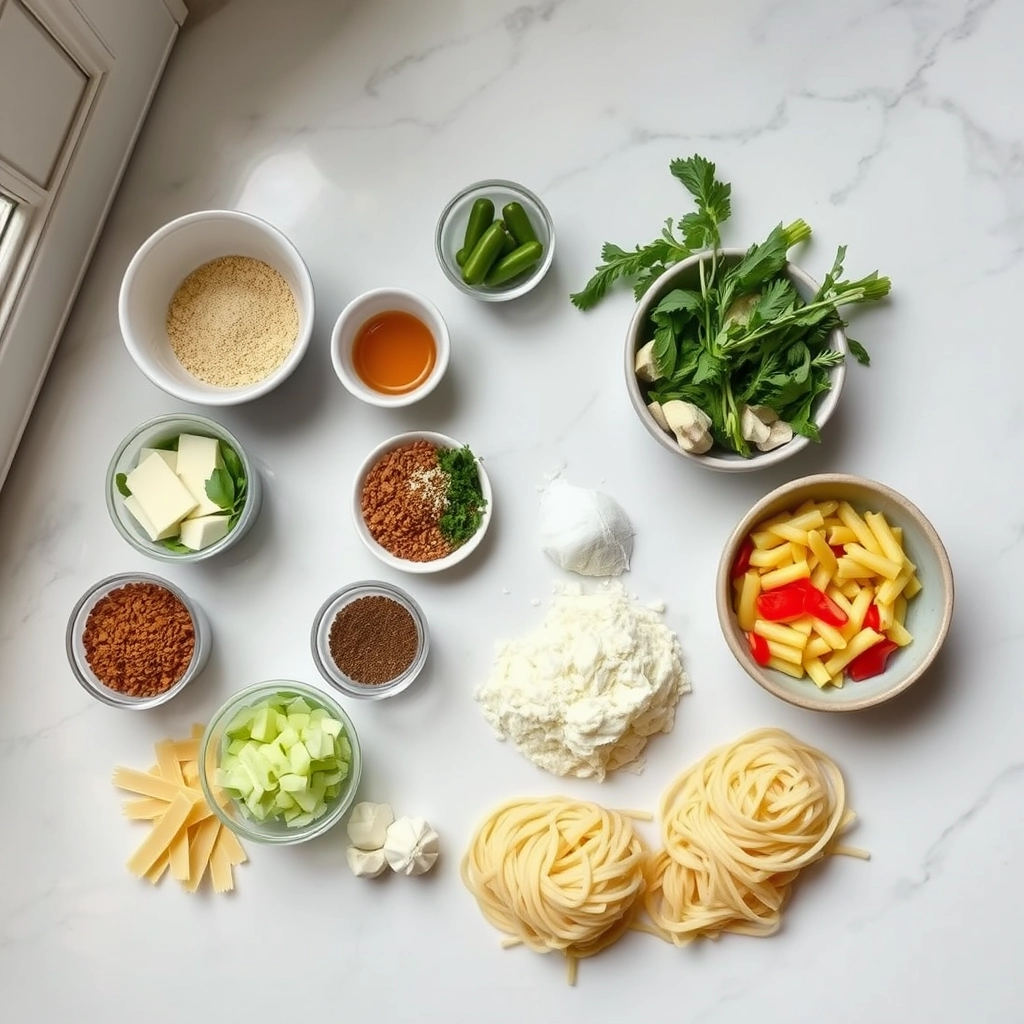
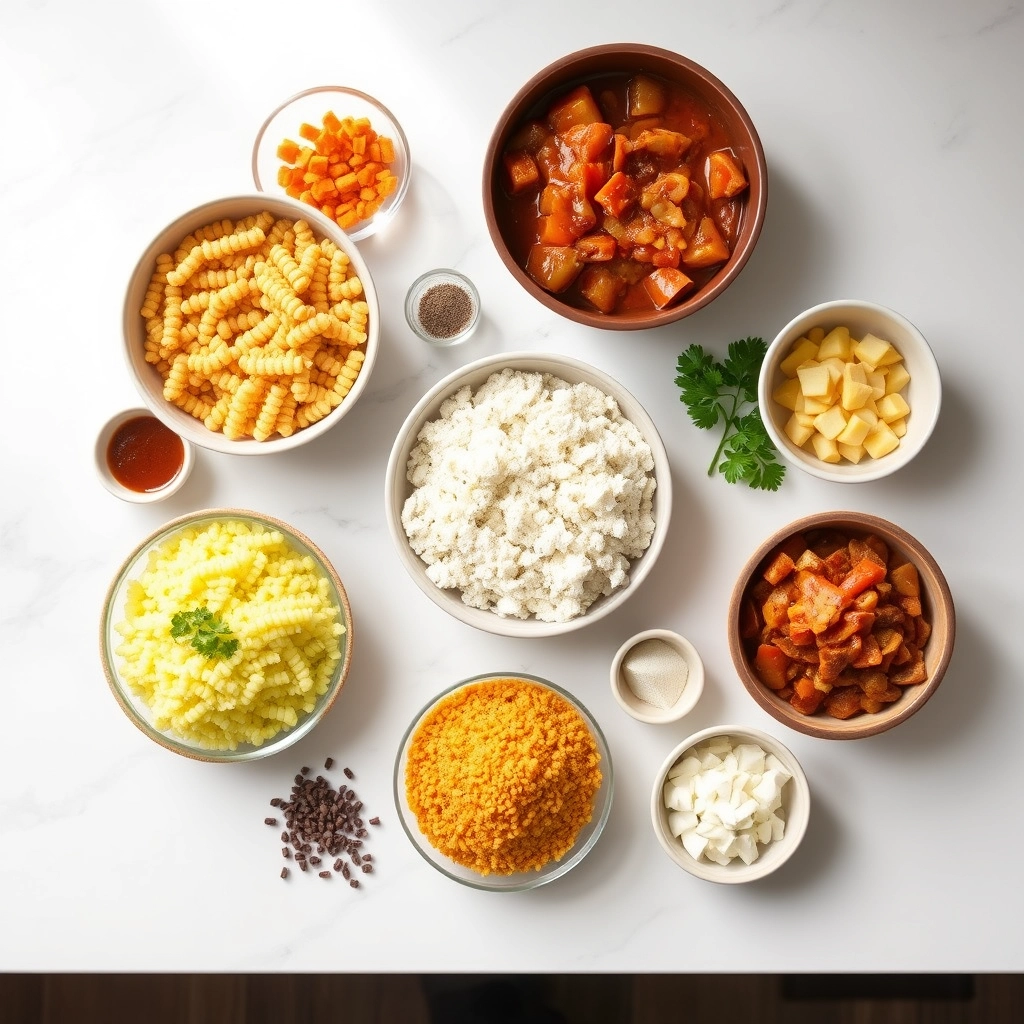
Ingredients
For the Crust:
- 1 lb ground beef
- 1 lb smoked sausage, sliced
- 1 onion, diced
- 2 cloves garlic, minced
- 1 bell pepper, diced
- 1 can (15 oz) kidney beans, drained
- 1 can (15 oz) pinto beans, drained
- 1 can (15 oz) corn, drained
- 1 can (14.5 oz) diced tomatoes
- 1 can (8 oz) tomato sauce
- 2 cups beef broth
- 1 tsp chili powder
- 1 tsp cumin
- Salt and pepper to taste
Instructions
1. Prepare the Crust:
- In a large pot or Dutch oven, brown the ground beef over medium heat. Drain excess fat.
- Add the sliced sausage, onion, garlic, and bell pepper. Cook until vegetables are softened.
- Stir in the kidney beans, pinto beans, corn, diced tomatoes, tomato sauce, and beef broth.
- Season with chili powder, cumin, salt, and pepper. Stir well to combine.
- Bring the stew to a boil, then reduce heat to low. Simmer for 20-25 minutes, stirring occasionally.
- Taste and adjust seasonings as needed. Serve hot.
Notes
You can customize the seasonings to taste.
How to Prepare This Dish
Steps and time-saving tips
Start by heating a large Dutch oven over medium heat and browning the ground beef until it crumbles easily. While the meat cooks, chop your onions and bell peppers to save time later. Once the beef is browned, drain any excess grease but leave a bit for flavor. Next, toss in the chopped veggies and sauté them until they soften, stirring occasionally to prevent sticking. Add minced garlic and let it cook for just 30 seconds to release its aroma without burning. Now, pour in the diced tomatoes, beef broth, and tomato sauce, giving everything a good stir to combine. Toss in the beans, corn, and diced potatoes, then season generously with chili powder, cumin, and a pinch of salt. Bring the mixture to a gentle boil before reducing the heat to a simmer. Let your Cowboy Stew bubble away for about 30 minutes, stirring now and then to meld the flavors. If you’re short on time, use pre-cooked potatoes or canned beans to speed things up. Taste and adjust the seasoning before serving hot with a sprinkle of fresh cilantro or shredded cheese on top.
Mistakes I’ve made and learned from
I once rushed the browning step and ended up with chewy, unevenly cooked beef in my Cowboy Stew. Now, I take my time to break the meat into small pieces and let it develop a rich, caramelized crust. Another blunder? Overcrowding the pot with too many ingredients at once, which made the stew watery. To fix this, I now layer flavors by cooking the veggies separately if needed, like I do in my one-pot meals guide. And don’t skip tasting as you go—I learned the hard way that underseasoned stew is a missed opportunity. For more tips on balancing flavors, check out my seasoning secrets post. Trust me, a little patience and attention turn this dish from bland to bold every time.
Cultural Connection and Variations
Where this recipe comes from
Cowboy Stew carries the rugged spirit of the American West, where chuckwagon cooks whipped up hearty meals for cowboys on cattle drives. They tossed whatever ingredients they had—beans, meat, and vegetables—into a pot, creating a filling dish that could feed a hungry crew. Over time, families adapted the recipe, adding regional twists like smoked sausage in Texas or green chiles in New Mexico. Some versions even include a splash of beer for extra depth.
Interestingly, Cowboy Stew shares similarities with other global one-pot dishes. In France, cassoulet layers beans and meats, while Hungary’s goulash leans on paprika and slow-cooked beef. Even in my family, we tweak the recipe by using venison during hunting season. No matter the variation, Cowboy Stew always delivers warmth and nostalgia, tying us to simpler times around a campfire or a crowded kitchen table.
How it fits in today’s cooking
Today, Cowboy Stew remains a go-to for busy weeknights or cozy gatherings. Modern cooks love its flexibility—swap in plant-based proteins or fire-roasted tomatoes for a fresh twist. It’s also a star at tailgates and potlucks, where its bold flavors shine. For those meal-prepping, it freezes beautifully, making it a smart choice for easy meal prep ideas.
Seasonally, it’s perfect for fall and winter, but don’t overlook its summer potential. Serve it alongside grilled vegetable recipes for a hearty outdoor feast. Whether you stick to tradition or experiment, Cowboy Stew proves that comfort food never goes out of style.
Taste and Texture
What makes it delicious
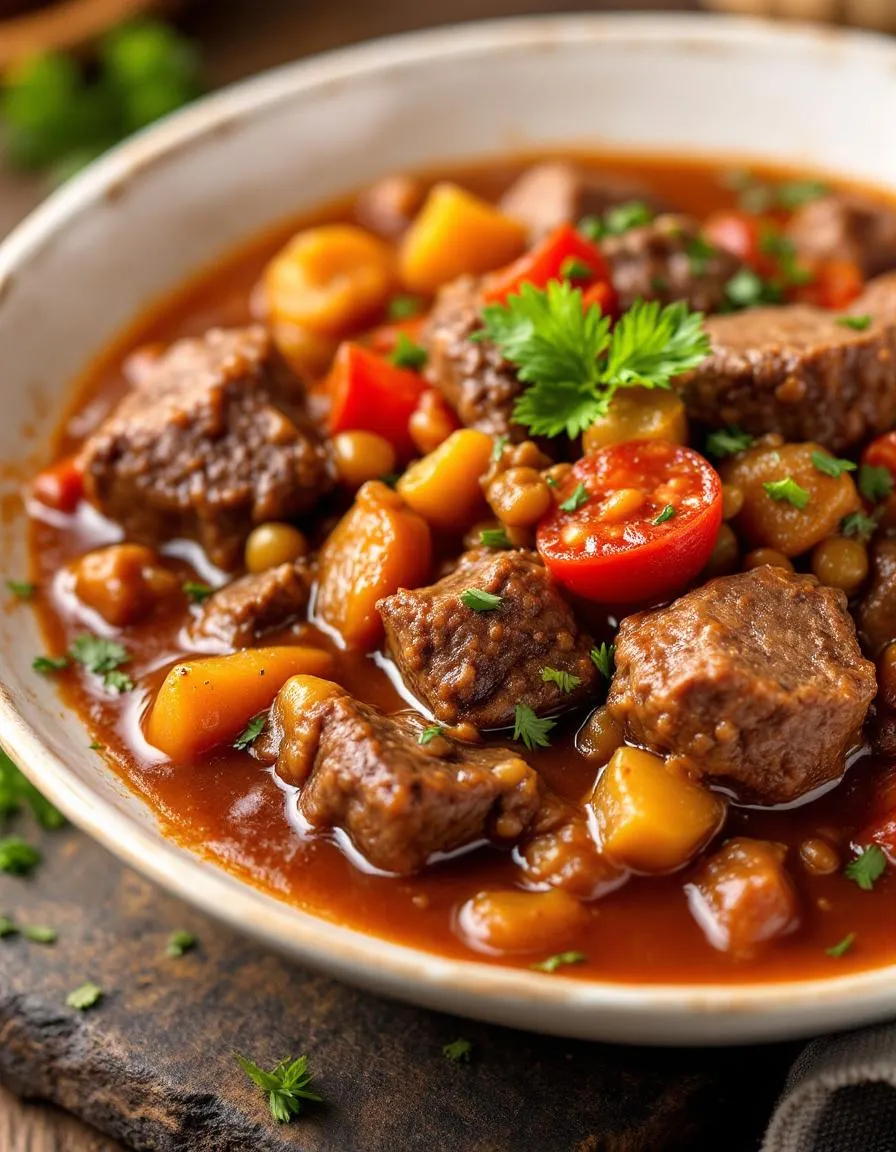
Cowboy Stew delivers a hearty, smoky flavor that wraps you in warmth from the first bite. Tender chunks of beef melt in your mouth, while the rich tomato base mingles with earthy beans and sweet corn for a satisfying depth. Every spoonful bursts with savory spices, like paprika and cumin, which add a gentle kick. Meanwhile, the aroma—a mix of slow-cooked onions, garlic, and smoky bacon—will have your stomach growling before you even take a taste. The texture is wonderfully chunky yet balanced, with soft potatoes contrasting the slight chew of the meat. Whether you crave comfort or adventure, Cowboy Stew brings both to the table.
Boosting the flavor
For an extra layer of richness, stir in a spoonful of smoked paprika or top with shredded cheddar and fresh cilantro. If you love heat, a dash of chipotle powder or a drizzle of homemade hot sauce will elevate the stew’s bold profile. Prefer a tangy twist? A splash of apple cider vinegar brightens the flavors without overpowering them. No matter how you tweak it, Cowboy Stew welcomes creativity, so don’t hesitate to make it your own.
Tips for Success
Best practices for results
Always brown your meat first to lock in flavor before adding other ingredients to your Cowboy Stew. Use a heavy-bottomed pot to distribute heat evenly and prevent burning. Stir the stew occasionally, but not too often, as this can break down the ingredients too much. For the best texture, let the Cowboy Stew simmer on low heat for at least an hour. Finally, taste and adjust the seasoning just before serving to ensure a balanced flavor.
Mistakes to avoid
One common mistake is overcrowding the pot with too much meat at once, which steams instead of browns. Instead, cook the meat in batches for a deeper flavor. Another error is skipping the deglazing step after browning—scrape up those flavorful bits with a splash of broth or water for a richer Cowboy Stew. If you’re unsure about spice levels, start small and add more gradually. For more on balancing flavors, check out our guide on seasoning tips. Also, avoid boiling the stew too vigorously, as this can toughen the meat. For tender results, follow our slow cooking basics.
Serving and Pairing Suggestions
How to serve this dish
Serve Cowboy Stew piping hot in rustic bowls or cast-iron skillets for a hearty, campfire-inspired vibe. Top it with fresh chopped cilantro, a dollop of sour cream, or shredded cheddar to add color and richness. For casual gatherings, let guests customize their bowls with toppings like diced avocado, crushed tortilla chips, or pickled jalapeños. Meanwhile, this dish shines at potlucks or game-day spreads since it stays warm in a slow cooker. If you’re hosting a cozy family dinner, pair it with warm cornbread right out of the oven for ultimate comfort.
What goes well with it
Crunchy, buttery cornbread makes the perfect sidekick to Cowboy Stew, soaking up the savory broth while adding texture. For a lighter contrast, try a crisp green salad with tangy ranch dressing—our homemade ranch dressing recipe balances the stew’s bold flavors. Thirsty? A cold beer or smoky bourbon cocktail cuts through the richness, or sip on sweet iced tea for a Southern twist. Craving something extra? Whip up our cheesy garlic biscuits to round out the meal with fluffy, garlicky goodness.
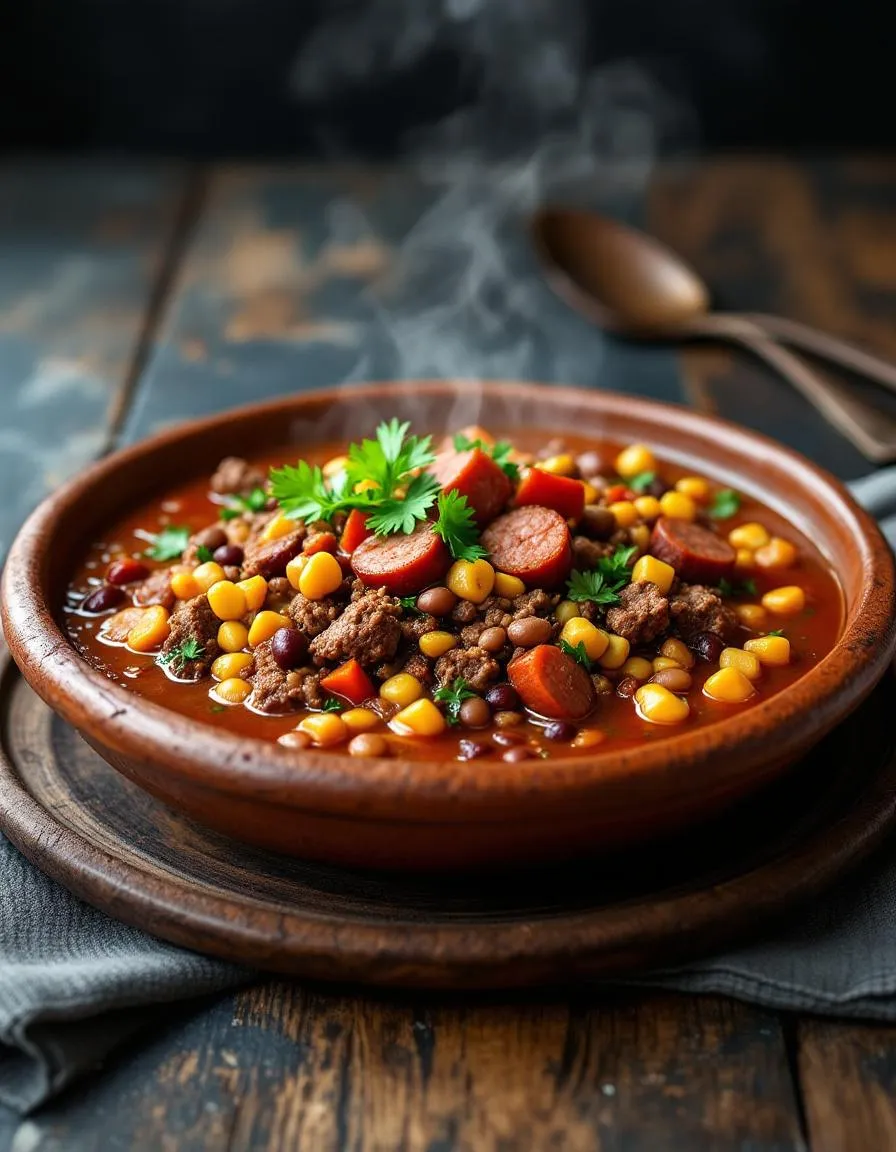
Traditional Cowboy Stew combines ground beef, smoked sausage, beans, potatoes, and tomatoes for a hearty, one-pot meal. Some variations include corn, bell peppers, or bacon for extra flavor. This filling dish gets its name from its cowboy campfire origins.
To thicken Cowboy Stew, let it simmer uncovered to reduce liquids, or mash some potatoes against the pot. You can also mix in a tablespoon of cornstarch with cold water before stirring it into the stew. The beans in Cowboy Stew naturally help create a thicker consistency.
Yes, Cowboy Stew works perfectly in a slow cooker—brown the meats first for best flavor, then add all ingredients to cook on low for 6-8 hours. The slow cooker method makes Cowboy Stew even more tender and allows flavors to meld beautifully.
Cowboy Stew pairs great with cornbread, crusty rolls, or a simple green salad. For a true cowboy meal, serve it with pickled jalapeños or a cold beer. The stew is already a complete meal, but these sides complement its rustic flavors.