Table of Contents
Easy Chicken Burrito Casserole – Gluten-Free Twist
I remember cooking in my mother’s Moroccan kitchen, where the air was thick with cumin and the sound of a clay pot simmering over a charcoal flame. When I moved to Paris, I learned to dress that rustic heat with delicate caramelization; now in NYC, I blend those traditions with the ease of a casserole.
Imagine a casserole that bursts with the smoky crunch of sautéed bell pepper, garlic‑free onion, and the slight bite from a splash of cayenne, all wrapped in a blanket of golden, creamy cheese. The rice soaks up a savory broth, transforming into a chewy, protein‑packed base that mirrors a taco’s heart beneath a tortilla.
My version elevates the classic by swapping wheat tortillas for corn‑rice and trimming the sodium with low‑sodium broth. I’ve often found myself “mixing” this casserole previously on a blog post and winning a quick star badge. A key pro tip: always let the rice absorb liquid before adding the cheese layer; otherwise, you’ll end up with a soggy top.
Why This Easy Chicken Burrito Casserole Recipe Is the Best
The unique gluten‑free twist keeps the dish approachable for everyone while retaining that faithfully packed Mexican flavor. I use a blend of cumin, smoked paprika, and a whisper of cinnamon that brings a Moroccan surprise.
Texture is perfected by pre‑cooking the rice while whisking the broth in the same pan; the fast simmer locks in moisture for each grain, giving a firm core and a silky sheen.
The straightforward assembly—the “cook in one pot” method—means even a rookie can toss and bake for better time management while achieving restaurant‑level flavor.
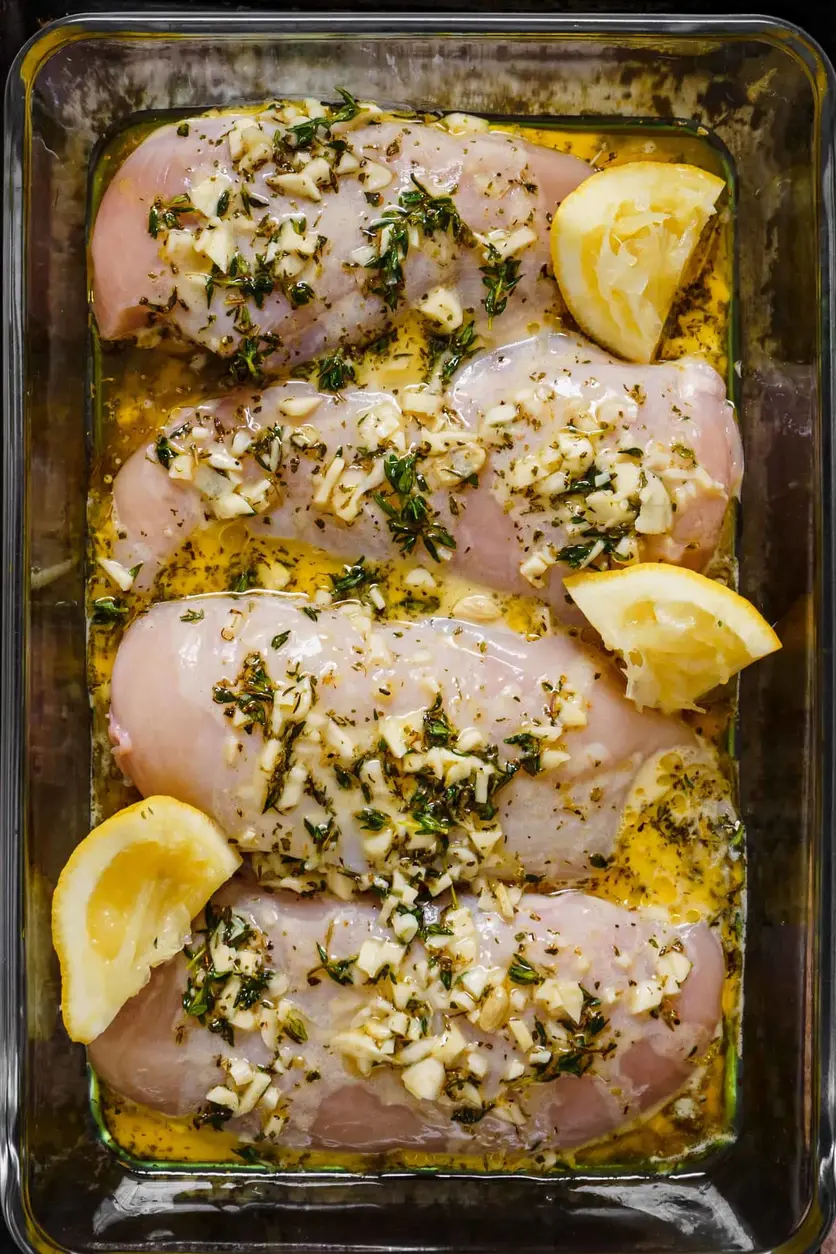
Easy Chicken Burrito Casserole Ingredients
I shop for these staples at the Union Square Greenmarket or the Caribbean section of Trader Joe’s, where quality flags with a bright label—immediately signal trust. The mix of fresh produce, pantry goodbyes, and the hand‑picked jalapeños are the backbone of my comfort dinner.
Ingredients List
- 1/2 cup finely diced onion
- 1 red bell pepper (diced)
- 1 cup uncooked parboiled long‑grain brown rice (or white rice)
- 3 tablespoons fajita seasoning (homemade or store‑bought)
- 1/8 teaspoon cayenne pepper (optional)
- 1 cup frozen corn kernels
- 1 14‑ounce can low sodium black beans (drained, rinsed)
- 5 cups shredded chicken (rotisserie or canned)
- 3 cups reduced sodium chicken broth
- 1 4‑ounce can mild green chilies
- 1 tablespoon olive oil
- 2 tablespoons tomato paste
- 1 1/4 cups shredded Monterey Jack cheese
Ingredient Spotlight
Brown rice: The grain’s nutty flavor and chewy heart give the casserole a hearty base. In stores, choose parboiled varieties for faster cooking—and for a slight grain integrity.
Fajita seasoning: I use a blend of smoked paprika, garlic powder, cumin, and coriander. Substitute with homemade spice mix to control salt levels.
Black beans: Opt for no‑salt versions; rinse to reduce sodium. For a twist, try baked chickpeas as a protein hybrid.
| Original Ingredient | Best Substitution | Flavor / Texture Impact |
|---|---|---|
| Brown rice | Rice‑coconut quinoa | adds a subtle sweet undertone, lightens texture |
| Fajita seasoning | Homemade cumin‑coriander mix | fuller, earthy taste |
| Monterey Jack | Part‑skim mozzarella | lower fat, still melty |
How to Make Easy Chicken Burrito Casserole — Step-by-Step
First, gather everything; the “set‑and‑forget” magic begins the moment you turn your oven to 400°F.
Step 1: Preheat
Preheat oven to 400°F, lightly oil a 9×13 inch baking dish. The dish will catch any bubbling flavors.
💡 emy’s Pro Tip: Use parchment paper for the lowest chance of sticking and easier cleanup.
Step 2: Whisk
In a small bowl, whisk together chicken broth, green chilies, tomato paste, and olive oil until smooth. The broth should have a streaky, even consistency to help the rice absorb.
⚠️ Common Mistake to Avoid: Stirring the broth too late can cause a graze on the bottom of the dish.
Step 3: Mix
Combine onion, bell pepper, rice, fajita seasoning, and cayenne in the dish. Pour the broth mixture over and stir through. Add the shredded chicken, black beans, and corn, tossing everything until coated.
💡 emy’s Pro Tip: Toss the mix in a 4‑inch circle of the dish before balancing for even baking.
Step 4: Garnish
Cover with foil, bake 65–70 minutes. Remove foil, sprinkle cheese, return for 5–10 minutes longer until melted and lightly golden.
⚠️ Common Mistake to Avoid: Forgetting to pull the cheese layer too early can brown the crust before the interior is cooked.
| Step | Action | Duration | Key Visual Cue |
|---|---|---|---|
| 1 | Preheat oven, oil dish | 5 min | Golden gloss of oil |
| 2 | Whisk broth mix | 3 min | Smoothness |
| 3 | Compile ingredients | 8 min | Even coat |
| 4 | Bake & garnish | 70 min | Cheese bubbling lightly |
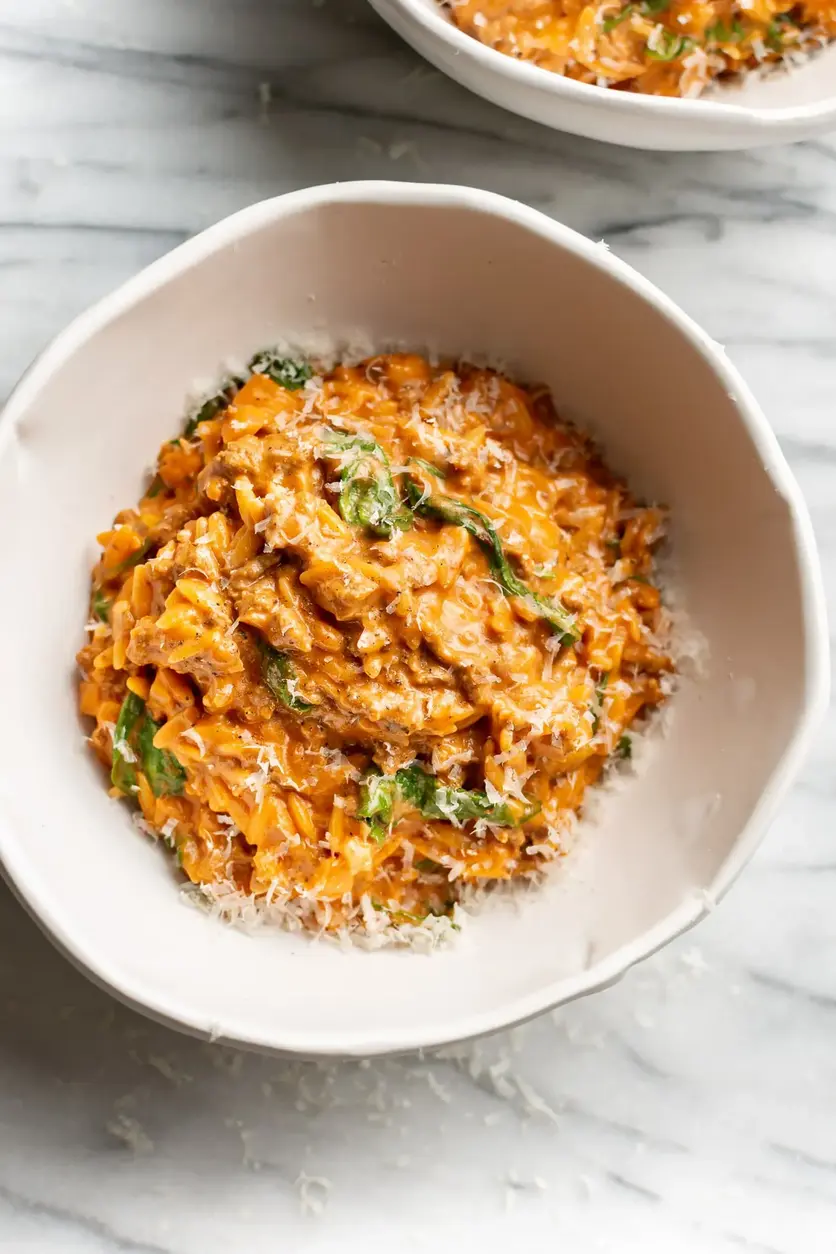
Serving & Presentation
Serve hot, scooping wedges onto plates. A dusting of fresh cilantro, a dash of green onion, and a drizzle of salsa or guac turn the casserole into a bite‑size fiesta. I love pairing it with a crisp quinoa salad from the grocery crowds.
Pairings are essential—think of stuffed pepper shells from a French patisserie or a bowl of consommé to balance the heaviest textures. The vibrant colors echo the Moroccan market’s earth tones and make this dish Instagram‑worthy.
| Pairing Type | Suggestions | Why It Works |
|---|---|---|
| Side Dish | Rice soufflé, quinoa salad, corn on the cob | Lightness balances hearty casserole |
| Sauce / Dip | Hummus, pomegranate molasses, cream cheese dip | Adds cool contrast |
| Beverage | Chamomile tea, light white wine, sparkling water | Mirrors spices and refreshes palate |
| Garnish | Radish slivers, grilled feta, lime wedges | Brings brightness and texture |
Make-Ahead, Storage & Reheating
I prepare this casserole in advance for Sunday dinners or for a hurried weekday night. The layers hold together nicely, so you can simply reheat or assemble on the fly.
| Method | Container | Duration | Reheating Tip |
|---|---|---|---|
| Refrigerator | Stainless steel casserole dish | 3 days | Microwave + 5 min oven finish |
| Freezer | Vacuum sealed bag | 2 months | Thaw overnight + bake 25 mins |
| Make-Ahead | Pre-chopped ingredient bowl | 5 days | Assemble & bake when ready |
When reheating, I pull the casserole 5 minutes before the end to ensure the cheese melts properly. The crunch of the bell pepper remains intact if you bake at 350°F, not too high.
Variations & Easy Swaps
| Variation | Key Change | Best For | Difficulty Impact |
|---|---|---|---|
| Spicy Buffalo | Add buffalo sauce, replace green chilies | Game‑day | Easy |
| Vegan | Use tempeh, dairy‑free cheese | Plant‑based friends | Medium |
| Summer Shrimp | Swap chicken for shrimp, add fresh basil | Light weekday | Easy |
Spicy Buffalo
Replace green chilies with buffalo sauce, add a dash of smoked paprika for depth. I taste it over a midday salsa to keep the heat in sync with the comfort sauce.
Vegan
Swap shredded chicken for diced tempeh and use dairy‑free jack cheese. The tempeh keeps the protein punch while the cheese free from lactose works just as melty.
Summer Shrimp
Add peeled shrimp just before the cheese layer; the shrimp cooks in the final 7 minutes. Fresh basil sprinkled afterward brings a herbal bright note reminiscent of the Brooklyn farmer’s markets.
How long does it take to bake this casserole?
It takes about 70 minutes to bake the casserole once the dish is assembled, plus a 5‑minute topping time to let the cheese melt beautifully. Adding the initial 15‑minute prep steps, the whole process totals roughly an hour and fifteen minutes, making it an easy product for a weekday dinner.
Can I use white rice instead of brown rice?
Absolutely! White rice cooks slightly faster, so the overall baking time stays the same. The flavor will be mild and a bit lighter, which would pair nicely with a chunky salsa or a sprinkle of fresh cilantro. Whichever grain you prefer, it will still absorb the broth and keep the casserole moist.
Is this recipe truly gluten‑free?
Yes. The key gluten‑free guarantee comes from all grains and thickeners used—brown rice, corn, beans, and the monosodium glutamate‑free fajita seasoning. Just be careful to check the seasoning label for any hidden wheat or soy ingredients. Swapping canned cheese for a dairy‑free alternative also keeps it accident‑free.
Can I prepare the casserole on a stovetop?
Yes, but you’ll need a deep‑saucepans and a covered lid. Start by sautéing the onions and peppers, then add the rice and broth. Cook on medium heat until the liquid is absorbed, add the remaining ingredients, cover, and simmer for 25–30 minutes, letting the dish steam to finish. It will work, but the baking method gives a firmer top crust and a slightly caramelized cheese.
What can I serve for a side dish?
A crisp corn‑buttery salad, a quinoa pilaf, or a simple side of sautéed greens works beautifully. A tangy cucumber yogurt reduces the richness of the casserole, while a light beet salad adds color and a sweet crunch, echoing the Moroccan market’s seasonal produce.
Does this casserole keep well in the refrigerator?
It stays safe for up to three days if stored in a tightly covered container. Reheat over low heat or in the microwave, and finish in the oven for a refreshed top. If you need extra time, freeze portions; when thawing, bake for 15–20 minutes at 375°F.
What are some optional toppings?
Try diced avocado, tops of a creamy cilantro lime sour, a drizzle of spicy chipotle olive oil, or even cracked black pepper. These additions build upon the casserole’s base flavor profile and add a fresher note, inspiring you to experiment with new combinations.
Can I use a different cheese?
Mexican melty cheese such as Monterey Jack or pepper jack works best. Substitute Oaxaca cheese, which melts wonderfully as well, or use a blend of mozzarella and cheddar for a tangy crunch. Avoid hard cheeses that won’t melt; they’ll produce a disappointing texture.
Is the recipe suitable for a large family gathering?
Definitely. If you’re serving a bigger crowd, simply double the recipe and use a larger baking pan or duplicate the casserole in two sides. The ratio of chicken to rice stays constant, so the flavors score high no matter the scale.
Can I use a slow cooker instead?
Yes, after sautéing the onion and pepper you can transfer everything to a slow cooker and cook on low for 2–3 hours. The casserole texture will be tender but not as crisp; to get a crust, finish baking the top for 10 minutes in a preheated oven.
Share Your Version!
I’d love to hear how you customize this casserole—maybe you add mango salsa or swap the chicken for pork. Drop a comment below and rate on a scale of 1-5 stars; your feedback fuels my next recipe adventure.
Snap a photo of your finished dish, tag me on Instagram or pin it to Pinterest, and let the world taste your twist. My @cookingwithemi site loves seeing the diverse layering of flavors.
From my NYC kitchen to yours — I hope this recipe brings as much warmth to your table as it does to mine. — emy 🧡
Love This Recipe? Save It to Pinterest!
If you enjoyed this Easy Chicken Burrito Casserole recipe, don’t let it get lost in your browser tabs! 😄 Pin it now so you can find it again anytime — and explore hundreds more tried‑and‑tested recipes waiting for you on my Pinterest boards.
👉 Follow emy on Pinterest @chefrecipes2
📌 Pin this recipe · 🔁 Re-pin your favorites · 💬 Tag me when you make it — I love seeing your creations!
Easy Chicken Burrito Casserole
Description
If your family loves Mexican food, whip together this chicken burrito casserole recipe for an easy, low-prep dinner! It tastes like your favourite burritos yet can be made in one big casserole dish with simple ingredients. Plus, it’s loaded with protein for a satisfying and healthy meal! {Gluten-Free}
Ingredients
- 1/2 cup finely diced onion
- 1 red bell pepper (diced)
- 1 cup uncooked parboiled long-grain brown rice ((can also use long grain white rice))
- 3 tablespoons fajita seasoning ((homemade or store-bought))
- 1/8 teaspoon cayenne pepper ((optional))
- 1 cup corn kernels (frozen)
- 1 14 ounce can low sodium black beans (drained and rinsed)
- 5 cups shredded chicken
- 3 cups reduced sodium chicken broth
- 1 4 ounce can mild green chilies
- 1 tablespoon olive oil
- 2 tablespoons tomato paste
- 1 1/4 cups shredded Monterey Jack cheese
Instructions
- Preheat oven to 400°F. Add onion, bell pepper, uncooked rice, fajita seasoning and cayenne (if using) to a 9×13 inch baking dish and stir to combine.
- In a separate bowl or measuring cup, whisk together the chicken broth, green chiles, tomato paste and olive oil until well combined.
- Add the broth mixture to the baking dish and stir to combine with the rice mixture.
- Add shredded chicken, black beans and corn to the baking dish. Give it an additional stir until well combined.
- Cover the baking dish with aluminium foil and then transfer to the oven to bake for 65-70 minutes or until all of the liquid is absorbed.
- Once complete, remove the baking dish from the oven, remove the aluminium foil, and sprinkle evenly with grated cheese.
- Return the baking dish to the oven for a final 5-10 minutes until the cheese has melted and is slightly golden.
- Remove from the oven, allow to cool for 5-10 minutes, and serve with a sprinkle of fresh cilantro, green onion, salsa and avocado, if desired.